Making adorable chalk painted DIY signs is both easy and quick. I wanted to use some scrap wood to make some signs for home decor and gifts hence I decided to make some signs. Gathering the supplies will take the most time. Are you ready to make some hand-painted block signs?

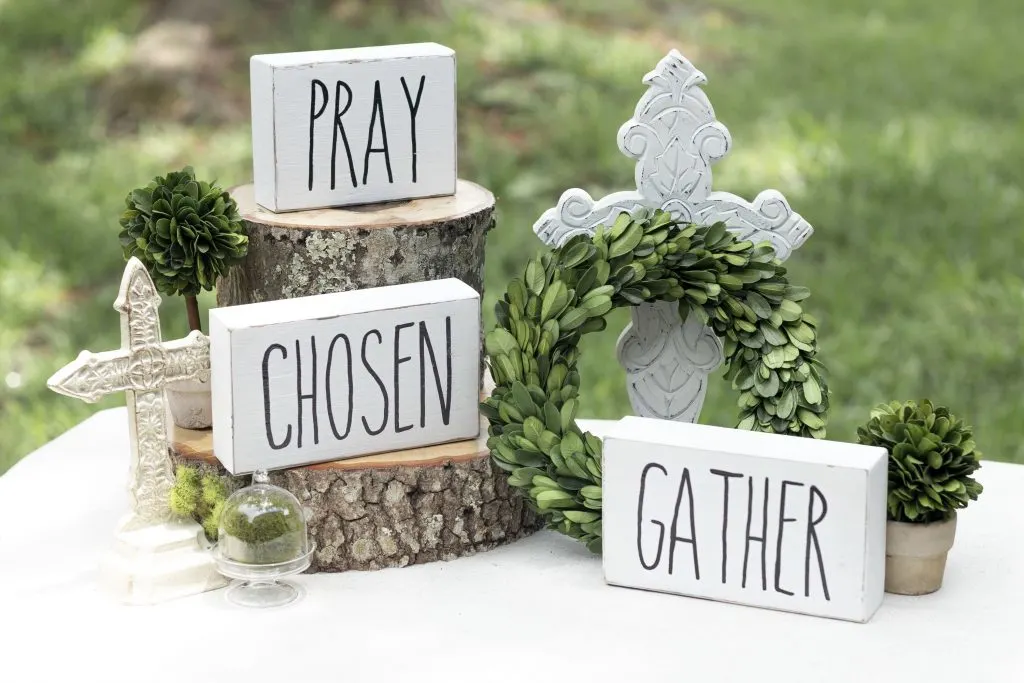
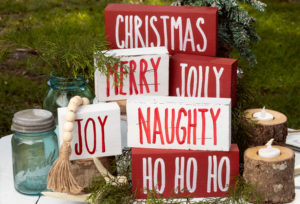
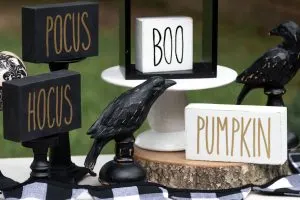
Vignette of hand-painted block signs
These hand-painted block signs were a breeze to make, so I will be making them for gifts and decor all year. I think the next one I make will be with a hashtag for something totally custom. This past weekend I hosted a painting class to paint some of these signs. Now I wanted to share the fun online.
This post contains affiliate links. This means that if you purchase from one of these links I will make a small commission, but rest assured you will not pay more for any products.
DIY Hand-Painted Block Signs
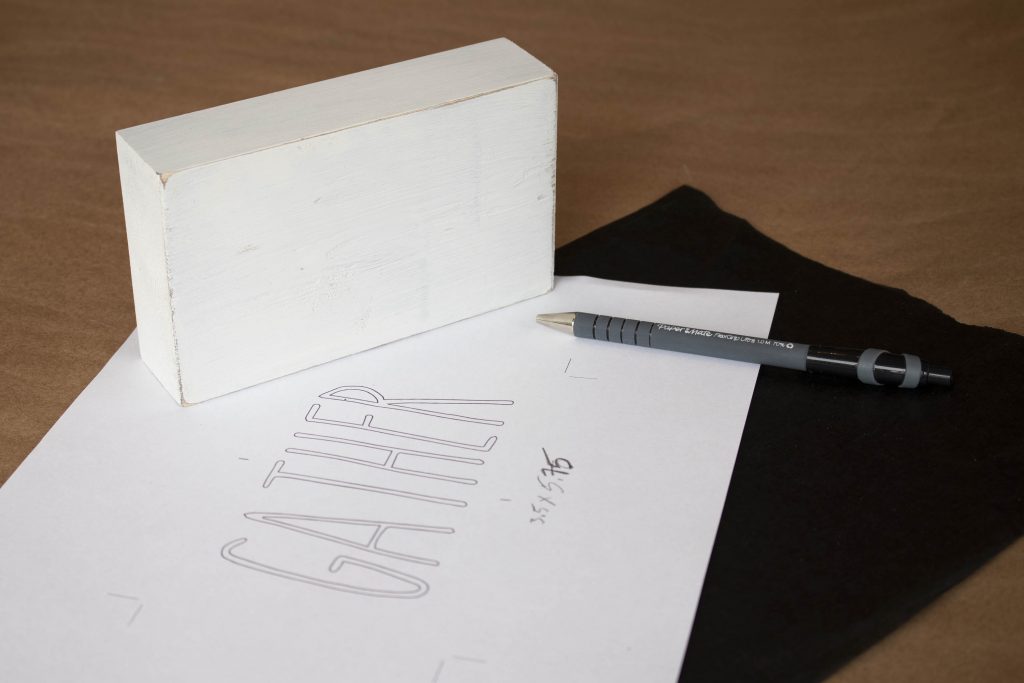
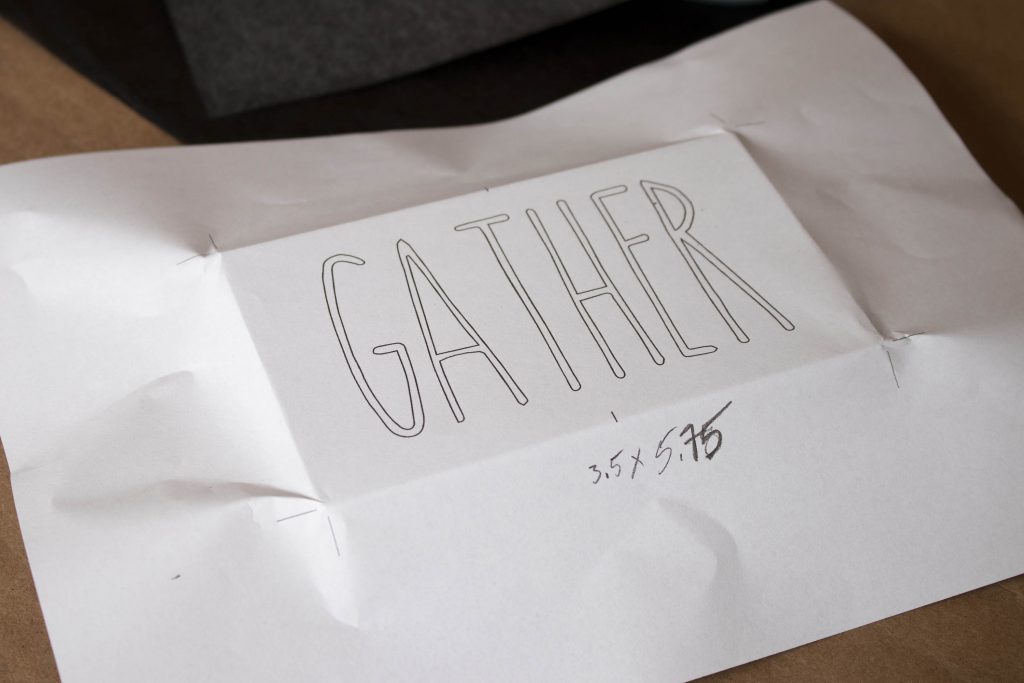
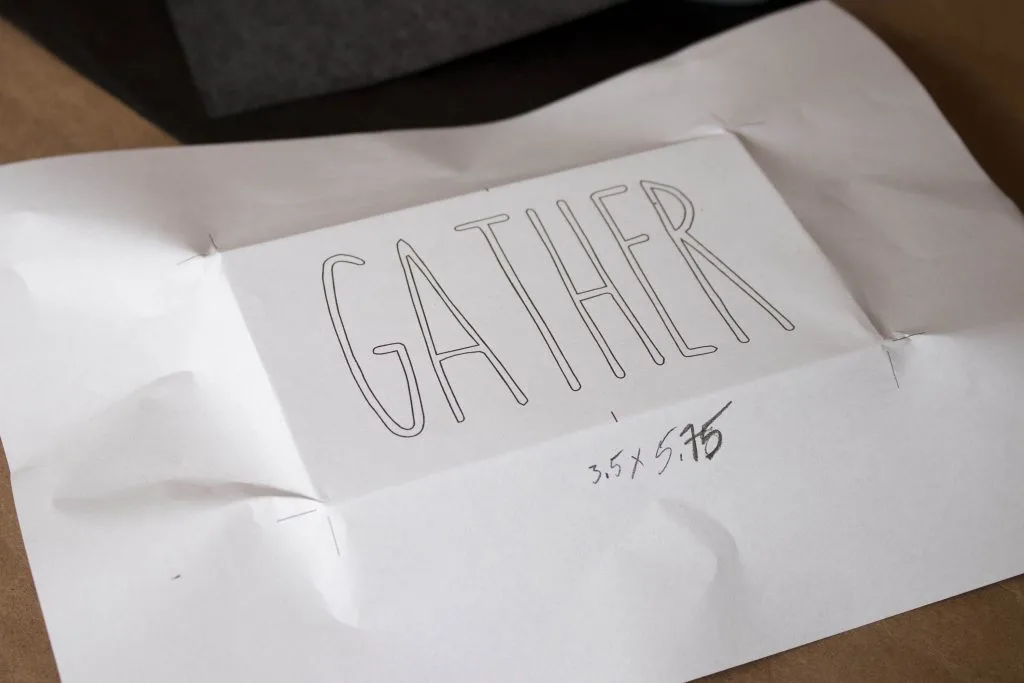
I first downloaded and printed out the word design for each sign and measured it. Then I added an inch and a half to the word’s width measurement to allow 3/4″ on both sides. That was the measurement I used when cutting each block sign off my two by four board.
After I cut the blocks I sanded the block for the sign. Then I stained them with Espresso stain and let them dry overnight. Note: I stained them first so I could achieve a rustic look.

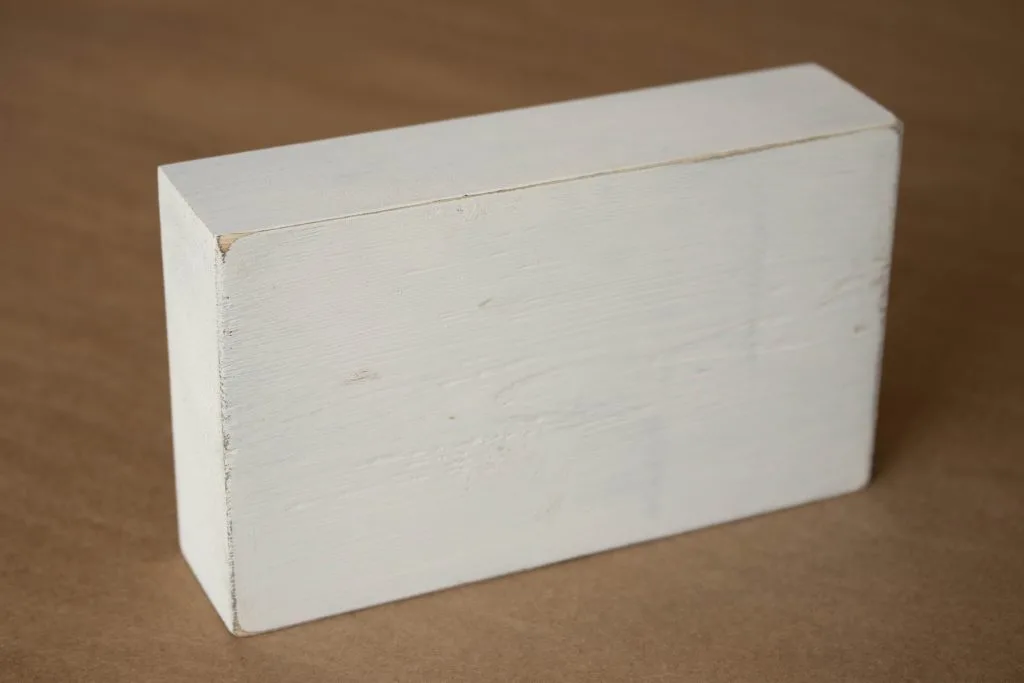
Next, I painted one coat of white chalk paint.
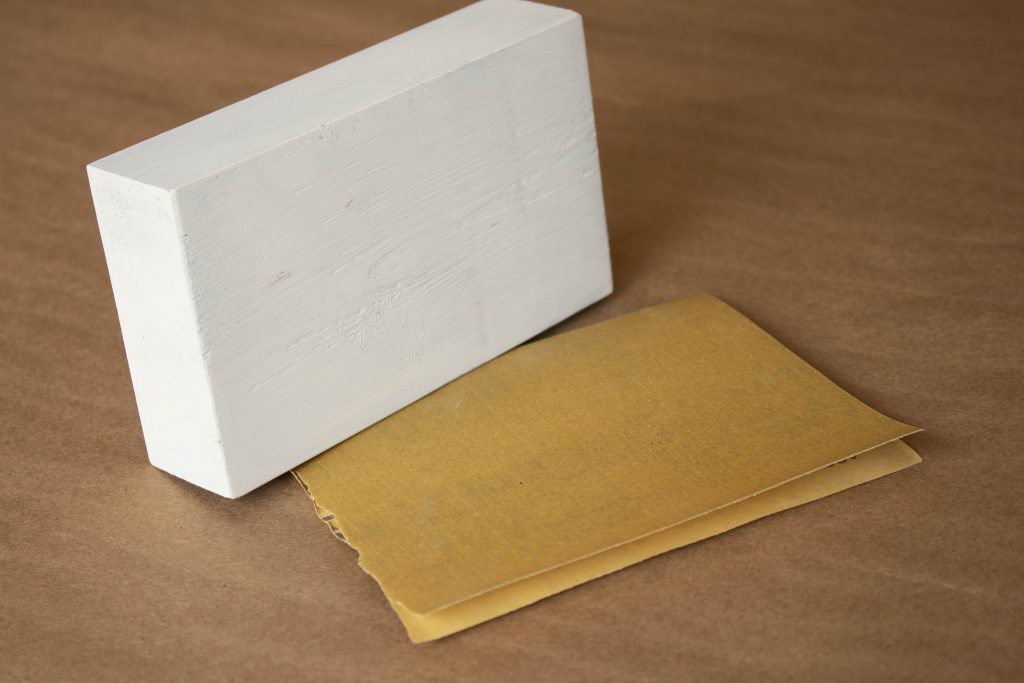

The block painted white with the sandpaper
After 30 minutes I sanded the painted block with 220 grit sandpaper. I sanded more off the corners to look worn and rustic. Since the stain can be seen through the light paint it looks vintage and rustic. Now I am ready to trace my word.
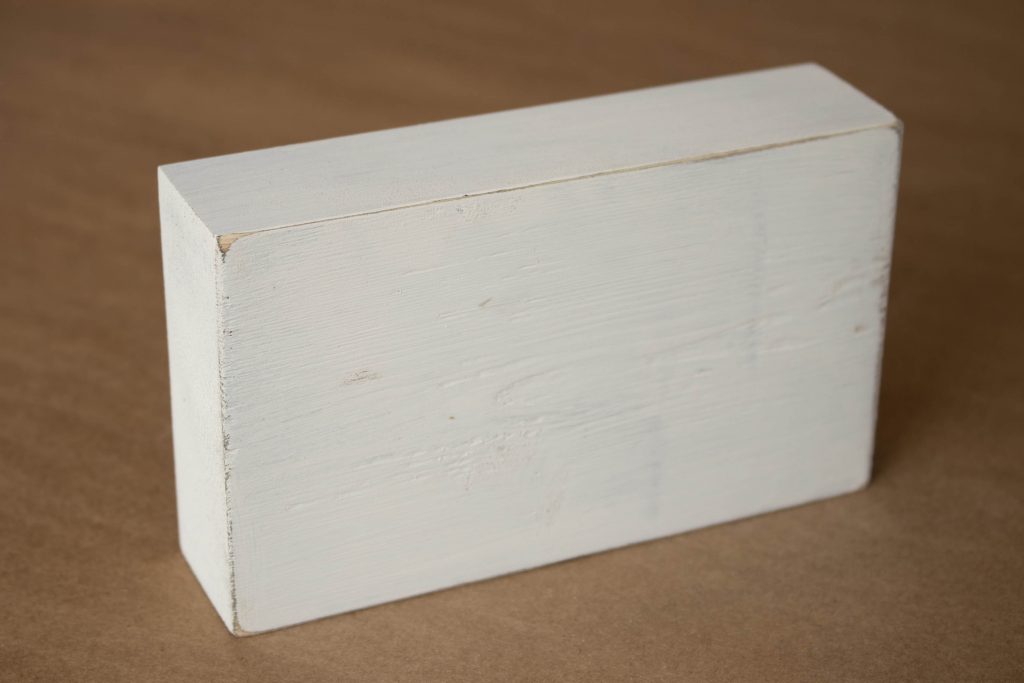
The block after sanding
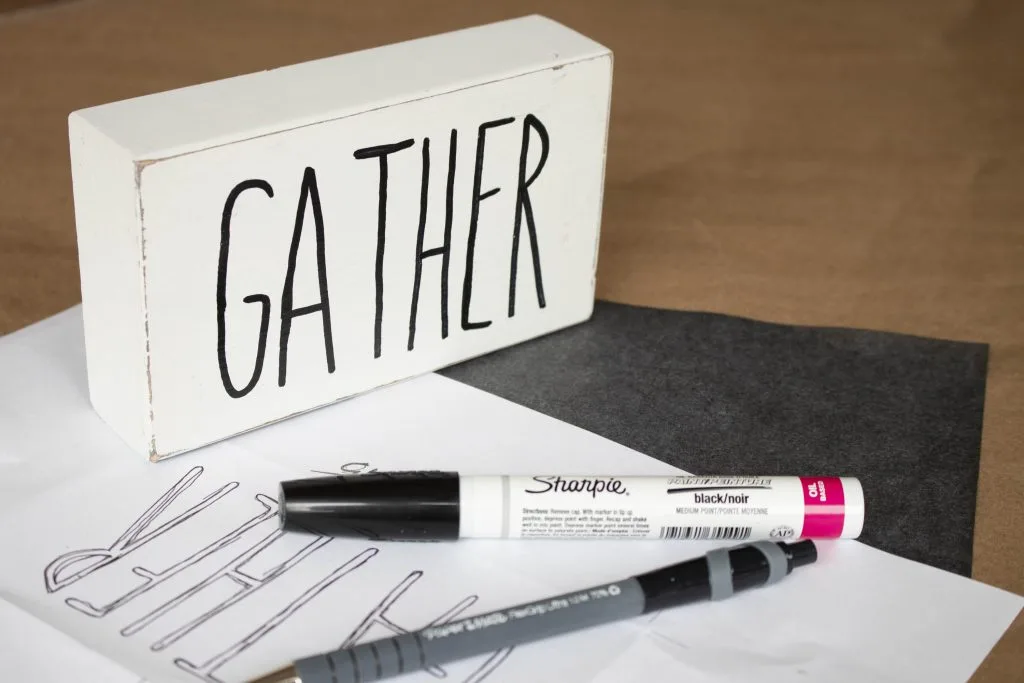
The tracing paper I used was graphite.

The elements used to transfer and paint the word on the sign
With the word design paper, I center and form it around the board before adding the graphite paper, so that I can keep everything in place as I trace. Some people like to cut out the word to the board size, however that adds an extra step. Extra steps I avoid at all costs but do it which way you like best.
Centering the design paper over the board
Now insert the graphite paper with the transfer side towards the block and cover with the design paper in the cupped shape over the top. I use a regular ballpoint pen to trace the letter’s outline onto the block.
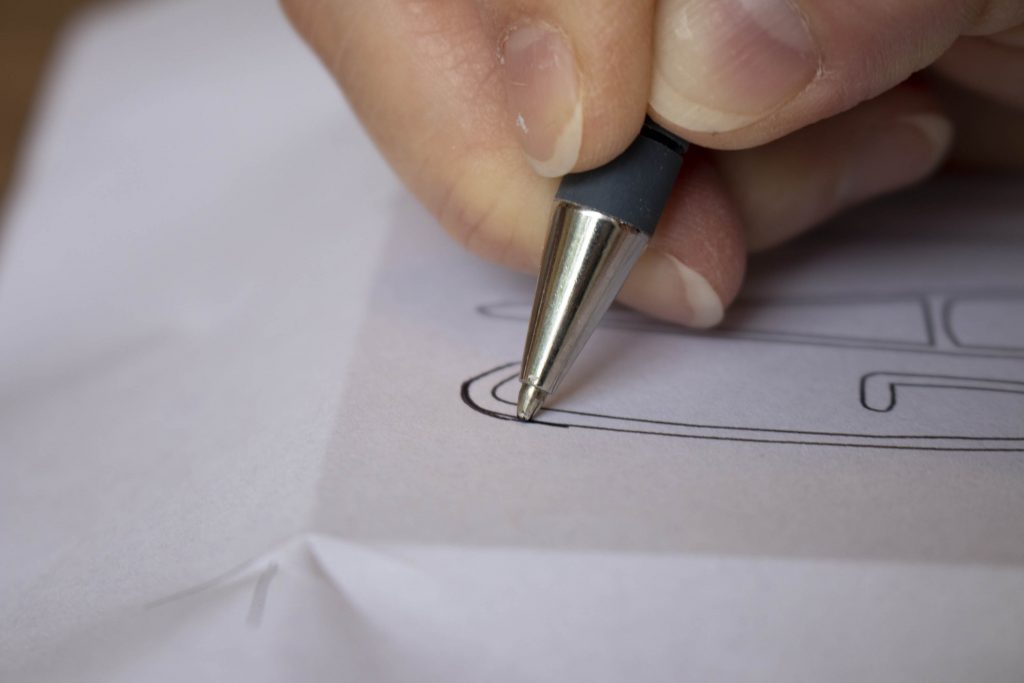

Tracing the letters
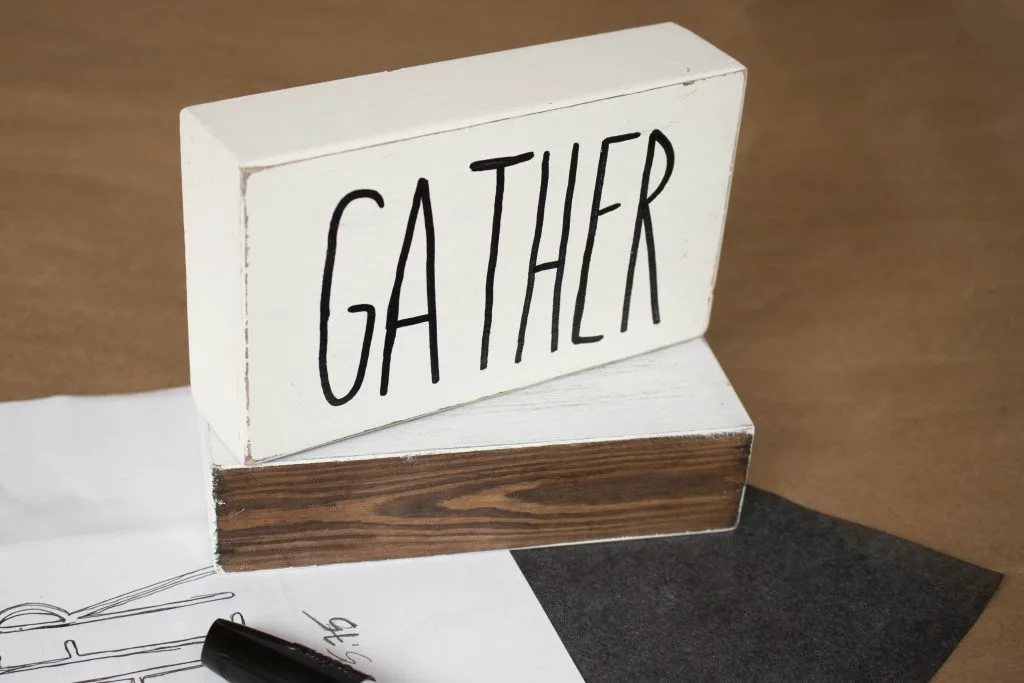
The last thing to do to finish your block sign is to fill in the traced letters since I used an oil-based Sharpie paint marker it was easy and quick. However, you could use paint to fill in the letters.
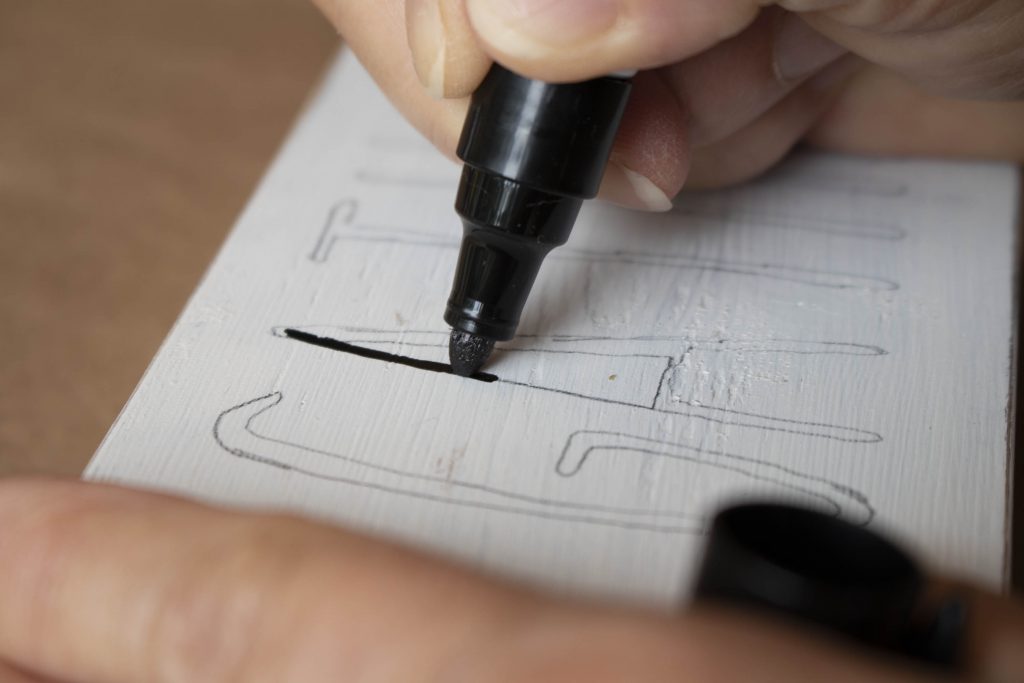

Painting in the letters
After trying both filling in the traced letters and then tracing one line in the center of each letter my preference is one line down the center of each letter.

The finished sign
I gathered all the elements for transferring and painting the word on this cute sign in the photo. Easy, quick, inexpensive, and cute what could be better?
My Amazon Picks:
You Might Also Like These Posts:


Are you feeling motivated to make some hand-painted block signs for yourself and friends? Let me know how yours turn out. I love to hear from you in the comment section below.
Happy Crafting,
Kippi