Decoupage is one of the easiest ways to create a unique piece of art. It is also perfect for giving an out-of-date piece a trendy makeover.
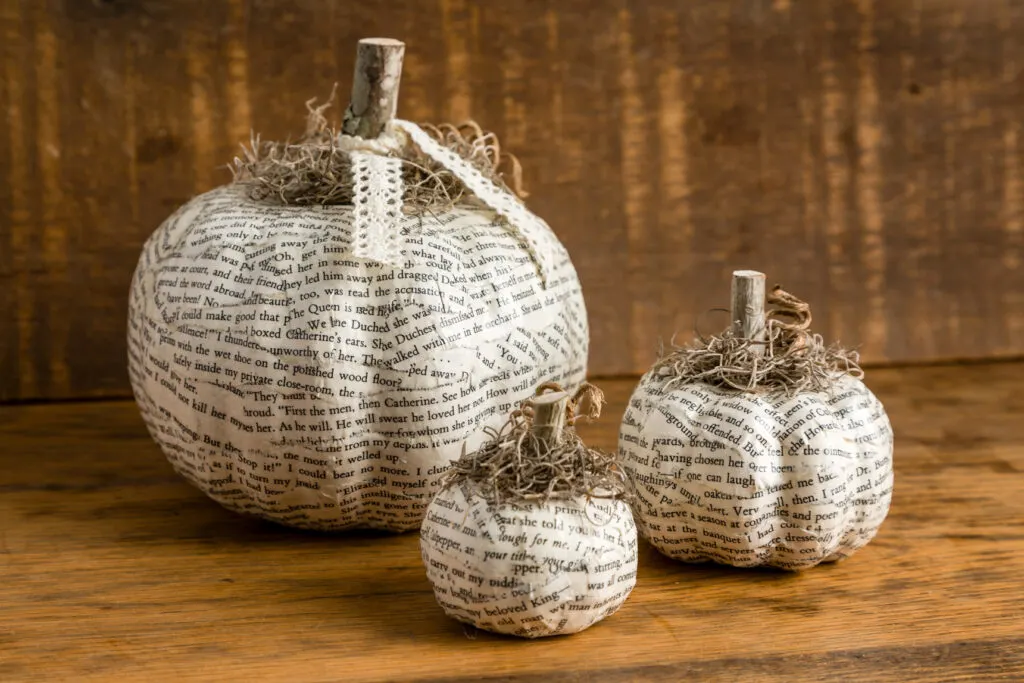
Book Page Decoupage Pumpkins.
This post may contain affiliate links. That means that if you purchase from one of these links, I will make a small commission, but rest assured you will not pay more for any products.
The first step to creating a decoupaged piece is to select your project piece and gather your supplies and tools.
Tip: It is a little more challenging to keep your paper and fabric from wrinkling if you are adhering to a round surface. However, removing air bubbles from a flat surface project is more challenging.
Supplies:
- Mod Podge
- Paper: decoupage paper, book pages, napkins, tissue paper, wrapping paper, scrapbook paper
- Fabric (wash and dry fabric without fabric softener)
- Paint (if painting your project piece first)
Tools:
- Scissors
- Paintbrush
- Foam applicator
- Pencil, marker
- Craft knife and cutting mat
- Mod Podge tool kit
- Plastic wrap
How to Decoupage
I remember the first time I saw a decoupaged project I was amazed at the results. It was a wooden purse my aunt created like these. I was hooked and I could not wait to create my own masterpiece.
Book Page Pumpkin
Step one is to select your project, Mod Podge finish, and either paper or fabric.
This simple, one dollar pumpkin was easily transformed into vintage heirloom style décor with book pages and Mod Podge.
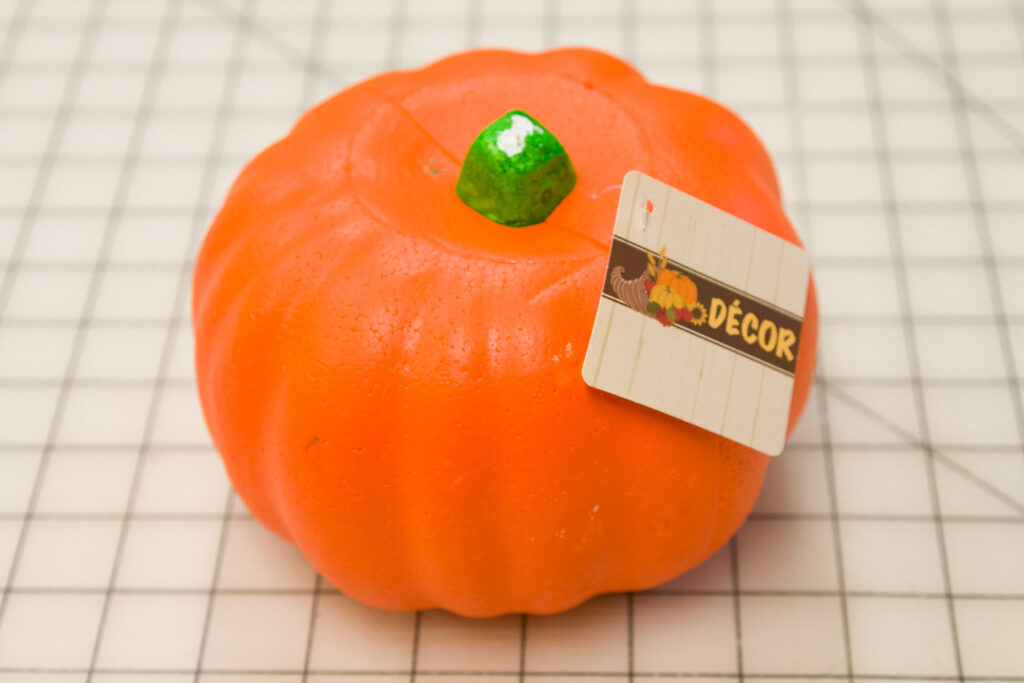

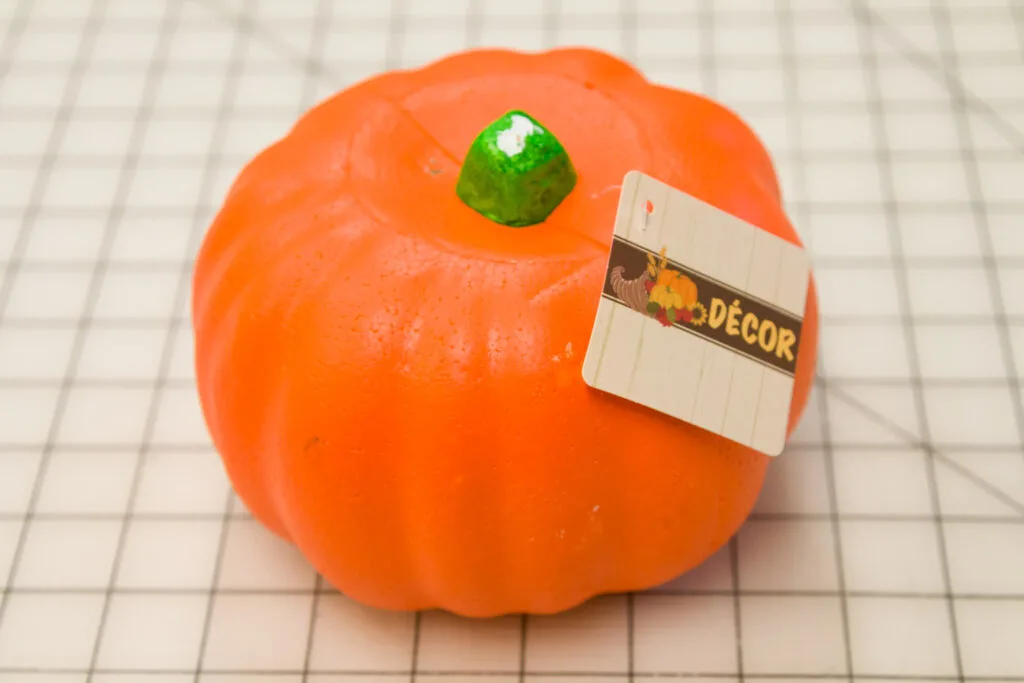

Basic Dollar Tree Pumpkin.
See the how-to video HERE.
The next step is to prepare your project’s surface.
I painted the pumpkin with chalk paint since I wanted to make sure the orange would not bleed through the paper.
Allow the paint to dry thoroughly.
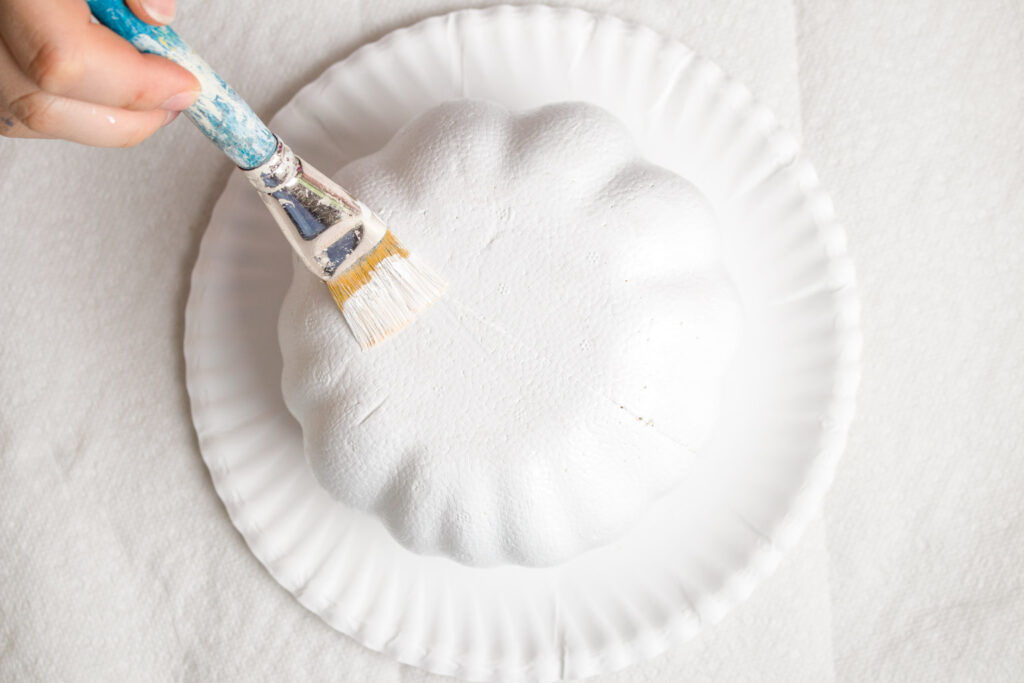

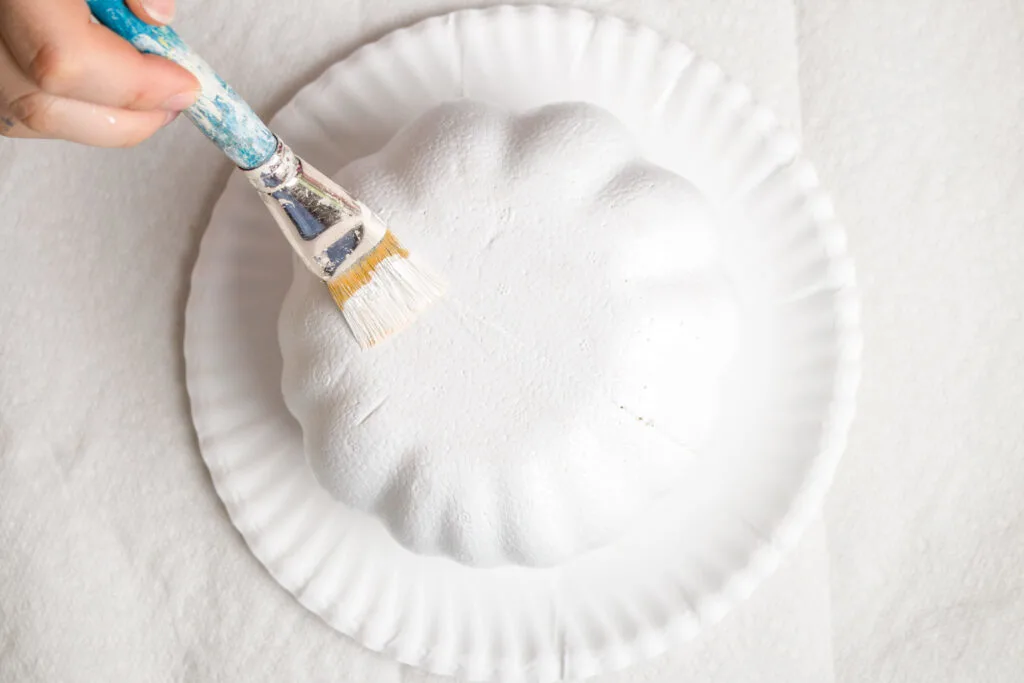

Chalk Painting the Pumpkin
Next, you will tear the book pages into strips and remove the blank margins. If you are using a paper with a design then you would want to cut out the paper design first. Furthermore, if you are using photos or pictures begin by cutting out the pictures or photos.
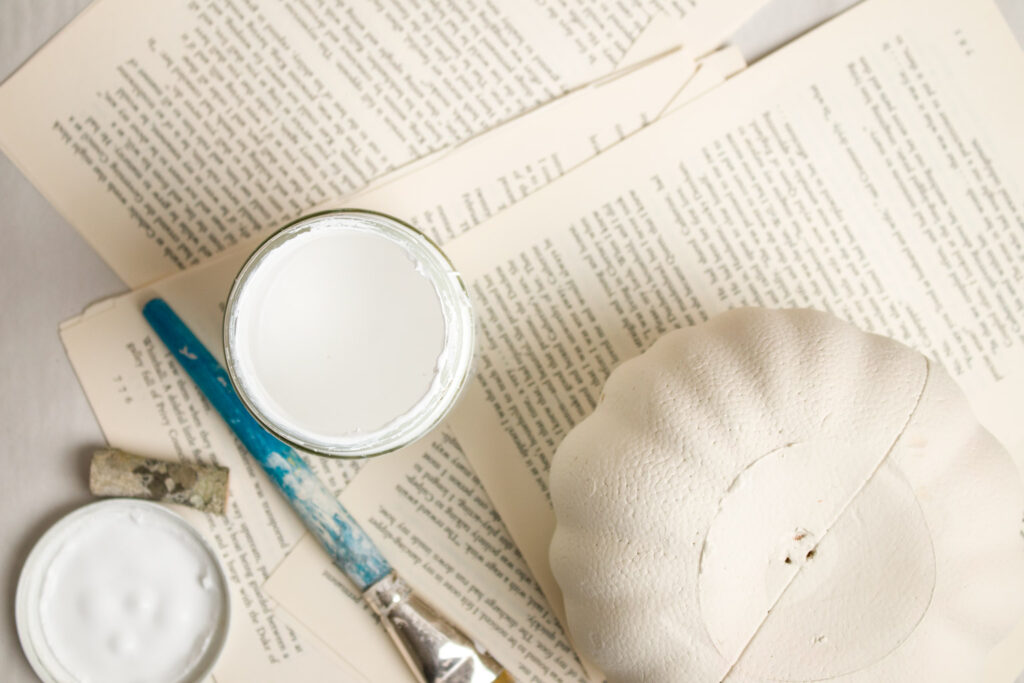

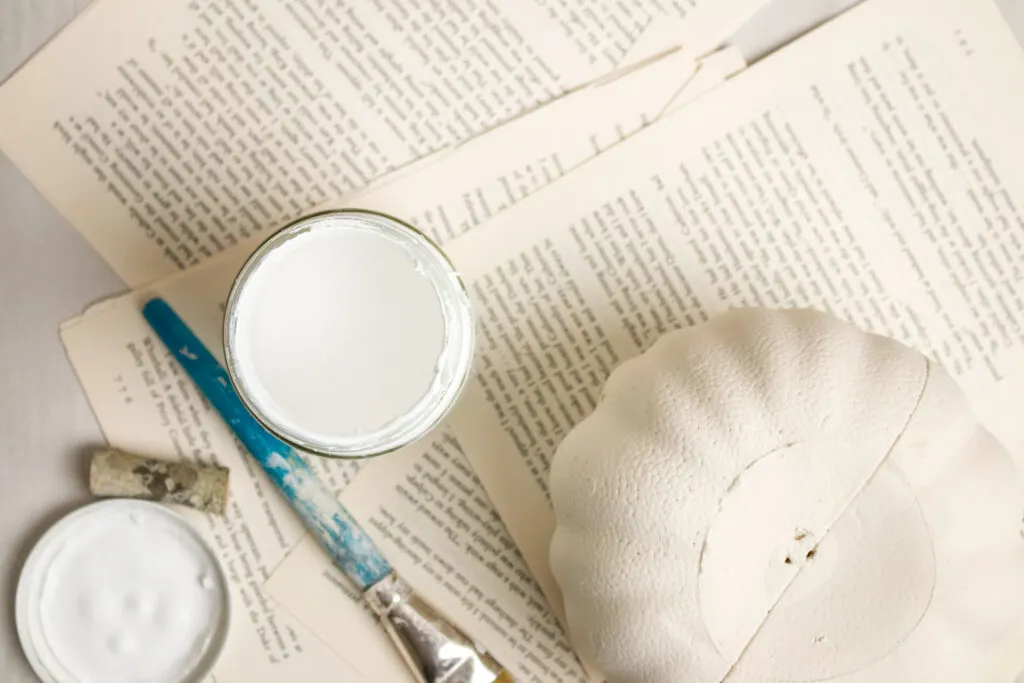

Book pages decoupage, pumpkin painting, pumpkin and stem
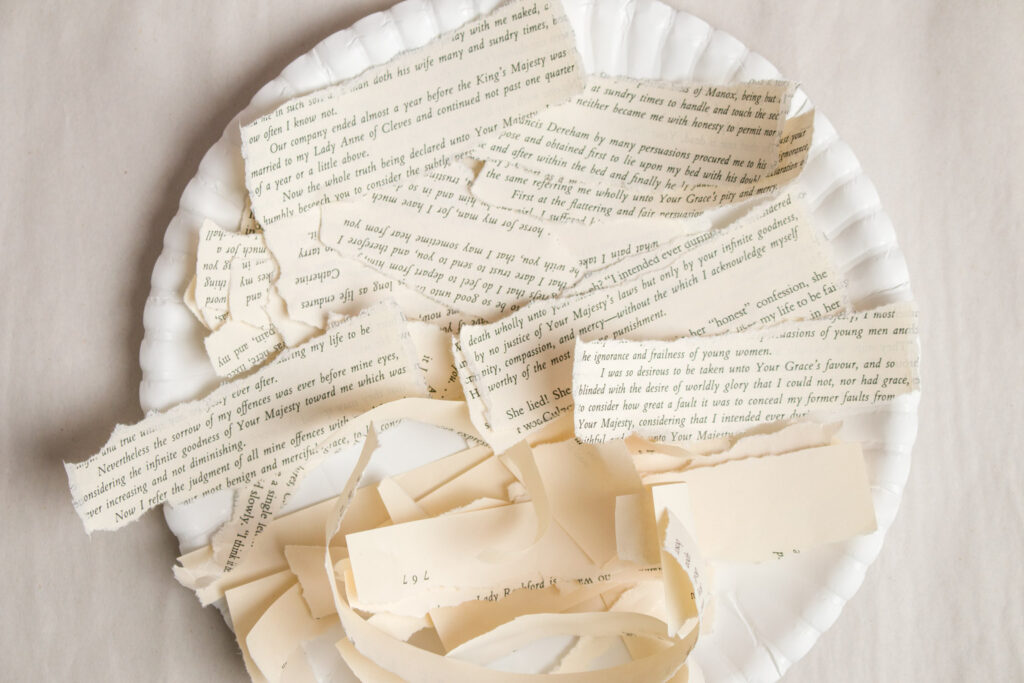

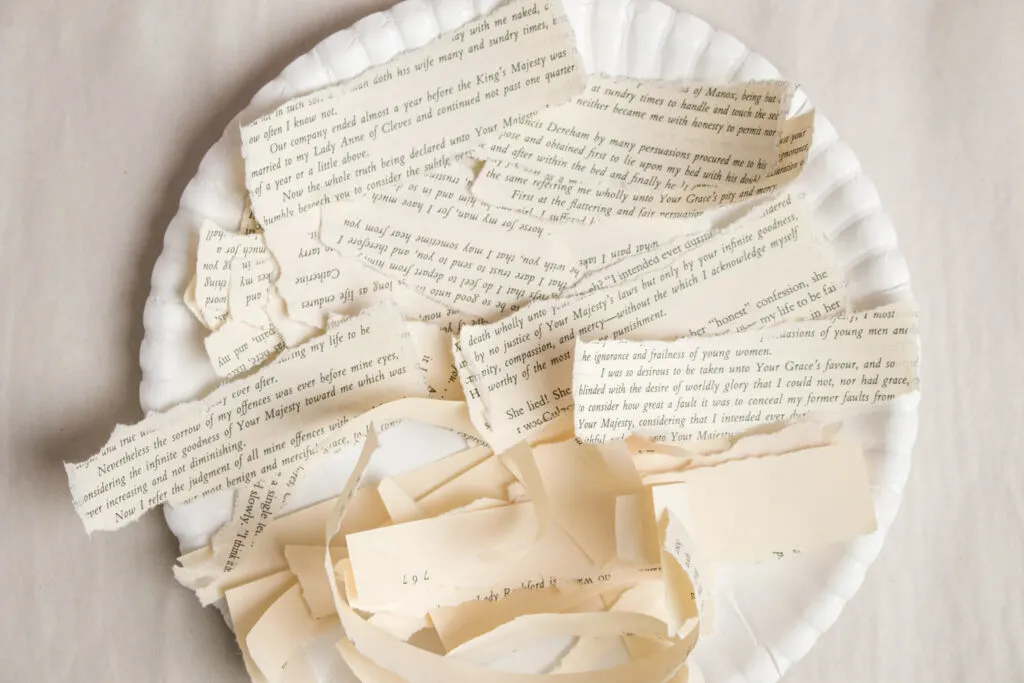

Torn book pages
How to Use Mod Podge
Mod Podge should be applied generously to your prepared surface with a paintbrush or foam brush.
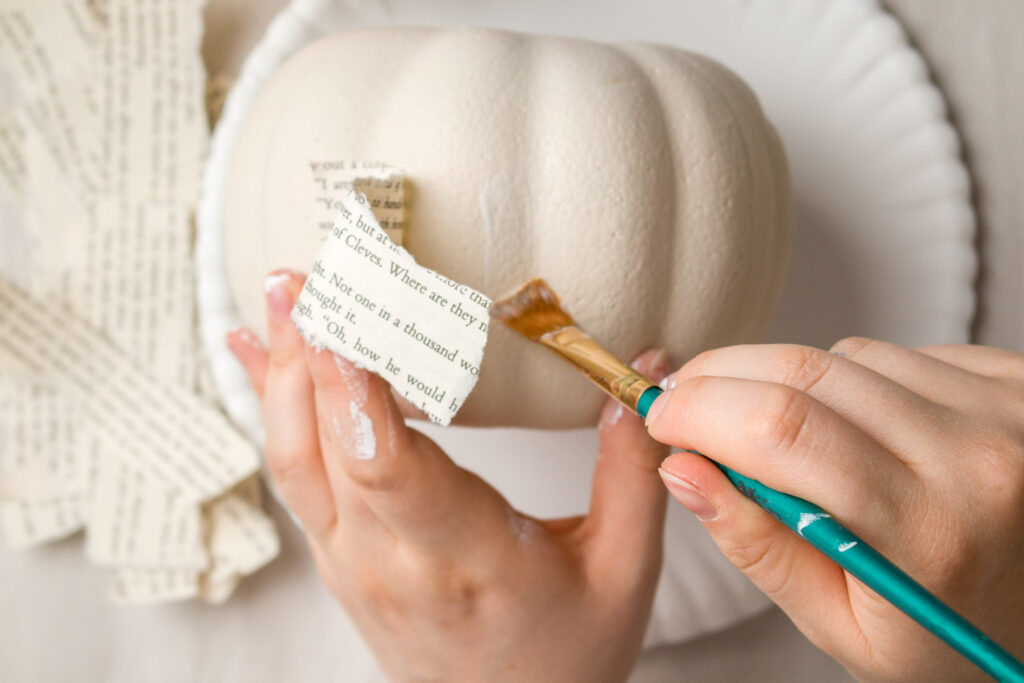

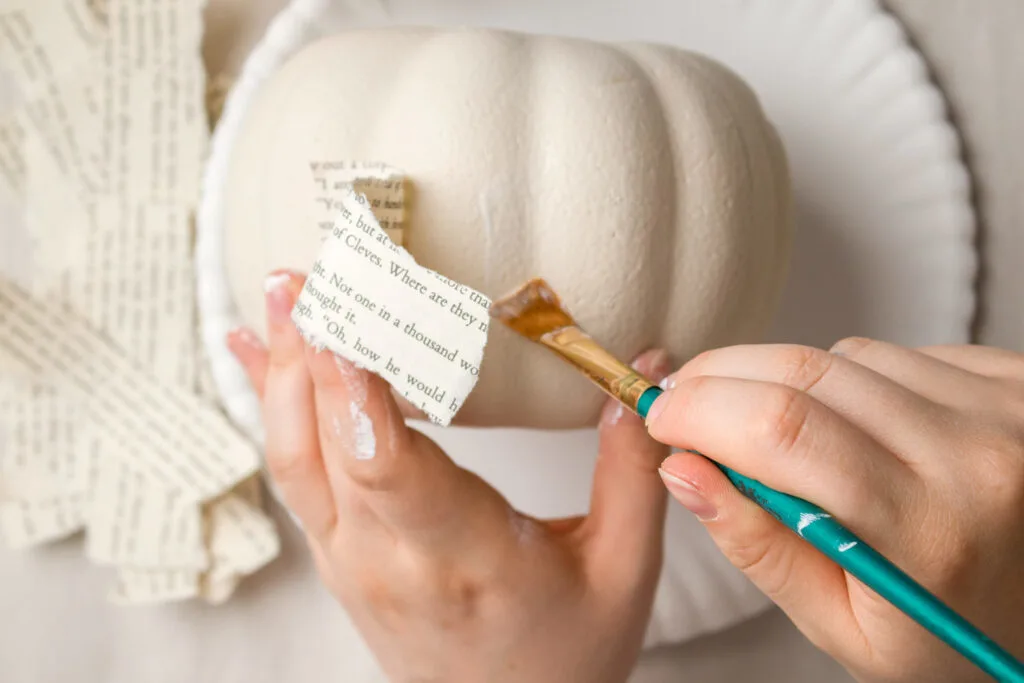

How to apply Mod Podge with a paintbrush
Then you apply your paper or fabric and add a light coat of Mod Podge over it.
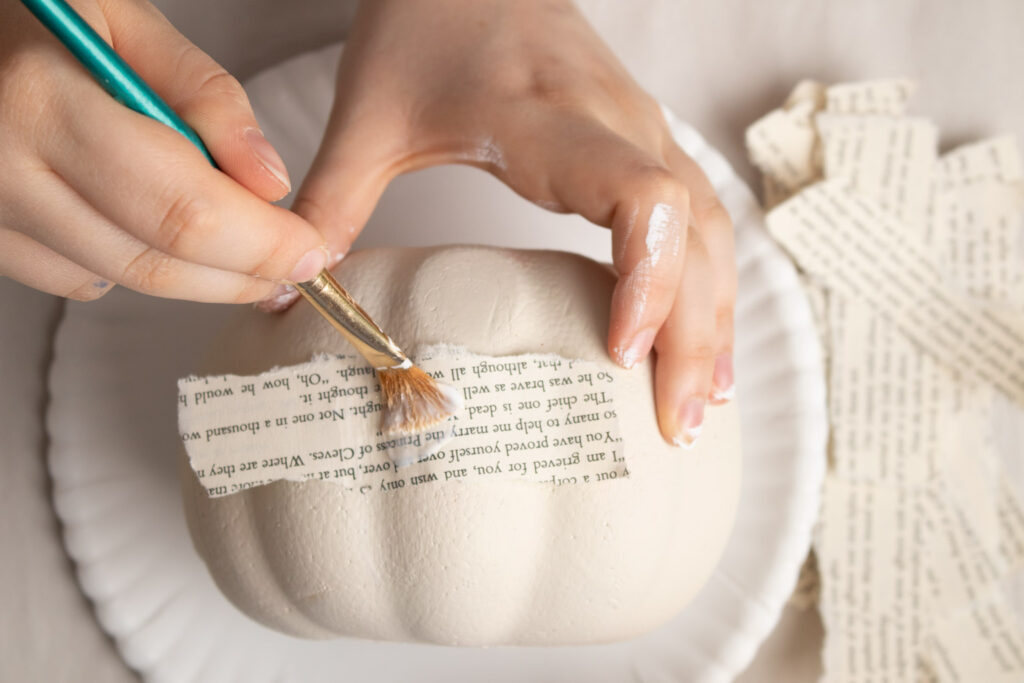

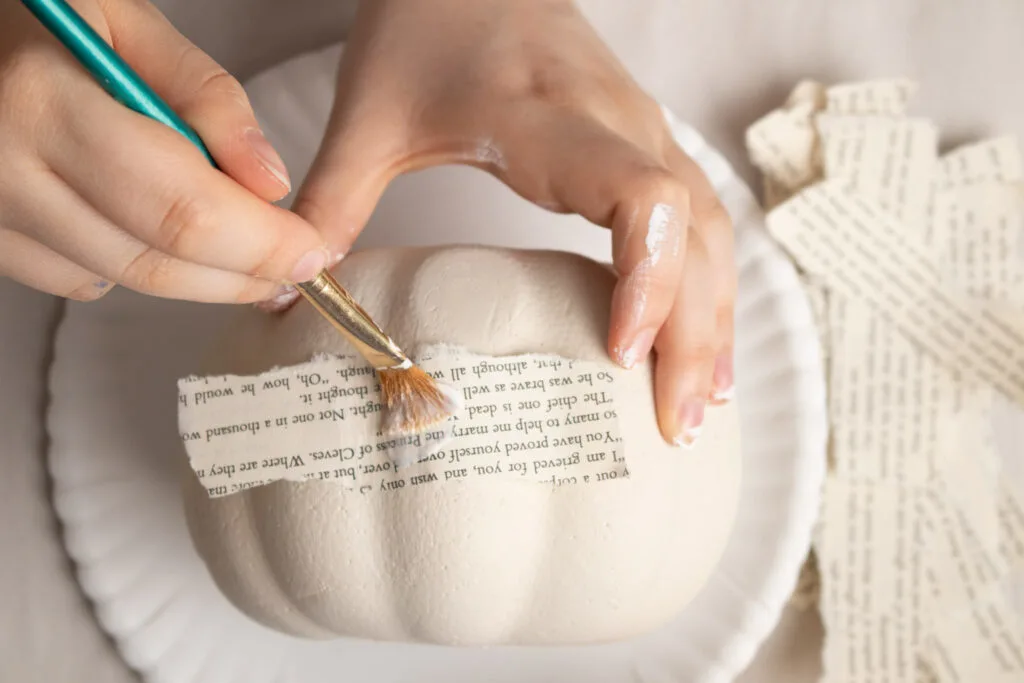

Brush on a coat of Mod Podge
Allow adequate dry time before moving on to the next section.
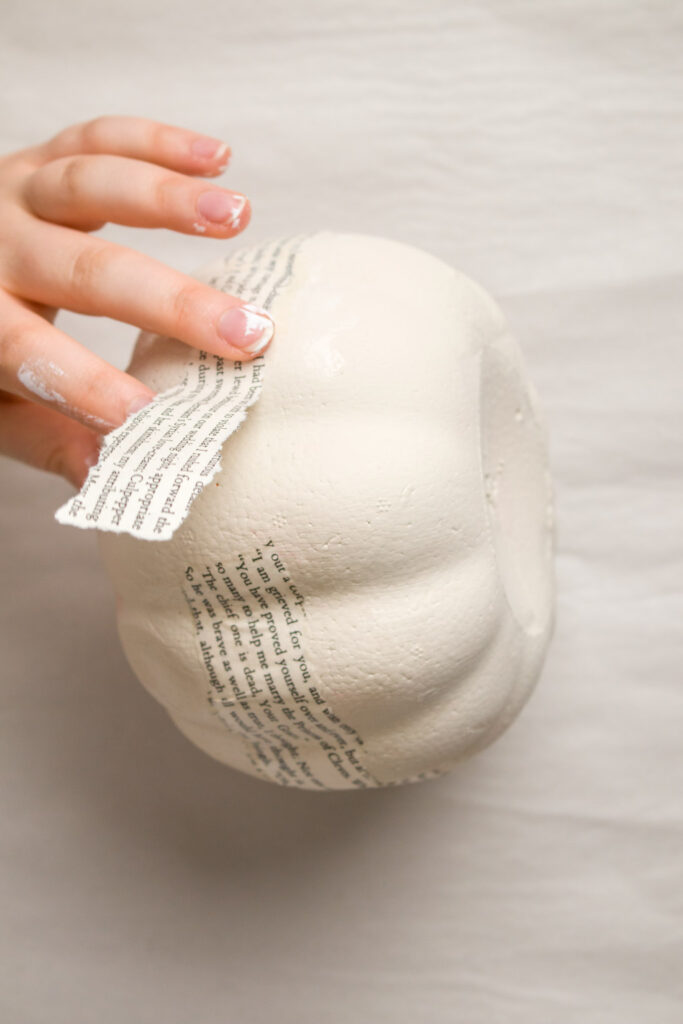

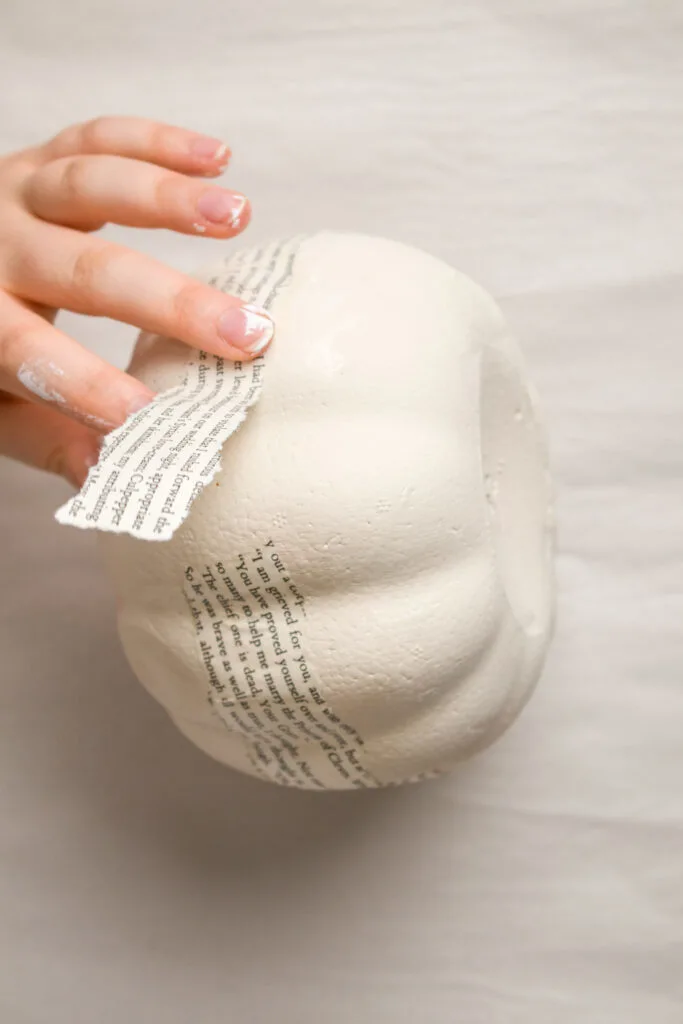

Attaching torn book pages to the Dollar Tree pumpkin
To make the vintage book page pumpkin, I started in the center of the pumpkin adding the torn page pieces around the widest part of the pumpkin. I overlapped the short ends of the paper and trimmed the last piece to fit.
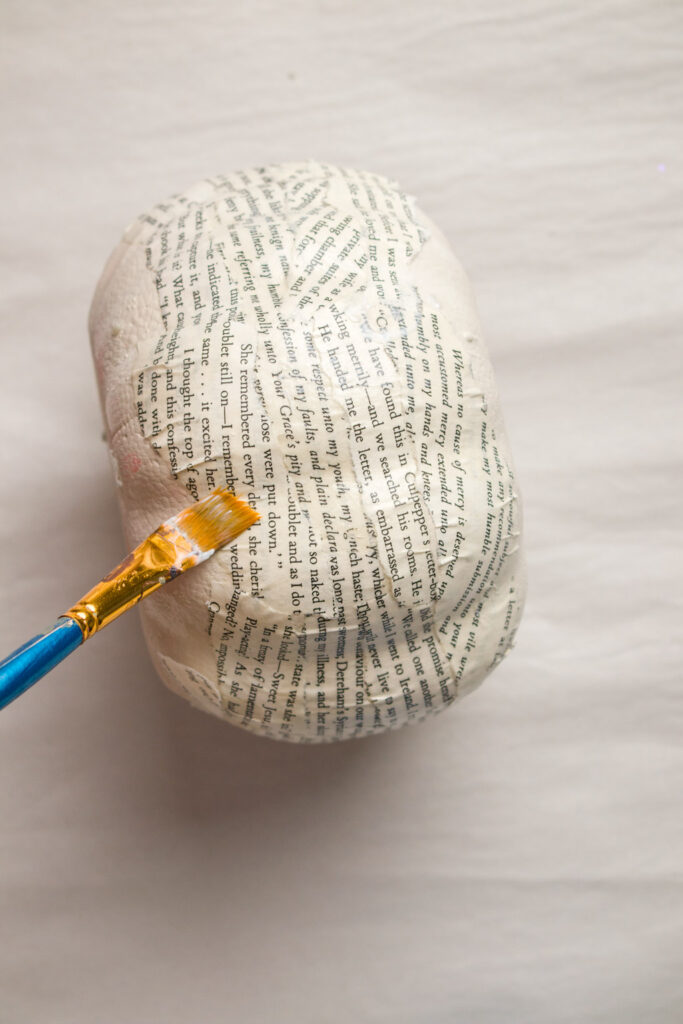

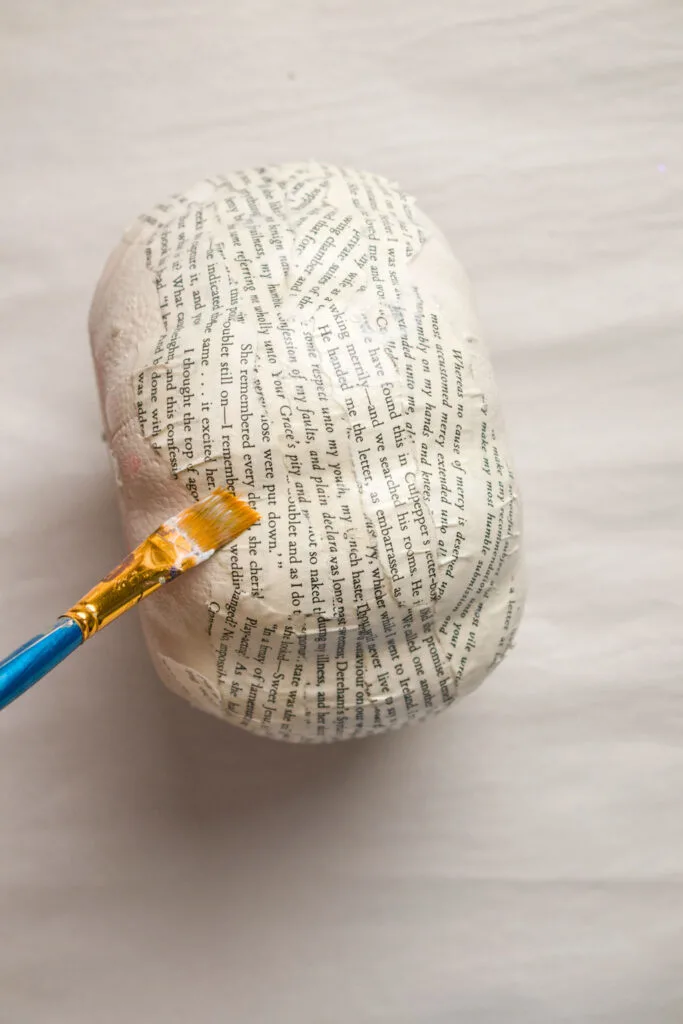

Adding more book page pieces
I found that using a piece of plastic wrap was the easiest way to remove bubbles on a round surface. A few bubbles and folds add to the vintage charm so removing all of them is not necessary.
Tip: To get a smooth finish when decoupaging on a flat surface use a brayer to get the best results.
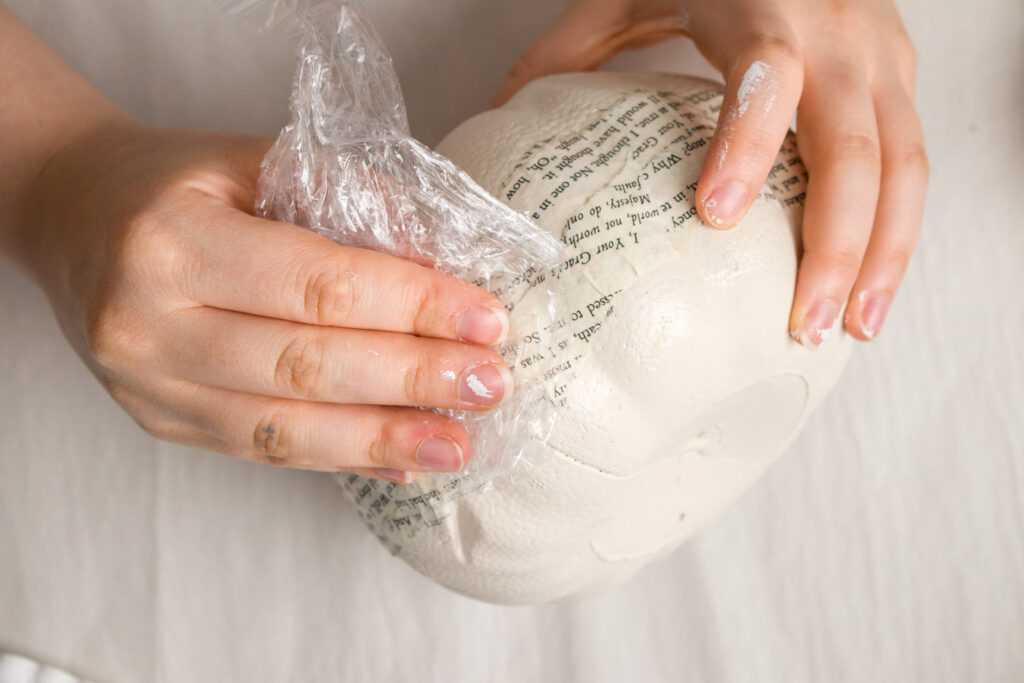

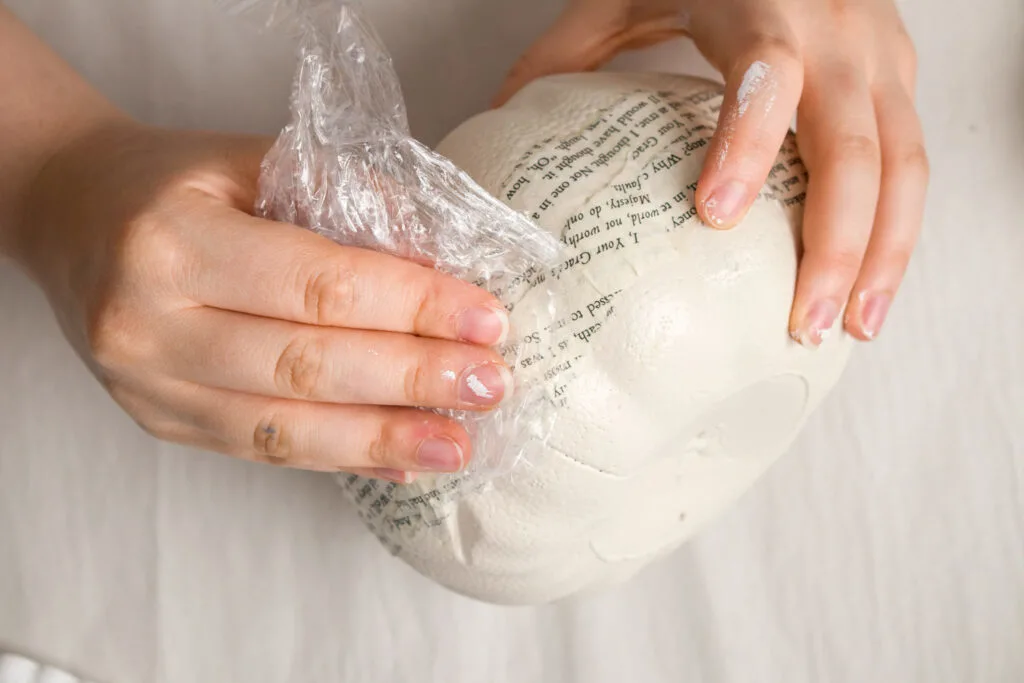

Using plastic wrap to work the bubbles out
After I covered the entire pumpkin with book pages strips I allowed it to dry 20 minutes before applying a final coat of Mod Podge on one half at a time allowing it dry between halves.
Embellishing Book Page Pumpkins
To add a stem to the pumpkin I decided to use sticks from a tree in the yard. I liked how the natural element looked so I decided to add some Spanish moss too.
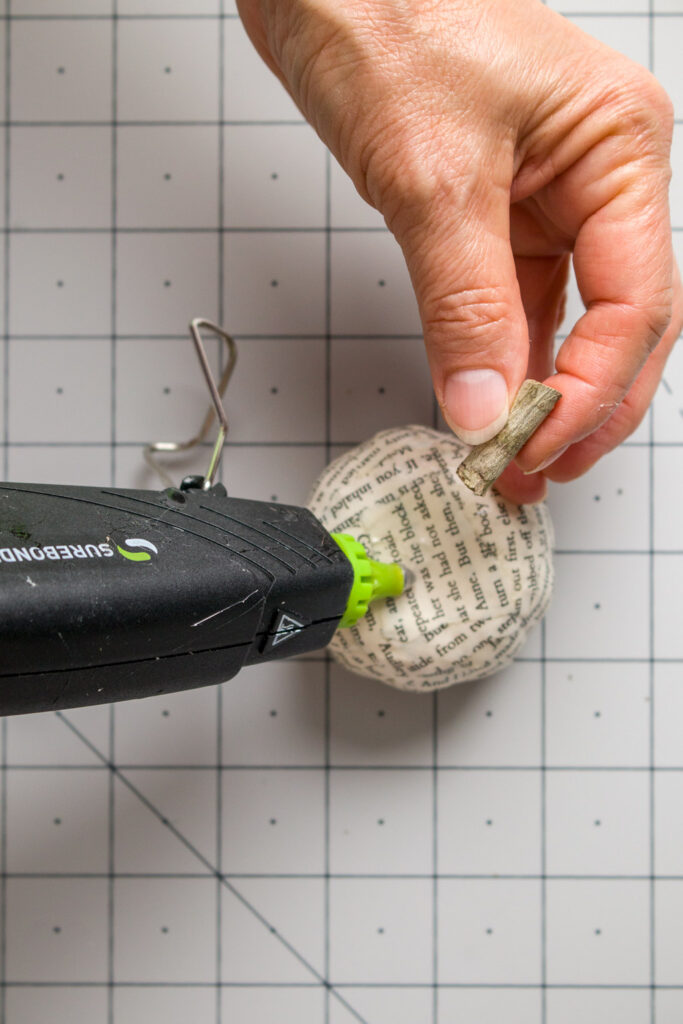

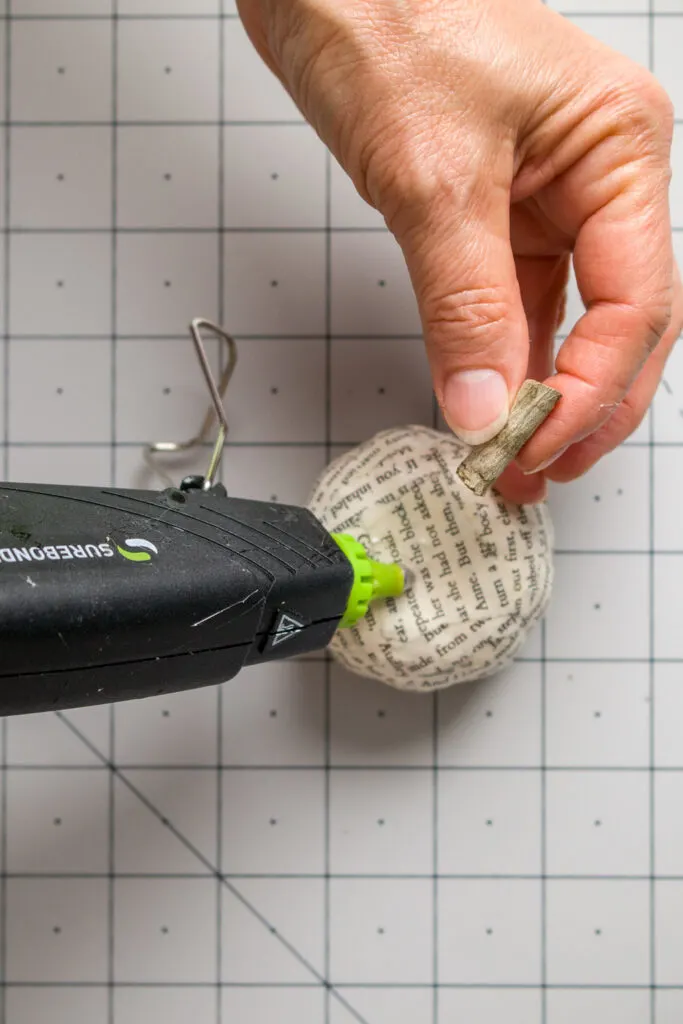

Add glue to attach the stem
Form the Spanish moss into a circle and place a little hot glue around the stem then press the moss in place.
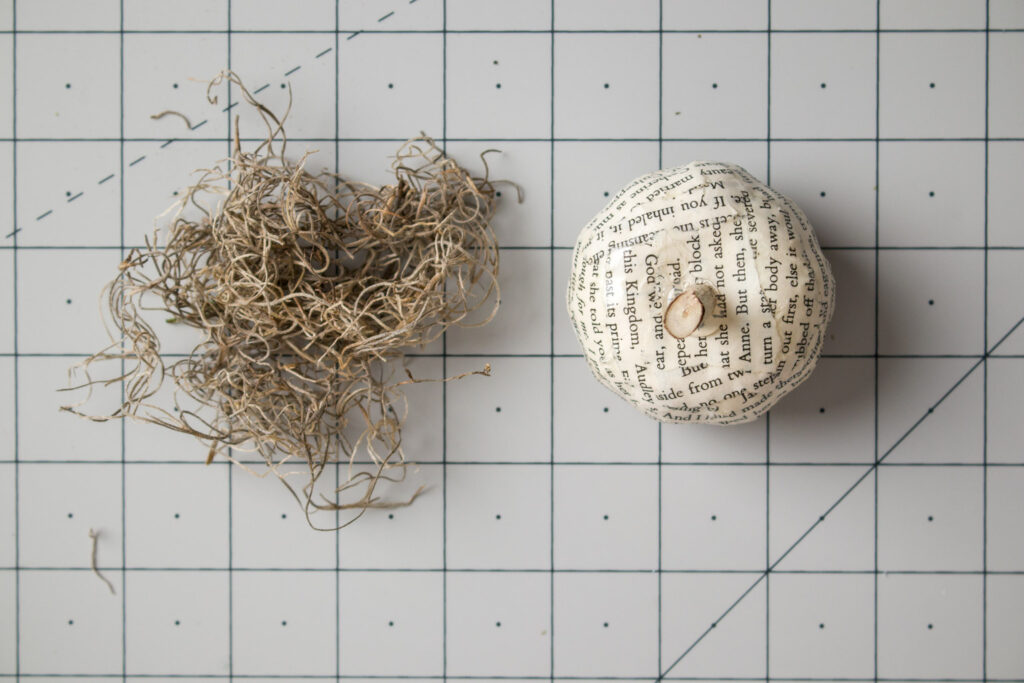

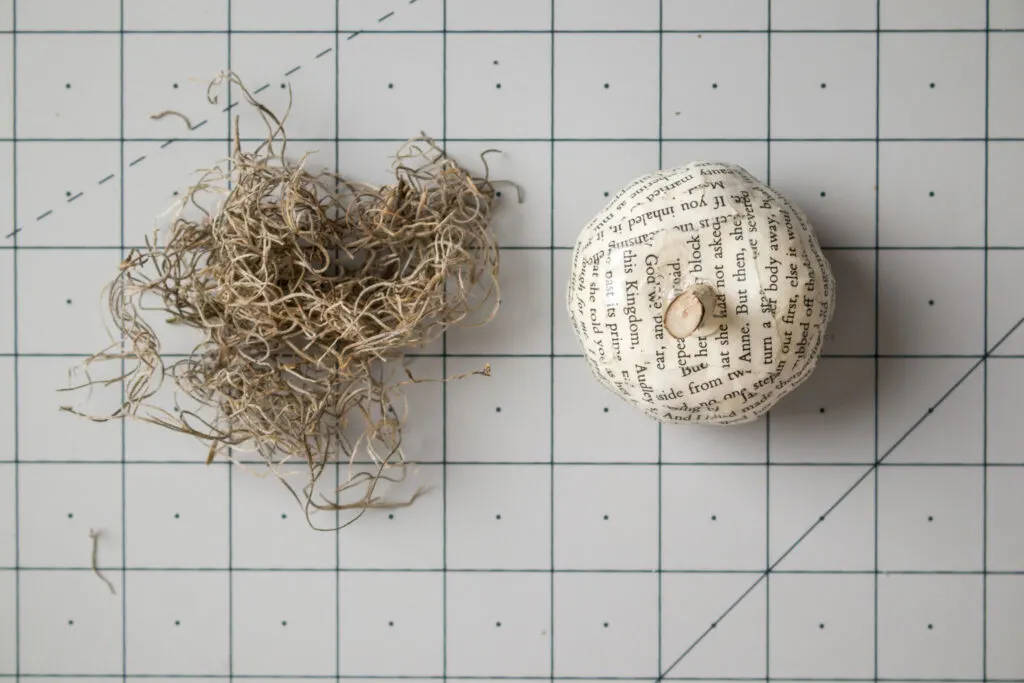

Spanish moss and decoupaged pumpkin
After the glue dries I use scissors to trim the moss so it forms a neat moss crown.
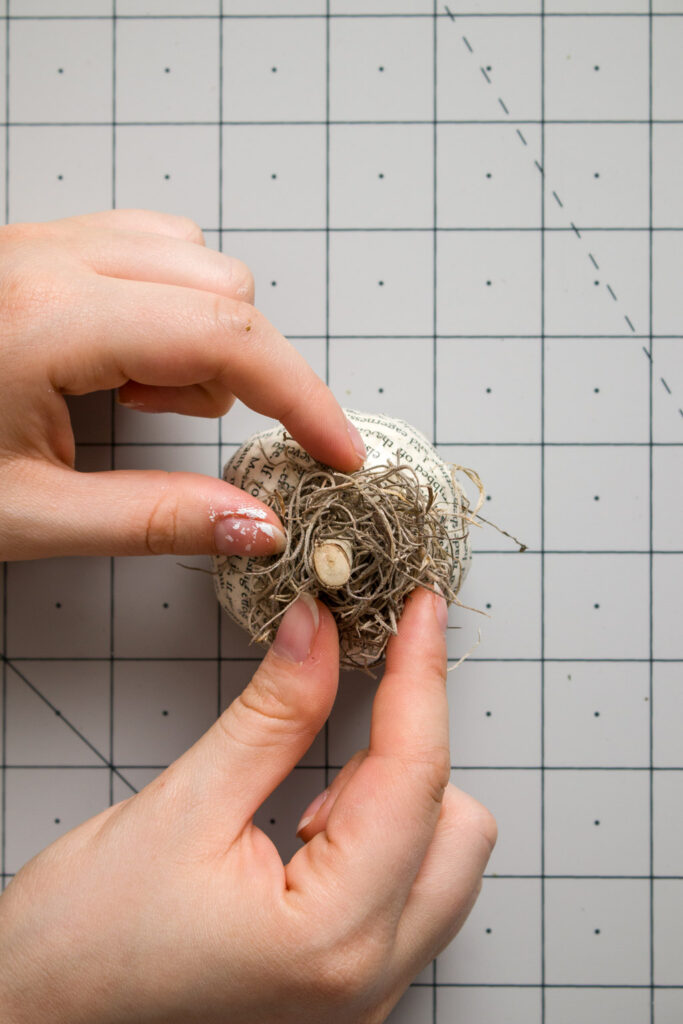

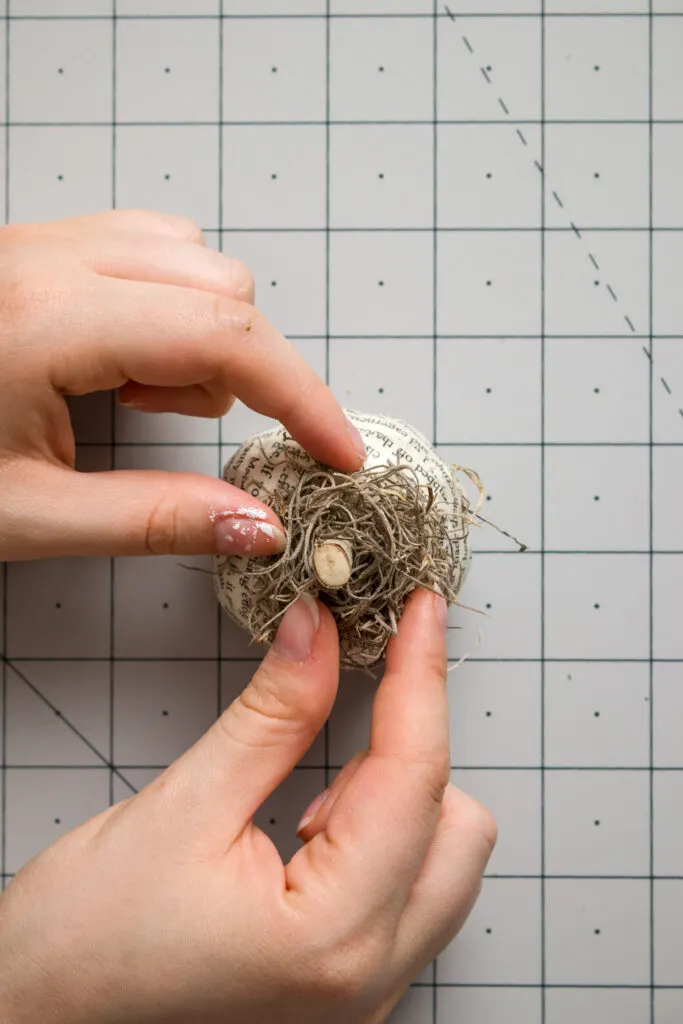

Use hot-glue to attach moss
Making Curly Stems
The pumpkin needed a curly stem therefore, I decided to use twine and Mod Podge to create a curly stem.
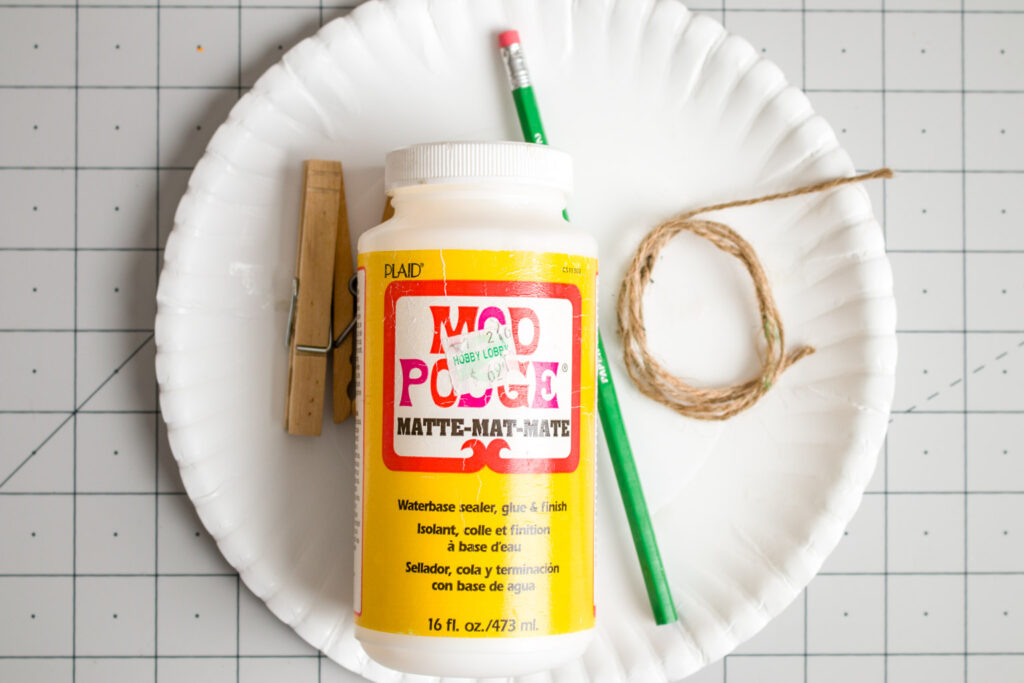

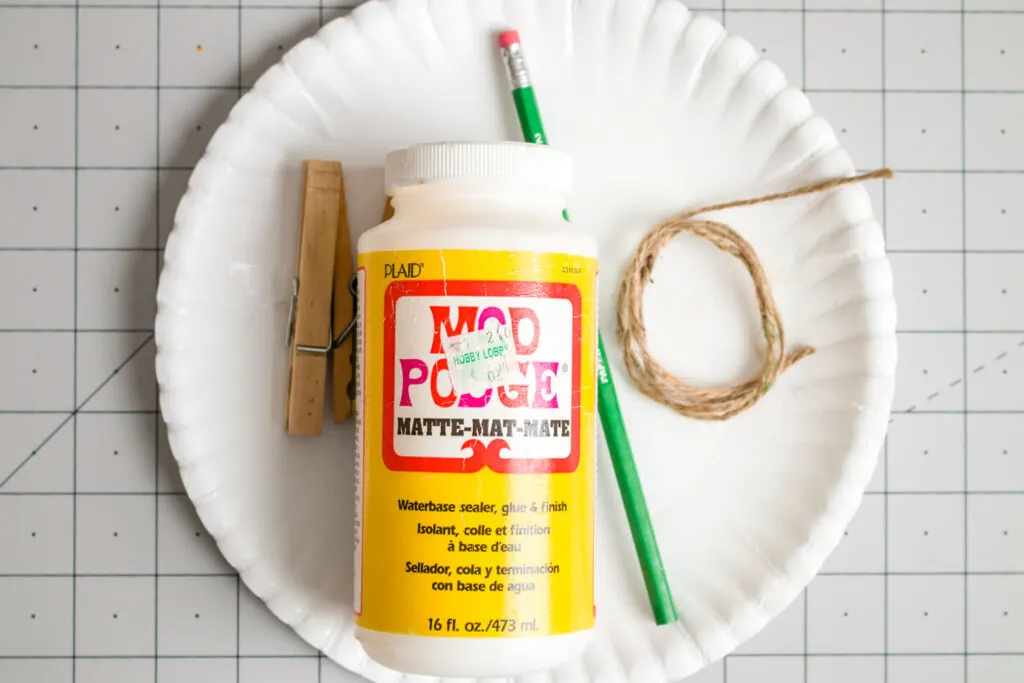

Mod Podge, twine, pencil, and clothespin
After soaking the twine in Mod Podge I squeezed out the excess Mod Podge and wrapped the twine around a pencil. After allowing it to dry for 15 minutes I gently removed the twine from the pencil.
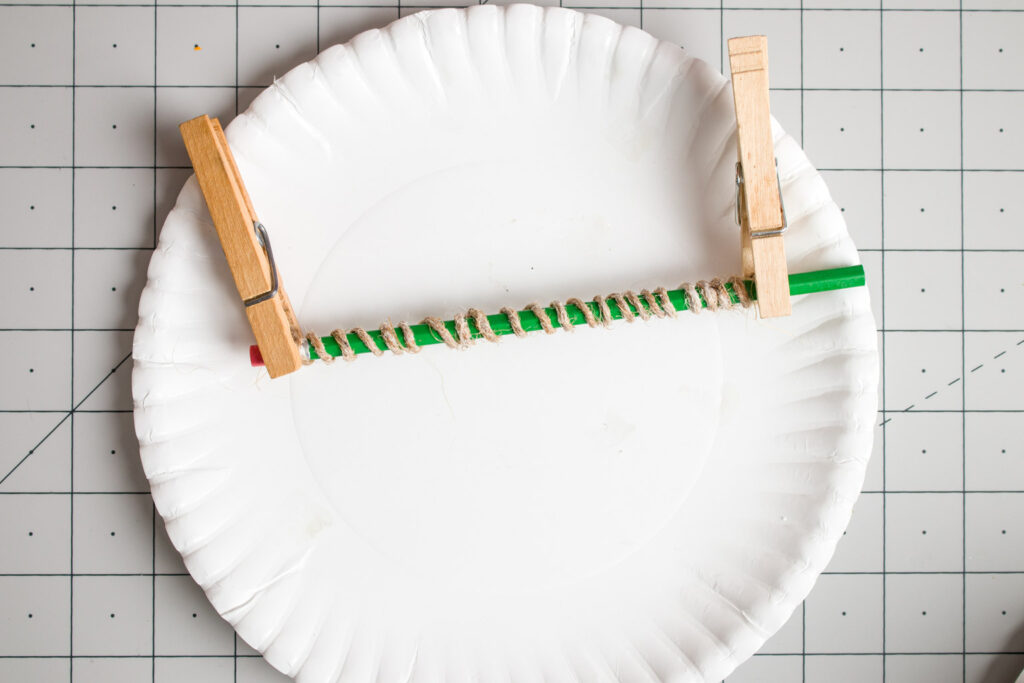

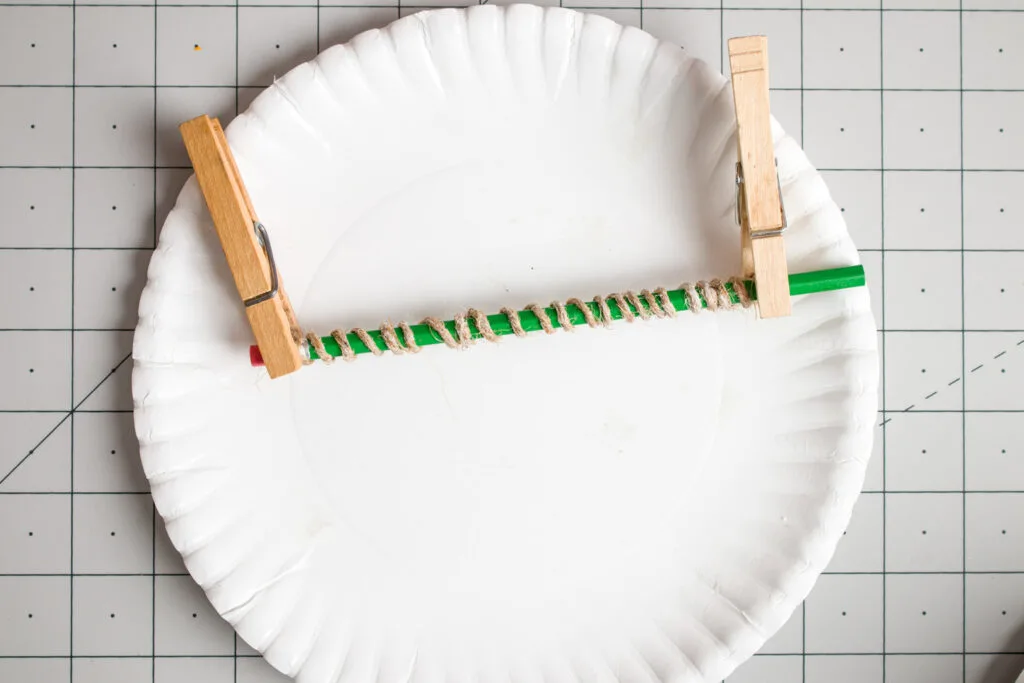

Mod Podge soaked twine wrapped around a pencil
I applied a dot of hot glue right next to the pumpkin stem to attach the curly vine. For the largest pumpkin, I added a piece of cotton lace.
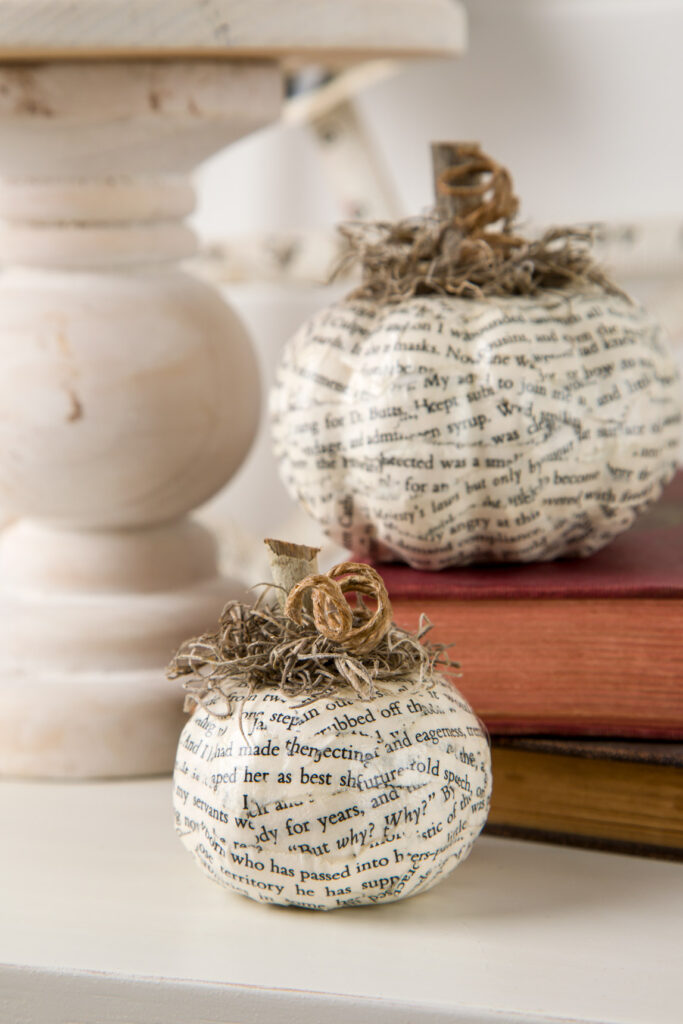

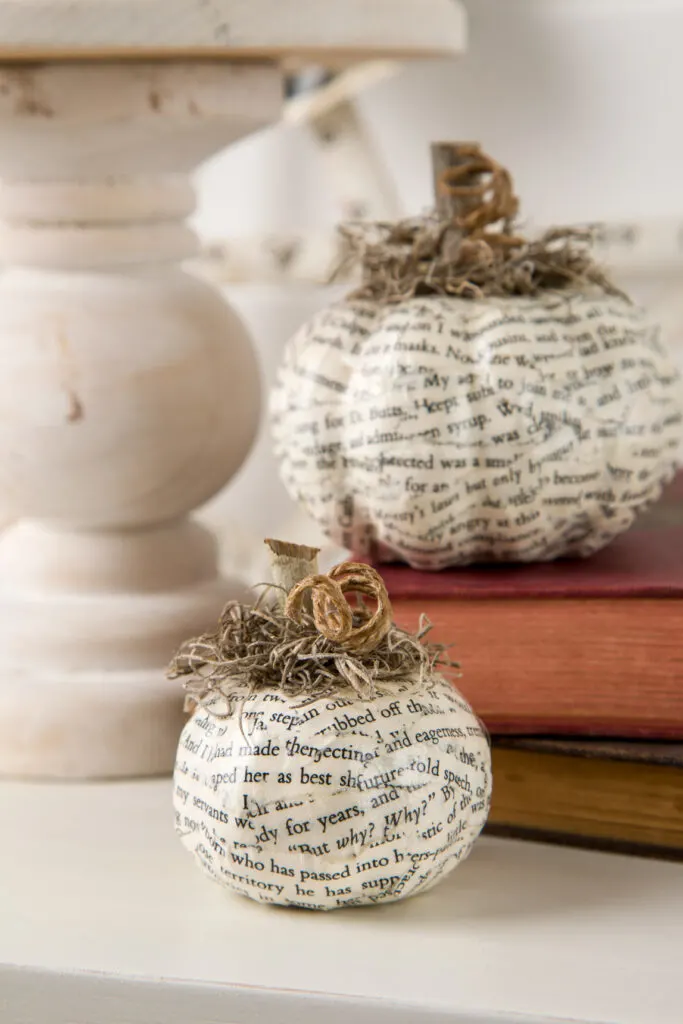

Adorable decoupaged pumpkins
Napkin Chinoiserie Pumpkins
My daughter, Olivia, made these wonderful napkin decoupage pumpkins. Creating gorgeous Chinoiserie style pumpkins with napkins is a breeze with Mod Podge.
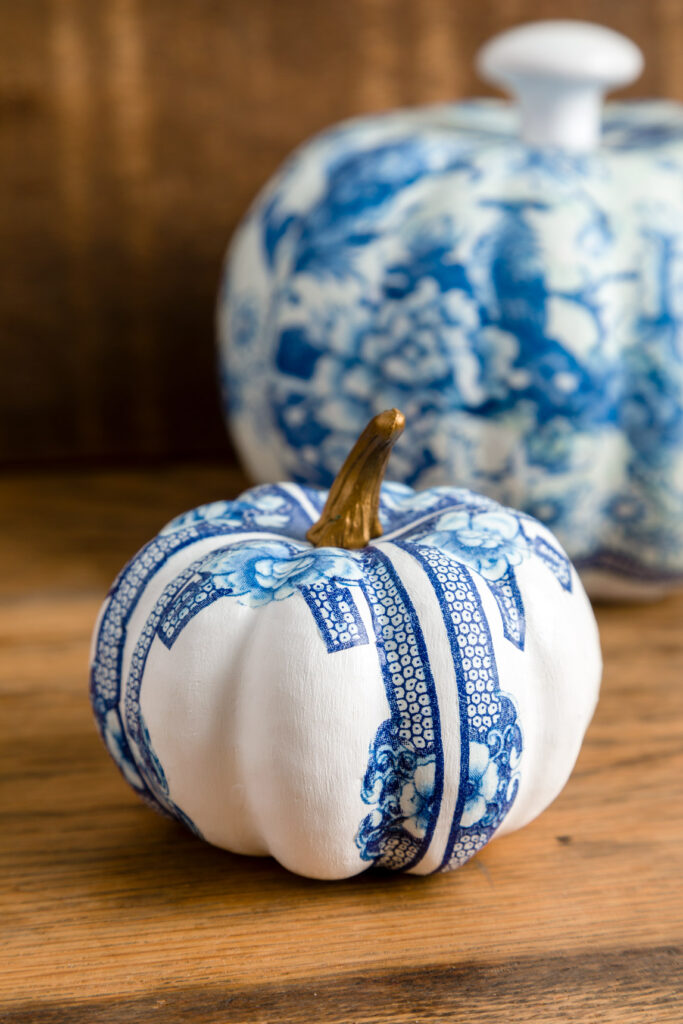

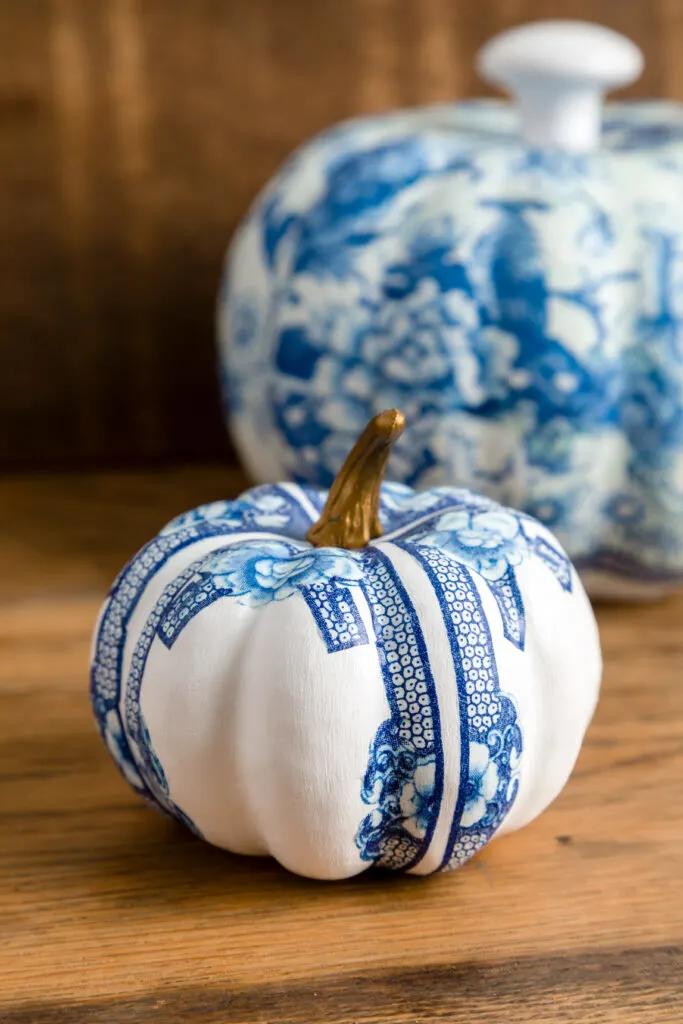

Chinoiserie Pumpkins
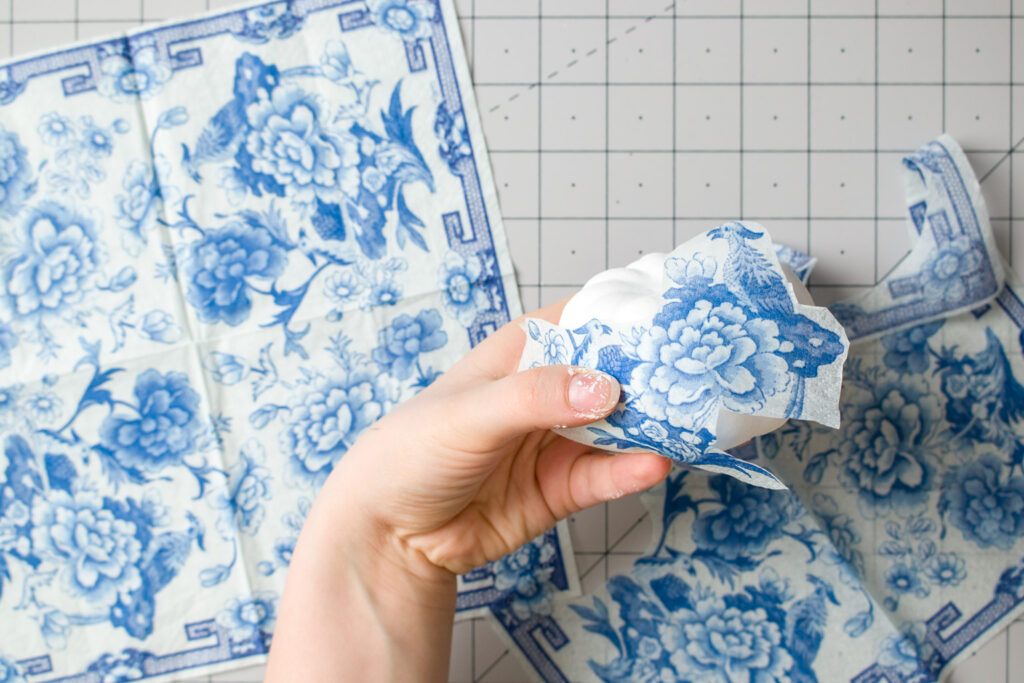

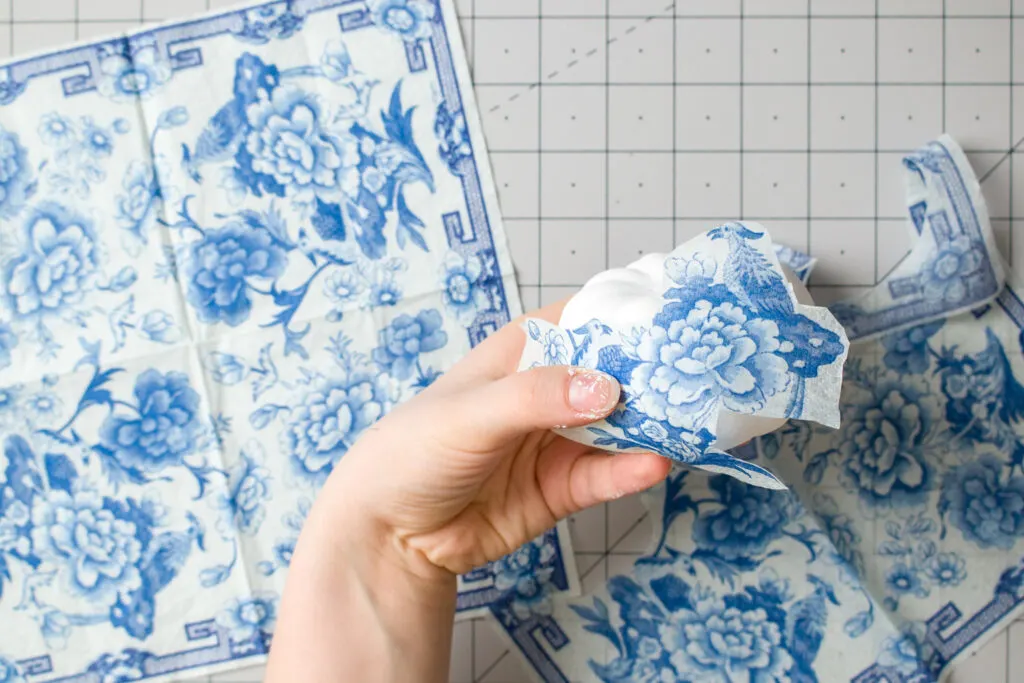

Cutting out decoupage design from napkins
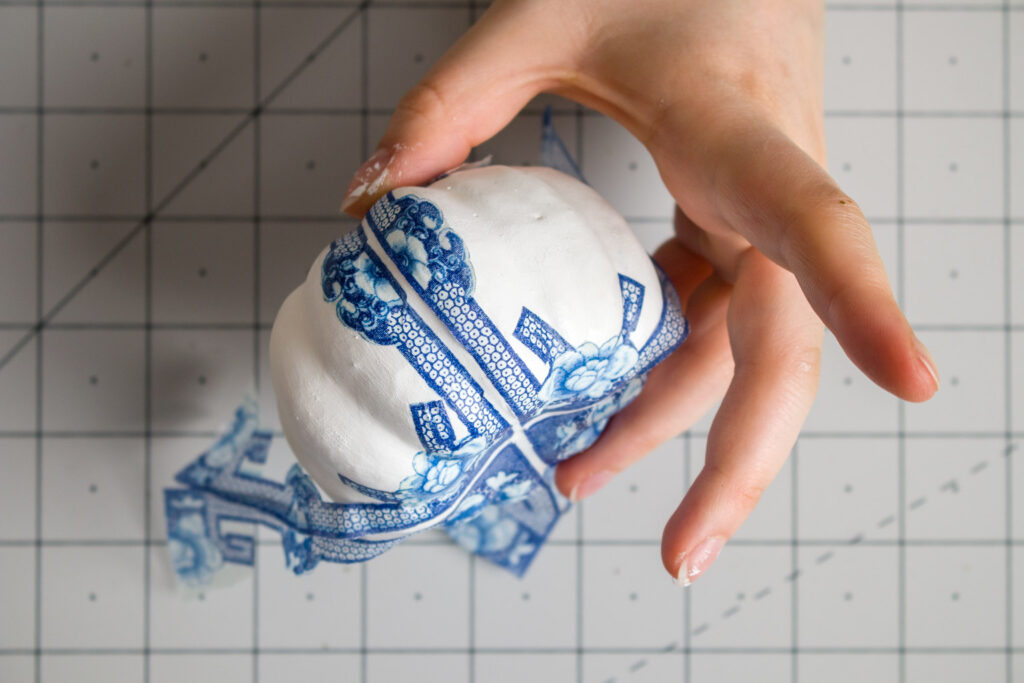

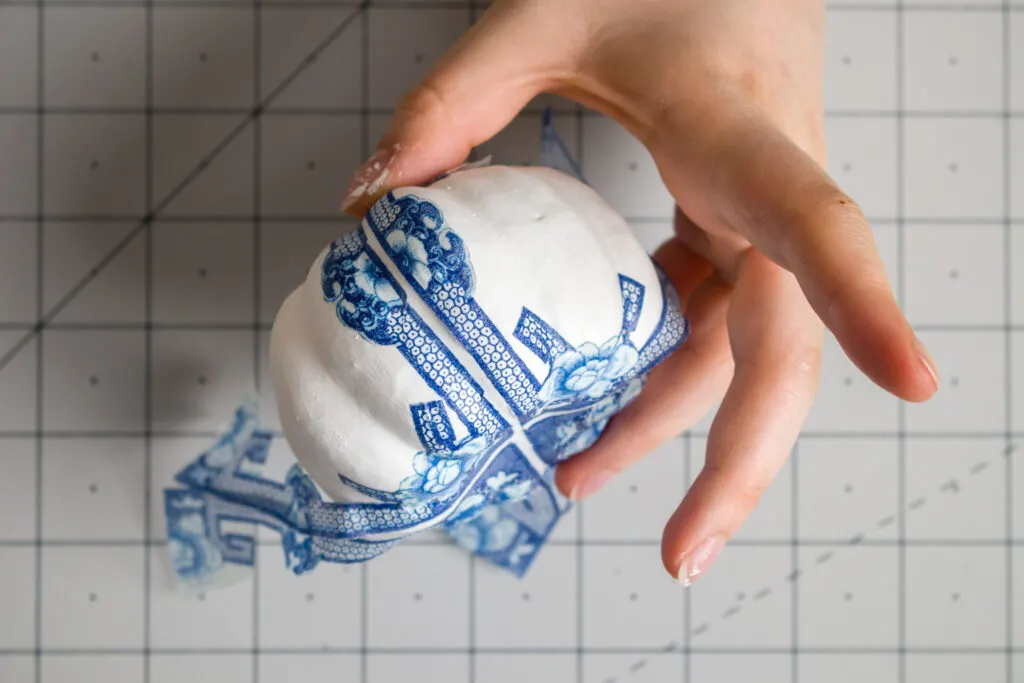

Mod Podging napkin design to the pumpkin
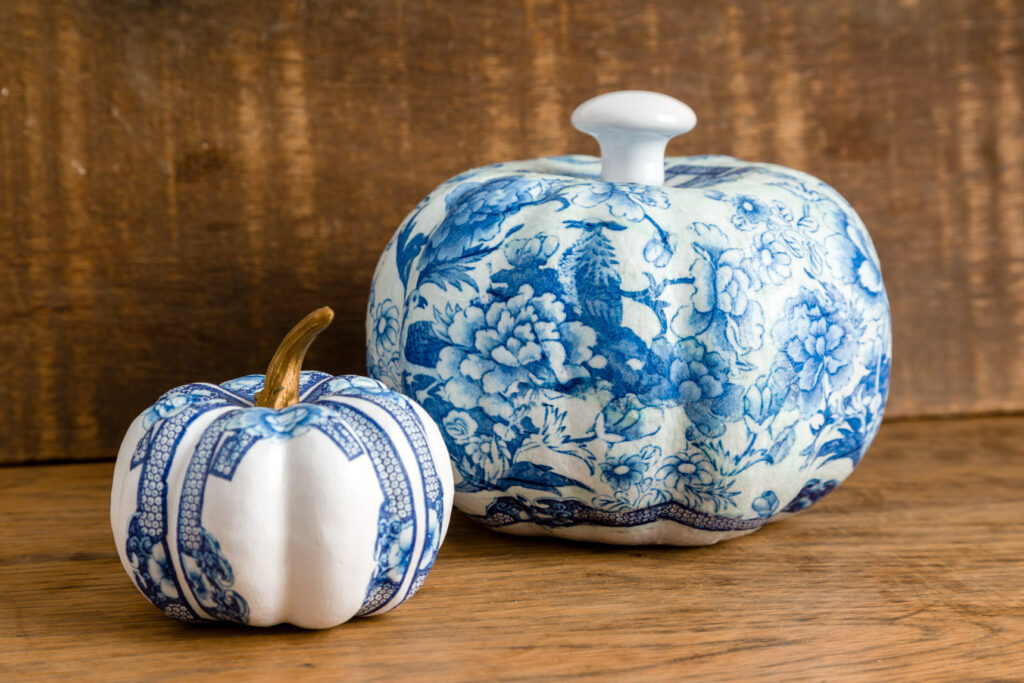

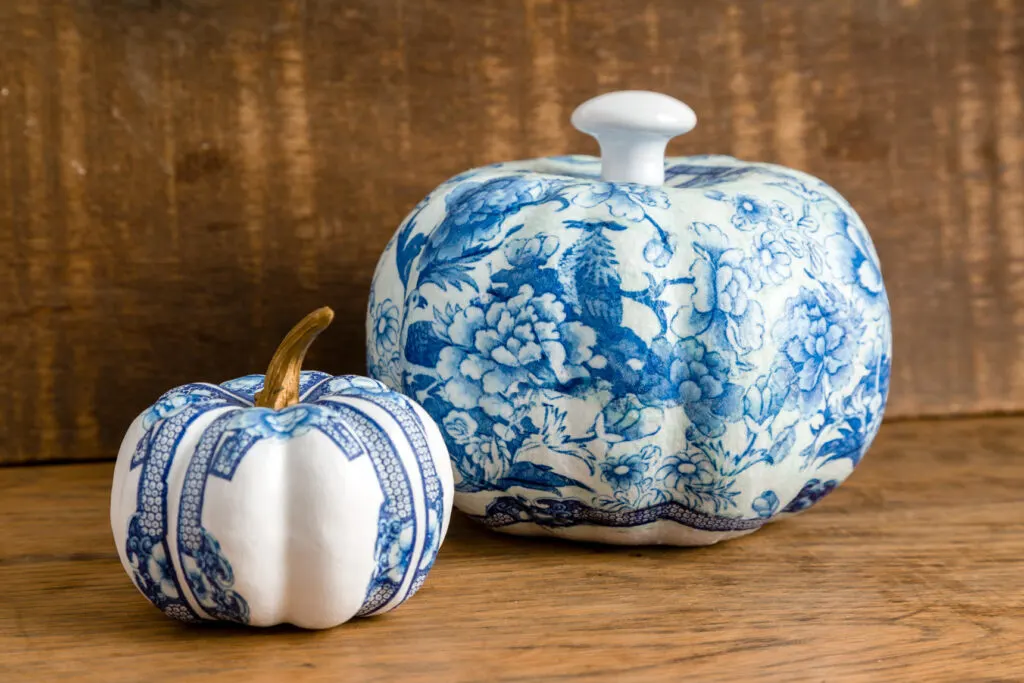

Chinoiserie Pumpkins
Read more about how Olivia made these chinoiserie pumpkins HERE.
Decoupage on Clay Pots
Clay pots are inexpensive and make a wonderful decoupage project piece. I love to decorate them and give them as gifts with seeds.
Tip: Be sure to seal the inside of the pot. Also, use this Mod Podge finish for the best results.
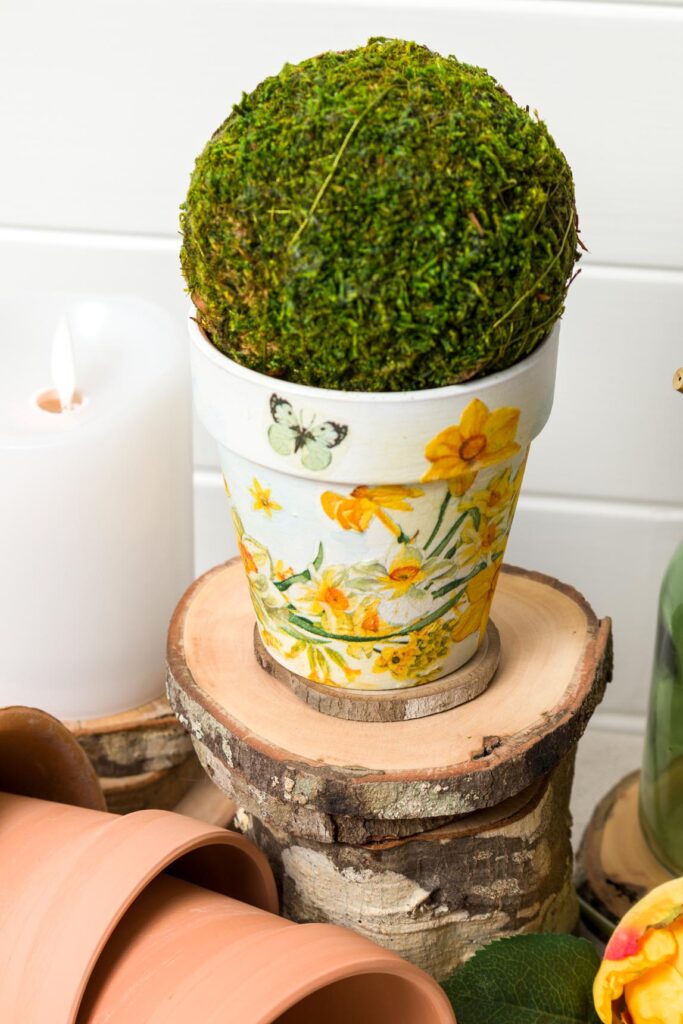

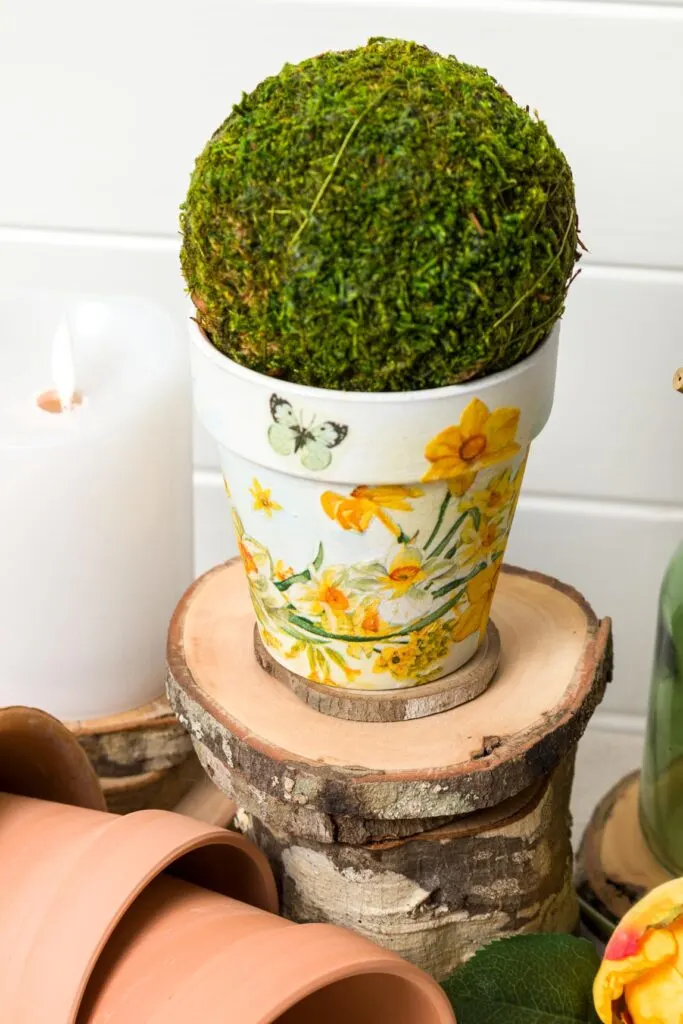

Clay Pot With Napkin
Decoupage on Glass Jars
Recycled jars are a free option that makes gorgeous lanterns when covered in thin paper and a tealight is added. The jar is covered in the same manner as the pumpkin. I used napkins to decoupage the jars.
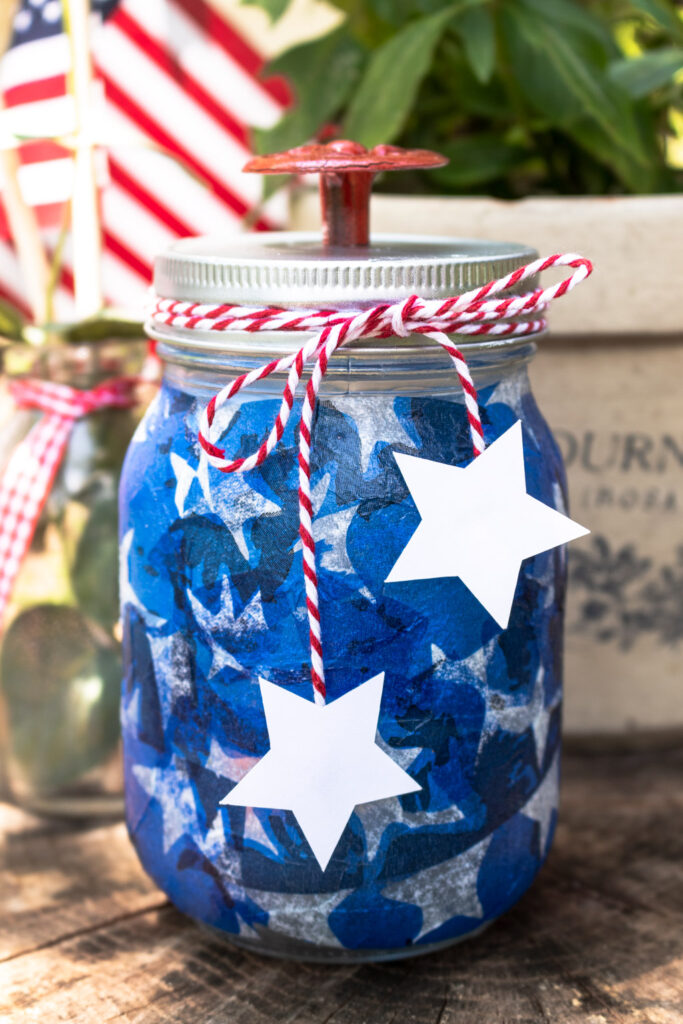

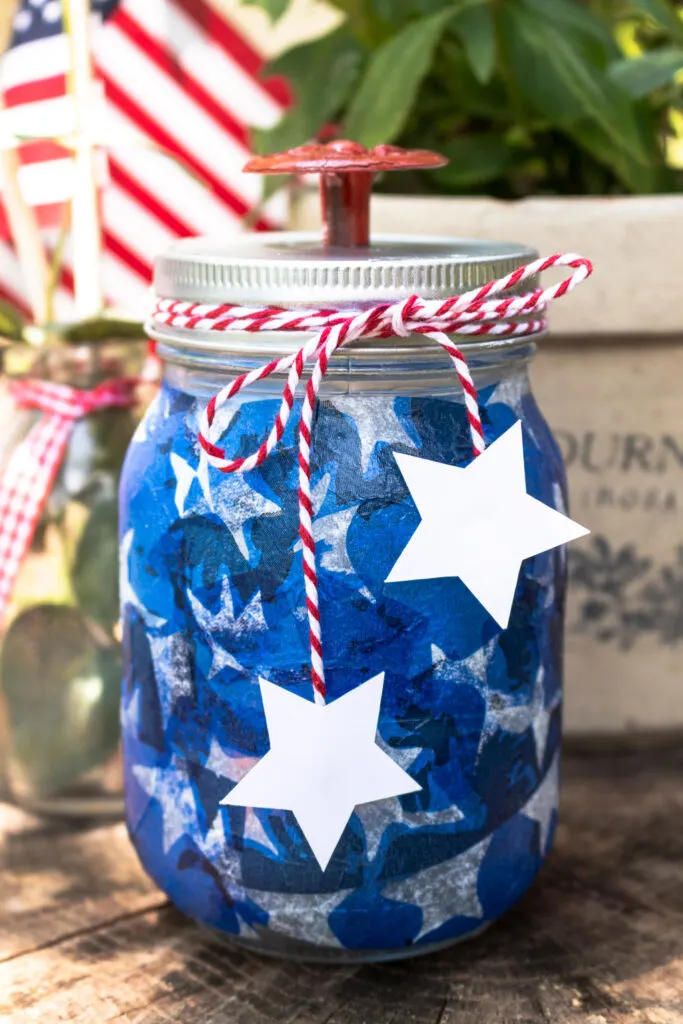

Glass jar with napkin Mod Podge
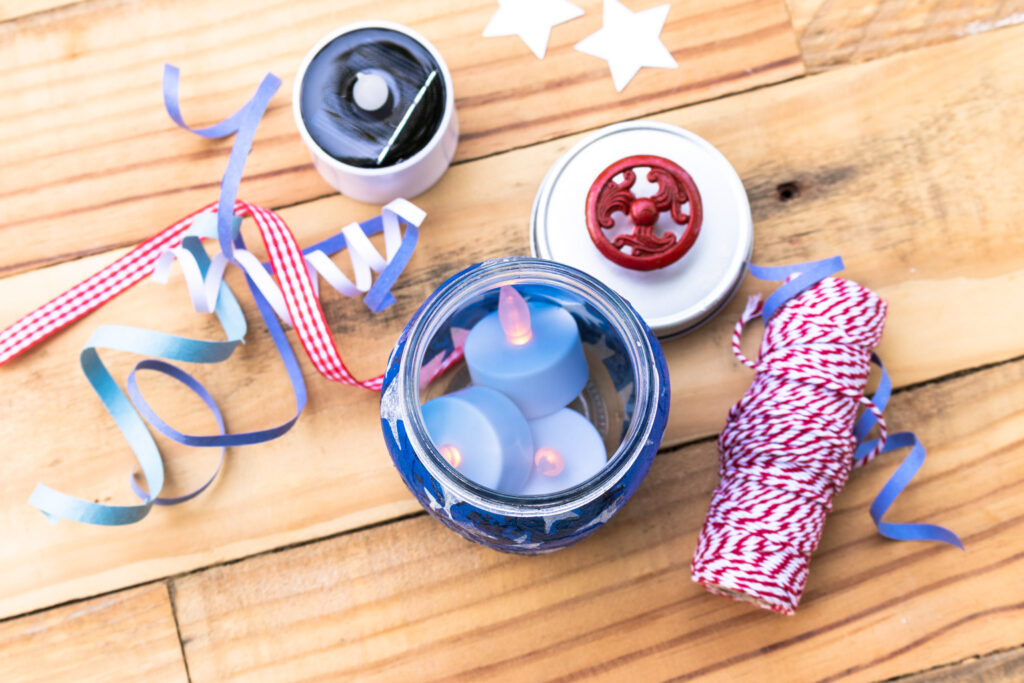

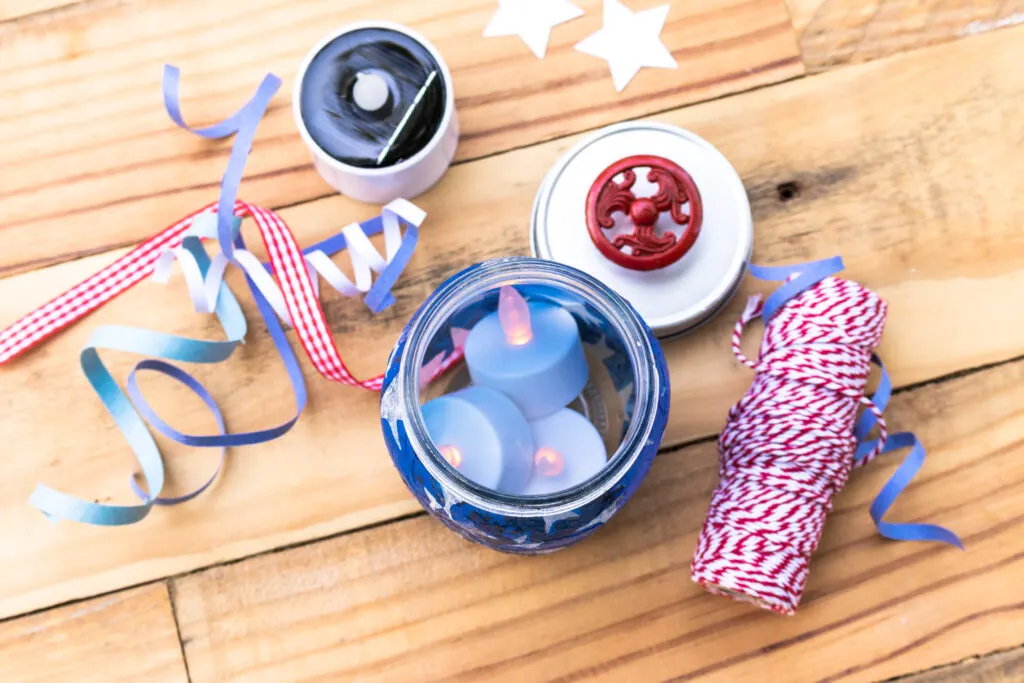

Tea lights inside the recycled jar
Place these tea lights inside the recycled jar.
Below is another example of a clay pot makeover.
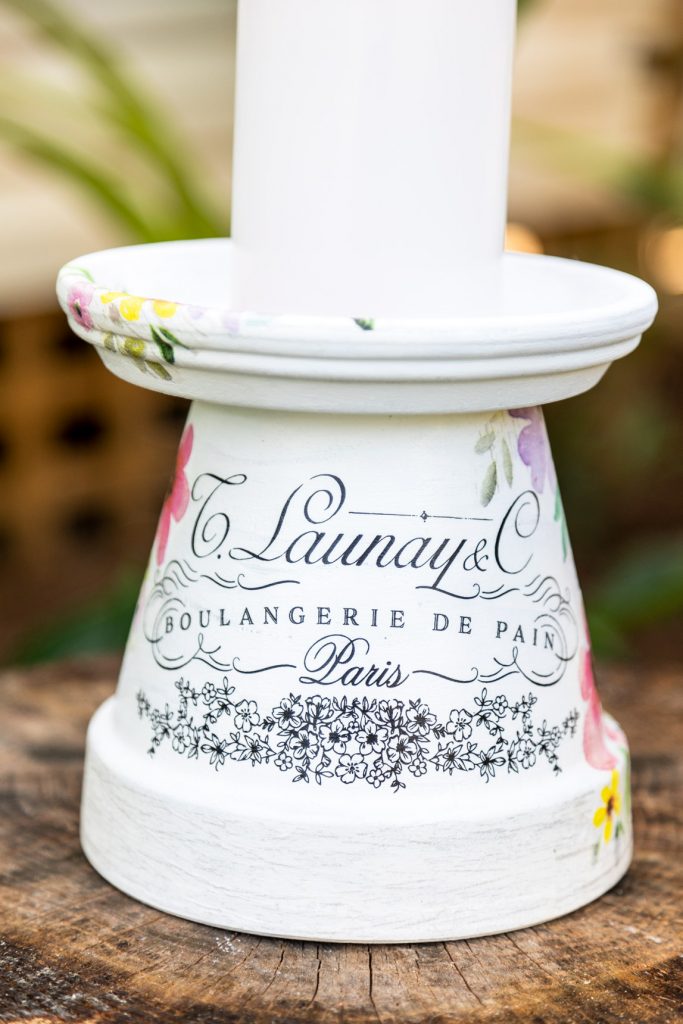

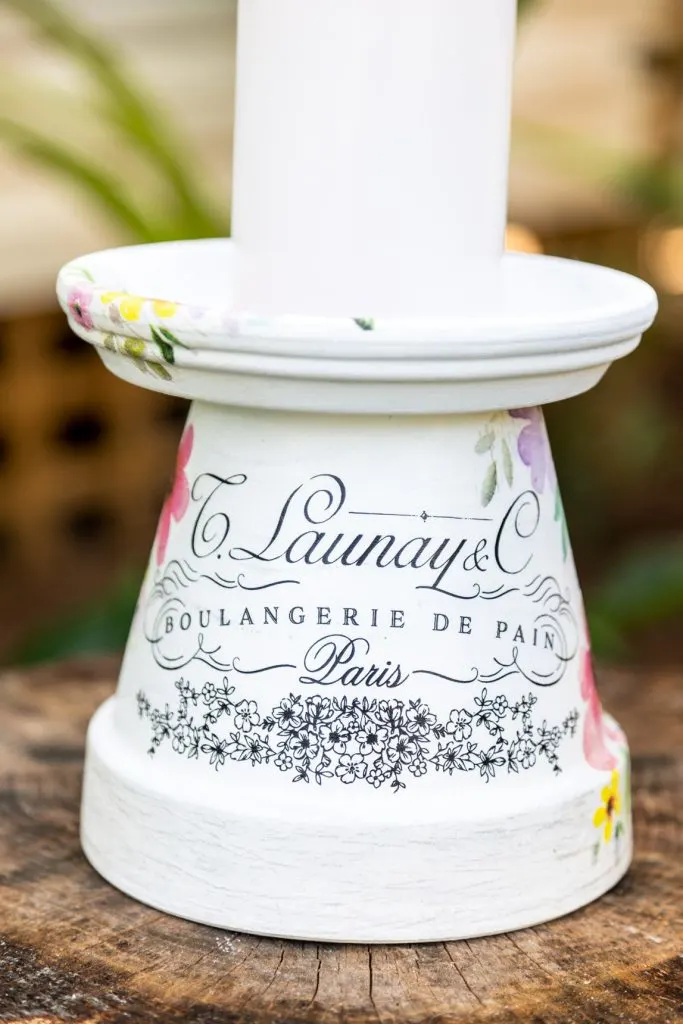

Flower Pot Mod Podge Makeover
More projects you might enjoy:
Another pumpkin craft that uses upcycled items are these thrift store shirt pumpkins read the post HERE.
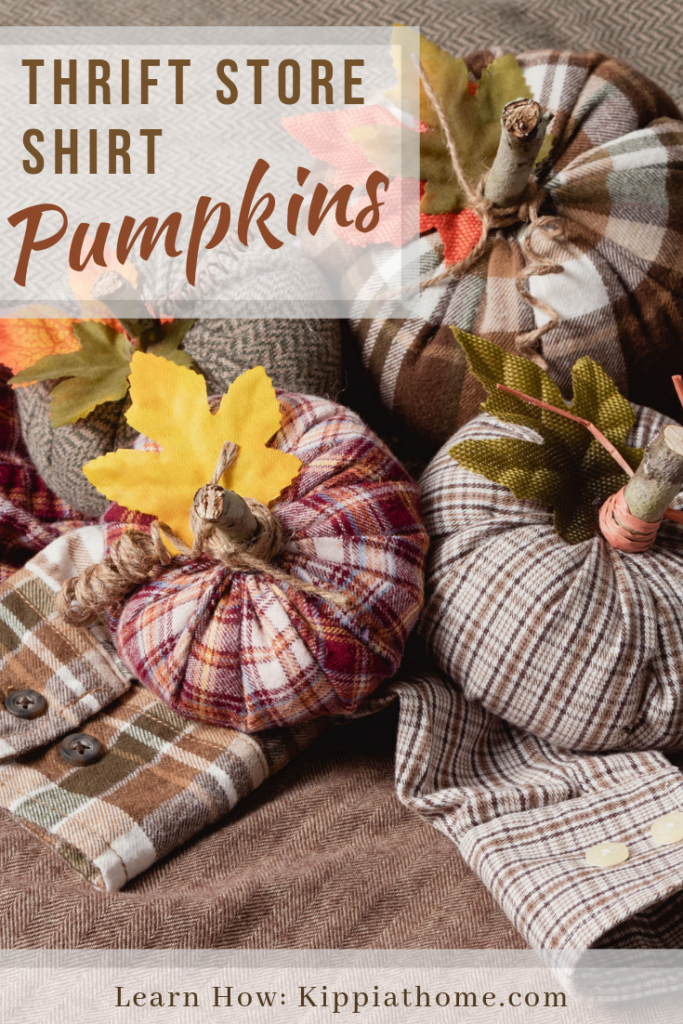

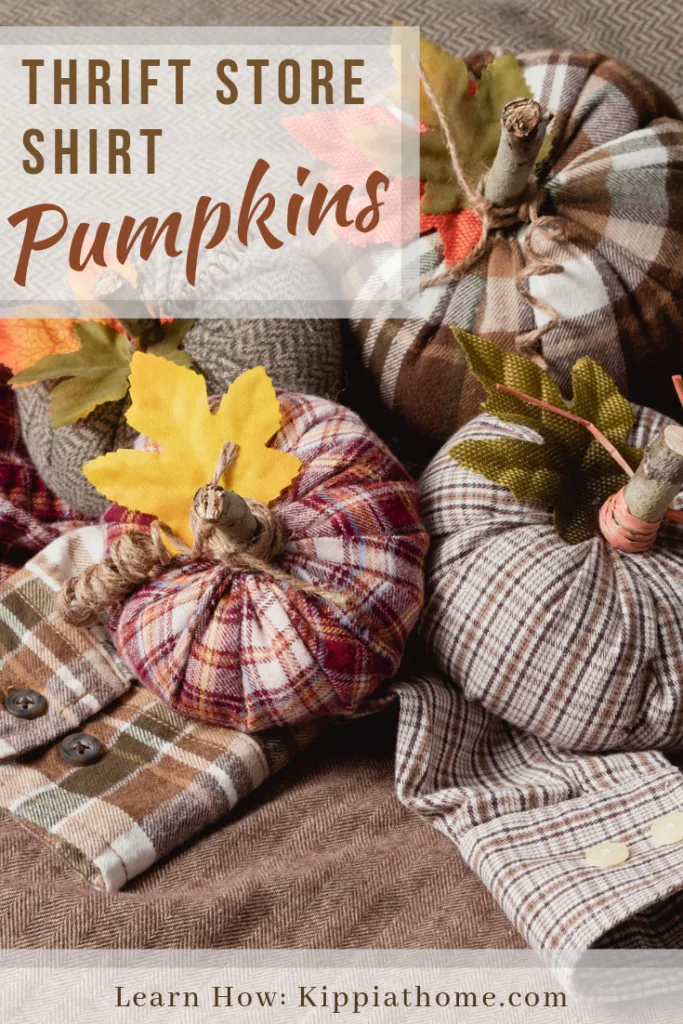

Fabric pumpkins
Everything pumpkin decorating is another inspiring pumpkin post you can read HERE.
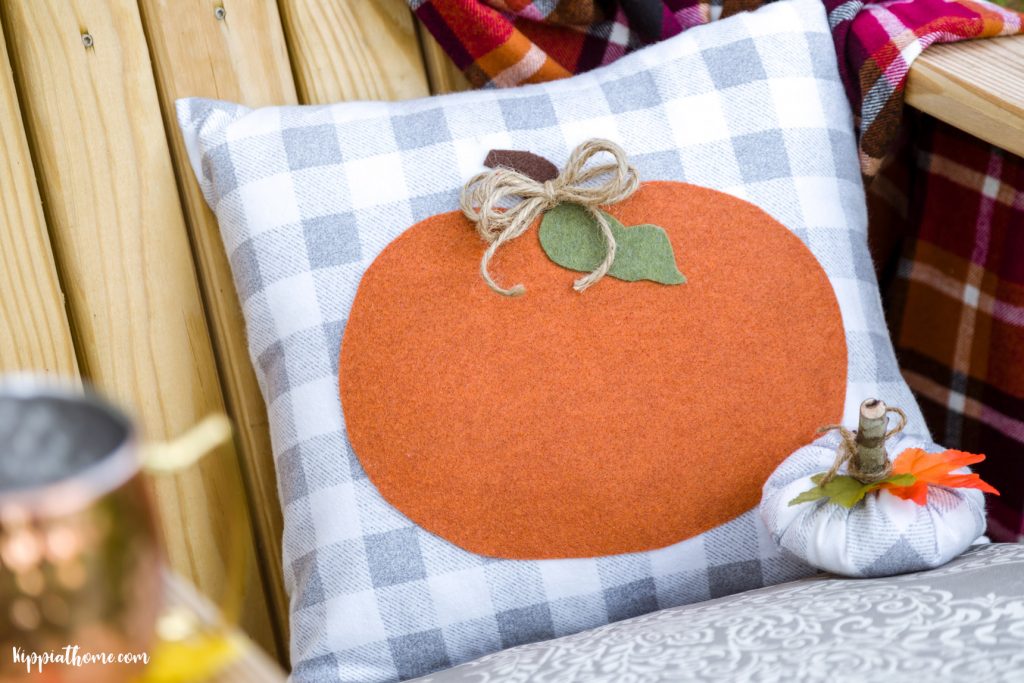

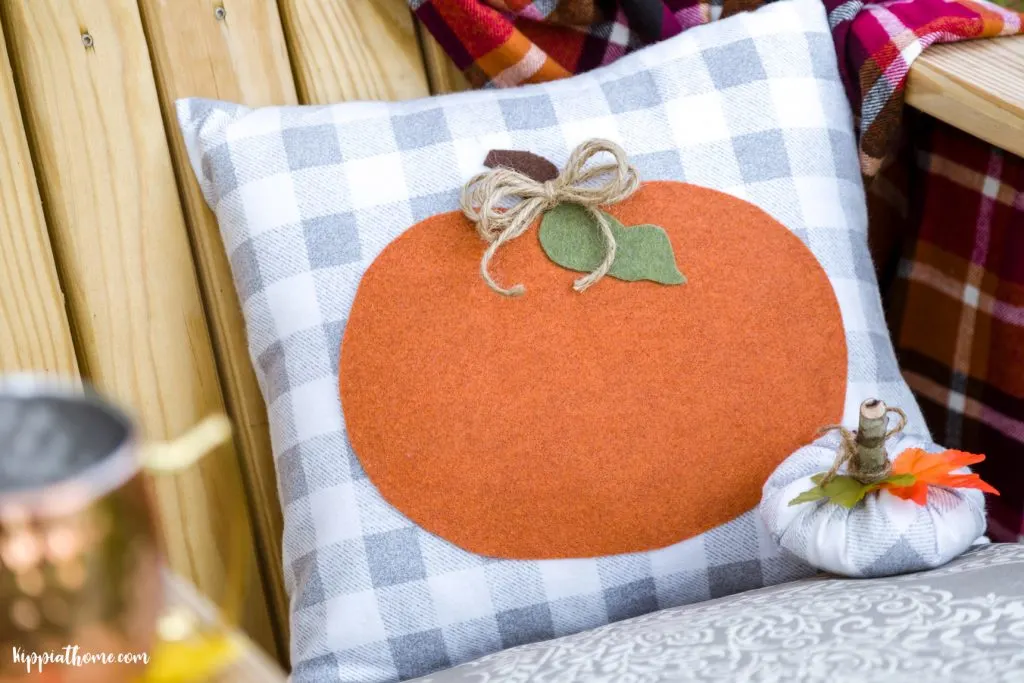

Fall Decorating DIY Pumpkin Pillow
Thank you so much for stopping by today. I hope you found some easy and quick fall inspiration. Please join the Fall Newsletter to get all the inspiration delivered to your inbox. I love keeping in touch so please say hello in the comments below.
See you soon,
Kippi

Cindy Rust
Saturday 21st of August 2021
Kippi, I have been thinking about doing this same project since last year and I haven't done it yet! I love your so much! When I do mine, I will link to your post! Pinning!
Sara
Friday 20th of August 2021
These look amazing! You'd never know there was a cheap orange pumpkin under there. Thanks for the tip about the plastic; I'll have to try that!
Rebecca
Thursday 19th of August 2021
Such a cute pumpkin project! I love book page crafts :)
Libbie
Thursday 19th of August 2021
Love the curly stem tip!!
Karins Kottage
Thursday 19th of August 2021
I love this decoupage idea! I used to do this years ago. I need to make some of these! So cute! Karin