Since Fall is my favorite time of year, I wanted to decorate with some rustic twine pumpkins. Unfortunately, I could not find any to purchase, so why not make my own?
Making my own twine pumpkins turned out to be fun and very economical too. I had a few flops, but I wanted to share what worked best for making them three different ways.

DIY Twine Pumpkins
How to Make Twine Pumpkins
This post contains affiliate links. This means that if you purchase from one of these links, I will make a small commission, but rest assured, you will not pay more for any products.
DIY Pumpkin Supplies (these supplies are for all three styles)
I highly recommend you watch the complete how to make pumpkins video before you begin.
- Jute Twine (smaller pumpkins) you can also use different colored twines for a different look
- Sisal Twine (for larger pumpkins)
- Scissors
- Wire cutters (this one is my favorite)
- Wire
- Hot glue gun and glue (I love this cordless one)
- Hot gluing mat
- Craft mat
- Ruler
- Paper towel tube
- Painter’s tape
- Stem
- Cotton lace
- *You can find everything in my Amazon Craft Store
Twine Pumpkin – Paper Towel Tube
Using a paper towel tube is easy; however, I found a few tricks I wanted to share to make it super easy.
What do you need for this pumpkin?
- Paper towel tube
- Craft twine
- Scissors
- Hot glue
- Painter’s tape
- Stem
DIY Twine Pumpin Steps
The best part about this craft is that I had everything on hand. I stock up on craft supplies when I visit the dollar store. I am so glad since I can stay out of the stores and craft from my stash.
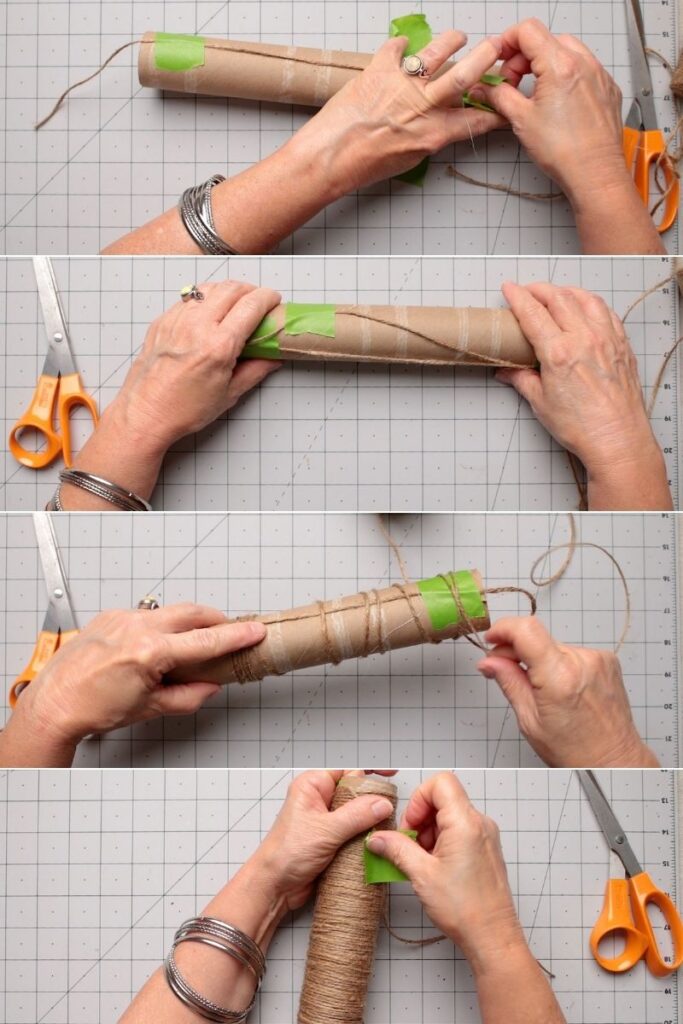

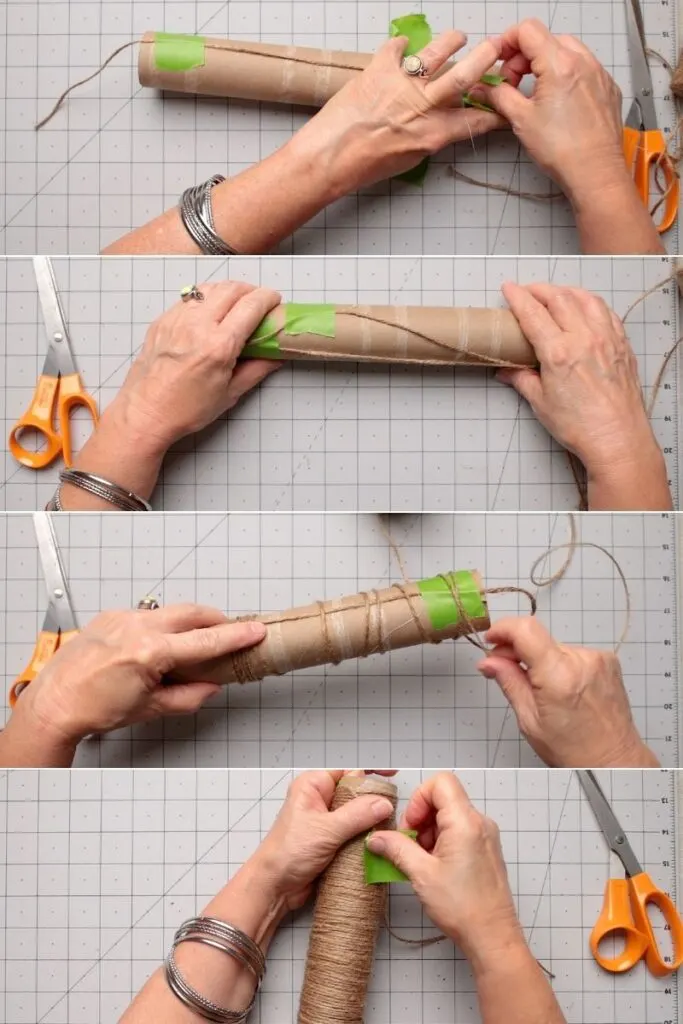

Making twine wraps
- After I gathered my supplies, I ripped off four pieces of painter’s tape and placed them on my craft mat.
- I cut a piece of twine about 18 inches long (this is the tying thread) and centered it over the paper towel tube. Then I taped both ends to the tube close to the ends of the tube.
- Next, I taped the cut end of the twine roll to the tube’s left end just below the tying thread’s tape. This will be twine I will be wrapping around the tube.
- Next, I started wrapping the twine until the wraps reached the right end of the tube. Finally, I cut the twine off the roll, leaving a six-inch tail, and taped it to the twine wraps.
- The next step is to carefully remove the twine loops (wraps) from the paper towel tube.
- Once you have all the twine loops off the tube, tie the twine tie thread and the loop threads.
- Fluff the pumpkin loops to distribute the loops evenly.
- Hot glue a stem in the center of the twine pumpkin.


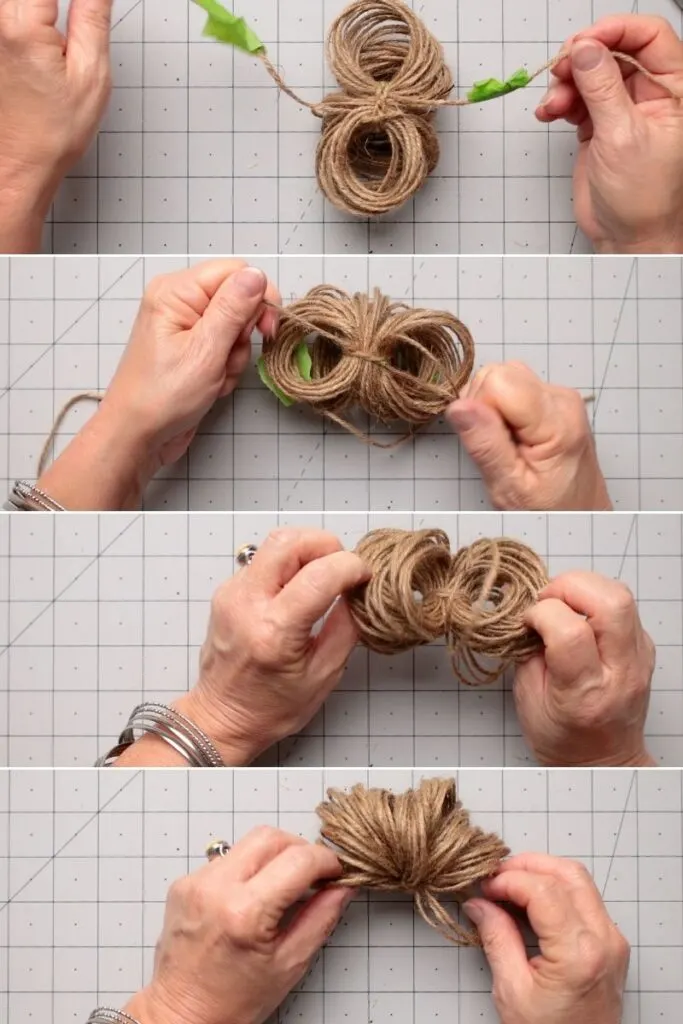

tying the twine thread


Lace Bow
This pumpkin turned out better than I imagined. I am addicted to making them. There is a DIY pumpkin patch growing in my house. I started the DIY pumpkin patch with pumpkins made with fabric, then sweater (these are gorgeous), and now twine.
How to Make a Twine Pumpkin with a Ruler
I wanted some mini pumpkins, so I decided to make a few for my fall decor with a ruler. These will make adorable pumpkins I can use for making a fall wreath.
Supplies for Mini Twine Pumpkins
- Twine
- Scissors
- Ruler
- Stem
- Hot glue gun
- Painter’s tape
The steps to make a pumpkin with a ruler are the same as the paper towel pumpkin. The only difference is using a ruler for wrapping the twine. These cute pumpkins I am going to use to decorate my Thanksgiving table.


Wrapping the thread ruler
How to Make a Hand Twine Pumpkin
This pumpkin takes a few minutes longer to make but is a little larger too.
Supplies for Hand Wrap Pumpkins
I used items I had on hand to make these pumpkins. However, if you do not have everything on hand, you can find everything in my Amazon Craft Store.


Crafting supplies
- After I gathered my supplies, I cut 5 pieces of wire 12-inches long.
- Next, I wrapped the twine around my hand about 13 times the wraps then cut off the twine from the roll.
- The next step is to carefully remove the twine loops (wraps) from your hand.
- Once you have all the twine loops off your hand, secure the twine tie thread with a piece of wire.
- Repeat this process 4 more times.
- Trim the wires and hot glue the loop wrap sections together to form a pumpkin.
- Fluff the pumpkin loops to distribute the loops evenly.
- Hot glue a stem in the center of the twine pumpkin.


Hand wrap
Assembling the hand wraps with hot glue.


Hand wrap
These three methods for making pumpkins result in a slightly different pumpkin shape. But, in a grouping, they make a gorgeous centerpiece.


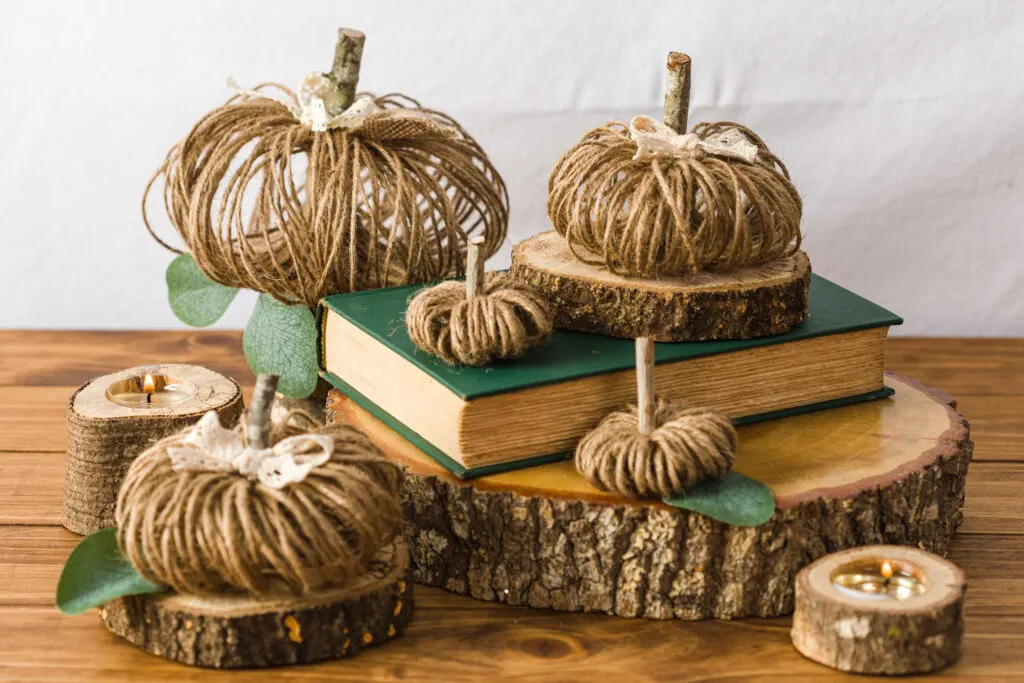

Fall decor
More DIY fall decor ideas you might enjoy:
Easy fall decorating ideas using Dollar Store ideas and a twine bow.
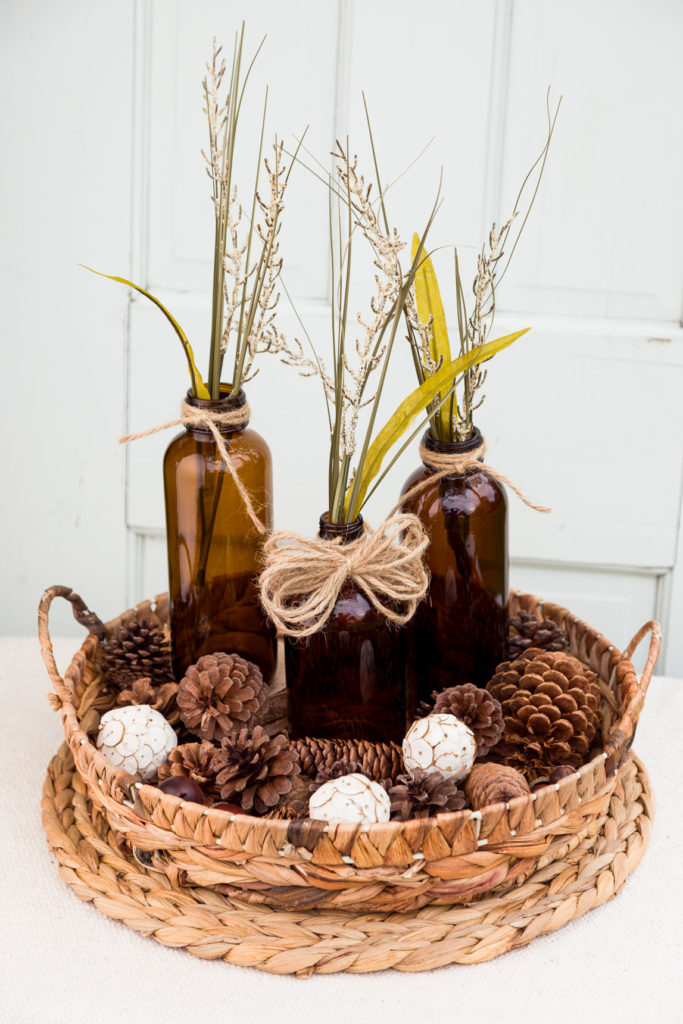


Fall decor
Decoupage Pumpkins is any easy step-by-step book page upcycle.
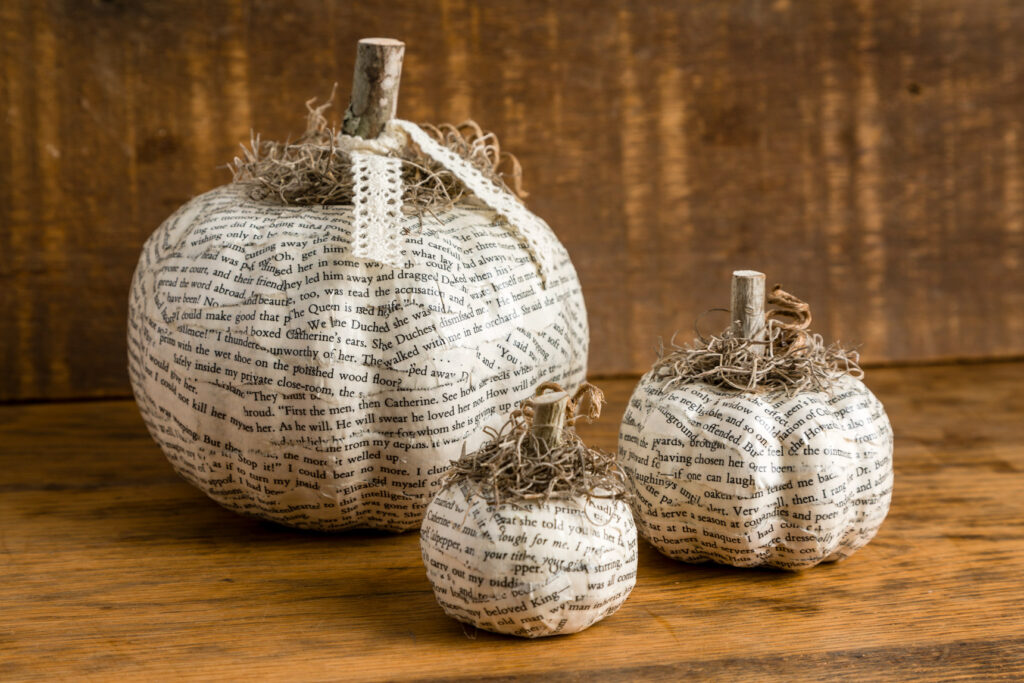


Book Page Decoupage Pumpkins
I have been working on some easy, gorgeous fall decorating projects I think you will love, so if you don’t want to miss any inspiration, join The Fall Inspiration Newsletter and get it delivered to your inbox.
Happy Fall,
Kippi

Jayne @ Chalking Up Success
Tuesday 5th of October 2021
These twine pumpkins are so cute and so easy - I'll have to give them a try!
Debbee
Thursday 9th of September 2021
Kipper, I love the rustic look and texture of your pumpkins. Thanks for the great tutorial!
Cindy
Tuesday 31st of August 2021
These are adorable! I love them Pinned! I already Pinned your decoupage pumpkins
Paula@SweetPea
Monday 30th of August 2021
I love this project, Kippi!
Jenna
Monday 30th of August 2021
Super cute!! I like the book page ones too, Happy Pumpkin season!!