Laundry room design plan for week two begins with a dusty mess, but it wraps up with a bright and airy area for the new laundry room/mudroom.

One Room Challenge Guest
Welcome back. It’s week 2 of the One Room Challenge. Week one I shared my ideas about my dream laundry room/mudroom and this week is all about the laundry room design plan and demo. If you missed last week’s post you can find it here.
Reminder of where this project started:
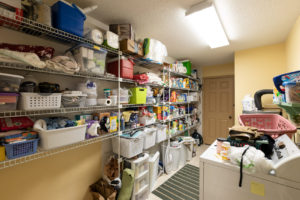

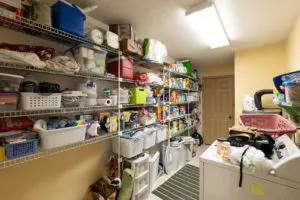

Laundry shelving before photo
Laundry Room Design
I wanted to share the original laundry room floor plan. The ordinal laundry room was outdated, unattractive, and
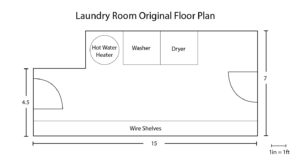

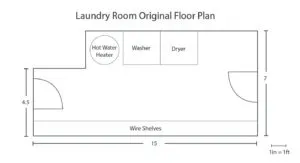

Laundry room floor plan before
We need a mudroom area to hold jackets, backpacks, keys, etc. and a place to hang our keys and charge our devices. The hall tree I most excited about since it will have a cushion and beautiful pillows. I designed an area with a hall tree and counter top and charging station.
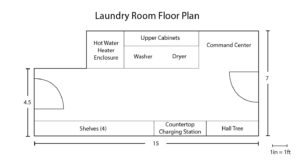

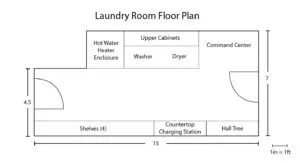

New laundry room design floor plan
The photo below shows the laundry room cleared out. Notice the outdated light fixture, wire shelving and exposed hot water heater in the photo below.
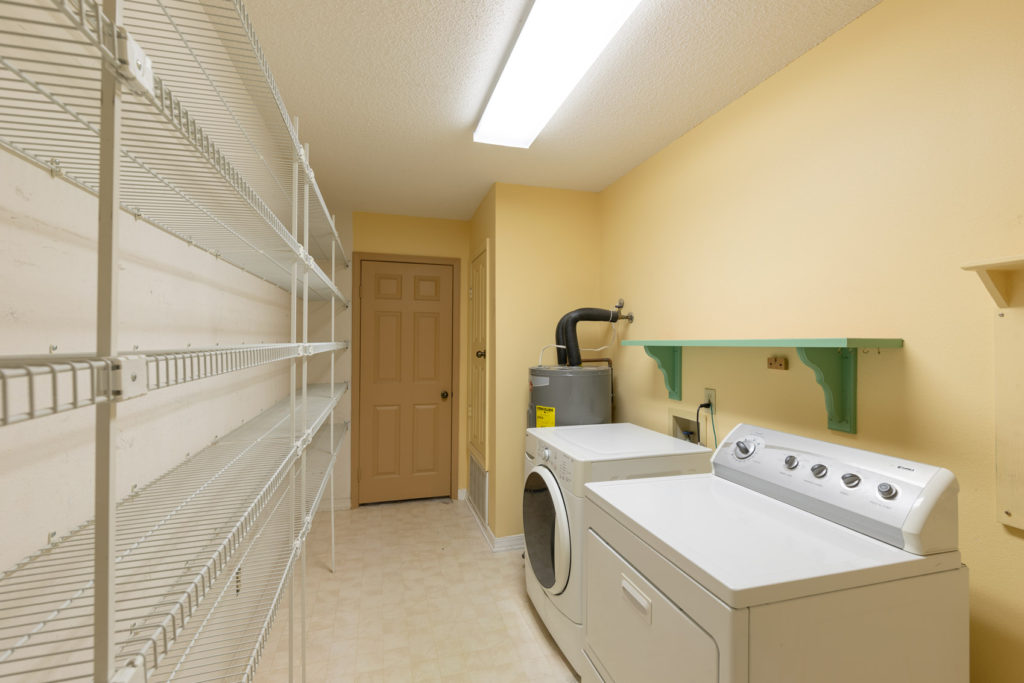

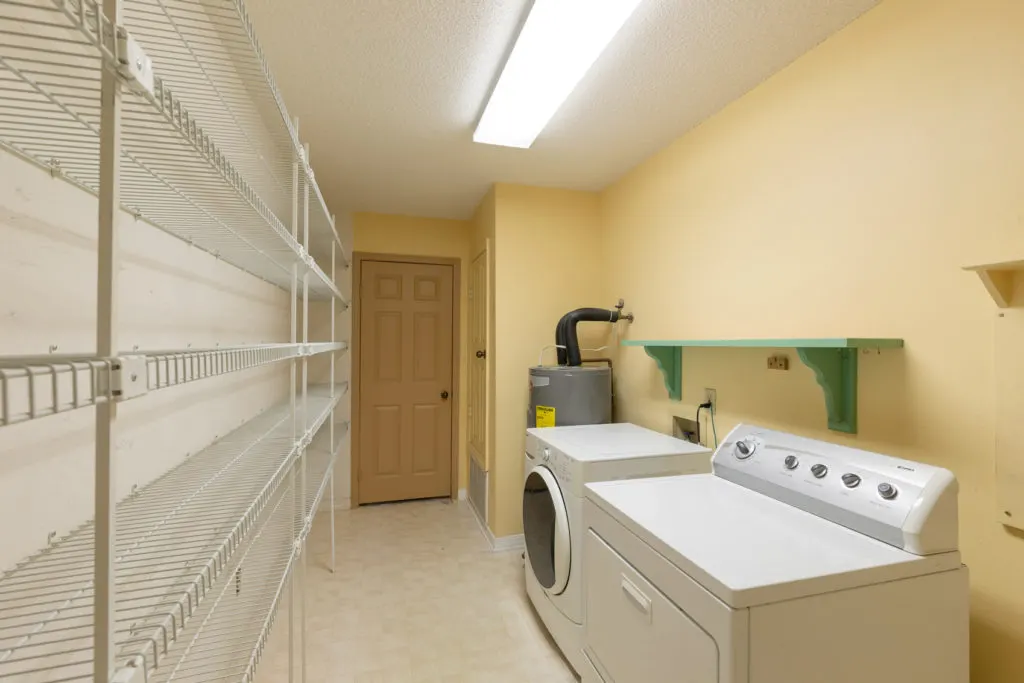

The laundry room cleared out
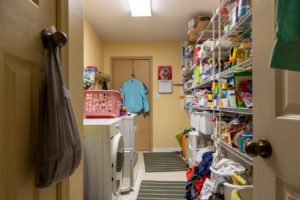

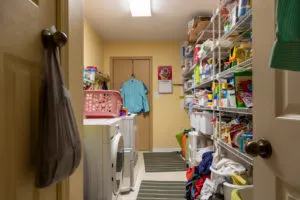

Laundry room before
This is the view from the house looking towards the garage notice the old door to garage in the photo above. I really wanted it replaced with and door with a window since the laundry room has no windows. See the new door in the photo below.
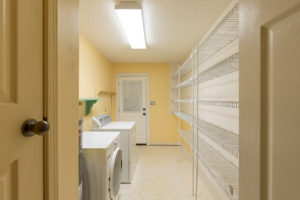

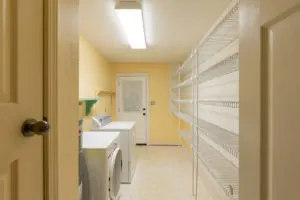

Laundry room before
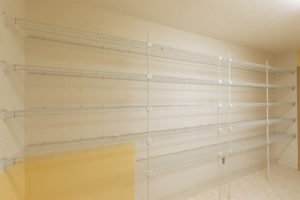

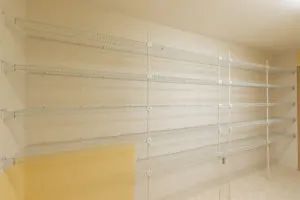

Wire shelving
This area behind the door I am planning a mini command center.
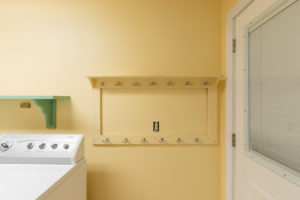

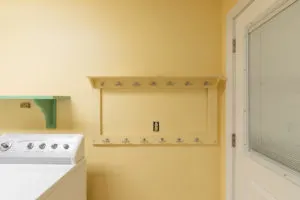

Coat hook shelf
Removing The Popcorn Ceiling
Popcorn ceilings really date a home, so off it came.




Removing the popcorn ceiling
After removing the popcorn ceiling and the shelves we patched the sheet rock, removed the baseboards, painted the room and installed recessed lighting. See how we installed the lighting in the video below.
Installing Recessed Lighting
This post contains affiliate links. This means that if you purchase from one of the these links I will make a small commission, but rest assured you will not pay more for any products.
Selecting the lights was a challenge with the so many choices from cool to warm light. I could not make up my mind so my hubby installed three types of recessed lights before I was happy with the light. Note to self I like warm light!
The lights that I choose are both bright and warm the are the Utilitech Recessed 2700k.
Tools used to install the recessed lighting:
Laundry Room Flooring
Next we removed the old floor and cleaned the exposed concrete to prepare it for new tile. To ensure the tile is installed straight I could not trust the wall as a guide so I made a chalk line with a chalk reel.




Installing the tile floor
The tile I choose was Versalles Bianco Plus which has a wonderful texture and color that are the perfect aesthetic for this space.
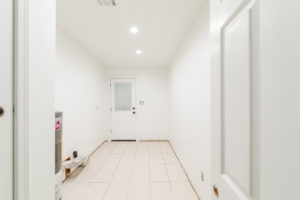

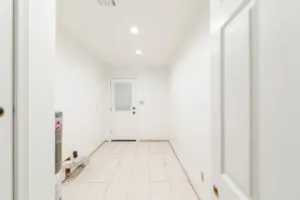

Laundry room painted, tiled, lights installed
The laundry room design plan includes replacing the baseboards with handmade baseboards. You can see that the new baseboards have been installed around the hot water heater since it is going to have an enclosure. No more unsightly hot water heater and also the bonus of extra storage above it.
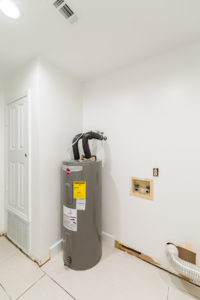

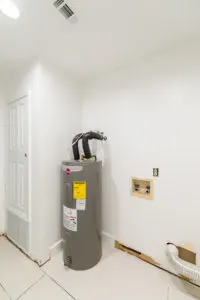

Hot water heater
So far this has been an amazing transformation with just a few inexpensive changes and some sweat equity. I cannot wait to see the cabinets installed this week and the tile is grouted.
Please join the One Room Challenge Newsletter so you get all the latest inspiration delivered straight to your inbox.
Thank you for stopping by please visit all the other ORC participant’s blogs too.
Hugs,
Kippi

Julie Briones
Saturday 19th of October 2019
Wow! You are getting LOTS done! It's going to be great!!!
Rebecca
Wednesday 16th of October 2019
Wow! You've been busy Kippi! What a huge difference already. I love the new door. Cn't wait to see how this comes together!
Kim @Serving Up Southern
Wednesday 16th of October 2019
Hi Kippi! The changes you've already made are fantastic! I love the new blueprint for the room. The new door and white paint make the room look so spacious. I look forward to seeing the reveal! Thanks for sharing at Homestyle Gathering! >>> Kim
Michelle
Sunday 13th of October 2019
You are off to a fabulous start! New paint, lights, and tile really brightened this space. I would have never thought about replacing the garage door. It does make the room look less confined. Can’t wait for the next installment on this project. Thanks for linking up to Creative Compulsions!
Sherry
Saturday 12th of October 2019
What a difference with just the paint. Can't wait to see the rest!