I’m so excited to share my DIY headboard project. I have been working on updating my daughter’s bedroom and she has been dreaming of a Bohemian linen tufted headboard. Before we begin I wanted to share her bedroom makeover mood board. She wanted it to be romantic, whimsical and fun.
Dreamy Romantic Bedroom Makeover

I have made many custom headboards over the years as well as taught classes on DIY upholstering them with fabric, welt cording aka piping, nailheads, and button tufting. Please join me as I transform this bedroom and receive all the updates straight to your inbox HERE!
This post contains affiliate links. This means that if you purchase from one of these links I will make a small commission, but rest assured you will not pay more for any products.
How to Make a Headboard
It is easy and quick to learn how to make a headboard, so let’s get started. You might also like my DIY Wingback Headboard.
After she sketched out her ideas for a Boho headboard I made a craft paper template.
Tip: I have kept a few headboard shape templates from past projects so I can use them as headboard ideas to make new ones.


DIY Headboard craft paper template
To find the best placement of the headboard I placed her sleeping pillow and bed rest pillow against the paper template to be sure they would not totally cover the headboard. I can easily move the paper template up and down to find the perfect spot. Then I measure the from the floor to the top of the box spring to determine the length for the headboard legs. The legs measured 17″ and the headboard without the legs measured 35″ high by 38″ wide.


Craft paper template with pillows
Building a Headboard
After deciding on your headboard design you will need to gather your supplies. Printout the instructions and you are set.
Supplies:
- 1/2 in. Plywood
- Craft Paper (wide)
- 2 each of 2 in. by 6 in. by 8 ft. pine boards
- 2 yards of Linen Fabric
- Foam
- Dacron
- Tack strip
- Cording
- Staples
- Thread
- Buttons
- Button Tufting Cord
- Spray Adhesive
- 1″ Screws
- Wood Glue
- Lining Fabric
- Gimp
Tools:
- Circular Saw
- Jig Saw
- Cordless Drill
- Staple Gun
- Tufting Needle
- Upholstery scissors
- Electric Knife
- Sewing Machine
- Hammer
- Hot Glue Gun
- Printout Instructions
Headboard Construction


Headboard frame, foam, Dacron, Fabric, and Cord


Trimming Dacron


Headboard ready for fabric


Headboard legs before covering them with Dacron and fabric


Place Dacron on legs


Add linen fabric to legs


Pulling the linen over the headboard and staple in place


Make neat folds on the corners


Staple cord to headboard front edge


Finishing the tag on the edges


Fold back the tag and staple tack strip


Adding Dacron strip to the outside of the headboard


Flip the fabric tag to the back of the upholstered headboard
Finishing the tag on the edges


Cording
When I was almost finished creating this headboard my daughter decided she wanted me to add buttons, hence, I went back to the drawing board to add the holes and cover the buttons to use in tufting the headboard.


Button Tufted DIY Headboard
The cute live edge tables to the right of the headboard were made from a fallen tree to see how we made them check out this post.


Bohemian DIY Headboard
Since this DIY fabric headboard was for a twin-sized bed it is essentially a kid’s headboard. Thus, you can use it as a reference for designing your kid’s headboard too. You can see my son’s bedboard HERE for more headboard ideas.
You Might Also Like:
I just finished creating my new DIY wingback headboard.
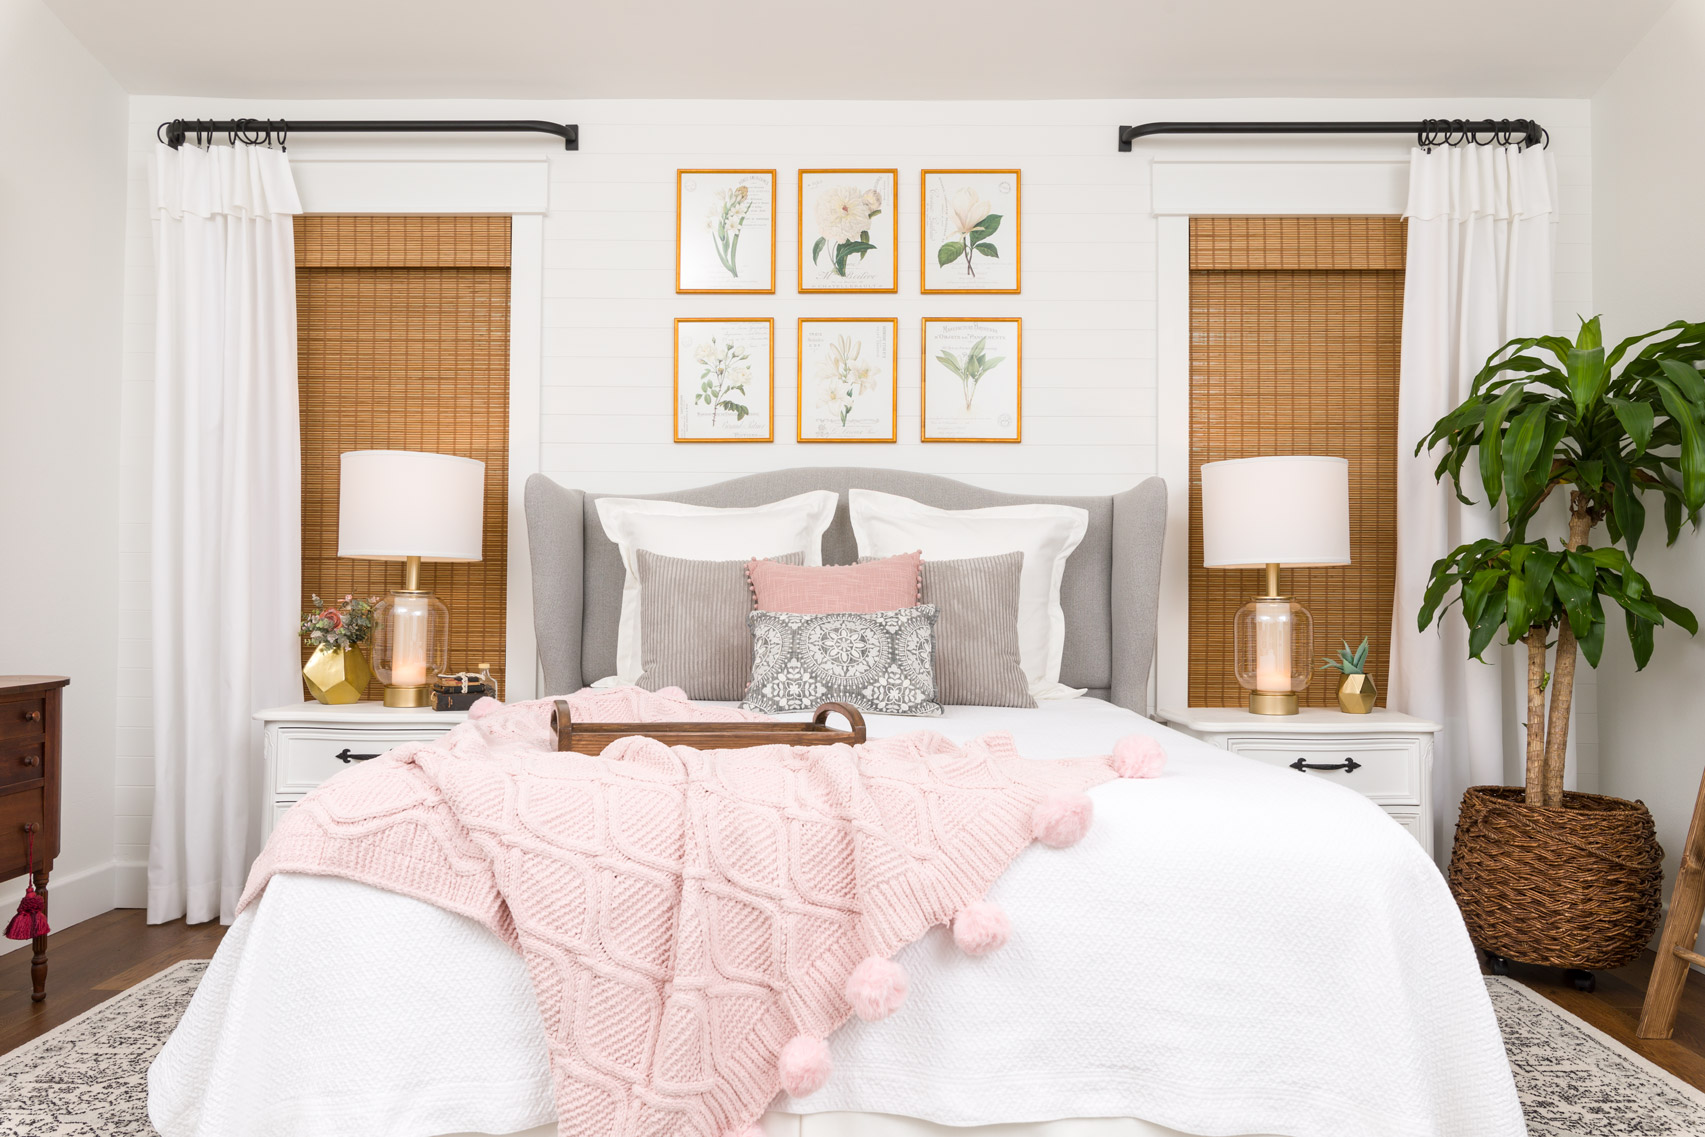

Bedroom Makeover with DIY headboard wingback
Thank you for stopping by today I hope you found some inspiration and are ready to create your own unique headboard masterpiece.
See you soon,
Kippi
Ps. Don’t forget to subscribe.
Cobeni
Wednesday 1st of November 2023
thanks for sharing your good article, my game fnaf security breach is an attractive and dramatic game, I need your help.
Acryee
Sunday 2nd of May 2021
Great stuff, love it!
Leanna
Wednesday 26th of February 2020
The idea of using a paper template to design the headboard is brilliant. I have made my own headboards and the measuring and trying to visualize the sizing is a pain in the neck. Beautiful headboard.
Kippi
Thursday 27th of February 2020
Thank you so much, sweet friend! Hugs, Kippi
Pamela
Monday 24th of February 2020
Your headboard looks amazing. What a fun room! I"m doing my daughter's room but unfortunately it's more than $500 which is why I couldn't join you guys. Can't wait to see your reveal, the feel so far is 100% what you are going after--Bohemian Romance!
Kippi
Thursday 27th of February 2020
Pamela, I hear ya on the $500, but since I already had the elements for these makeovers I could keep it under $500. Also, I DIY everything and that saves $$$. Hugs, Kippi
Rebecca Celhar
Wednesday 19th of February 2020
This DIY headboard is gorgeous! I love how you added the piping!
Kippi
Saturday 22nd of February 2020
Thank you so much. I love to add cording to all my upholstery projects. Have a wonderful week, Kippi