Welcome! if you have been following along then you know this is week seven, but if this is your first visit please take a look at where this makeover began with week one, week two, week three, week four, week six, and week seven.
If you are new to the One Room Challenge here you can find more information about this inspiring program.
Please note, week five with canceled out of respect for #Blacklivesmatter. Our bedroom makeover is a little different while trying to source materials and decor we have found that items are out of stock and the companies have no idea when or if the item will ever be available again. Okay, that means being creative is that much for valuable during this challenge. Please visit all the participants in the ORC and hosts so you don’t miss any inspiration.

Better Homes and Garden




One Room Challenge
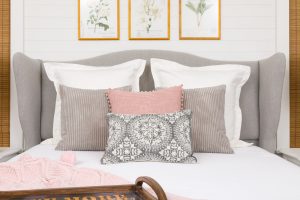


DIY Wingback Headboard
Our room makeover is a dream come true for us. The handmade wingback headboard is my favorite addition. Let me share how we build and upholstered it.
This post contains affiliate links. This means that if you purchase from one of these links I will make a small commission, but rest assured you will not pay more for any products.
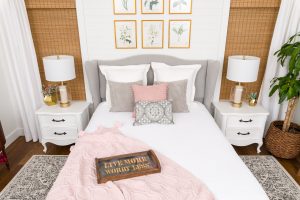


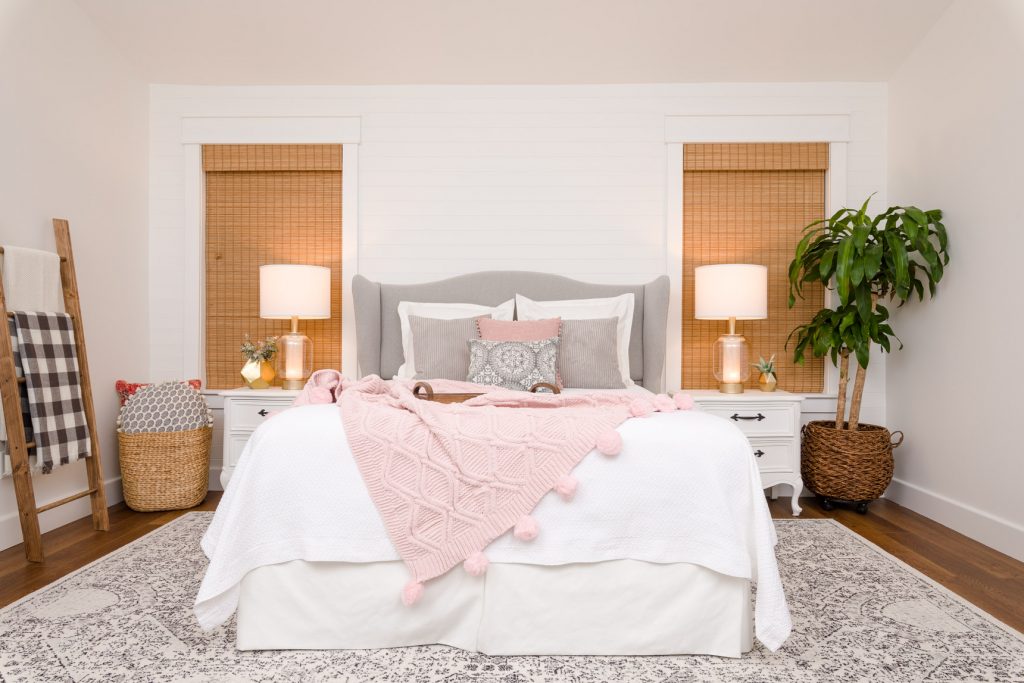
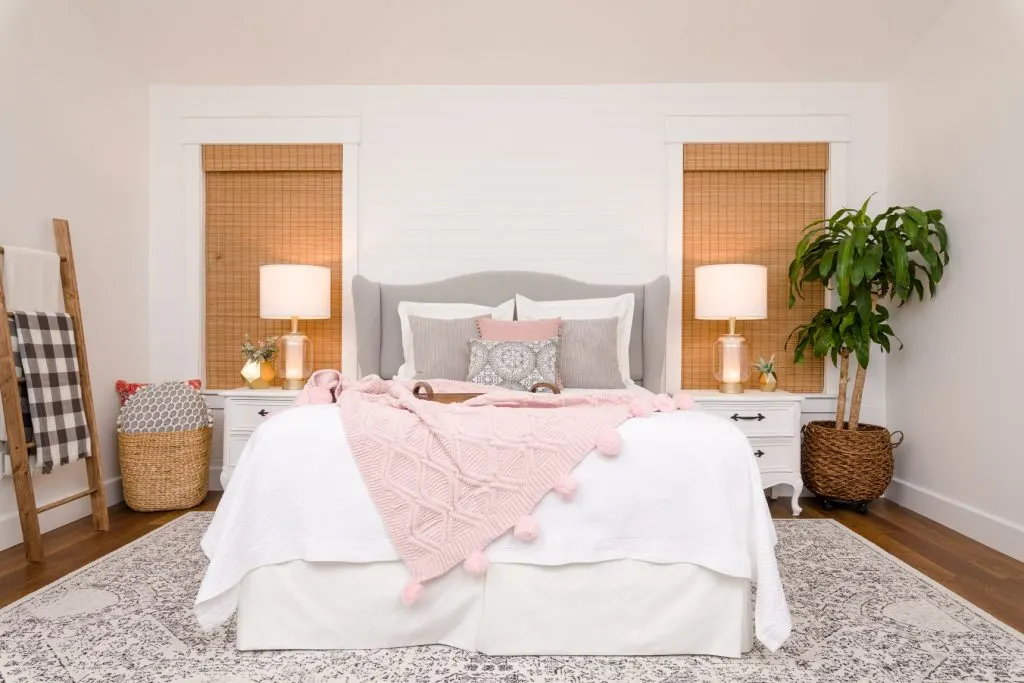
Bed with Pillows and Handmade Tray
The handmade bed tray was loving created by our daughter, Olivia, you can see how she made it HERE.
You can find my sources for all the other items in our bedroom makeover HERE and at the end of this post.
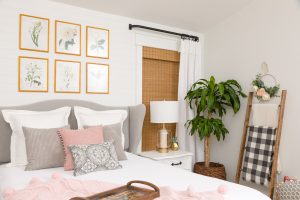

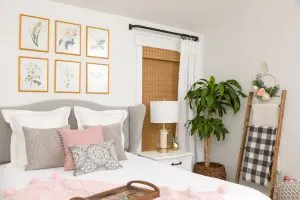

DIY Blanket Ladder
Handmade Bedding
The sewing technique I used for the white Euro shams is the envelope style closure. You can see that easy no-zipper technique in this earlier post HERE.
However, I made the gray pillows with invisible zippers like in this earlier post. The bed skirt I made using the same pleating technique I used when making slipcovers or upholstering furniture. The deck of the bed skirt is a heavy duck slipcover fabric and the skirt is the same linen blend as the Euro shams. I
No-Sew Window Treatments Panels/Curtains
The window treatment hardware I selected was custom made by Helser Brothers. They are French poles (curtain rod) with rings with clips. I choose them since they are clean and modern yet traditional at the same time. If you are interested in any of their hardware please let me know in the comments.
The woven wood Roman shades are another must-have for my home. You can see the warmth they add to the room and the bonus is the interesting light that filters in during the day are unmatched by any other treatment. If you interested in more information about woven woods please let me know in the comments.
The fabric I used for the no-sew curtains was a duck. It is heavyweight cotton that does not require lining. They are going to be stationary (leaving them in one position) panels.
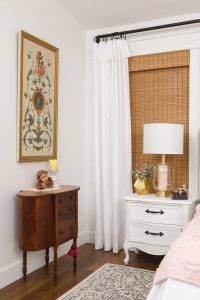

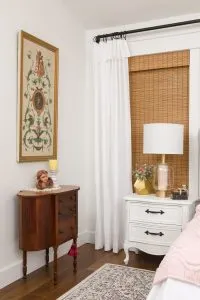

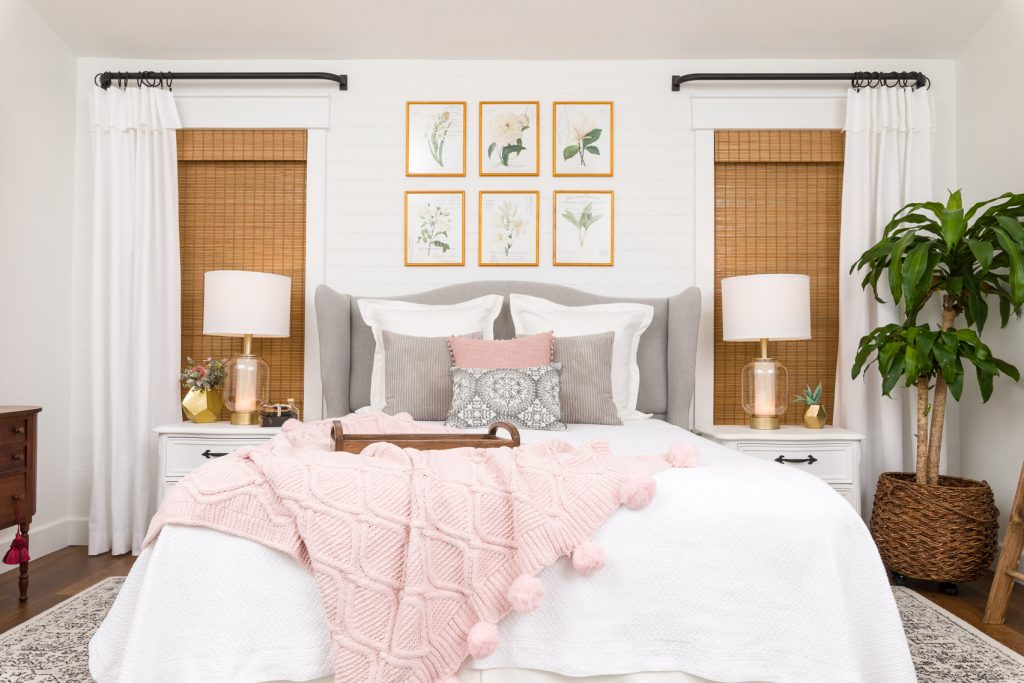
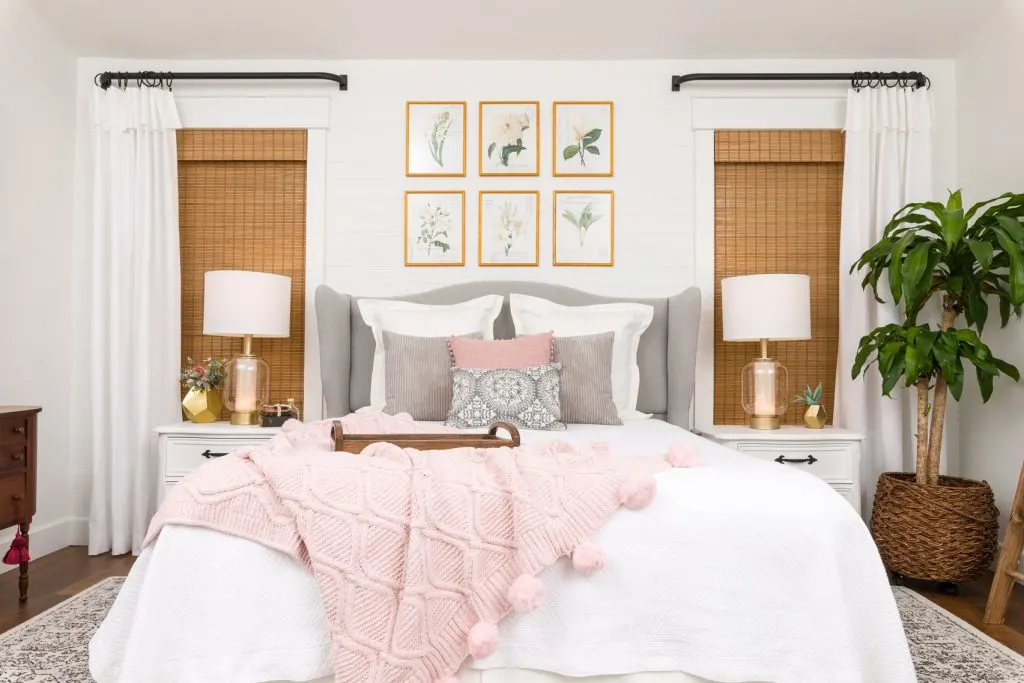
No-Sew Window Treatments and my Great Grandfather’s Art
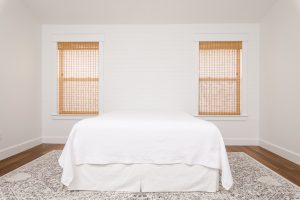
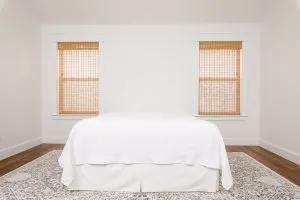
I wanted to share what the space looked like before and after the hardware, you can see it in the photos below. Your eye does not travel up since there is nothing to balance the room’s decor above the height of the bed. Your eye only goes go back and forth instead of all around. Window treatments in layers with gorgeous hardware is the solution to a finished room design.
You can see other options for window treatment hardware in this earlier post HERE.
- Bedroom before hardware and Window treatments
- Bedroom Makeover with DIY headboard wingback
How to Build a Wingback Headboard
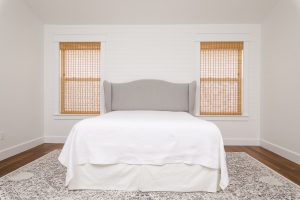
The star of the show is the DIY Wingback Headboard. This stunning headboard provides a dramatic and cozy bed. It is the building block the rest of the room was built upon.
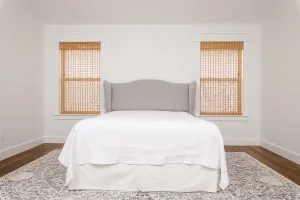
Notice in the first two photos the light filtering through the woven wood Roman shades. If you would like to learn more about upholstery then you might enjoy our Upholstery 101 Educational Training video.
- Before Headboard
- After headboard
- Bedroom Makeover with DIY headboard wingback
Materials
- 3/4 Plywood
- 2″ Foam
- 1.25″ Dacron
- 1/2 Dacron
- 1.25″ Screws
- Wood Glue
- 2.75″ Screws
- Spray Adhesive
- Flex Grip Tack Strip
- Hard Tack Staples (Arrow Fastener T50 3/8″)
Tools
You can see how to build the basic center headboard section in this earlier post.
Wingback Design
I wanted a special headboard so I designed a romantic styled headboard (you can see it below.)
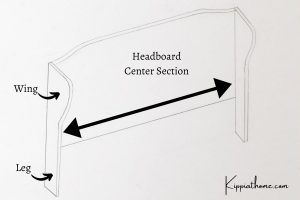

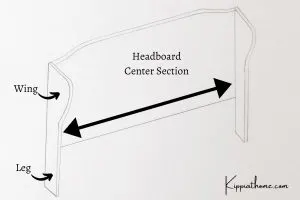

Wingback Headboard Parts
After cutting the design out of plywood I was ready to start building the wooden frame and wings of the headboard.
Build the headboard out of a ¾ X4X8 sheet of plywood.
Cut the center portion of your headboard 26X65 1/2.
Cut a doubler strip 5 X 65 for the top and 3 X 65 for the bottom edge
Next cut a doubler 3 X 18 for the ends
Glue and screw the doubler strips around the outside edges of the 36 X 65 headboard piece.
Trace your pattern on the headboard and cut it out using a jigsaw. Use a sander and/or rasp and smooth the cut if needed. Remove any sharp edges or splinters.
The bottom 11 inches will only be covered with fabric to accommodate the mattress.
Foam
Cut the foam to 25 X 61.
Center the pattern you used to cut the wood on the foam. Cut the foam to size.
Go to the ends and gently pull the poly wrap and secure it with a few staples. You will want to leave this edge squarer. Do not over pull the poly wrap.
Go back to the top center and work both sides to the ends smoothing and stapling the poly wrap.
Finish stapling the ends. You will want a nice straight line.
Cut off all excess poly wrap right along the staple row.
Cut a piece of face fabric large enough to cover the foam and poly wrap. About 34 X 70 maybe a little larger. Start by placing a few staples in the center along the bottom edge of the poly wrap edge.
Then smooth it to the top back edge and tack it with a few staples and at either end. Making sure your fabric is straight.
Go back to the bottom edge and staple it across working your way out from the center. You will want this to be a nice straight line.
Cut two wings out of ¾ x 13 X 48 plywood using the pattern with a jigsaw or band saw.
Attach a ¾ X 2 X 48-inch piece of plywood with glue and screws to the wing that will be used to attach the wing to the center portion of the headboard and will maintain the 2-inch thickness on the back edge of the wing.
You can find the patterns for both the wing and headboard curve below:
Wood Wing, Supplies and Step by Step DIY Headboard
To make the headboard the only step that requires basic sewing skills is covering the welt cording.
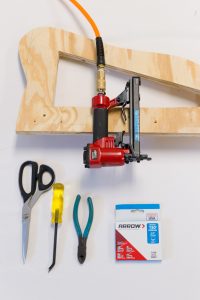

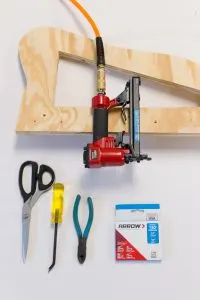

Wing and upholstery supplies
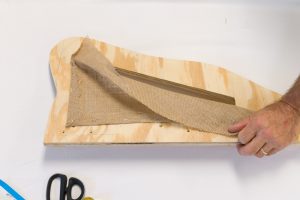

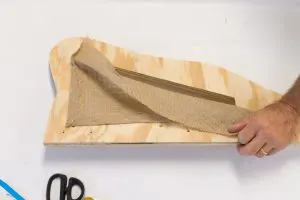

Stapling burlap to the wing
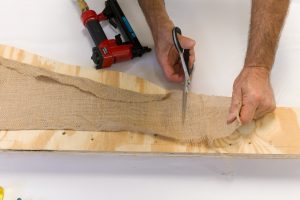

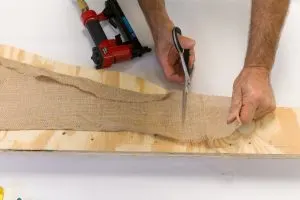

Trim the extra burlap
Apply spray adhesive to the wood and foam and then attach the foam to the board. Let the foam stick over the top edge about ½ inch.
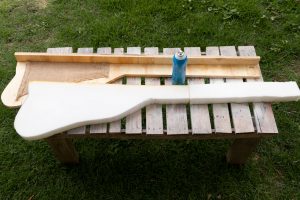

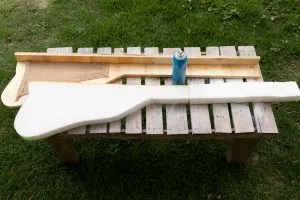

Wing with Foam
Gluing Foam to Wings
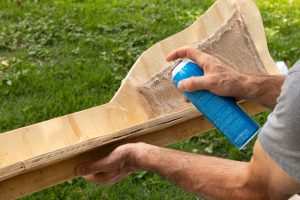

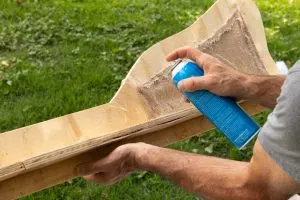

Apply Spray Adhesive to inside wings
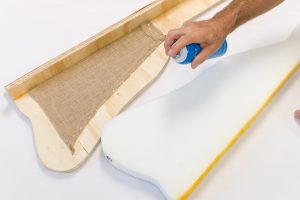

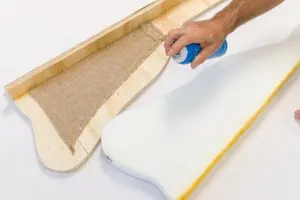

Apply to spray adhesive to foam too
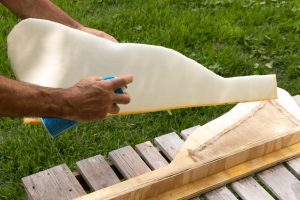

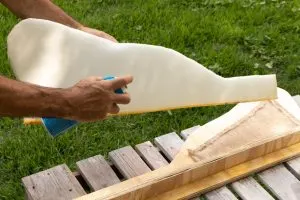

Place the foam with adhesive onto the inside of the wing
Cut a piece of the poly wrap 34 X 70 (this is oversized). If you need to piece it use spray adhesive along the joints. Lay the poly wrap over the foam letting it hang over the edges.
Staple the poly wrap along the bottom edge. You will want a nice even straight line. Pull the poly wrap back and use spray adhesive to attach the poly wrap to the foam.
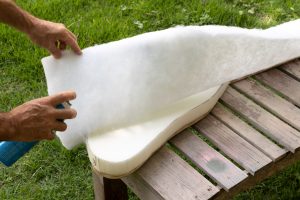

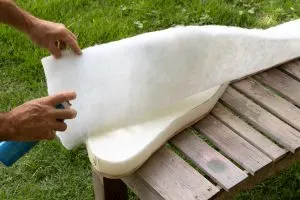

Spraying adhesive on both the foam and Dacron
Stapling Dacron to Wings
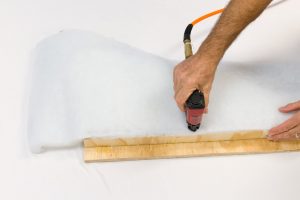

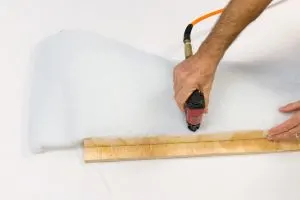

Stapling the Dacron in place
Pull the poly wrap over the top to the back-top edge of the headboard and put in a few staples. You will want to pull it tight to give you a rounded front edge to the foam.
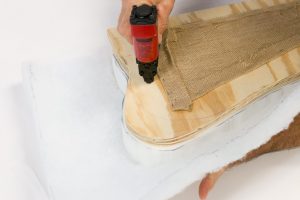

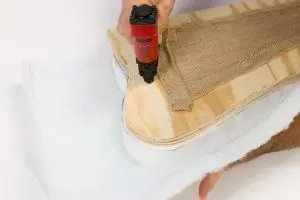

Pulling the Dacron over the top and stapling to outside edge
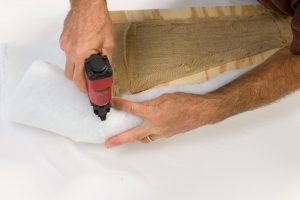

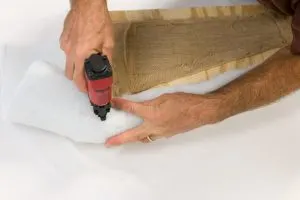

Pulling the Dacron over the top and stapling to outside edge
Trimming Excess Dacron
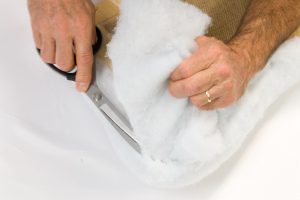

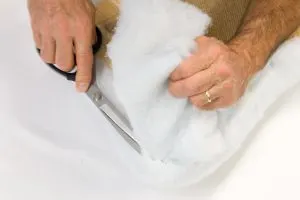

Trimming the extra Dacron
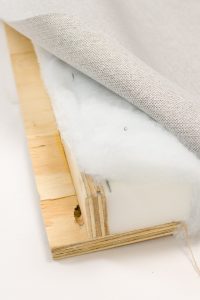

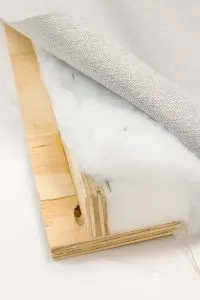

Bottom view while placing the face over the Dacron
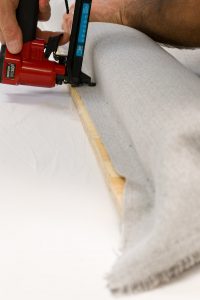

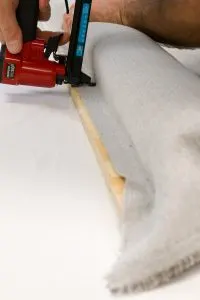

Stapling the fabric to inside wing
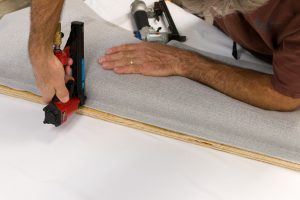

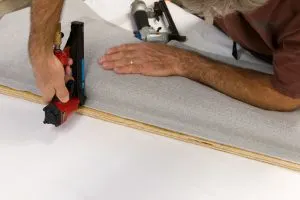

Continue stapling along the inside wing
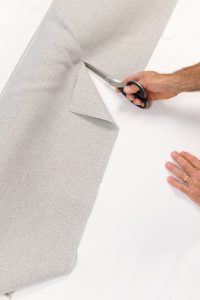

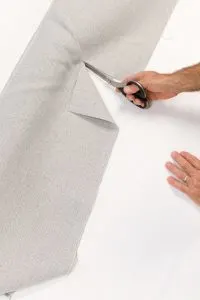

Making a relief cut
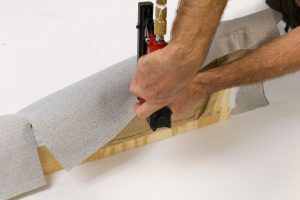

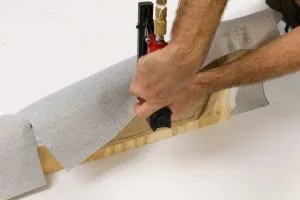

Pulling the fabric over the top of the wing to outside and stapling it in place
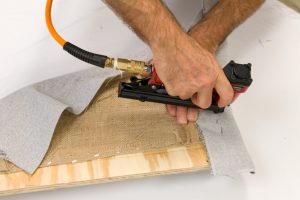

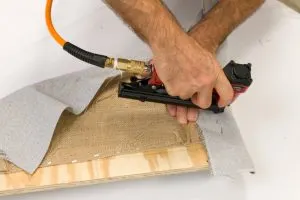

Continue Stapling fabric on wings
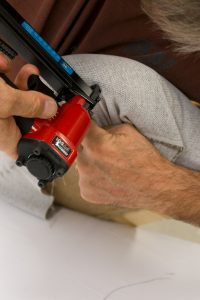

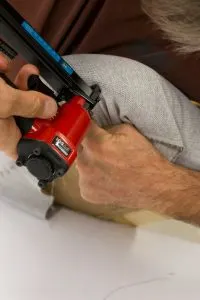

Evenly pulling fabric to staple
Stapling Face Fabric to Wing
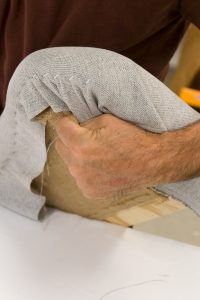

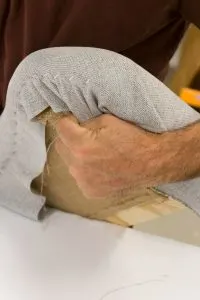

Neatly stapling the fabric to the outside wings
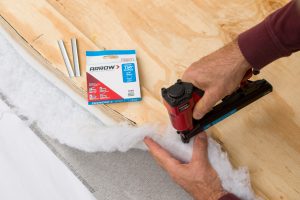

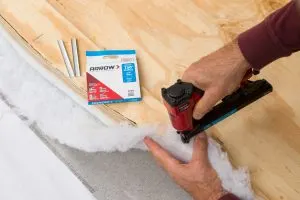

Smoothing the poly wrap to the back of the headboard and stapling using a pneumatic staple gun
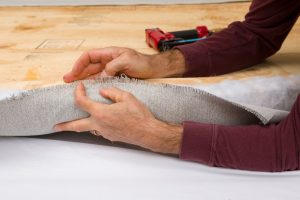

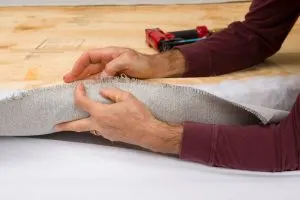

Starting at the center, smooth the fabric to the back of the headboard and staple.
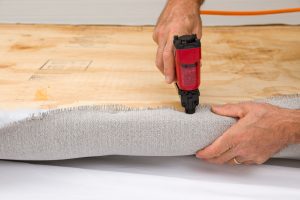

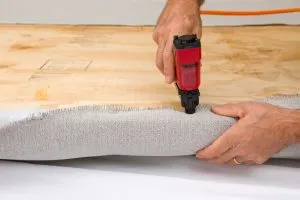

Continue working left to right, continuing to smooth the fabric evenly and stapling in place.
Making Relief Cuts
While covering the wood headboard structure with the fabric you will see there are areas in the covers where the fabric is unable to lay flat. In those areas, you will need to make relief cuts to see in the photo below.
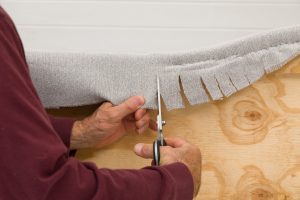

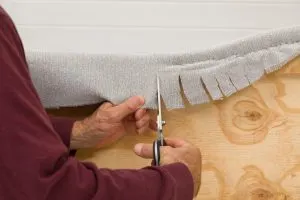

In the curved areas make relief cuts to make the fabric follow the contour of the headboard.
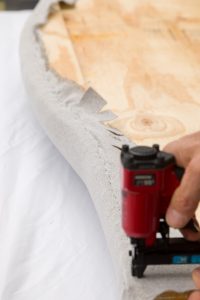

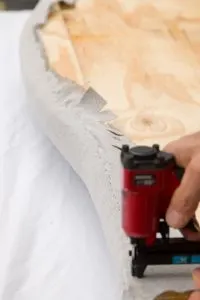

Complete stapling across the back of the headboard.
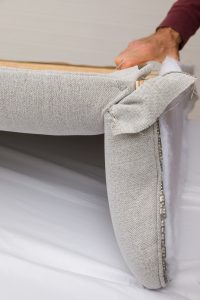

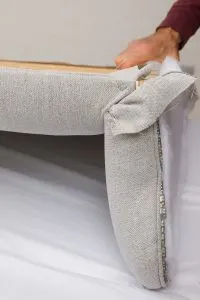

Positioning the wing against the center portion of the headboard.
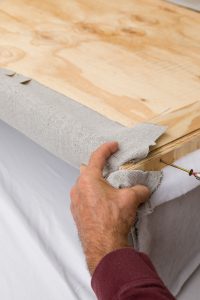

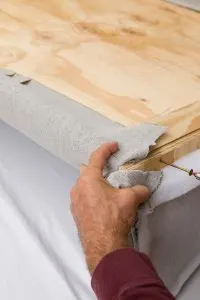

Using 2.5″ screws to secure the wings to the main portion of the headboard.
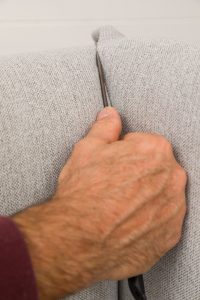

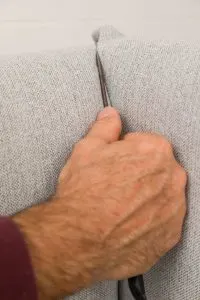

Using a regulator to tuck the fabric into the joint between the wing and the center of the headboard.
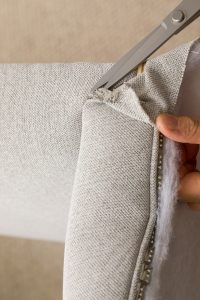

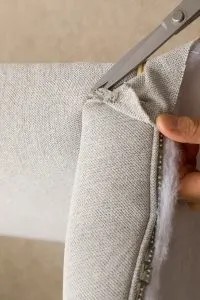

Adding a corner relief cut to accommodate the fold at the corner.
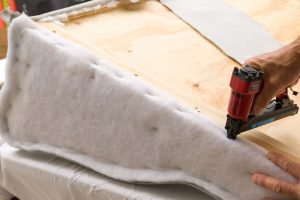

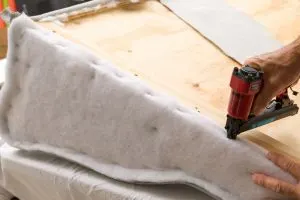

Attaching quarter-inch dacron to the outside of the wing, Before applying fabric
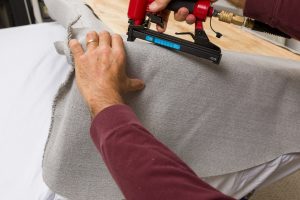

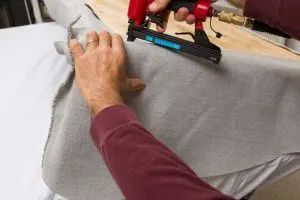

Attaching the fabric to the outside of the wing.
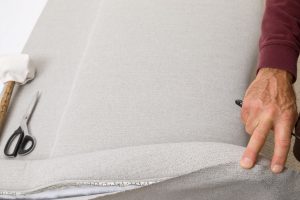

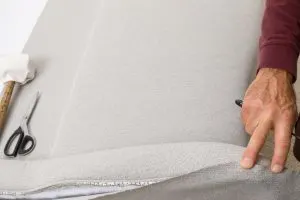

Pulling the fabric from the back and tucking it into the tac strip at the front of the wing.
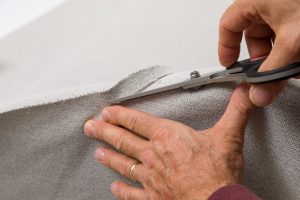

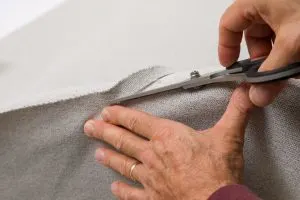

Trimming the excess fabric off before tucking it into the tac strip.
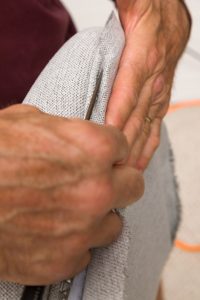

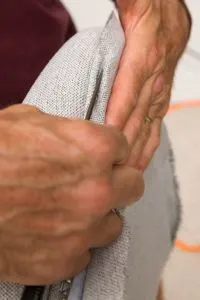

Continue working the fabric into the tac strip on the front edge of the wing
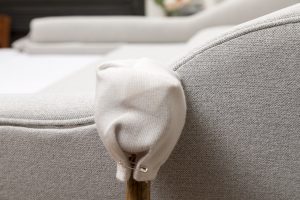

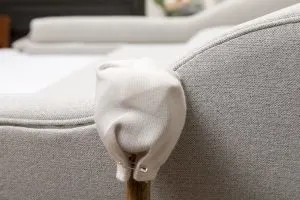

Use a mallet to tap the tac strip, securing the fabric to the wing.
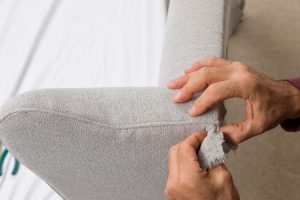

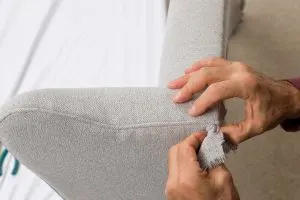

Finishing and trimming the back corner before stapling in place.
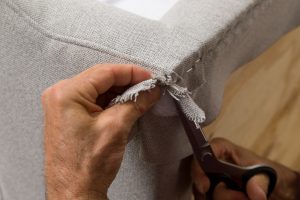

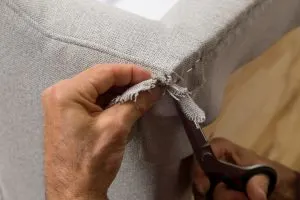

Finishing and trimming the back corner before stapling in place.
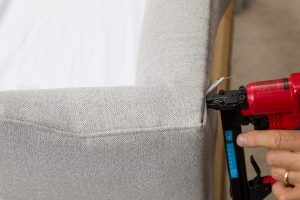

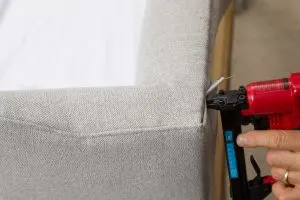

Stapling the back corner
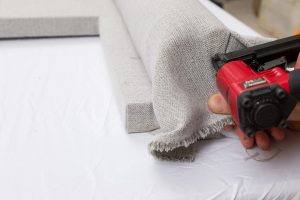

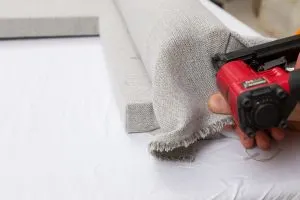

Finishing the bottom of the legs
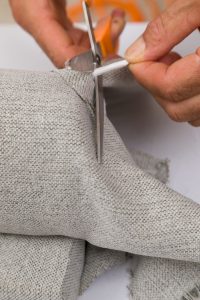

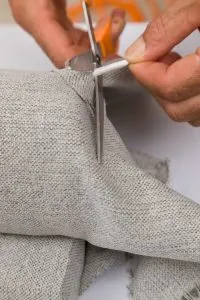

Trimming the cord and finishing the end.
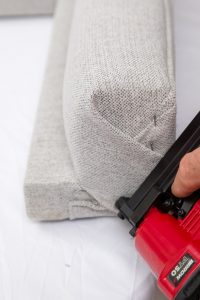

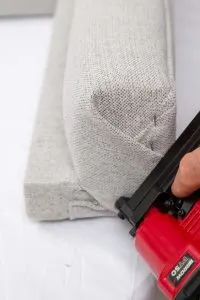

Finish folding and stapling the bottom of the leg.
DIY Headboard Dust Cloth
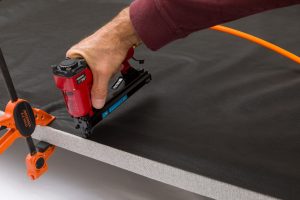

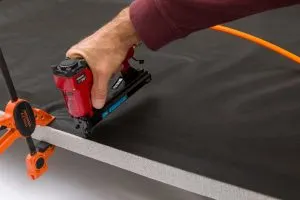

Attaching the dust cloth to the back of the headboard.
Attach the headboard to the bed frame or use French cleats to attach to the wall.
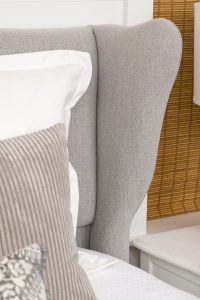

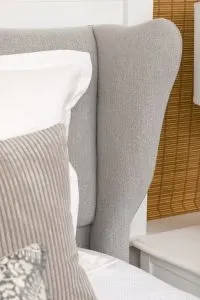

Inside Wing
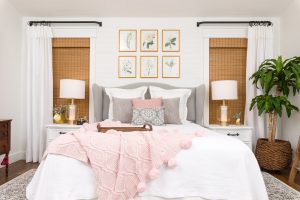

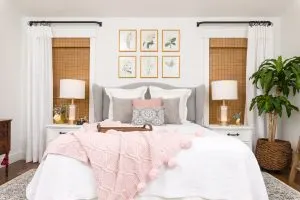

One Room Challenge Reveal Week 8


Handmade Curtains, Euro Shams, and Blanket Ladder
The adorable blanket ladder we made to display our Christmas stockings this past year. See how we make it in this post.
I wanted to share my Great Grandfather’s portrait of my Great Grandmother that is hung over my Grandmother’s antique sewing cabinet. The handmade doily was made by Great Grandmother.


No-Sew Window Treatments and Great Grandfather’s Art
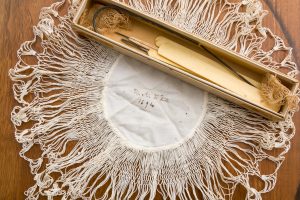

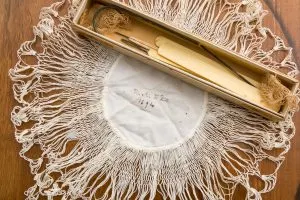

Doily made by my Great Grandmother and her tools she used to make it
Another heirloom treasure is my Great Grandmother’s books.
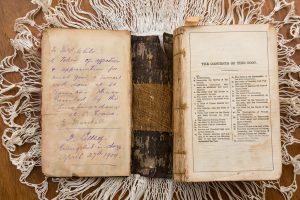

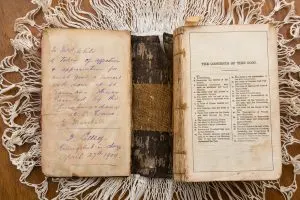

My Great Grandmother’s book
Sources To Shop This Look
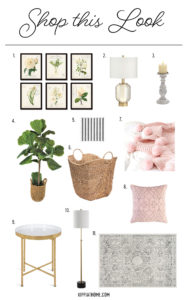

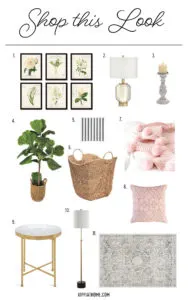

Master bedroom ideas
1. The prints are reprints of vintage French floral prints.
2. Lamps
3. Candlesticks
4. Faux Plants
6. Basket
7. Throw
8. Pillow
9. Side table
10. Floor lamp (this is a similar one)
11. Rug
Let’s take a last look at my to-do list:
To-Do List
Add shiplap to the wall with windowsPaint the ceiling and wallsReplace windowsReplace all trim and baseboardsInstall recessed lightingRemoved the old carpet and install new flooringOrder woven-wood Roman shadesWindow treatment hardware orderOrder pillow insertsPurchase plantsHave artwork and antique photos framedOrder bedding fabricsMake bed skirt and pillowHang ArtworkMake upholstered headboard- Install wall sconce
Paint nightstandsInstall woven wood (bamboo) shades
The wall sconce will be installed tomorrow or Monday. It has been so hot (I live in Florida) that sending Mr. Kippi into the attic to install the electric lines seemed like a bad idea. The weatherman said we are going to have rain so he can take a chance up there if it cools off.
More DIY Headboard Ideas
Romantic Boho Chic headboard we made for our daughter’s bedroom makeover you can see HERE. It is a modern button tufted headboard made with linen fabric.
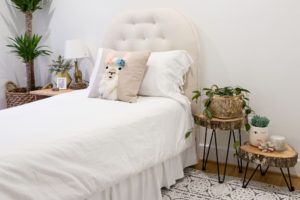


Bohemian DIY Headboard
My son’s headboard and cornice board are modern with Dwell Studio Fabrics you can see more HERE.
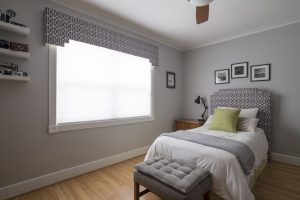


Teen Boys Bedroom DIY Makeover
Thank you so much for stopping by. I hope you found some inspiration I also would like to invite you to join our Fall Inspiration Newsletter and have all this inspiration and more delivered to your inbox.
Have a great week,
Kippi

Emma
Monday 26th of February 2024
An interior filled with many small details, all sorts of figurines, vases and curlicues requires a painting painted in the same manner. Carefully drawn fragments of the painting will be in harmony with the surrounding interior, and a frame that matches the main color, but is slightly lighter or darker, will advantageously emphasize the uniqueness of the painting. On this site you can always find art for sale
Nika
Monday 3rd of May 2021
I like how the result of your work looks like. There are a lot of good ideas for your upgrade on the Internet, but don't forget that only good specialists will be able to implement your ideas flawlessly. Take a responsible approach to choosing contractors, you can find more information here on how to choose an electrician. This will help you get a high-quality result
Crissy
Friday 17th of July 2020
Wow, oh wow! Kippi, the headboard looks incredible! He's a true professional, but the tutorial is so detailed I might actually have the confidence to try this at home. Ha! Your entire bedroom looks stunning. Well done!
Amy
Thursday 16th of July 2020
Your room turned out absolutely stunning! You've used all of my favorite colors and things - pink, grays, and botanicals. :) The headboard looks great and that hardware for the windows made all the difference in the world. LOVE!
Rebecca
Wednesday 15th of July 2020
This transformation is amazing Kippi! I love the headboard and the great tutorial. Thanks for sharing at Celebrate Your Story! Link Party. You've been featured this week :)