This easy DIY bunny pillow tutorial is just in time for your spring and Easter decorating. Seasonal pillows add so much fun to your decor and they are budget-friendly too.
This post contains affiliate links. This means that if you purchase from one of these links I will make a small commission, but rest assured you will not pay more for any products.
I use the same pillow forms for every season since I can easily zip off the covers and use a different pillow cover, and reuse the forms. It is so easy to store the pillow covers in a plastic tub or hang in a closet until the next time you need to use them.
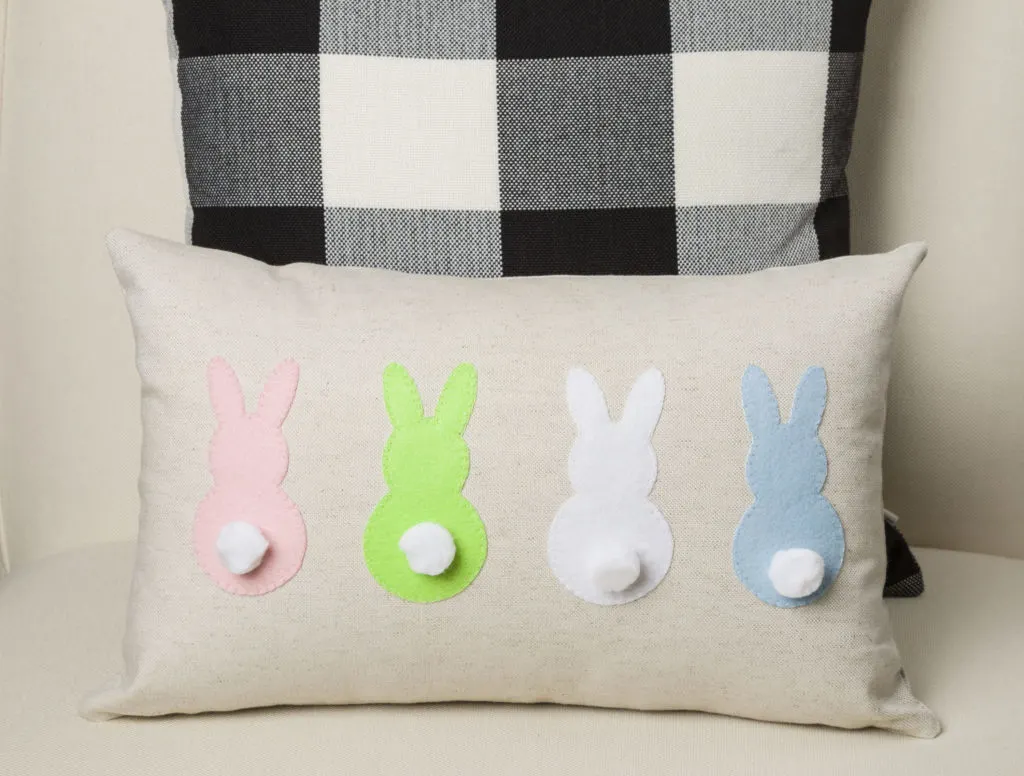
Easy Bunny Applique Pillow DIY
It is so easy to become an insider and get access to all of our freebies just fill out the form below and you are in.
How to Make the Bunny Pillow
Gathering supplies and making a shopping list of what you don’t have on hand to whip up this cute pillow. Plus download the pattern or SVG file using the form below:
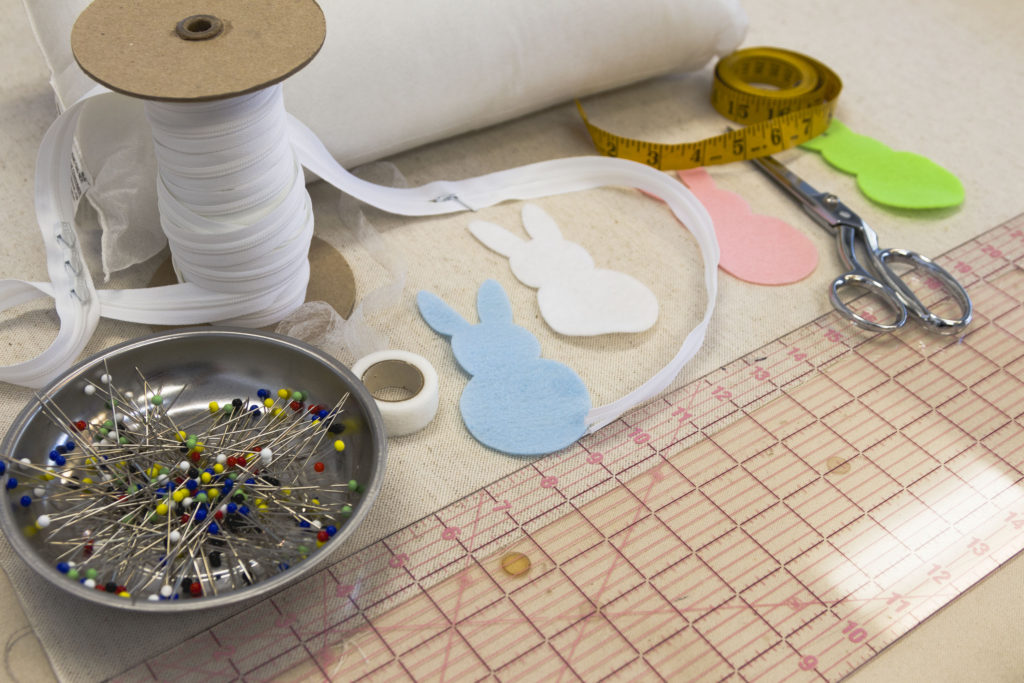

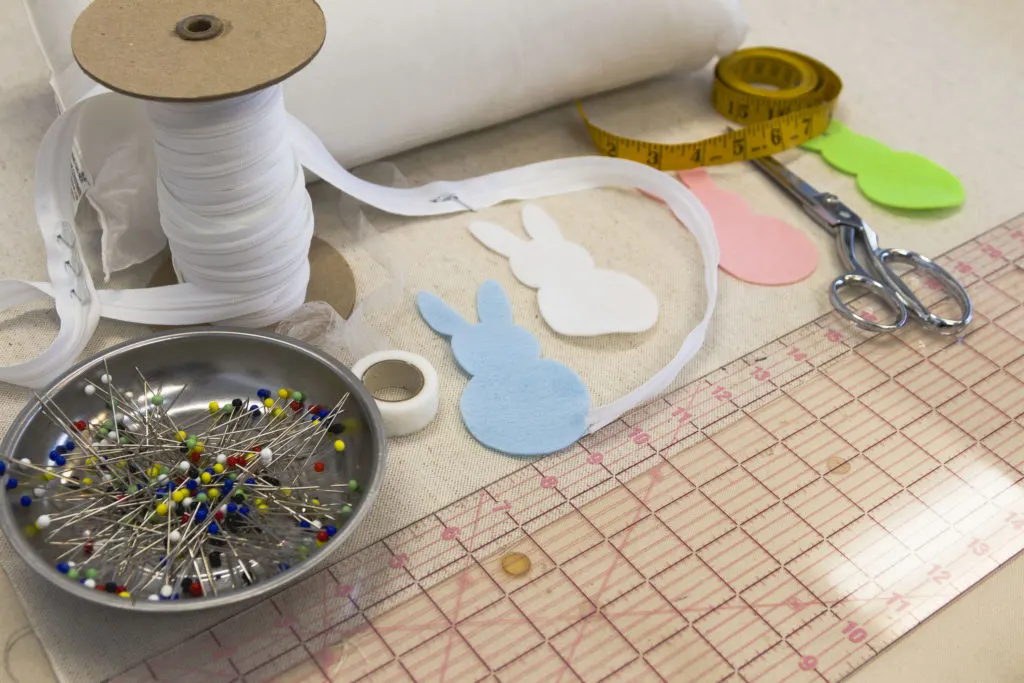

Supplies for the bunny pillow
Supplies Needed:
- Linen fabric
- Stitch witchery
- Pastel felt squares
- Embroidery floss in matching colors
- Pillow form
- Invisible zipper
- Scissors, my favorite
- Pins
- Fabric marker
- Thread
- Needle
- Measuring tape
- Cricut Maker
- Sewing Machine
- Downloads
- Mini pompoms
Cutting Out the Pillow and Bunnies
Start by measuring your pillow form then cut out 2 pieces of fabric using those measurements. Mark the centers and make a cross down the centers like in the photo below with your fabric pen. After cutting out your bunnies (I used my Cricut Maker) with the pattern or SVG files in the download you can find the placement you like on the pillow fabric. After you are happy with the bunny placement, pin in place and use some little pieces of the Stitch Witchery in a few places under the bunnies and iron them down to adhere (basting) them to the fabric.
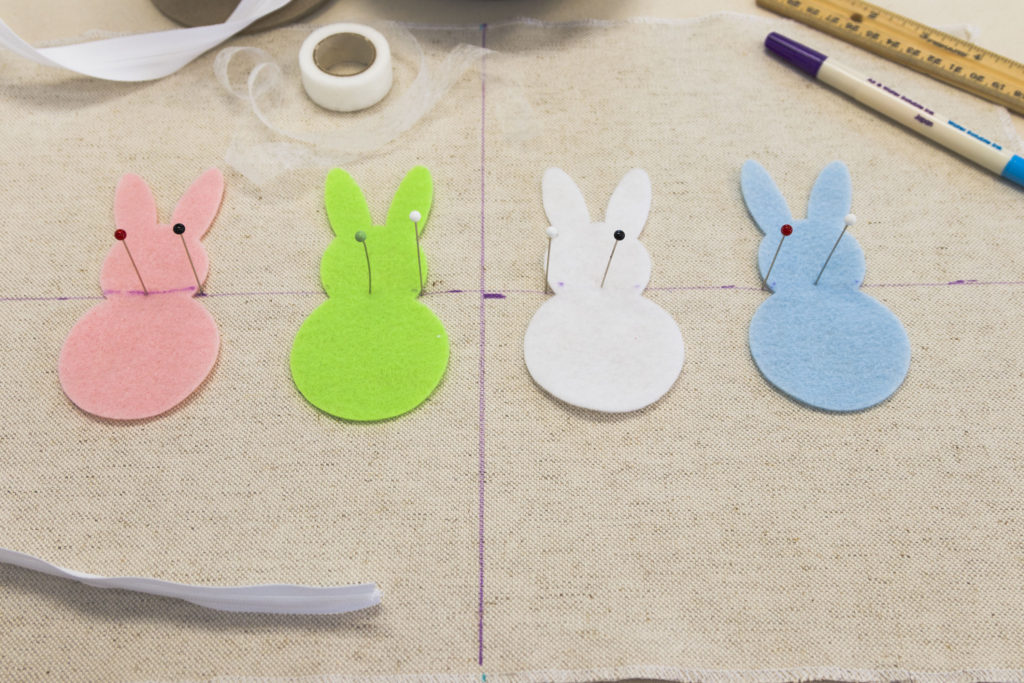


Placement for bunnies
Sewing on the Bunny Applique
I used DMC embroidery floss in matching colors, however, it would fun to use the different colored embroidery floss on each one and mix up the colors. Use any embroidery stitch or a running stitch around each bunny. Please note I used the blanket stitch.
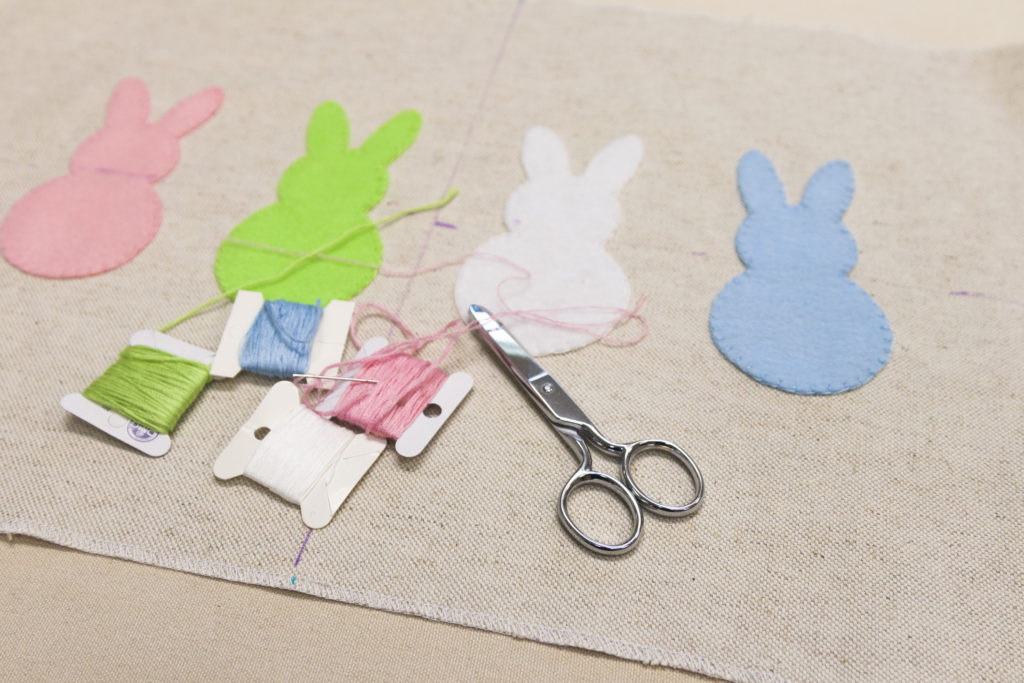

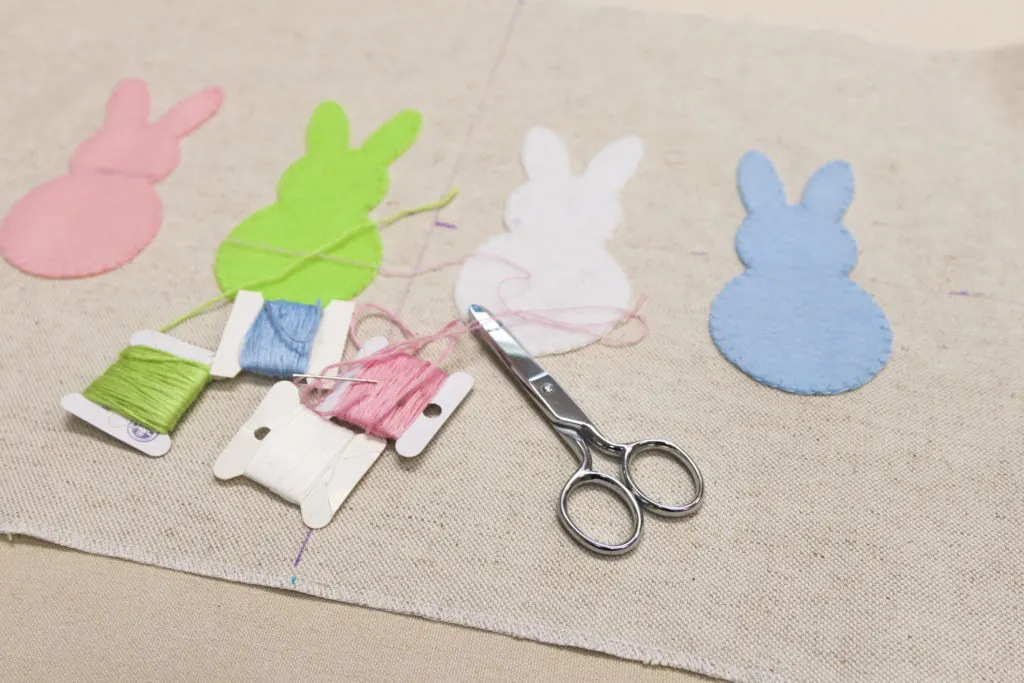

Finished stitching bunnies
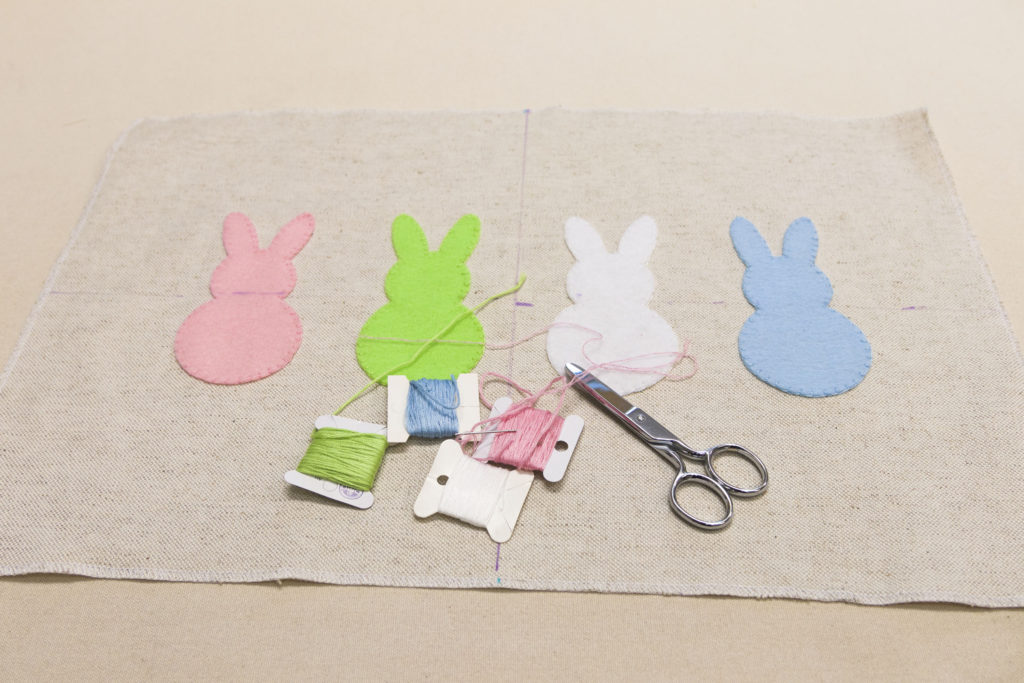

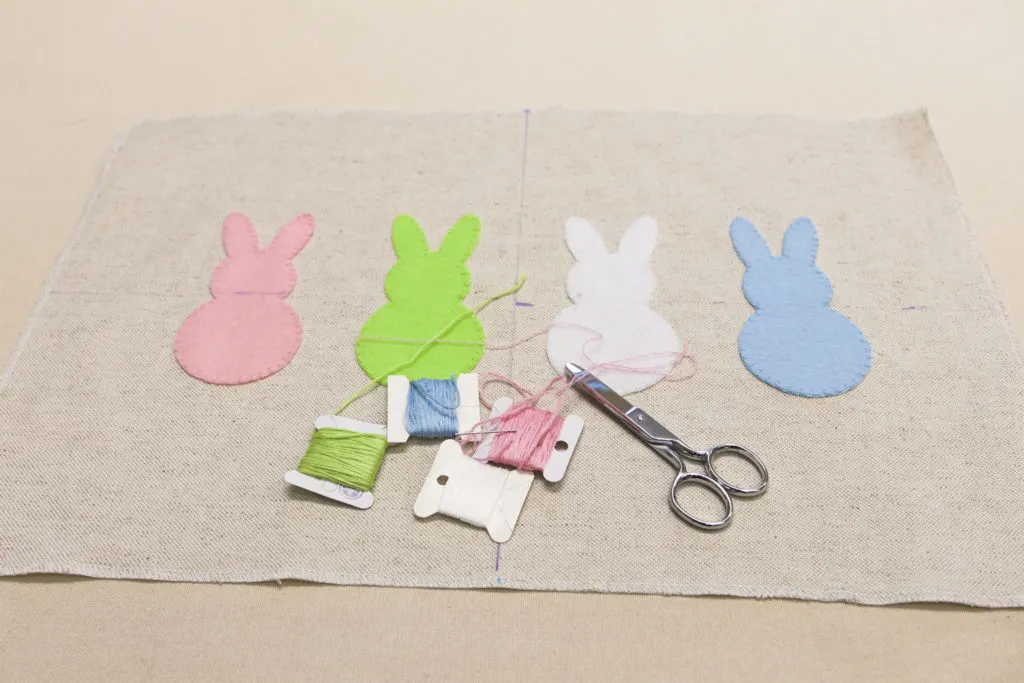

Bunnies ready to be sewn into a pillow
Attaching the Zipper to the Bunny Pillow
After you are finished stitching around each bunny you are ready to add the zipper. My zipper of choice is an invisible zipper (I purchase zippers by the roll) since they are so easy to sew in and and give a clean finish. See in the photo below how I cut the zipper longer than the pillow.
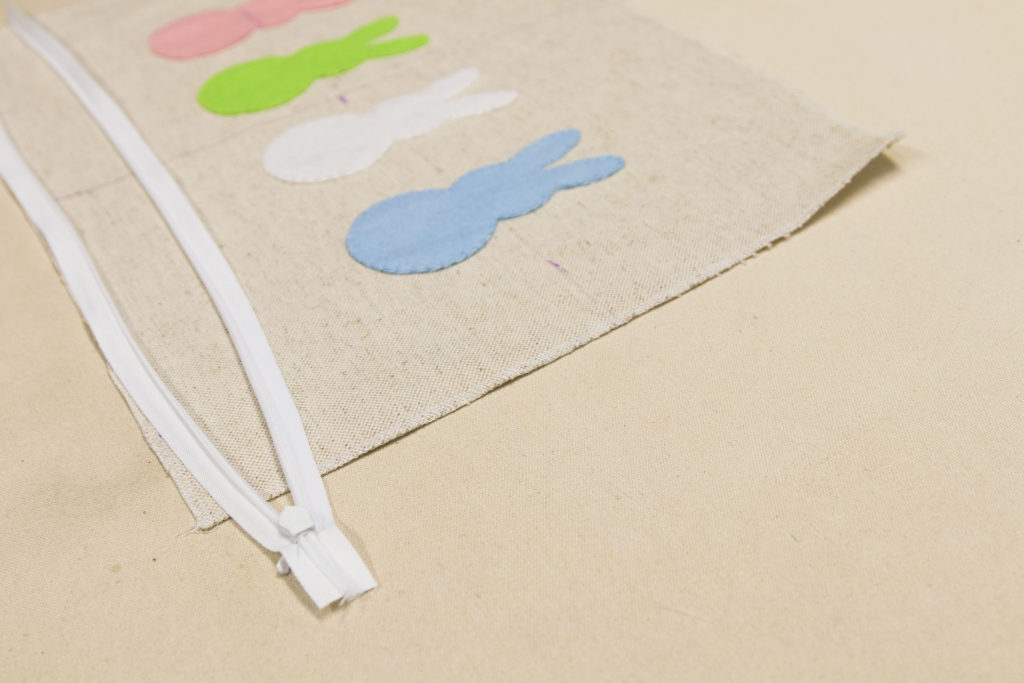


Lining up the zipper
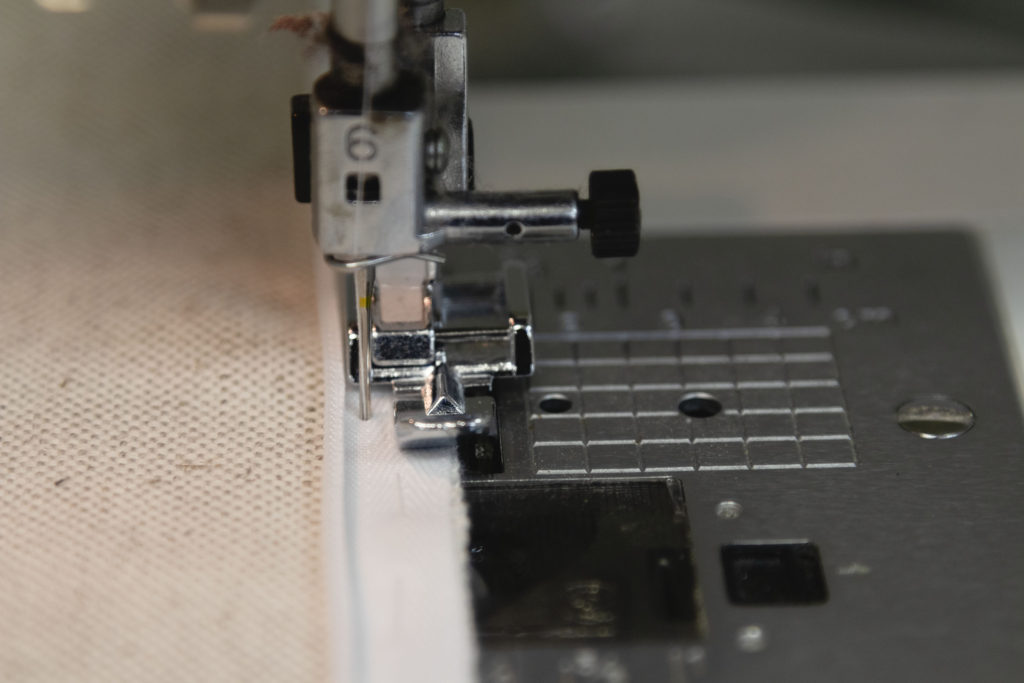


Sewing the zipper
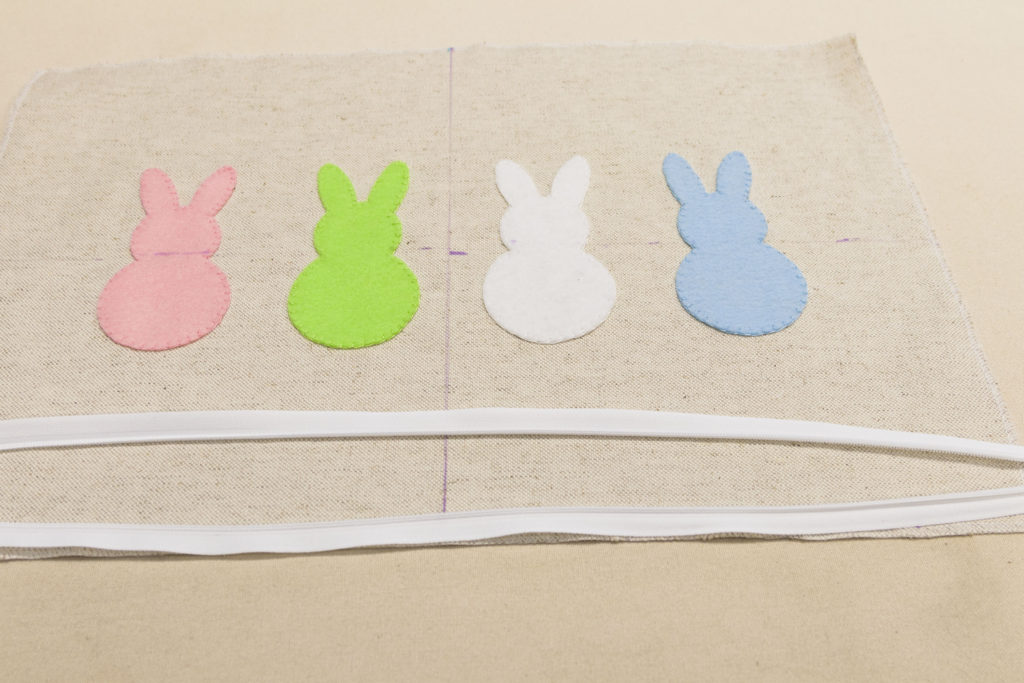

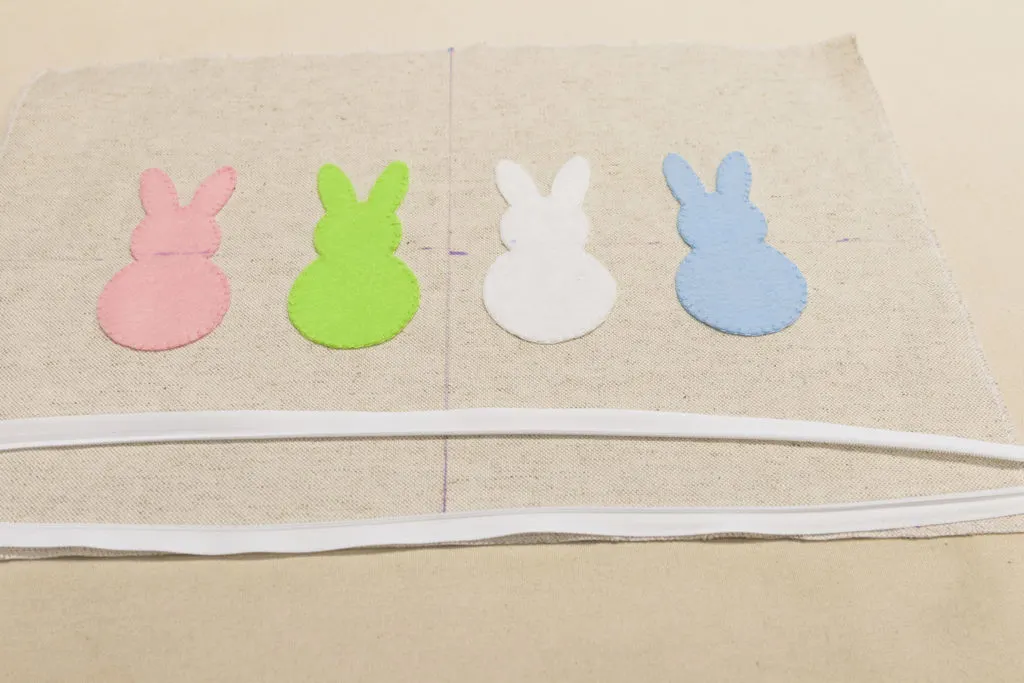

View of zipper
Finishing the Bunny Pillow
It is so easy to finish since you only need to sew the other 3 sides with a regular sewing foot and that’s it. Turn the right side out and hot glue the pompom tails on each bunny.
Bunny pillow paired with pink pillow is so spring and happy.
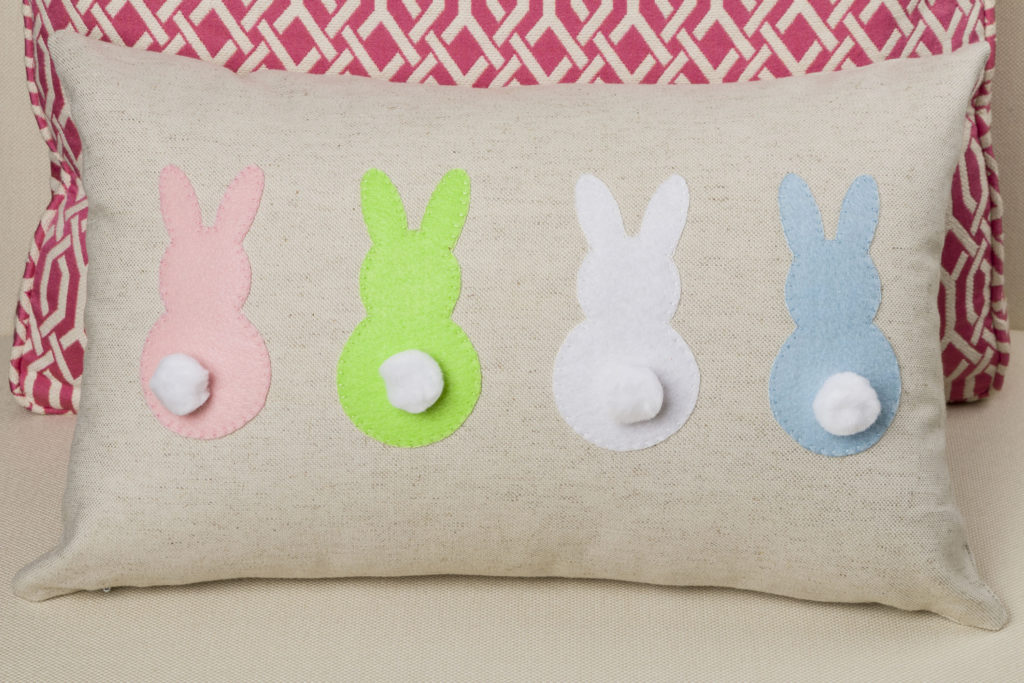

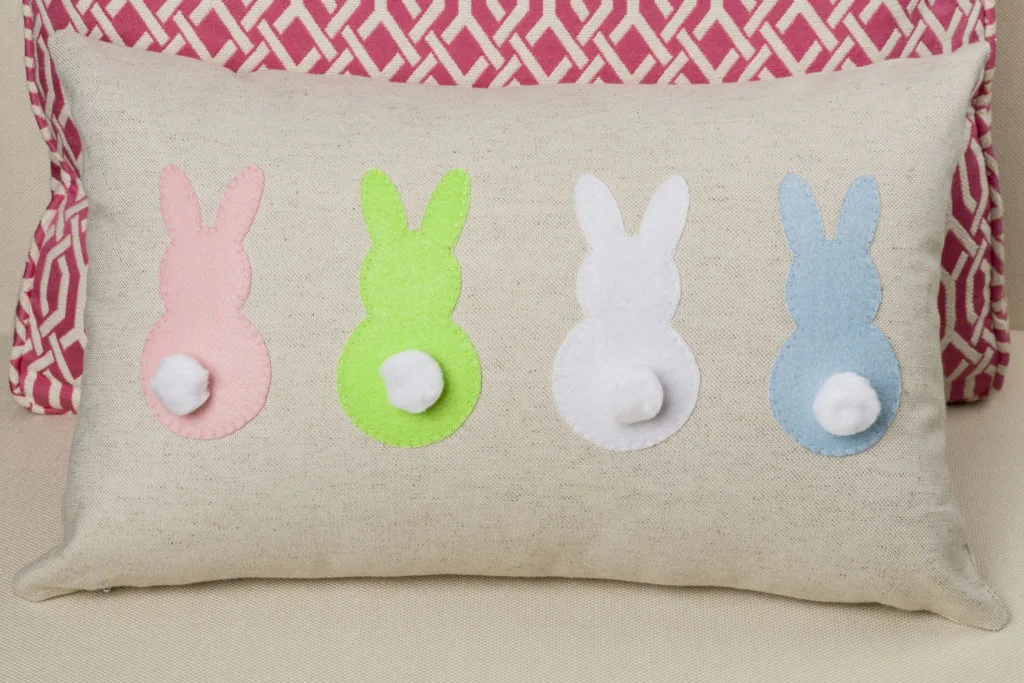

Bunny Pillow
The bunny pillow completes this fireplace and family room’s decor on the Spring Home Tour, see more of the tour HERE.
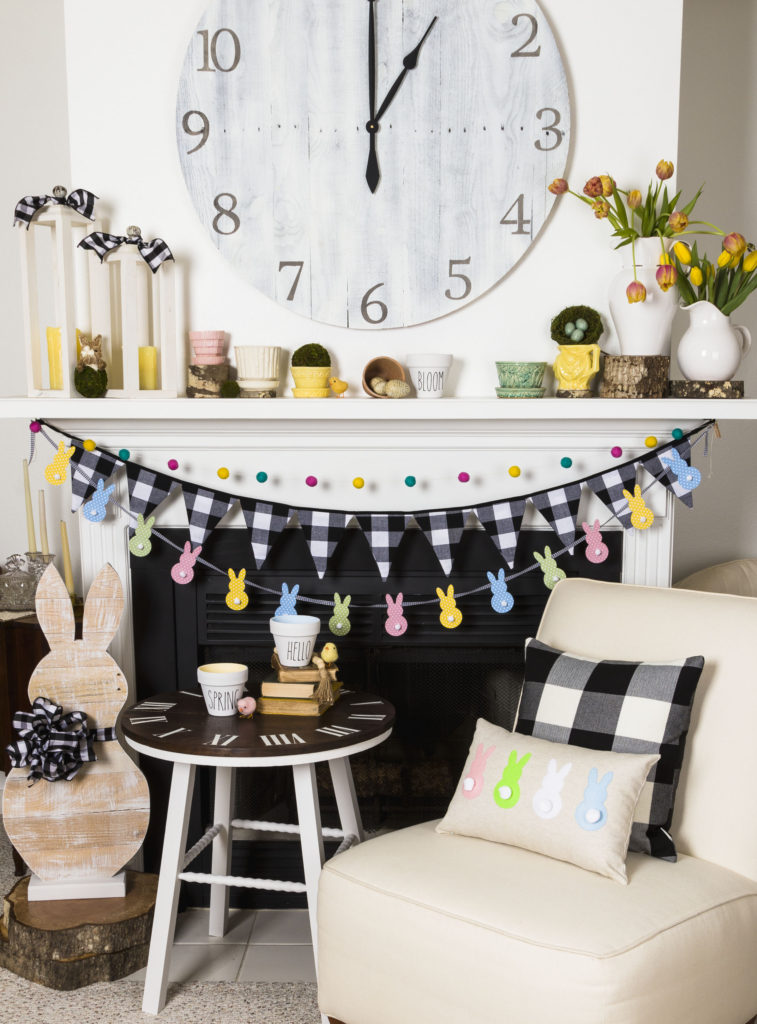

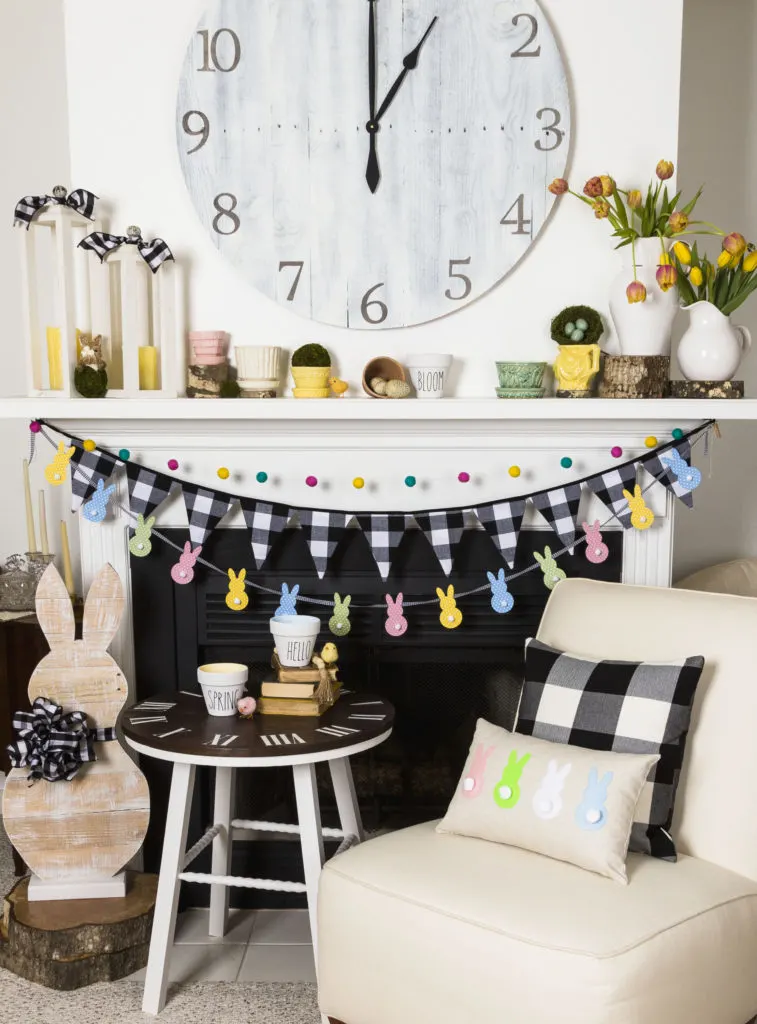

Spring Decor and Mantel
More Seasonal Pillows:
Thank you for hopping by and sharing the bunny pillow post with me. Please let me know what you think of Mr. Bunnies’ pillow in the comments below.
Happy Spring,
Kippi


Pamela
Sunday 9th of February 2020
Such a cute easter pillow, love the spring colors!
Julie Briones
Monday 15th of April 2019
So stinkin' cute! So glad you joined us at Homestyle Gathering! Hope to see you each Tuesday!
o
Monday 15th of April 2019
Absolutely adorable! Wish I was proficient with a sewing machine -- all my DIY pillows are (pretty much) no-sew! Happy Easter and thanks for sharing at Vintage Charm. xo Kathleen
April J Harris
Friday 12th of April 2019
These are so cute, Kippi! Thank you so much for sharing these sweet bunnies and great craft inspiration with the Hearth and Soul Link Party.
Kathy A
Thursday 11th of April 2019
Loved your pillow and mantel decor. I need lesssons in how to use my second hand cricut; projects like this give me a kick in the butt to get going!! Think I'll keep my eye out for precut forms this year! I love simple embroidery--hate counted cross stitch but could make French knots all day! I love the idea of contrasting colors for the blanket stitch, too! Pastels just shout spring to me! Happy Easter