Everything looks special displayed on a cake stand. I like to use them for holiday decorating and birthday parties. They can be expensive, so I decided to DIY some.

Whitewashed handmade cake stands
This post contains affiliate links. That means that if you purchase from one of these links, I will make a small commission.
How to Make a Cake Stand
In the past, I made a dessert stand using dollar store items (you can see it here). For that one, I used glass plates, candle holders, and spray paint. However, I wanted to make some using wood and chalk paint in a rustic farmhouse style.
The first step is to gather your supplies and tools.
Supplies and Tools
- Candlesticks
- Wood plaques
- Gorilla glue or hot glue
- Chalk paint
- Sandpaper (this is the one I used)
- Paintbrush
- Measuring tape
- Pencil
**Since it is difficult to find some craft stores, I have gathered all my crafting must-have supplies HERE for your convenience.
My next step ws to examine the wood plaque for any rough edges that need sanding.
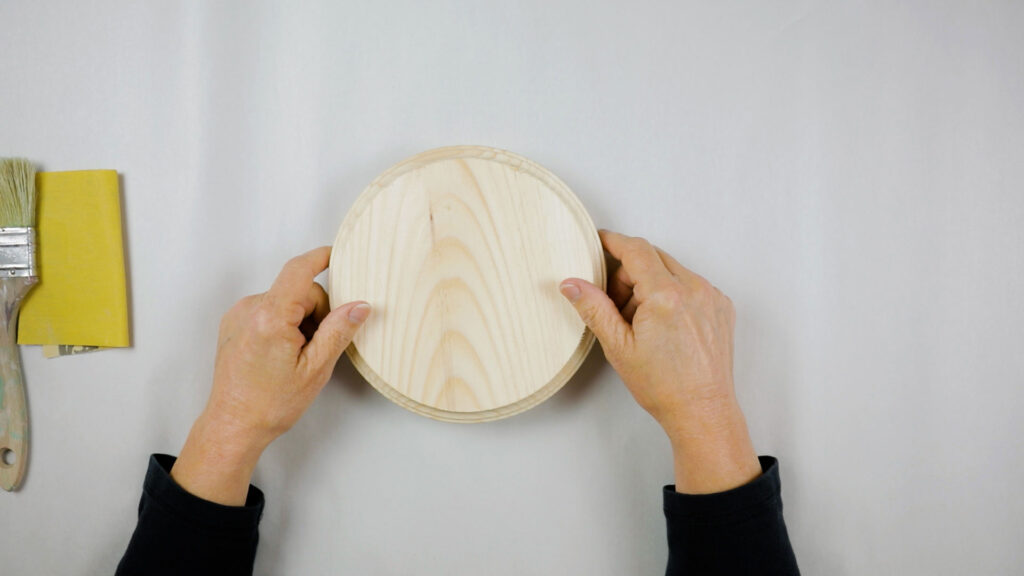


Wood circles
I liked the white-washed finish of my candlestick to give the unfinished cakestand top the same finish.
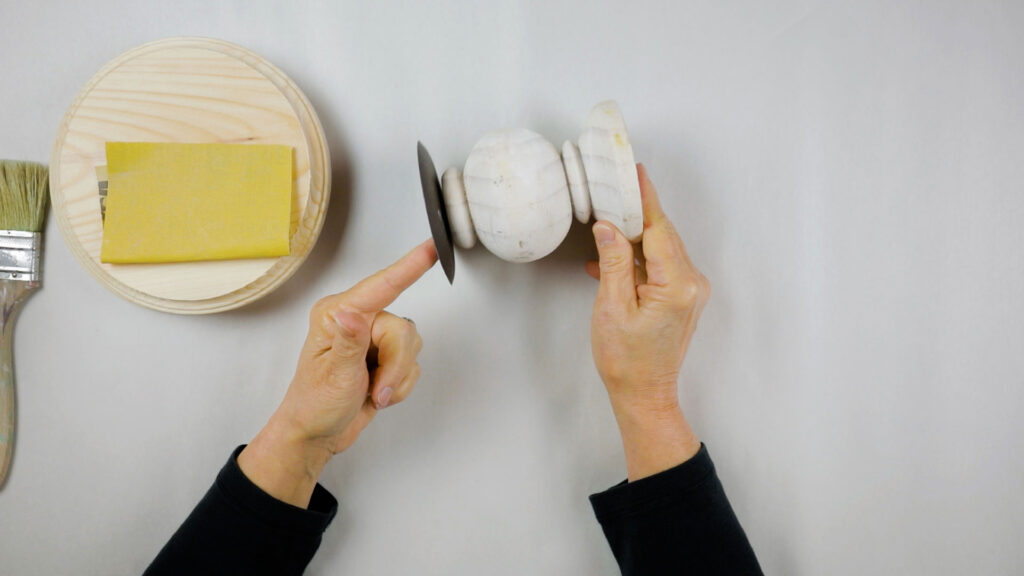

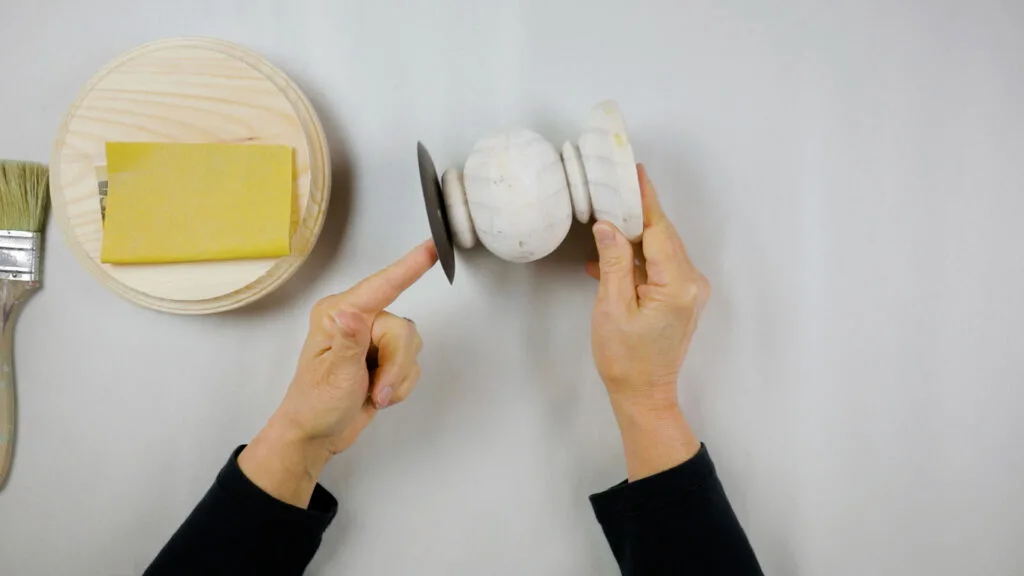

Candleholder
Painting {White Washing}
Then I needed to remove the candle holder’s metal top to have a flat surface to glue the wood plaque to.


Paint the wood circles
I then painted the wood plaque (these are the ones I used) tops with white chalk paint; however, to get the whitewashed look, I immediately wipe off some paint to expose the wood grain.


Removing the metal candle holder
Attaching the Pieces
Removing the metal top proved to be a simple task; moreover, it provided the perfect surface to attach the cakestand top with it removed.
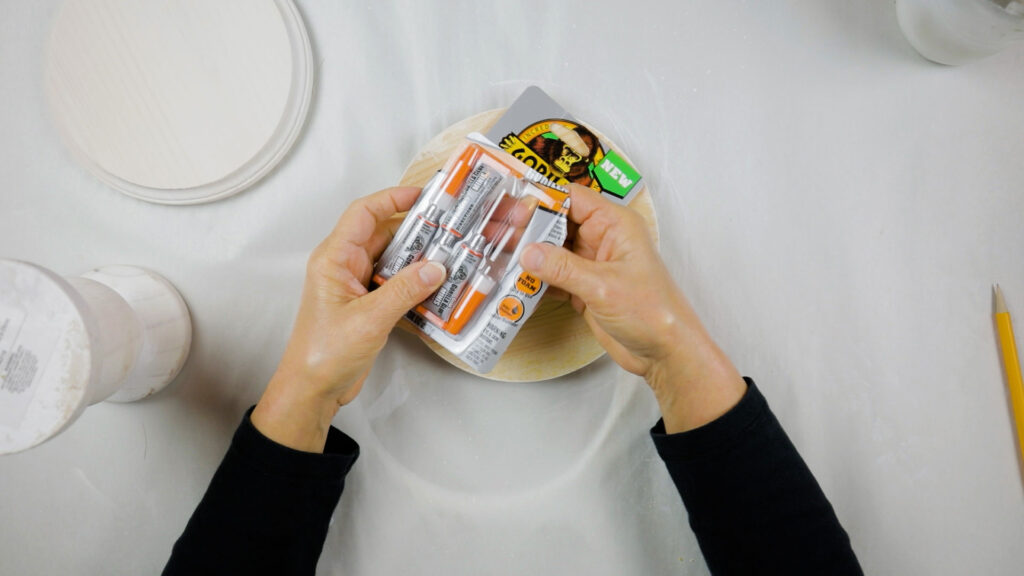

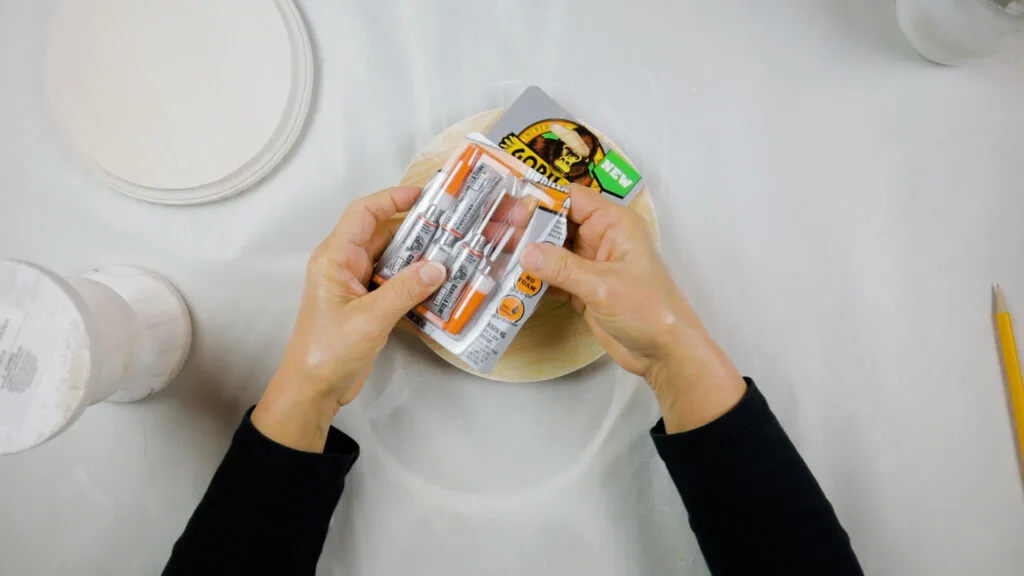

Permanent glue
This the glue I used to attach the pieces with attention to the outer edges.


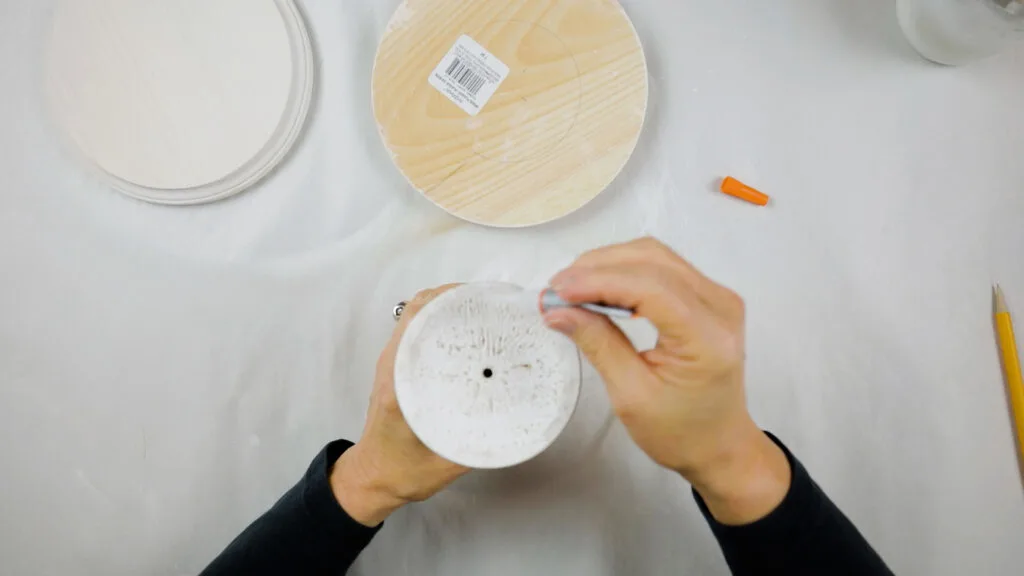

Apply glue to the top of the candle holder
To help me find the candlestick’s center placement, I measured and marked that with a pencil and traced the candlestick outline.


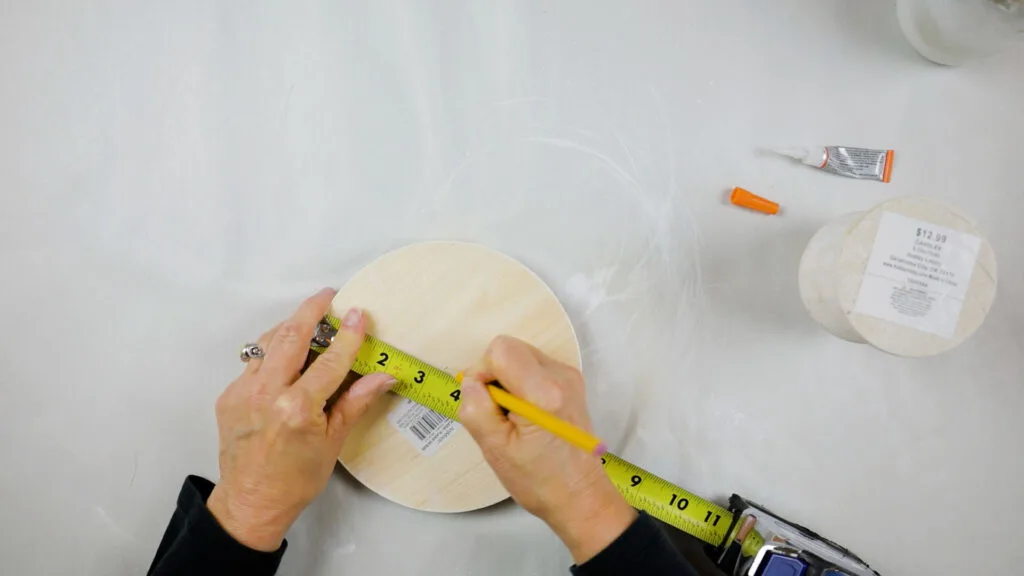

Measure to find the center
Next, I used the outline I draw as a guide to attach the candlestick. I set it directly in that circle and put a book on top of it for a few minutes to dry.
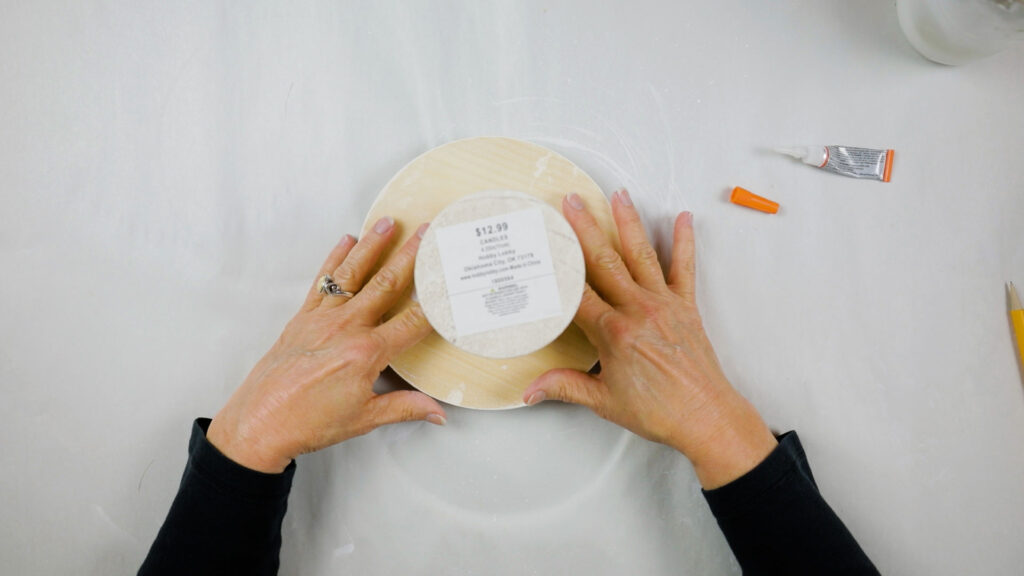


Gluing the cake stand pedestal to the wood circle


White Washed Cake Stand
This was an easy craft project that turned just as I envisioned.


Cake stand with flower pot
More Ideas
There are a ton of items that can be used to create interesting and unique DIY Cake Stands.
Some of my favorite places to hunt for pieces are thrift stores, antique stores, yard sales, dollar stores, and your own home.
Now to decorate with my new DIY Cake Stands. I have enjoyed decorating with these scrap wood risers for the last few years, and now I cannot wait to use them with the cake stands.


Farmhouse style rustic risers
Please join me (sign up HERE) as we craft up some fun. You can look forward to receiving new inspiration every week.
As well as special online crafting events, seasonal and holiday crafting too.
See you soon,
Kippi

Beth
Saturday 20th of February 2021
You always share fabulous and doable projects, Kippi! I’d love for you to join us over at the Crafty Linky Party every Wednesday through Sunday https://creativelybeth.com/creative-crafts-linky-party-29/ Followed and Pinned! 🙂 Creatively, Beth
Chas Greener
Tuesday 16th of February 2021
What a fun project Kippi! I love this little cake stand and might just have to try it myself :) Thank you so much for sharing friend!
Kippi
Tuesday 16th of February 2021
Sweet friend thank you for your visit. I hope you will enjoy your diy cake stands too. Hugs, Kippi
Sara
Tuesday 16th of February 2021
Great idea - everything looks better when it's elevated!
Kippi
Tuesday 16th of February 2021
Thank you for stopping by. I agree. I love to decorate with risers too. Hugs, Kippi
Leslie Watkins
Monday 15th of February 2021
I love this cake stand idea! Can’t wait to give it a try! Thanks for your inspiration!!
Kippi
Tuesday 16th of February 2021
Thank you so much for stopping by. I hope you enjoy your diy cake stands too. Hugs, Kippi