My love for DIY birdhouses began with my father (a master gardener) telling me about our local bluebirds’ plight. Their numbers were rapidly on the decline. He informed me about their need for a safe habitat for nesting.
I decided to share that bluebird information during my hosting garden club meeting. My father told me how particular bluebirds were about the specifications for their birdhouse. Unfortunately, it was too much to remember, so I typed out fact sheets to hand out information about creating a welcoming environment for bluebirds.
That did not seem like enough to get this bluebird campaign rolling. Therefore I decided we would build every member a bluebird house. I brought along paints, paintbrushes, and stencils to decorate the homes for some added fun. It was amazing to see all the gorgeous painted birdhouses.
These birdhouses will look great in my secret garden with our DIY Trellis, Obelisk, lanterns, Hanging Baskets, and window boxes; they remind me of my father.
DIY Birdhouse

This post contains affiliate links. That means that if you purchase from one of these links, I will make a small commission.
How to Build a DIY Birdhouse
You can build wooden Birdhouses with any wood, but it is best to refrain from using pressure-treated wood for the birds’ safety.
Supplies
- Saw
- Hammer
- Drill
- Measuring tape
- 1 ½ inch drill bit
- Drill bits
- Clamp (this is the one I used)
- 1x6x8 pine, cedar, or cypress
- Nails or screws (I used these)
- Exterior Glue (this is the one is my favorite)
- Template print out
- Graphite paper (this is the one I used)
- Pencil
- Tin Snips
- Speed square
- Pipe flange
- Galvanized pipe
I have gathered all my garden/yard must-haves HERE.


Tools for building birdhouses
Lumber Cuts
- Cut two 1 x 6 x 8-inch boards for front and back
- then cut two sides 1 x 6x 4¾ inch for sides
- Cut one 1 x 6 x 4 inches for the bottom
- Next, cut one 1 x 6 x 9 inch for roof right side
- Cut one 1×4 ¾ x 9″ for the roof left side
Cutting Out the Pieces


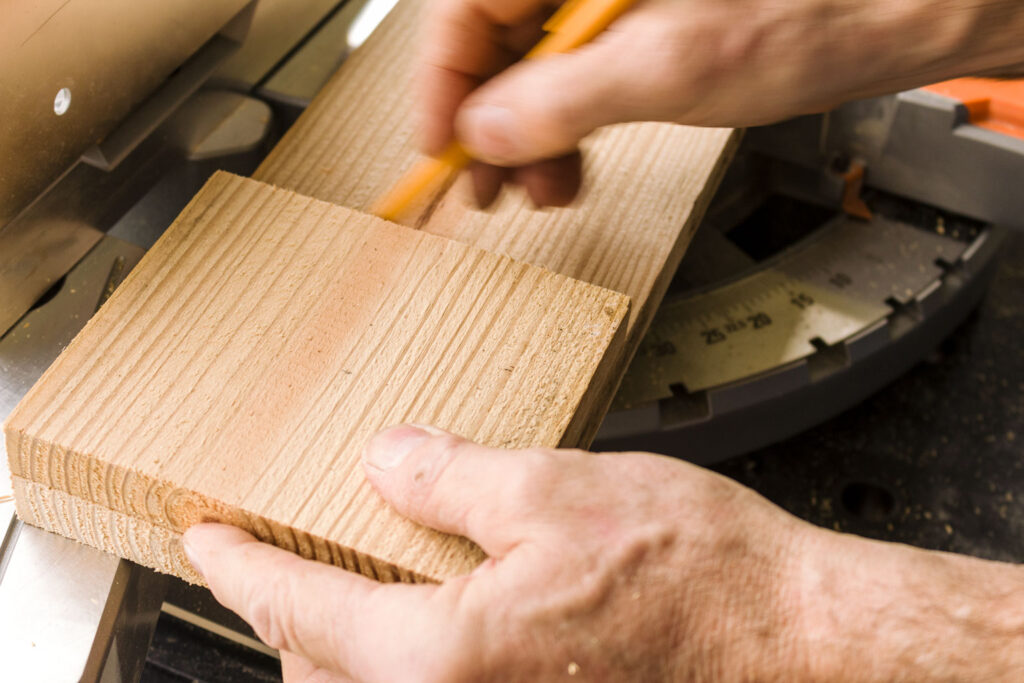
Start by downloading and printing the template. Next, make all of the appropriate cuts based on the list of cuts above. Now, on the front board, trace the template using a sheet of carbon transfer paper.
If you are not using the template, mark your front and back’s center top. Cut from the center mark at 45 degrees on both sides to form a peak.


Checking my transfer on the wood


You can see the videos I made of the building process (Video part one, Video part two, and Video part three).
Cut the bottom and roofline using your graphite marks as a reference.


Cutting along the roofline


Now trace your cut-out front to the board for the back of the birdhouse and cut it out. Next, measure the wall height on your cut-out front board. Cut your wall board to the correct height and repeat on the second side board.


Measuring the wall height


Cutting the side of the birdhouse

Tracing the second side of the birdhouse
Next, drill out the hole on the front board.


Drilling the birdhouse opening
Building the DIY Birdhouse
I like to pre-drill holes for screws in my front and back pieces. It is easy to stack them and drill through both pieces at once.


Pre Drilling screw holes
Clamp one of the side pieces to the front. Then, make sure they are even with the bottom and outside edge.
Screw or nail in place. Repeat the process for the other side.


Clamp side to front
On one side, we left the bottom screws out so that it would swing open, making it easy to clean out.


Testing the cleanout side hinge screws


Attach sides to the front then back of the house
Attach the back with screws or nails.

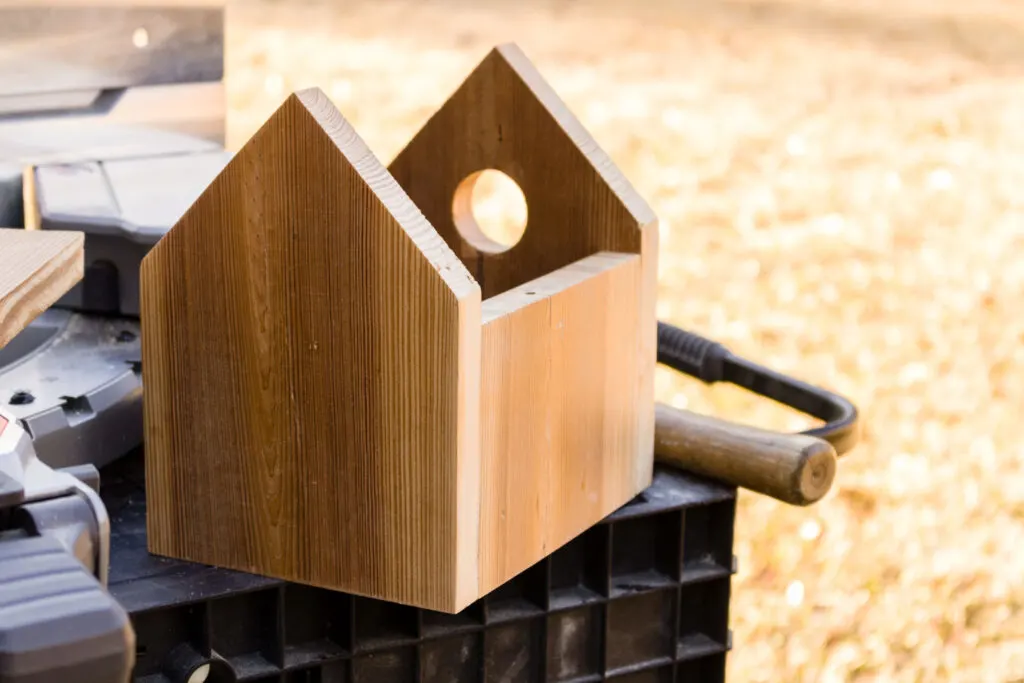
House walls are finished.
Optional Cleanout Door
We used screws that act as hinges (see more how they work in this video).


Installing the bottom
Insert the bottom into the bottom of the house and attach it with glue and fasteners.


Tapping the bottom into place
Attach the narrower roof board first with glue and fasteners, even with the house’s peak.


Checking the roof placement
Attach the other roof board, even with the other roof board’s outside edge, with glue and nails.


Drilling pilot holes


Finished roof
Use a measuring tape to figure out an even overhang on the roof.


Measuring the overhang


Marking the wall area


Drilling pilot holes in the roof
Install a hook in the roof if you want to hang it or mount it on a pole with a flange and a 1 ¼ inch pipe.


Install a pipe flange
I had to use this adorable birdhouse to decorate for spring.


DIY Birdhouse
Roof Options
I wanted to try some roof variations, such as tin, old license plates, and shakes. We have been saving rusty tin my husband salvaged from an old barn I wanted to use for a roof. However, the tin had some holes in some areas.
We cut off the severely rusted area and then used a pencil to mark the roofing cut lines.


Vintage tin roofing


Mark cutting line with a pencil
Following the pencil marking, he cut the tin for the roofing.


Cut out tin roof with tin snips
A jar filled with rusty roofing nails was perfect for this project. Pre-drill the holes, being careful to mind the inset.


Pre-drill holes for a tin roof


Birdhouse ready to install flange


Rustic DIY birdhouse ready for the birds
Special note: Bluebird houses should be about 6 feet from the ground.
Ideas to Attract Birds:
Birds love the nest in a habitat that provides shelter, food, and water.
We have a variety of bird feeders to attract birds; however, during the winter months, we have extra birds that have migrated here for the winter. Therefore ,we needed additional feeders.
I made simple feeders and placed my DIY Pine Cone Bird Feeders in the trees.


Pine Cone Bird Feeders
More wood building projects inspiration:
My friend, Tarah from Grandma’s House DIY, shares how to build storage space.


DIY Closet
Amy from Heath, Home, and Heart has installed a gorgeous trim accent wall in her bedroom.


Accent wall
My friend Kim from Shiplap and Shells created a romantic faux fireplace mantel surround.
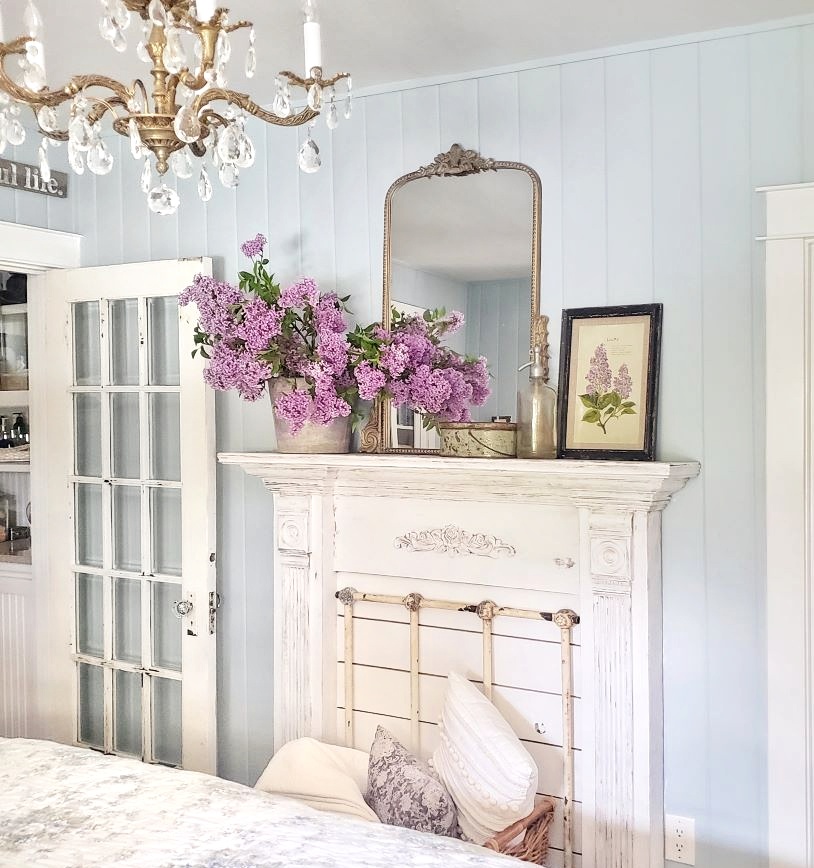
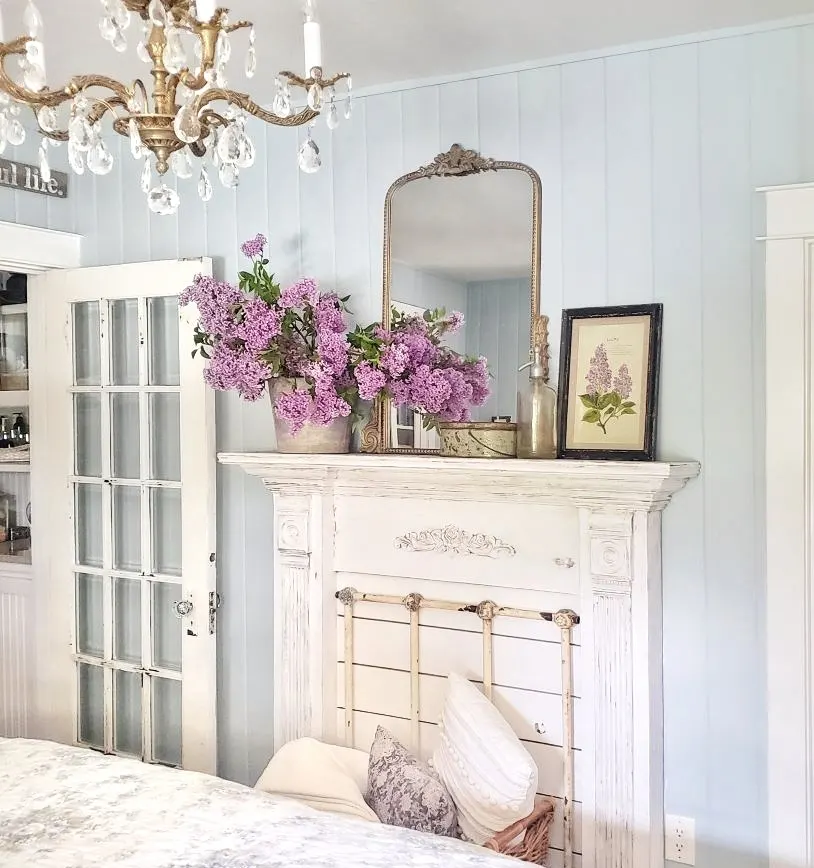
Faux fireplace mantel surround
My friend Niky from The House on Silverado shared how she built a farmhouse coffee cup stand.


DIY Farmhouse Coffee Stand
This next project is perfect for my outdoor space, too. Mary from Life at Bella Terra shares how to build an outdoor bench perfect for the garden.

Outdoor bench
Andrea is sharing how to build a DIY corner desk.


DIY corner desk
I hope you found some inspiration.
See you soon,
Kippi
Robin
Friday 30th of December 2022
Very interesting and comprehensive tutorial. Keep it up. Can't wait for the next post. I also like to build birdhouses, I found this interesting website https://birdhouseplan.com/ Here is everything about birdhouses.
Susan
Thursday 2nd of June 2022
I worry about plans like this. Baby birds have no way to climb out and are trapped inside. There is also no access door to clean it out.
Wednesday 24th of December 2025
Mahindra Blossom is looking class booking, booking laundry (you may be able to book your residential development laundry in the residential development located but if you have a family, make fantastic like 3/4/offering projects development along with visiting all the links and choosing features. https://mahindrablossomwhitefield.blogspot.com/2025/12/mahindra-whitefield-class-new-provider.html
Jen
Sunday 11th of February 2024
@Susan, you can do small ladder groove cuts in the inside front panel for them to grab onto as they climb out.
Jane
Wednesday 25th of May 2022
Very beautiful bird house. What I would recommend is drainage holes in the floor. The nest stays dry even in heavy rain. I especially like this tin roofed blue bird house. I found another article that may be helpful when installing a blue bird house. https://birdhouseplan.com/bluebird-house/ If building a blue bird house seems difficult, then I also found best bluebird house kits https://birdhouseplan.com/bluebird-house-kits/
John Lewis
Sunday 8th of May 2022
I love your bird house as it’s simple and easy to make, but I don’t think the tin roof does it justice. It will allow rain and draughts to get in. Whereas the wooden roof with it overhangs adds a lovely finish to a beautiful bird house.
Rita
Tuesday 22nd of March 2022
i have sent the message for the birdhouse but not hearing from you....thanks, Rita