I wanted to share an easy tutorial about flower arranging today. The arrangement was for tea time. I remember I had the perfect vessel since I was setting up to serve tea at church, and my friend’s grandson decided to help with the teapot and broke the lid.
My friend wanted to discard the teapot since the lid was broken, but I saw it as a perfect vessel for a floral arrangement, especially tea time.
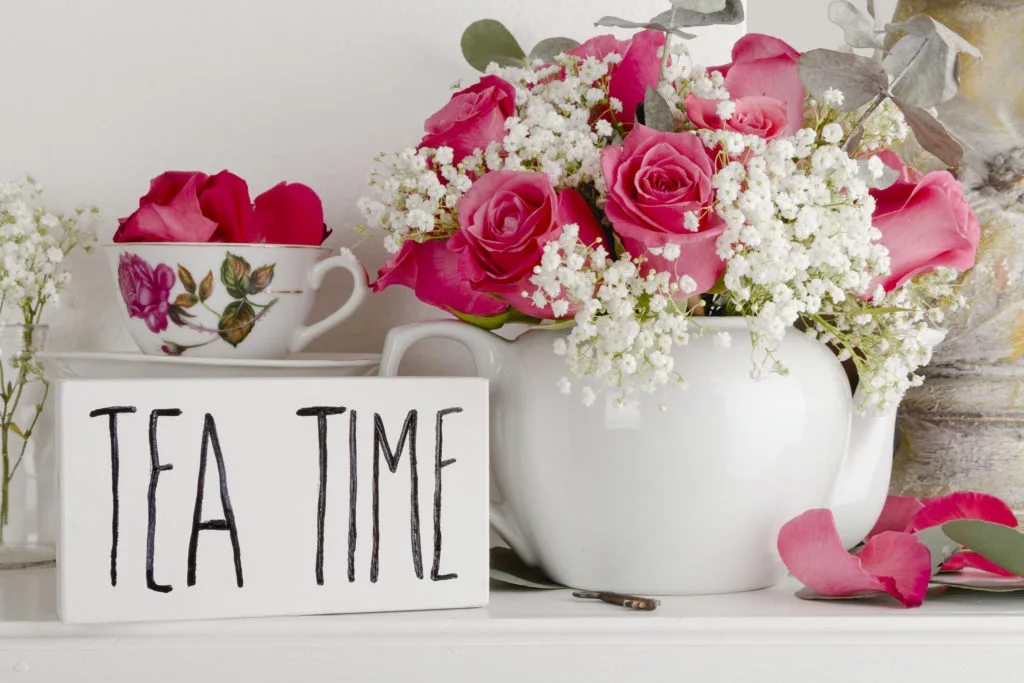
Making tea time special with pretty floral arrangements, lovely teacups, a touch of whimsy, and of course, tea. Sharing tea in the afternoon is the perfect time to unwind and reconnect with family and friends.
Become an insider and have all our FREEBIES. DIY inspiration, recipes, and more delivered straight to your inbox. Don’t miss out. Subscribe today.
If you would like to save this inspiration for later, you can with this pin for Pinterest.
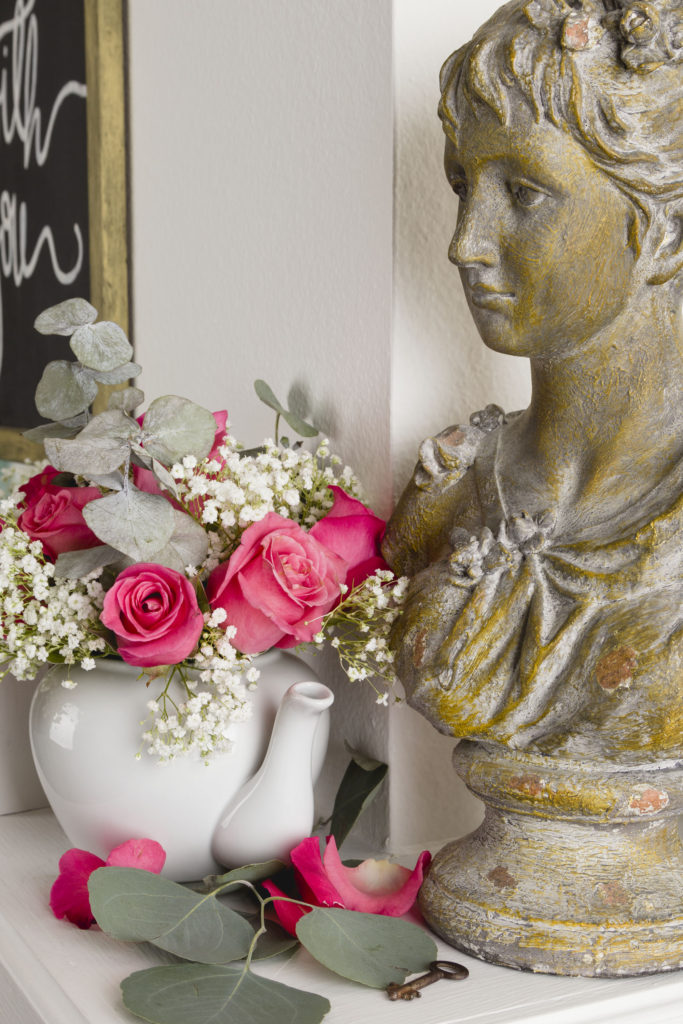

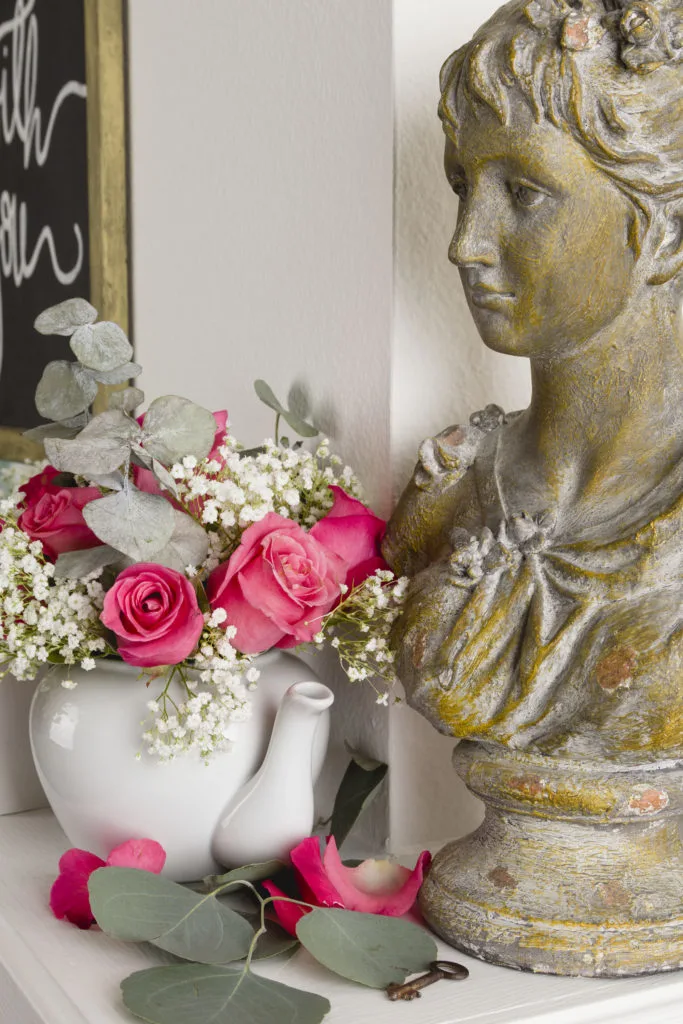

Teapot Centerpiece and Hand Painted Sign DIY
This post contains affiliate links. This means that if you purchase from one of these links, I will make a small commission, but rest assured, you will not pay more for any products.
How to Arrange Flowers
I purchased three floral types from Publix (local grocery store) roses, baby’s breath, and greenery; despite the small amount of floral used, the teapot centerpiece made a pretty arrangement.
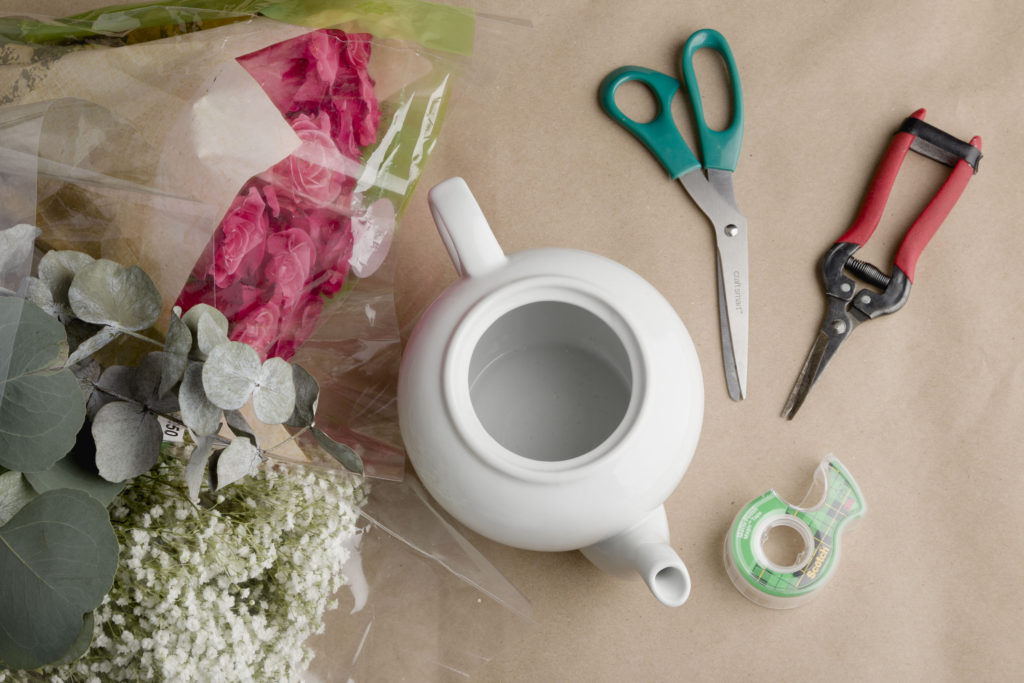

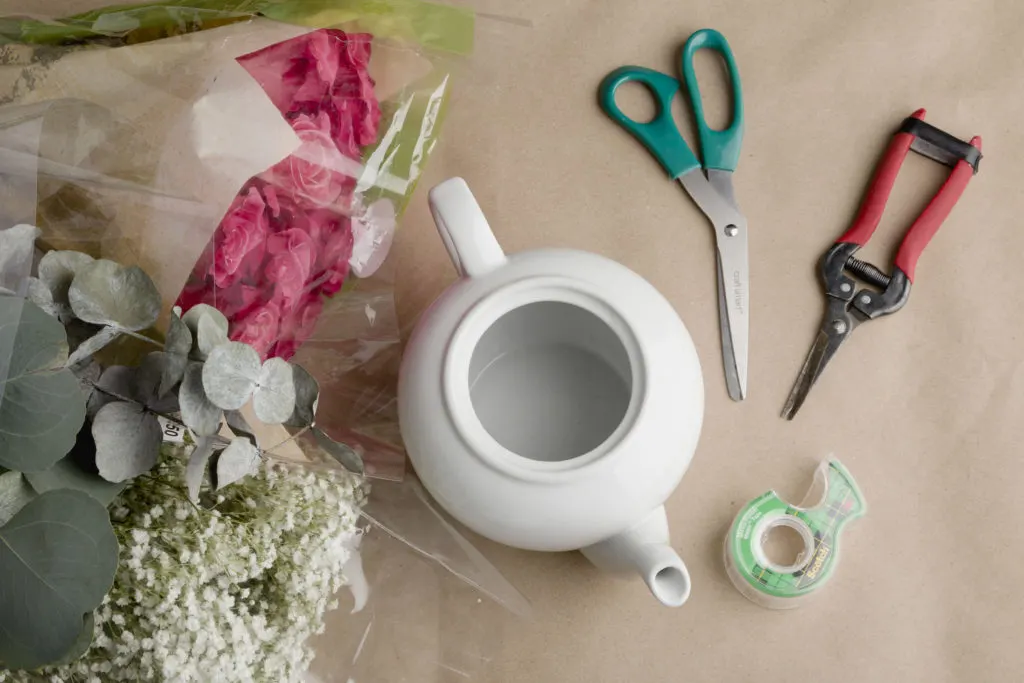

Elements for floral arranging
Supplies
- Roses
- Baby’s breath
- Greenery
- Scissors
- Floral snips
- Tape
- Vessel for arrangement (I used a teapot like this one)
Steps to a beautiful floral arrangement:
- Using scissors, cut open all the floral and greenery warping.
- Then remove outer petals from roses.
- Also, remove all the leaves from roses.
- Tape the top of your vessel.
- Using floral snips, cut the roses to the same height (about 2 to 3 inches taller than the vessel). Start by cutting just one rose, then check how it looks with a 3″ taller rose placed in the center. Adjust height if necessary.
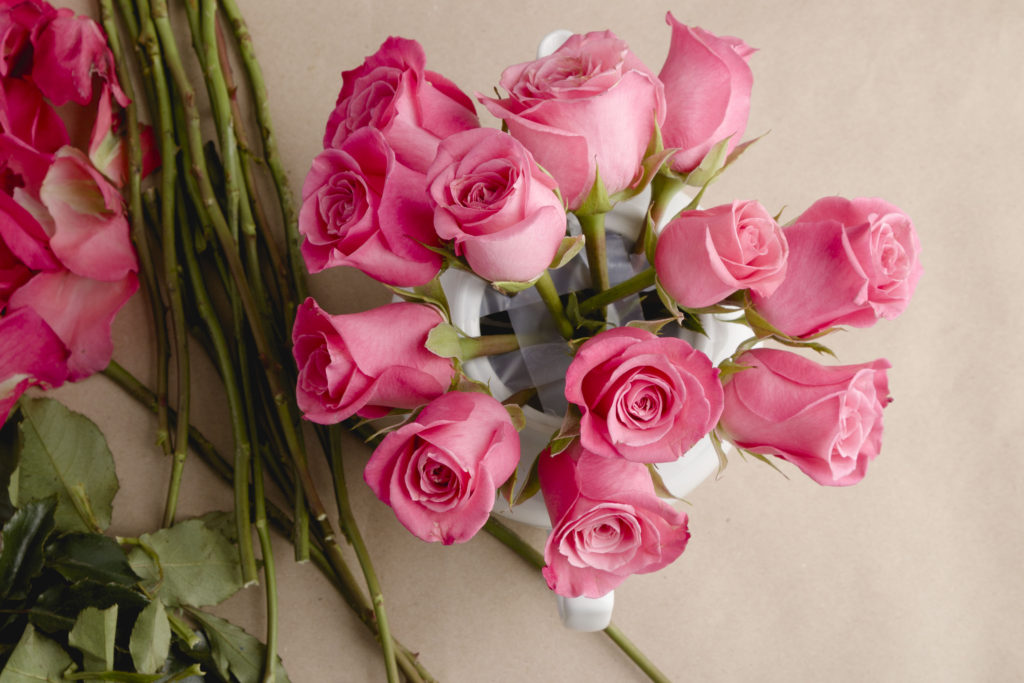
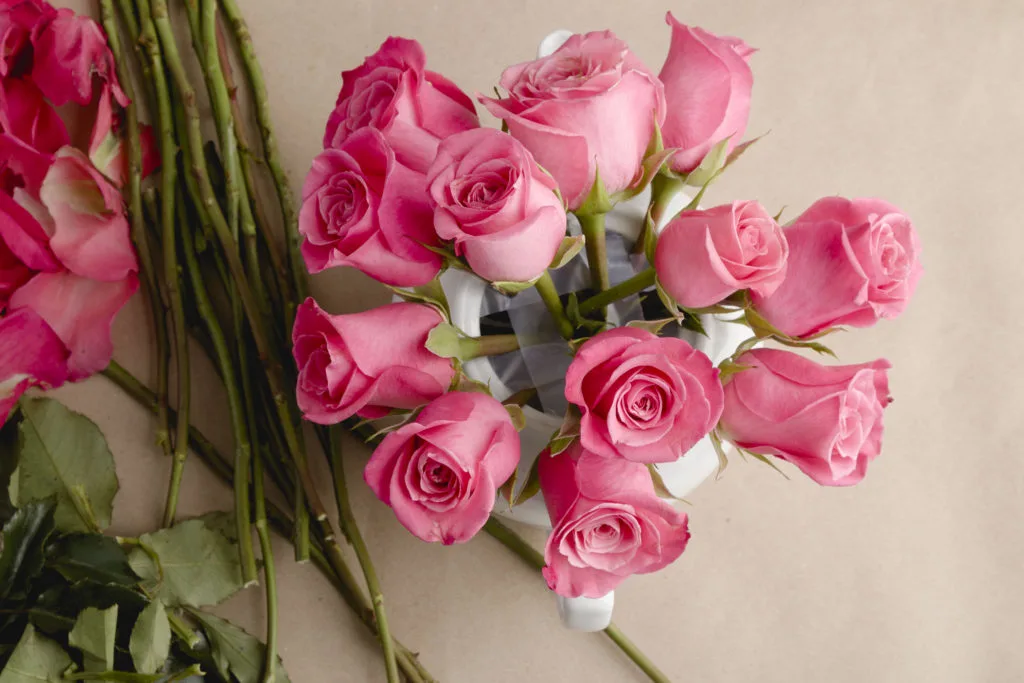
- Once all the roses are cut to the same length, start placing them in the vessel between the tape grid, placing them crossing back and forth, and creating a grid inside the vessel. This way, they will support the top roses, baby’s breath, and greenery.
- Then I added the eucalyptus. There were only three eucalypti, so I had to move them around a little to see what I liked best.
- Next, start cutting the baby’s breath one piece at a time and filling in around the roses.
- Add water
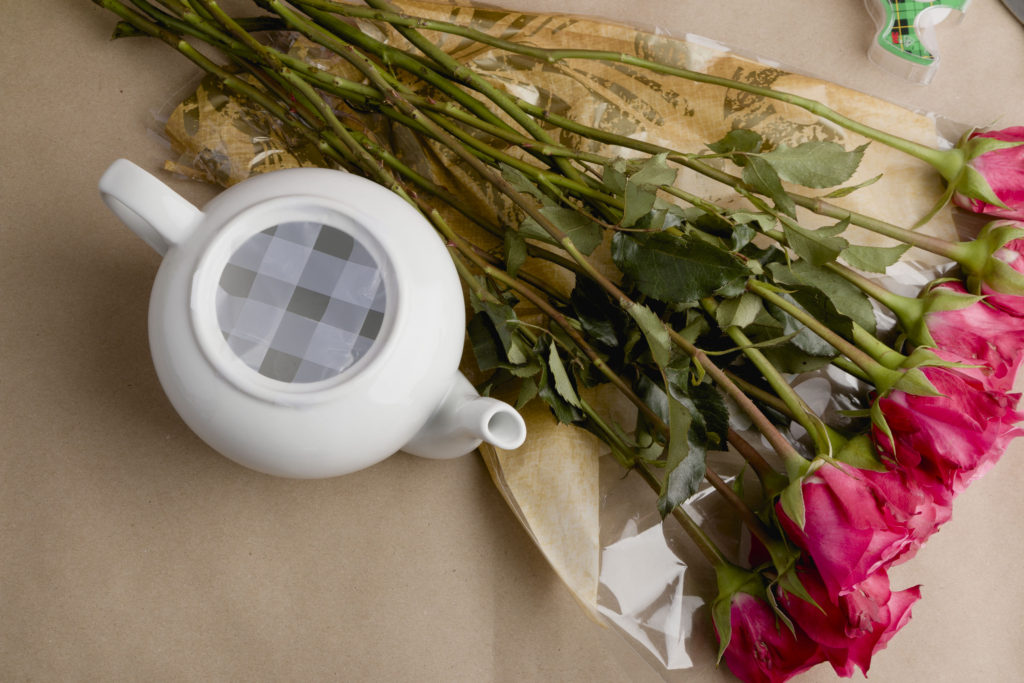

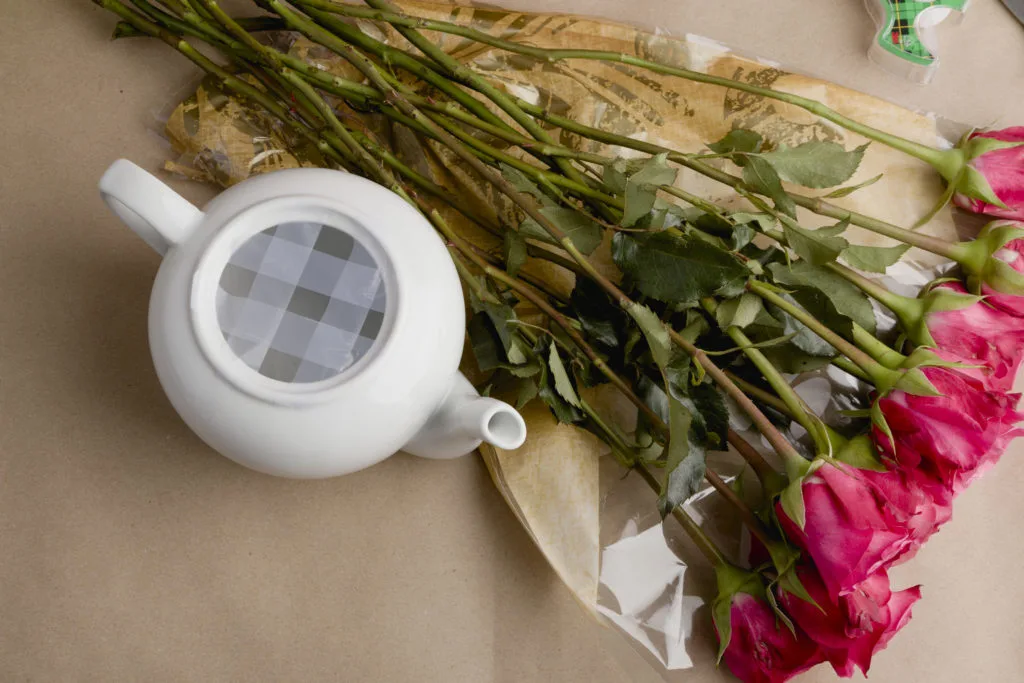

Teapot with roses
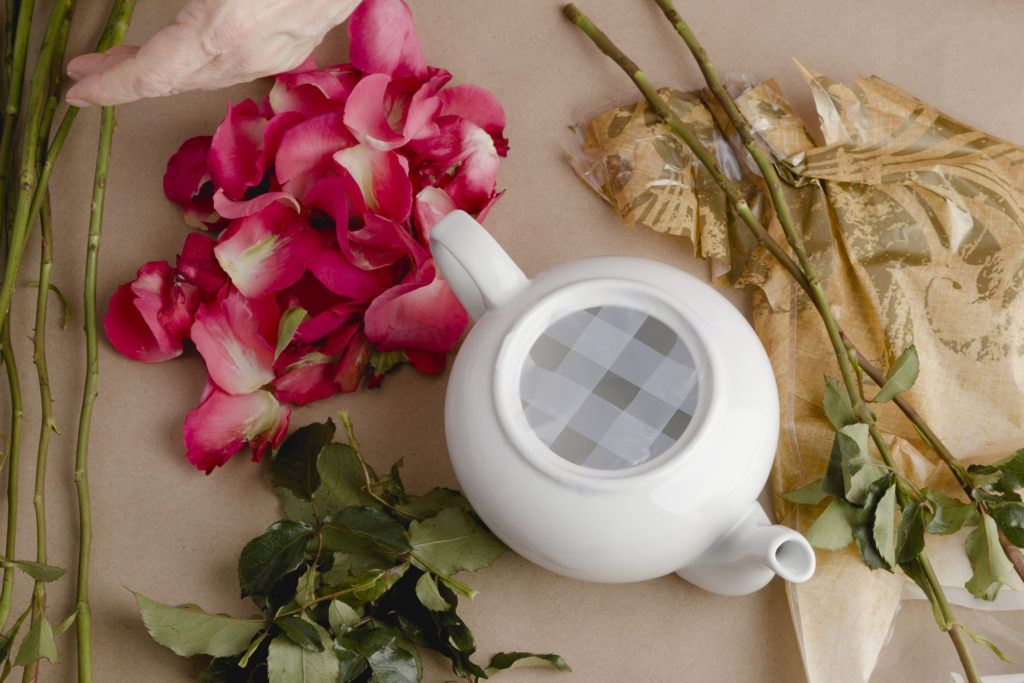

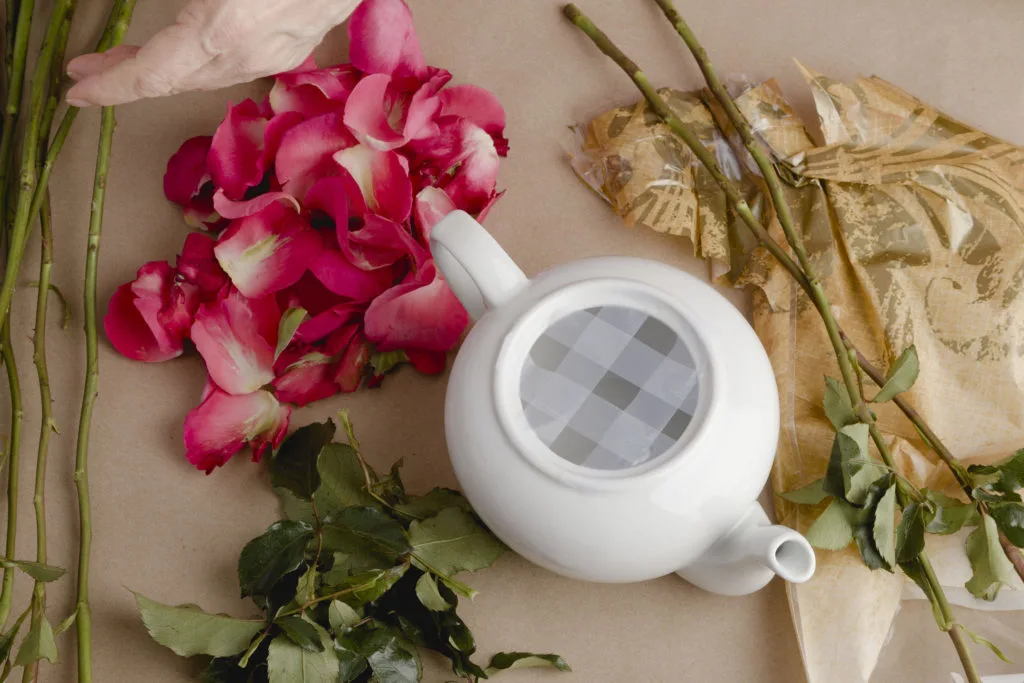

Tape grid, cleaning up the steam and roses.
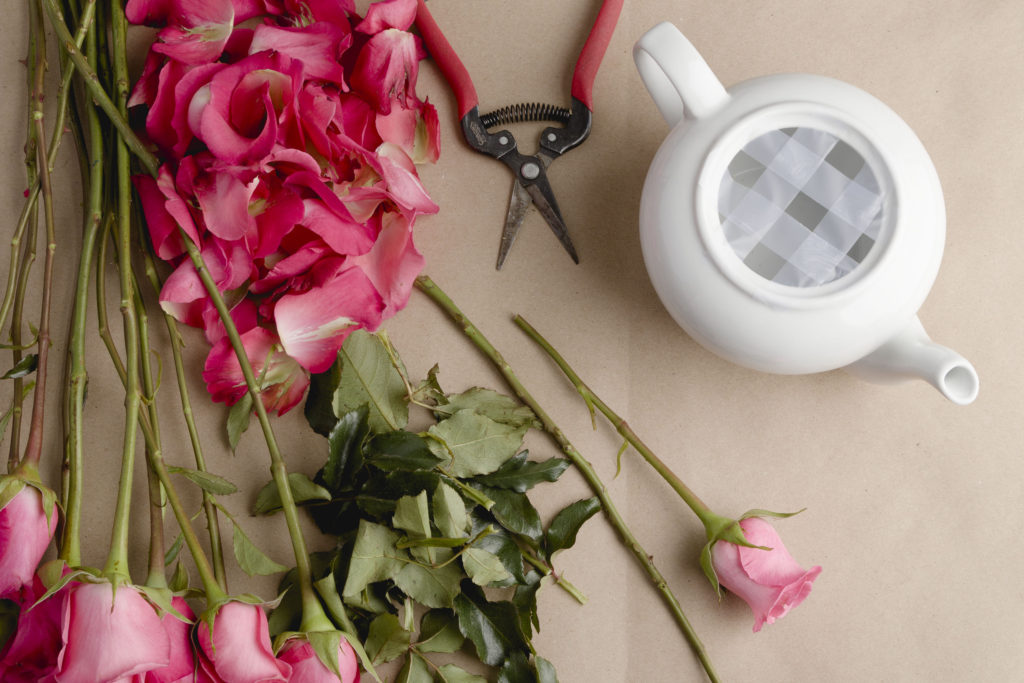

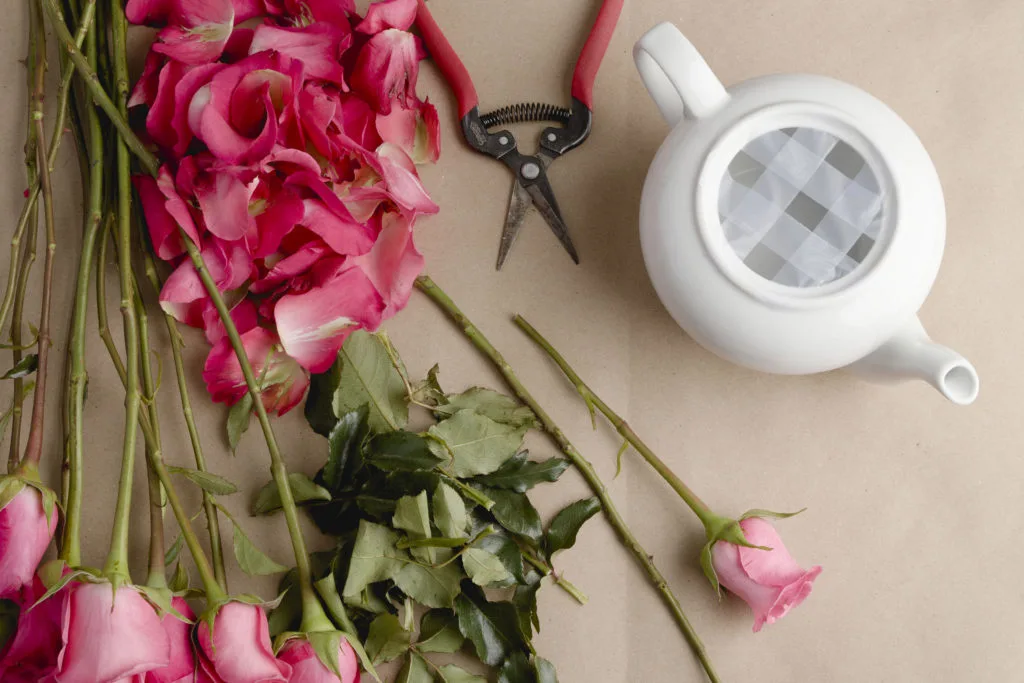

Cutting roses to length


Crisscrossing roses
***Special invitation to join me as we take the 30-Day Organization Challenge to create


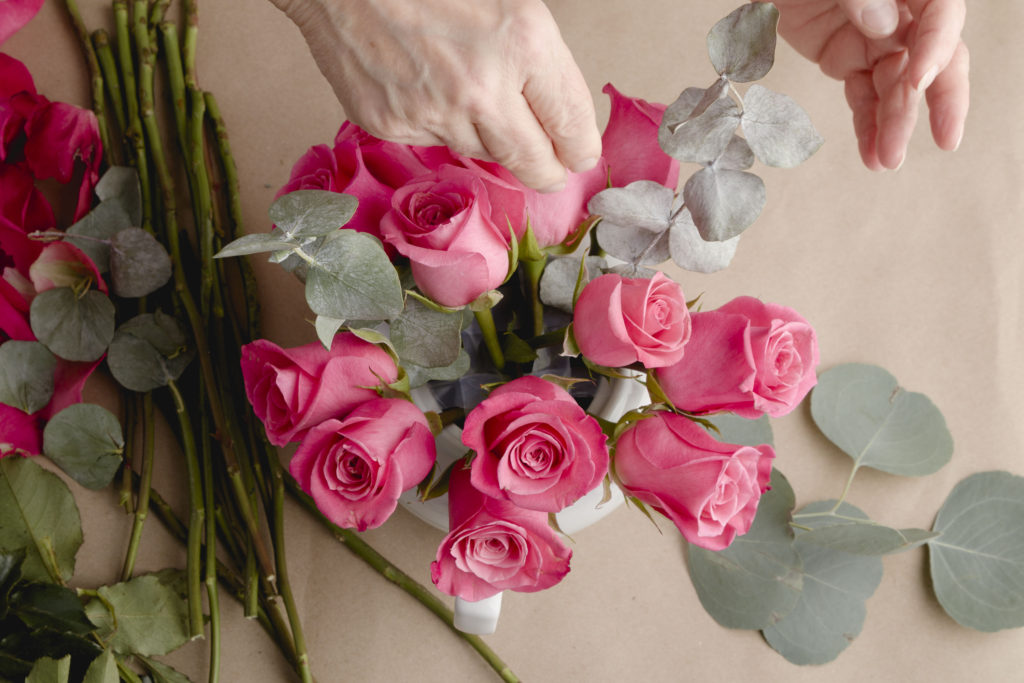


Flower Arranging with Eucalyptus
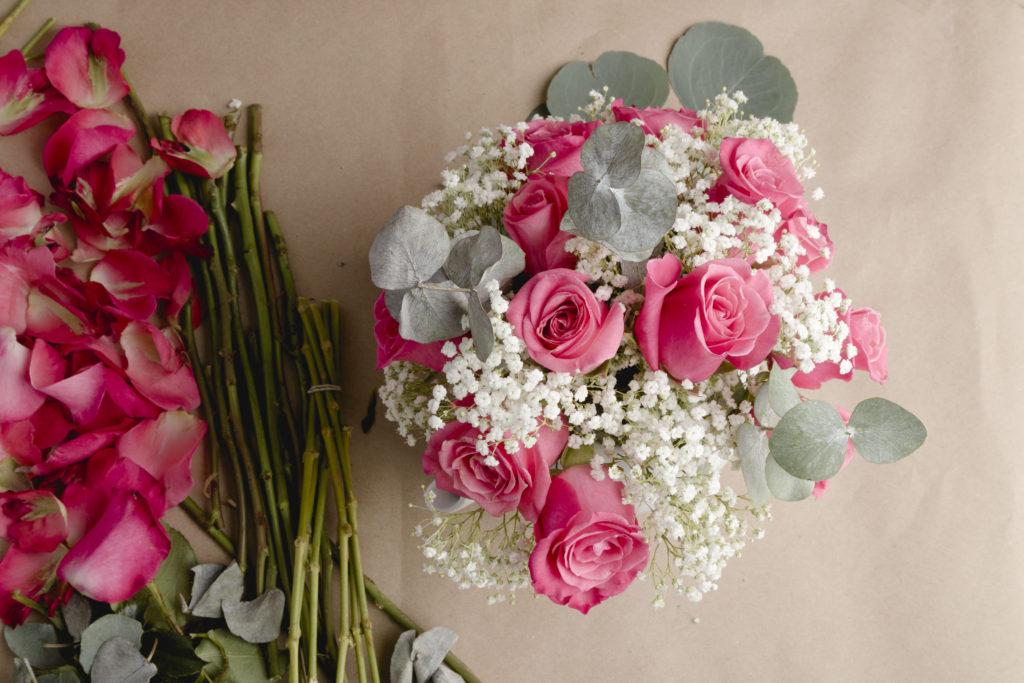

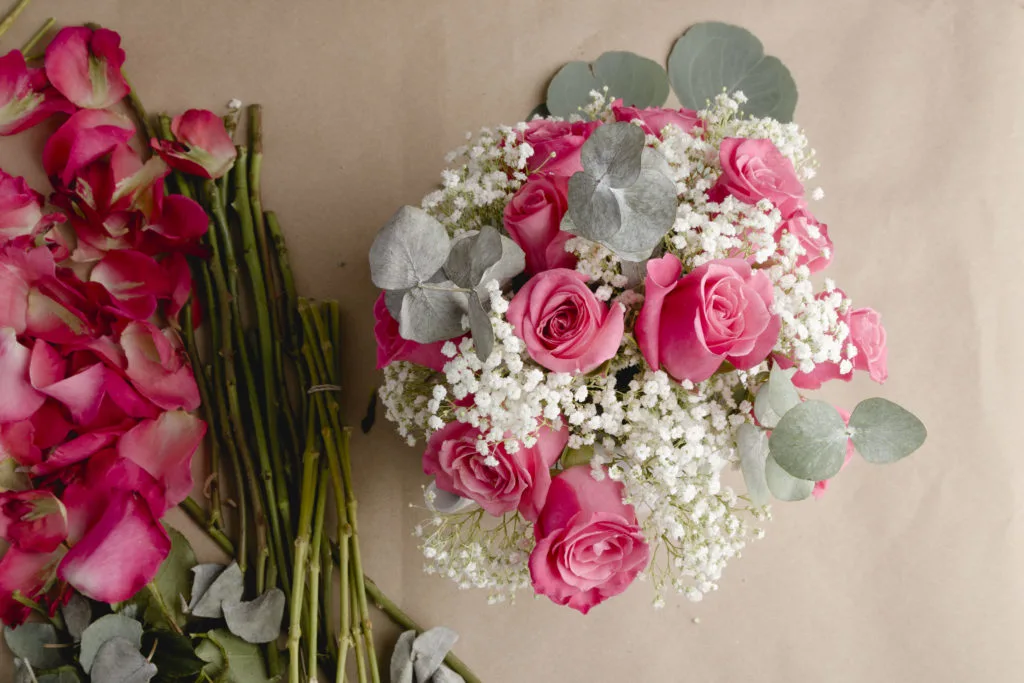

Finished teapot floral arrangement
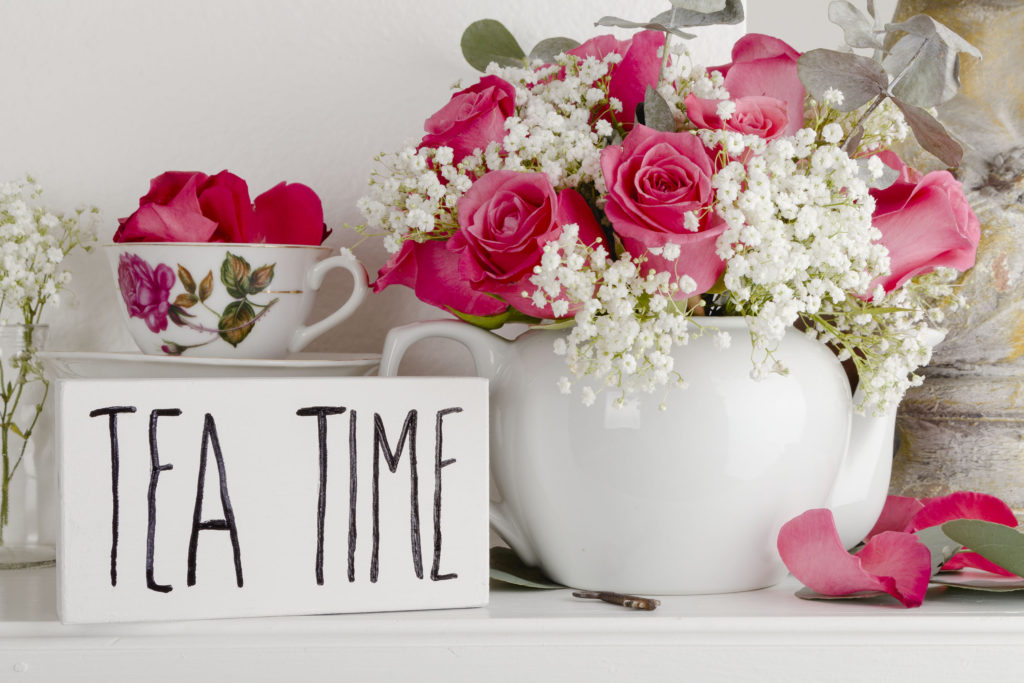


Adding a touch of whimsy Rae Dunn inspired Tea Time sign


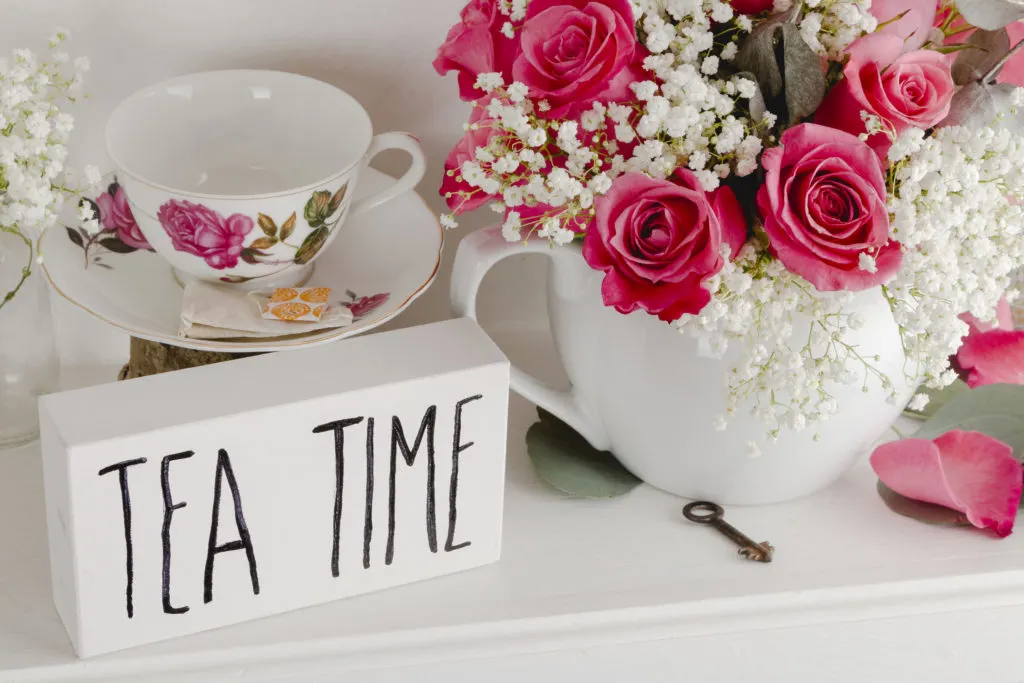

Teapot Arrangement and Tea Time Sign
Tea Time Sign DIY
I love to make these cute little block signs to add to vignettes. My Tea Time sign was Rae Dunn inspired and perfected to my afternoon tea time vignette. You can easily make some too, see how in my earlier post HERE and grab the free design with the form below.
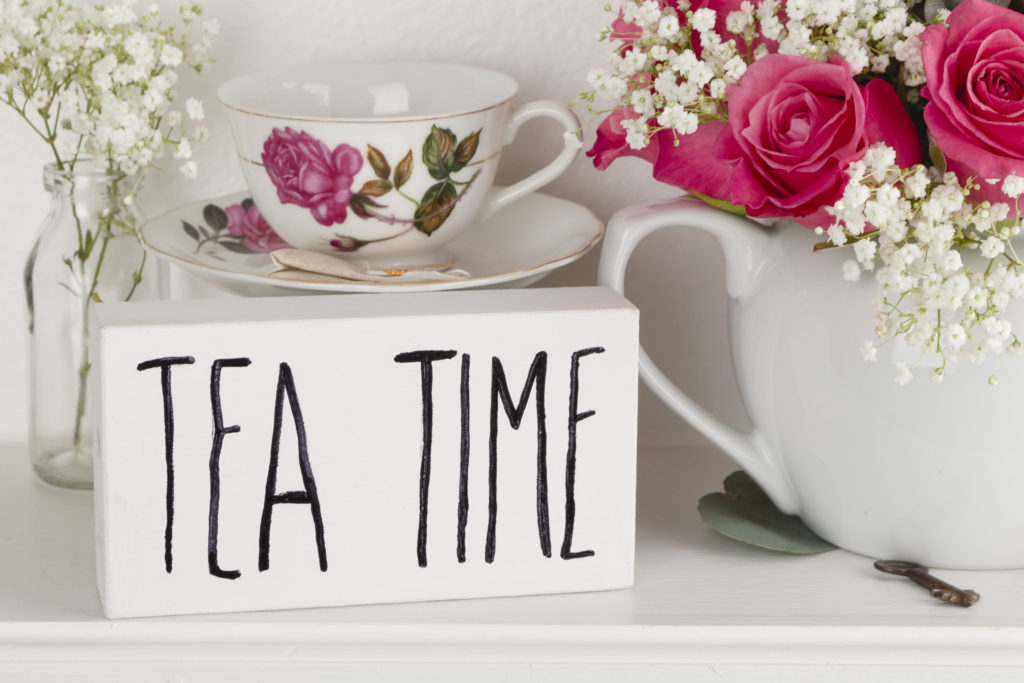

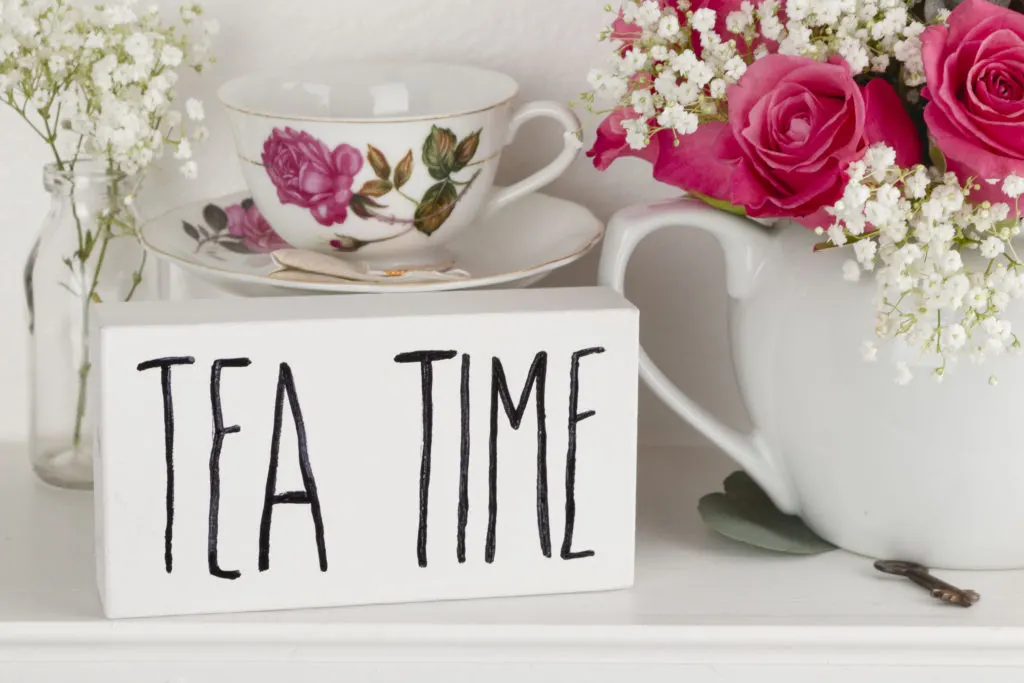

Tea Time Sign DIY
The instructions are so simple, and they are a breeze to make. I love them. They are perfect for Mother’s Day, tea parties, and everyday tea time.
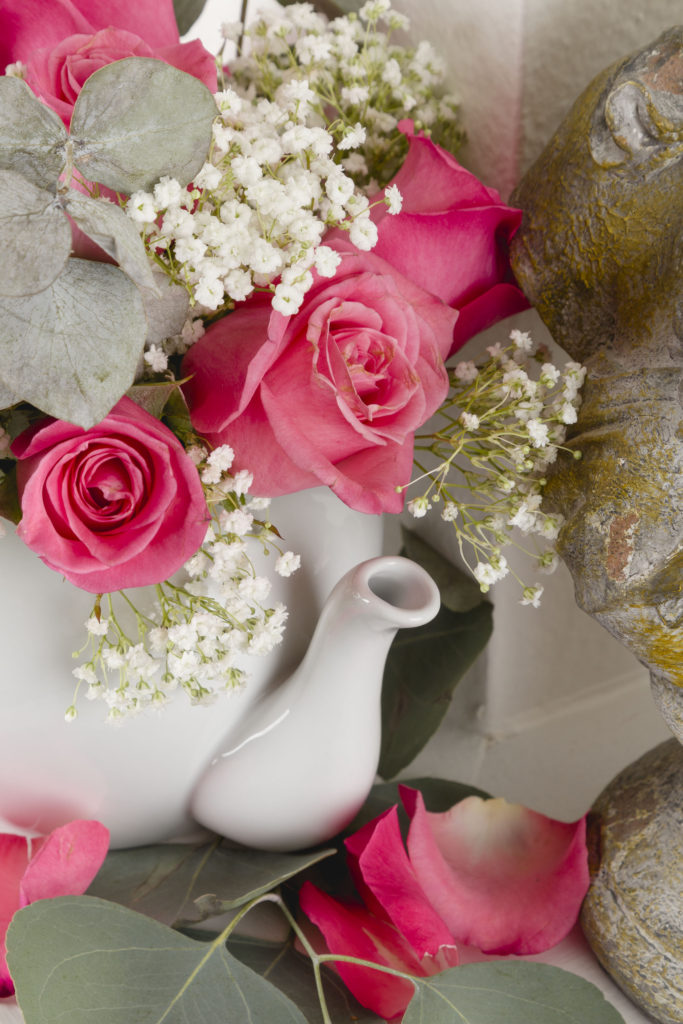

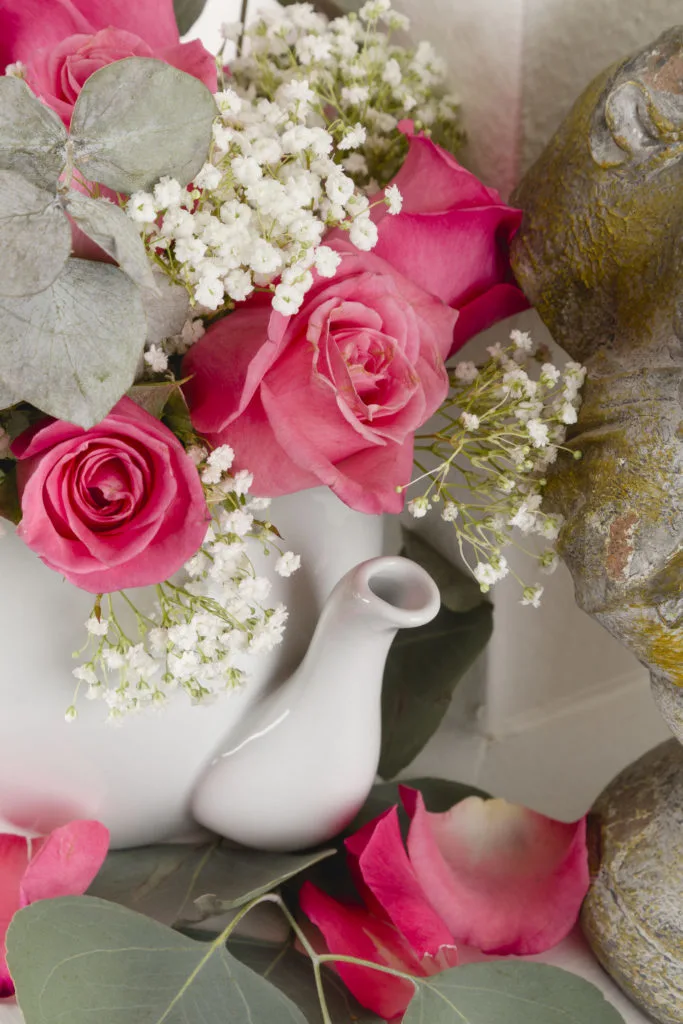

Teapot Centerpiece Hand Painted Sign
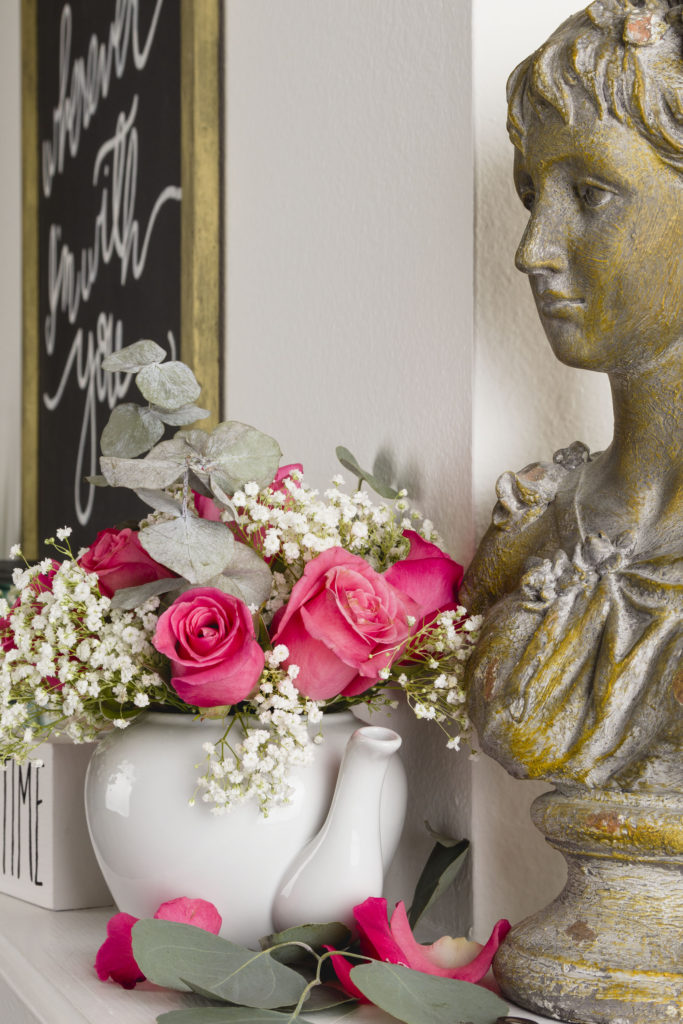

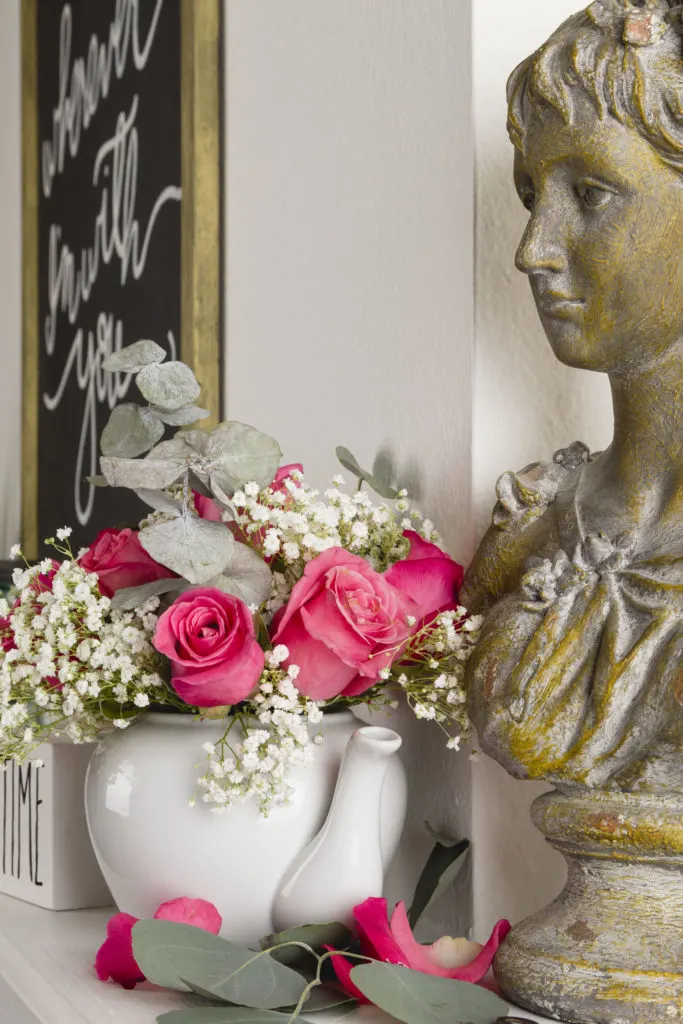

Teapot Centerpiece Hand Painted Sign
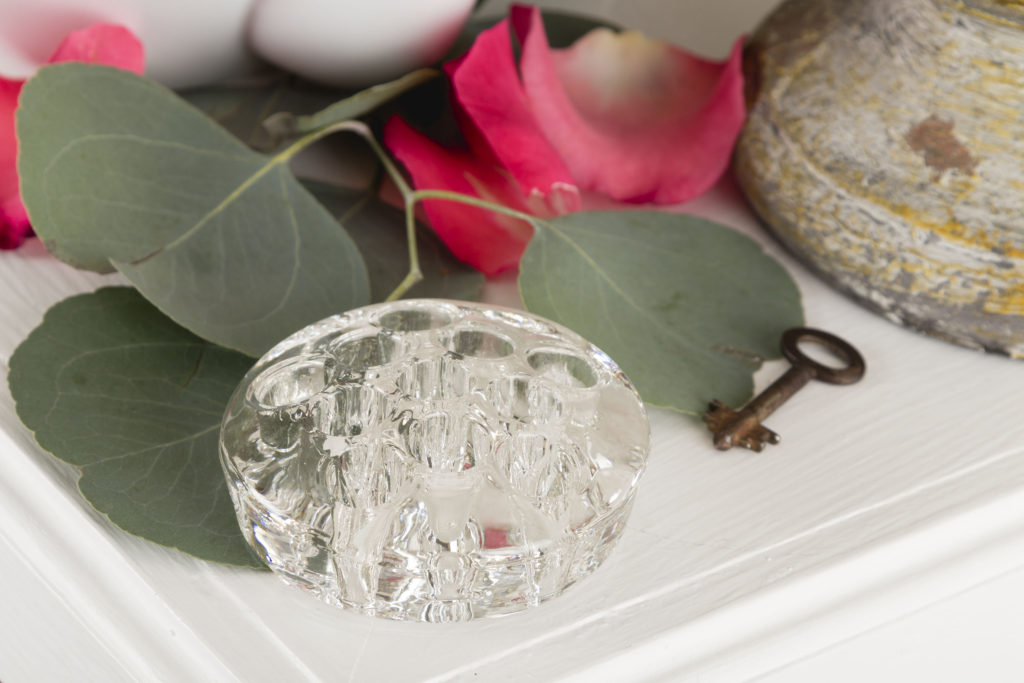

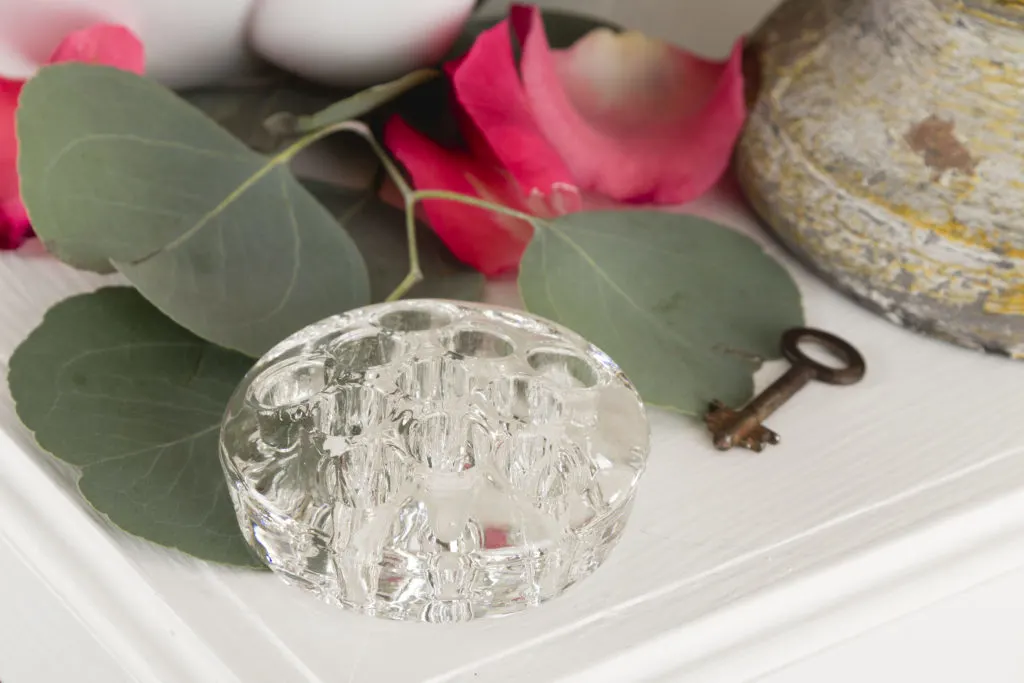

A nod to the past with a glass floral frog
My favorite sweet treat to serve with tea is Russian Tea Cakes.
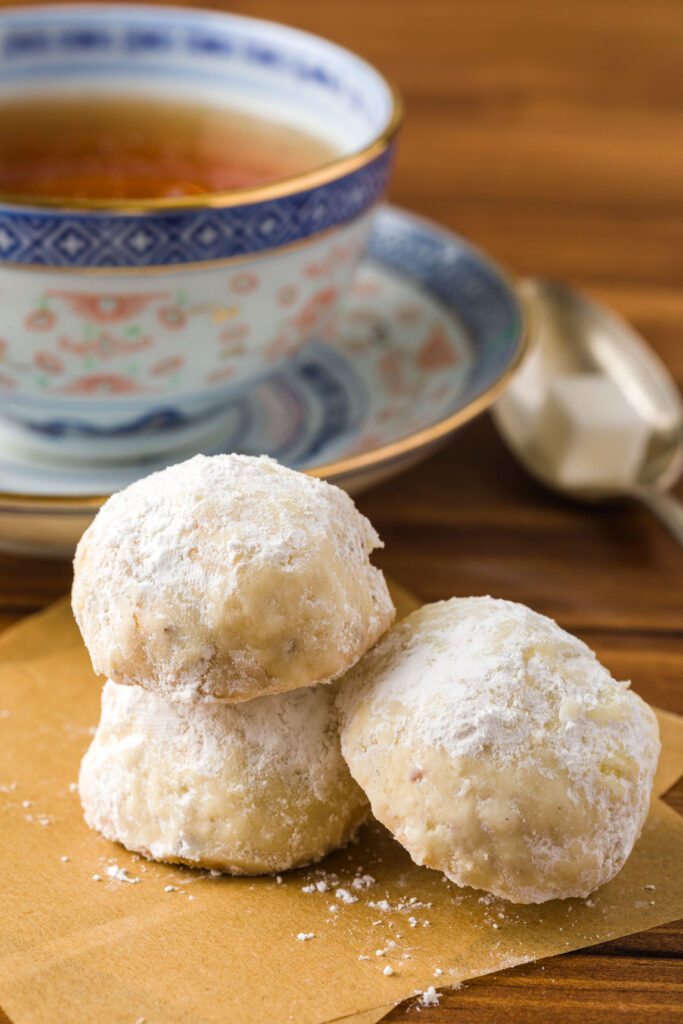

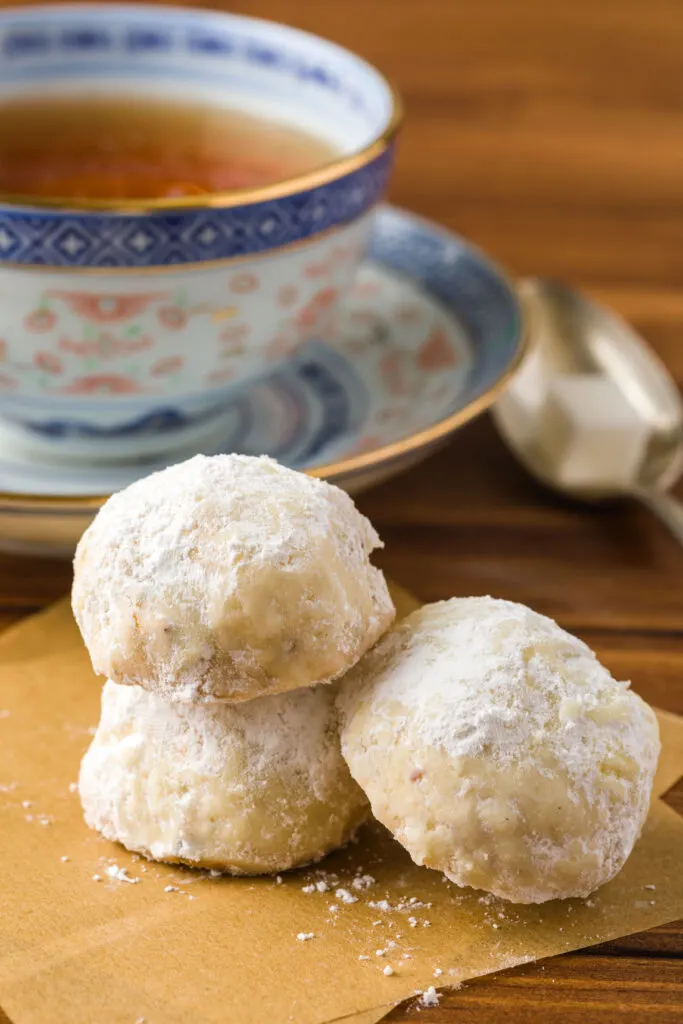

Russian Tea Cakes
You might also like:
My Amazon picks:
I want to thank you so much for stopping by. I also hope you have enjoyed the post. Are you feeling inspired to create a beautiful but super easy spring floral arrangement? I find it therapeutic to create due to my complete focus on the project; therefore, I am not worrying about anything and just enjoying the process. This DIY flower arrangement and hand-painted sign were a blast to create; therefore, I will be arranging more spring and Easter arrangements and wreaths. I love that you decided to visit today. Please leave a hello in the comments below.
I will be starting some window treatment DIY posts, but I wanted to ask you first if you would like to learn about making Roman shades or valances.
Happy Spring,
Kippi
Ps. This post is shared on Between Naps on the Porch.


