This past fall, a hurricane knocked down a few large trees in our yard. Therefore I wanted to “save” some of the wood for a DIY hanging planter.
I have joined some amazing bloggers today for an Upcycle DIY Challenge. For my upcycle project, I decided our fallen tree would provide the perfect upcycle.
**You can see all the other inspiring up-cycle projects at the end of this post.
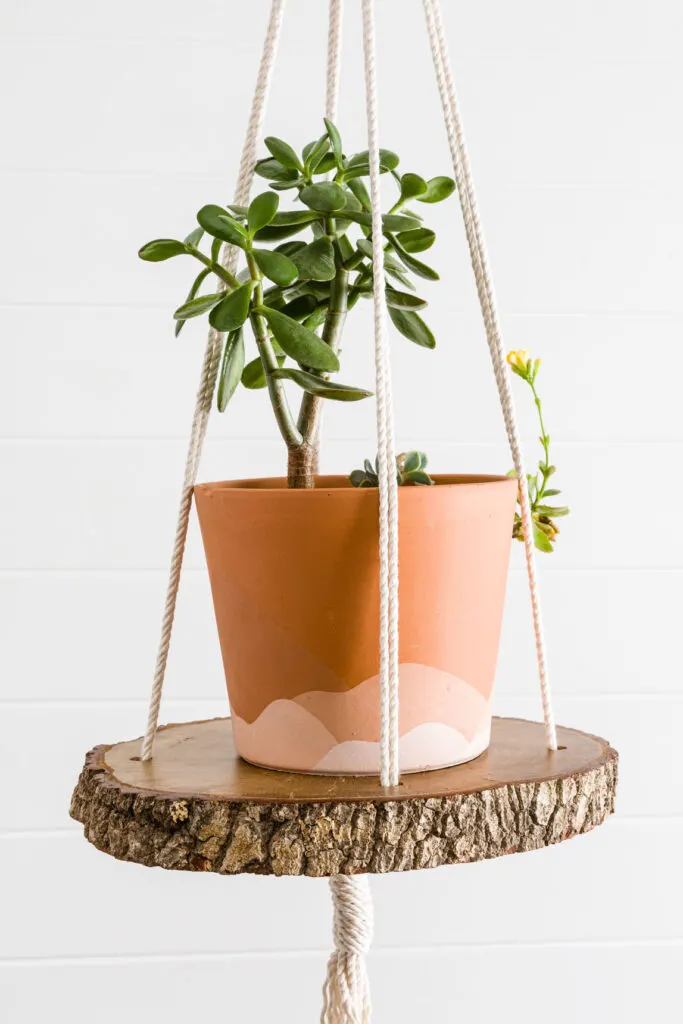
DIY Hanging Planter with house plants
It was sad to see those beautiful trees fall. However, I am harvesting some of the wood for furniture, wreaths, coasters, and hanging planters as a way to keep enjoying some of their beauty.
Note: My daughter, Olivia (see how she did it HERE.)
Harvesting the wood requires a saw or chain saw.
Note: to ensure your safety be sure to use hearing and eye protection.


Cutting the wood slice
This post may contain affiliate links. That means that if you purchase from one of these links, I will make a small commission.
Supplies
- Wood slice
- Moisture meter
- Macrame cord
- Level
- Wire
- Scissors
- Rubber band
- Sander
- Polyacrylic
- Paintbrush
- Drill
- Drill bit
- Pencil
- Tape measure
- Hang ring
- Clamp and scrap wood
How to Make a Plant Hanger
I made a video while making this hanging planter; you can watch it HERE.
Before sealing the wood slice, I checked the moisture content (I used this meter). The wood’s moisture score needed to be under 10 before it could be sealed with polyacrylic.


Checking the moisture levels
Sanding
I used a small palm sander to smooth the surface before applying the sealer.


Sanding the slice
Cord Hole Placement
Since the wood slice is not a true circle, I used the widenest area, found the center, and marked a small line. Then I turned it to mark the cross-section to achieve approximate quadrants and marked them with the pencil.


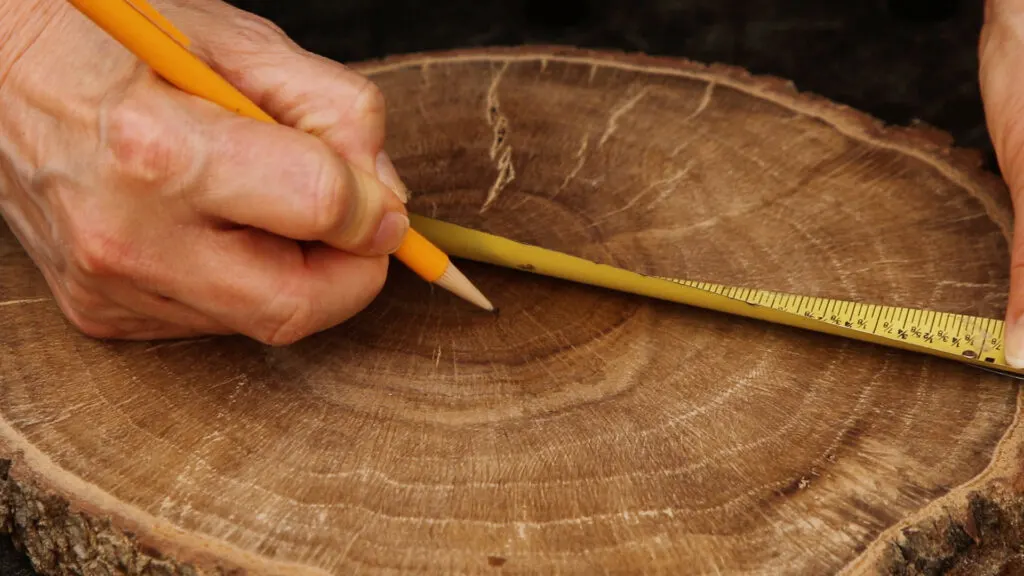

Marking the center of the wood slice
I marked it 1.5″ from the edge and placed a pencil mark (these will be the cord holes). Then repeated for all four holes.


Measuring to mark the holes
Drilling the Holes
Note: Clamp the wood slice to another board (to protect your surface) since you are drilling through the wood slice.
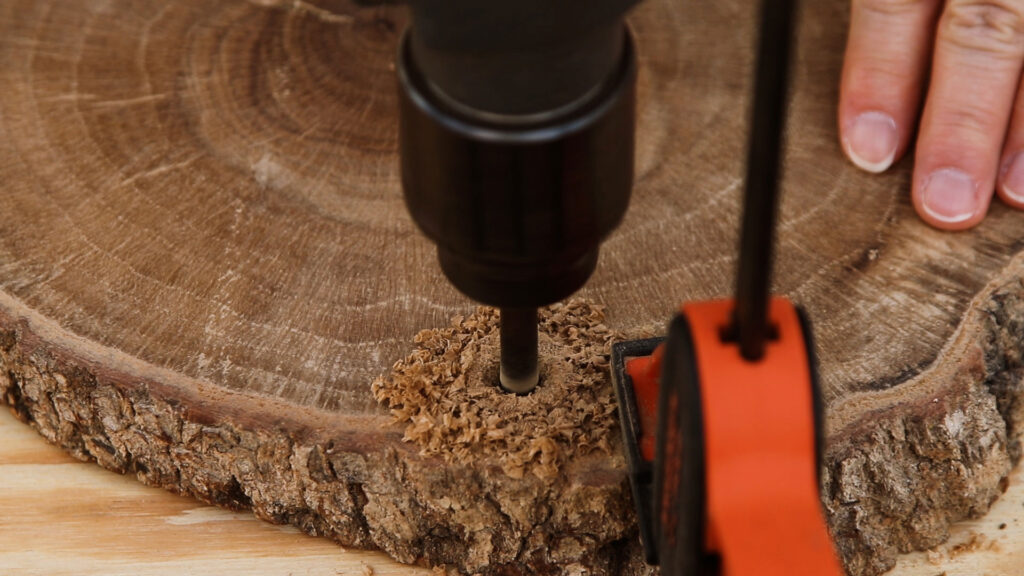


Drill the rope holes through the wood slice
Sealing


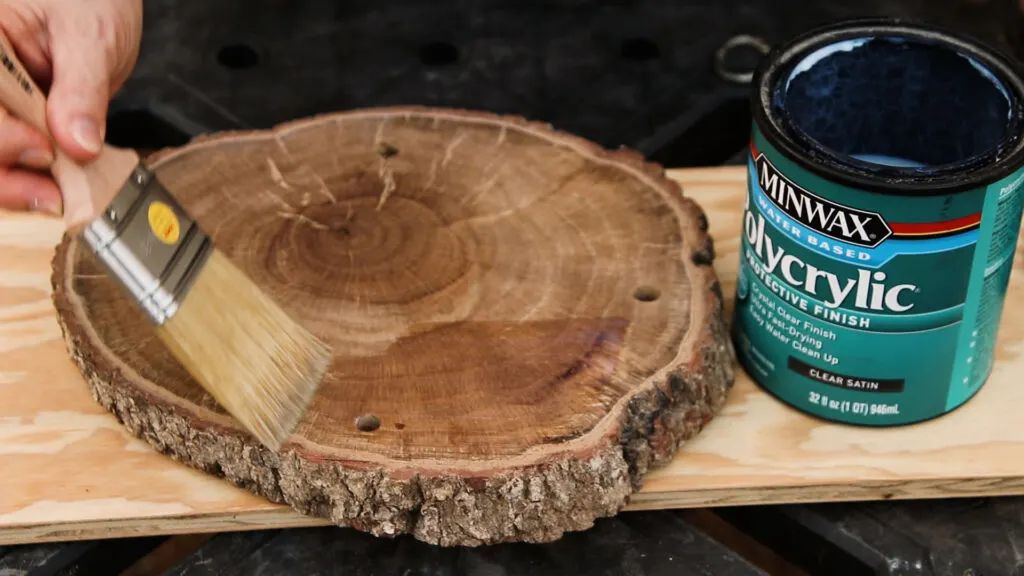

Applying the finish
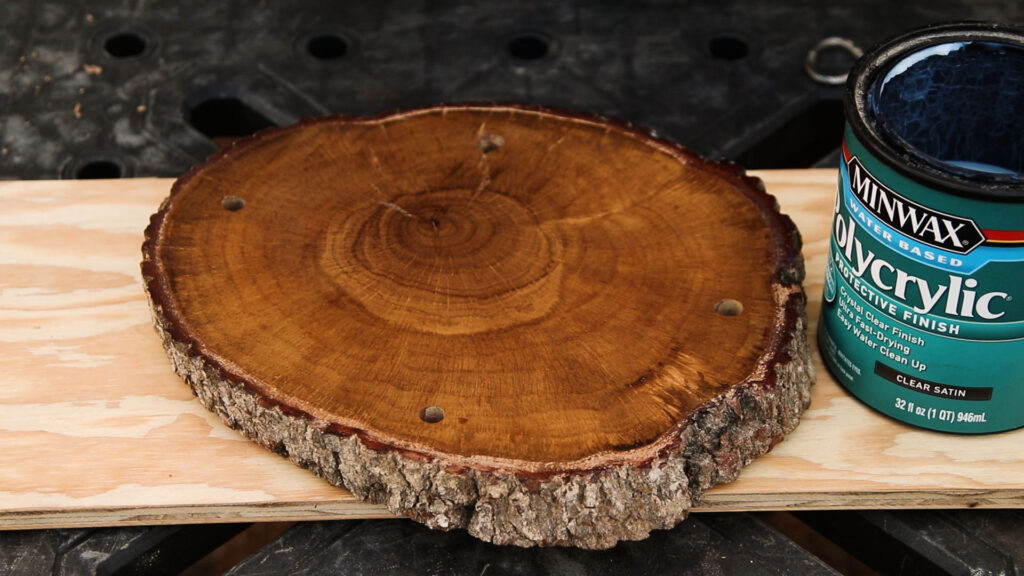


Wood slice ready to use
Supplies for the Macrame Cord Hanging Planter
After gathering my supplies, I practiced my design idea with yarn (saving the macrame cord for the plant hanger).


Rope plant hanger supplies
DIY Threading Tool
Threading the cords through the wood slice holes would be difficult without my DIY wire threading tool.
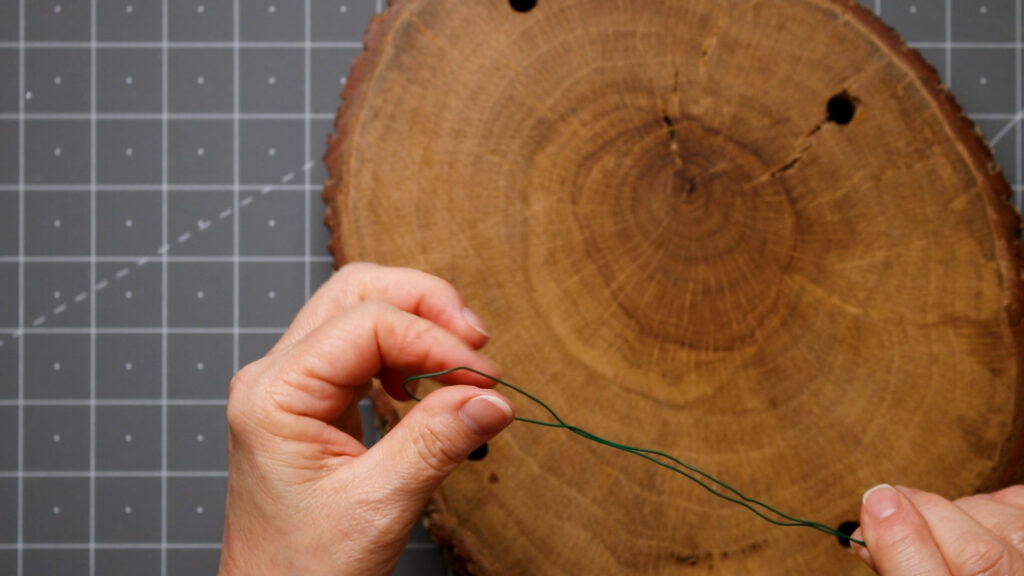

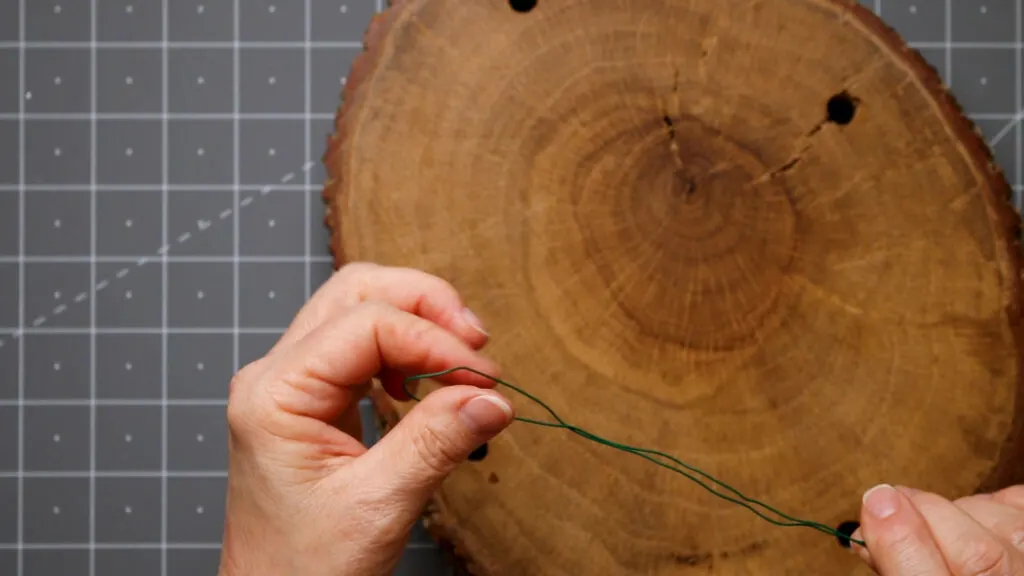

Wire hook


DIY wire hook tool test for threading the cords for the hanging planter
Cutting the Macrame Cord
To make an 8 strand macrame plant hanger, I needed to cut the cord strands two times longer than the finished length.
I wanted it to be 40 inches long, so I cut four 80″ strands.


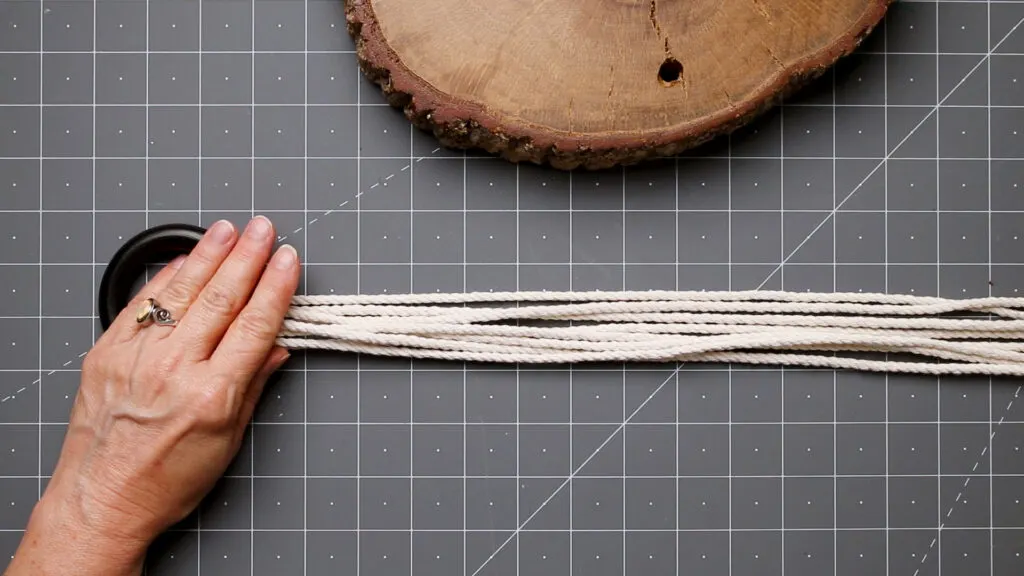

Place the macrame cord through the ring
It was too difficult to manage all the cords at one time, so I added only two. I used a rubber band to held them in place over the hanging ring while I pulled them through the holes.


Use the hook to pull the cord to the bottom of the wood slice
Next, I added the last two cords and another rubber band to hold them in place.
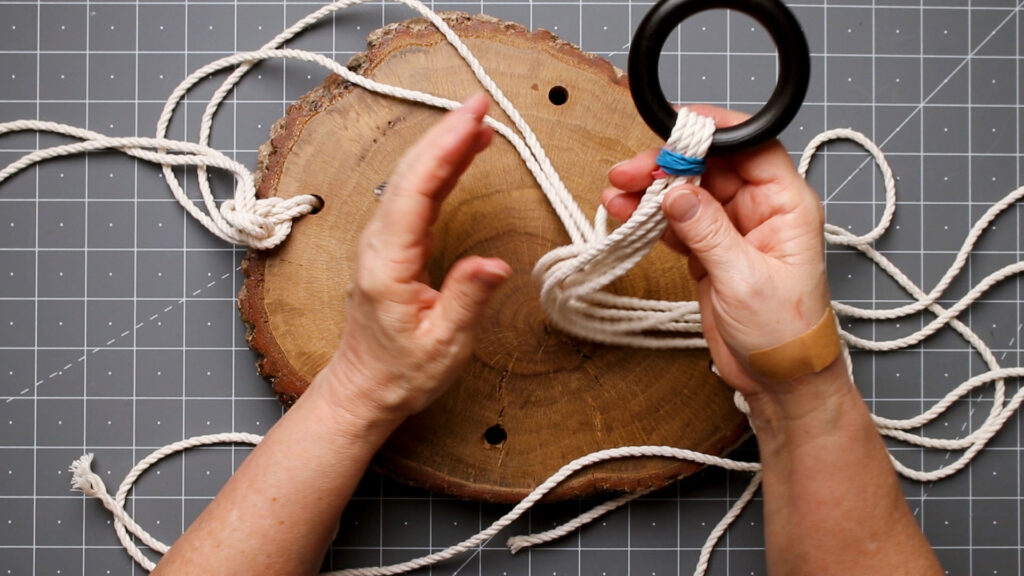

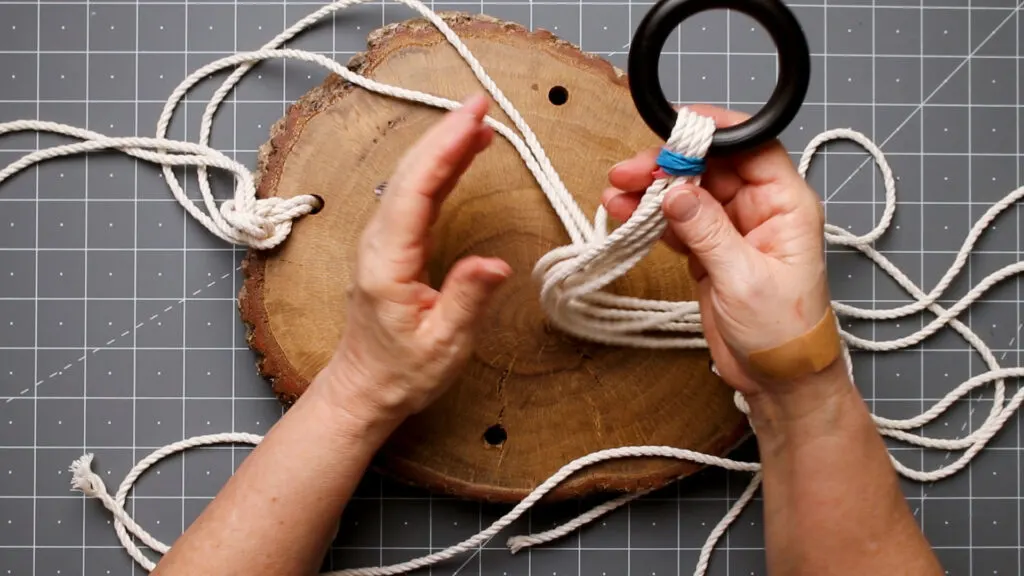

Add the last 2 cords over the ring
I tied them from under the wood slice to over the wood slice to hold the cords in place while leveling them.
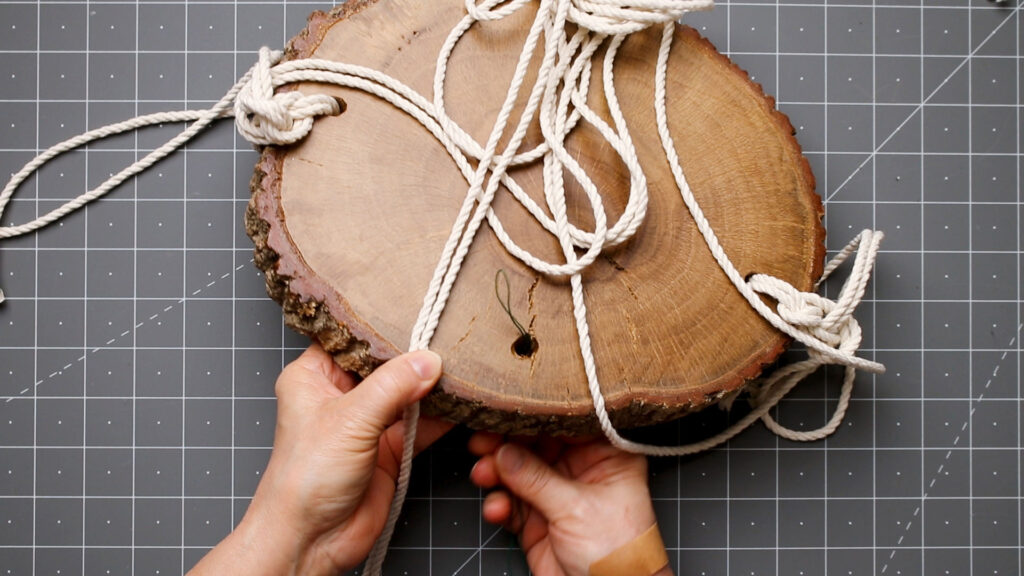


Pull cords through the holes and tie them to hold them in place.
Leveling the Wood
Using a small level to determine where the cords need to be tied together.
It was easiest to tie together cords from the opposite sides.
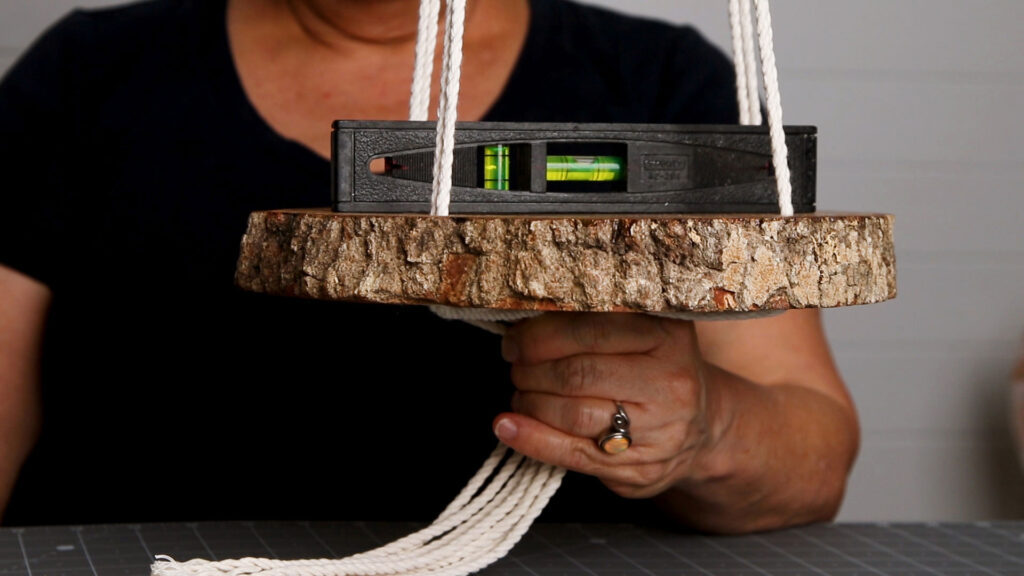

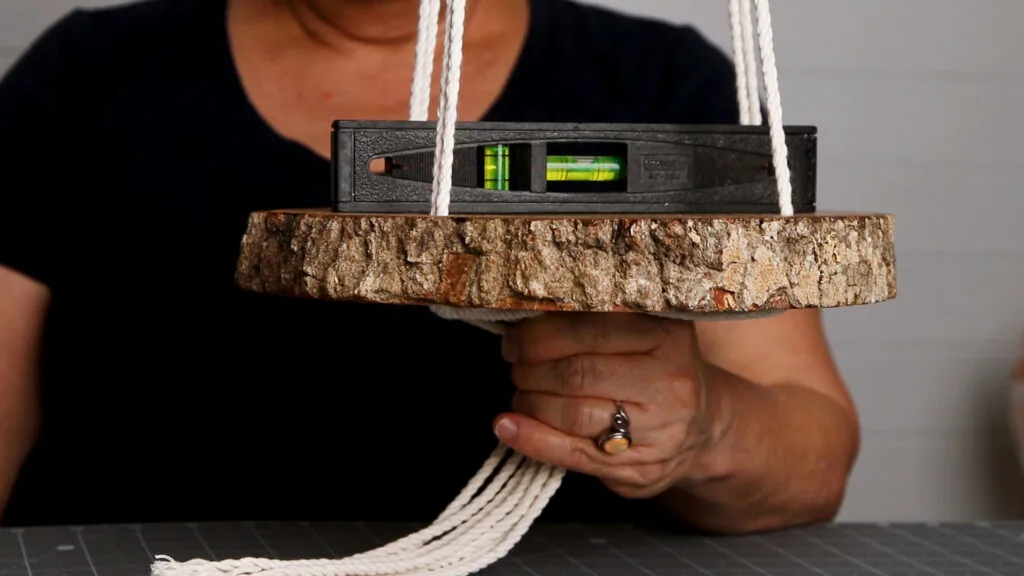

Use a level to find where to hang the wood slice
I needed an extra pair of hands for the second cord tying.


Tie the other 2 opposite cords
See more about tying the gathering knot below and in the how-to video.
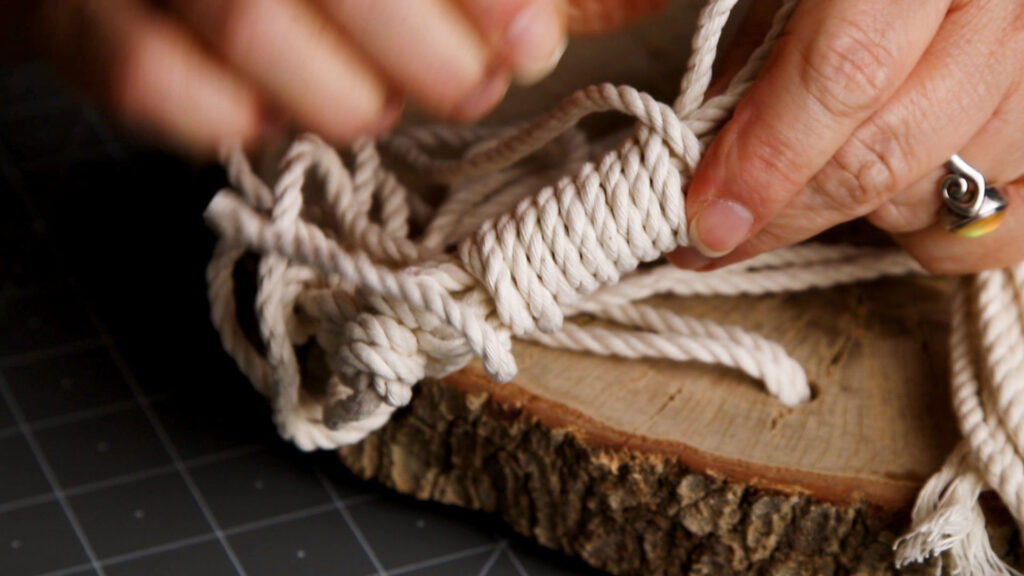


Finish the end of the cords with a twisted tie
Trim the ends to the same length.


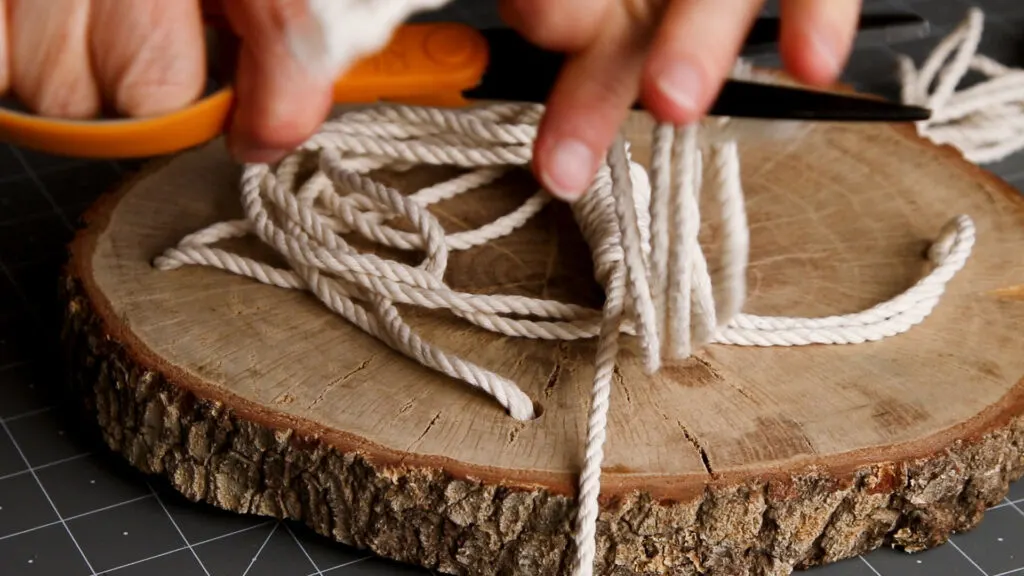

Trim the cord ends


Cut the rubber bands
Gathering Knot
The gathering knot provides a clean finish where multiple cords are gathered.
Start the knot with a loop that you place over the area you want to be covered.
Note: Ensure the loop is longer than the area you want to cover, so the wrapping cords do not cover it.


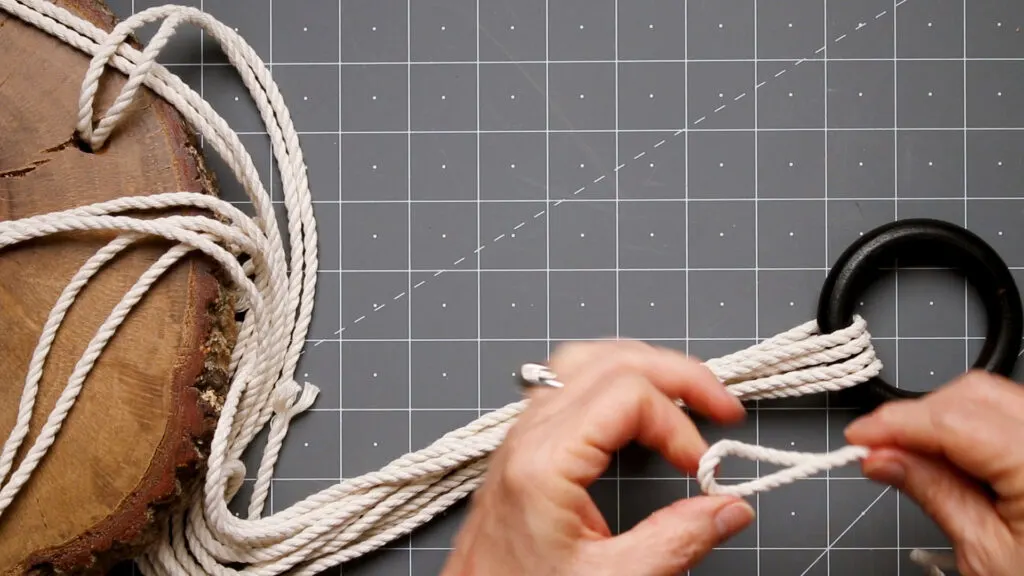

Place loop of cord over the other cords
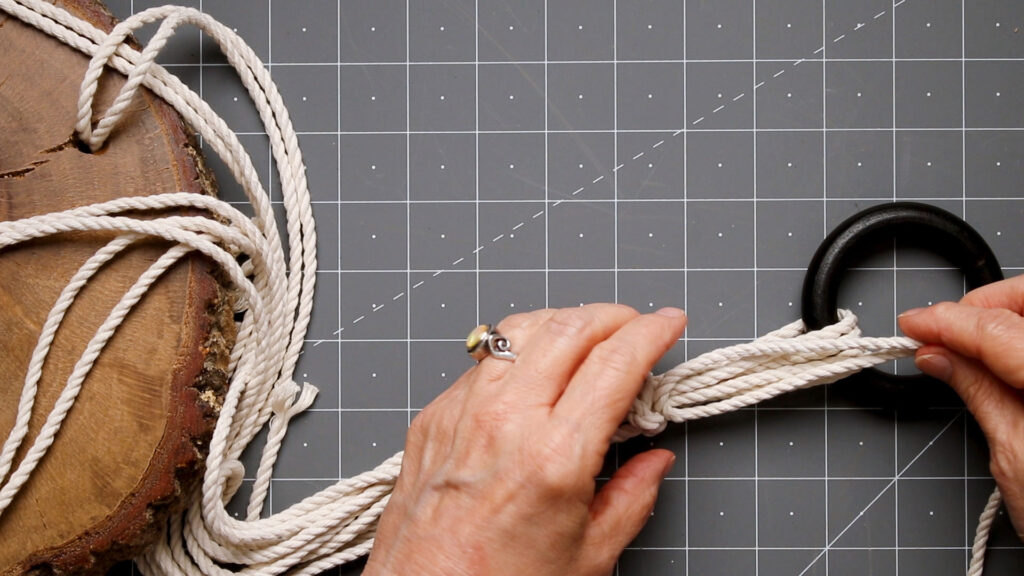


Leave the loop cord end out
Wrap the gathering cord around the hanger cords and the gathering knot loop.


Wrap the long end of the cord to wrap around all the cords
The pull cord is the tail end of the gathering knot cord.


Continue wrapping the cord at the top of the plant hanger
Place the wrapping end into the loop and pull the tail end. This will carry the cut end of the wrapping cord into the cord wraps.


Pull the end through the loop
Trim the tail end, then adjust the wraps to cover it.


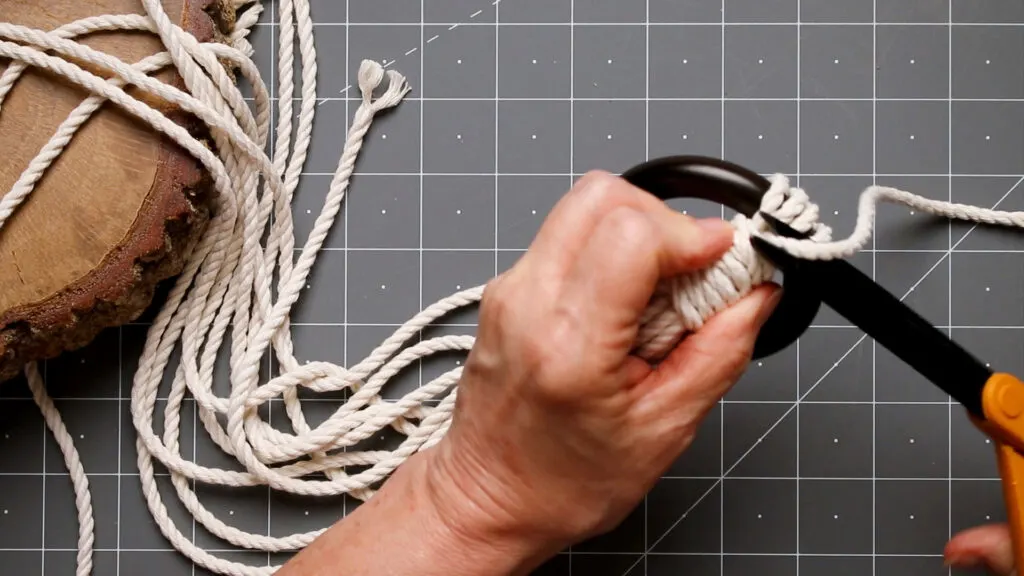

Trim the cording tail
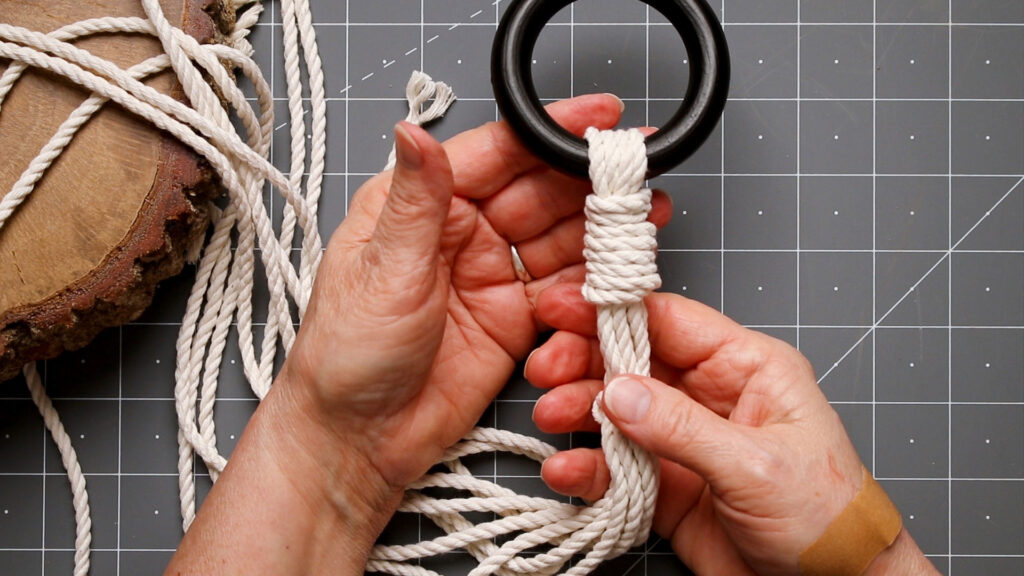

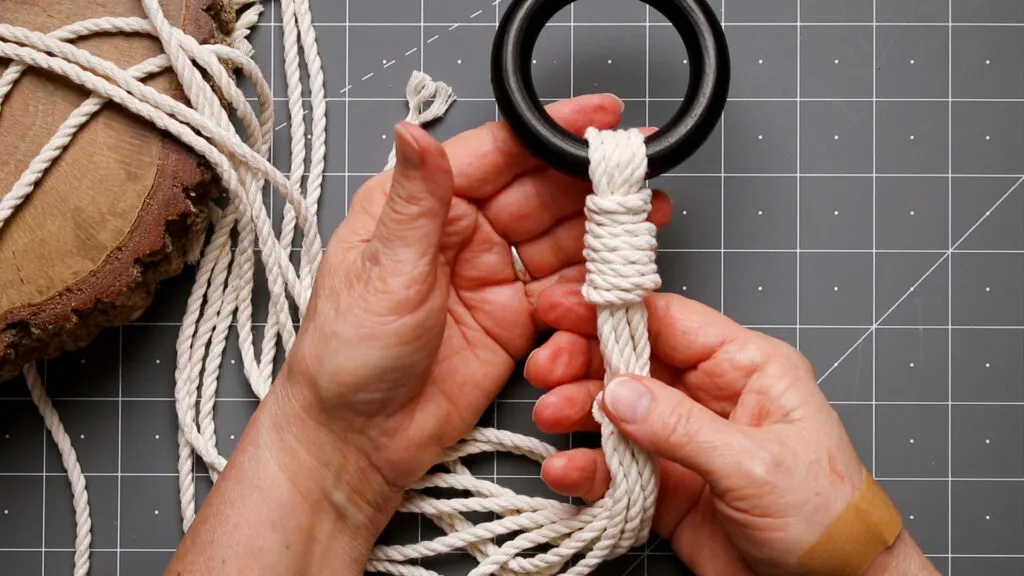

Hanger ring with cords
The bottom of the hanger forms a “tassel.” I unwound the cording to make a fluffer tassel.


Untwisting the macrame cords
Other Uses
The wood slice can be any size to be used as side tables or a hanging decor shelf, or a macrame plant hanger.
Placing faux candles with timers (these are the ones I used) on the wood slice creates an easy romantic look.


Simple rope plant hanger DIY


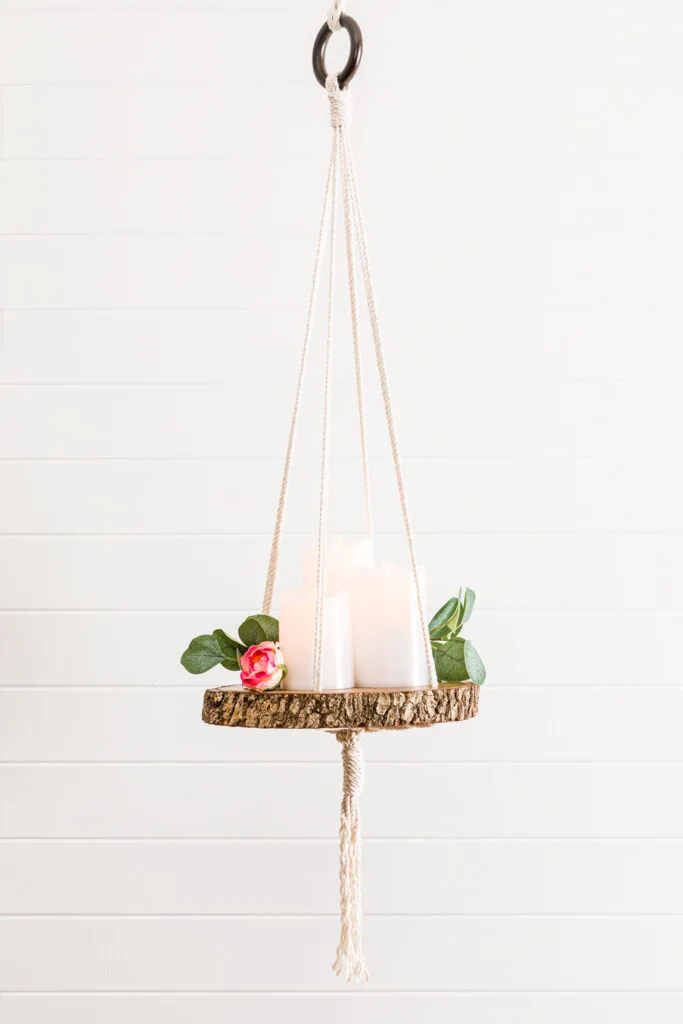

Hanging planter with candles
More Amazing Up-cycled Projects:
My friend Tarah from Grandmas House DIY shares how she up-cycled a toolbox into a towel bar.


storage-toolbox
Visit Niky’s blog, The House on Silverado, to see four up-cycle projects.


4-upcycles-scaled
Kim from Shiplap and Shells is sharing how to up-cycle a window into a cabinet.


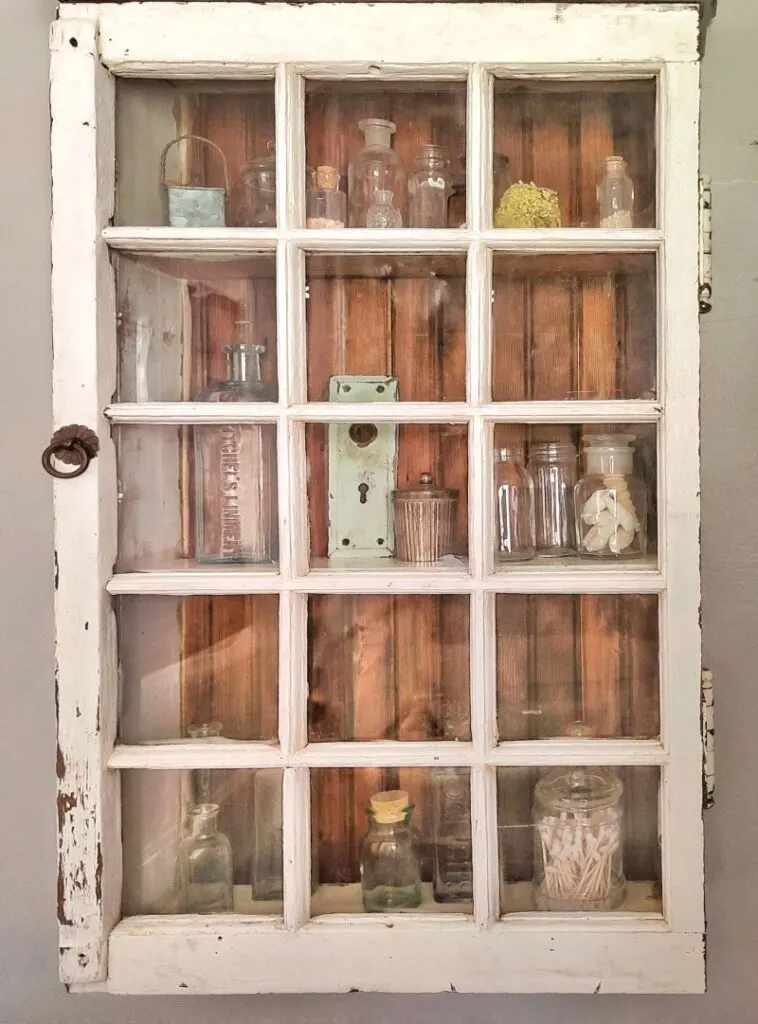

vintage window cabinet
Andrea from Design Morsels shared how to make lined draperies with sheets.


turn sheets into drapes
You Might Also Enjoy:
Another project I made using wood slices was this gorgeous wreath.
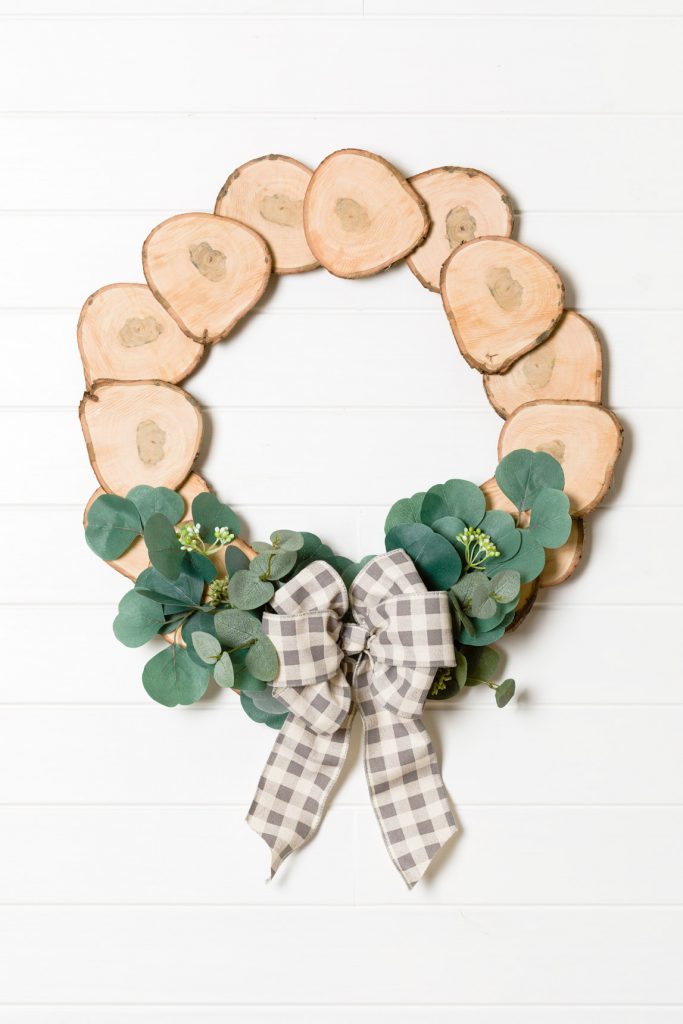


Wood Slices Wreath
Please join me (HERE) as we craft up some fun. You can look forward to receiving new inspiration every week. As well as special online crafting events, seasonal and holiday crafting too.
See you soon,
Kippi

Monday 27th of June 2022
nice plant hanger
Rosemary Palmer
Wednesday 19th of January 2022
Loved you using wood that would have just got burned or sent to land fill.
Lori Nell
Monday 17th of January 2022
Love this DIY! Your directions for the Knott! I think I can actually follow them and tie one!
Kippi Ohern
Monday 17th of January 2022
@Lori Nell, thank you so much for your visit today. I hope you enjoy making a hanging planter too. Happy New Year, Kippi
Dee Cottage Comforts Home
Monday 17th of January 2022
It turned out so super cute! What a great idea and way to recycle as well!
Kippi Ohern
Monday 17th of January 2022
@Dee Cottage Comforts Home, Thank you so much for your visit today. Happy New Year, Kippi
Niky
Tuesday 9th of March 2021
What a great way to repurpose your downed trees! I have several wood circles saved from our wedding where we used them as part of the table centerpieces. You've given me some new ideas! Pinned!
Niky @ The House on Silverado