Shower curtain ties: Our hall bathroom was in need of an update. So I started planning the update and checking out the bathrooms I loved on my Bathroom Pinterest Board. I really liked the bathrooms that were bright and fresh, now on to the fun part. The largest design element in a small bathroom is the shower curtain, and I wanted something fun.
This post contains affiliate links. This means that if you purchase from one of the these links I will make a small commission, but rest assured you will not pay more for any products.
Trying to stay on budget for a quick bathroom update was important, so I searched Amazon for ready-made shower curtains. I love that I found the perfect one see it HERE and it comes in extra long too.
Shower Curtain Dilemma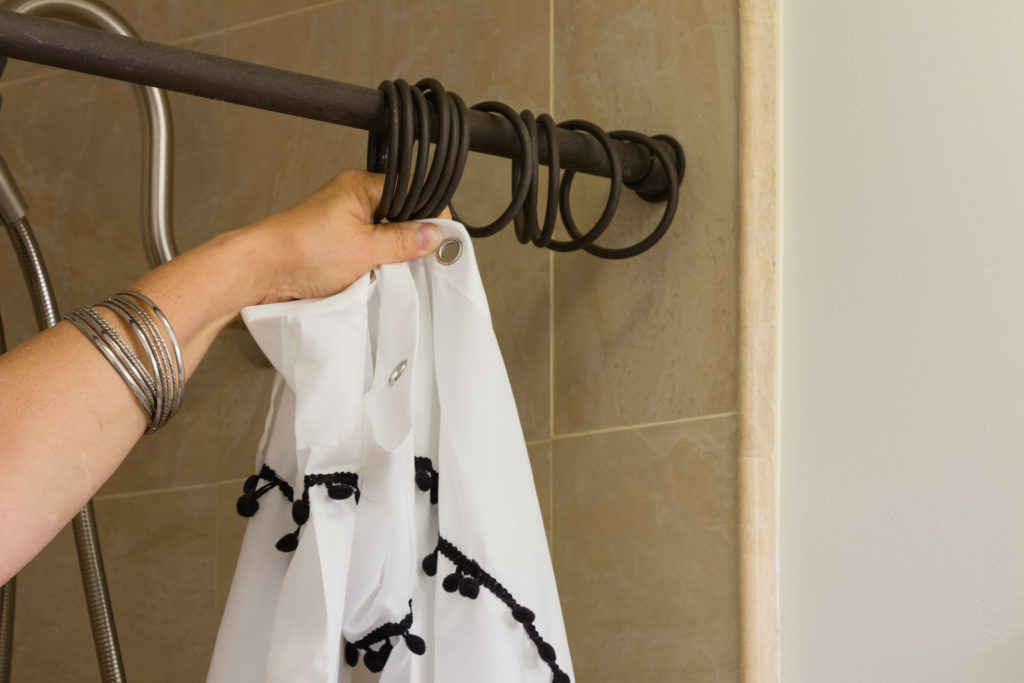
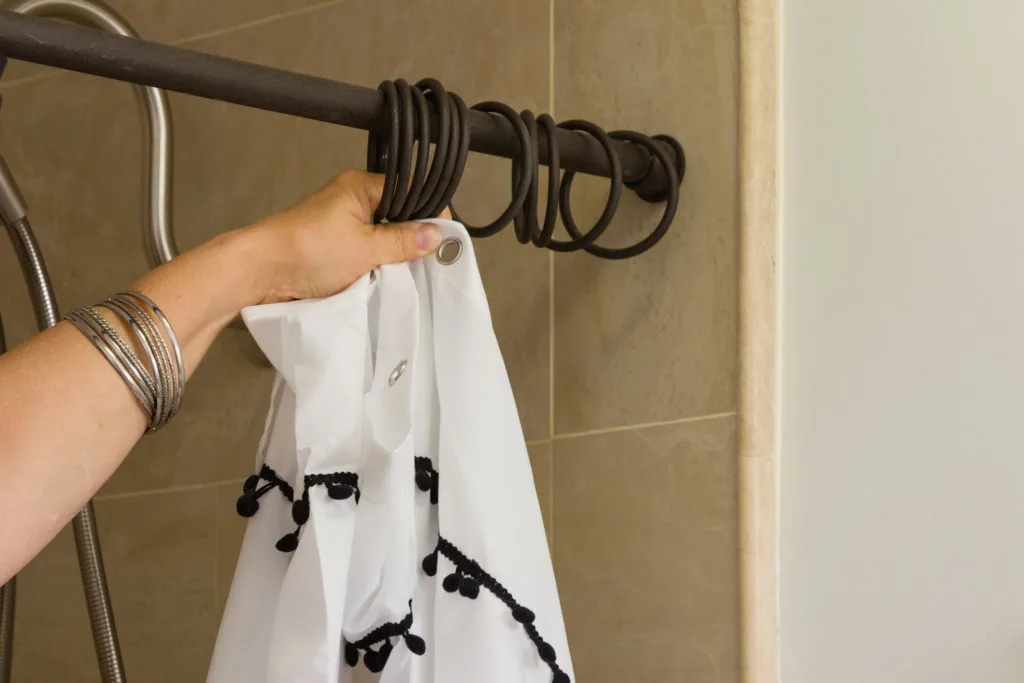
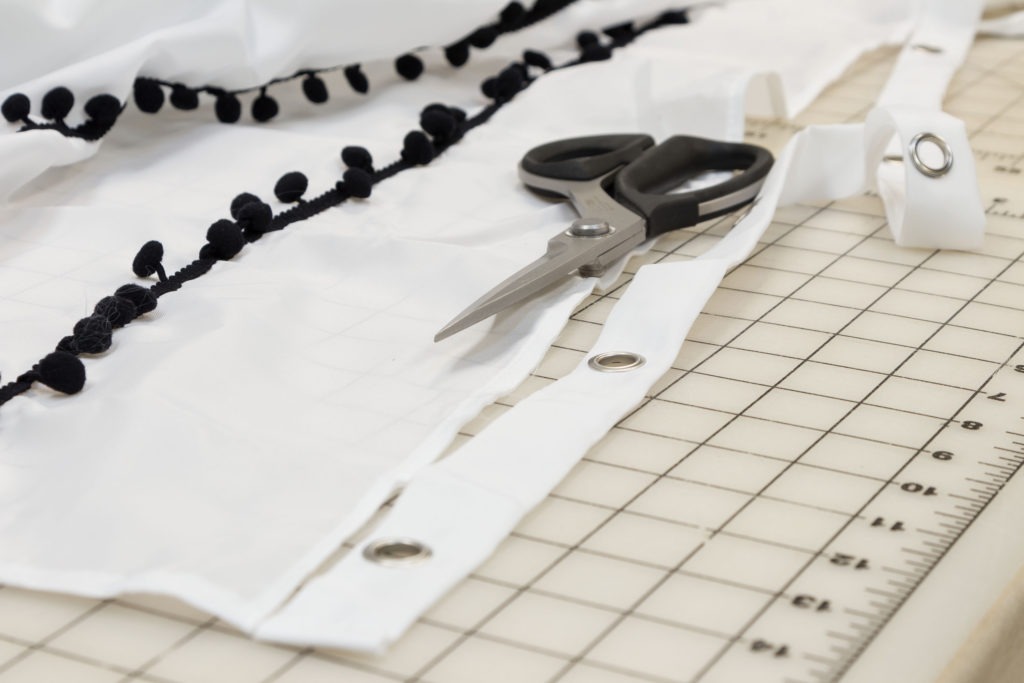
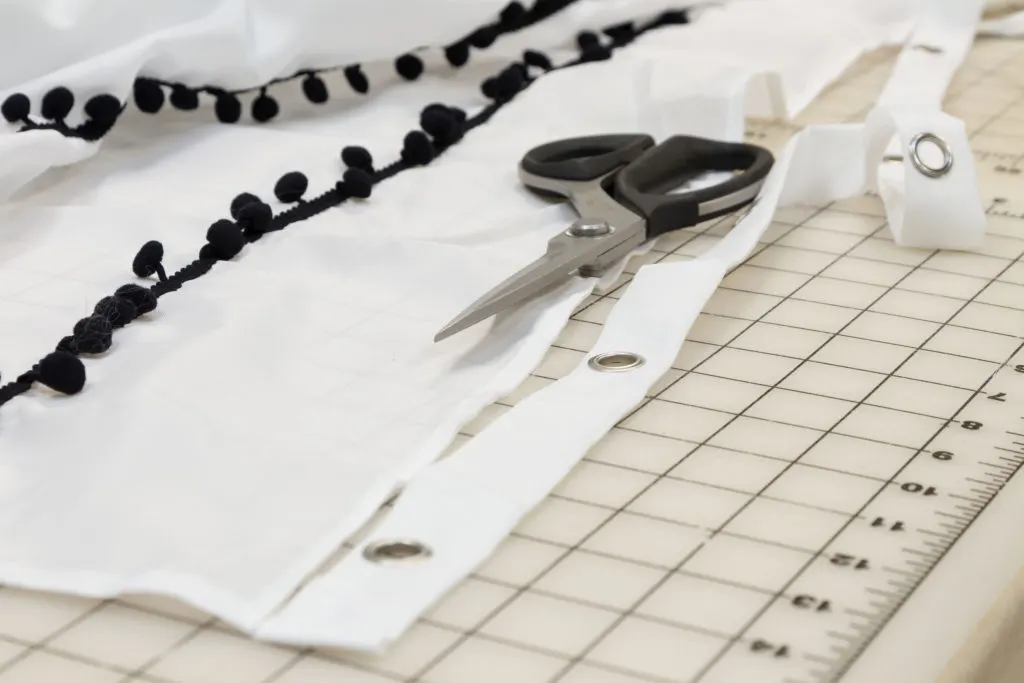
Now for the next step: altering the shower curtain to use with our custom hardware. Notice the rings are not going to allow me to use the grommets to attach the curtain.
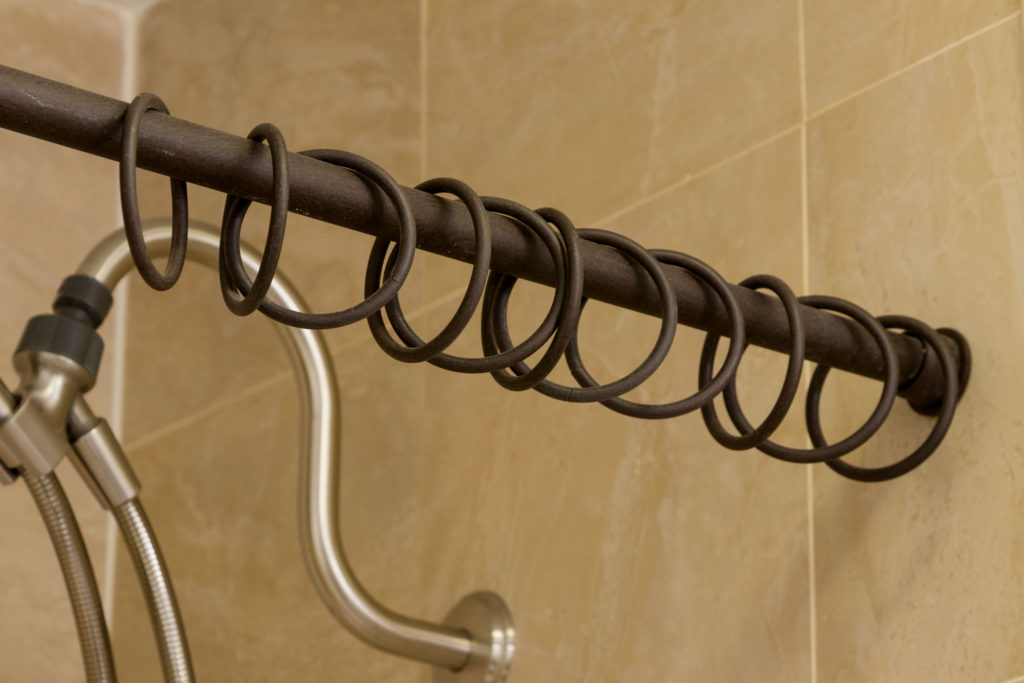
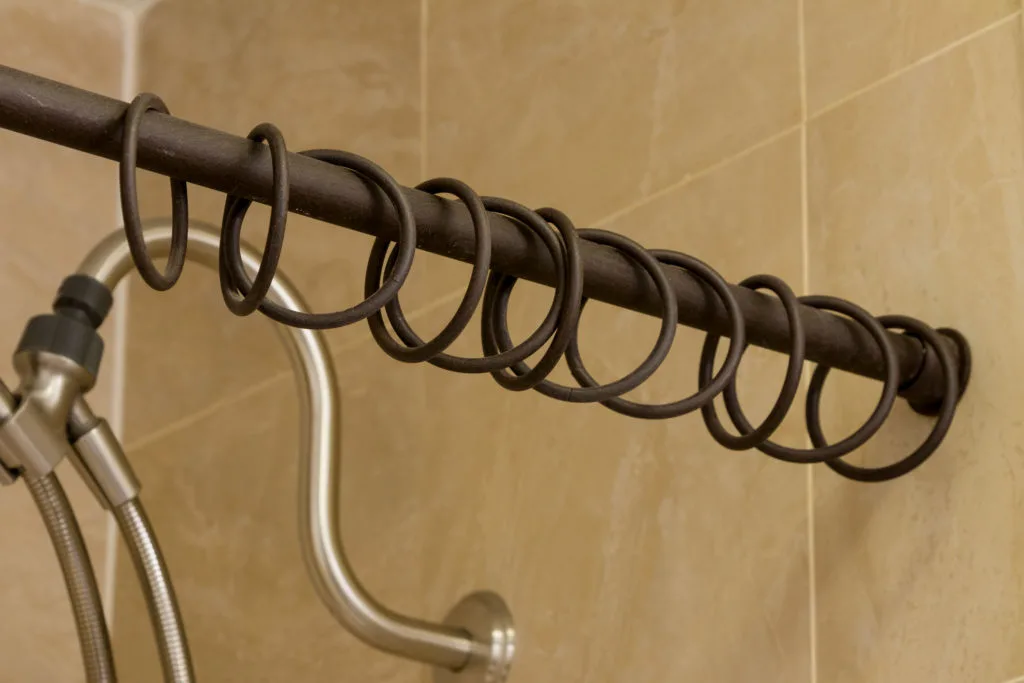
Custom hardware
I have to work with custom hardware since it is screwed through the tile so the rings are my challenge. How to attach the new curtain to the existing hardware?
Shower curtain purchased from Amazon
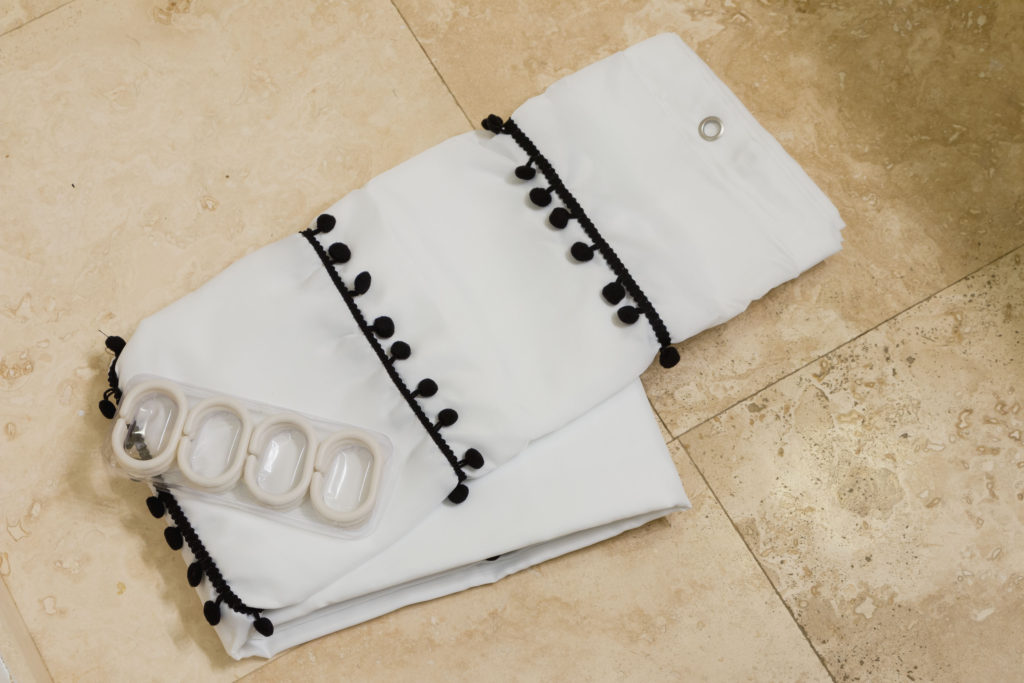
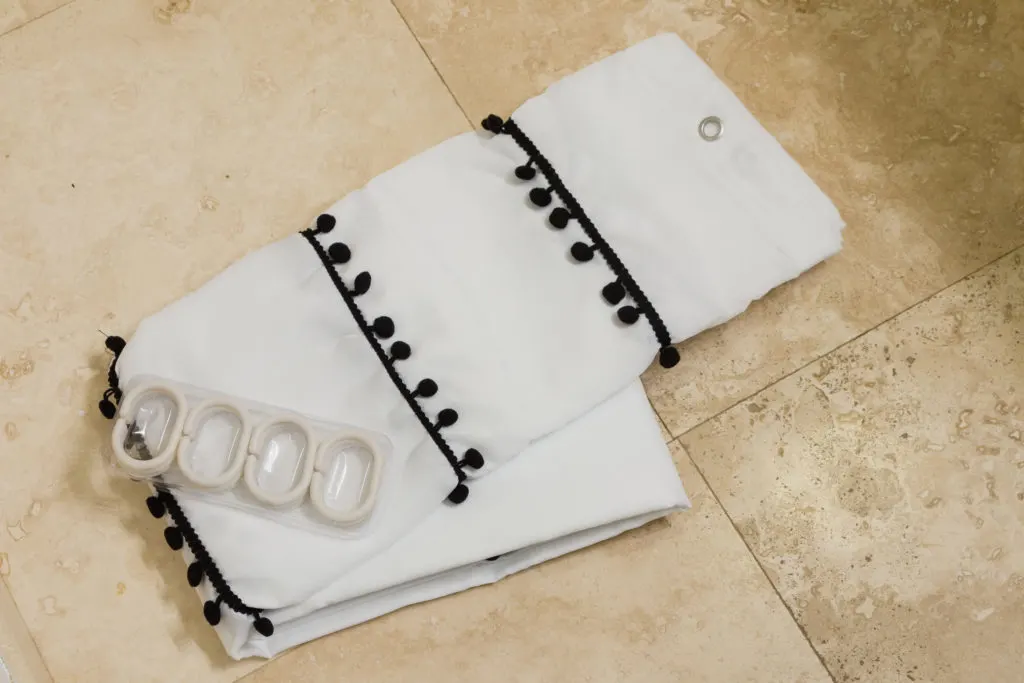
New Shower Curtain
These plastic rings come with the curtain if you want to use them, but I am using my custom hardware.
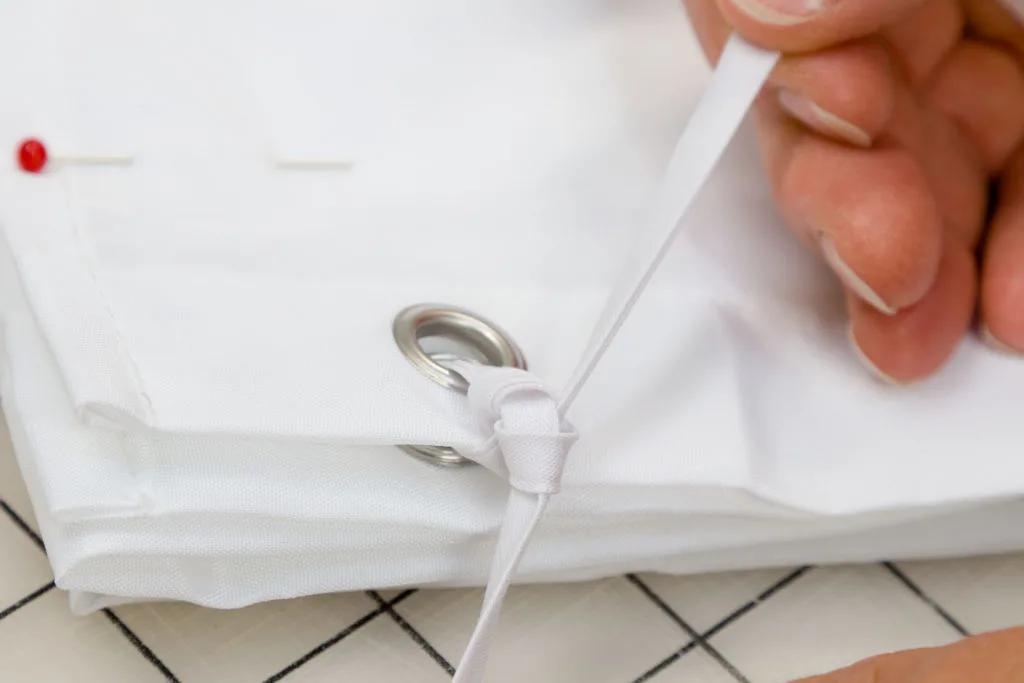
DIY Shower Curtain Ties:
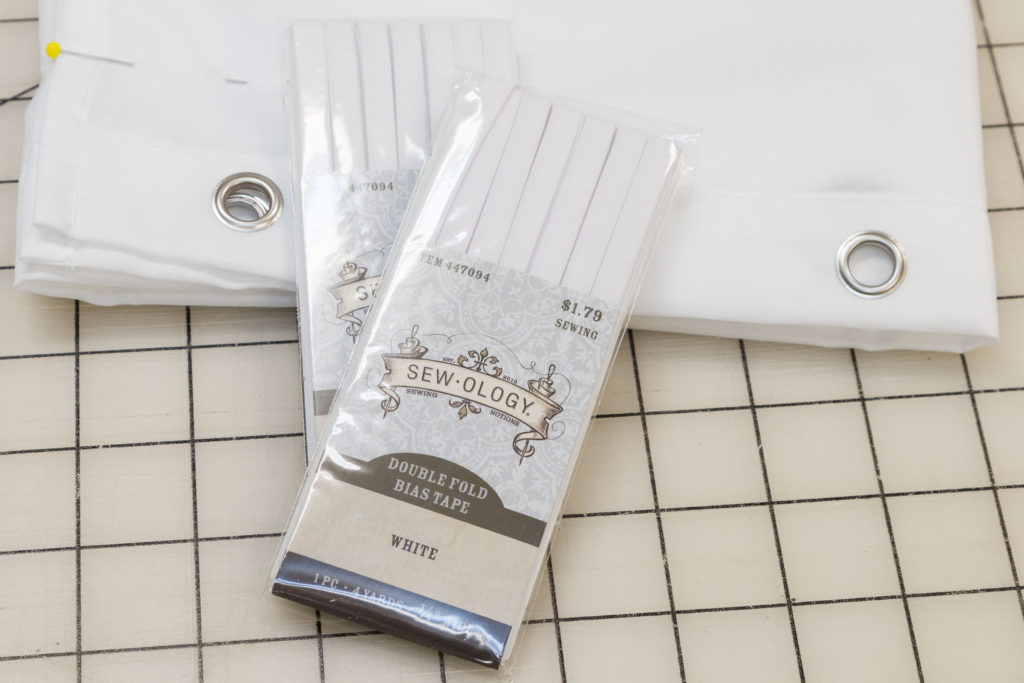
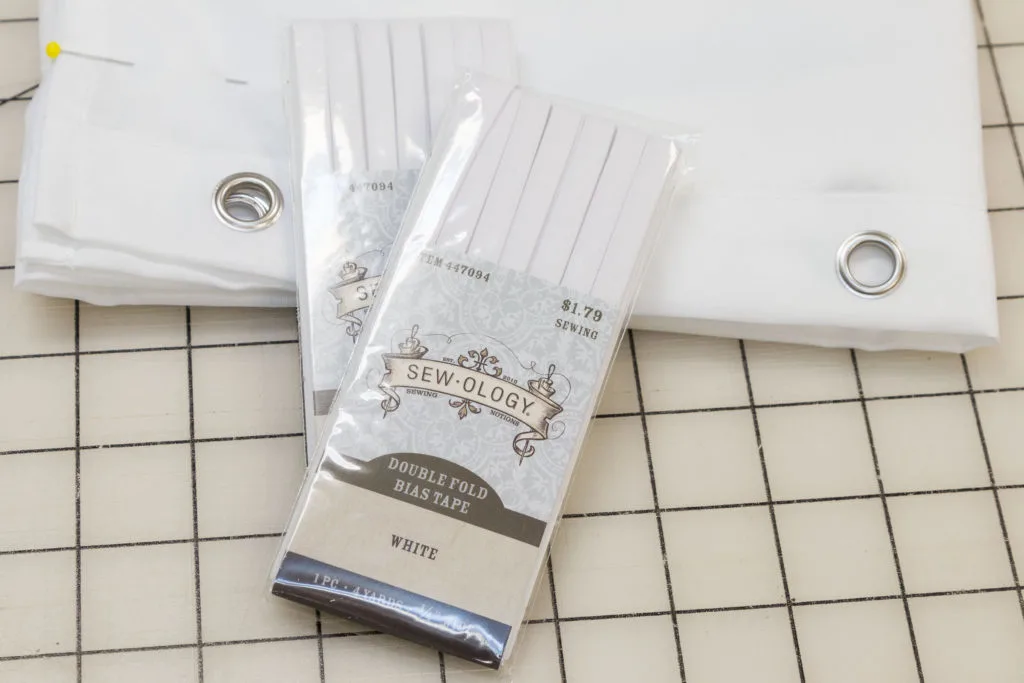
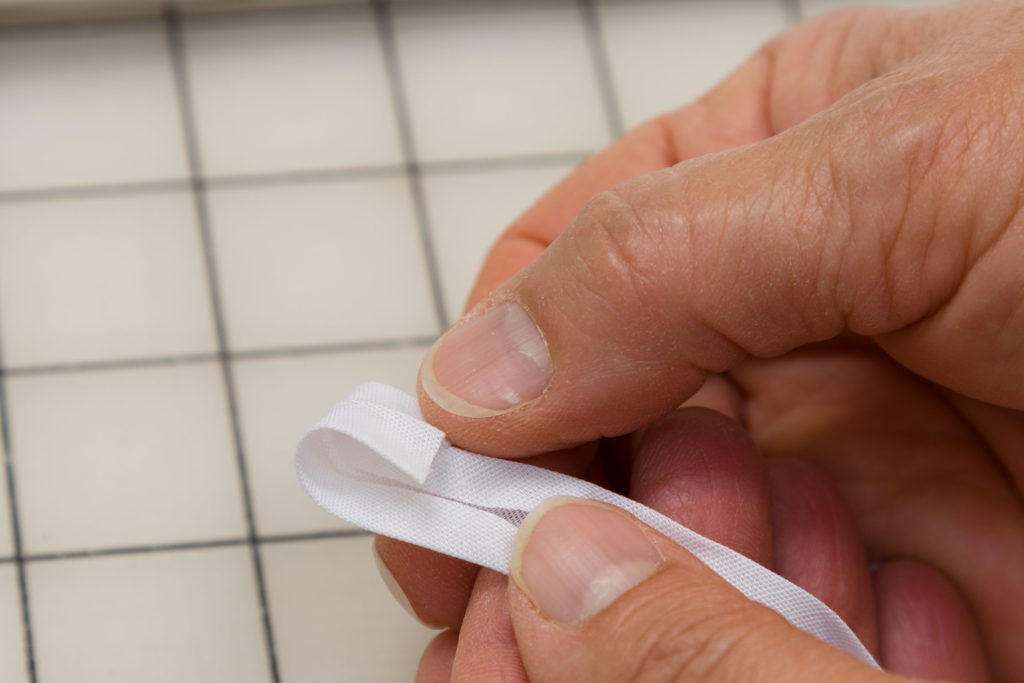
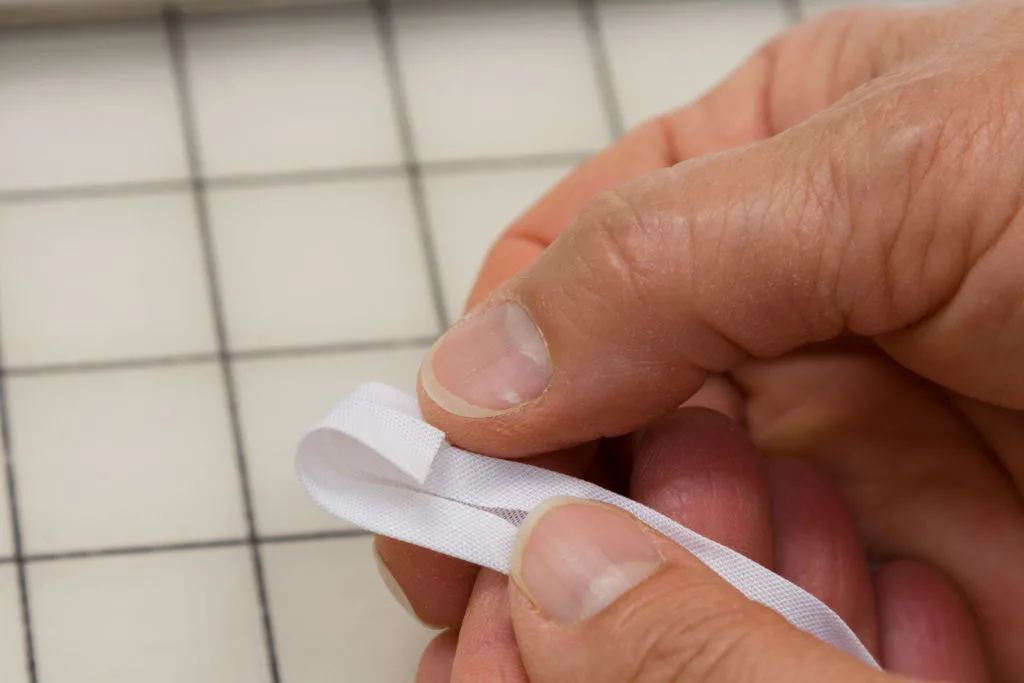
Bias tape for ties
I purchased two packages of 1/4″ double fold bias tape to use for the ties. I am going for simple, quick and budget friendly.
Turn down to make ties

Bias tape folded
Cut the bias tape to the length you want for the ties (I cut them 15″) and fold in both ends like in photo above.
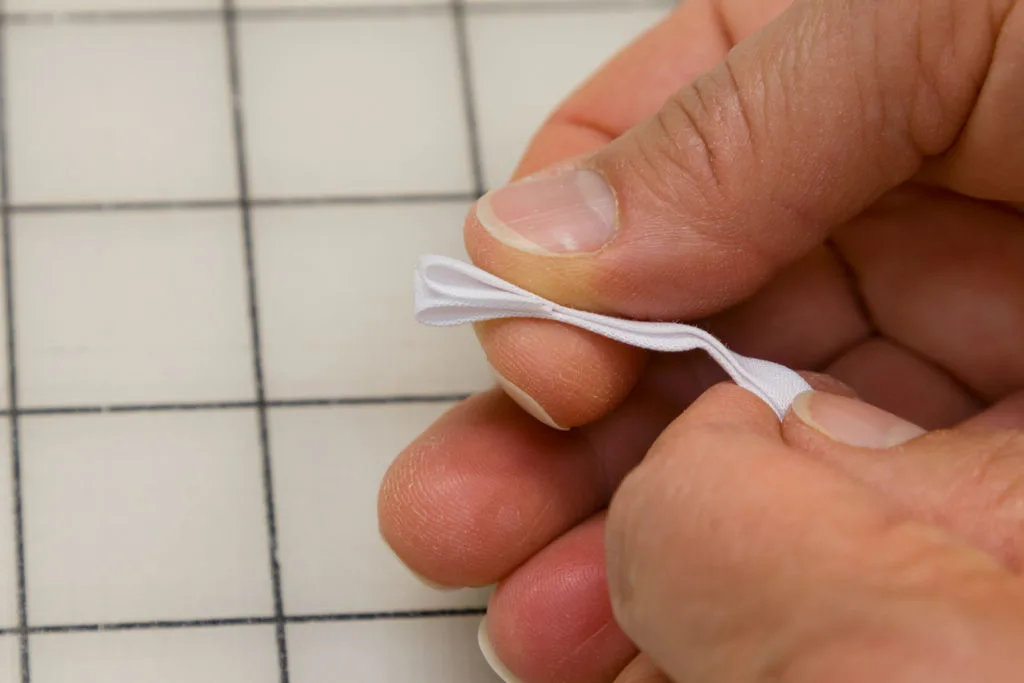
Testing the ties
Have you heard the saying measure twice and cut once? Well, this is one of those times it pays to make sure the tie is the right length before cutting, ironing and sewing all of them. If you are happy with the length sew the ties.
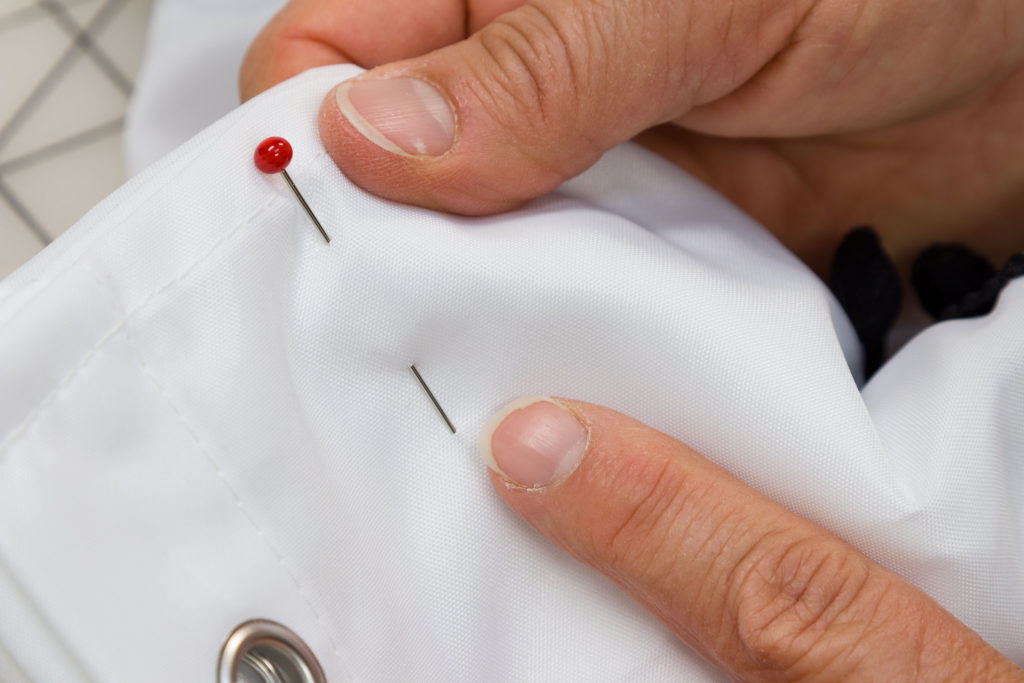

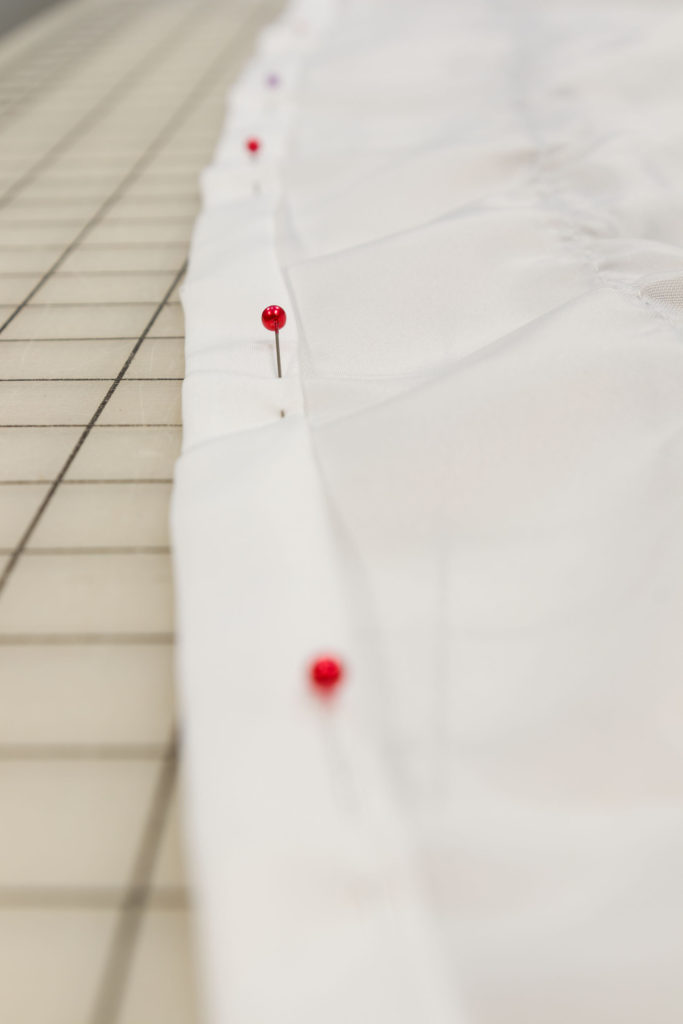
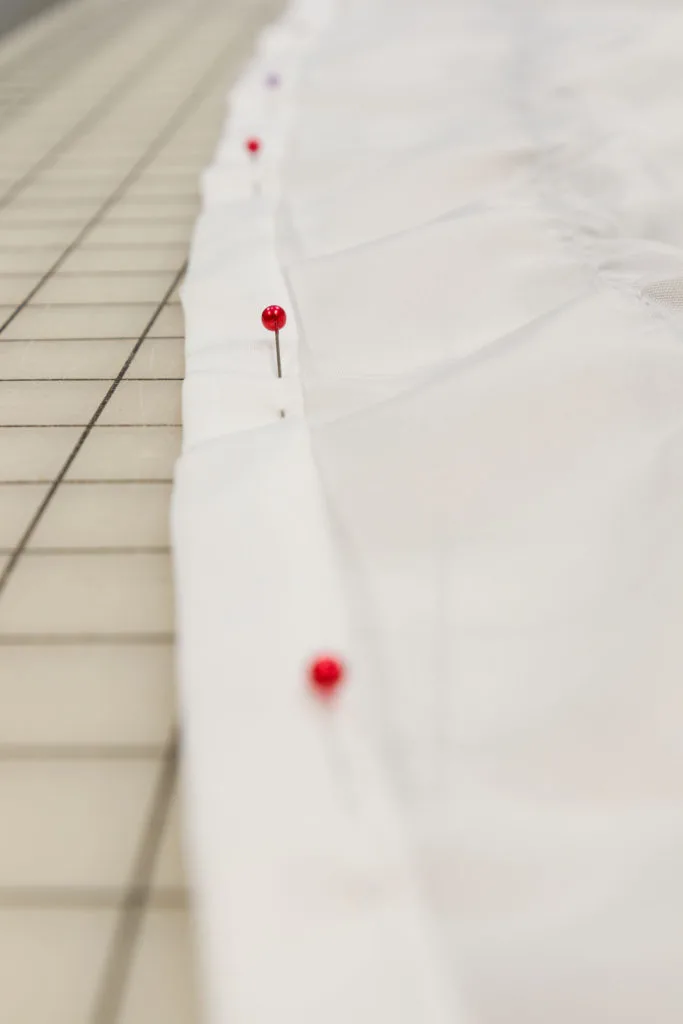
Fold over at pin
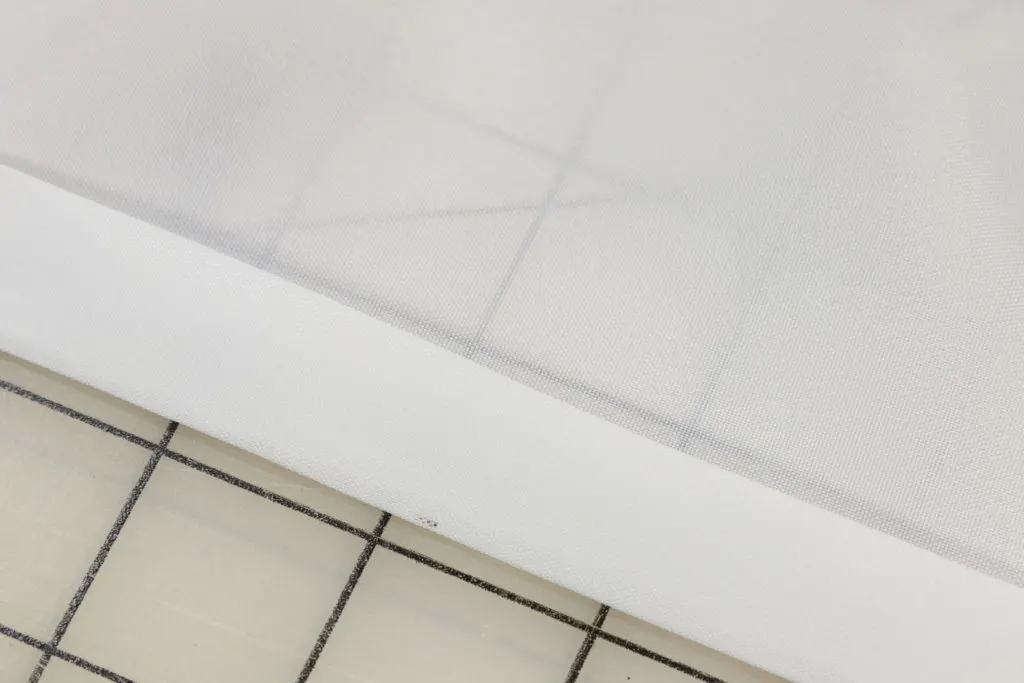
Did you notice the red headed pin? It marks the place I need to fold over to shorten the curtain. Since I am not using grommets to install I ordered the shower curtain in the 78″ length so I could remove the grommets.
Removing the grommets
Removing the top hem and grommets
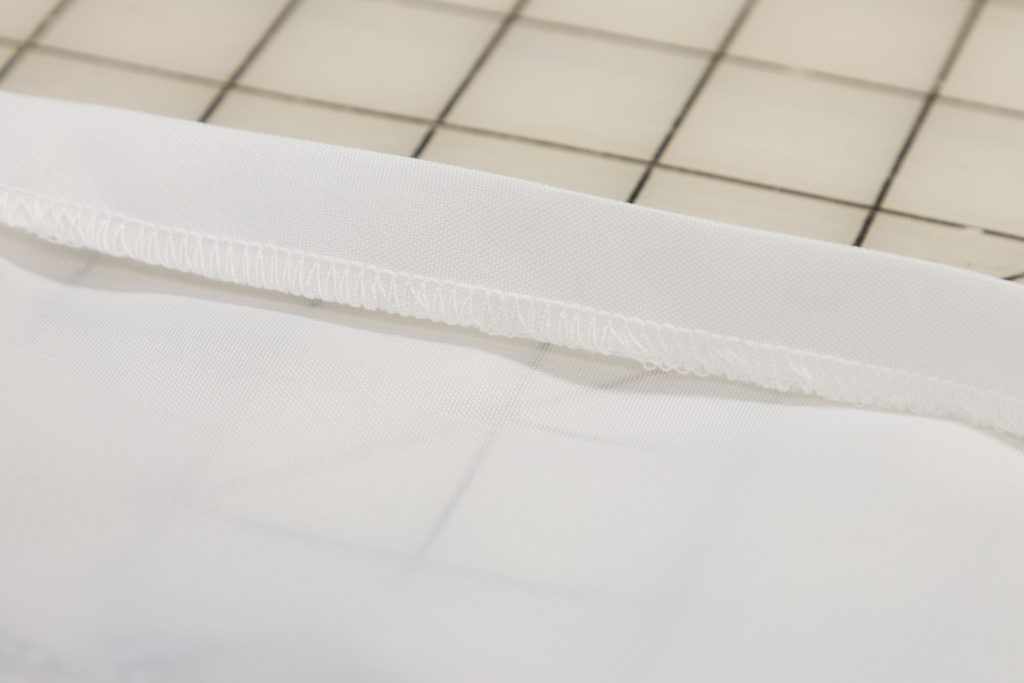
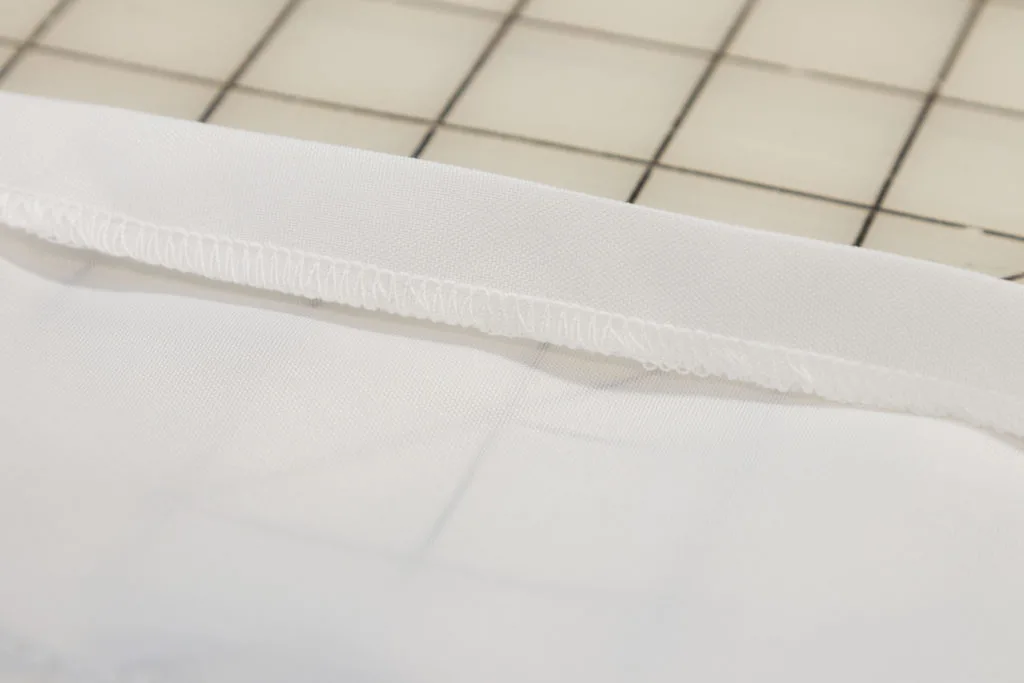
Serged the cut edge

Ironed over a double hem
Pin the hem to keep it in place
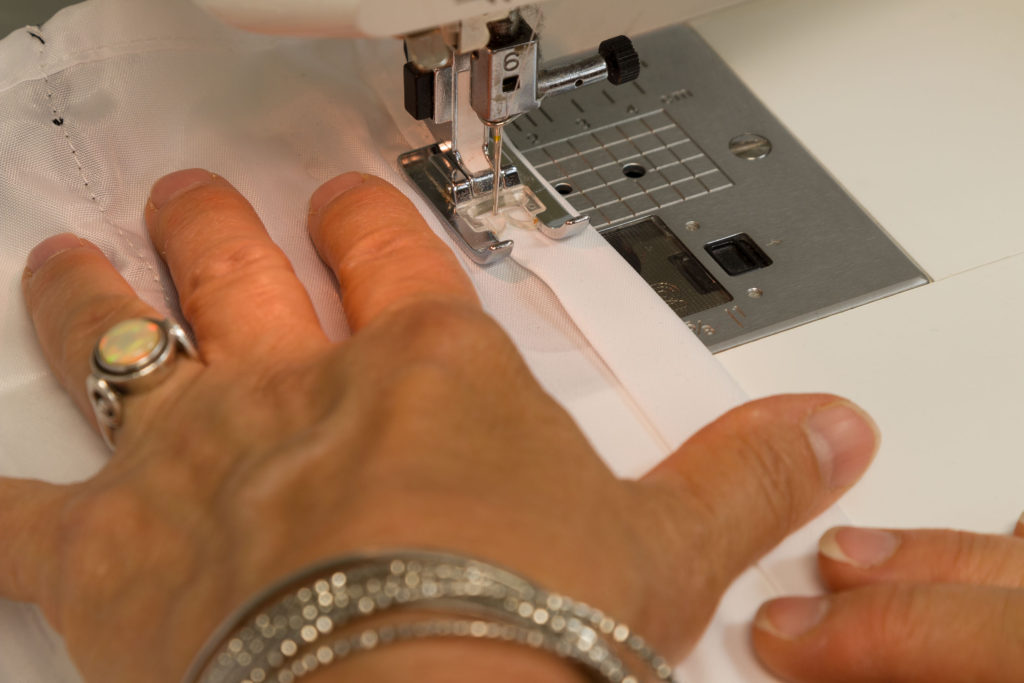

Sewing the new top hem in place
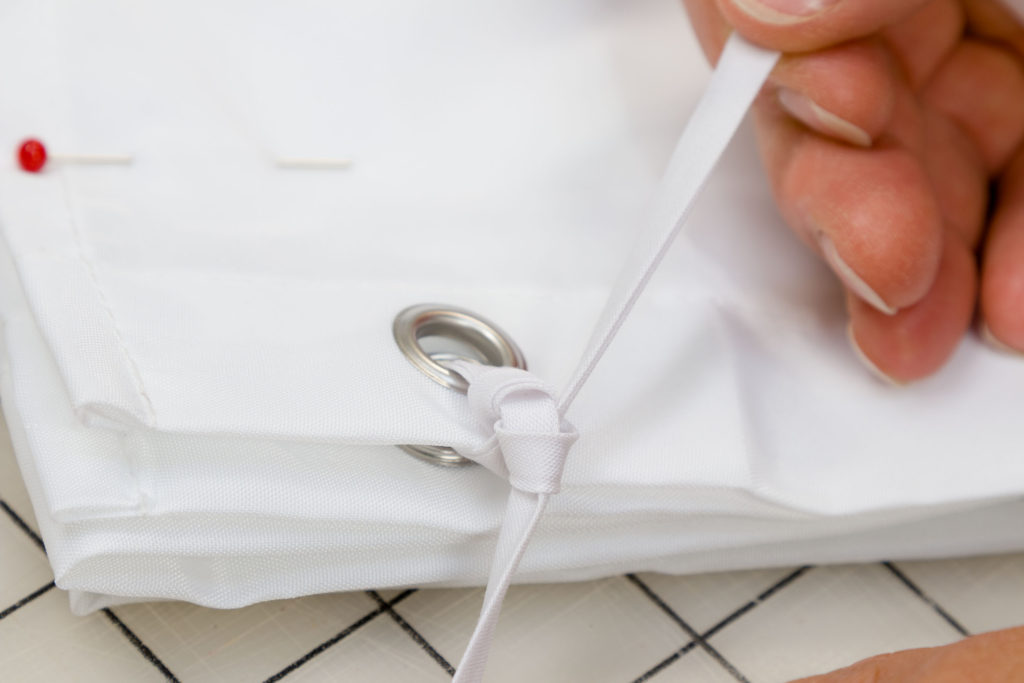
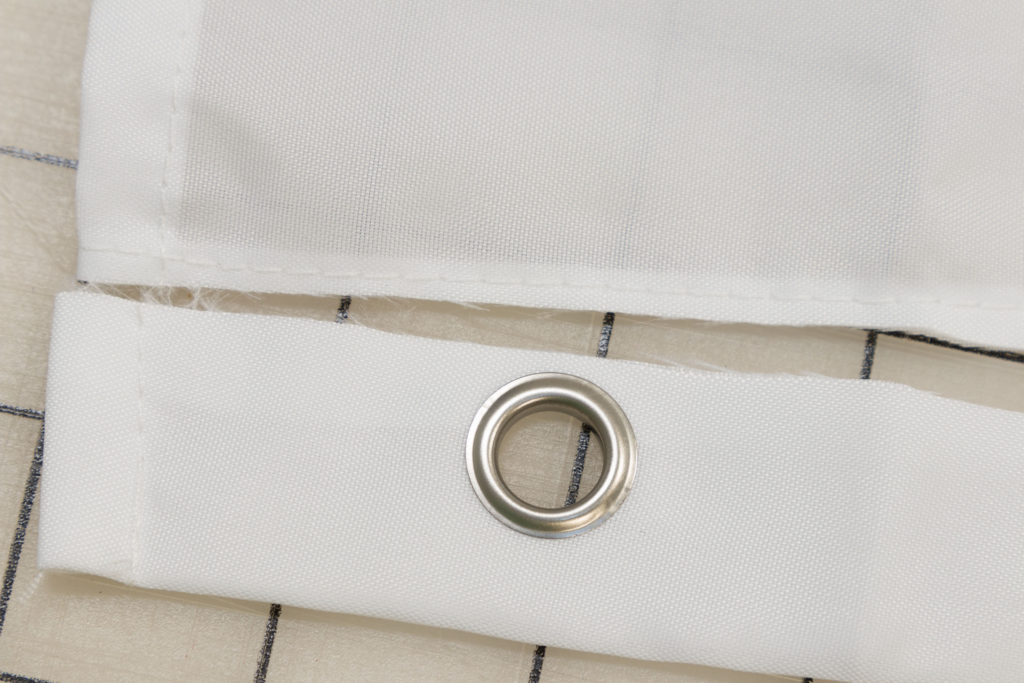
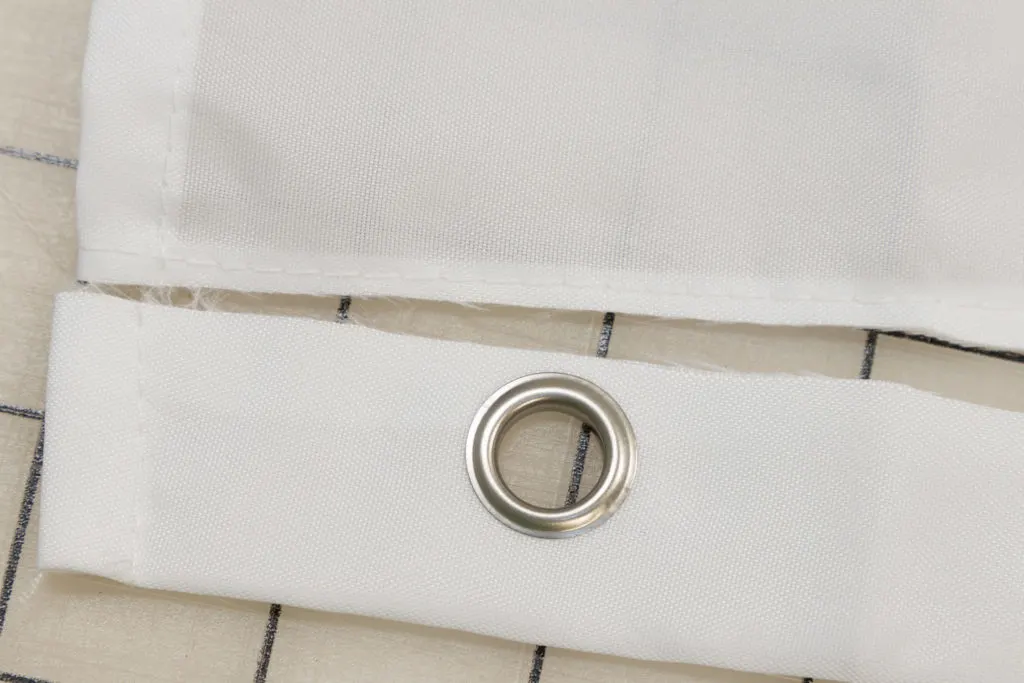
After making the top hem use the grommet header you cut off as a pattern to mark where to place your ties.
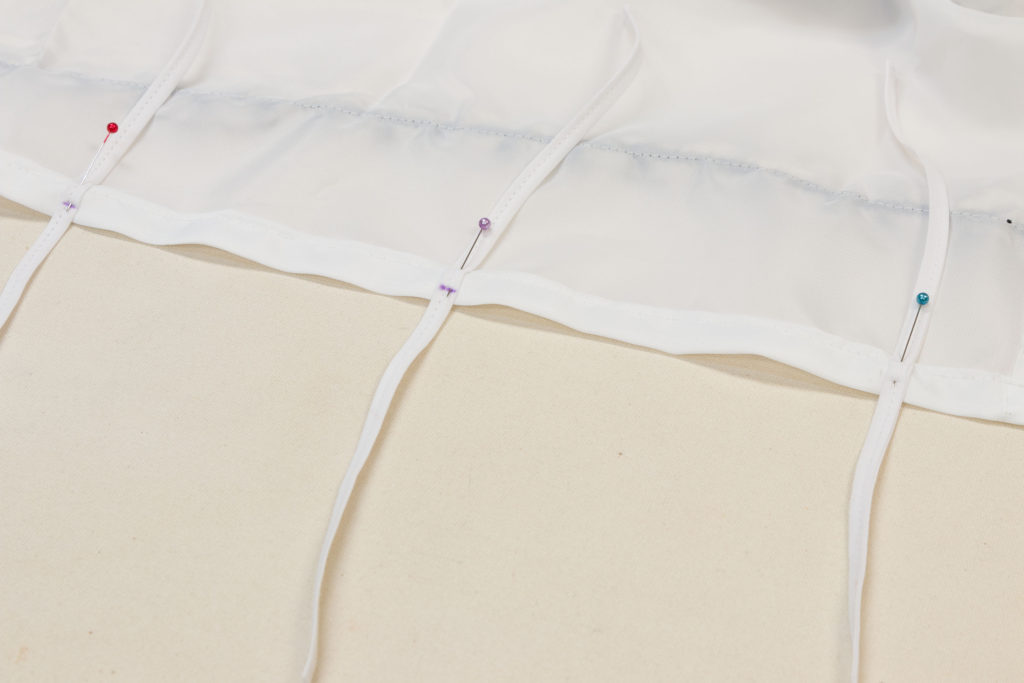
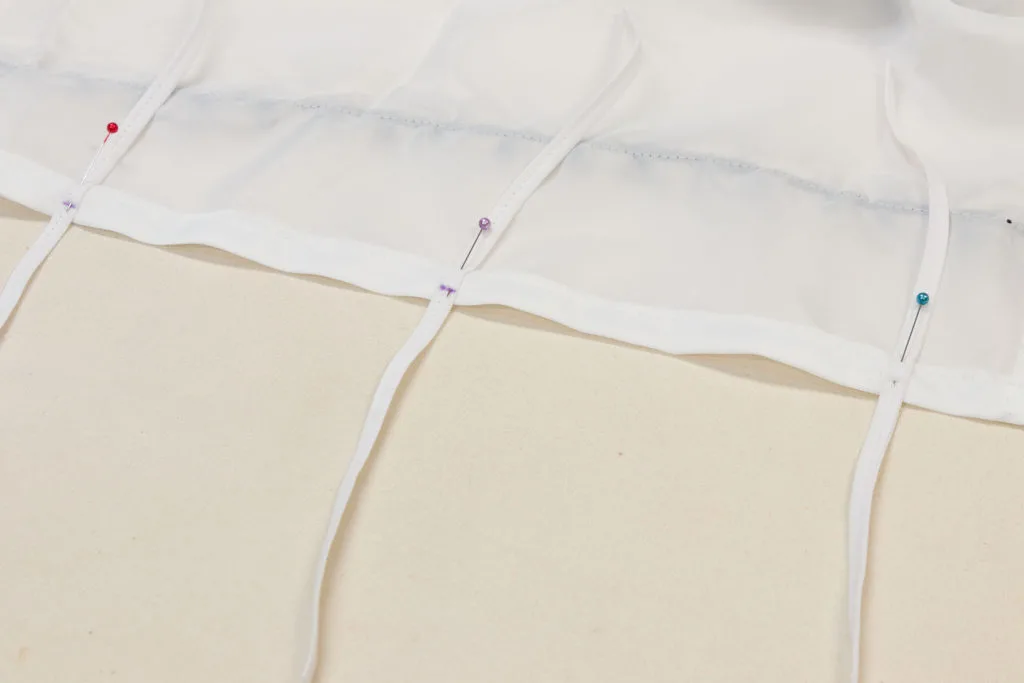
Pinning all the ties in place
After making the top hem use the grommet header you cut off as a pattern to mark where to place your ties.
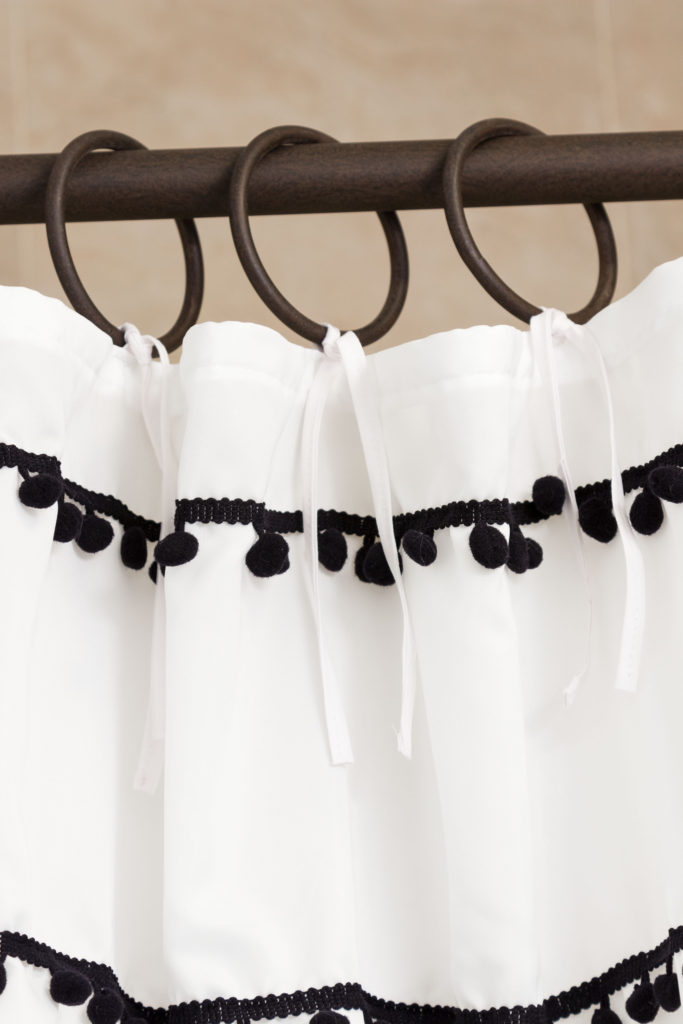
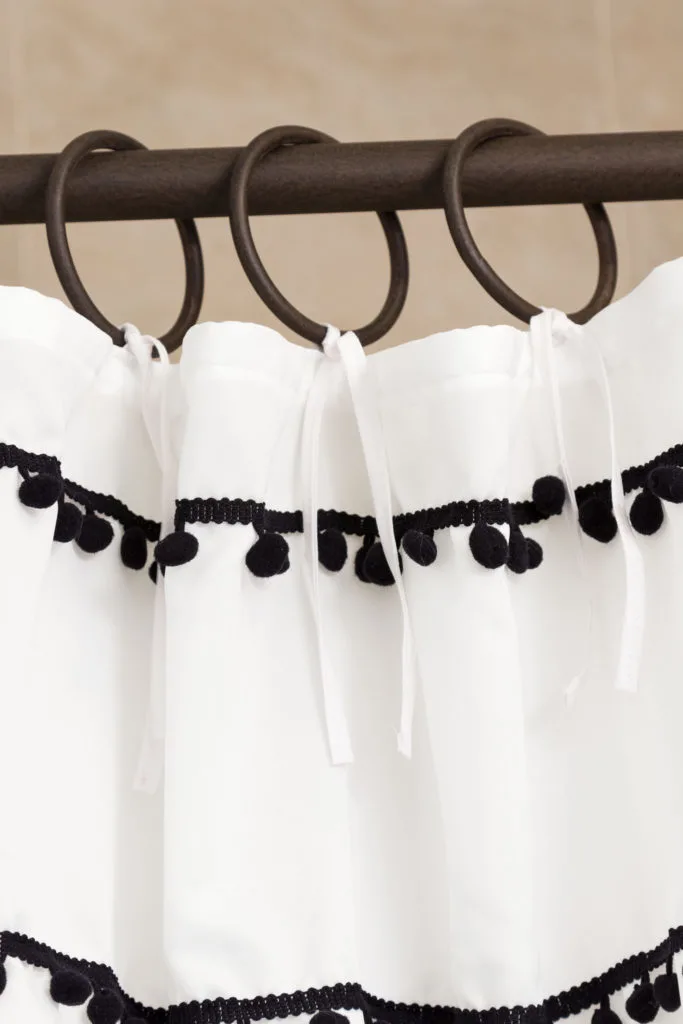
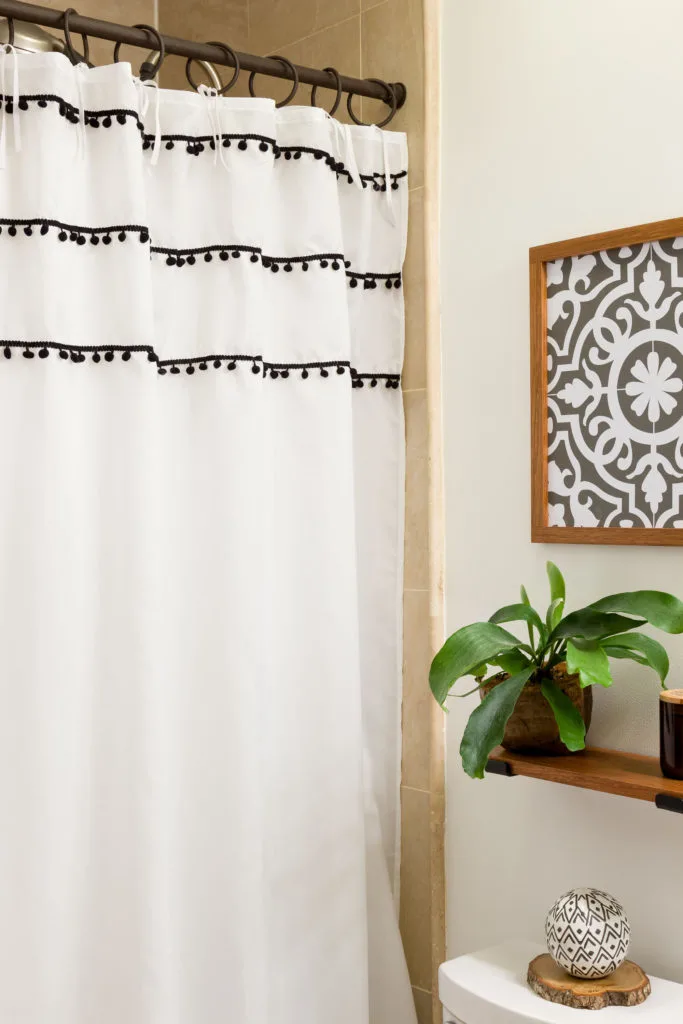
Pompom shower curtain with ties
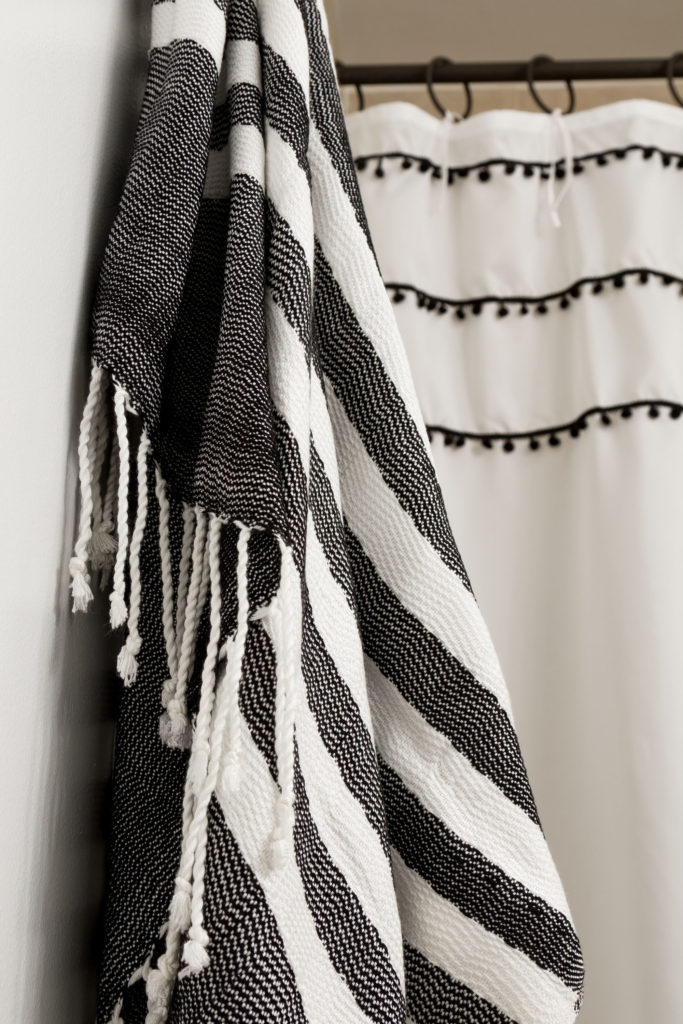
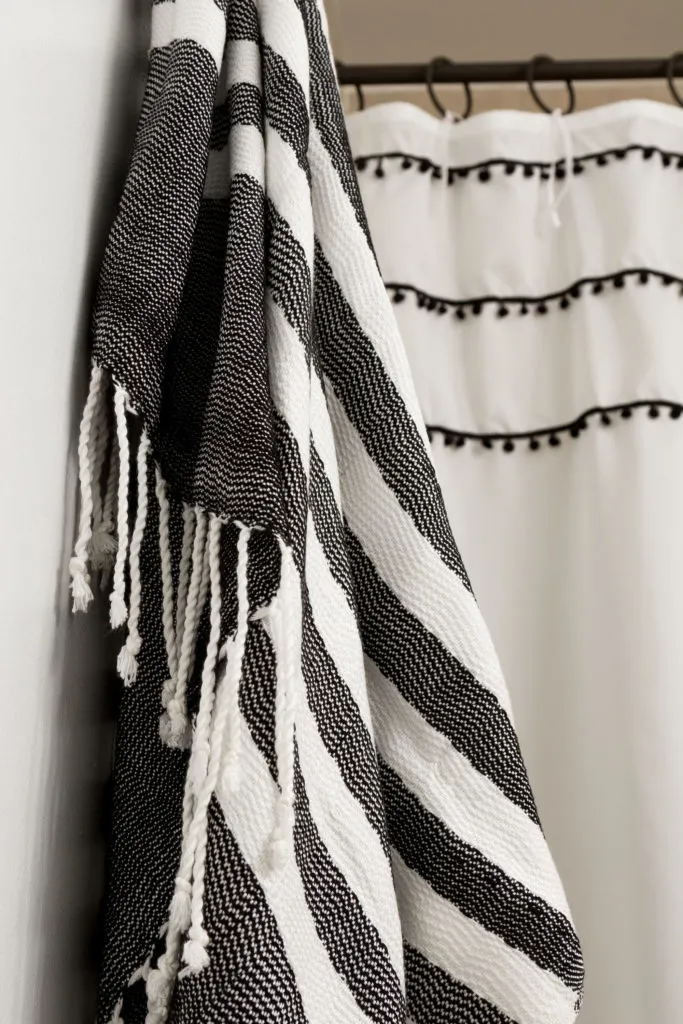
Turkish towels, Boho Style Shower Curtain with Ties

DIY Shower Curtain Ties
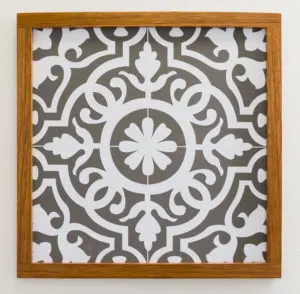
The pretty Moroccan “tile” art was made by my daughter you can see how she made it HERE!
Faux tile art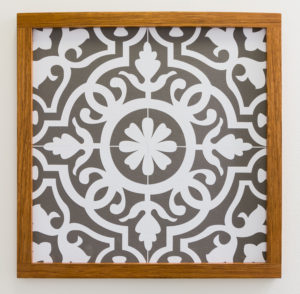
You might also like:
Please join me in this romantic bedroom makeover
Dreamy Romantic Bedroom Makeover
Thank you for stopping by.
This update was long overdue, but life gets busy. Any home that does not have regular updates starts to look dated. When was the last time you updated your home?
Please say hello in the comments below I would love to hear from you.
Happy Decorating,
Kippi
Paula@SweetPea
Tuesday 31st of August 2021
I love this idea, Kippi! Pinned and scheduled to my FB page.
Cecilia
Sunday 29th of August 2021
Clever solution, Kippi! Thanks for sharing at Vintage Charm!
Marie
Friday 27th of August 2021
The ties look way better than the grommets! Sort of a happy accident :)
Michelle
Thursday 6th of June 2019
That modification turned out really well! I’ll admit to being a bit dubious at first as I always like the minimalistic look of grommets. Well done! And thanks for participating in the Creative Compulsions Link up Party!
Crissy
Sunday 2nd of June 2019
This is such a clever hack, Kippi! It turned out so well, and I'm also admiring that Moroccan tile art your daughter made! Thanks for sharing at Tuesday Turn About!