Pallet wood DIY Centerpiece box

I had a “new” looking centerpiece box, and I wanted to make it look old and rustic like my Father’s tool caddies (see the below photo).

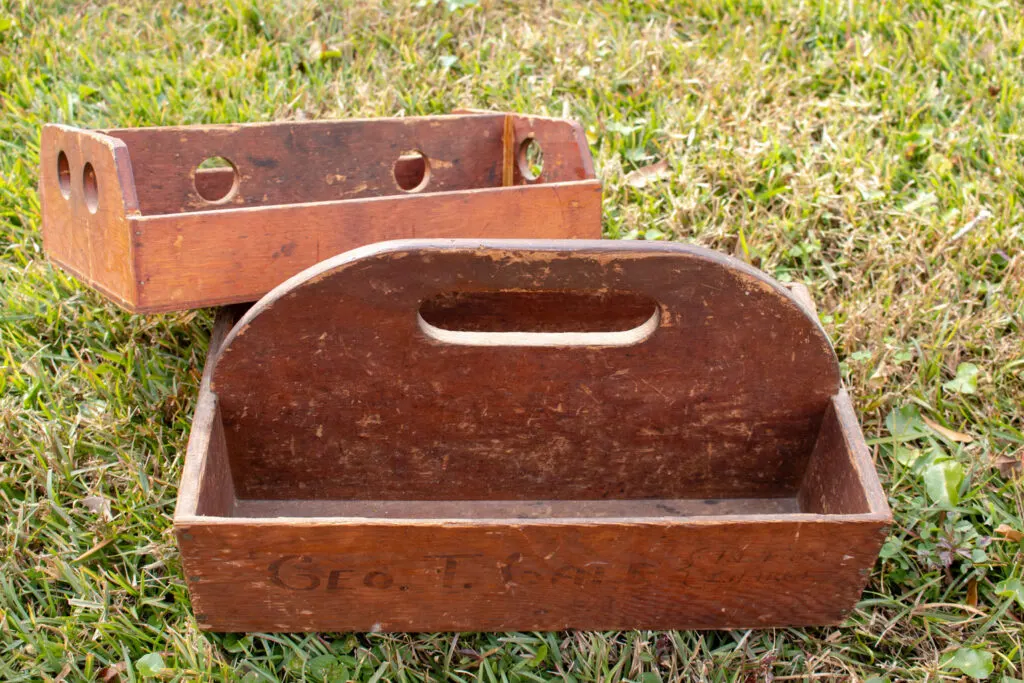
Vintage Tool Boxes (Geo. T. Gale)
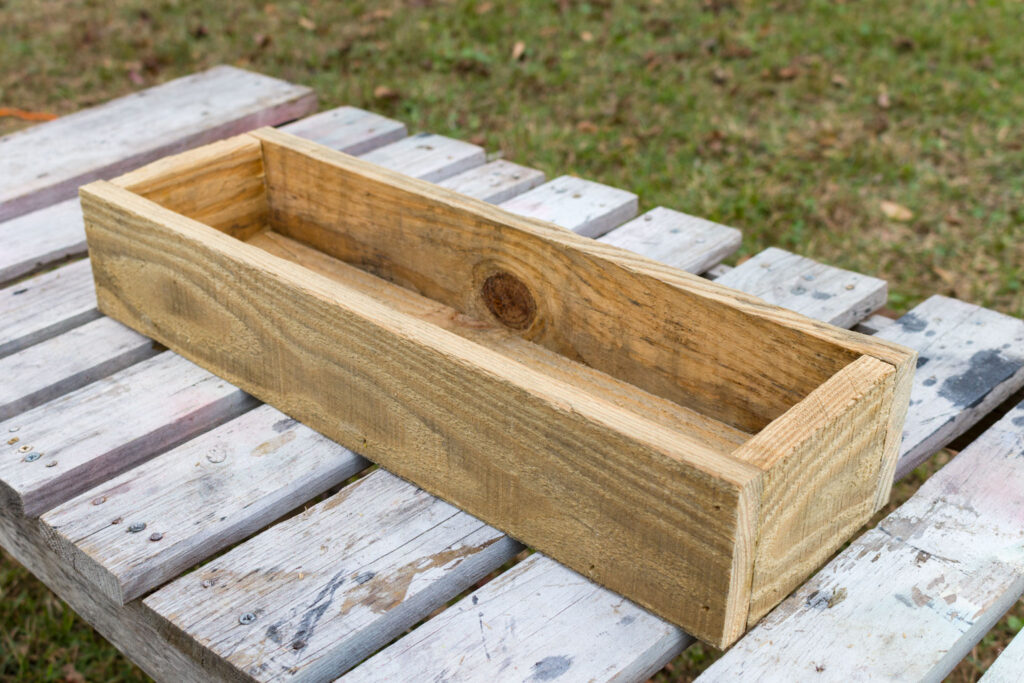
My “new” looking centerpiece box is pictured below. I have enjoyed using it for decorating, but this year I wanted something a little different. I wanted a rustic box that is both shorter and a little wider box to give more of a vintage vibe.

Planning my centerpiece box
This post may contain affiliate links. That means that if you purchase from one of these links, I will make a small commission.
Rest assured, you will not pay more for any products.
How to Build a Rustic Centerpiece Box
What you will need:
You can find all our favorite building supplies HERE.
Supplies and tool
- Reclaimed wood (I used a pallet)
- Nailgun and nails
- Skilsaw
- Speed square
- Wood glue
- Rasp
- Measuring tape


Supplies and Tools to make a centerpiece
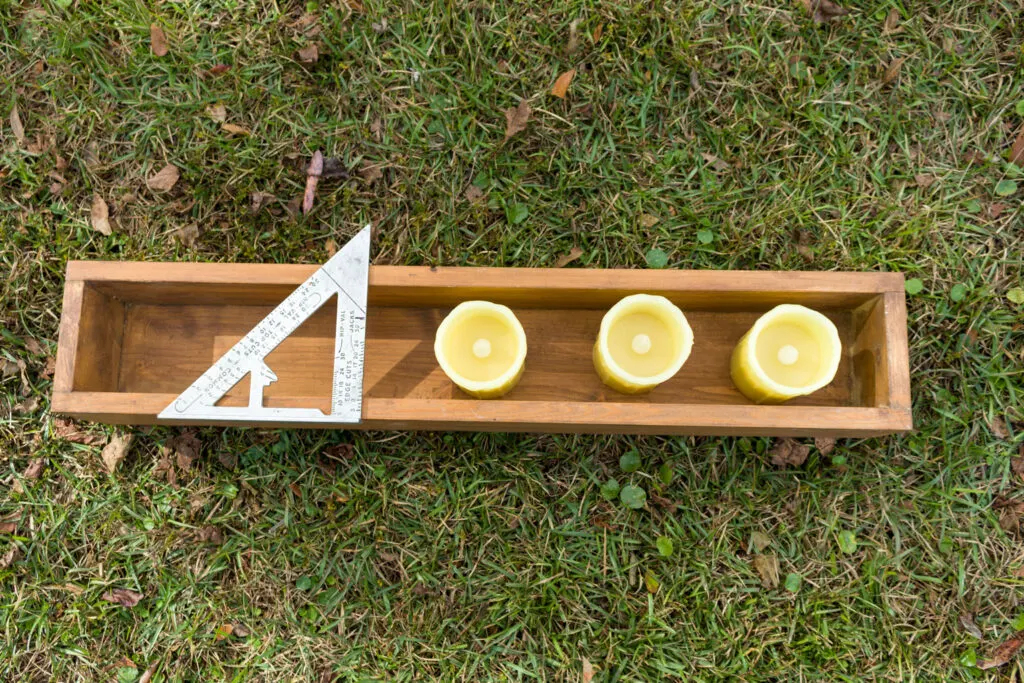
Measurements
I am making the centerpiece size 5 1/2″ wide by 19 1/2″ long by 3 1/2″ height.
I decided to cut out the pieces for the box directly from the pallet. Therefore I would not need to disassemble the pallet.
Bottom Cuts
Marking the cuts for the bottom of the box with a speed square.


Marking cut line on the palette wood
Special Invitation:
I want to invite you to join me for a Stress-Free Thanksgiving by subscribing to my Thanksgiving Newsletter. You will receive everything you need to plan and host a stress-free Thanksgiving. Click here to join me.


Marking the cutting line for the width of the boards
To cut out the bottom of the box using a Skilsaw (this saw is our favorite) making a plunge cut.


Using a Skilsaw to cut the pallet
Measure and mark the bottom length to 18″.


Mark the side length
Cut out the bottom board following the line you draw.
Cutting the Remaining Pieces
Follow the same method for all the cuts.
Making these cuts:
- Cut one bottom piece 4″ x 18″
- Cut two sides 3.5″ x 19.5″
- Cut two ends 3.5″ x 4″


The cut side piece
These are all the box pieces cut from the pallet.


Centerpiece box pieces
Use a rasp to smooth rough edges and corners if necessary.


Using a rasp to remove rough edges
Assembling the Box
Begin the box assembly by gluing the ends first.


Add wood glue to areas to be attached.


Glue end pieces to the bottom
Once you have glued the ends, you can nail the ends in two places.


Nail the ends in place
Apply the wood glue to the box edges where the side will attach.


Glue the side pieces
Nail the first side before attaching the second side.


Nail the sides in place
Finished Box


DIY Rustic Wood Centerpiece Box
Decorating a Centerpiece Box
The best part is decorating your “new” centerpiece box to see how I decorated one for fall HERE.
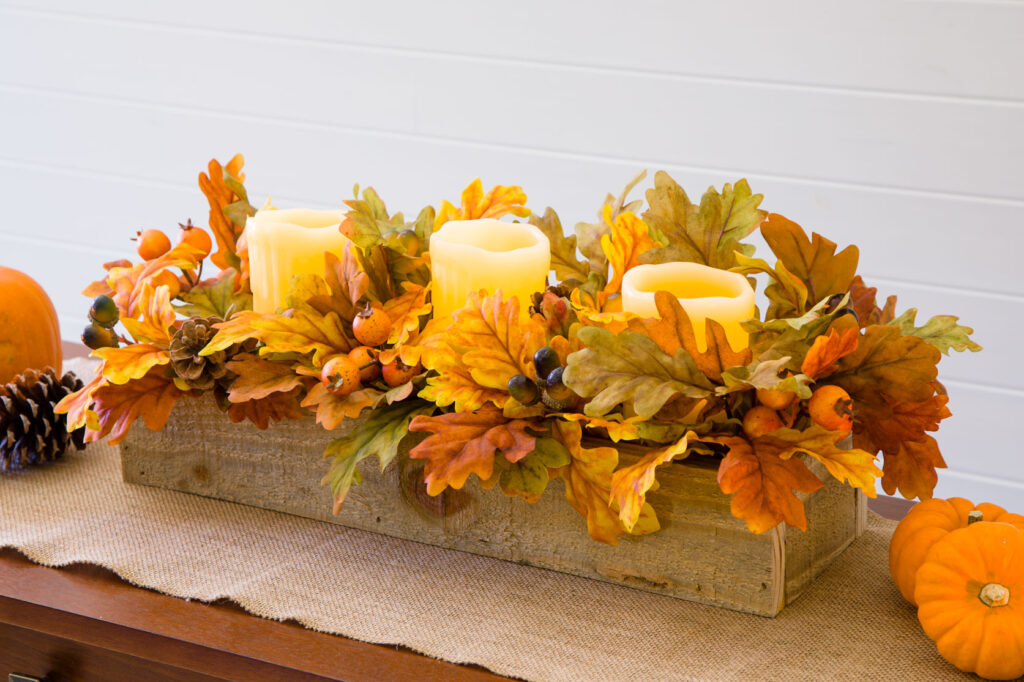

DIY Thanksgiving Centerpiece Box
You Might Also Enjoy
These easy Scrapwood Christmas Trees (see the how-to video HERE) were made with leftover wood.


Trees and gingerbread houses
Want a Stress-Free Holiday???
Want to enjoy all the holiday season has to offer? Feeling overwhelmed?
Join me as we enjoy a stress-free holiday season with a ton of inspiration, money-saving ideas for decorating, gift-giving, and so much more. Join HERE! And have the best of everything this holiday. Have a Merry Christmas and enjoy all the blessings of the season!
Thank you for your visit today,
Kippi