While planning our Christmas decorations, I decided to make some new items. I cherish our heirloom decorations, but I wanted something new too. Therefore, I decided to DIY the unique tree decorations, stockings, blanket ladder, and tree box.
Since all our walls are white, we needed something to warm up the decor, so I wanted to add wood tones to our Christmas decor in the dining room. Hence, the Scandinavian Christmas Trees would be accessible using the leftover wood from the blanket ladder and the same vinyl designs I used on my DIY Christmas ornaments.
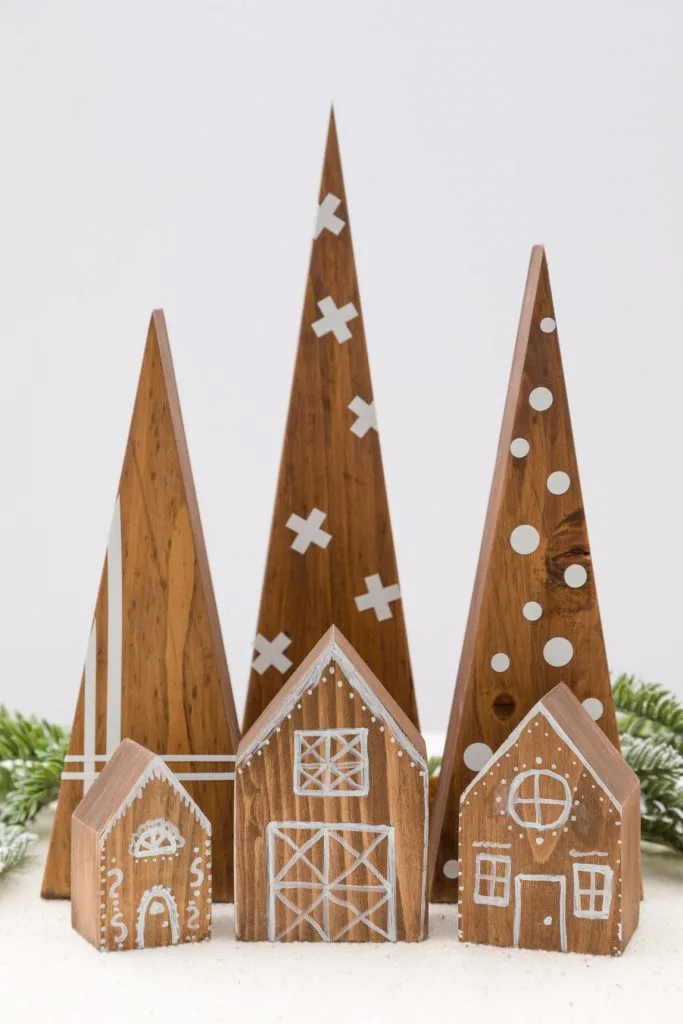
Trees and gingerbread houses
This post contains affiliate links. That means that if you purchase from one of these links, I will make a small commission, but rest assured, you will not pay more for any products.
Those cute tiny gingerbread houses we made with the leftover wood (you can see how HERE.)
How to Make Wooden Christmas Trees
Supplies and Tools
- 2 x 4 wood scraps
- Table saw
- Sandpaper (100 and 200 grit)
- Pencil
- Patterns
- Stain
- Chemical Gloves
- Foam
- Vinyl Decal
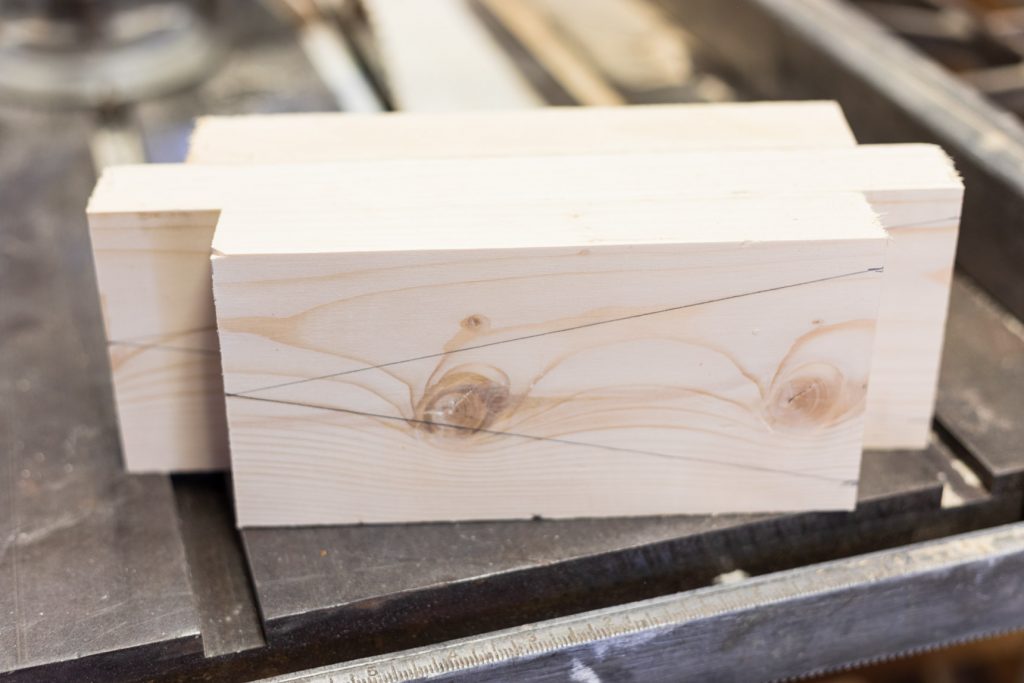

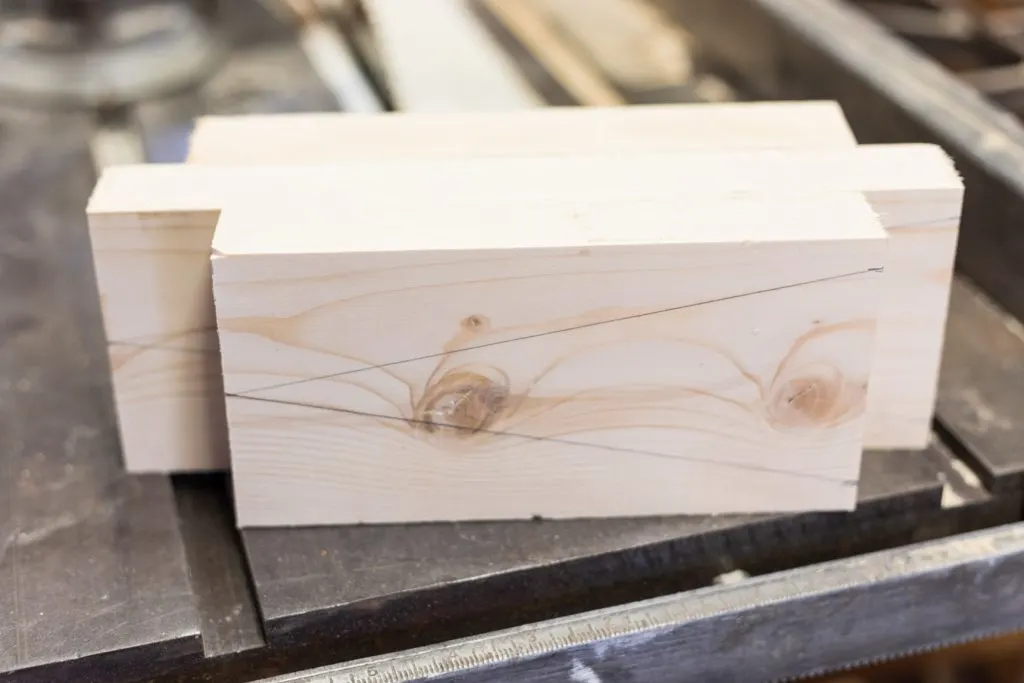

Wood Tree pattern traced on the wood
Use your printed pattern and trace out the trees on the wood (this will be your cut line.)
To establish the correct angle for each tree size, you will need to line up the traced line on the right side of the tree, starting at the top point. Then push the miter fence to meet the bottom of the woodblock and secure the wall at the angle.
Note: Each size of the tree will be a different angle.
Please Join Our Craft Group HERE. It is a place to share and be inspired by other amazing crafters. I cannot wait to meet you🤗
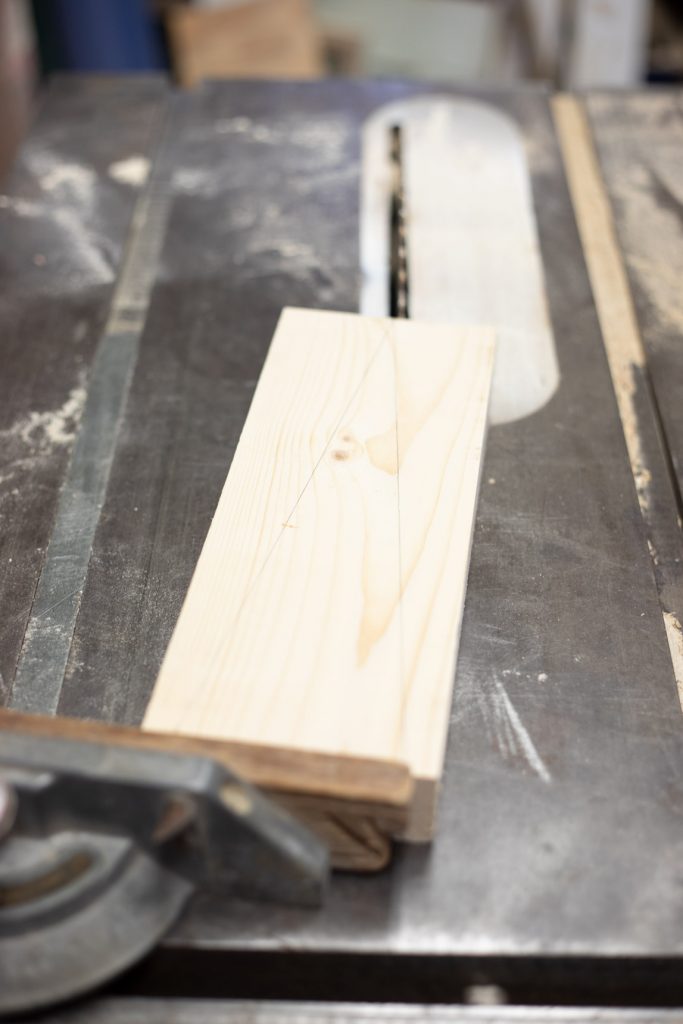

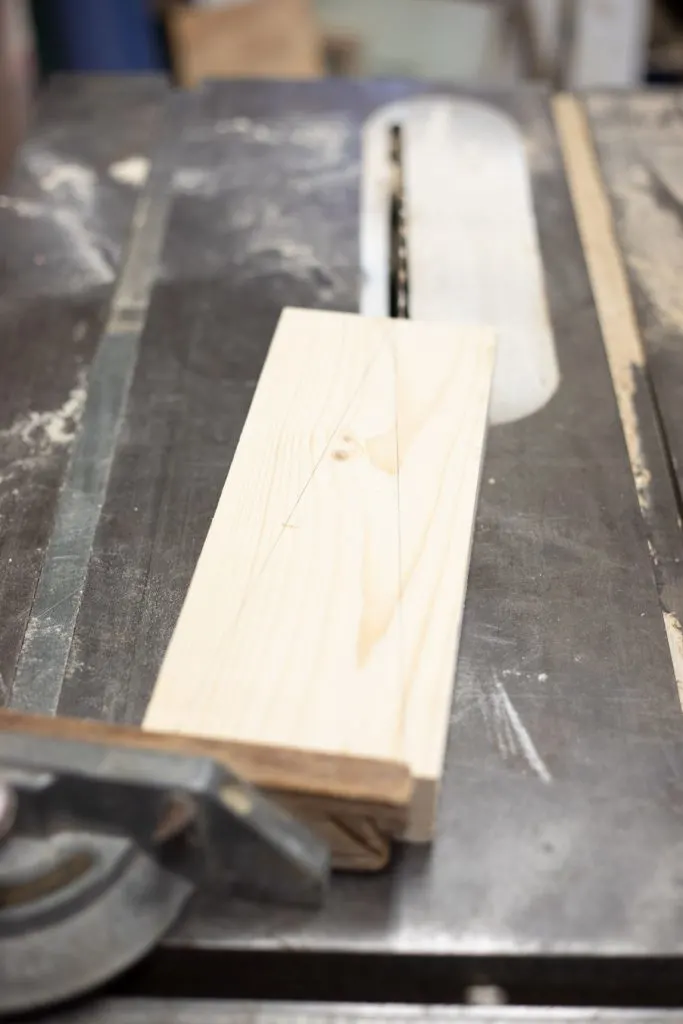

Cutting the tree at an angle
We added a piece of painter’s tape to mark the center of the saw blade.
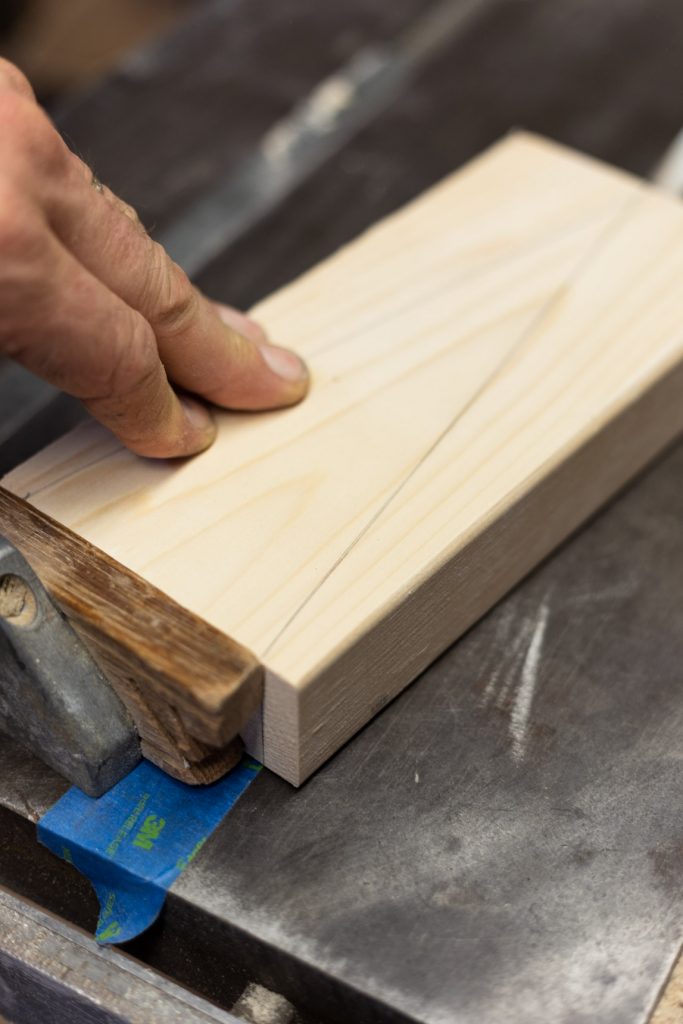

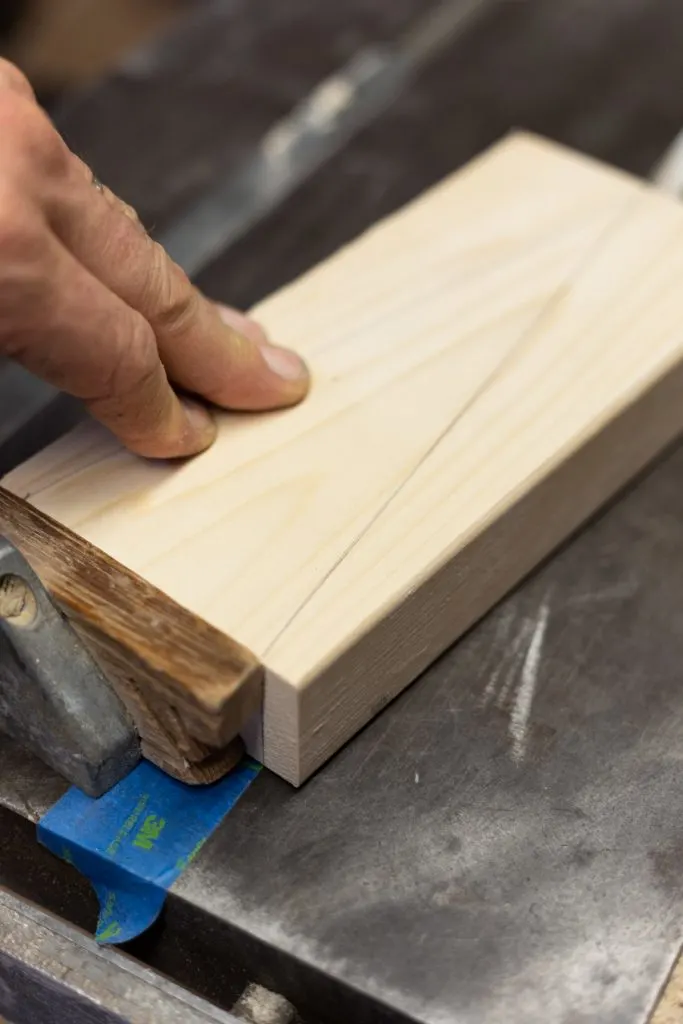

Using a piece of upholstery foam to apply wood stain
You will turn it over and cut in the same fashion as the first to cut the other side.
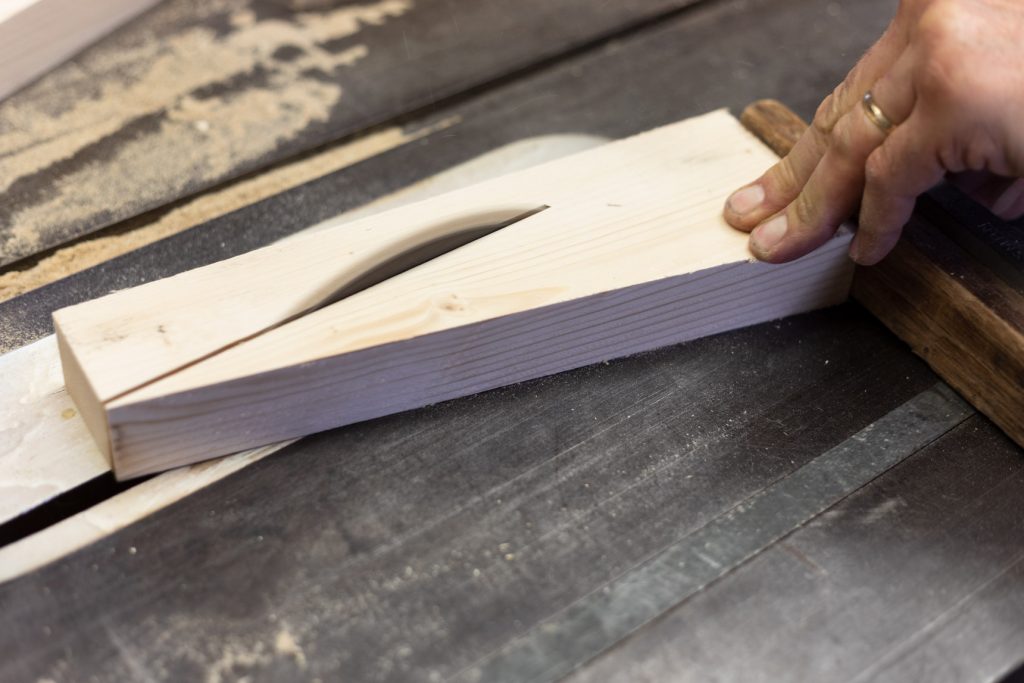

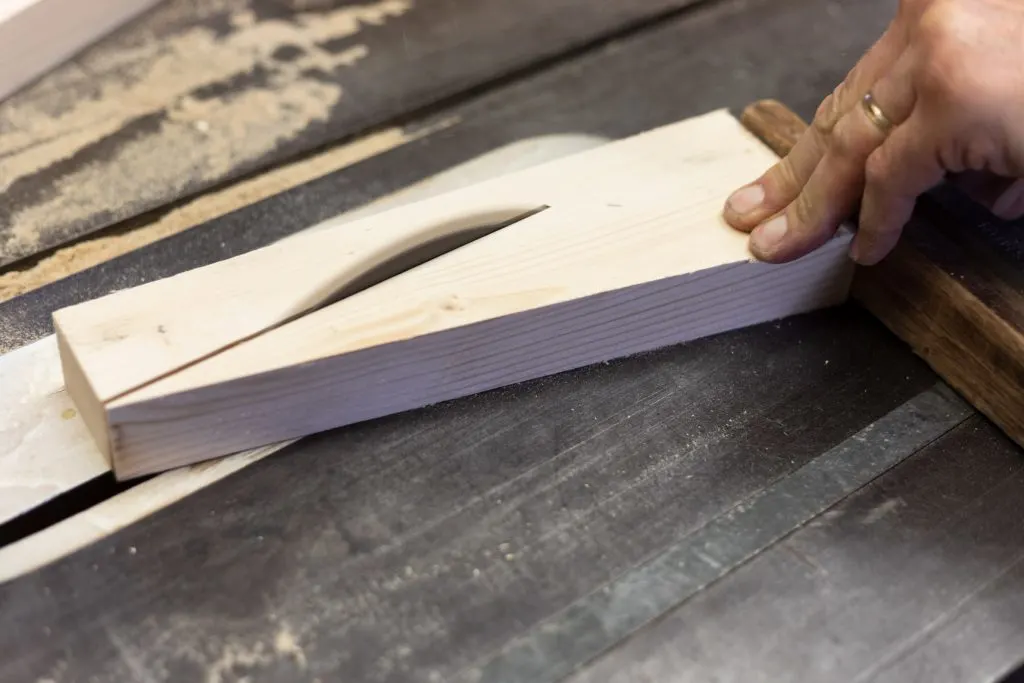

Cutting the last side of the tree
Once I cut out the trees, I am ready to sand any rough edges, first with 100 grit sandpaper and then with 220 grit sandpaper.
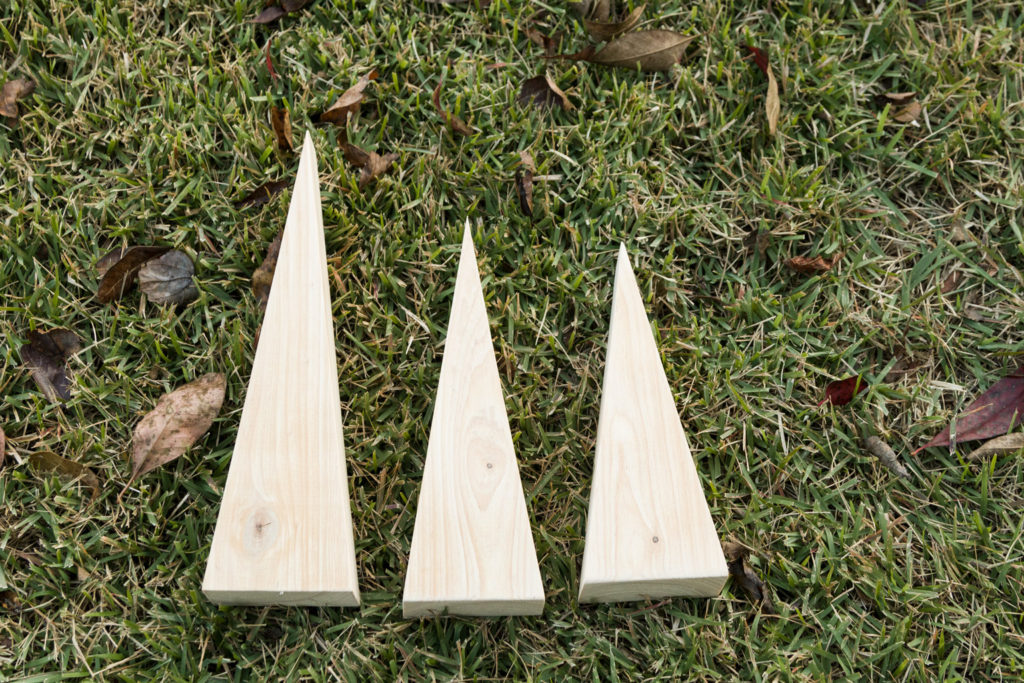


Unfinished Wooden Trees
For our favorite staining method, we use a piece of upholstery foam and dip the foam into the stain and apply it to trees. Again, follow the manufacturer’s instructions on the can.
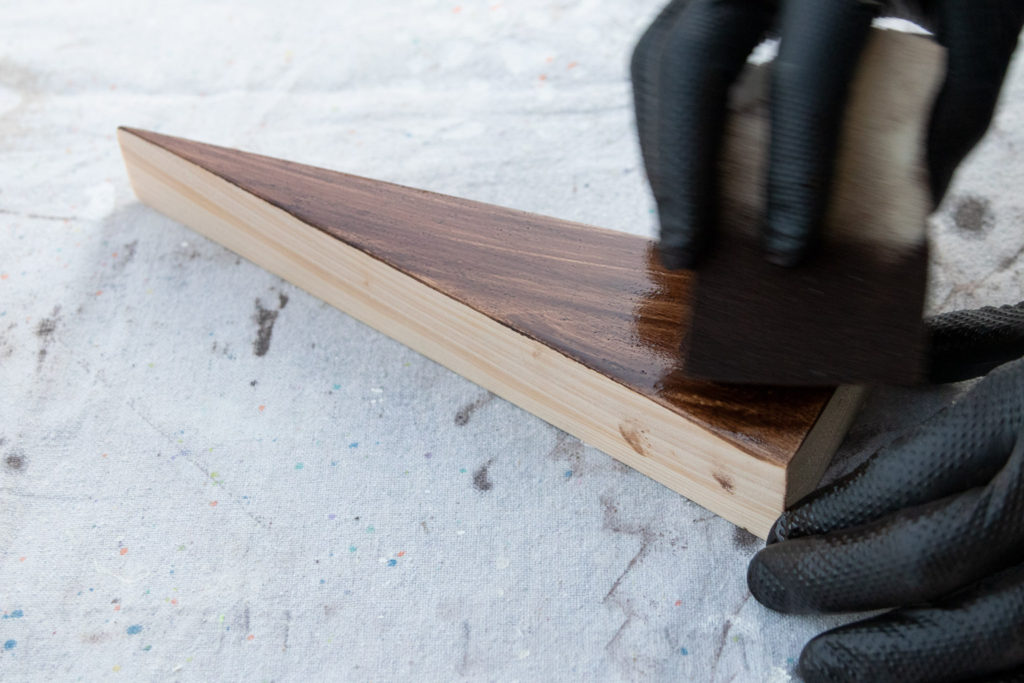

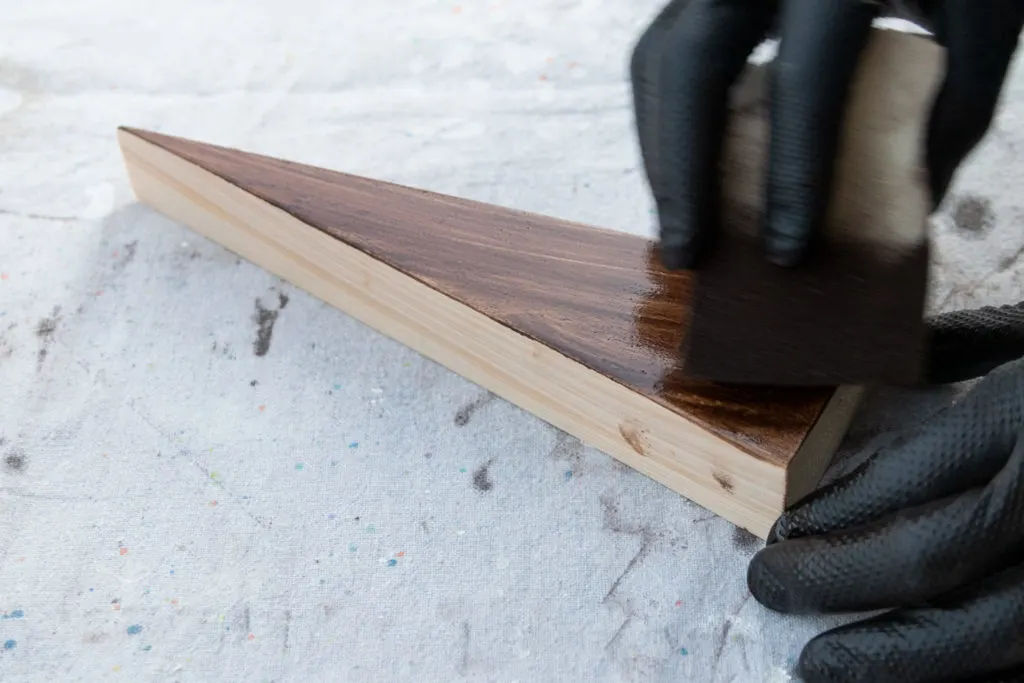

Staining wooden trees
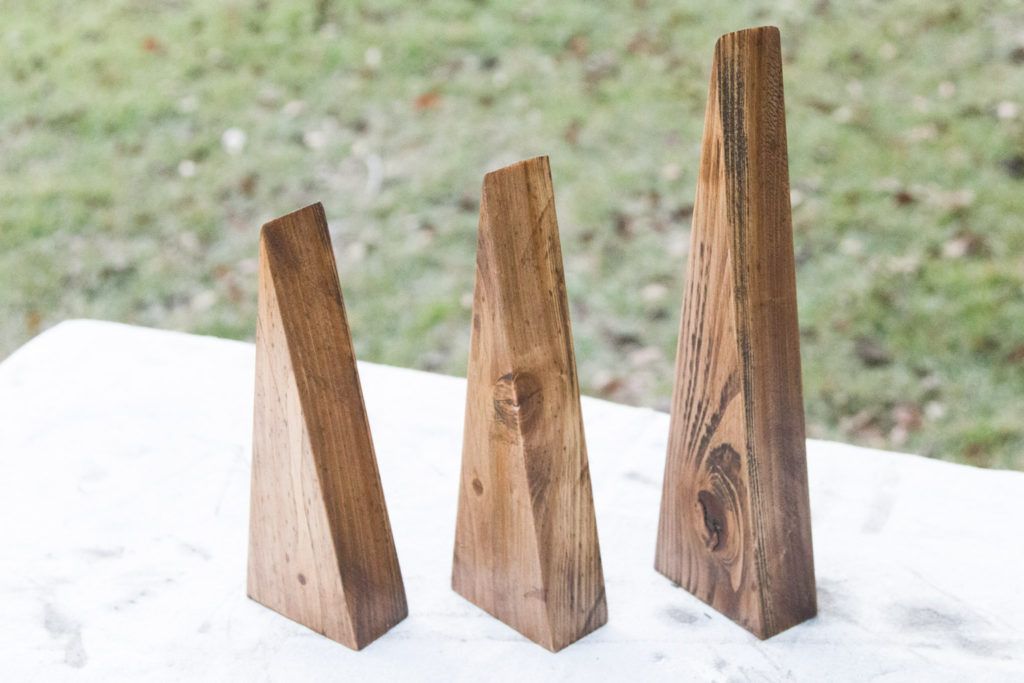

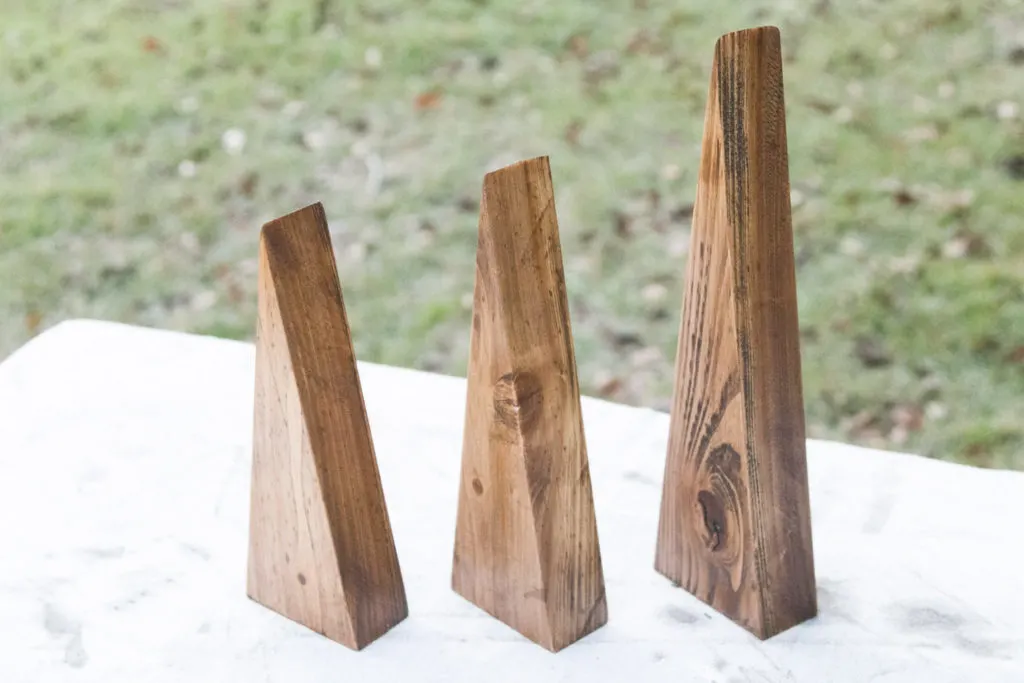

Wooden Trees Stained
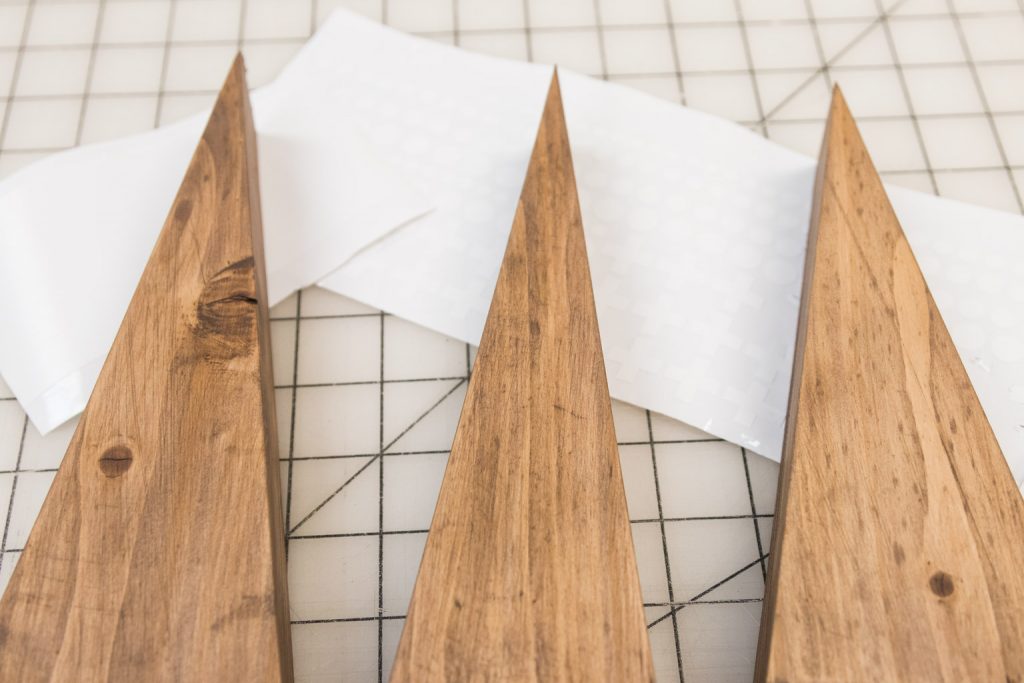

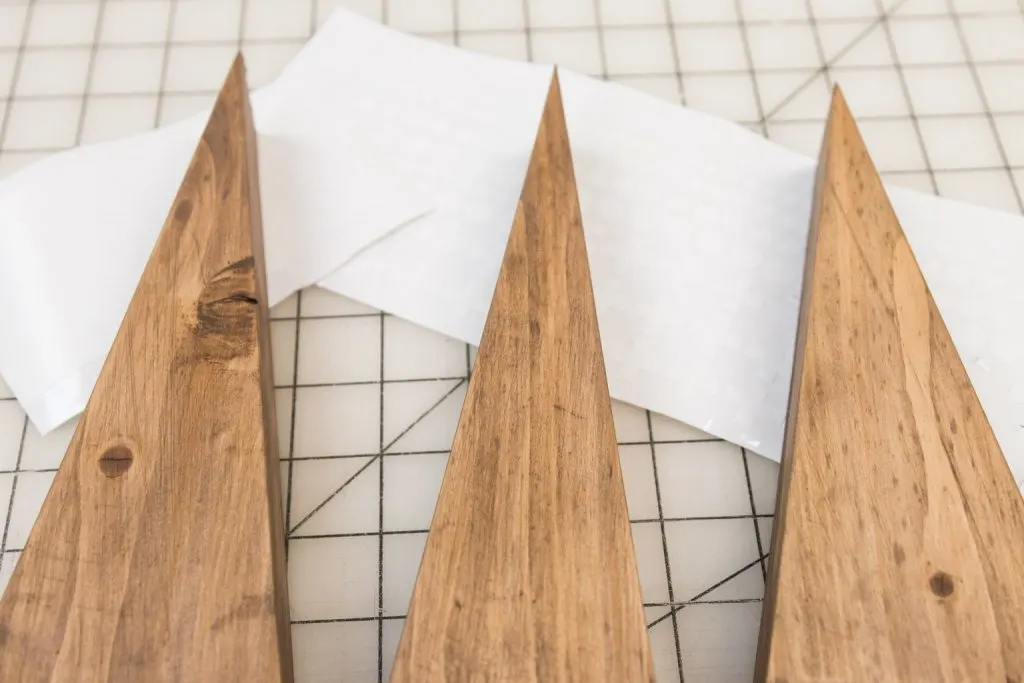

Wood trees and vinyl decals
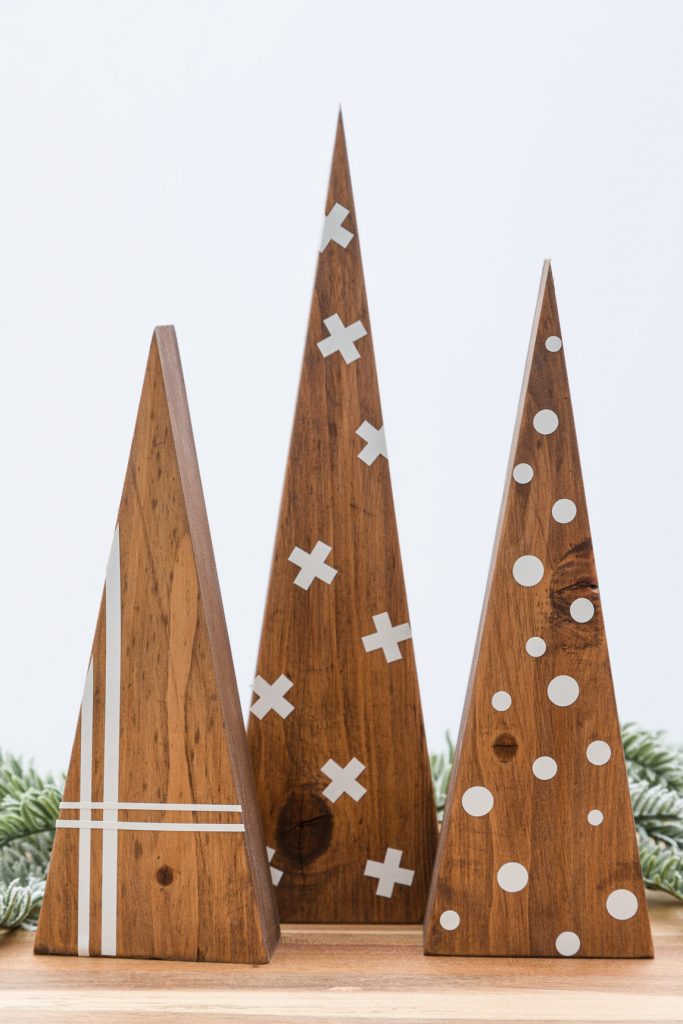

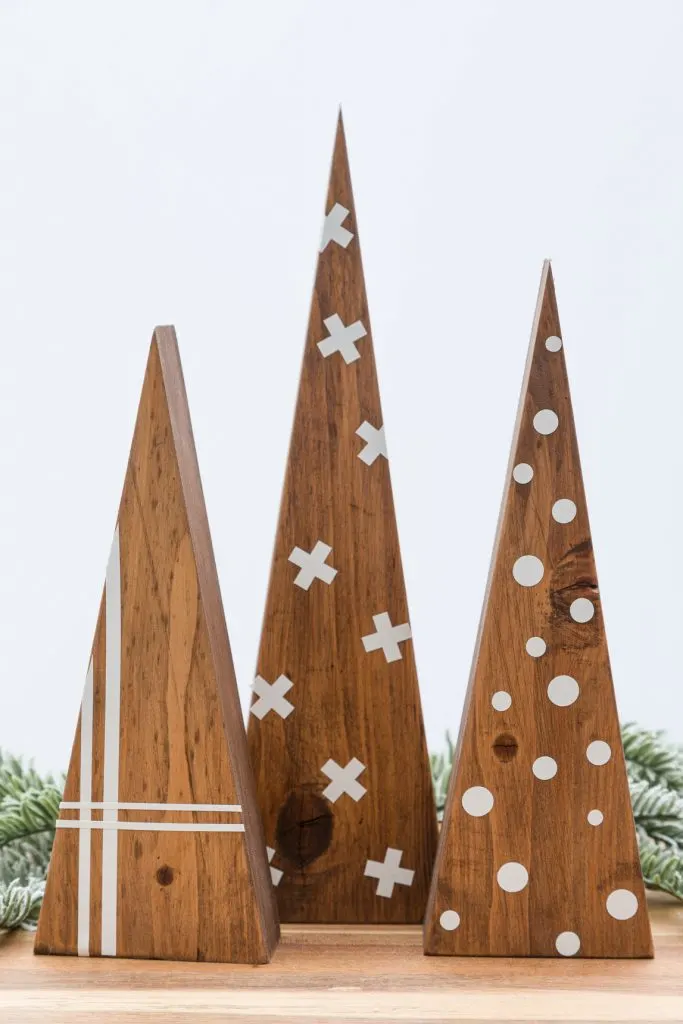

Finished wood trees
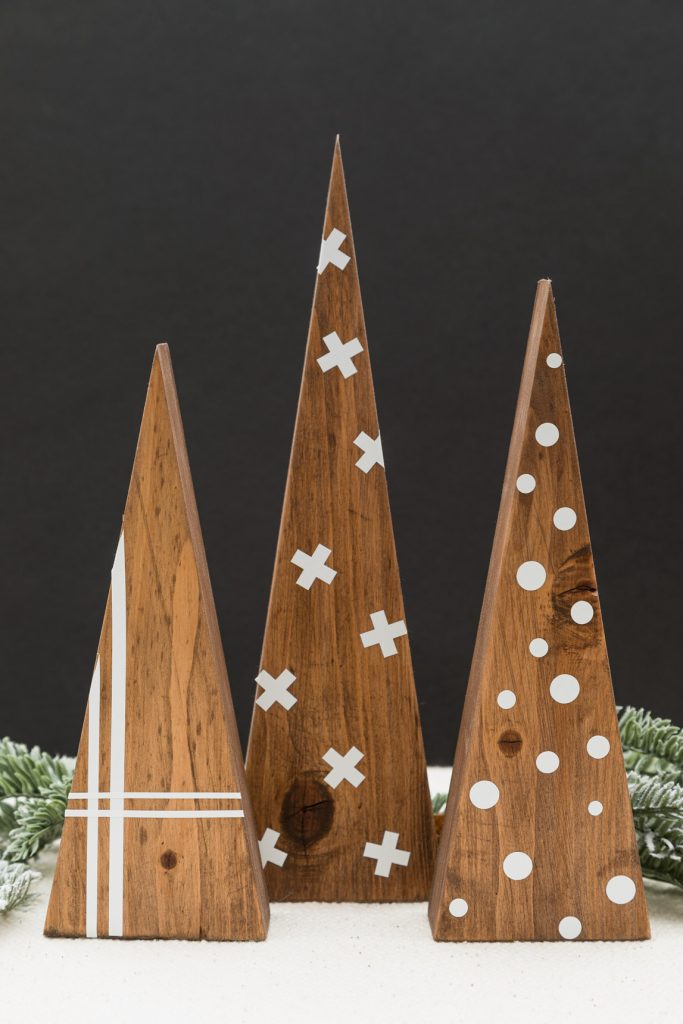

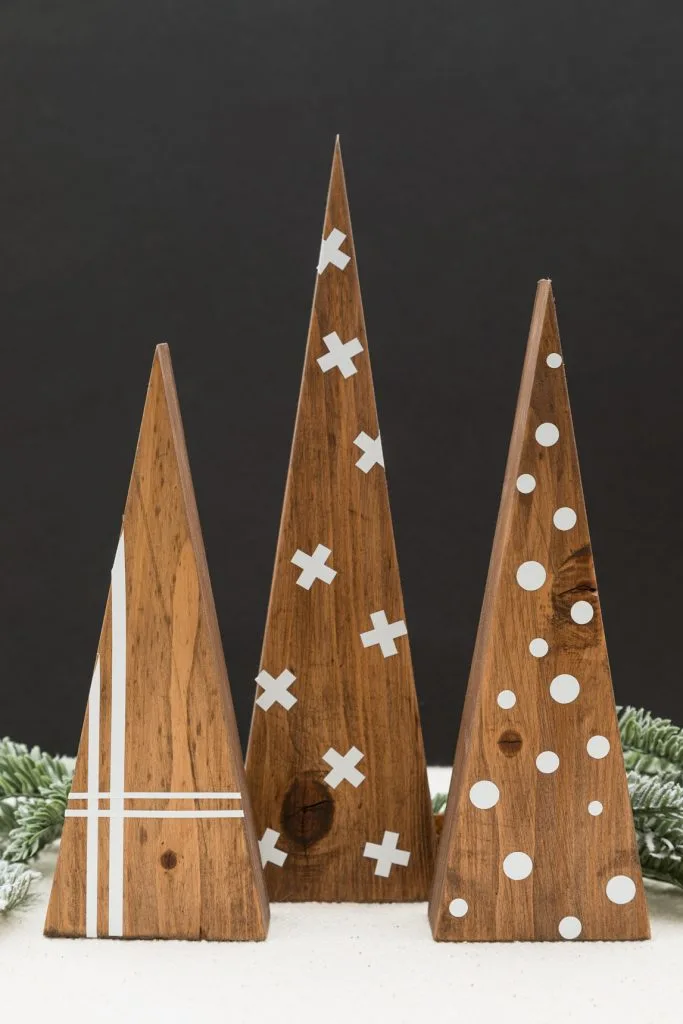

Pretty wood trees displayed during the night with candles
More Beautiful Christmas Tree Ideas
Since our family room was under construction, I wanted some Christmas decorations in the dining room. Therefore, I asked Mr. Kippi to make us a blanket ladder for our Christmas stocking. I made these stockings to match my Christmas decorations in my dining room. You can find my Christmas stocking pattern and instructions in this post.
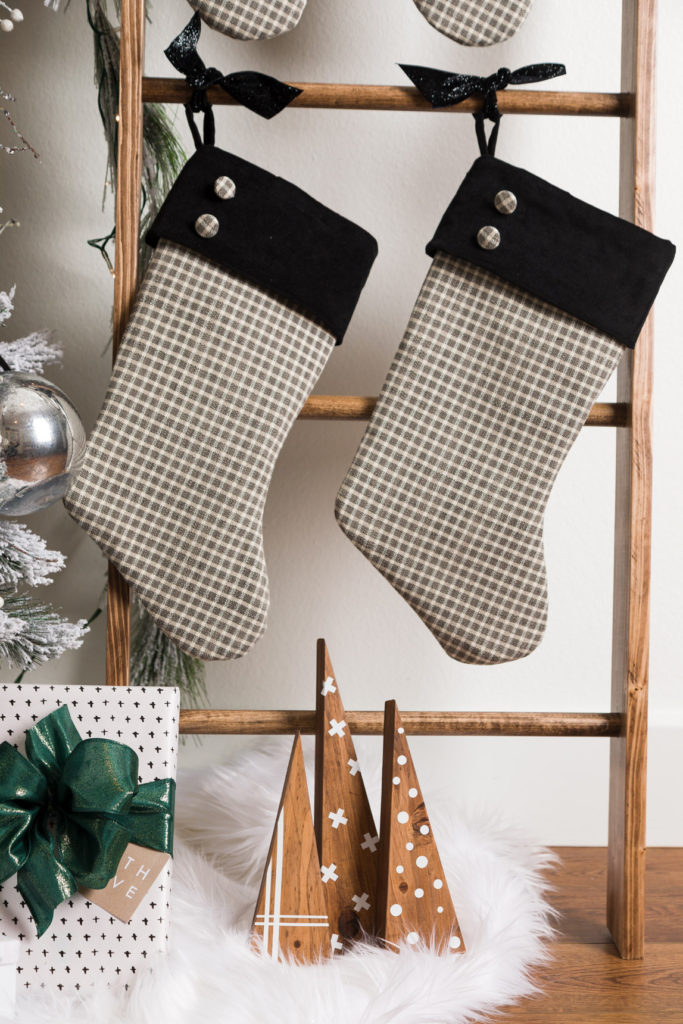

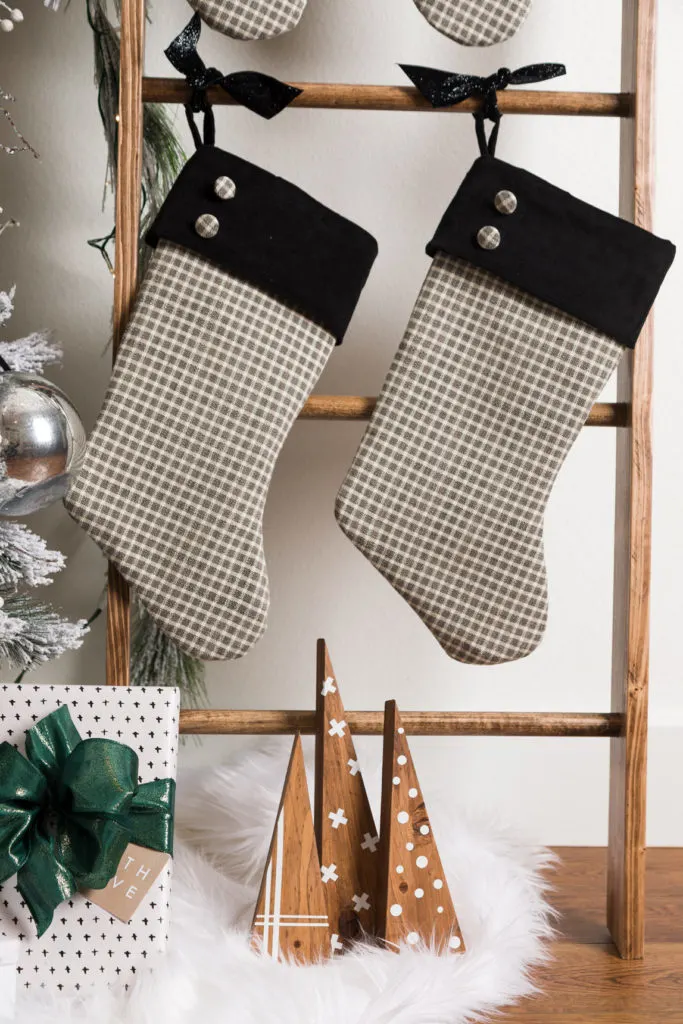

Farmhouse Christmas Stockings displayed on our DIY Blanket Holder
All of the Christmas ornaments were my favorite DIY project. The embroidery hoop ornaments and bulbs were easy and inexpensive.
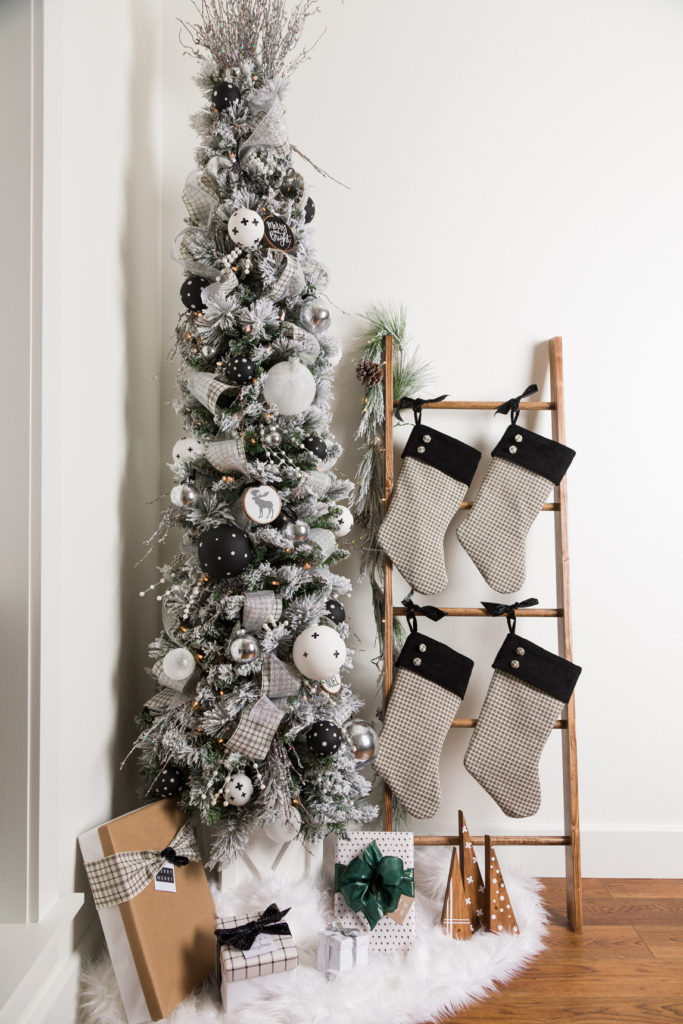

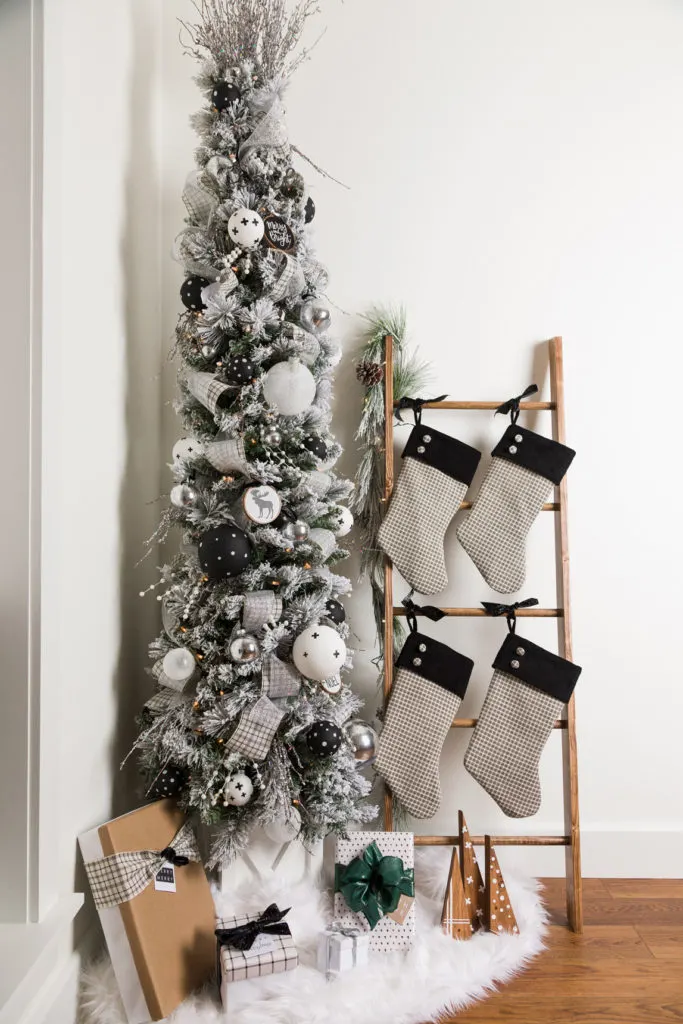

Farmhouse Christmas Tree, homemade ornaments, homemade stockings, and Scandinavian style wooden trees
You might also enjoy:
I am using your wooden trees with all your decorations. I made this gorgeous Advent Calendar with craft paper and old Christmas cards; see how I make it HERE.
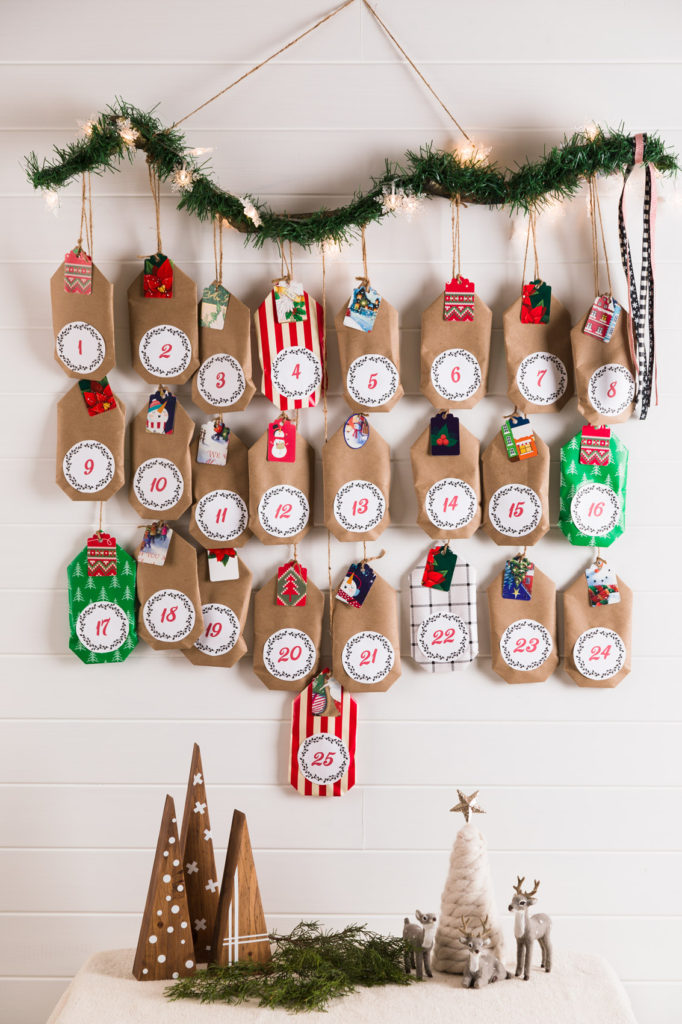

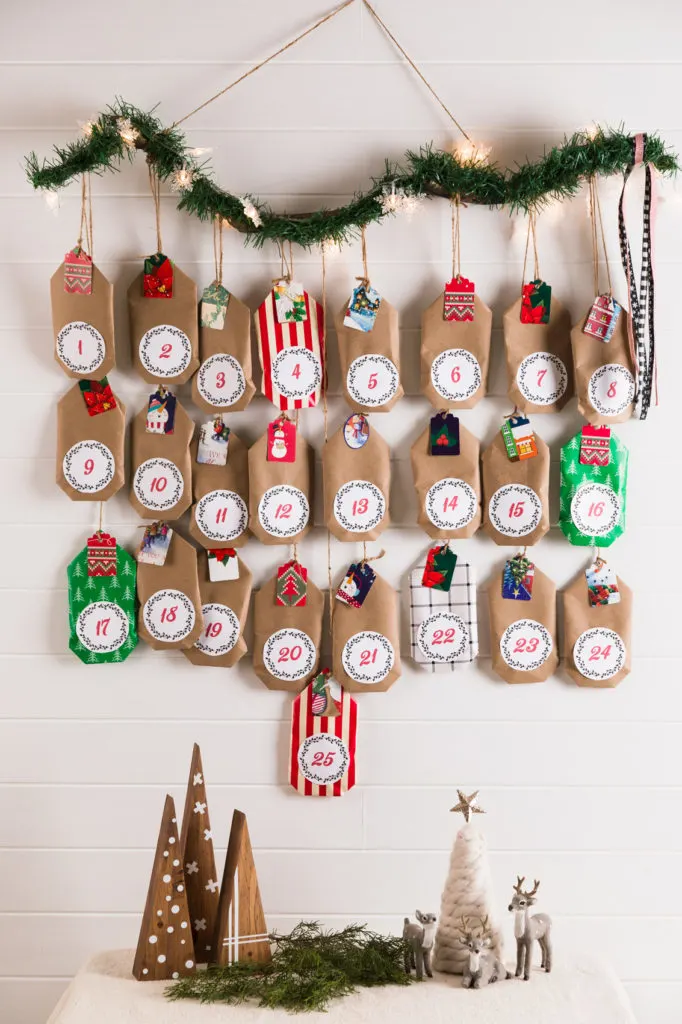

Advent calendar completed
Want a Stress-Free Holiday???
Want to enjoy all the holiday season has to offer? Are you feeling overwhelmed?
Join me as we enjoy a stress-free holiday season with a ton of inspiration, money-saving ideas for decorating, gift-giving, and so much more. Join HERE!. Merry Christmas, and enjoy all the blessings of the season!
Thank you for your visit today. I hope you found some sweet inspiration. What is your favorite Christmas cookie?
Happy Crafting,
Kippi
Ps. Please feel free to share this post and all these free sewing patterns with your crafting friends.

Jayne
Friday 6th of November 2020
Love these scandi Christmas trees Kippi, now I know what to do with my scrap wood! Gorgeous Christmas stockings and ladder too! Hope you have a lovely weekend!
Kristin
Tuesday 18th of August 2020
I love these so much and am excited to feature them this week at Charming Homes & Gardens! Thanks so much for sharing the inspiration!
Kim | Shiplap and Shells
Monday 17th of August 2020
I love this idea Kippi! Pinned so I can try this later. Be sure to look for your feature on Charming Homes and Gardens this Wednesday.
Ann Butler
Thursday 13th of August 2020
What a great addition to our linky party! We are so happy to have you!
Meg Daves
Thursday 13th of August 2020
Thank you so much for sharing! Your project is absolutely darling!