During our time at home, my daughter, Olivia, and I wanted to do something to support our community. Olivia found a pattern on Circut Design Space, and she made a ton of masks using her Cricut Maker and that pattern. To aid in teaching how to sew a mask I made a video while Olivia was sewing one (you can see it HERE.)
I wanted to make some fabric face masks the old school way with a pattern and scissors to share how to make them without a Circut Machine.
Please note these cloth masks are not a substitute for medical-grade (N95) masks for healthcare workers; refer to the Centers For Disease Control (CDC) for information on removing your mask and washing your hands.
If you would like to order a mask, please see Olivia’s shop HERE.
How to Sew Face Masks
To have a little fun, I wanted to use printed fabrics to bring joy to someone. So after selecting my fabrics I prepared them for pre-washing by serging the cut edges to prevent fraying.
Sewing a Pleated Face Mask
If you would like to save this inspiration for later, please click here to pin it to your Pinterest board.
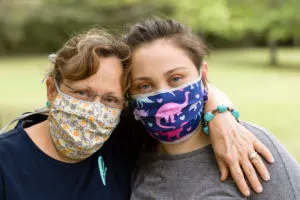
Wearing the fabric pleated face masks with ties
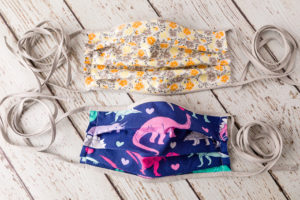

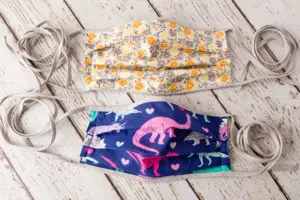

Pleated fabric face masks with handmade bias ties are ready to wear in minutes
This post contains affiliate links. This means that if you purchase from one of these links, I will make a small commission, but rest assured, you will not pay more for any products.
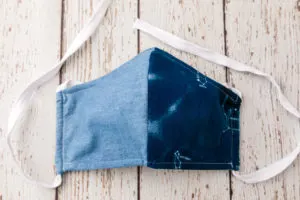
Notice the nose area of the pleated masks is curved where I installed a piece of wire, thus making these masks more comfortable to wear.


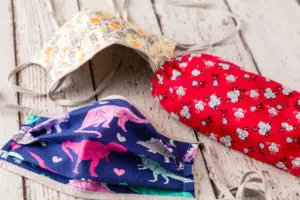

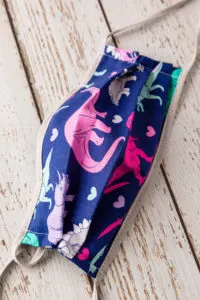
Two styles of easy sew face masks are easy to make from quilting fabrics
Supplies for a homemade face mask (pleated style)
- 1/3 yard of the face fabric (tightly woven cotton fabric)
- 1/2 yard of the lining and ties fabric (tightly woven cotton fabric)
- Pins
- Thread
- Bias tape maker
- Scissors
- Sewing machine
- Iron
- Fabric marker
- Wire
- Rotary cutter
- Cutting mat
- Ruler
- Pleated Face Mask (pattern pieces)
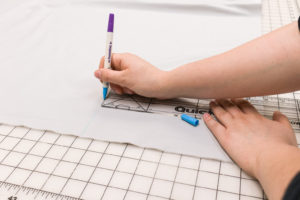

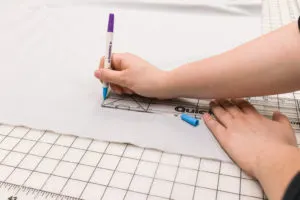

Using a fabric marker to trace the mask pieces or used printed pattern.
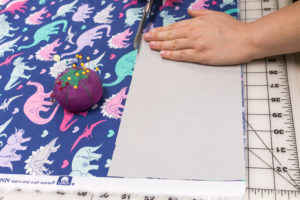

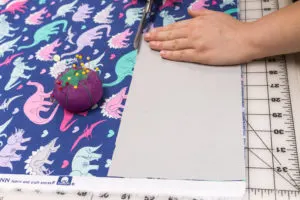

Cutting the face fabric using the lining piece as the pattern
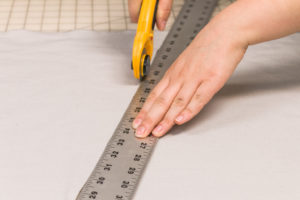

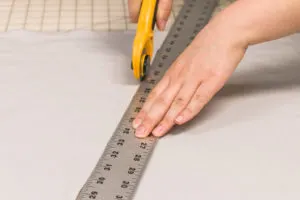

Cutting the bias strips
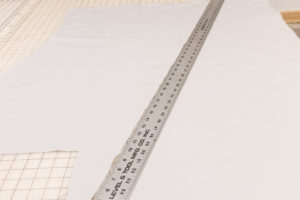

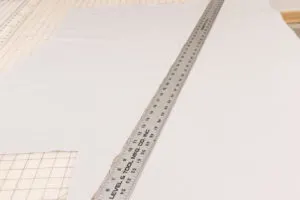

Ruler on the fabric bias
Using a rotary cutter and long ruler, cut two bias strips of fabric one inch wide by 44 inches long for each face masks.
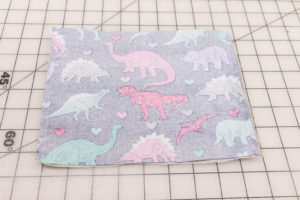

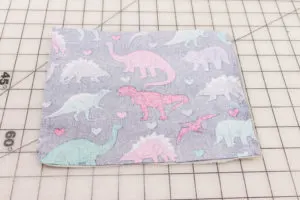

Place right sides together pin and then sew
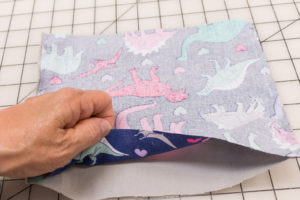

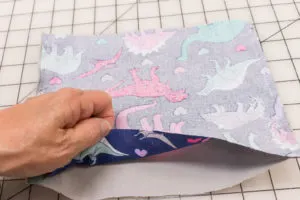

Turn right sides out
Making the Bias Tape
Purchased bias tape is only available in limited colors and can be pricey. For this reason, I like to make my bias tape with a bias tape maker, rotary cutter, and 6-foot ruler.
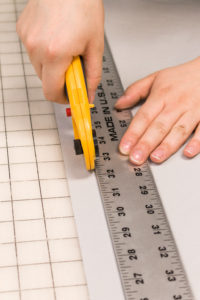

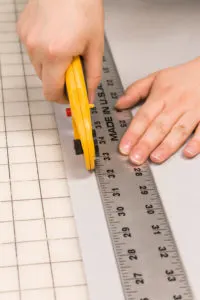

Cutting one inch-bias strip with a rotary blade
If you are new to making bias strips for the binding and ties, I found this post to explain further how to cut the fabric.
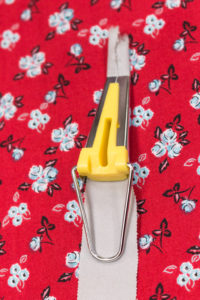

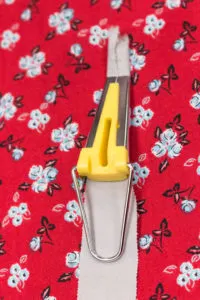

Use a bias tape maker and an iron to make bias tape for ties and the mask edges
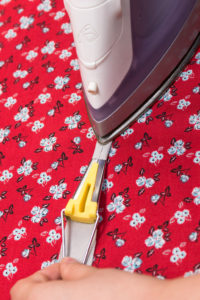

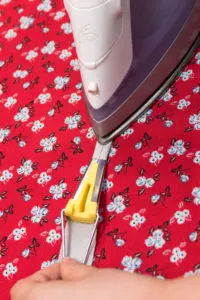

Ironing the bias tape as I pull the bias strips
After sewing the short sides of the mask, turn the right side out and press the seams.
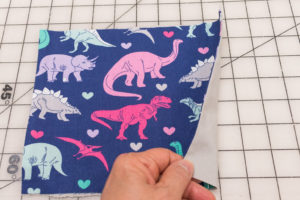

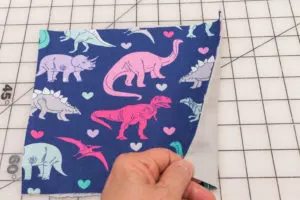

Iron the masks stitched side seams flat
You can view my how-to-make a face mask video below; you can see all the steps as I sew a cloth face mask.
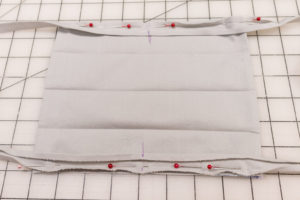

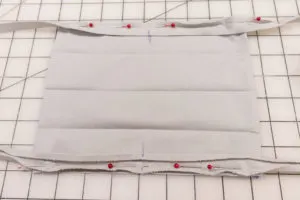

Line up center marks and pin the bias tape to the lining and sew in place
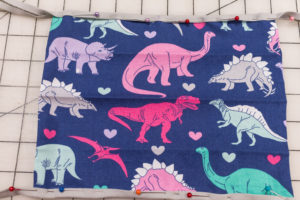

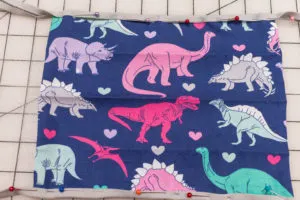

Pin then stitch bias tape in place
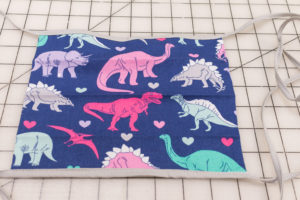

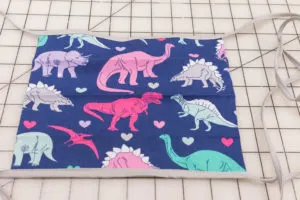

Ties and bias binding stitched and ready for pleats
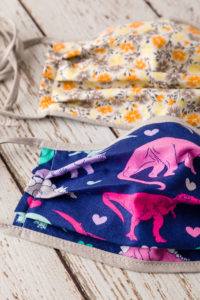

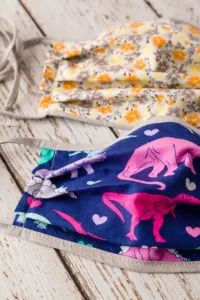

Topstitched sides seams
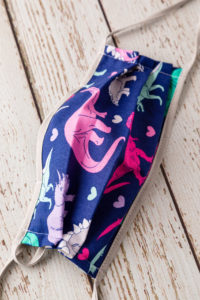


Stitching casing to hold the wire in place
This mask design is comfortable to wear, but it needs an opening for a removable filter to improve the filtration. It could use another layer of fabric; otherwise, I like this design.
Cricut Face Mask Pattern (SVG files)
My daughter, Olivia, found a free pattern for face masks on Circut Design Space. She used her Cricut Maker and the Cricut Explore (with a fabric cutting blade and cotton bonded fabric) cutting machines to cut out all the face mask pieces. To make it easier to learn how to make a mask, we made a video of Olivia sewing a Circut pattern mask (please watch the video HERE.)
They turned out perfect, and the mask fits the best; and they also have a pocket that you can insert a filter (you can use coffee filters) too; therefore, this is our favorite face mask pattern. Please note that this mask can be used in health care situations with an N95 mask in the filter pocket, but be advised to seek more information from your health care facility.
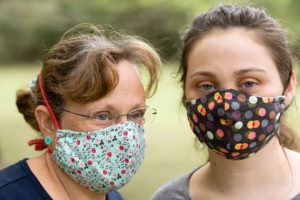


Olivia and I wearing the masks she made with the Cricut Maker
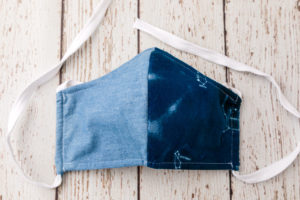


The Cricut face mask is the most fitted and comfortable mask we have made.
Additionally, Olivia found that if she made a few changes to the face mask pattern, it made it more comfortable to wear, such as adding a pocket for a nose clip (used to prevent your glasses from fogging) and ties that have a section with elastic.
Sew a Simple Face Mask with Hair Ties
I found this beginner sewing pattern for a face mask on the CDC website; therefore, I wanted to sew one too so I could share how I did it and then try it on to compare the others we have made.
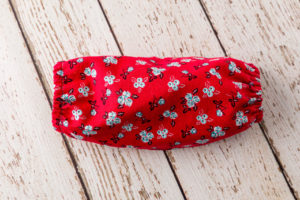

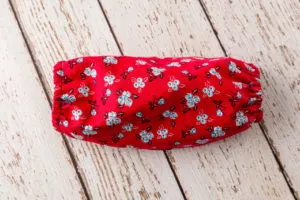

Easy sew fabric face mask
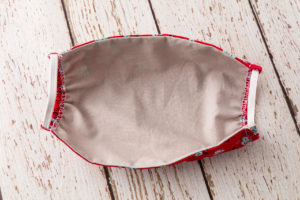

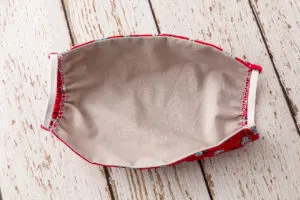

Inside view of the easy sew face mask
I followed the instructions on the CDC website for cutting the fabrics; however, I did not follow their sewing instructions; instead, I modified the sewing instructions. Together with their cutting instructions and my modifications, this mask took 15 minutes to create.
My modified sewing instructions are to place the cut pieces with the right sides together, then pin and stitch the long sides, then turn right sides out and press. Serge, the raw edges, then press over to form a casing for elastic or hair ties. If you would like to use hair ties, then insert the ties in the casing, next pin the casing over, then stitch casing being careful not to sew through the hair tie.
That is it, and this mask is ready to wear. However, in the final analysis, we did not think this mask fit well, and it pulled on our ears. In addition, it has not nose clip, and the shape and design are not conforming to the shape of a face. This design is the least comfortable to sum it up, and it would be difficult to modify to add a filter or another layer of fabric.
My Amazon Picks:
You might also enjoy these posts:


DIY Garden Apron
Sometimes we all need a little inspiration for easy meals and recipes. So I put together some recipes I think you will like. If you like easy everyday recipes, then you might enjoy my favorite recipes delivered straight to your inbox click HERE.
Thank you so much for your visit today. I hope you have found some inspiration.
See you soon,
Kippi

Lucy Bertoldi
Friday 28th of August 2020
I found this super helpful and the explanation so clear! Thank you so much! I will definitely attempt it. But what kind of filter do I put in between? If you'd like please come link your posts over at my weekly Fabulous Friday's linkup party over at my blog: www.lucybertoldi.com Have a great weekend!
Regality3
Monday 13th of July 2020
And, in the future, you can join two of the masks and use them for bras.
Jasmine Anron
Sunday 17th of May 2020
I find a great website that can buy the masks. I wanna share with your guys. Hope you can protect yourself. Take care.https://www.testextextile.com/product/disposable-medical-face-masks/
Kristin
Monday 4th of May 2020
Thanks for the tutorial and for linking up at Charming Homes & Gardens! This is such a great project!
Rachel Harper
Monday 4th of May 2020
Thanks for these instructions. We appreciate you for sharing with Charming Homes and Gardens link party. Rachel.