Starting a vegetable garden such as a Victory Garden of the past will ensure you have fresh vegetables. We needed to get started right away, so we decided to build some raised garden beds with reclaimed wood from pallets.
Growing your vegetables is both healthy and delicious, but what to grow? We started by planning how many raised beds we could build with the available reclaimed lumber. Then we researched which high yield vegetables grow in our zone to limit grocery store visits.
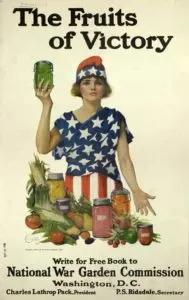
Victory Garden Poster
During WWI and WWII, many American families needed to grow their vegetables so the farmers could ship food to Europe to support the war effort. Public spaces and containers became vegetable gardens, so many of our families had Victory Gardens. Times have changed; however, the need for fresh vegetables has not, thus. We can all save money and serve the freshest possible vegetables at our dinner tables.
Back to 2020 – Today, we can support another cause and provide fresh vegetables. When you grow vegetables and herbs, you know how they have been handled, and it also means limited trips to stores.
This post contains affiliate links. This means that if you purchase from one of these links, I will make a small commission, but rest assured, you will not pay more for any products.
How to Build a Raised Garden Bed
My husband helped me with the building of the frames for the raised beds.
We made a video to show how we built our vegetable beds; you can watch it HERE. If you need a little inspiration taking apart the pallets, he demonstrates that HERE. After considering using pressure-treated wood (rot-resistant), it would not rot as fast. I didn’t want to use it since I read some mixed reviews on using it for food gardens and wood preservatives.
The photo below shows the cut pieces in the layout to be nailed together.
Lumber Cuts (pallet lumber):
- Sides cut 2 @ 40″ (or 4 if your pallet has narrow boards; refer to video)
- Ends cut 2 @ 20″
- The corner stays cut 4 @ the depth of the sides
➡️ Before you begin I recommend you watch this quick how-to build a raised bed video.
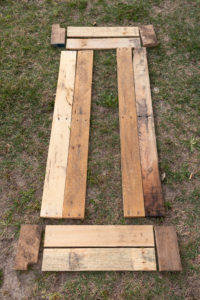

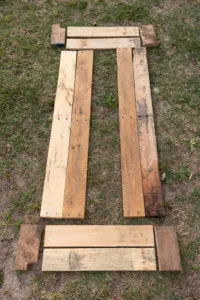

Reclaimed wood for raised beds (not pressure-treated lumber)
Supplies and Tools
- Pallets
- Reciprocating saw
- Chop saw
- Hammer
- Nails (1″ galvanized)
- Measuring tape
- Crowbar or flat bar
- Seeds
- Quality Soil
- trowel
- Soil Amendments
- Vegetable seeds
- Compost (see how to make your own)
Raised Garden Bed Plans
I considered maintenance, such as weeding, an irrigation system, and harvesting when designing our raised garden beds. My height was also a consideration when planning the beds’ width since I am only five feet tall; reaching across wide garden beds would be difficult. If you are gardening with your kids, then you would consider the width as well.
We used the pallet boards’ full length and width for the sides of the raised beds, hence making them as long as possible. When considering my arm length, We started small and adding more raised beds as we had wood and time.
Reclaimed Pallet Wood Raised Bed Gardening Measurements
- 40″ length
- 20″ Width
- 7″ Sides of beds
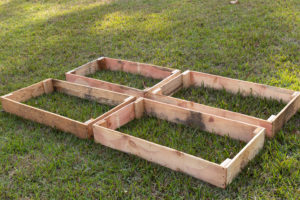

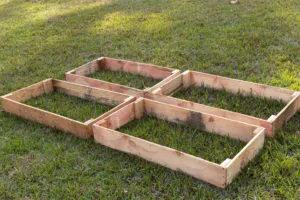

Finished raised beds
Installing the Raised Garden Boxes
After making the frames, they are ready to be placed in our garden area. Once in position, we will fill the beds with quality soil; however, since our frames are only seven inches deep, we will clear the area under the beds. If the frames were 12″ or taller, I would place plastic sheeting or weed block directly over the grass. Using a flat shovel is the easiest way to scrape the ground to level it.
🍌We have been composting our kitchen scraps for our garden in our DIY Compost Bins since it is a FREE way to fertilize our garden.
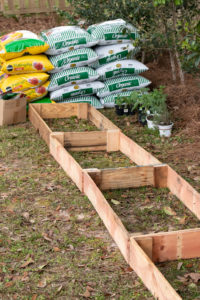

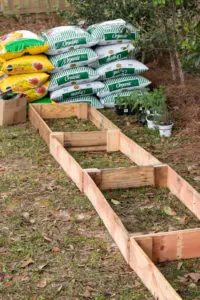

Planning placement of frames
Plants have friends (companions) and foes, so I checked to see which plants grow best together.
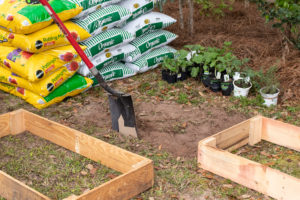

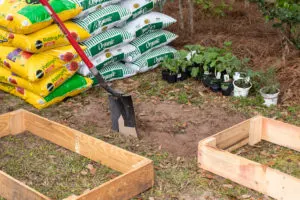

Leveling ground for raised bed frame
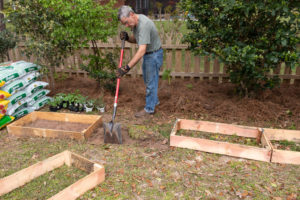

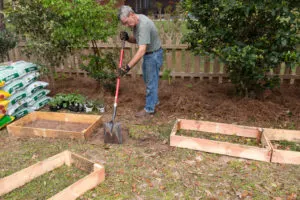

Lining up the raised bed frames
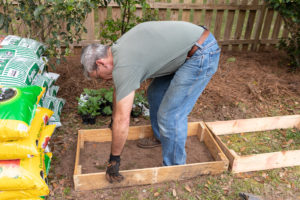

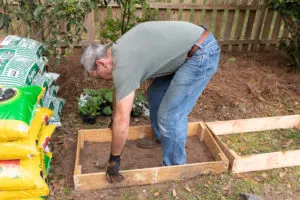

Placing the frames over the prepared area
Filling the Garden Beds
Once all the garden bed frames were in place, it was time to fill them with a mix of quality garden soils.
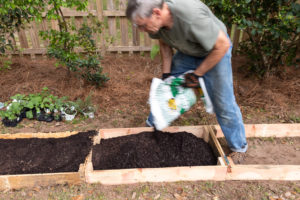

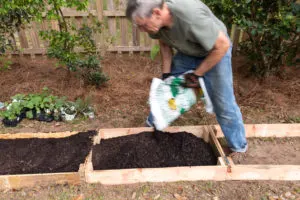

Filling the frames with garden soil
If you are planting vegetable with vines (such as pole beans and cucumbers) the you will need a trellis for them to grow over (this is what I use and it works great)! I added solar lights to the top for a dreamy nighttime look.
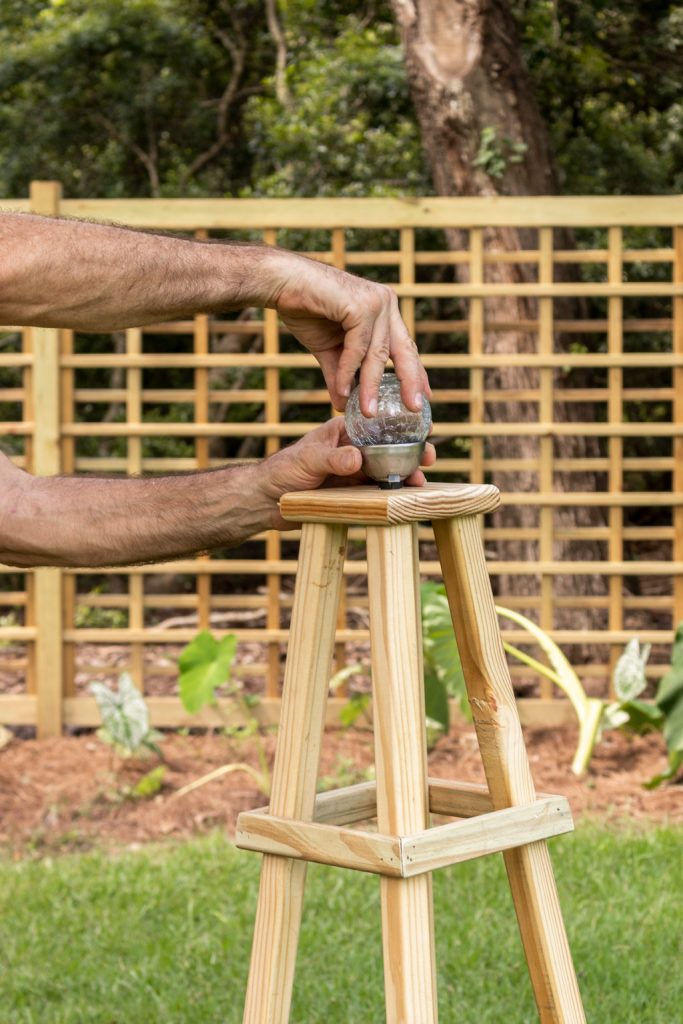

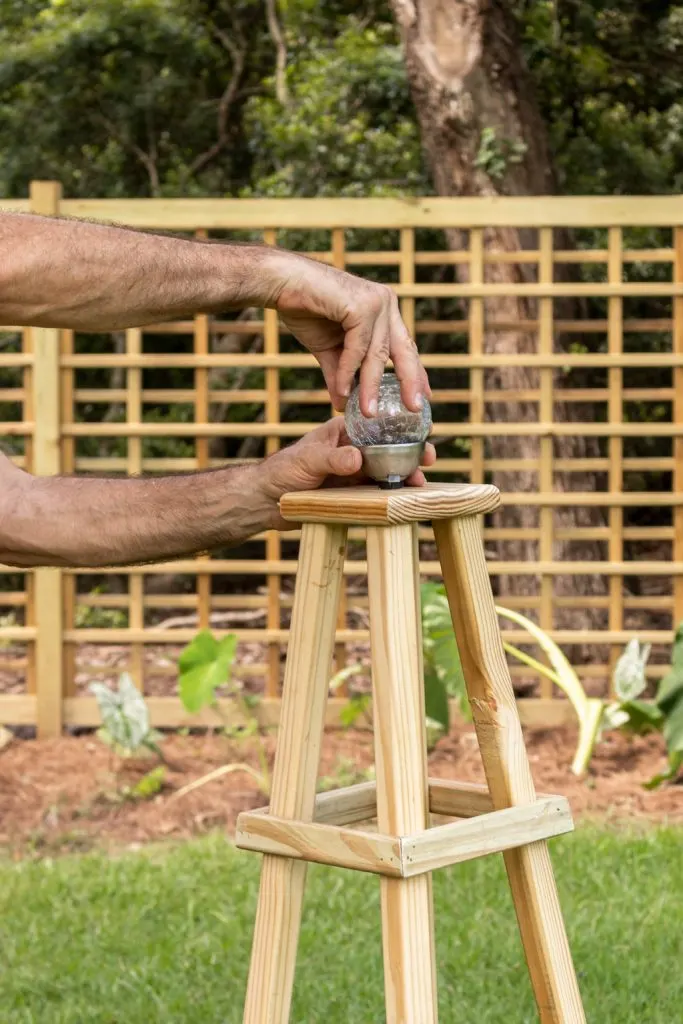

Garden Obelisk Trellis
If you have been reading my garden and yard posts, you know I love to use a bucket with clothespins to organize my seed packs.


Seeds and planting supplies
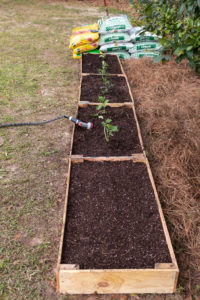

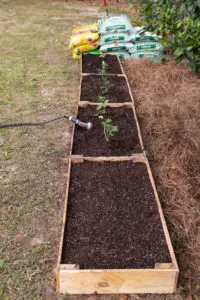

Watering the transplanted vegetables and seeds
If you are planting vegetable plants that have been started, you would need to gently pull apart some of the roots to help it grow.
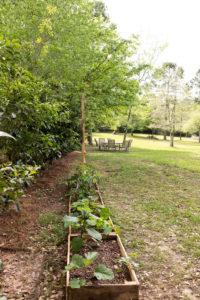

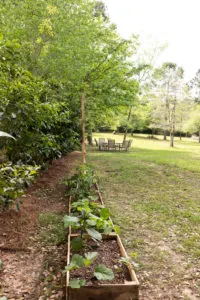

View of eggplants and more
We made some mini trellises for the cucumbers to climb to keep them inside the raised garden frame. I wanted to put some vegetable markers for my seeds, and I found this wonderful idea of making vegetable markers on YouTube.
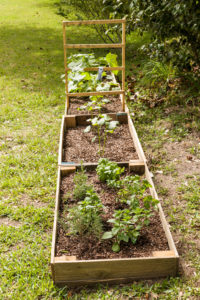

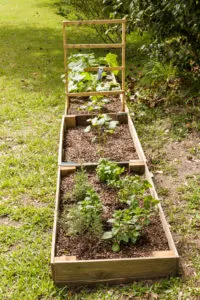

The second Raised Garden area
A Bigger Better Garden Box
This year we decided to build a bigger and better Garden Bed Box read more HERE.
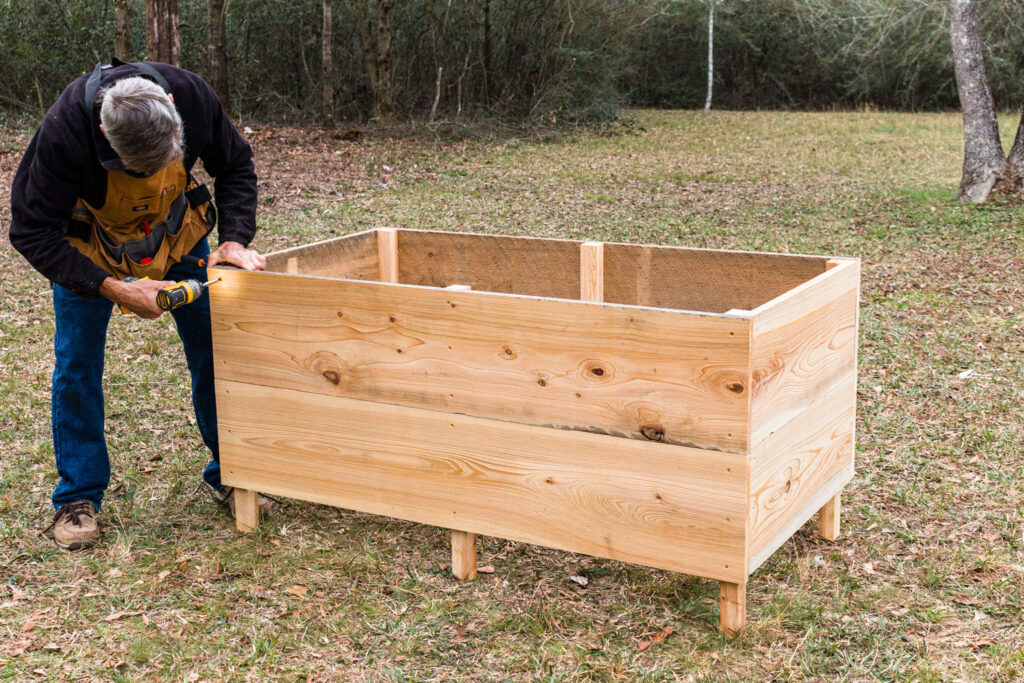

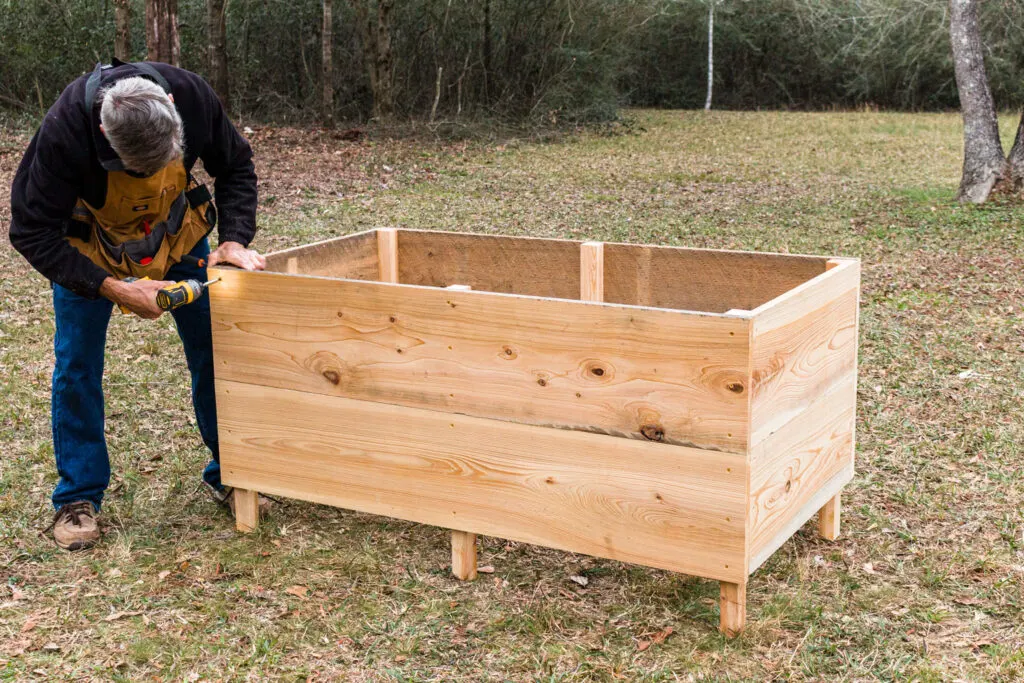

DIY Garden Box
Vegetable Gardening
Tips for success
We live in Florida, so we have a long growing season. Therefore we can grow lettuce, kale, broccoli, collards, and more into the fall.
We collect vegetable scraps from cooking and carry them out to the mulch pile, a free organic matter fertilizer.
Checking the best vegetables to grow and when I use this source from the USDA.
Our local Extension Service offers soil testing. If yours does not, you could use a home test kit and test your soil.
Vegetable plants have friends (companions) and foes, so I checked to see which plants grow best together here, and the source for herb planting friends (companions) check this here.
Make a garden plan or journal about your garden, including items such as a growth plan for succession planting (growing for three seasons) in my area. I am looking forward to some delicious winter squash.
More Gardening Ideas
Consider what you have available such as concrete blocks, large rocks, or bricks. These can be used to form a raised bed too.
Another interesting idea for a vegetable garden is to use straw bales.
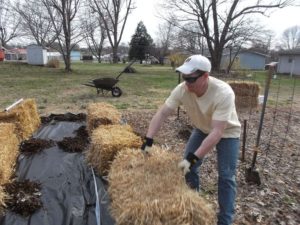

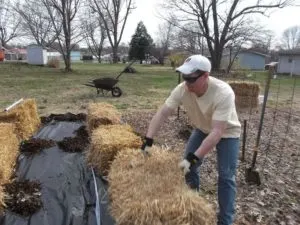

Straw Bale Gardening
The square foot gardening method is another gardening idea that is perfect for small spaces. You can learn more here.
You May Enjoy These Other Outdoor Projects:
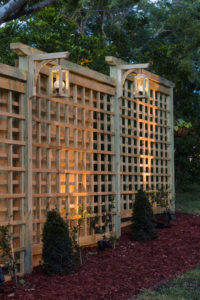
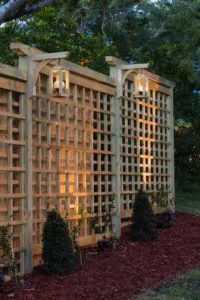
Build your trellis for vegetables or flowers; it provides privacy and value to your home. Learn how to build one, too, with our step-by-step tutorial.
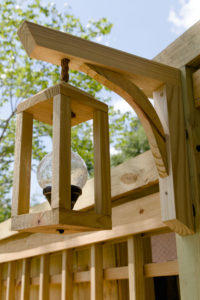
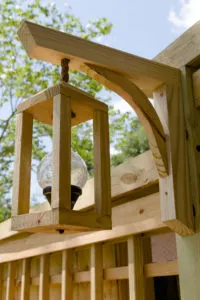
I designed these gorgeous DIY Solar Lanterns for my stunning trellis my husband built as a privacy screen. It is too wonderful not to be seen at night, hence the solar lights.
The floating deck for our watering station is one of the best yard projects.
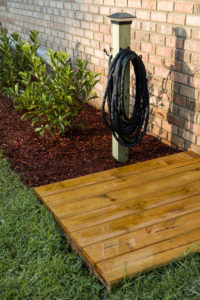

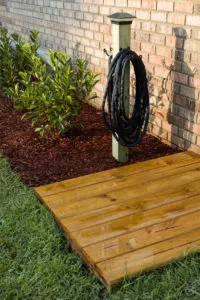

Floating deck watering station
The hose was an unsightly mess, so back to designing something for our yard. It had to coordinate with the other items in our yard, so I purchased the same hanging planter hooks for the hose and sprinkler and added a solar light cap.
See the complete step-by-step HERE.
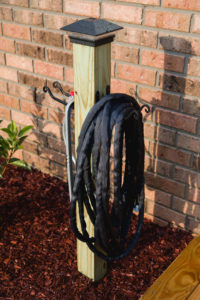

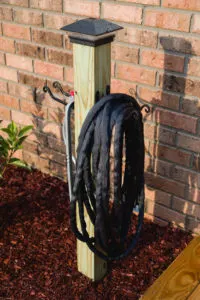

Closeup of completed garden hose storage post with solar light
Hanging baskets are the jewelry for our trellises. I used hanging brackets that compliment my trellises.
To see the complete step by step, click HERE.
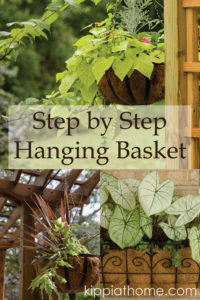

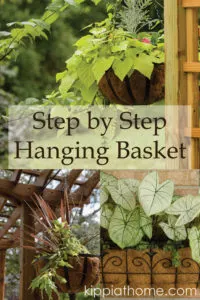

Hanging Basket Step by Step Guide
I made some pretty upcycled planters with containers from our recycle bin.
Thank you so much for your visit today. I hope you found some inspiration for your garden. After you start harvesting vegetables and herbs, you might enjoy some new delicious everyday recipes.
Sometimes we all need a little inspiration for easy meals and recipes. I put together some recipes I think you will like. If you like easy everyday recipes, you might enjoy my favorite recipes delivered straight to your inbox click HERE.
See you soon,
Kippi

Marilyn
Friday 16th of April 2021
Thank you for sharing at #OverTheMoon. We appreciate your shares. They have been Tweeted Pinned. Have a lovely week. I hope to see you at next week’s party too! Please stay safe and healthy. Come party with us at Over The Moon! Catapult your content Over The Moon! @marilyn_lesniak @EclecticRedBarn
Michelle @ The Painted Hinge
Thursday 15th of April 2021
Wow! These are totally awesome - so hard to believe you built them out of pallets!!! Thanks so much for sharing them at Farmhouse Friday - we're featuring you at tomorrow's party!
Chas Greener
Sunday 11th of April 2021
Looks amazing and can't wait to see what you grow. I love that you have a longer garden season than we do. I won't be able to plant anything until late May.
Marie
Friday 24th of April 2020
I've got veggie seeds started in egg cartons in my windows for our raised garden beds. We've still had snow until a few days ago so it'll be another month before we can plant. I'm definitely adding a trellis to the end of one of our beds like you guys did - thanks for the inspiration! May your crop be plentiful, Kippi!
Richella J Parham
Thursday 23rd of April 2020
What a wonderful time to make raised beds! My husband and I were just talking about wanting to grow some of our own food. Thank you for the comprehensive tutorial!
Thanks so much for joining the Grace at Home party at Imparting Grace! I'm featuring you this week.