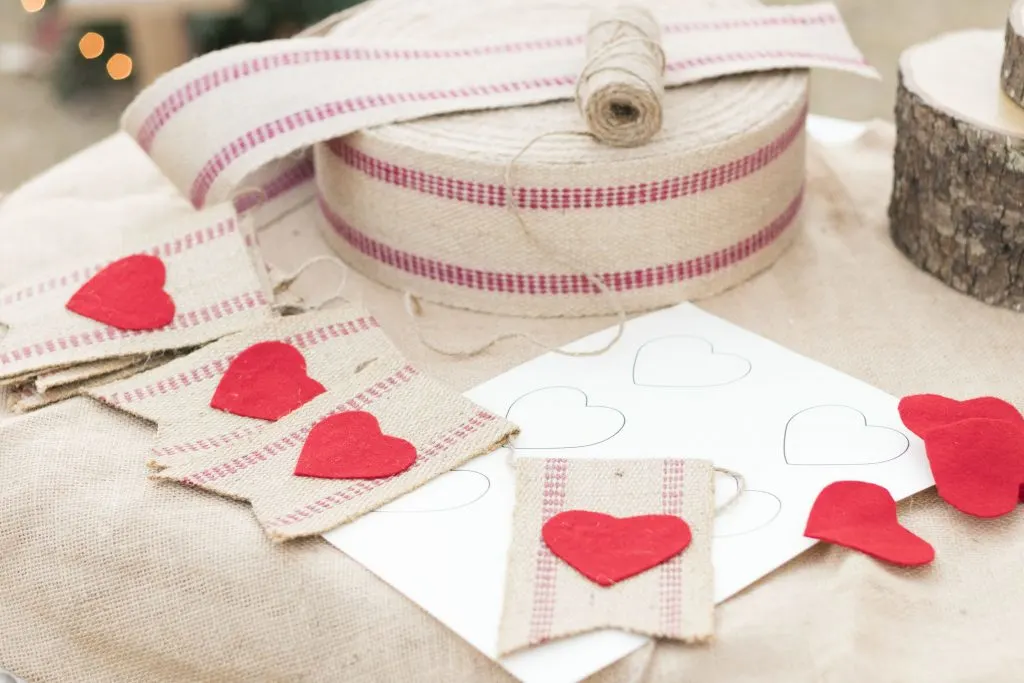
Since I am obsessed with garlands, I wanted to make a no-sew DIY Valentine garland for my mantle.
DIY Valentine Garland
Valentine Garland – Step-by-Step
My husband does upholstery, so I borrowed his webbing for this project. I had the twine and felt on hand. Then I made a heart pattern (you can find it here). So now, to gather my supplies, I am ready to create a fun heart garland.
This post contains affiliate links. That means that if you purchase from one of these links, I will make a small commission, but rest assured, you will not pay more for any products.
**For your convenience, I have gathered all my must-have crafting supplies HERE.
Valentine garland DIY is easy with this free pattern and step-by-step instructions. I needed to whip up something to add a bit of holiday fun to our family room.
Also, I wanted to make something with materials I had on hand, so this was a breeze with our upholstery webbing, felt, and twine.
Supply List
- Webbing 2.25 yards
- Red felt 1/3 yard
- Hot glue
- Twine 2 yards
- Scissors (these are the ones I use)
- Ruler
- Iron
- Fabric maker
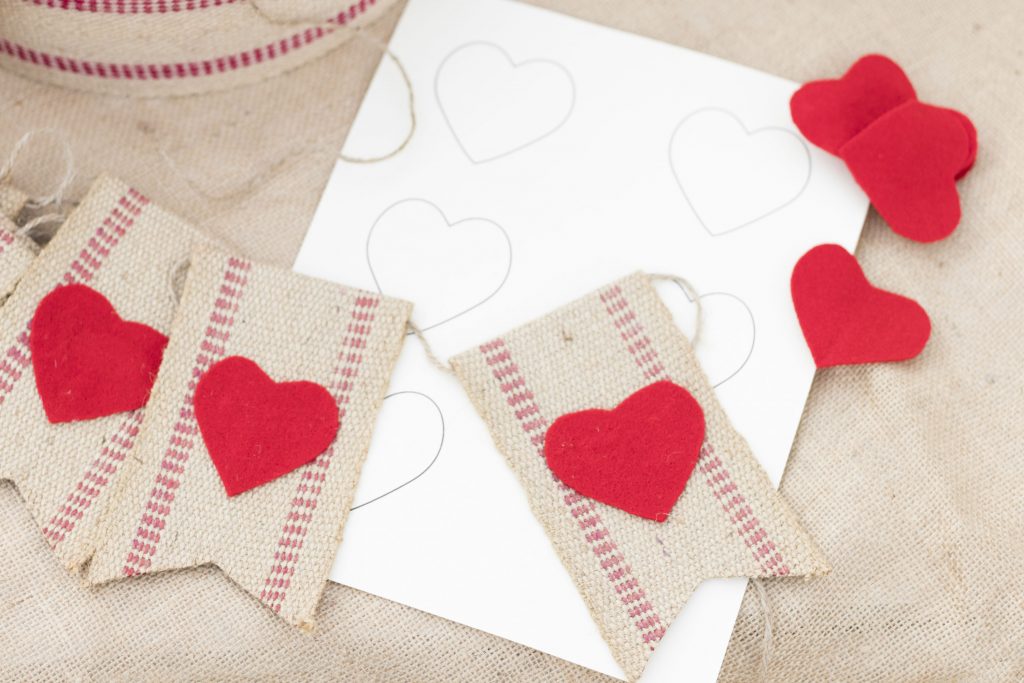
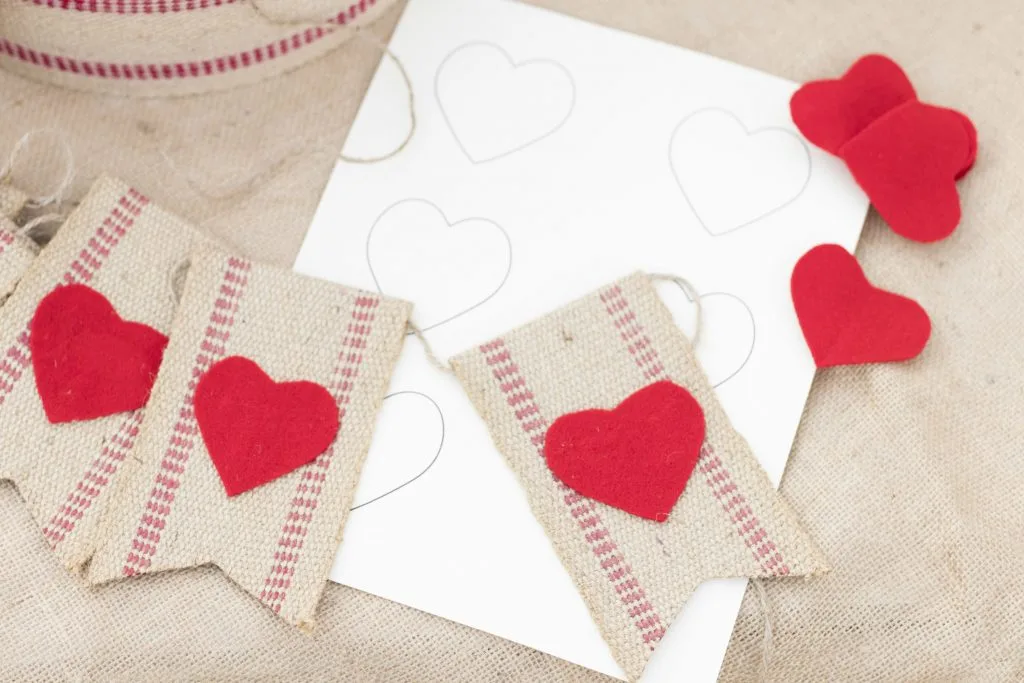
- Print out these templates (patterns)❤️


Valentine’s Day heart garland
Garland Instructions
These instructions are so easy; anyone’s skill level can make this adorable Valentine’s garland.
Note: If you own a Cricut or other cutting machine, you can also use that for cutting the hearts.
❤️ Download the FREE template (HERE) for your Valentine’s Day Garland DIY.
Download and Cutout Template (Pattern)
The first step is to cut out the heart and flag template (pattern download) with paper scissors.
Cut Fabric
Then trace 11 heart patterns on the red felt with the fabric marker and cut them out.
Next, cut eleven pieces of upholstery webbing or burlap in 7″ lengths.
Use the webbing template to mark the cut out at the bottom of the flags into a snake tongue shape.
Attach Hearts
Then, glue the hearts on the webbing flags 2.75″ down from the top edge.
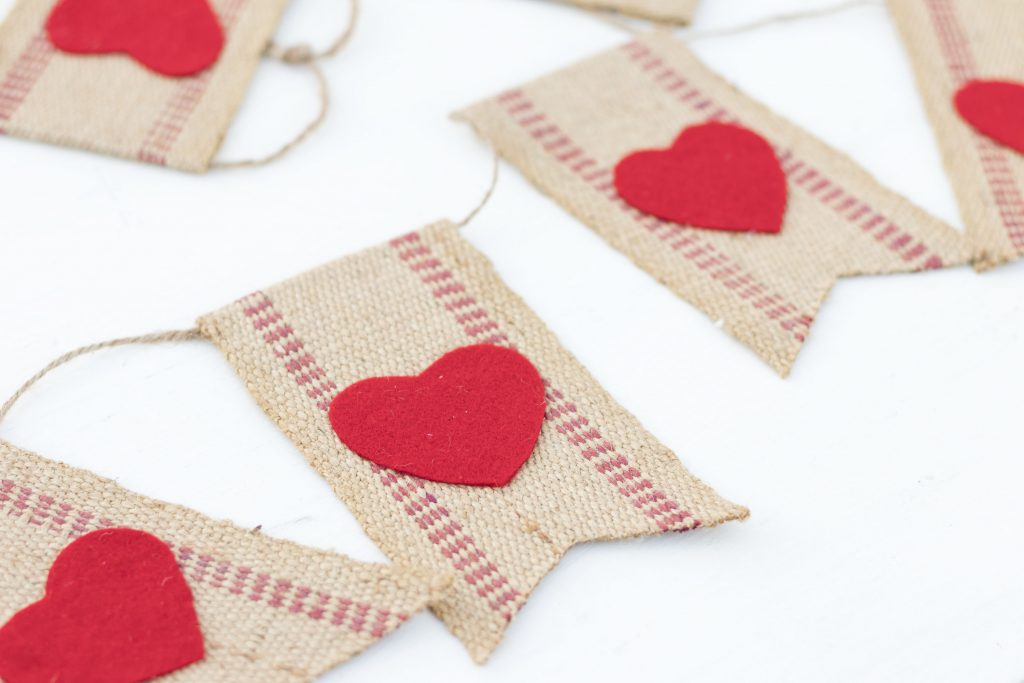

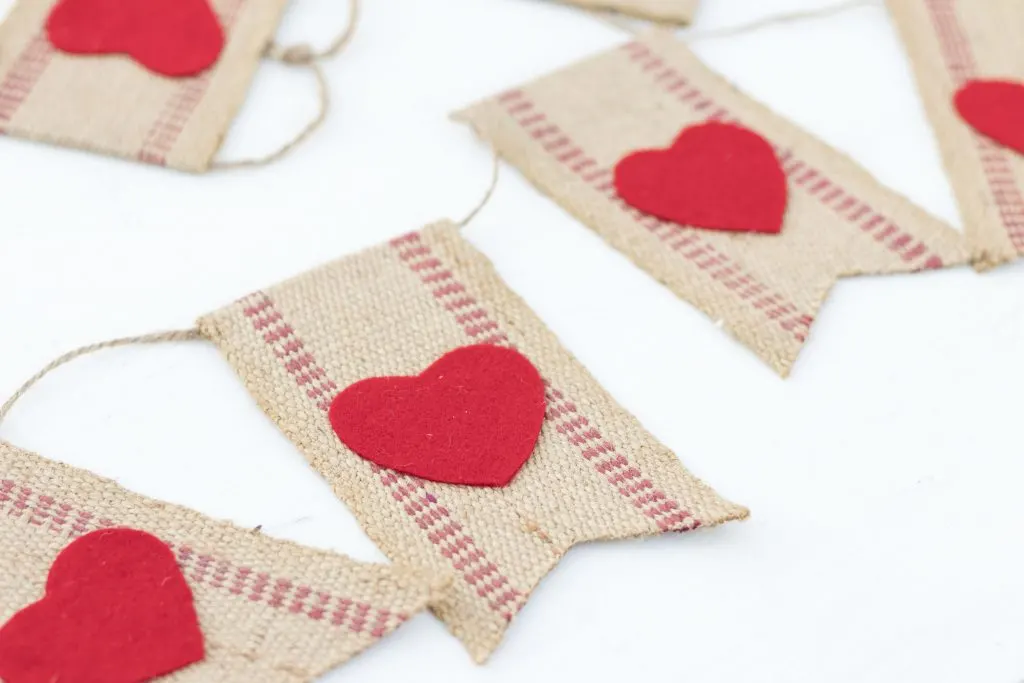

Bunting ready to hang
Make a Casing
Fold over 1″ of the top edge of the webbing flags, and press a crease with a steam iron.
To add the heart flags to the twine, I leave an 18″ tail, then glue the webbing flags onto the cord, spacing them 3″ apart.
Hang and Enjoy
Hang your new handmade bunting to any place that needs a little Valentine LOVE, such as your fireplace mantel, buffet, window, etc., and enjoy.
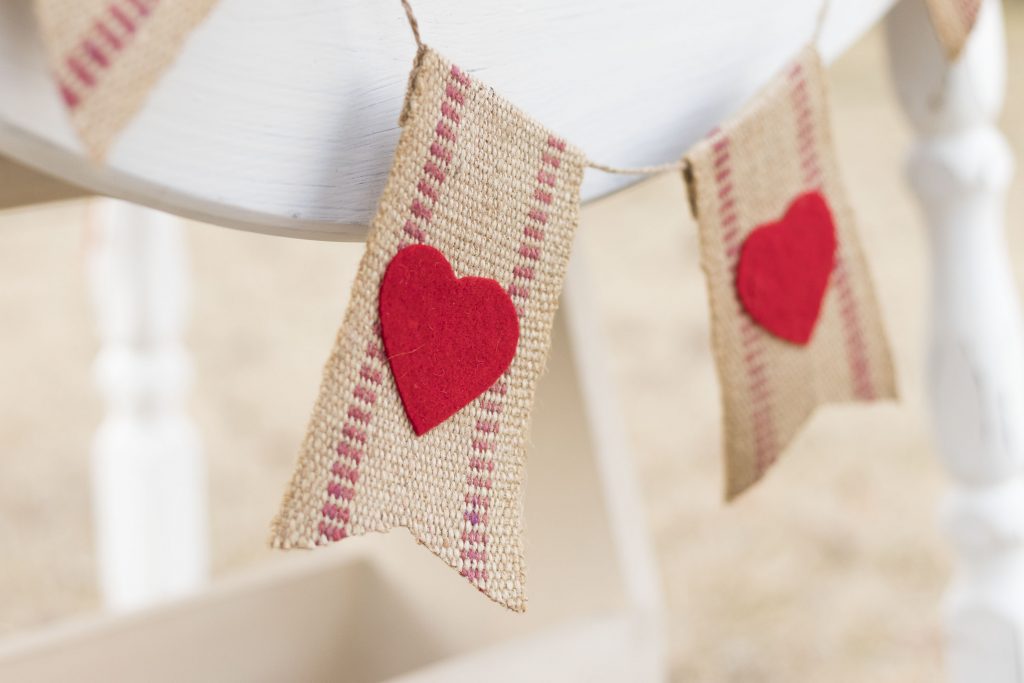

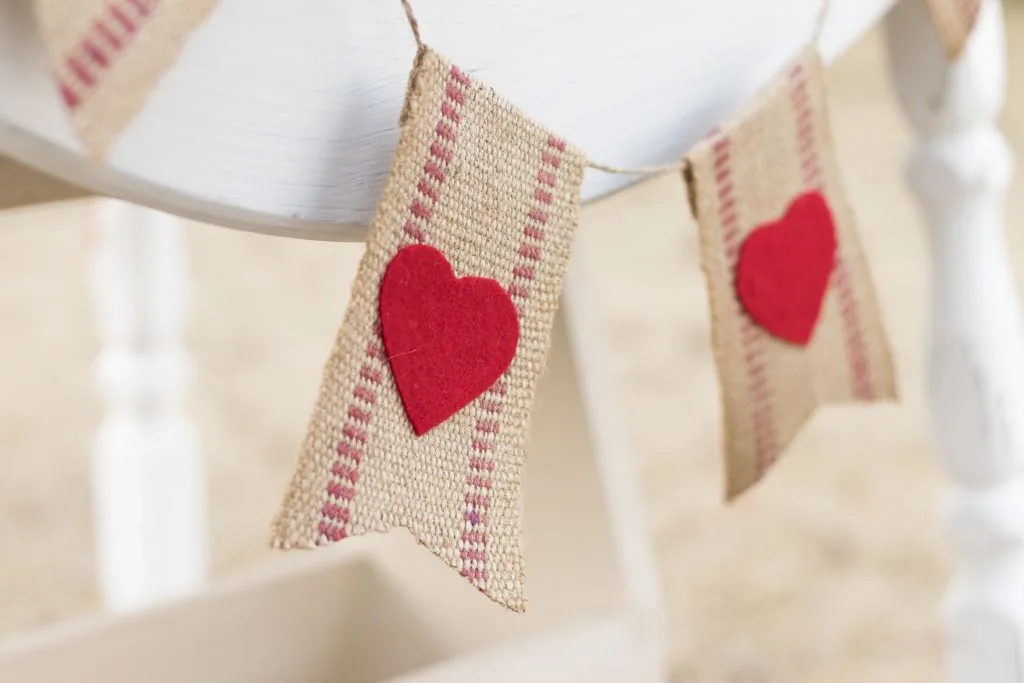

Valentine Bunting Perfection
More Valentine’s Day Decorations you might also enjoy these posts:
DIY Valentine’s Pom pom wreath made with handmade pom poms. The kids will like this fun craft for kids too.


Heart-shaped DIY Valentine’s Pom-Poms Wreath
You can make a super easy-to-make (DIY door hanger) in minutes.
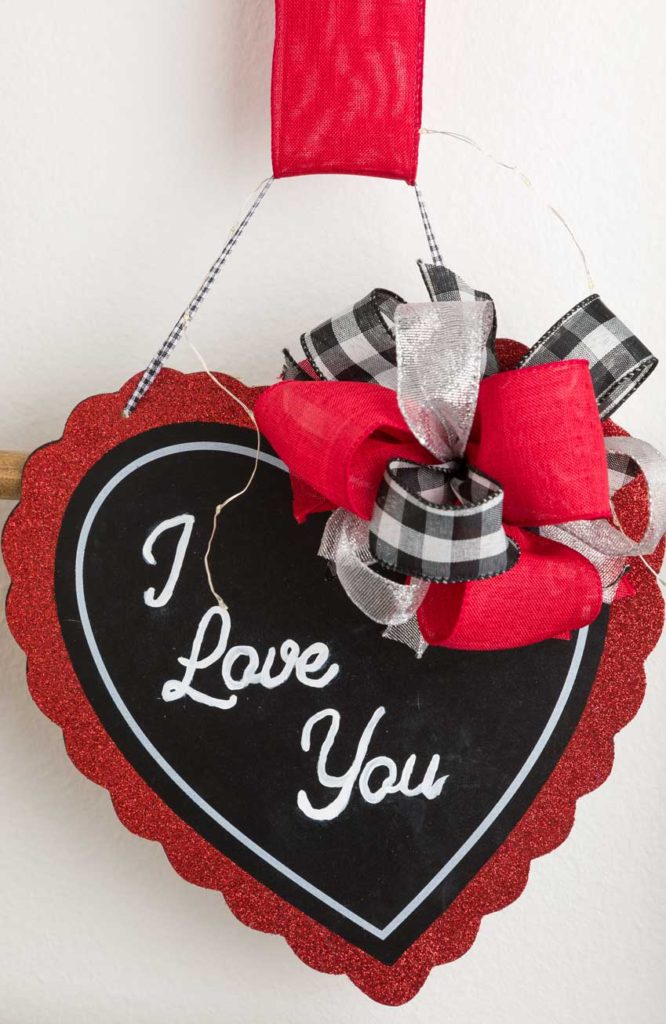

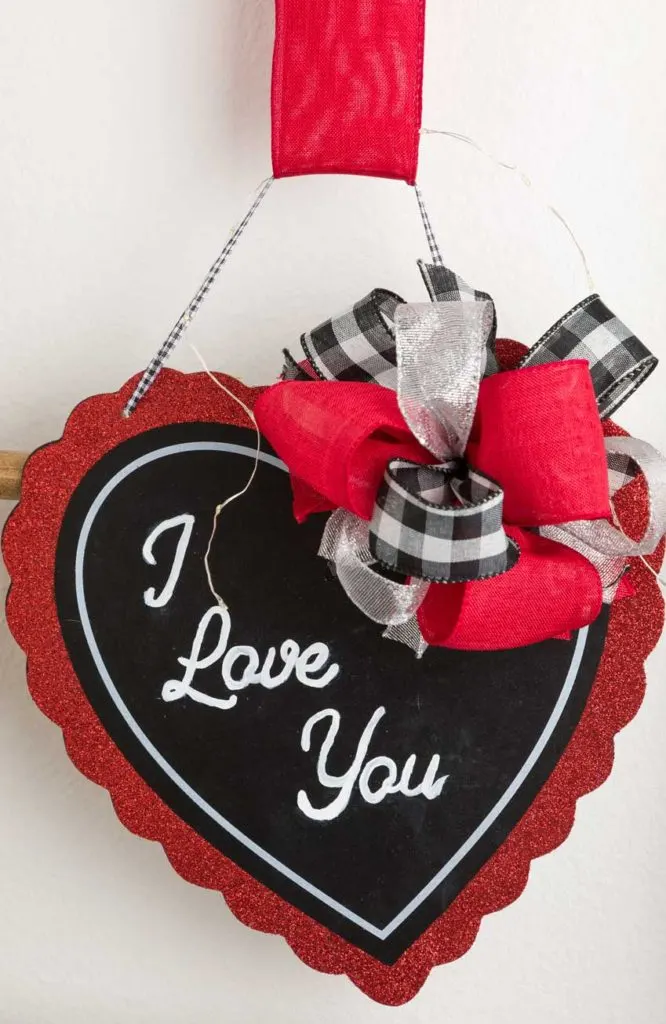

Valentine Hear Door Hanger with Bow
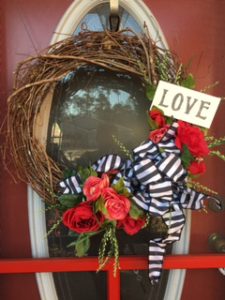
The wreath I made for my Mother is my favorite wreath I have ever made (see how I made it HERE). It made it for my Mother’s front door.
If you enjoy crafting, please join me (HERE) on my fun crafting adventure as we create a beautiful home one project at a time. You will receive a ton of inspiration, freebies, and more delivered straight to your inbox.
Thank you so much for stopping by. I hope you enjoy making this garland as much as I did. What are you working on this week?
Happy Crafting,
Kippi

Jeanne
Thursday 11th of January 2024
Lovely project! I always find garlands or "bunting" so cheery!
https://jeanneselep.blogspot.com/2024/01/2024-rocking-my-rock-window.html
Marie
Thursday 6th of January 2022
So cute Kippi! I love a burlap garland.
Deana Landers
Monday 27th of January 2020
I love how simple you made this to follw. Thank you for sharing.
Linda on Poinsettia Drive
Tuesday 14th of January 2020
I'm so excited you've been PINKED on the Classy Flamingos this week! poinsettiadr.com
Nina Lewis
Monday 13th of January 2020
This is such a fun idea! I will be featuring it at our Party in Your PJs link party tomorrow night. Thank so much for sharing your awesome idea!