My shelf DIY chalk paint fixer upper begin after purchasing this shelf for $20 at an estate sale, I decided it needed a DIY chalk paint upcycle. This shelf was a bargain, but was also very basic, so it was in need of a facelift.
Shelf DIY Chalk Paint Fixer Upper
This is what the shelf looked like with I purchased it from the yardsale.
Yard sale shelf
This post may contain affiliate links. That means that if you purchase from one of these links, I will make a small commission.
Supplies and Tools
- Cleaner (this is the one I use)
- Chalk Paint
- Chip paint brush
- Cleaner
- Stencil
- Sealer – wax
- Mud
- Sandpaper
- Lighting
- Painters paper
- Palm sander
- Router
- Tack cloth
A neutral paint color was my best choice, so I selected a cream chalk paint.
The first step before painting is to wipe down with a furniture cleaner (this is the one I use) any to remove, dust, dirt and any grease so that paint will adhere to the surface.
While the freshly cleaned shelf was drying, I wanted to work on adding some fun details to the shelf. However, adding details would require either purchasing a board ($18) or upcycling one that was used as a sample sign for one of our locally offered classes. I opted for the free up-cycled board since it was a budget-friendly choice. Shop our store for these products and everything you need to complete your DIY fixer upper.

Shelf DIY Chalk Paint Fixer Upper Noel
The next step was to use some painters paper (this is the one I use) to make a template. The easiest way to get a symmetrical template is to fold the paper in half. So, after folding the paper it was easy to pencil out a curved edge for a topper detail. It was fun to create something that was just for looks and could be whatever shape I wanted. I then cut out the paper template and placed it on the back of the Noel sample sign. I traced around the template with a pencil. Then, cut it out using the pencil lines as my guide.


Shelf DIY Chalk Paint Fixer Upper Cut Sign
It looks just like the template I made. Note: the leftover wood from the Noel sign I up-cycled too.

Shelf DIY Chalk Paint Fixer Upper Router
Cut it out and routered the edges.


Shelf DIY Chalk Paint Fixer Upper Sanding
Before painting, I sanded both the edges and face side with a palm sander. After sanding I used a tack cloth to remove all the dust. Then attached it to the top back of the shelf.
Ready to paint…

(Note: I cleaned off the bottom shelf before painting)

Shelf DIY Chalk Paint Fixer Upper Painting
Two coats of chalk Paint in color cream. I did not have to sand between coats of paint since they went on buttery smooth.
It looked a little boring so I added some more details. I used some mud and a stencil to add the pretty detail in the center of the curved topper made out of our Noel sign. Totally happy with the results.
Adding the Mud Design
Place your stencil over the area where you want the design. You can use painters tape to hold it down, but it is not necessary.
While holding the stencil in place use a small paint brush and apply some mud over the stencil.


Shelf DIY Chalk Paint Fixer Upper Stencil

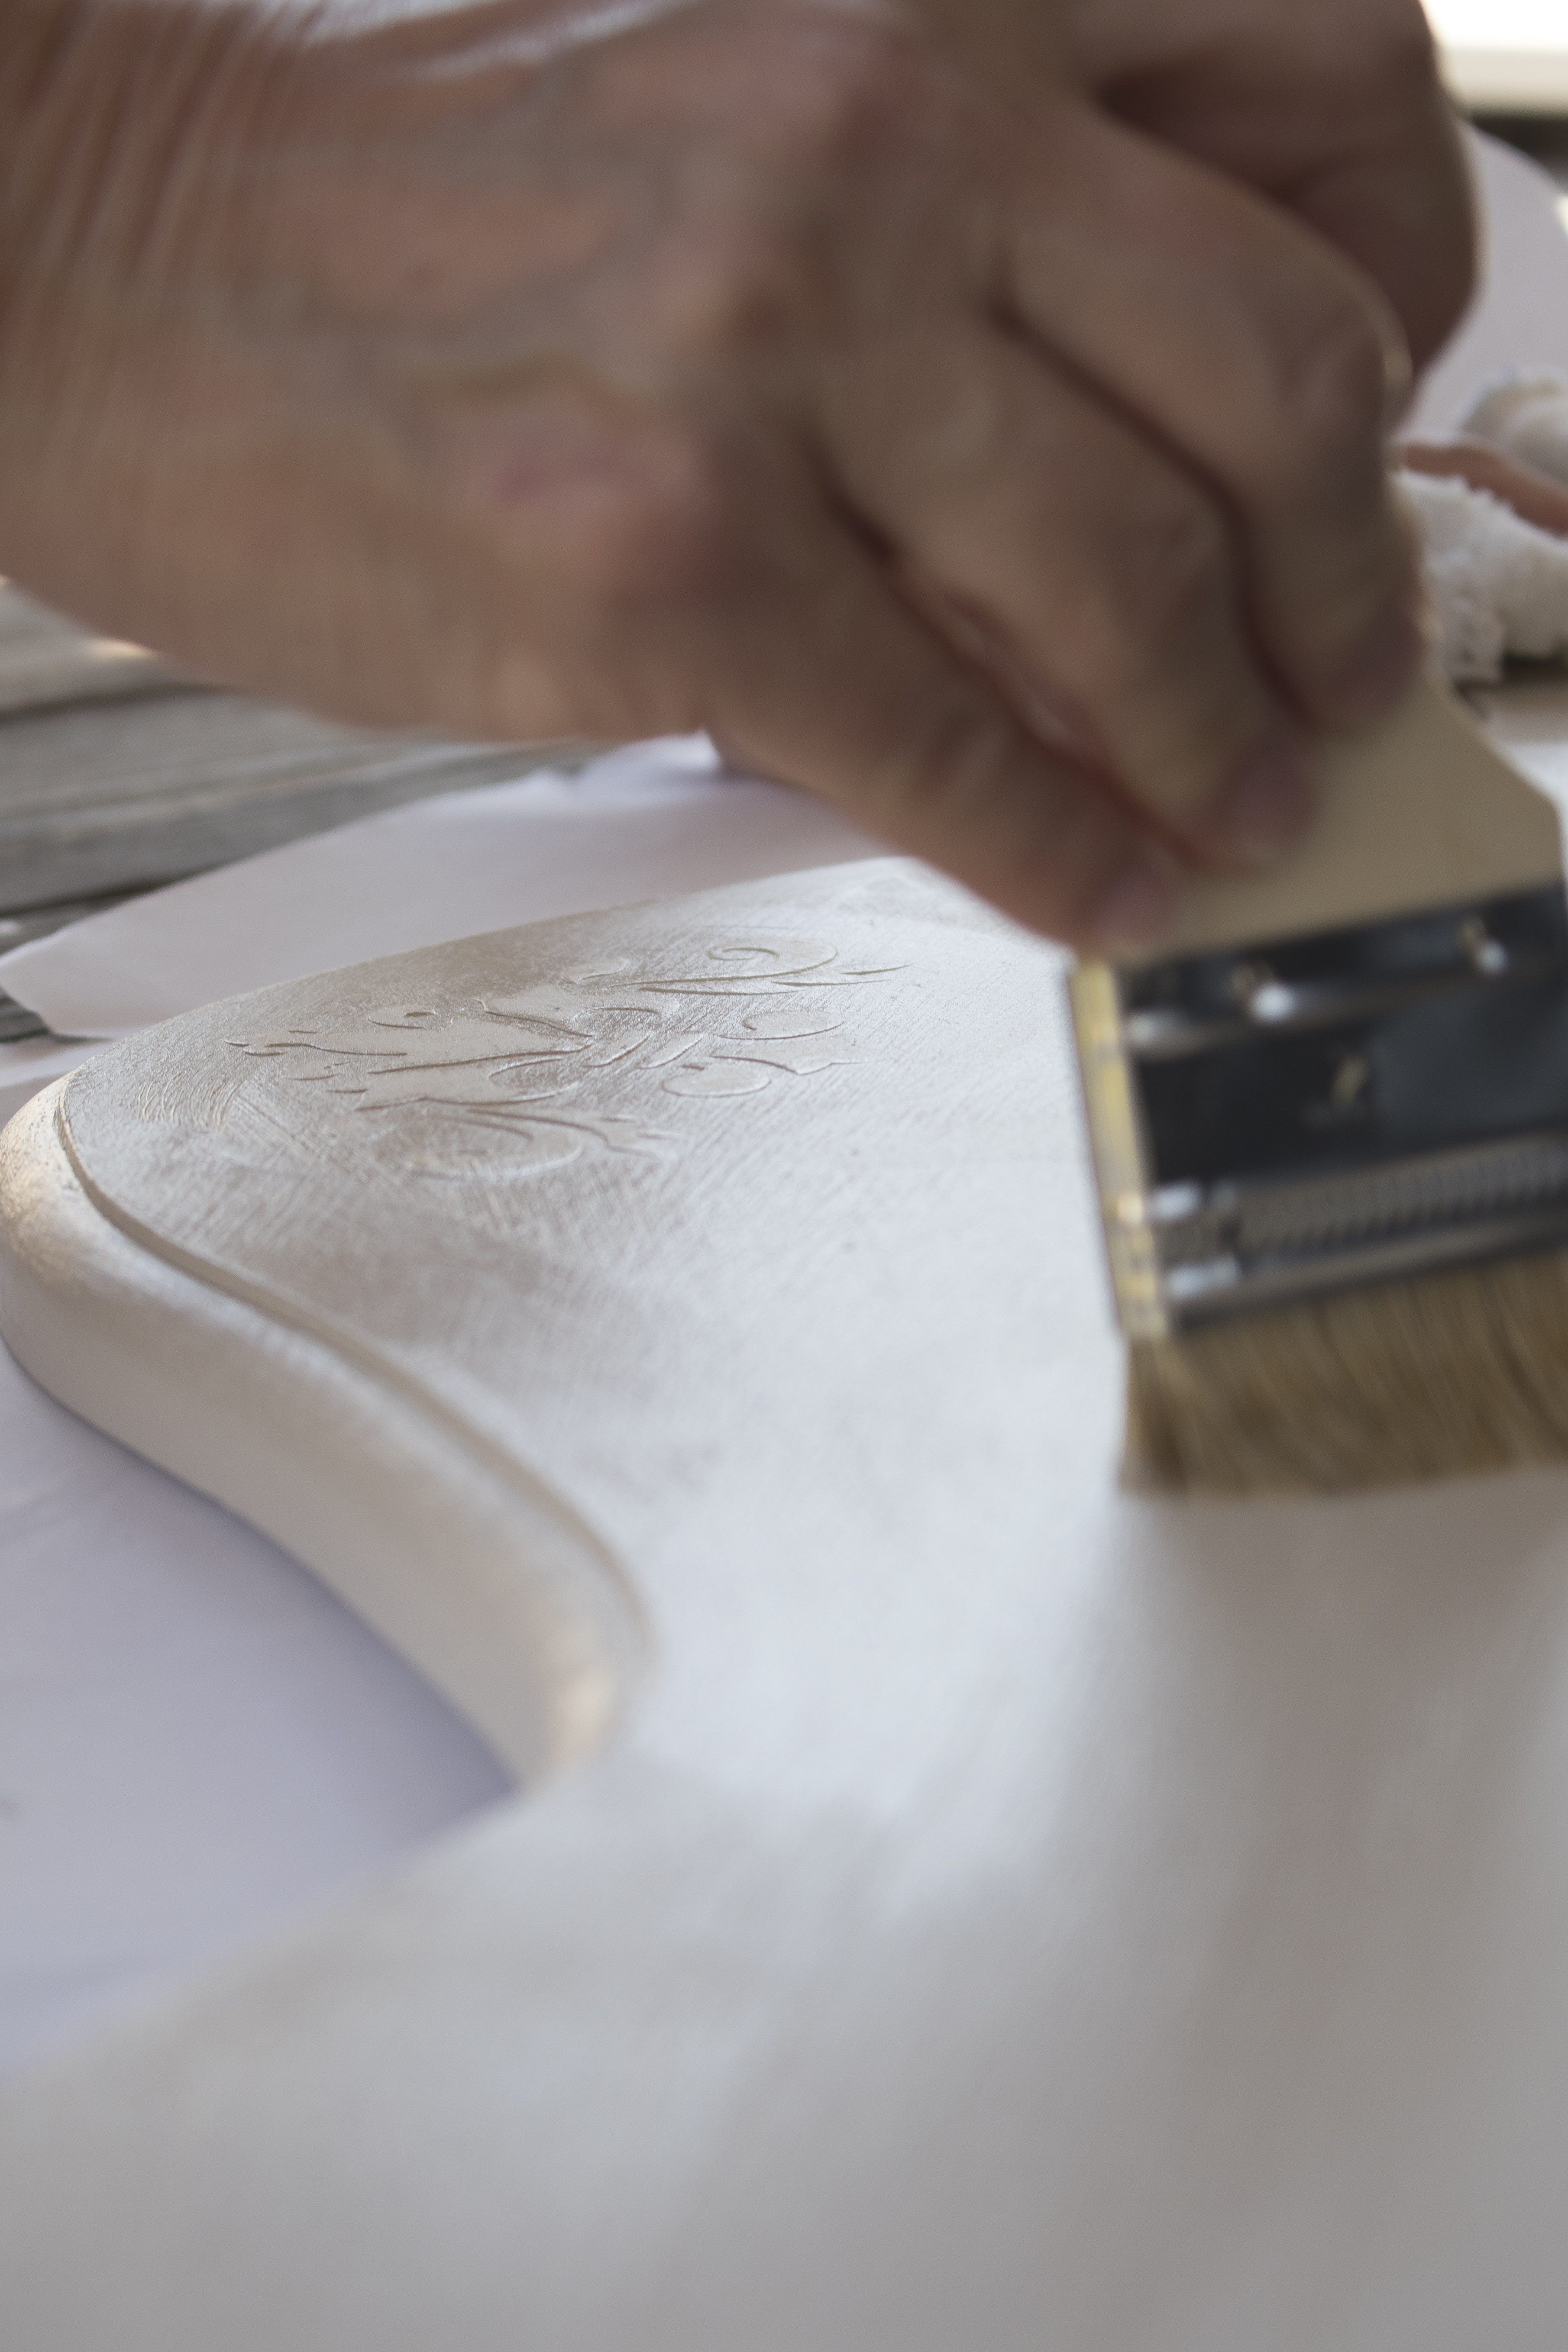
The stencil needs to be smoothed out with sandpaper, but it turned out perfect.

Mud Design before sanding
Looks good so far, but needs to be finished. The shelf DIY chalk paint fixer upper transformation is really taking shape.

Mud design after sanding and painting
Sanded and then dry brushed on some chalk paint in the same color as the self. Loving how it is coming along.
Adding wax to seal and protect the finish
I applied wax to the topper as well as the shelf. (Note: I cut the chip brushes’ bristles down to apply wax since it saves on wax)

Shelf DIY Chalk Paint Fixer Upper Finished Shelf Top
Then I added the Paint products…

Shelf DIY Chalk Paint Fixer Upper Finished Shelf
Shelf DIY Chalk Paint Fixer Upper
Almost finished.

I added some lighting (these are the lights I used). Perfection!
Don’t miss any of our great DIY projects. Subscribe to be the first to get more inspiration.
Subscribe to my blog for more inspiration and DIY projects.
You might also like:
How to choose the Perfect Paint for Furniture.


Painted Wardrobe
How to Chalk Paint Furniture.


Chalk paint furniture makeover
Thank you so much for stopping by. What projects are you working on this week? Let me know in the comments below.
See you soon,
Kippi