These adorable gnome ornaments are so easy and fast to make you are going to enjoy creating them. Making Christmas ornaments is perfect for crafting with the kids. They will enjoy creating gnome ornaments for gifts, decor, tree ornaments, and just for fun.
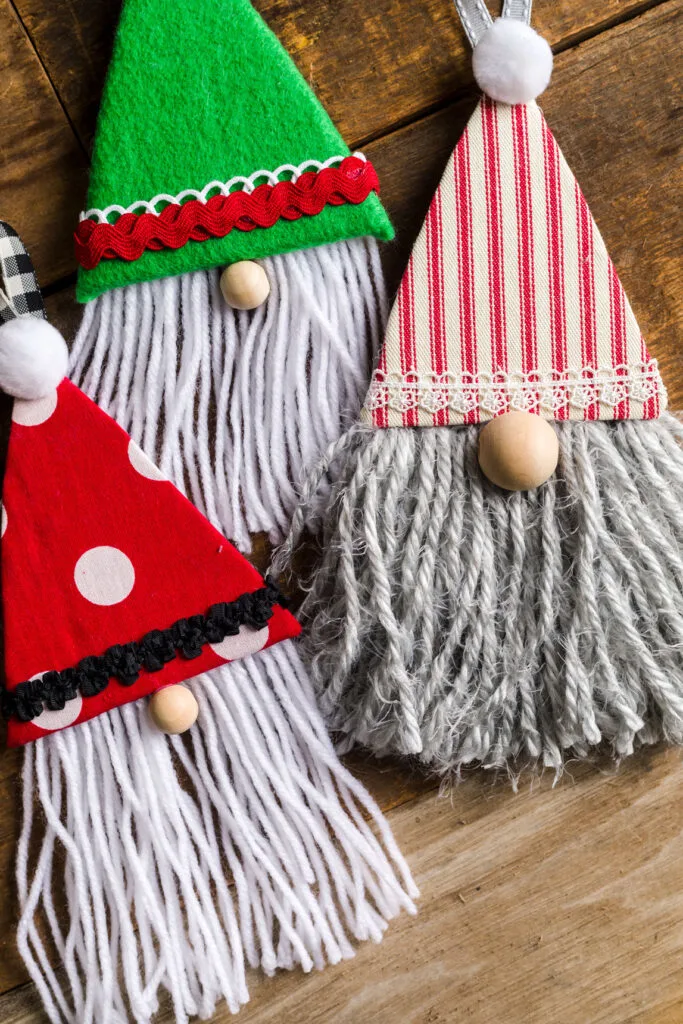
DIY Christmas Ornaments – Gnomes
Using seasonal fabric and trims, you can make Mr. Gnome for any season.
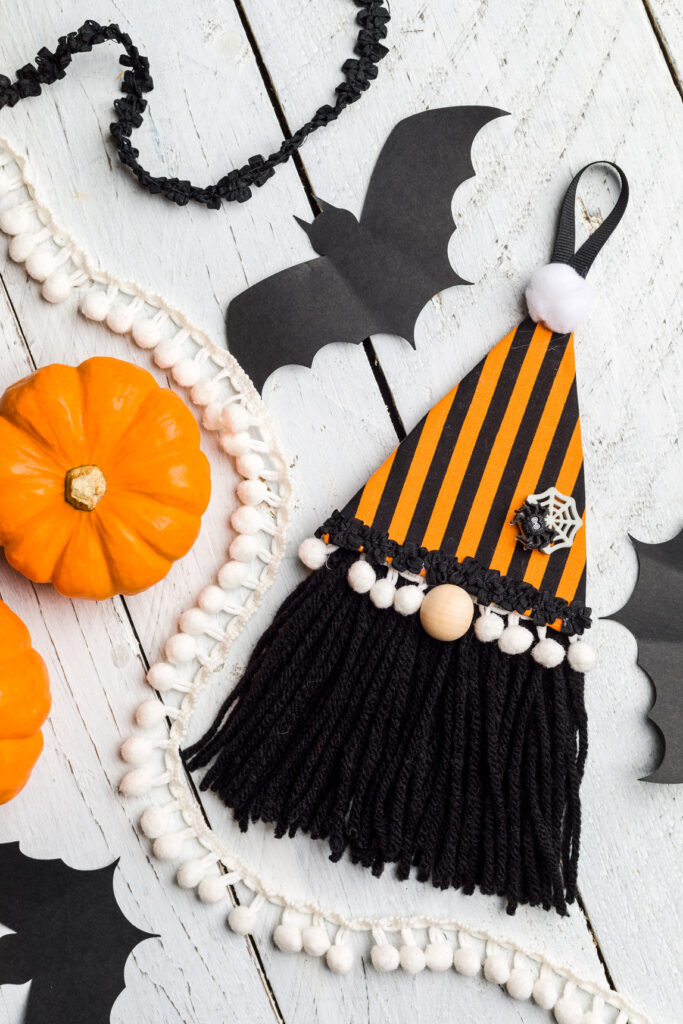


Halloween Gnome ornament
Here is a Pin for your Pinterest board to save this ornament idea for later.
How to Make a Christmas Gnome Ornament
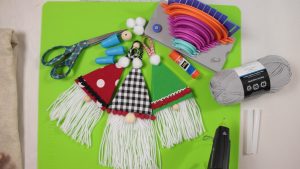

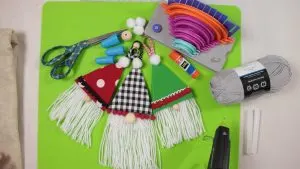

Homemade Ornaments and supplies for DIY Gnome making
How to Make Gnome Ornaments
We used items we had on hand to make these gnomes; thus, they were almost free to produce. Therefore, these gnomes are great for decorating for Christmas on a budget.
This post contains affiliate links. That means if you purchase from one of these links, I will make a small commission, but rest assured, you will not pay more for any products.
Supplies
You can find all my favorite crafting supplies HERE.
- Tassel Maker
- Pattern (printout)
- Yarn
- Hot glue gun
- Silicone mat
- Silicone fingers
- Glue stick
- Scissors
- Felt
- Trims
- Cardboard
- Mini pom-poms
- Wood bead
- Measuring tape
Making the Gnome Beard
Making a yarn beard with single strands seemed daunting; therefore, we decided to make thin tassels (the tassel maker I use) for the beard.
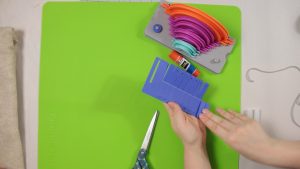

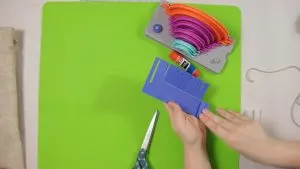

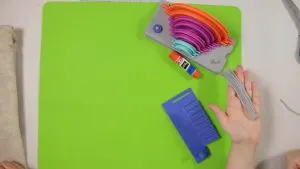
Tassel maker for Gnome Beard
Gnomes – DIY Christmas Ornaments how-to video:
To make the beard tassels begin by turning back the bottom two tabs on the tassel maker to make a 5.25″ tassel.
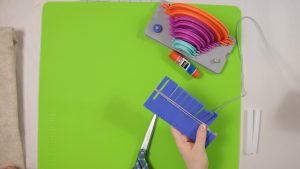

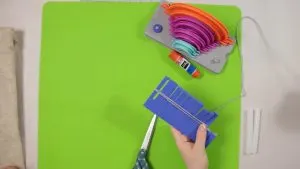

Wrap yarn around the tassel maker
At the bottom (5.25″ mark), gently hold the cut end and wrap the yarn six times around.
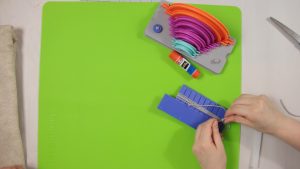

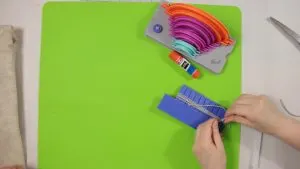

Tie off the tassel
Next, cut an 8″ piece of yarn to tie off the tassel. Slip the adventure ends into the long slot at the top of the tassel maker around the yarn loops and tie them off.
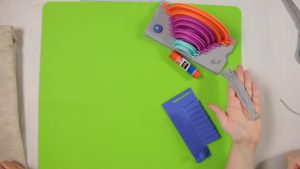


Finished Beard tassel
Gnome Pattern and Fabric
After printing out your gnome pattern, cut it out, trace it on cardboard, and cut it out.
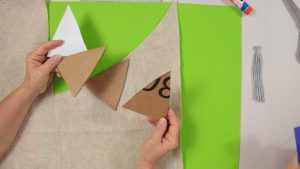

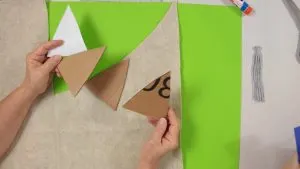

Gnome Ornament Pattern
Next, place your pattern on your felt and cut around, leaving an extra 5/8″ around the pattern.
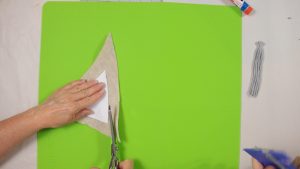

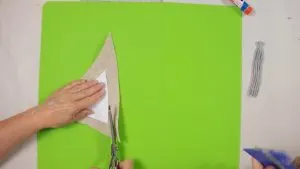

Using a Gnome ornament pattern to cut out the Gnome Hat
Gnome Hat Assembly
To help hold the fabric on the cardboard, I used a glue stick in the center of the gnome hat. Then I placed the cardboard in the center of the fabric triangle.
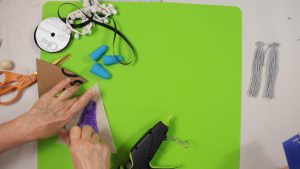

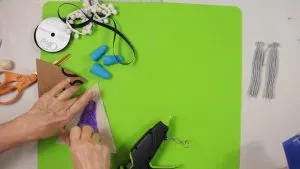

Use a glue stick to adhere the fabric to the cardboard
Fold the fabric to the wrong side and glue with hot glue leaving the corners unglued, then press with your silicone finger protectors (these are the ones I use) on.
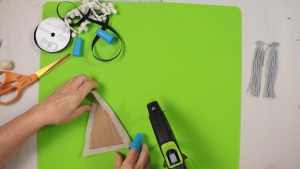

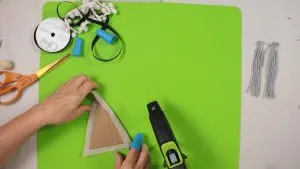

Glue fabric to the back of your cardboard hat
Use silicone fingers to glue fabric
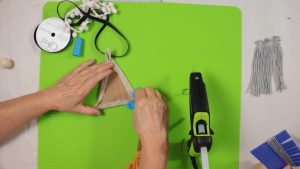

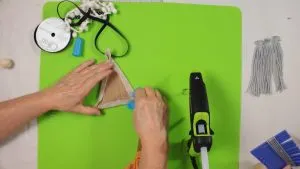

Glue all three sides leaving the corners open until last
Trim away the extra fabric in the corners and add a glue dot to hold the corners together.
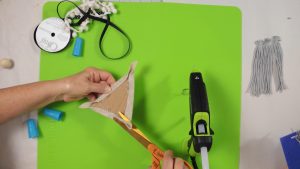

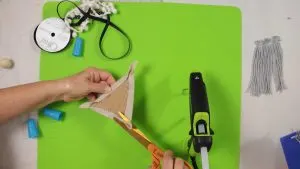

Cut off extra fabric in the corners to finish the hat fabric
Gnome Hat Trims and Beard
Place small dots of hot glue to attach the hat trim and gently tap your embellishments in place with your silicon finger protectors.
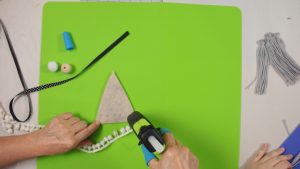

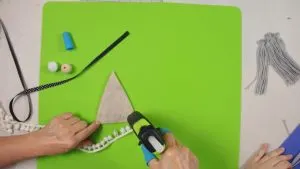

Place dots of glue on the hat to adhere trim
Then add the second trim using the same method. Again, cut the embellishments longer than the width of the hat.
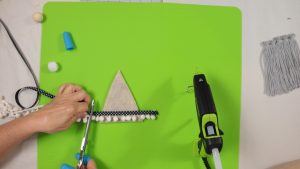

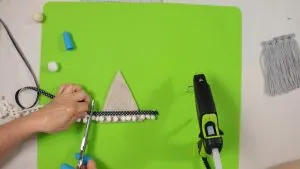

Cut off the trim a little longer than the hat.
Glue the extra decoration to the backside of the hat.
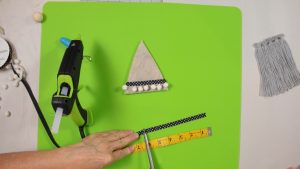

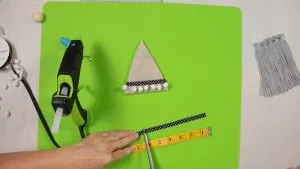

Cut the ribbon for the hanger.
Cut a 6″ length of ribbon for your ornament hanger.
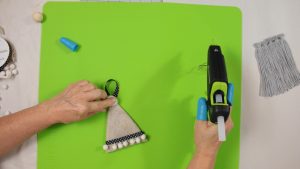

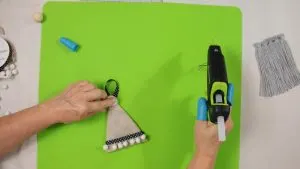

Add a pom-pom to the top of the gnome hat.
To form the ornament hanger, fold the ribbon in half and glue it in place.
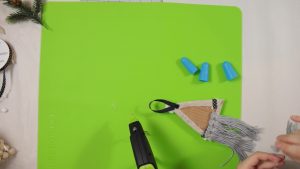

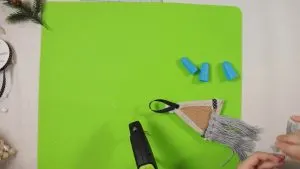

Add the beard tassels.
To make the gnomes beard glue on the tassels spacing evenly.
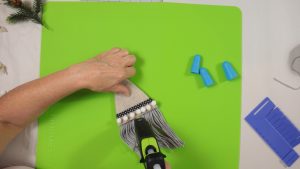

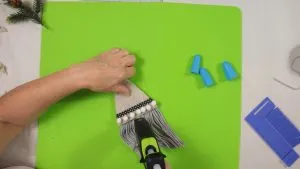

Gluing on the wood ball nose to complete this Christmas craft
You can use a wooden bead or another pom-pom for the nose. Glue on the nose carefully using hot glue.
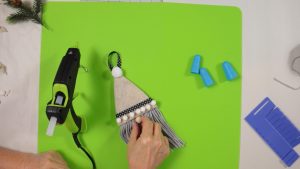

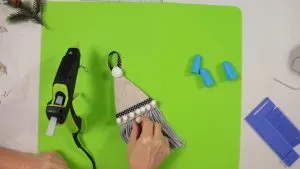

Add the nose to your DIY Gnome Ornaments with hot glue
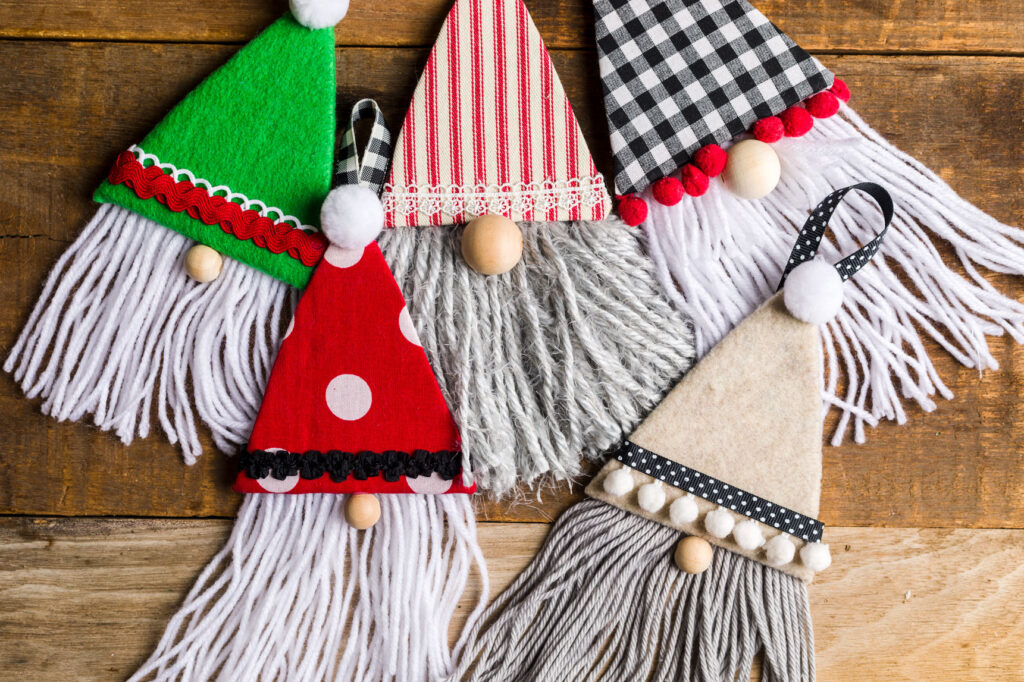

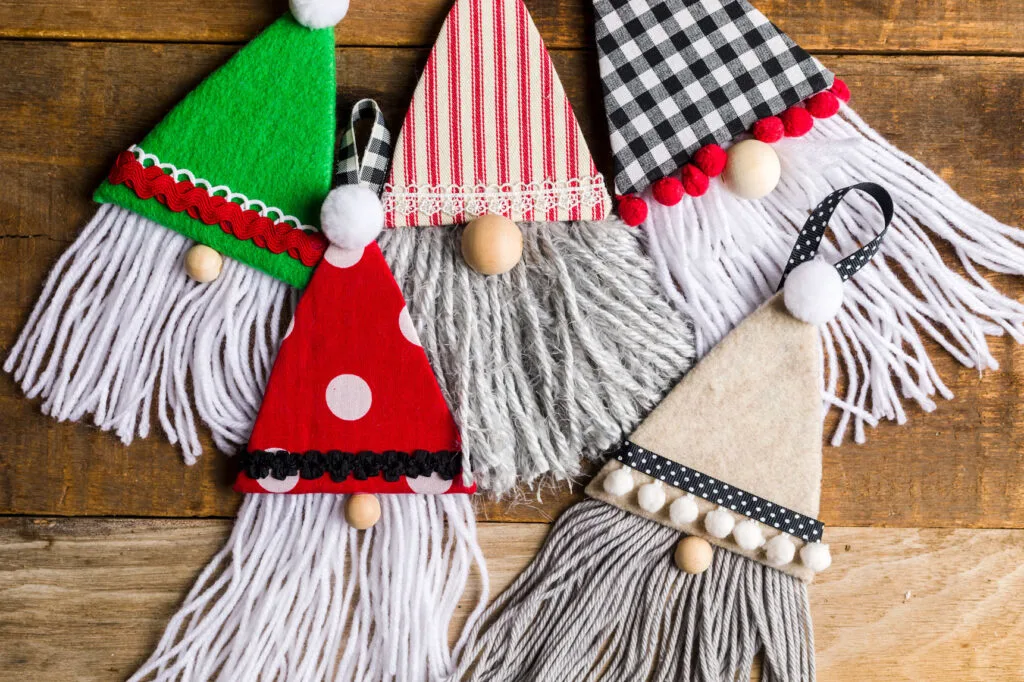

DIY Gnome Ornaments
More Gnome Crafts You Might Enjoy:
Make some Easy Gnomes DIY with a Free PDF gnome pattern.
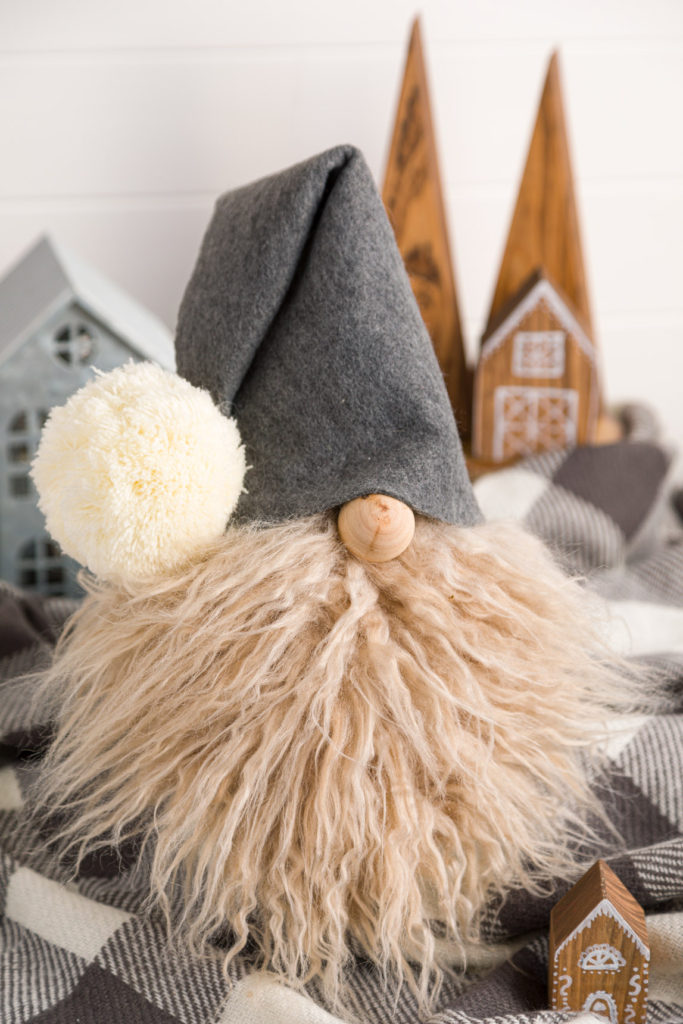

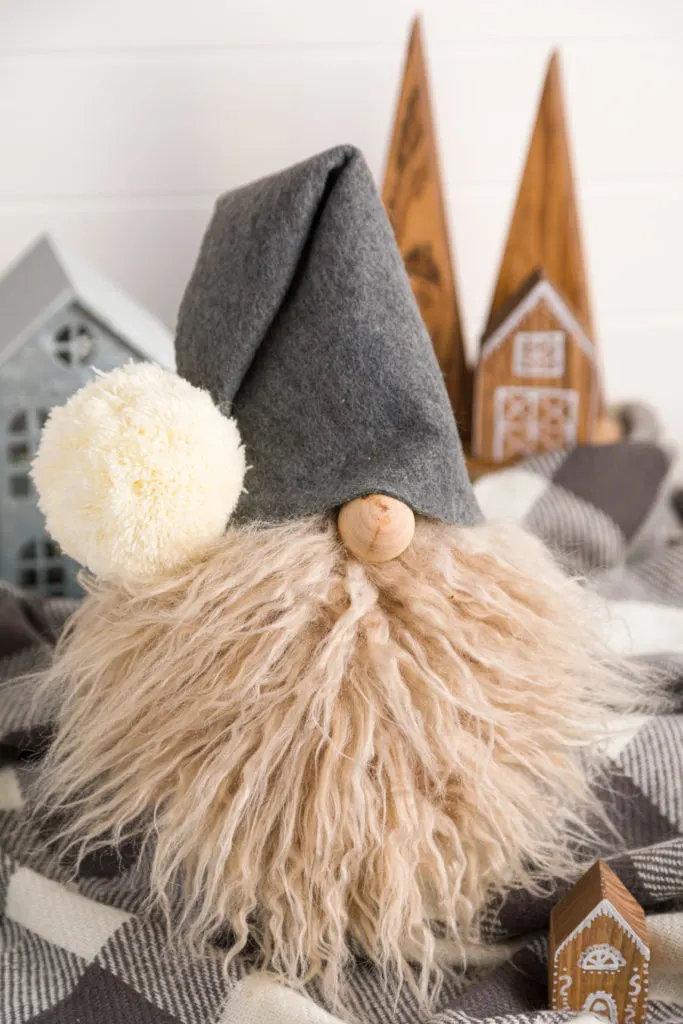

No-sew sock gnome
Christmas gnomes are so whimsical and fun that they make everyone smile. They are perfect for Christmas decor and every day too.
The easiest way to make gnomes is using the gnome pattern printouts and this simple no-sew sock gnome tutorial. Learn how to make your no-sew Christmas Gnome HERE.
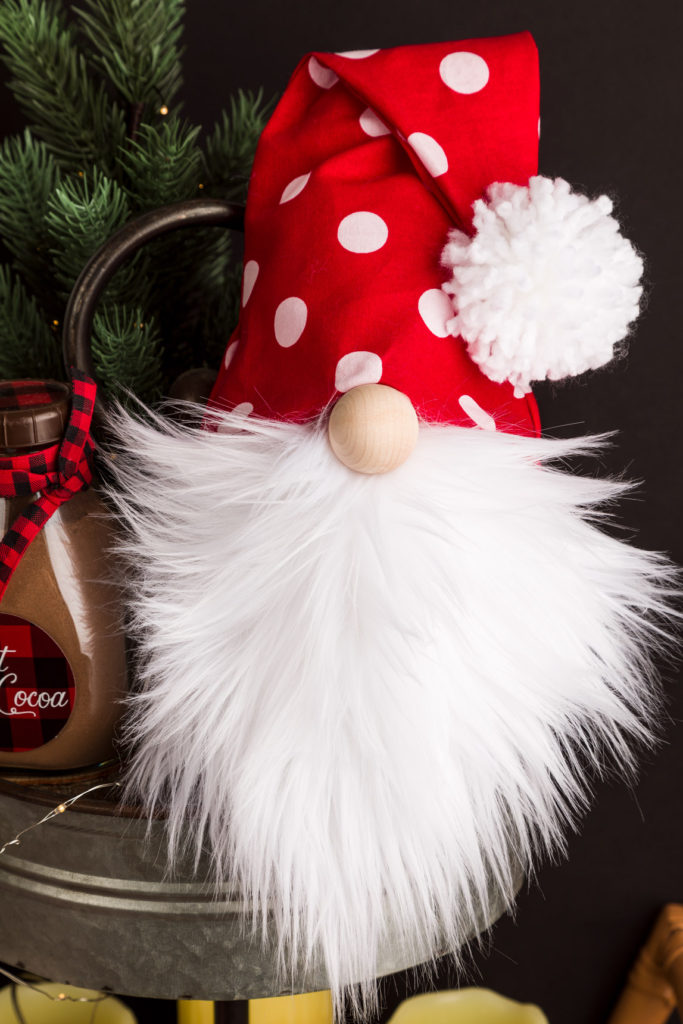

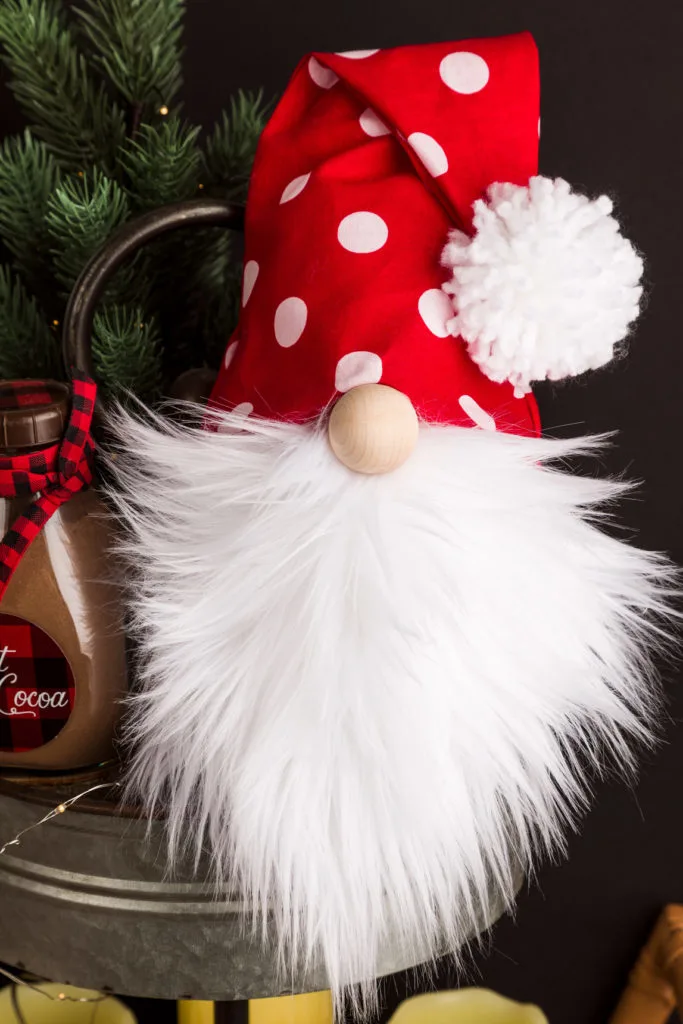

Christmas Gnome
These adorable gnome applique pillows are easy to make. They can be used all year round but are especially cute during the holidays. I used the linen fabric we carry in our shop as the pillow cover.
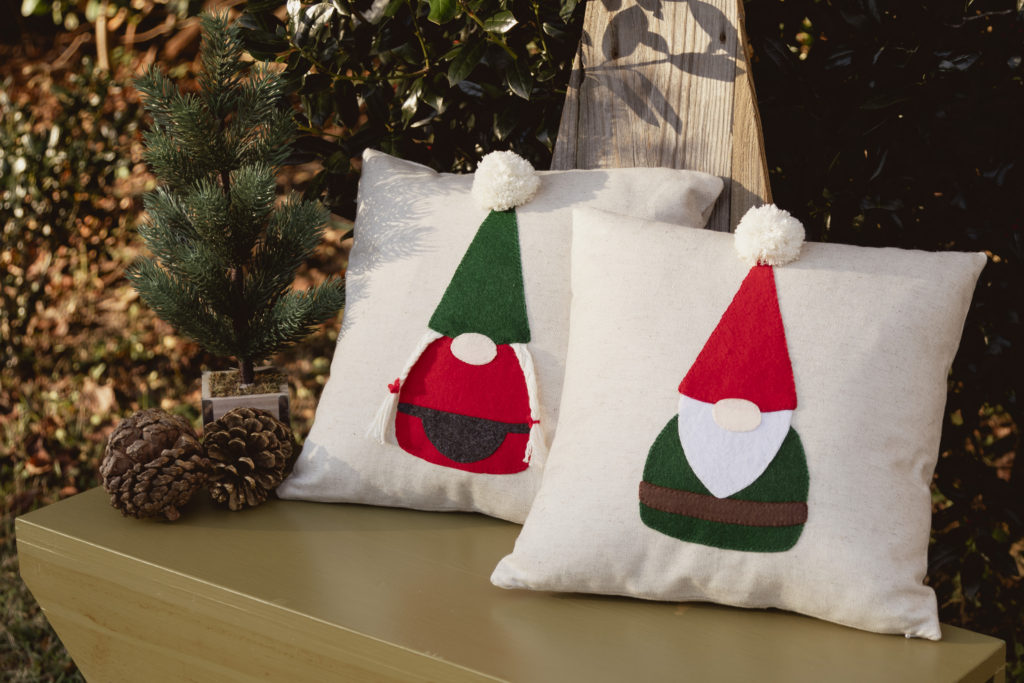

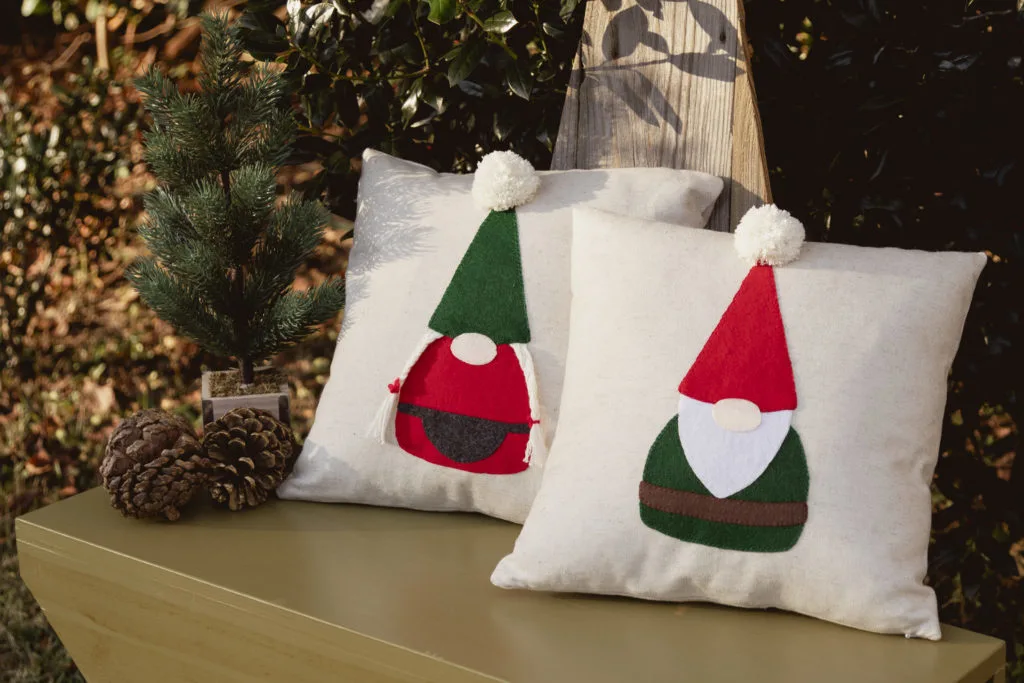

Mr. & Mrs. Gnome Pillows
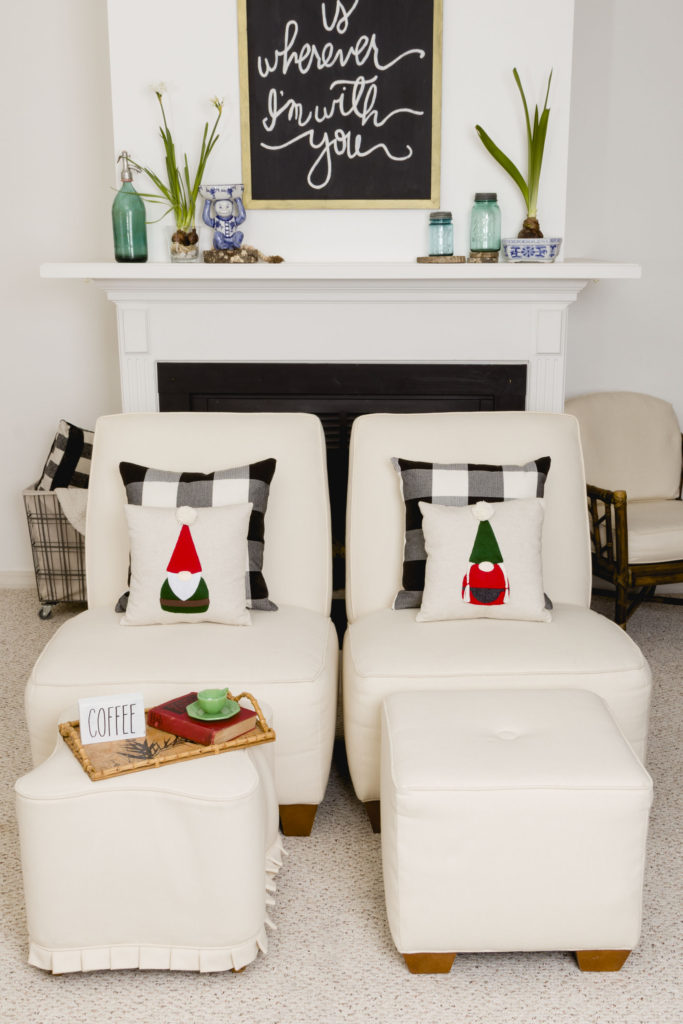

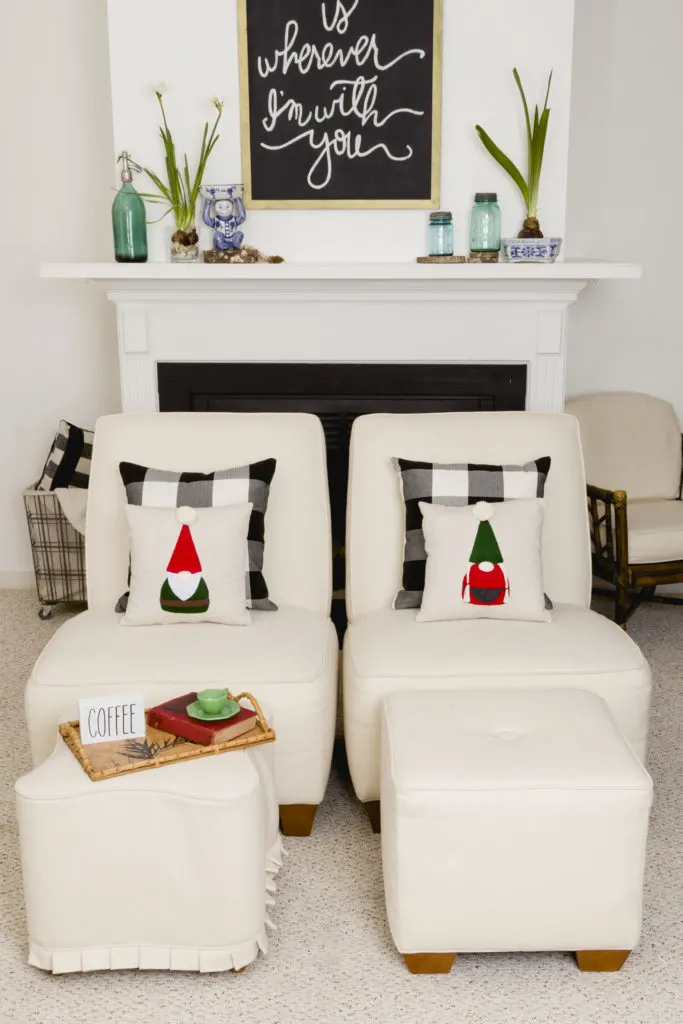

Gnome pillow
You Might Also Like These Gnome Posts:
I made handmade Christmas ornaments a few years ago, but I enjoy them yearly; you can read how I made them at DIY Christmas Ornaments.


Christmas felt ornaments
I made these faux glass ornaments with Dollar Tree clear plastic bulbs; read more at DIY Ornaments.




DIY Christmas Ornaments
Please join me (HERE) as we craft up some fun. You can look forward to receiving new inspiration every week. Which includes online crafting events and seasonal and holiday crafting too.
See you soon,
Kippi

Lynne
Tuesday 8th of November 2022
These are adorable, Kippi! Such a great tutorial! Pinned!
Val Lachance
Monday 8th of November 2021
Do you have instructions without all the FB add on top?
Rebecca - Glutarama
Monday 25th of October 2021
Oh my goodness these are beyond adorable - I'm sending this page to my daughter in the hope she gets the hint and makes me some! #FridayFavourites
diy name necklace
Tuesday 9th of March 2021
Thank you for sharing, friends who like custom jewelry can pay attention diy name necklace custom medallion necklace personalised couples necklace personalised couples necklace
Jane Doe
Sunday 8th of November 2020
These will make great Christmas gifts for friends that can be posted [if you use a squishy nose]. Love the idea.