I wanted to make some concrete candle holders for our secret garden. Since we live in Flordia, we spend more than half the year entertaining outdoors, so I needed a weatherproof candle holder.
Concrete candle holders

How to Make Concrete Candle Holders
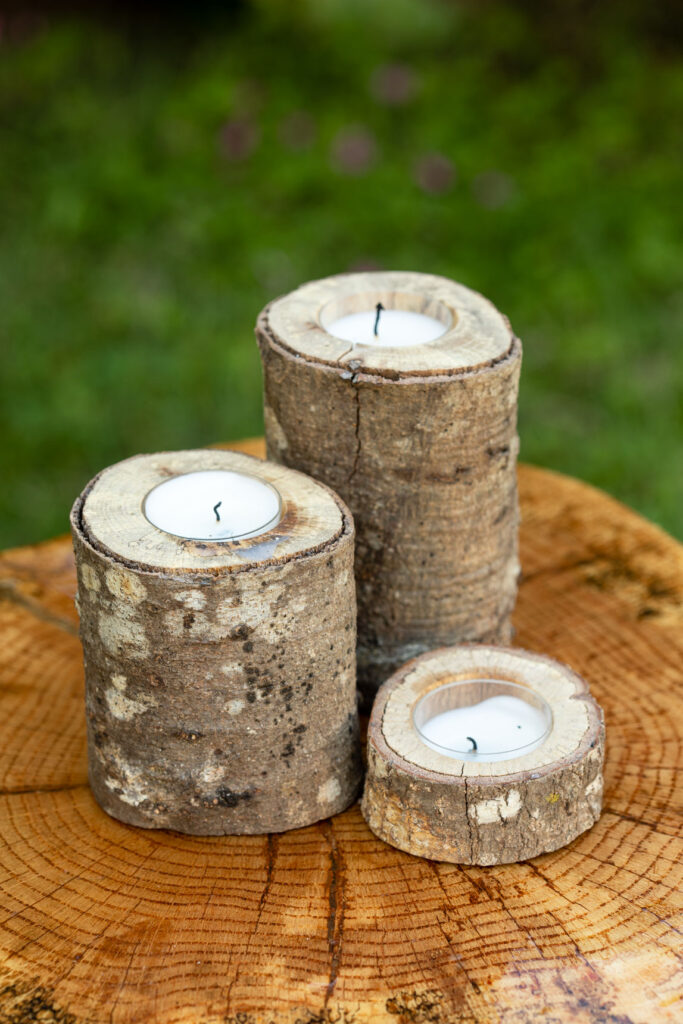
My Inspiration for making these weatherproof Quikrete candle holders was my DIY wooden candle holders. I wanted to use my wooden candle holders outside with my citronella tea lights, but they would eventually rot, so I recreated them with Quikrete.

DIY concrete candle holders Inspiration
This post contains affiliate links. That means that if you purchase from one of these links, I will make a small commission.
Candle Holder Supplies and Tools
Quikrete Countertop Mix
Quikrete Liquid Cement Color (charcoal and buff mixed)
3 inch PVC pipe
1 ¼ PVC pipe
Tree bark (harvested from a fallen tree)
Hot glue (this one is Mr. KAH favorite)
Hanky Paint Pail liners
Trowel (mixing)
Step-by-Step Directions
Last fall Hurricane Sally, unfortunately, destroyed many of our trees. Those destroyed trees have provided us with a huge supply of logs. I have used them to make a hanging planter, live edge table, coasters, candle holders, etc.
However, all the logs I have used outdoors have begun to rot and the bugs love them, therefore I decided I would use my wooden “log” candles as my inspiration to make weatherproof candles. Furthermore, I asked my daughter to make me a new weatherproof live-edge table.


Log stack
I harvested enough bark from dry tree logs to cover the inside surface of the 3 inch PVC pipes.


Tree bark pieces
Making the Mold
To make the mold I cut three pieces of 3-inch PVC pipe 1.75 3.75, and 5.75 inches.
Since I used the PVC pipe I had on hand this project was budget-friendly, however, making a silicone mold would have been a great idea too.


Concrete Mold Supplies
To attach the bark to the inside of the PVC pipe I used hot glue.


Cement Candle Mold lined with bark
Next, I allowed the glue set up.
Trim the bark even with the top and bottom of the pipe.
After I added bark, I cut plastic to line the inside of the candle mold.
Note: I cut the plastic long enough to overlap the top edge and down a few inches of the outside of the PVC mold.
Then I used hot glue to secure the plastic to the outside of the pipe, making sure the plastic was tight against the bark.
Creating The Tealight Cavity
To create a cavity for the tealight, I used 1¼ inch PVC pipe and duct tape.
First, I cut the PVC pipe about ¾ of an inch long. Then I covered one end with duct tape.
Assembling the Molds
Next, I cut strips of duct tape to cover one end of the 3-inch pipe (you will need to do this for each mold).
Note: I filled the molds from the bottom; in other words, I created them inverted.
I set the cavity’s open end down on the duct tape; then, I centered the 3-inch pipe (candle mold) over the cavity.
Once I was satisfied with the position of both the tealight cavity and the outer mold (that I placed over the tealight mold), I secured the duct tape to the pipe to hold the end tape in place.
Do the same for the other two tubes (molds).
How to Add Color to Cement
To make brown candles, I mixed Quikrete Liquid Cement Colors charcoal and buff to water before adding it to the Quikrete Countertop Mix.
I was delighted it was so easy to achieve the brown I wanted for my “wooden cement” candle holders.


Mixing liquid cement colors
Note: Mix about 6 cups of countertop concrete mix with water and cement color to make a firm but a pliable mixture.


Mixing the liquid colors with the cement
Next, I added the cement mixture to the PVC pipe candle molds. Finally, I gently tapped the molds on my work surface to help remove air bubbles and pack the cement. After 24 hours the concrete appeared to be set, however, I allowed it to set up for 3 days.
To unmold, I made four saw cuts from top to bottom on the outside of the pipe just through the PVC, then I gently peeled off the mold and removed the cavity from the top.
➡️ You can watch me unmolding the candle holders in these Facebook videos (part 1, part 2, part 3). I have to make some adjustments during my trial and error to aid me in removing the mold.


Cement candle molds with negative space molds
Decorating with Cement and Concrete Candle Holders
I adore my design studio’s garden area. It is a peaceful spot to sip coffee in the mornings and the perfect place to relax in the evenings.


Cement candles decorations


Quikrete One Bag Wonder DIY Candle holders
More Cement and DIY Concrete Projects You Might Enjoy
We did a few Crafting outdoor projects with cement in this earlier post.


mixing concrete
Paula@SweetPea
Saturday 9th of October 2021
I love this idea, Kippi! I need to make a few of these to use on our patio at the lake.