Crafting Christmas ornaments is our family tradition, and this year we created clothespin snowflakes. I had a ton of leftover clothespins from crafting a wreath, so I decided why not try making some snowflakes with them.
Clothespin Snowflakes

This post contains affiliate links. That means that if you purchase from one of these links, I will make a small commission, but rest assured, you will not pay more for any products.
How to Make Clothespin Snowflakes
My crew enjoys crafting together. It brings me joy to watch everyone working together and inspiring each other to try new things.
Clothespin Snowflake Supplies
The supplies for clothespin snowflakes are inexpensive and easy to source.
- Clothespins
- Wood stain or paint
- Snowflake cutouts
- Foam brush
- Wood bead
- Hot Glue Gun and glue sticks
- Silicone mat
I recommend you watch the how-to video before you begin this craft.


Snowflake Supplies
First Step: Remove the Metal Clothespin Springs
Remove the springs from eight clothespins for each snowflake.


Remove spring
Second Step: Stain or Paint Clothespin Halves
Use a foam brush to apply water-based wood stain on clothespins.


Stain clothespins
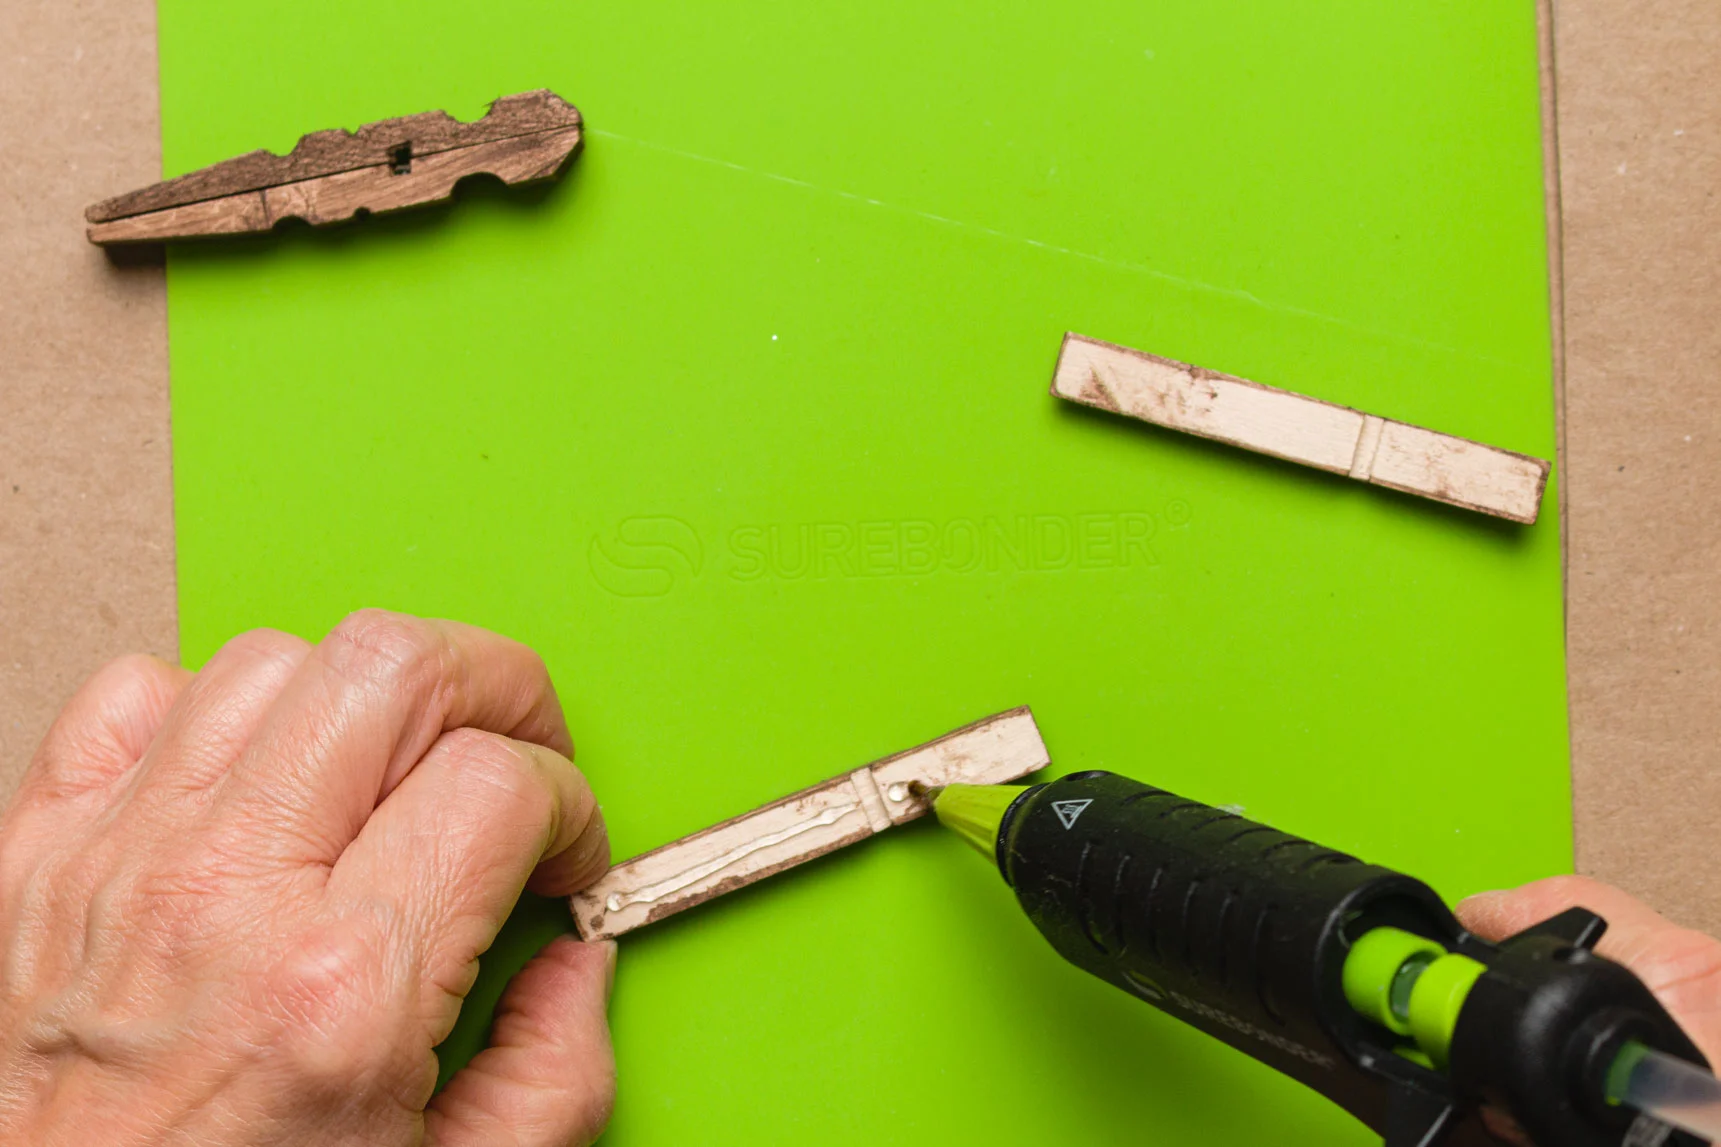
Third Step: Gluing Together Clothespins
Glue together the clothespins on the “original” outside. In other words, the side that faced out before removing the springs will be the center of each pair.
I highly recommend using a silicone mat to prevent the glue from sticking to your work surfaces.

Glue clothespin halves
Next, I glued four of the clothespin pairs in a cross formation.
Then, I added a clothespin pair between each of the original cross’ legs.
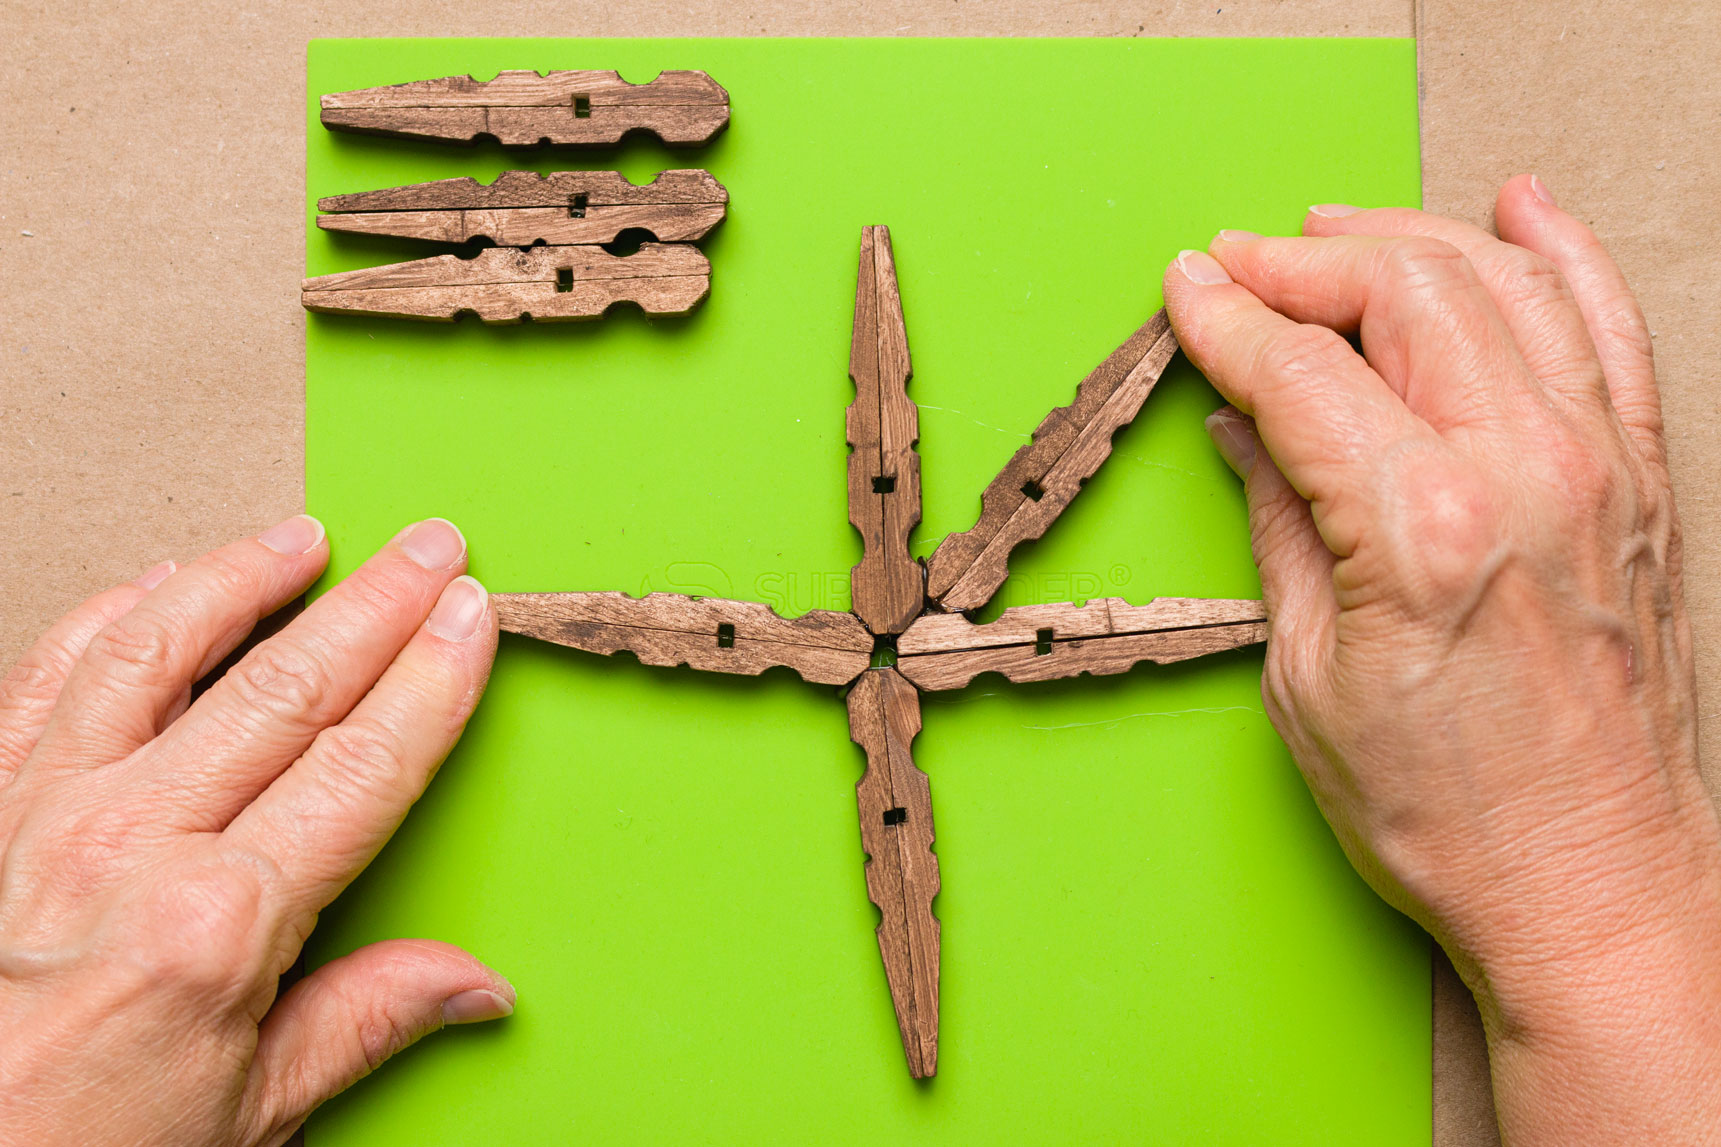

Add clothespin pairs to the cross
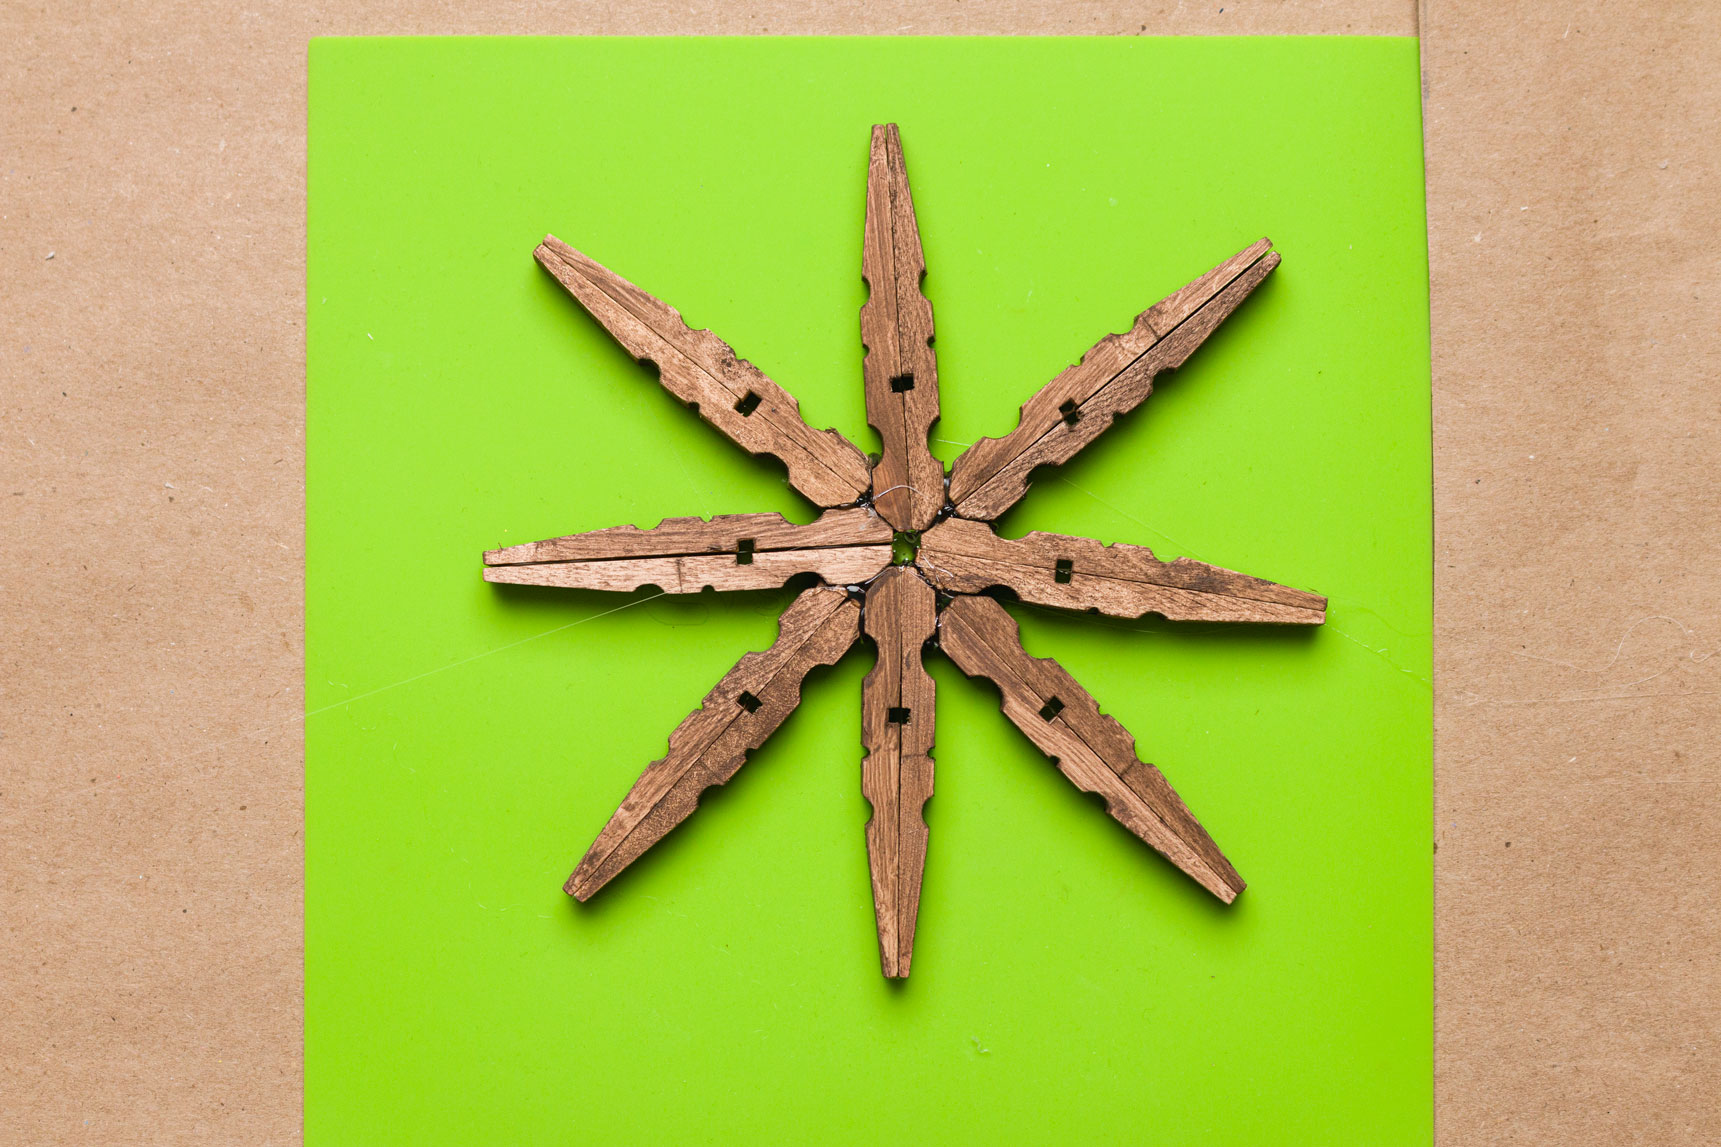
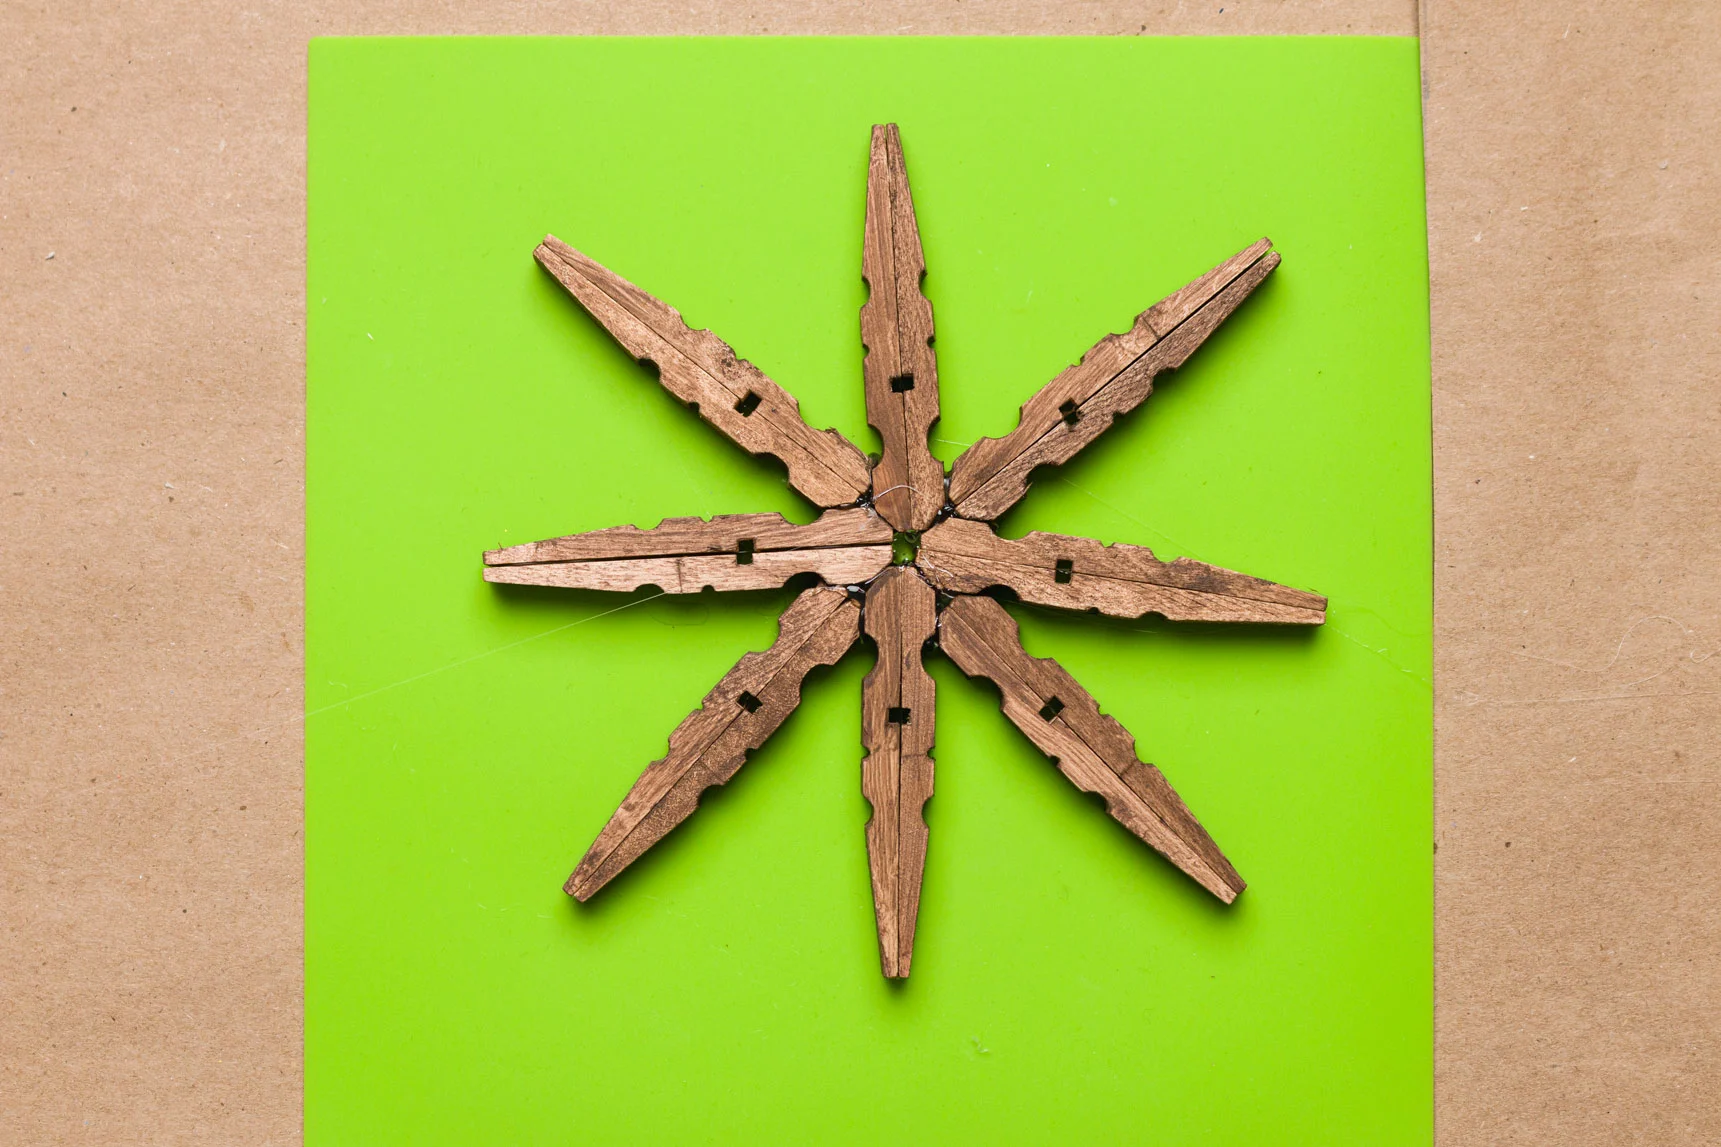
Basic snowflake
Fourth Step: Embellish Basic Clothespin Snowflake
To embellish the wood stained snowflake I glued an unfinished mini snowflake cutout to the center.


Embellish with a wooden snowflake
Then I added a stained or unstained wood bead to the center of the mini snowflake.


Glue a wooden bead in the center
Painted Snowflake
Making a snowflake, you will follow the same steps as the stain one above, except you will paint the clothespins and snowflake cutout, and wood bead.
Supplies
- Paint (white and red)
- Paintbrushes
- clothespins
- Hot glue
- Jewels
- Mod Podge
- Glitter
- Wood bead
- Snowflake cutout


Painted snowflake pieces
Top with Glitter
Apply the glitter using a foam brush and apply a thin coat of Mod Podge over the entire snowflake.
While the Mod Podge is still wet, sprinkle glitter over the snowflake.


Sprinkle with glitter
Embellish with Jewels
Embellishing is my favorite step of this craft. The embellishing options are endless. I decided to use self-adhesive jewels for my painted snowflakes.


Decorate with red jewels
I will be using my clothespin snowflakes to decorate my Hot Chocolate Bar as well as my Christmas tree.


Painted clothespin snowflakes
More DIY Christmas Ornaments:
These simple wood bead snowflake ornaments are gorgeous Christmas tree ornaments.


DIY Christmas Star Ornaments
Easy embroidery hoop ornaments are made with small embroidery hoops and fabric.


DIY Embroidery Hoop Ornaments with vinyl decals
Want a Stress-Free Holiday?
Want to enjoy all the holiday season has to offer, but it all seems overwhelming? Then, join me as we enjoy a stress-free holiday season with a ton of inspiration, money-saving ideas for decorating, gift-giving, and so much more.
Join HERE! And have the best of everything this holiday.
Thank you for your visit today. I hope you found some sweet inspiration.
Merry Christmas,
Kippi
Anmedim
Thursday 14th of September 2023
this is a great creative idea, I will try it this Mid-Autumn Festival and geometry dash meltdown thanks you.
denisloftin
Tuesday 22nd of August 2023
These snowflakes are so beautiful. I will do it for the coming Christmas. angry gran
Tina
Wednesday 12th of January 2022
Oh my, these snowflakes are adorable!!
Cindy@CountyRoad407
Thursday 6th of January 2022
Oh my golly, these are so cute! I'm featuring them on Farmhouse Friday tomorrow. Thank you for always linking up. Your support is so appreciated. Happy New Year!
Kippi Ohern
Friday 7th of January 2022
@Cindy@CountyRoad407, I am so excited about being featured! Thank you for supporting bloggers:) Happy New Year, Kippi
Rachelle
Wednesday 5th of January 2022
I've made the white frosted snowflake ornaments, but never a stained one. I like its quiet beauty.
Really looking forward to the new year and getting back to the FWF party! I always enjoy seeing what you have created, Kippi!
Happy New Year Hugs, Rachelle