I love to create unique decorations for Christmas, and since I had a ton of wood beads and bells, I decided to create blue Christmas ornaments using them.
Most of my tree ornaments are traditional colors, so I decided to break from tradition and make some DIY ornaments in pretty shades of blue to make my ribbons. My new color scheme of blue and silver is perfect for cozy winter wonderland tree ornaments.
I can just imagine how these ornaments will look in a white Christmas tree.
Blue Christmas Ornaments


This post contains affiliate links. That means that if you purchase from one of these links, I will make a small commission, but rest assured, you will not pay more for any products.
How to Make Blue Christmas Ornaments
My inspiration for these DIY blue Christmas ornaments was this blue gingham ribbon. Last year I decorated a tree with red and white gingham ribbons and decorations, but this year I wanted to break from my traditional Christmas decorating style.
Blue Christmas Ornaments DIY Supplies
- Paintbrushes
- Wood beads
- Gingham ribbon
- Baker’s twine
- Toothpicks
- Scissors
- Wire threading tool
- Jingle bells
- Paint to match the ribbon
Note: I highly recommend watching my how-to-make wood bead ornaments video before you begin.


Ornament supplies
First Step: Paint Wood Beads
To begin making these tree ornaments, I paint the wood beads to match my ribbon.
The paint I used was easy to find acrylic paint. However, the blue in the ribbon was impossible to match to any color, so I mixed cobalt blue with a little dark gray to achieve the “match.”
The easiest way to paint the wood beads is to skewer them on toothpicks.
Note: You can omit this step if you use unpainted natural beads for these wood bead ornaments.


Paint wood beads
Paint Dots
After my blue painted wood beads were dry, I painted the white dots using the end of my paintbrush.


Dot painting
To dry my painted beads, I used a cardboard shipping box. The corrugated structure is perfect for holding the toothpicks.


Wood beads drying
Second Step: Treading Beads
After all the painted beads are dry, I remove them from the box and place them on a paper plate to keep them from rolling off my work surface. Trust me; I learned this the hard way.


Dried wood beads
I use the threading tool made with floral wire to thread all my wood bead projects.
To make a threading tool, cut the wire, then fold it in half, and twist it together, leaving a loop at the folded end.


DIY wire threading tool
Before threading the beads, I double-check that I have all the beads on my paper plate since it is difficult to change the bead arrangement after they are threaded. Therefore I arrange the beads on my plate before threading them.


Threading the baker’s twine
Thread the baker’s twine through the wire loop, then pull the baker’s twine through the beads.


Thread beads onto baker’s twine
Add Jingle Bells to Blue and White Beads
After adding the jingle bell, pull the baker’s twine back through the wood beads by pushing the empty wire threading tool from the top of the ornament to the bottom.
Next, thread the baker’s twine through the wire loop and pull it back through the beads to the top of the ornament.


Add jingle bell
Cut off the baker’s twine longer than needed.


Threaded beads and bell
Next, I make a double knot to secure the beads and bell in place.


Tie off baker’s twine
Third Step: Make Gingham Ribbon Bow
Add a simple one-loop ribbon bow to the ornament using the baker’s twine ties.


Blue gingham bow
Then make a double knot and a hanging loop with the baker’s twine.


Tie the bow with baker’s twine
Next, trim the twine and the cut ends of the ribbons.
I like to cut the ribbons at an angle.


Trim ribbon ends
Finishing DIY Blue Christmas Ornaments
To protect the cut ends of the ribbons and baker’s twine I apply a thin bead of Fray Check to the cut edges on a paper plate.


Add fray check
These handmade ornaments make a thoughtful budget-friendly gift. I like to give them as an ornament set.
They are also a gorgeous gift box topper (see how I wrap a gift like a pro in this earlier post).
More Blue Christmas Decor Ideas:
These cozy DIY sweater ornaments have the same blue and white baker’s twine as the blue and white beaded ornaments.


Sweater DIY Ornaments
You could also paint some blue and white Chinoiserie ornaments. Learn how with these easy step-by-step directions at Simple Nature Decor.
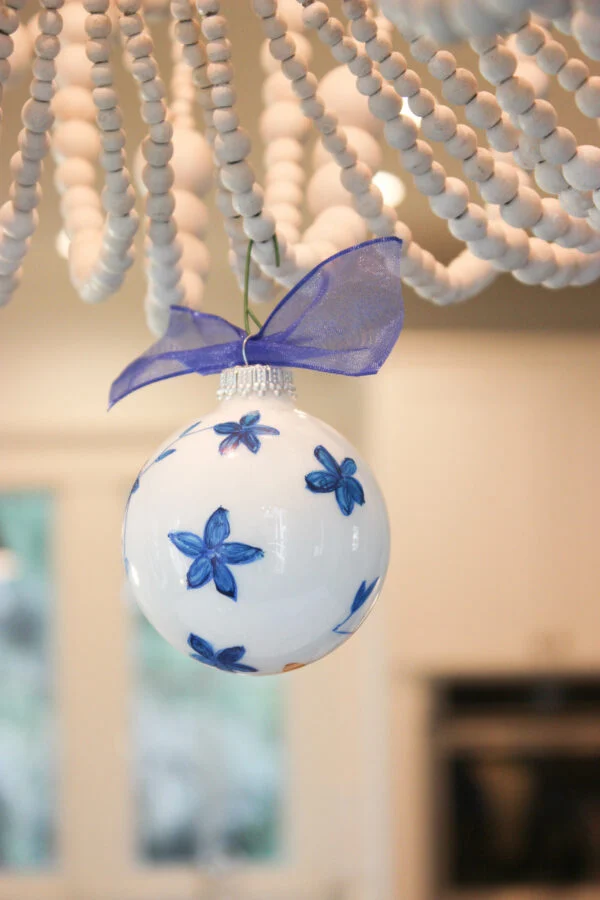
Paint painted glass ornaments
Want a Stress-Free Holiday?
Want to enjoy all the holiday season has to offer, but it all seems overwhelming? Then, join me as we enjoy a stress-free holiday season with a ton of inspiration, money-saving ideas for decorating, gift-giving, and so much more.
Join HERE! And have the best of everything this holiday.
Thank you for your visit today. I hope you found some sweet inspiration.
Merry Christmas,
Kippi
Marie B.
Friday 17th of December 2021
These beaded ornaments are so pretty, Kippi!
Thursday 16th of December 2021
Great project. Nice elements.