
Small spaces can appear larger with a few wall shelves or picture ledges to draw the eye up and add interest to a boring wall space. Since I am doing a bedroom makeover for my daughter’s small bedroom I decided I would add a floating shelf. A DIY floating wall shelf will add some much-needed storage.
Floating Shelf

Note: You might enjoy learning how to make the llama pillow and Boho style pillow sham with tassels.
Before we move onto this project I wanted to share that I am participating in a 5 week 5 project for $500 with other amazing bloggers. See their projects at the end of this post for a ton of inspiration.


WEEK 1/ WEEK 2/ WEEK3 / WEEK 4/ WEEK 5 REVEAL
How to Build Floating Shelves
Learn how to build unique floating shelves with these easy to follow steps. I asked Mr. Kippi at Home for some help on this DIY project.
Note: These plans build a (23.5″ x 6″ x 1.5″) floating shelf. However, you can build them at any size with a few adjustments.
This post contains affiliate links. This means that if you purchase from one of these links I will make a small commission, but rest assured you will not pay more for any products. As an Amazon Associate, I earn from qualifying purchases.
Gather your power tools, measuring and marking utensils:
Let’s get started building. But first writing out the cut plan. Just like when I am planning a sewing, upholstery, or window treatment project I start with a cut plan thus saving time and money from making the wrong cuts.


The Floating shelf cut plan
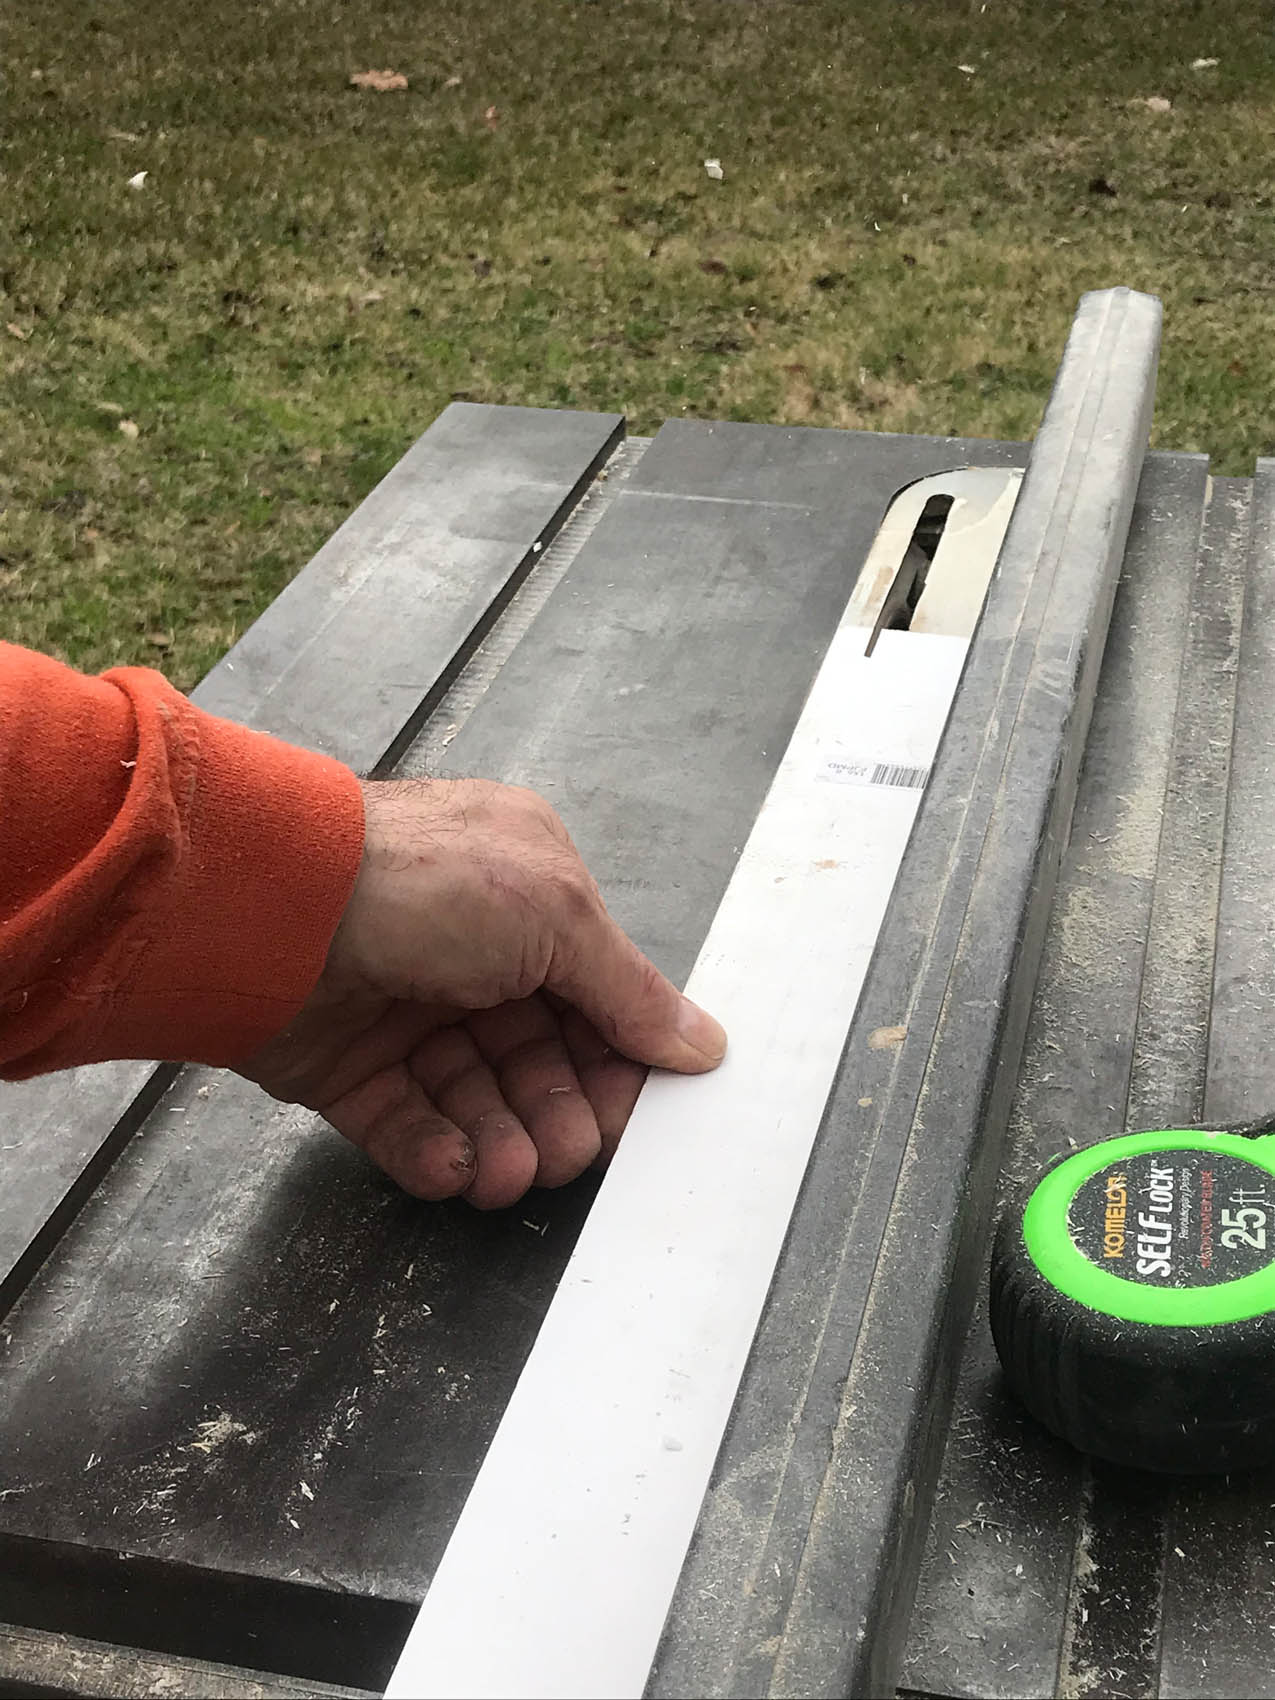
Setting the fence to 5.25″ to cut the top and bottom of the shelf out of 3/8″ plywood.


Floating shelf setting the table saw fence
Making Lumbar Cuts
Making my first cut in the plywood.


Cut the shelf top and bottom out of 3/8″ lumber
This handmade push stick was made from scrap lumber. It offers a safe way to push lumbar through the saw.
Tip: Make or purchase a push stick.


Handmade push stick
The next step is to rip 3/4″ plywood strips at 1.5″ wide.


Ripping 3/4″ plywood strips 1.5″ wide for the internal frame
Rip a pine board into 1.5″ wide x 20″ for the wall support or cleat.


Next, Ripping wall cleat to 1.5″ wide
To cut the top and bottom of the shelf to a length of 22″ from the 3/8″ plywood.


Cutting shelf top and bottom to 22″
Using a miter saw cut the internal frame to 22″.


Cutting internal frame 22″
Cut both the internal frame ends to length 3.75″.


Marking the end pieces for the internal frame


Cutting internal frame ends
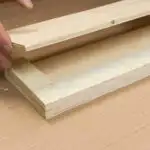
Before moving to the next cut I like to lay out the pieces to make sure that everything fits together.


Checking my lumbar cuts


Marking the wall cleat to length
Cut the floating shelf installation cleat to 18.5″.
Cutting the Trim Miters


Cutting miters for trim
Trim looks professional when mitered together, thus I decided to miter cut the outer trim pieces. Cuts are out of 1 x 2 x 6 pine board.


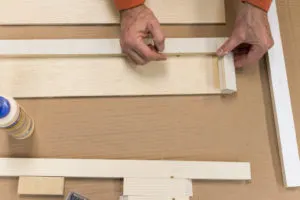
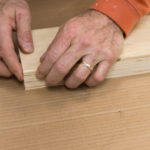
Marking the length for miter of the front trim
The shelf top was my guide to mark for the length of the trim.


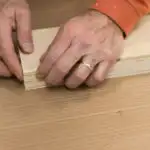
Checking miter ends for fit and length
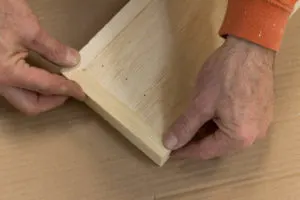
Again, I lined up all the woodcuts to be sure everything fit together.


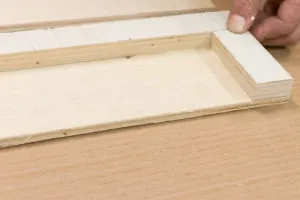
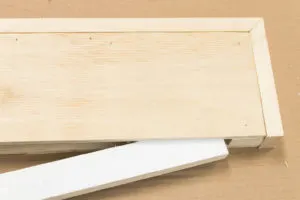
Dry fitting all the pieces together for size
Dry fitting all wall shelf pieces before assembling.
-

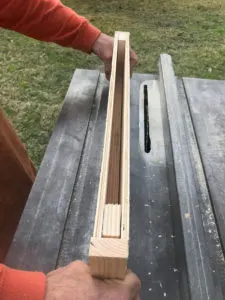
- View from the backside of the shelf
-
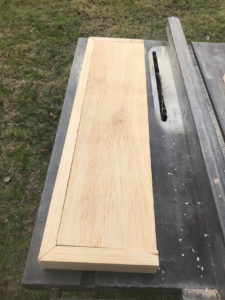

- Dry fit with all shelf pieces
Floating Shelf Assembly
Now for the assembling of our shelf.
Gather all supplies:
- Wood Glue
- Nail gun
- Nails 3/4″
- Nails 1 1/2″
- Sandpaper 100
- Sandpaper 220
- Wood filler
- Paint or stain


Assembly tool and cut lumbar
Gluing
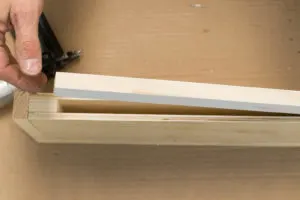
Begin assembling the shelf by gluing the internal frame to the shelf bottom panel.
-
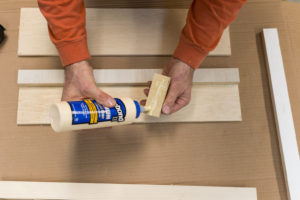

- Gluing the internal end frame
-

- Placing internal end piece in place
-

- Gluing the pieces in place on the bottom side
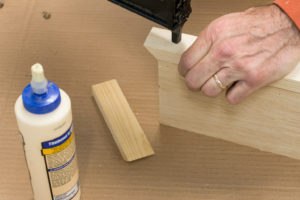
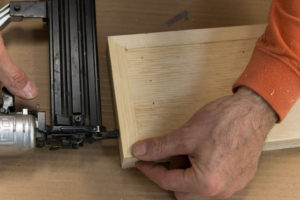
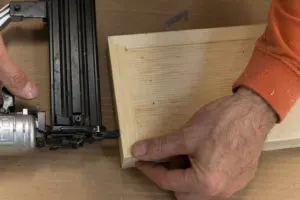
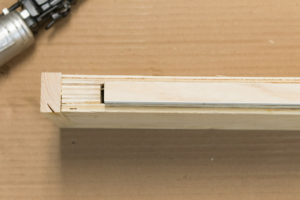
After gluing the internal frame turn over the assembly and nail (3/4″ brads) the shelf bottom to frame.


Nail glued pieces to the internal frame
Repeat the process to attach the top shelf panel.
-

- Apply glue to attach the top
-

- Place the shelf top onto the frame
-
- Align the shelf top with the internal frame
-
- Nail top of floating shelf to the internal frame
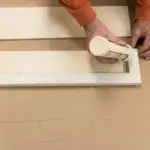
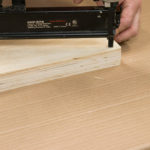
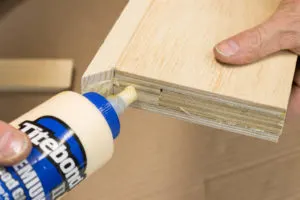
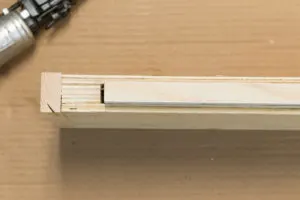
Next, glue the front edge trim to the shelf front and then nail (1.5″ brads) to hold into place.
-

- Gluing trim to the front edge
-

- Nailing the front trim to shelf
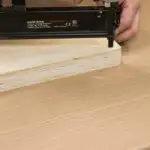
Glue the trim pieces to the ends and nail (1.5″ brads) into place.
-

- Add glue to shelf end
-
- Holding the trim into place
-
- Nailing the trim into place
Wall Cleat
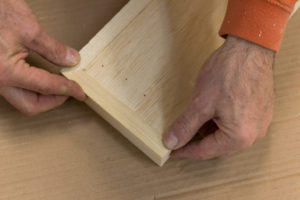
Test fit the wall cleat to be sure it fits before attaching it to the wall.
-

- Adjusting the cleat
-

- Inserting cleat
-
- Checking the cleat for fit
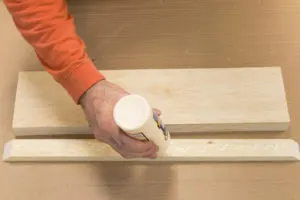
Before the installation fill in the nail holes then sand and finish as desired.
Installing Shelves
Gather tools and supplies:
The first step with the install is to find the stud with a stud finder. Next, predrill holes in the cleat (shelf supports). Install one screw on the end of the cleat and make sure it is level then screw in the rest of the screws.
Tip: At least one screw needs to be installed into a stud. The other end can be installed with a wall anchor or toggle bolts.


Installing the shelf cleat


Checking placement for floating shelf
Add a few screws to attach the floating shelf box after sliding it into position on the cleat.


Screwing floating shelf to the cleat


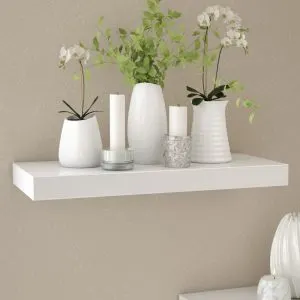
Floating shelves
These easy floating shelves or picture ledges are very inexpensive and add value and function to your home. Please PIN for later HERE.
Romantic Boho Chic Room Transformation:
The DIY floating shelf is one of the many stops on my way to making over my daughter’s Romantic Boho Chic bedroom transformation. I promise you will love everything we are doing on a tight budget with a ton of DIY’s so join us as we get swept away into a romantic Boho room transformation. Have you been dreaming of a magazine-worthy home? But don’t know where to start?
My Favorite Floating Shelf Pick
If you would like a floating shelf and you don’t have time to make one this one is perfect.
Wayfair floating shelf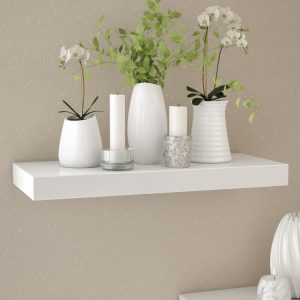
Now For More Amazing and Inspiring Makeovers:
JUDY
Monday 5th of October 2020
Love your site and am anxious to create from your tutorials. Does your husband cut all of your wood? If not, a tutorial on how to use the electric hand saw would be helpful.
Pamela
Monday 2nd of March 2020
I love how Mr. Kippi at Home helps out on some of your posts!! This floating shelf turned out perfect for that space.
Kippi
Wednesday 4th of March 2020
Thank you so much for your visit. Building easy floating shelves is a breeze and they look gorgeous too. Happy Shelf Building, Kippi
Rebecca Celhar
Thursday 27th of February 2020
Love these DIY floating wall shelves! I like that you made them longer. I feel like so many of them are too short!
Kippi
Thursday 27th of February 2020
Becca, thank you so much for stopping by. I too like longer DIY floating wall shelves. Have a wonderful week. Hugs, Kippi
Carrie @ Curly Crafty Mom
Thursday 27th of February 2020
I just adore floating shelves and it really adds so much to this room. And, what a gorgeous room this is! I love the clean palette with little pops of color and that llama pillow. :)
Carrie curlycraftymom.com
Kippi
Thursday 27th of February 2020
Carrie, thank you so much for your visit and kind comments. I really like making my own floating shelves so I can make them custom. Have a great week, Kippi