Make this easy, DIY spring wreath for your front door. The choices for artificial flowers, succulents, ribbons are endless; thus, the hard part is choosing your floral supplies. I have been swooning over those metal hoop wreaths so that I will use the metal form for my spring wreath. My new front door wreath is going to be so welcoming this spring.
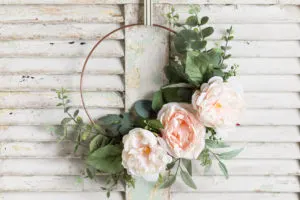
Easy Hoop Wreath
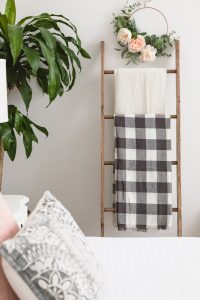

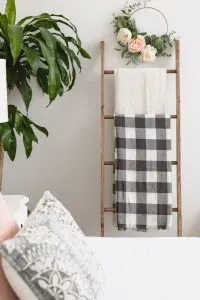

The DIY Hoop Wreath is perfect in our bedroom.
The wreath is perfect hung over our DIY Blanket Ladder you can see how to build one in this earlier post HERE.
However, the metal hoops only come in one color (gold), and that is not the color I wanted, so I decided I would give it a little color makeover with some spray paint.
Save this inspiration for later by pinning this PIN to your Pinterest board.
Spring Hoop Wreath
Spring is just around the corner, and I am ready to celebrate by making a gorgeous easy spring wreath DIY. Get started creating a masterpiece.
This post contains affiliate links. This means that if you purchase from one of these links, I will make a small commission, but rest assured, you will not pay more for any products. As an Amazon Associate, I earn from qualifying purchases.
The first step is to gather all your supplies.
🌸 You can find all my must-have craft supplies HERE.
- Spray paint
- Metal hoop wreath form
- Flower bouquet
- Eucalyptus silk
- Floral wire
- Wire cutters
- Zip tie
- Ribbon
- Glue
To spray paint the metal wreath form, I used a floral wire to hang it in a tree, making it effortless to paint.
Please join my VIP list by filling out the form below to guarantee you don’t miss any inspiration or great recipes this spring.
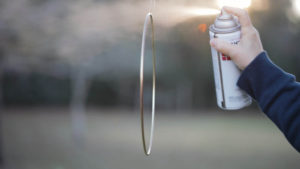

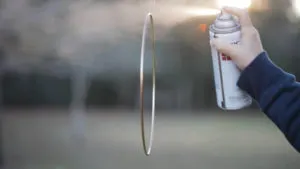

Spray painting the wreath hoop
The rose gold spray paint is perfect with the peonies and eucalyptus; by the way, I adore peonies. I created another wreath with peonies together with wood split balls, and I think you would like that one to read about one here.
Allow the paint to dry for a few hours; in the meantime, cut your floral bouquet (artificial flowers) apart.
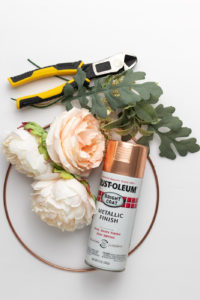

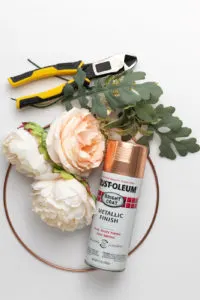

Hoop Wreath Form, flower bouquet, florist supplies, spray paint
Assembling the Wreath
The next step is to plan your wreath assembly, with attention to the center solder seam as the starting point.
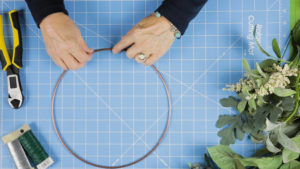

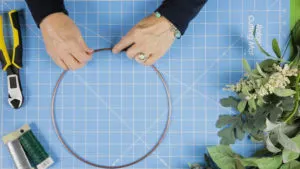

Find the center solder seam
After finding the center solder seam, start arranging the eucalyptus with the center seam’s wire ends. Furthermore, adding more greenery to both sides in a mirrored design.
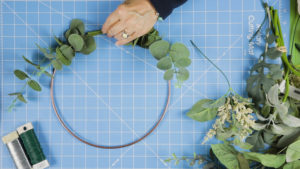

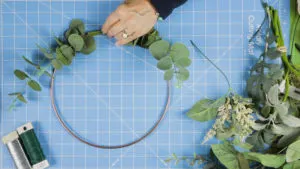

Start at the center seam adding eucalyptus and silk flowers to your floral hoop wreath
Once you are satisfied with the greenery placement, the next step is to cut a floral wire piece about 12″ long. With one hand, pinch together the greenery and use the other hand to wrap the wire around the floral ends to secure the greenery into a bundle leaving a long tail of wire for the time being.
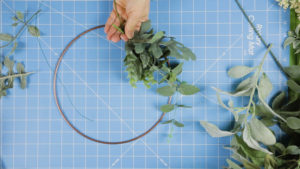

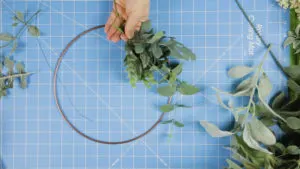

Bundling the greenery
After you have both sides of the greenery bundled, attach them to the metal hoop form on either side of the center seam. You can mix up your greenery; as a result, you achieve your own unique look. Once I was satisfied with the greenery placement, I used a zip tie on each of the greenery bundles to secure tightly.
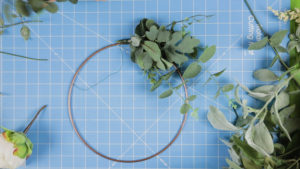

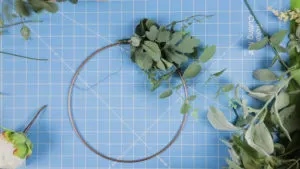

Attaching the greenery bundle with wire
Adding the Flowers
I used the floral from an artificial flower bridal bouquet; for the most part, I added green berries from another floral bush, saving money since I got both greenery and flowers in the bouquet. The easiest way to attach the flowers is with a little hot glue and wire.
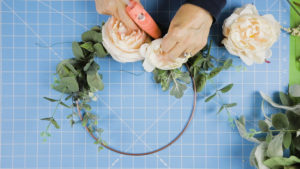

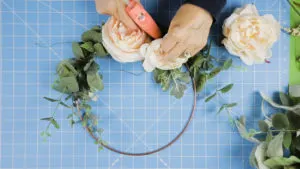

Adding peonies to the hoop form
These fluffy blush peonies are romantic and fresh, and they are the perfect complaint to the mixed greens. Just for fun, I added a cotton striped ribbon to hang my wreath.


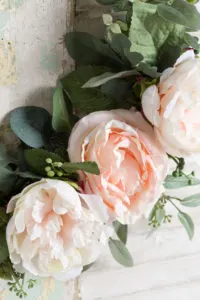

Peonies and eucalyptus
I wanted to share another photo of our bedroom makeover. If you would like to see the complete reveal, you can find that HERE. The wingback DIY headboard, bedding, and no-sew curtains are a few of our favorite projects. The hoop wreath is to the right, just past the plant hung over the blanket ladder.


Bedroom Makeover Reveal


Bed with Pillows and Handmade Tray
Some other updates were nightstands got a makeover, new flooring, a shiplap feature wall, new lighting, and replaced the old windows. Our daughter, Olivia, made the gorgeous wood and resin tray; see how she made it HERE.
You might also enjoy:
Easy DIY wood bead wreath with peonies and succulents.
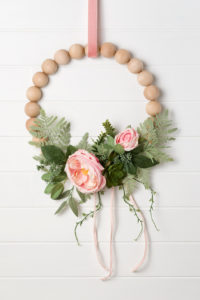

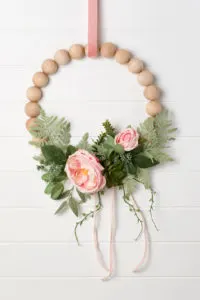

Peony and wood bead wreath
You might also enjoy the tutorial about the vintage chippy door the wreath is displayed on. I made it into a modern farmhouse chalkboard see how here.
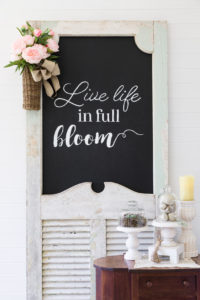

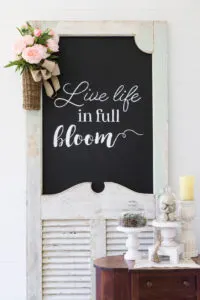

Farmhouse screen door chalkboard
I have been busy finishing my daughter’s bedroom makeover, and I wanted to invite you to join me as I craft, sew, and build my way to making over my daughter’s Romantic Boho Chic bedroom transformation. I promise you will love everything we are doing on a tight budget with a ton of DIY’s so join us as we get swept away into a romantic Boho room transformation. Have you been dreaming of a magazine-worthy home? But don’t know where to start?
Thank you so much for your visit.
See you soon,
Kippi

Alicia Hursley
Monday 18th of April 2022
Thank you so much for sharing these awesome wreaths. I can't wait to get to work making one to get my house truly spring-ready. We just finished a hardwood floor resurfacing project and instantly felt the urge to decorate our house.
Sara
Monday 3rd of January 2022
I'm swooning over YOUR wreath; turned out so pretty!
maria
Monday 3rd of January 2022
I have some old copper pipes that are in a circle shape. I would love to try with flowers like yours for a simple spring wreath. Happy New Year and thanks for your inspiration.
Marilyn
Friday 16th of April 2021
Thank you for sharing at #OverTheMoon. We appreciate your shares. They have been Tweeted Pinned. Have a lovely week. I hope to see you at next week’s party too! Please stay safe and healthy. Come party with us at Over The Moon! Catapult your content Over The Moon! @marilyn_lesniak @EclecticRedBarn
Allison
Tuesday 6th of April 2021
So elegant and you made it look so easy, that's my kind of DIY! I'm so eager to try this one soon. Thanks for sharing it!