This holiday season, I wanted to make new Christmas stockings; therefore, I needed to make a stocking pattern to use. I wanted it to be a basic stocking pattern that I could alter for more design variations. Such as adding a cuff made of fabric or fur or omit the cuff; additionally, you can embellish them any way you like. Stockings are not just for Christmas morning goodies but can be used to decorate. I love to make them, so they coordinate with my Christmas trees. They make thoughtful handmade gifts. I have a special treat for you at the end of this tutorial packed with more stocking ideas.
How to Make a Christmas Stocking with a Pattern
This tutorial is for a basic stocking that is perfect for the beginning sewer. You can see these stockings and Christmas trees loaded with my DIY ornaments in my Christmas home tour post.
Blanket ladder display

This post contains affiliate links. That means that if you purchase from one of these links, I will make a small commission, but rest assured, you will not pay more for any products. When planning a sewing project, I first like to gather all my supplies and tools.
Supplies and Tools
This project requires basic sewing knowledge and supplies.
- Sewing machine
- Pins
- Scissors
- Fabric marking pin
- Free Pattern
- Iron
- Cover buttons (optional)
- Thread
- Needle
- Safety pins
- Face fabric 1/2 yard
- Lining fabric 1/2 yard
- Craft Fuse 1 yard
- Measuring tape
- Watch the how-to video
Optional Trims and Embellishments
- Ribbon
- Pom-pom trim
- Lace
- Wooden Initials
- Name tags
- Jingle bell
Fabrics
Please note all fabrics are not the same; for this reason, I have included some considerations about different types of fabrics. Please read my considerations before selecting your fabrics. One-Way Fabric: Your fabric choices will determine how you will cut out your stocking; hence if you choose a one-way fabric print, you may need to purchase more fabric. When using a one-way pattern, do not fold your fabric before cutting, but instead cut one, flip over the pattern piece, and cut another stocking piece. Fabrics with a Nap: Fabrics with a nap such as a corduroy like the one I used for my stocking’s cuff have a nap, and you will need to be sure to cut all your fabric pieces with the nap in the same direction. Please note I used a safety pin to mark the upper left corner of my cuffs. Before cutting your fabrics, be sure to plan your cuts to conserve material. Also, I like to fold my fabric in half to ensure I have both sides of the stocking. That way, I am sure I have a front and back that face the opposite way. Fur and Faux Fur: I have used both fur and faux fur for the cuff, and they both have a nap.
Fabric Cuts:
- Cut two pattern pieces from the face fabric (remember to flip it over after cutting the first side)
- Use the pattern and cut two pieces from the lining fabric
- Cut two pattern pieces from the Craft Fuse
- Next, Cut one cuff 9.5″ by 17″ (I used a contrast fabric)
- Cut one hanger loop 5″ by 2″
- NOTE: 1/2″ seam allowances


Handmade stocking pattern and fabrics
**Before you begin this project I recommend you watch the how-to video. Print and cut out the pattern, then place it on the fabric and pin it down. Next, cut out all of the fabric pieces for the stocking, cuff, and hanger loop.
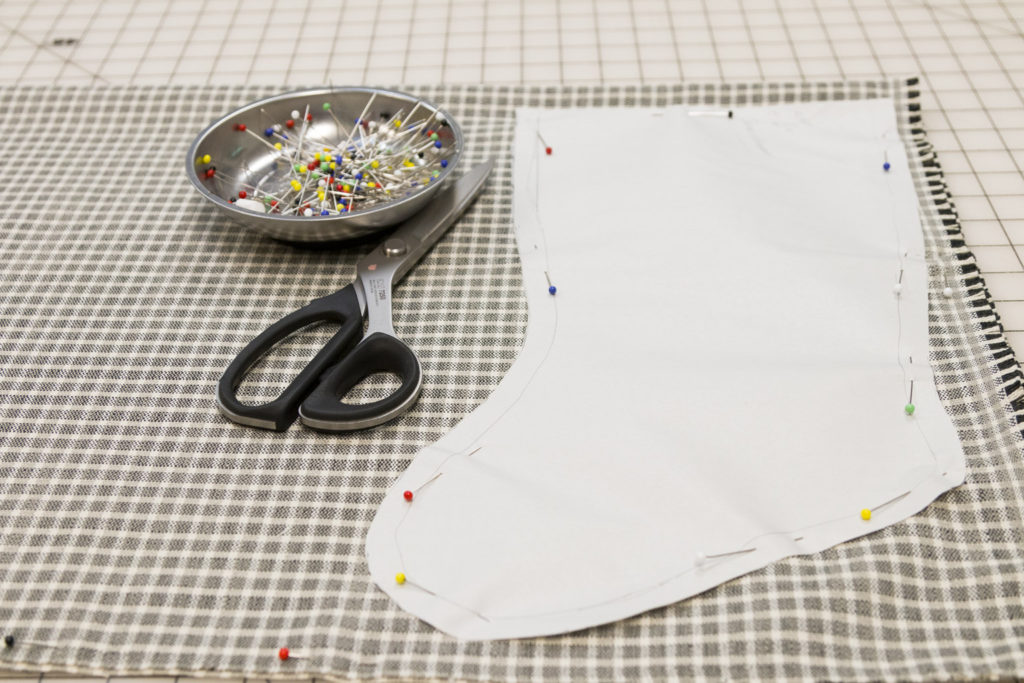
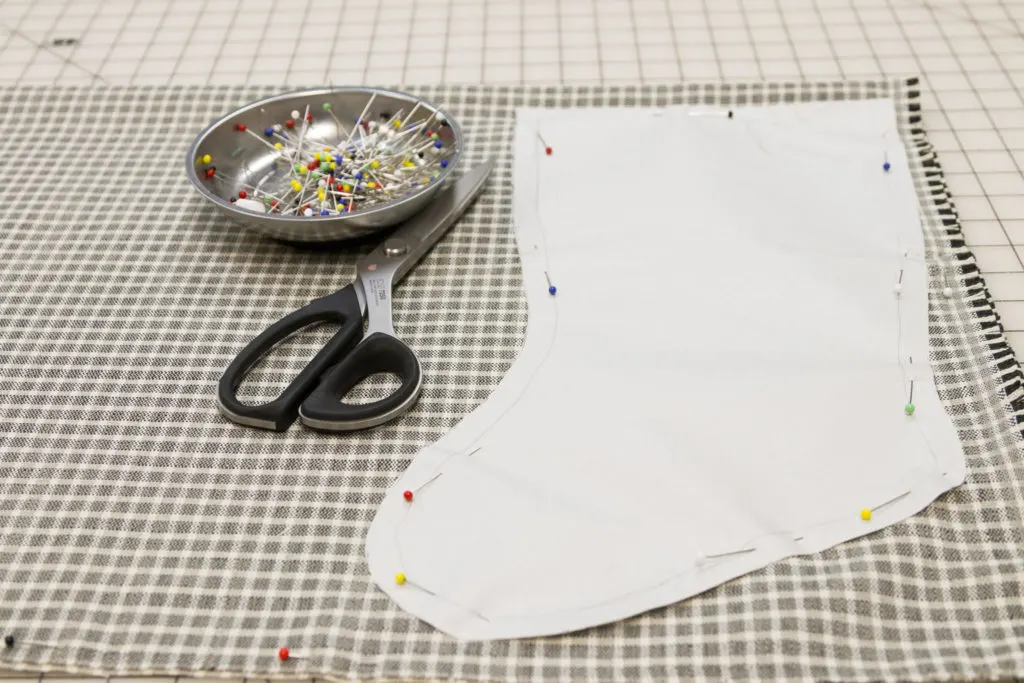
Pattern pinned to stocking plaid fabric


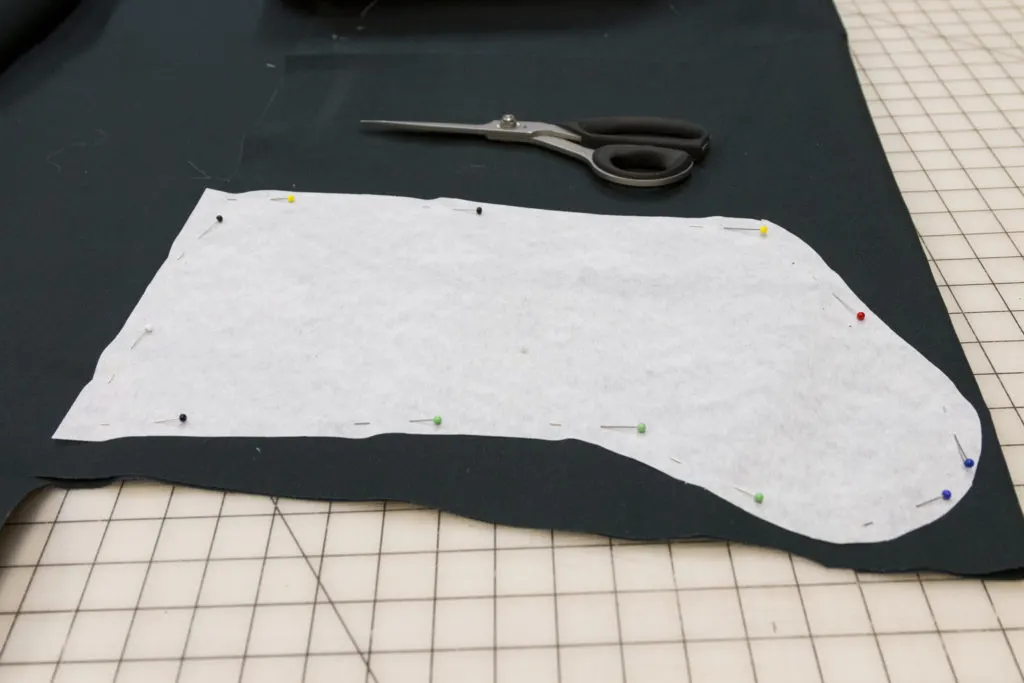
Pattern pinned to facing

Stocking pinned to the lining
After cutting out the cuff, fold the cuff over in the center of the long side with right sides together pin the short side.
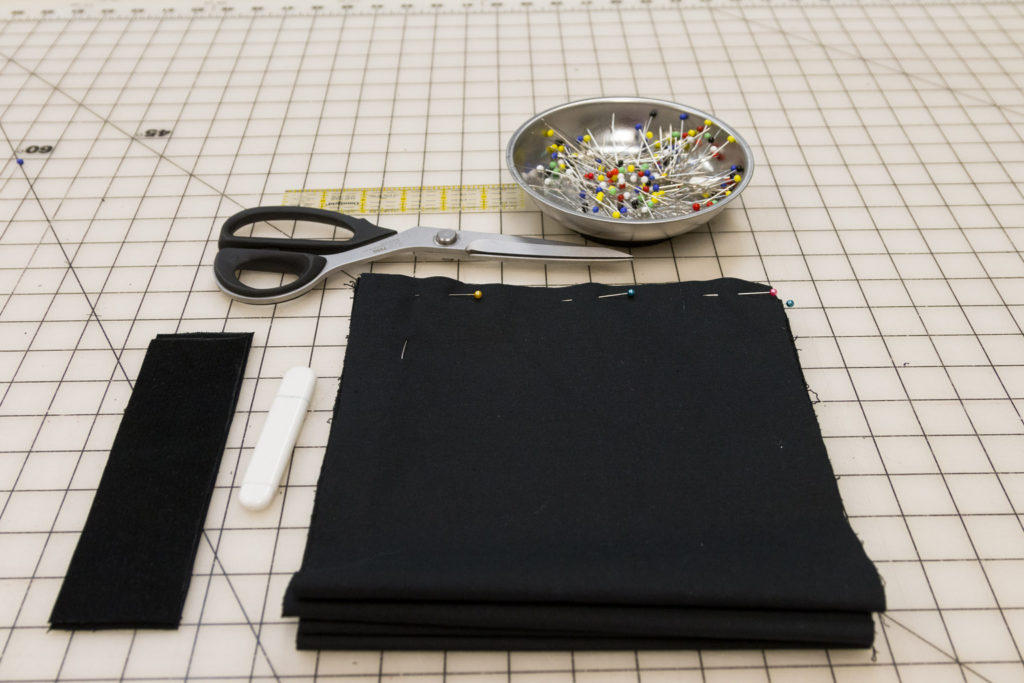

Cuffs cut out and pinned and hanging loops
Craft Fuse
Next, trim about 1/4″ around the Craft Fuse, center it, iron (fuse it to the wrong side of the lining pieces), and mark with fabric marker a 5″ opening.


Lining with Craft Fuse on top
Sewing Steps
Note: I recommend pinning everything before sewing. Pin the stocking pieces with right sides together and sew a 1/2″ seam around the pinned area (locking your stitches at the beginning and end), leaving the top open. Do the same for the lining (note leave a 5″ opening to turn).


Sewing the stocking plaid fabric
To encourage the seam to lay flat, clip the curves close to the stitching line (be careful not to cut the stitches).


Clipped curves
Sew the lining together while leaving the top open as well as the area marked in blue.


Leave an opening at the blue markings
Sewing Tips
- All seam allowances are 1/2″ unless otherwise indicated.
- After sewing, clip all curved seam allowances.
- Use thread that matches your fabric.
- Use an iron on the steam setting at the highest temperature that is safe for your fabric to fuse the craft bond to the backside of the face fabric.
- It is easier to cut out all your fabric pieces before beginning to sew.
Stocking Hangers and Cuff (Non-fur)
Iron the hanger loop in half with the right side out, turn the sides to the pressed center, press the pin, and sew again.


stocking hanger loop
Fold cuff in half with the right sides together and pin the short side.
Assembling the stocking
Fold the long side of the cuff with right sides out and pin to the stocking face fabric at the top opening and bast in place. Then add the hanger loop folded in half and stitched at the heel side of the cuff top.


Cuff pinned to face of the stocking fabric with raw edges matching
Next, slide the front of the stocking into the lining with the right sides of the fabric facing each other.


Place the stocking with right sides inside the stocking lining with right sides facing and pin in place around the opening.


Stitch the stocking top to the lining top
After you sew the stocking, turn and pull the face fabric with the cuff out of the 5″ opening in the lining, sew the five-inch opening closed.
Covered Buttons
I wanted to add self-covered buttons for embellishment; hence I cut the fabric circles out using my button-making tool.


Button covering machine
Then I placed the button and fabric circle in the machine and pulled the handle down.


Button is ready
I placed two buttons on the cuff to decide on the placement, and once I was satisfied with the arrangement, I marked the fabric. Then, I hand sewed them in place. Note: you can glue the buttons in place.


Placed the buttons on the cuff to find placement
The white chalk pencil marks are the button placement at 2″ in from the side seam and 1 1/4″ from the top and bottom of the cuff.


Marked the button placement


Finished Christmas Stockings
Once I finished all the stockings, I removed the safety pins. Next, I added a velvet ribbon to tie the Christmas stockings to the blanket ladder my husband built (that post is coming this week, so please subscribe HERE to receive it in your inbox) for stockings, quilts, and blankets. I enjoy this rustic Farmhouse blanket ladder for the Christmas stocking display, and I am looking forward to using it for cozy winter blankets and quilts.
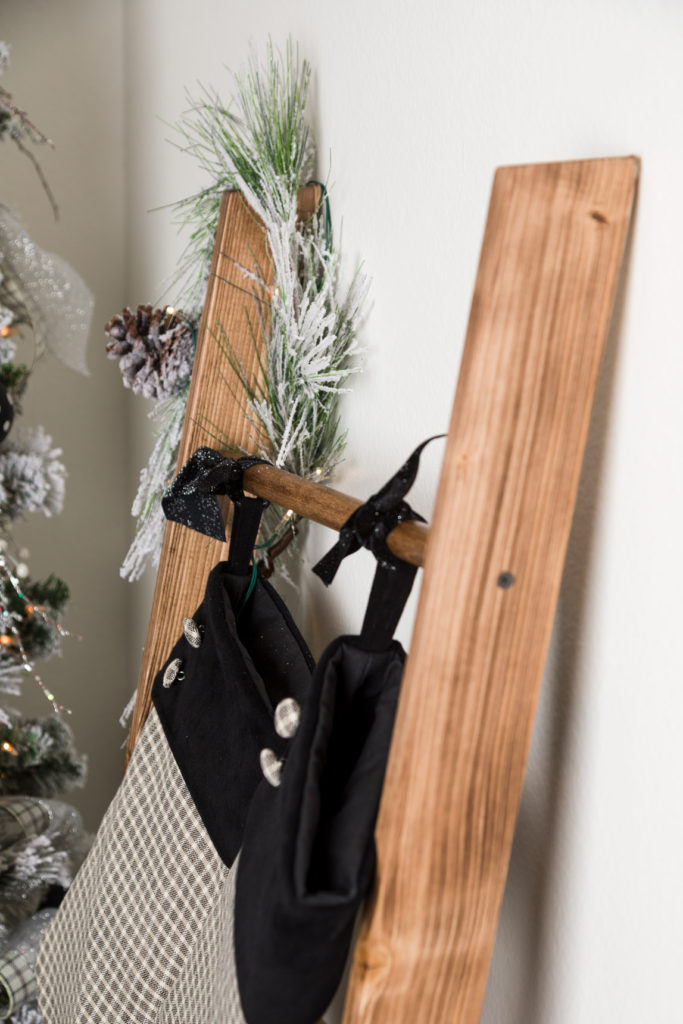

DIY display ladder


Modern Farmhouse Christmas tree, ornaments, blanket ladder, DIY Christmas Tree box
Stockings are perfect for little gifts and sweet goodies.


How to Make a Christmas Stocking
Materials
- 1/2 yard Stocking fabric (face)
- 1/2 yard Stocking lining fabric
- 1/2 yard Craft Bond
- 1/3 yard Cuff fabric
Tools
- Sewing machine
- Sewing pins
- Dressmaker scissors
- Fabric marker
- Thread
- Mini iron
- Pressing mat
- Pressing ham
Instructions
Fabric Cuts
- Cut two pattern pieces from the face fabric (remember to flip it over after cutting the first side). Use the pattern and cut two pieces from the lining fabric. Cut two pattern pieces from the Craft Fuse. Next, Cut one cuff 9.5" by 17" (I used a contrast fabric). Cut one hanger loop 5" by 2"NOTE: 1/2" seam allowances.
- Print and cut out the pattern, then place it on the fabric and pin it down. Next, cut out all of the fabric pieces for the stocking, cuff, and hanger loop.
- Stocking pinned to the lining after cutting out the cuff, fold the cuff over in the center of the long side with right sides together pin the short side.
- Next, trim about 1/4" around the Craft Fuse, center it, iron (fuse it to the wrong side of the lining pieces), and mark with fabric marker a 5" opening.
- Note: I recommend pinning everything before sewing. Pin the stocking pieces with right sides together and sew a 1/2" seam around the pinned area (locking your stitches at the beginning and end), leaving the top open. Do the same for the lining (note leave a 5" opening to turn).
- To encourage the seam to lay flat, clip the curves close to the stitching line (be careful not to cut the stitches).
- Sew the lining together while leaving the top open as well as the area marked in blue.
Video
Notes
- All seam allowances are 1/2" unless otherwise indicated.
- After sewing, clip all curved seam allowances.
- Use thread that matches your fabric.
- Use an iron on the steam setting at the highest temperature that is safe for your fabric to fuse the craft bond to the backside of the face fabric.
- It is easier to cut out all your fabric pieces before beginning to sew.
Faux Fur Stocking Cuffs
The most crucial part is cutting them from the back and only cutting the fabric or skin never cut the fur; furthermore, you might want to consider using two pieces of fabric to make the cuff. I cut a lining and the fur 5 1/2″ by 17″. Next, I pin and sew the lining to the bottom side (the long side) of the cuff, with the right sides facing each other. Then I fold the cuff in half with the right sides facing and align the seam. You should have the fur facing the fur and the lining facing the lining. Pin and sew. Next, fold the cuff in half with the fur side out and run a 1/4″ hand-basting stitch to hold the two raw edge sides together. I made these stockings from the same stocking pattern as the ones above. In addition, I used faux fur for the cuffs of the gray and white stockings.


Homemade Stockings
Personalizing
I wanted to make personalized stockings; for this reason, I added wood initials tied on with bakers twine and red velvet ribbons.


Wooden Initials


Handmade DIY Christmas stockings with Initials
I like to add DIY tags to personalize my handmade Christmas stockings. My daughter, Olivia, made this adorable tag for my stocking. You can see how she makes her tags on her blog, Olivia O’Hern.


Christmas Stocking with a DIY name tag
DIY Rustic Blanket Ladder and Stockings decorated with black and white ornaments (see how I made them in this video). I decorated the empty corner of the dining room with this pencil tree.


These stockings are a part of my holiday decorations. Therefore, they have to coordinate with my other Christmas decorations. With that in mind, I had to make two sets to coordinate with the different rooms. This idea is in contrast to the way we used our felt store-bought stockings while I was a child. Unfortunately, my name rubbed off, so my mother used fabric paint and glitter to replace my name. Everyone’s stocking looked different, but we did not care since we hung our stockings up on Christmas Eve.
Christmas Stocking Ideas
My friend Cindy from Cloches and Lavender shares how she used an old tablecloth and repurposed it to make these lovely vintage-inspired stockings.
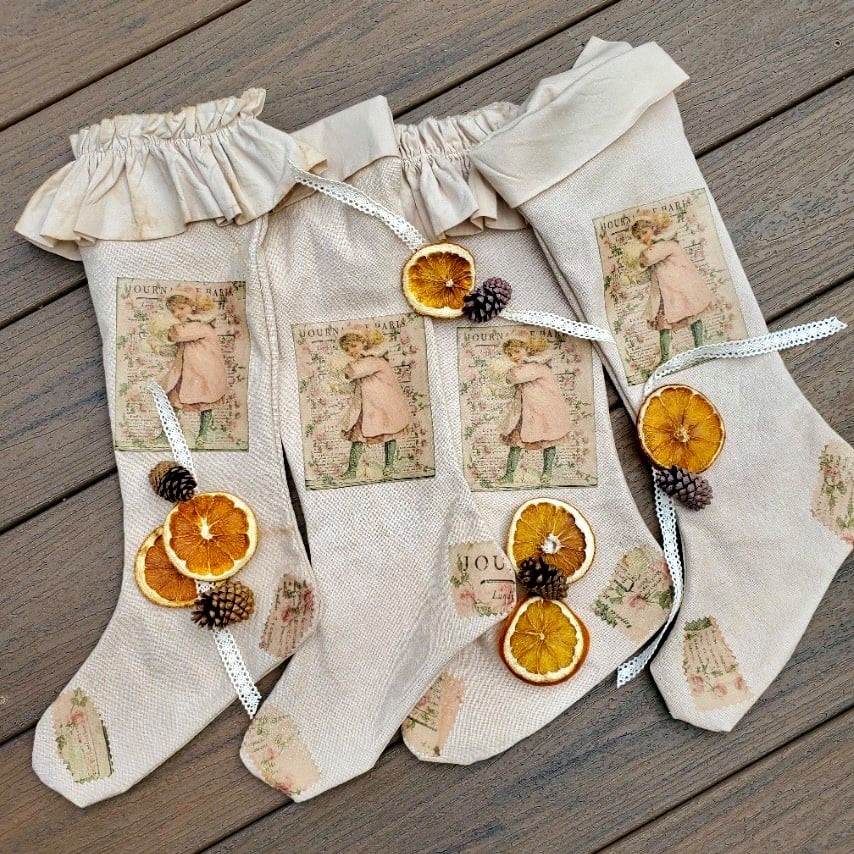
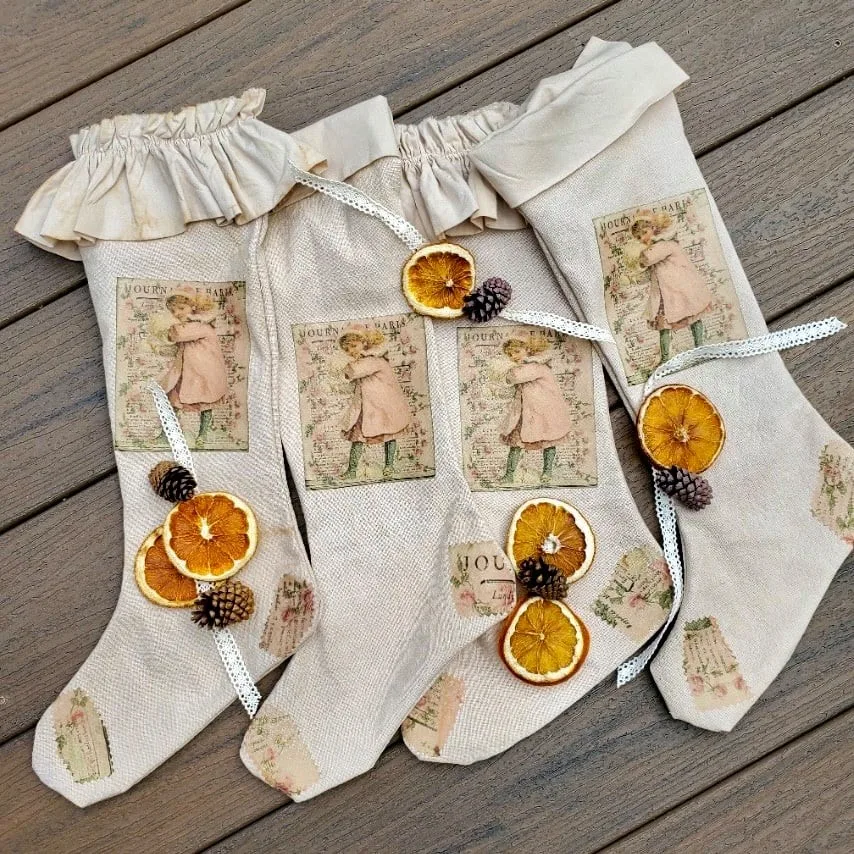
Vintage style stockings
My friend Meegan from What Meegan Makes created this antique-style stocking with layers of gorgeous boho-inspired trim and tassel.


Handmade stocking with trim and a tassel
This pretty stocking with woodland animals in a winter wonderland with a blue cuff was created by my talented friend Jayne from Chalking Up Sucess.


DIY blue and tan stocking
My friend Rebecca from Zucchini Sisters created this elegant velvet stocking with a jacquard cuff.


Velvet stocking with a jacquard cuff
Want a Stress-Free Holiday?
Want to enjoy all the holiday season has to offer but find it overwhelming? Join me for a stress-free holiday season with tons of inspiration and money-saving ideas for decorating, gift-giving, and more. Join HERE! And have the best of everything this holiday.
Merry Christmas,
Kippi
Ps. This post was shared on Between Naps on The Porch.
Margo
Monday 14th of November 2022
Can't wait to try this Stocking project, but I'm having a problem printing it. I can't make it 100% or the actual size. When I choose the "Shrink" or "fit", it doesn't line up. When I choose "actual size" or 100%" it prints blank pages because the pattern seems too large and it wants to print blank space. Is there anything I need to do to get it to print the actual size? Thank you so much, can't wait to make them.
Marie
Tuesday 12th of October 2021
Really cute! And the ladder is such a great way to hang stockings if you don't have a mantle.
Sara
Wednesday 6th of October 2021
Great tutorial Kippi! Where did you find the button making tool you used?
Marissa
Wednesday 6th of October 2021
Thank you for this pattern and tutorial. I'm a very beginner sewer, so this might be a silly question, but does the 1/2 yd of fabric make 4 stockings? I'm needing to make 5, but one is for a pet so could be smaller than the humans'. The outer fabric I'm hoping to use is a quilting cotton. Would that be okay for this pattern? Any other tips for a novice? Could I use a knit or flannel for the cuffs?
Karins Kottage
Tuesday 5th of October 2021
This is such a wonderful tutorial with amazing directions! I love the velvet on the top and the buttons! Great work Kippi!
Karin