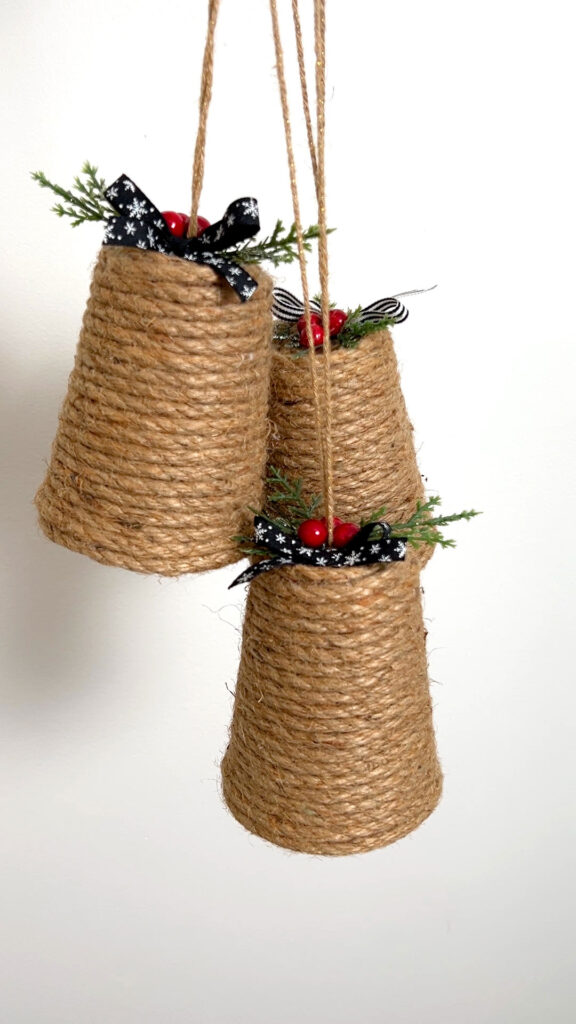
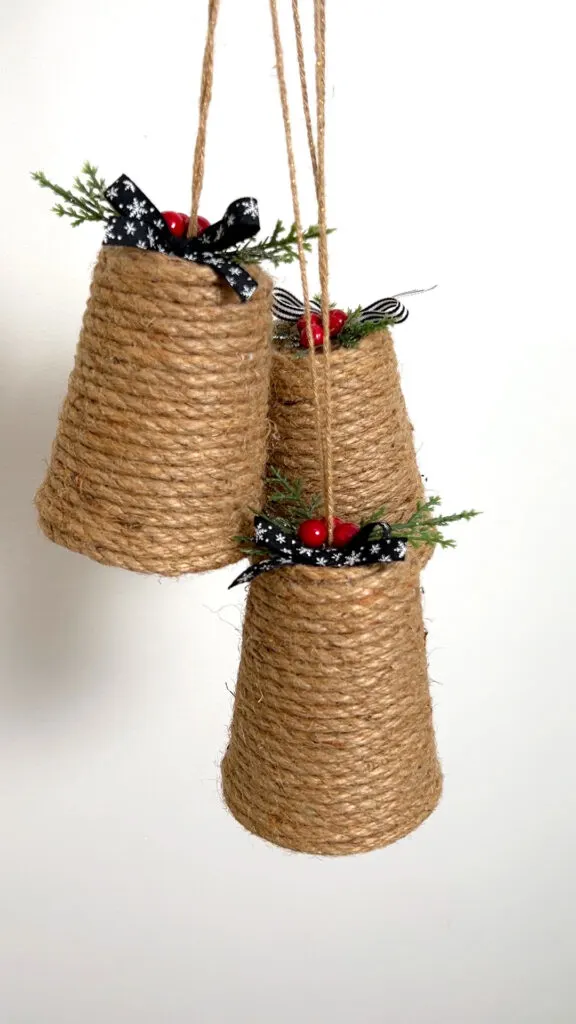
Creating DIY rope bells only takes a few minutes, and the supplies are budget-friendly. Therefore, I cannot stop making them. I think you will enjoy creating them, too.
Every Christmas, I like to use items we have created in the past and add a few new items.
This post contains affiliate links. If you purchase from one of these links, I will make a small commission.
This year, we have added bells to our decor, such as our stairway.
I saw some handmade bells on Pinterest, so I thought I would try my hand at making some.
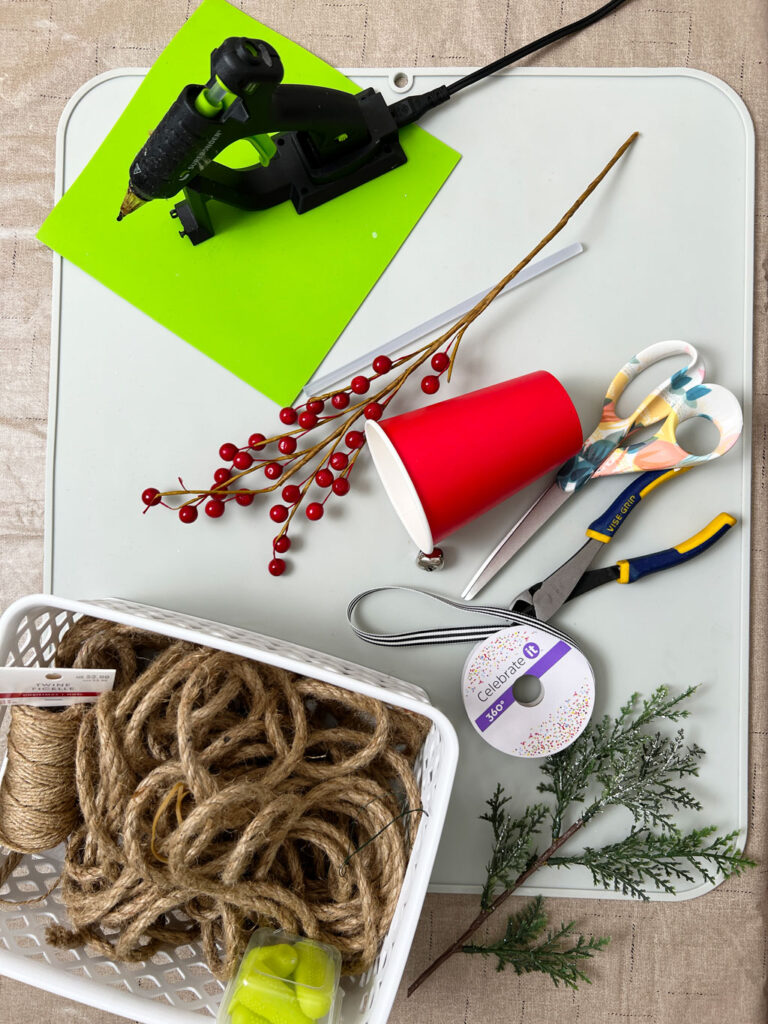

Rope Bell Supplies
- Paper cup
- Hot glue gun and glue
- Finger protectors
- Rope
- Twine
- Jingle bell
- Greenery
- Ribbon
- Berries
How to Make Rope Bells
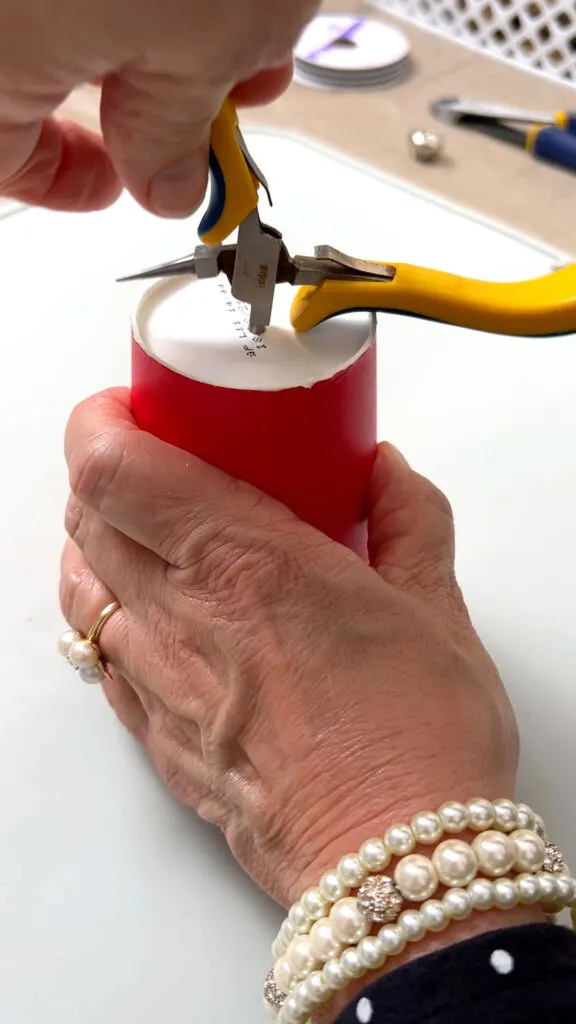
Preparing the Cup

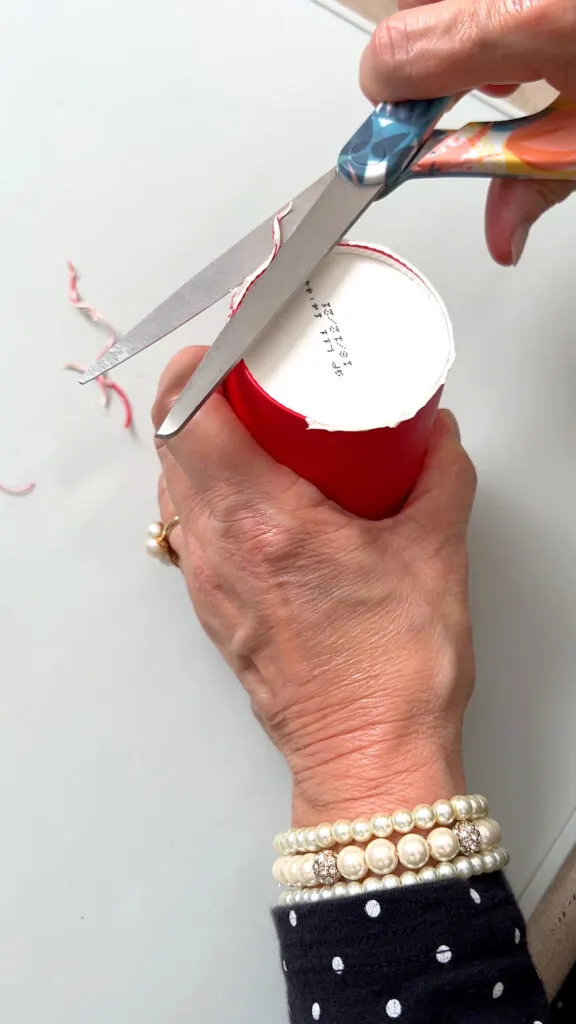
Prepare the cup by trimming a little of the bottom edge, being careful not to remove too much.
Removing part of the crimped edge will make a prettier bell.
Next, poke a hole in the center bottom of the cup for the cord hanger.

Hangers

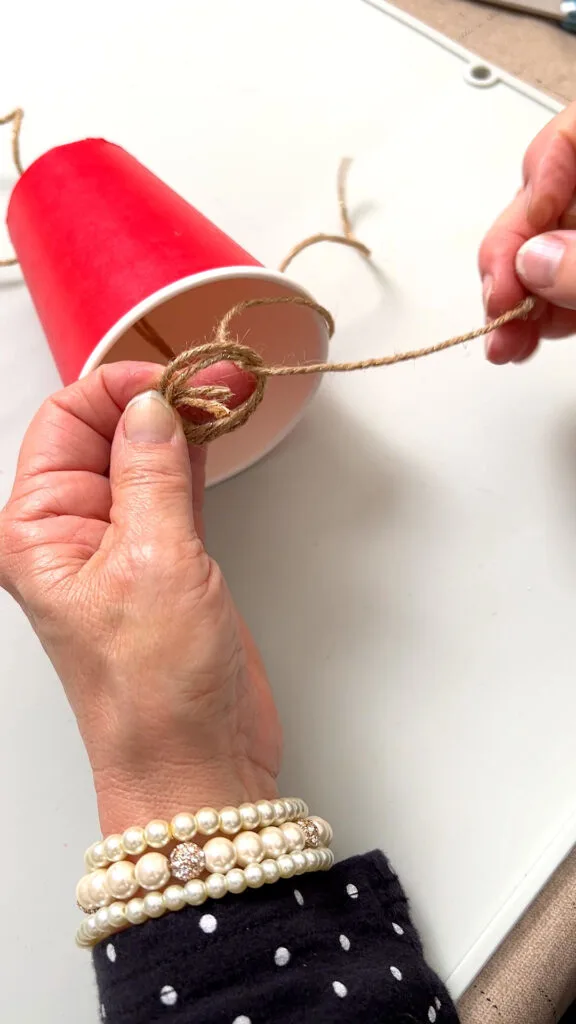
To create a hanger, you will want to form a long loop of twine or cord. Therefore, cut your hanger cord to double your final length plus 5 inches for a knot.
Next, cut 10 inches of twine for the jingle bell.
Pull the hanger cord through the hole in the cup and start to tie a knot, but before you tighten it, pull the jingle bell twine into the knot. Next, form a tight knot.
Rope

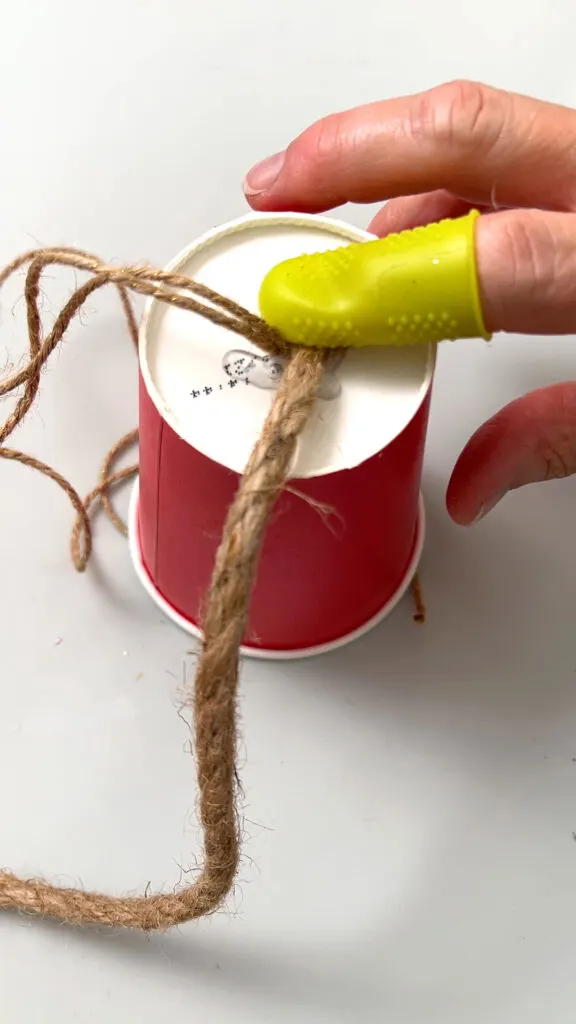
Start covering the paper cup with rope where the hanger loop comes through the bottom of the cup (now the top of the bell). Place a dot of hot glue around the hanger cord loop while holding the hanger loop up and in position.
Once the glue is set, you can begin gluing on the rope in a spiraling design. You can use your fingers covered with protectors to it hold in position until the glue is set.
After the first two or three spiral rows of rope, you will no longer need to hold it in place.


When you reach the trimmed edges, continue adding rope over the side of the cup down to the uncut edge.
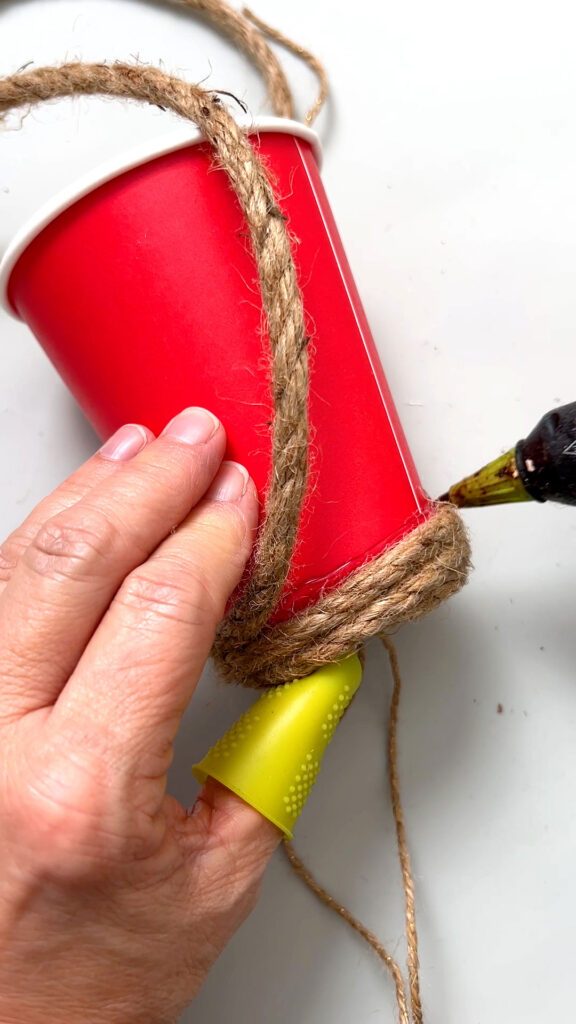

Try to cover some of the cup’s rolled edges with rope to hide the cup.
Cut the rope at an angle and glue it to the edge of the cup, holding it in place with protected fingers until it is set.
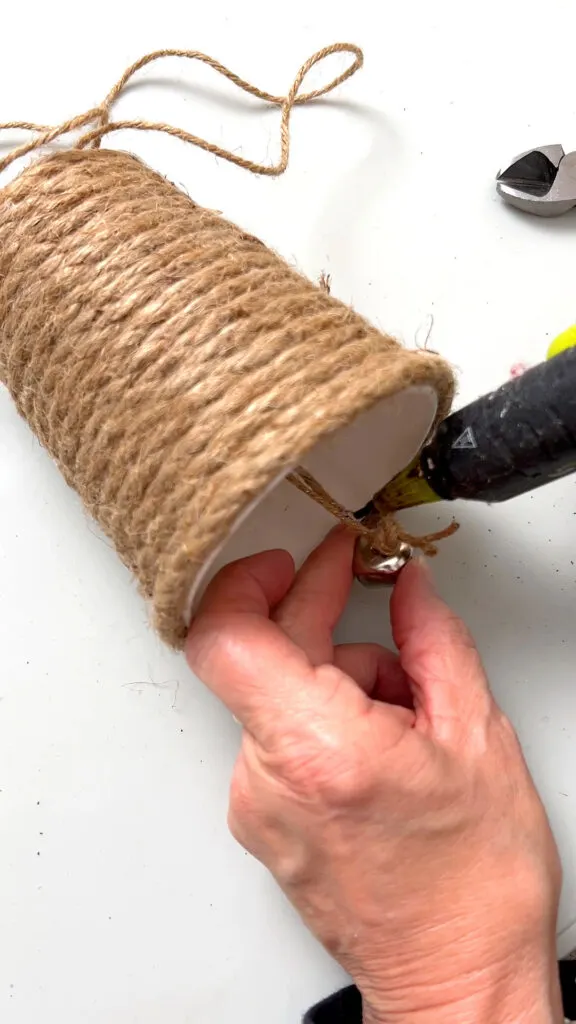
Jingle Bell
Pull the jingle bell twine out of the cup and tie a jingle bell to the twine just long enough that it is visible when the bell is hung. Glue the extra twine back up onto itself using your protected fingers to hold it in place until it is set.

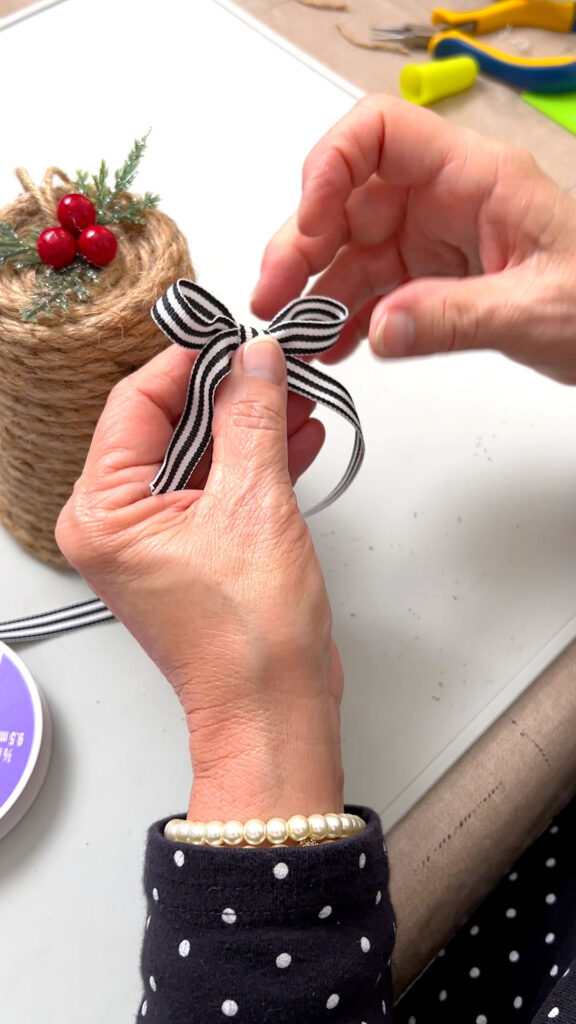
Decorating the Bell
My favorite part of this craft is decorating the bell. I used a Christmas floral pick by removing the greenery and berries and gluing them to the bell. Then I added a ribbon bow.

Want a Stress-Free Holiday?
Want to enjoy all the holiday season has to offer but find it overwhelming? Join me for a stress-free holiday season with tons of inspiration and money-saving ideas for decorating, gift-giving, and more. Join HERE! And have the best of everything this holiday.
Merry Christmas,
Kippi
Ps. This post was shared on Between Naps on The Porch.
Mason Howell
Monday 13th of April 2026
Start covering the paper cup with rope where the hanger loop comes through the bottom of the cup (now the top of the bell). Place a dot of hot glue around the hanger cord loop while holding the hanger loop up and in position.
Connie
Wednesday 13th of December 2023
Please show how to make bells from tin cans.