The recycle bin was full of jars, so I decided to use them for some DIY mason jar lights. Adding a few fun items to a recycle jar transforms it into fun lighting.
I can see the possibles for fairy lights, seasonal, outdoor, and everyday lights. These DIY jar lights are magical and super budget-friendly. They are perfect for weddings, outdoor parties, and holidays.
Why not make these lights red, white, and blue for a patriotic vibe?

DIY Mason Jar Light
Hello, if you are joining us from Olivia’s blog, welcome! Her USA DIY 4th of July decoration is adorable.
This post contains affiliate links. This means that if you purchase from one of these links, I will make a small commission. However, you can rest assured you will not pay more for any products. See my full disclosure here.
🇺🇸 For a special treat, I have added some amazing inspiration for the best 4th of July celebration ever.
How to Make Mason Jar Lights
Supplies
- Jar
- Stars (the star cut file)
- Bakers twine (I used this red one)
- Solar lights (these are the ones I used)
- Spray paint silver
- Spray paint red
- Knob
- Aqua glue (this is my FAVORITE glue)
- Napkins
- Outdoor Mod Podge
- Paintbrush
- Scissors
- Drill (optional)
You can watch the step by step video HERE
I looked around to see what I had on hand to use to make this adorable patriotic mason jar light. Since I have been crafting up a storm since the lockdown, I had everything to make the mason jar lights.
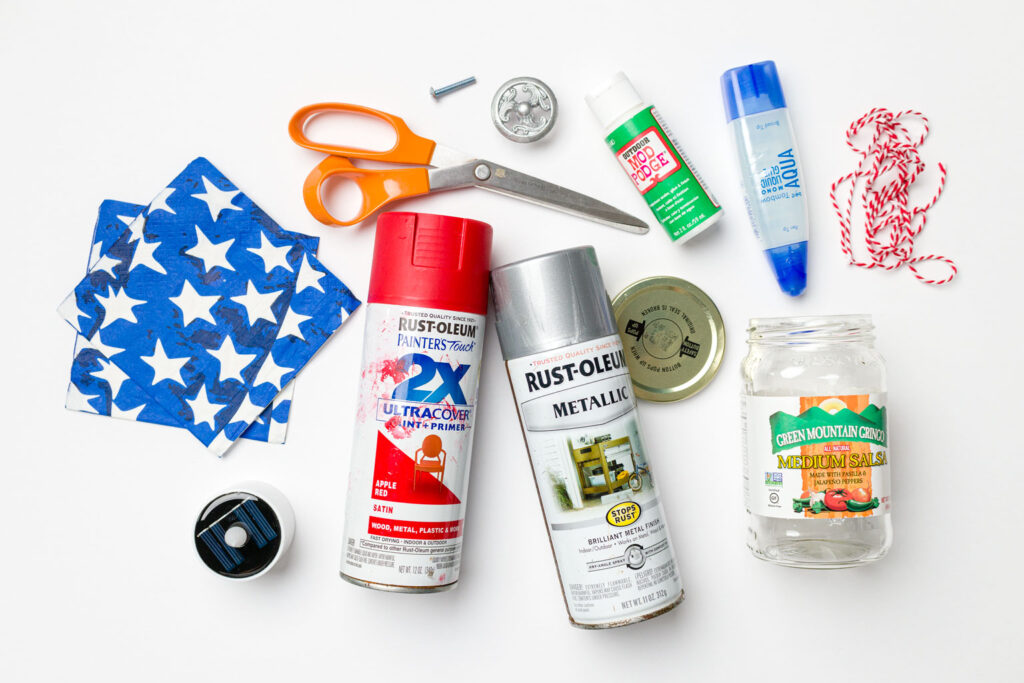

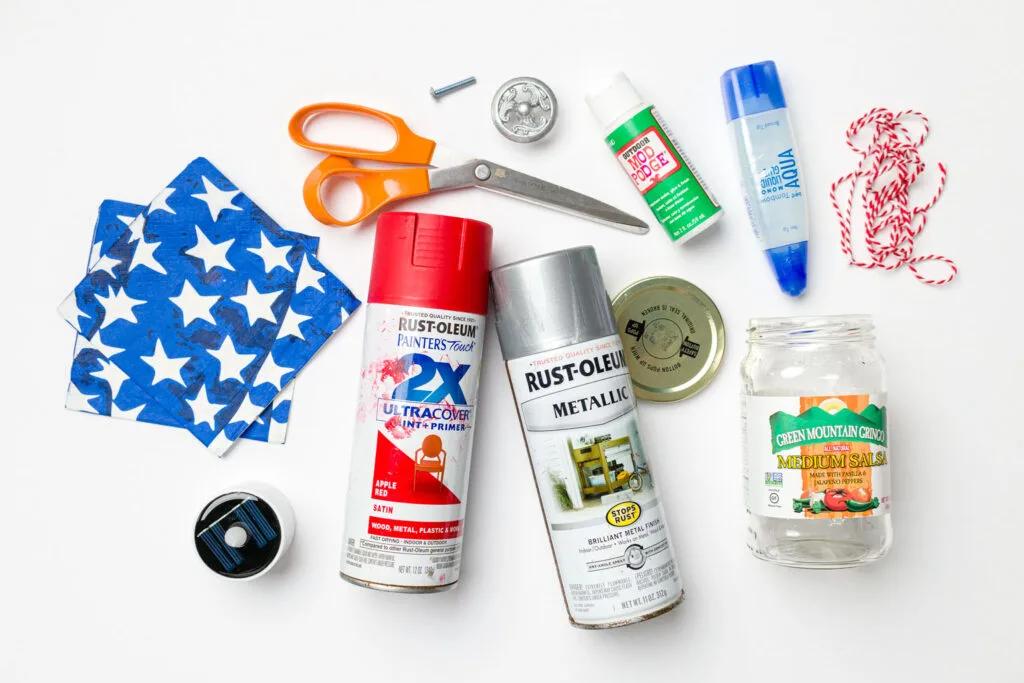

Mason Jar Light Craft Supplies
Decoupage Jar
I have learned that decoupage can easily transform almost anything. You can read my decoupage step-by-step guide for more tips and tricks for the best results.
My favorite way to decoupage is with Mod Podge. Therefore, I wanted to try out all the Mod Podge products, so I ordered this variety pack of the different types of Mod Podge. The outdoor Mod Podge was my choice for this project.
Before I began crafting my Mason jar light, I removed the label from the jar (I used this to remove the glue).
Note: For this DIY project, you can use any glass jar.
The first thing I did was remove the top layer of the napkin I used for my project. Then I cut it into pieces to make it more manageable to attach with the Mod Podge.
I like to apply the Mod Podge to a small area of the jar with a paintbrush. Then I attach the napkin pieces to the wet Mod Podge. I use a piece of plastic wrap (you can also use a plastic bag from your shopping) to smooth out any wrinkles or bubbles.
Being careful not to paint over the napkin I just applied, I paint another small area with the Mod Podge and repeat the process until I have covered the jar.
Allow drying overnight before applying another coat of Mod Podge to help protect it.
Painting Lid and Knob
The knob was a gift from a friend, but the color would not work for this project, so it needed to be painted. The jar’s lid was gold with text on it, so it had to be painted too.
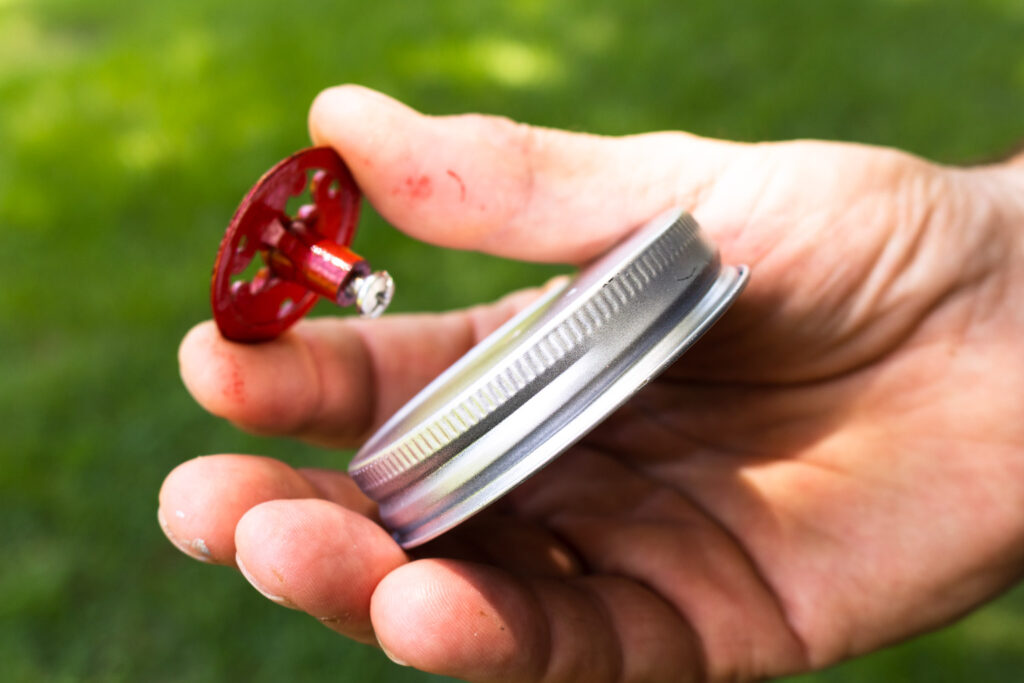

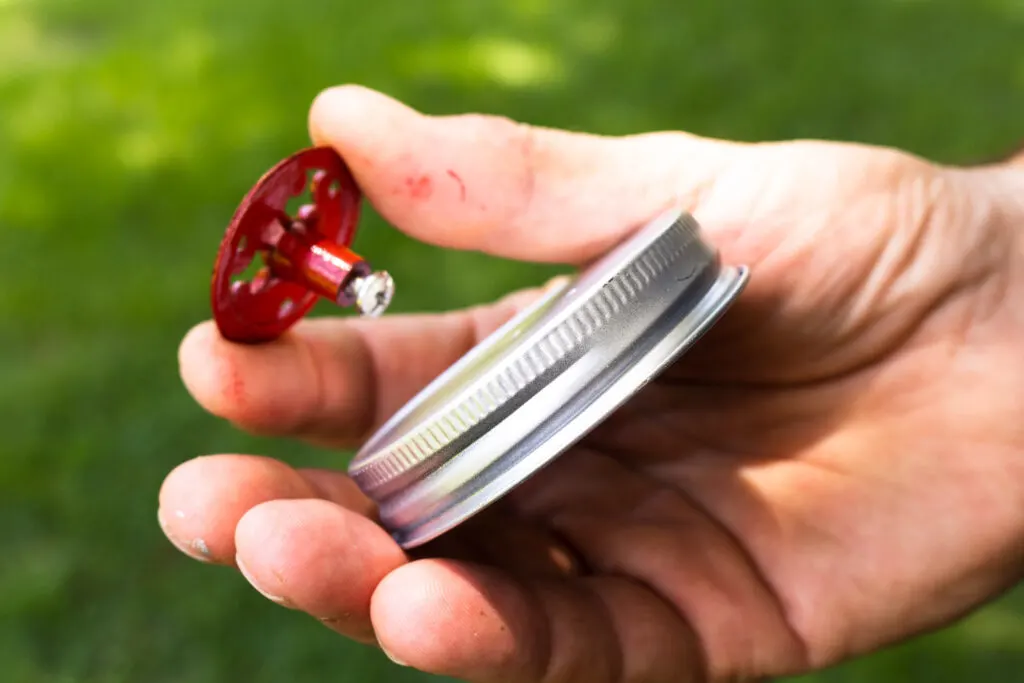

Painted Mason Jar Lid with Knob
My hubby helped me out with the first Mason jar lantern I made.
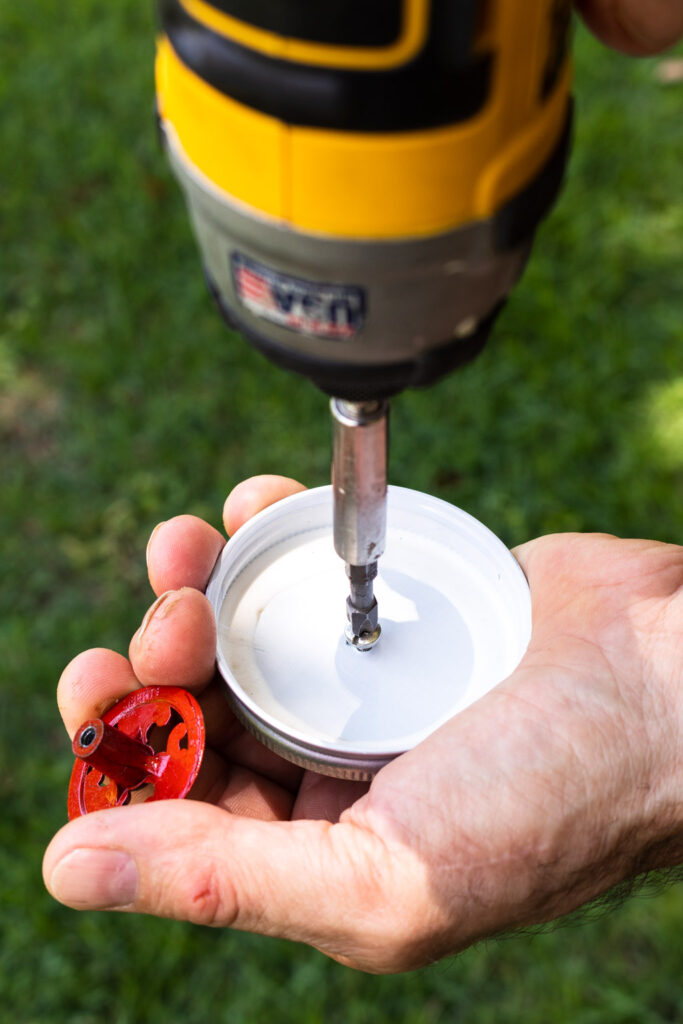

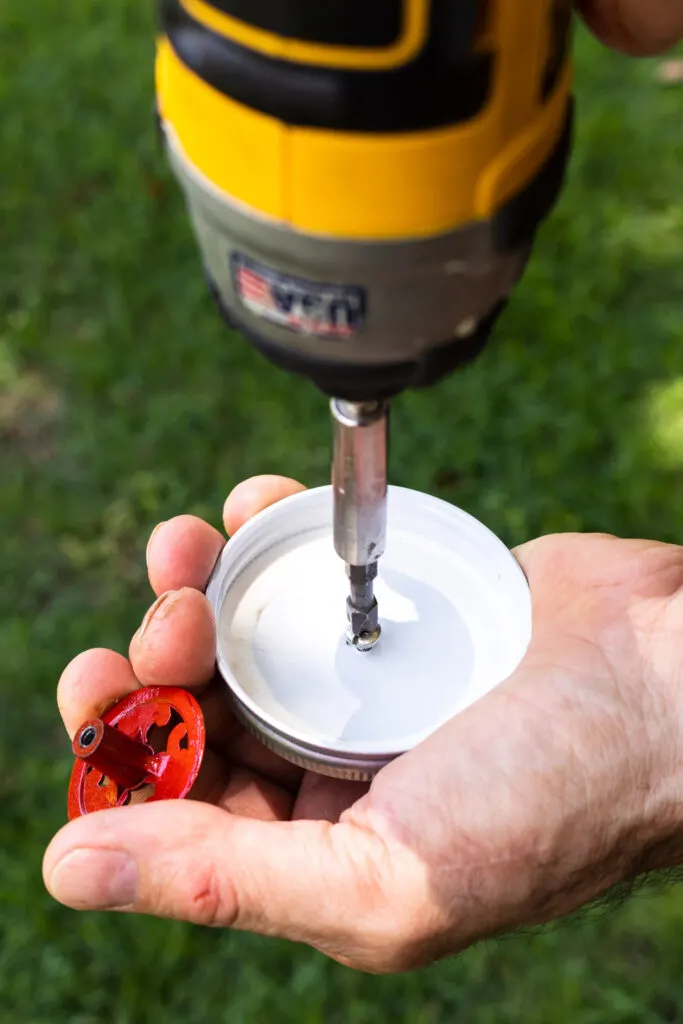

Adding the screw to attach the knob
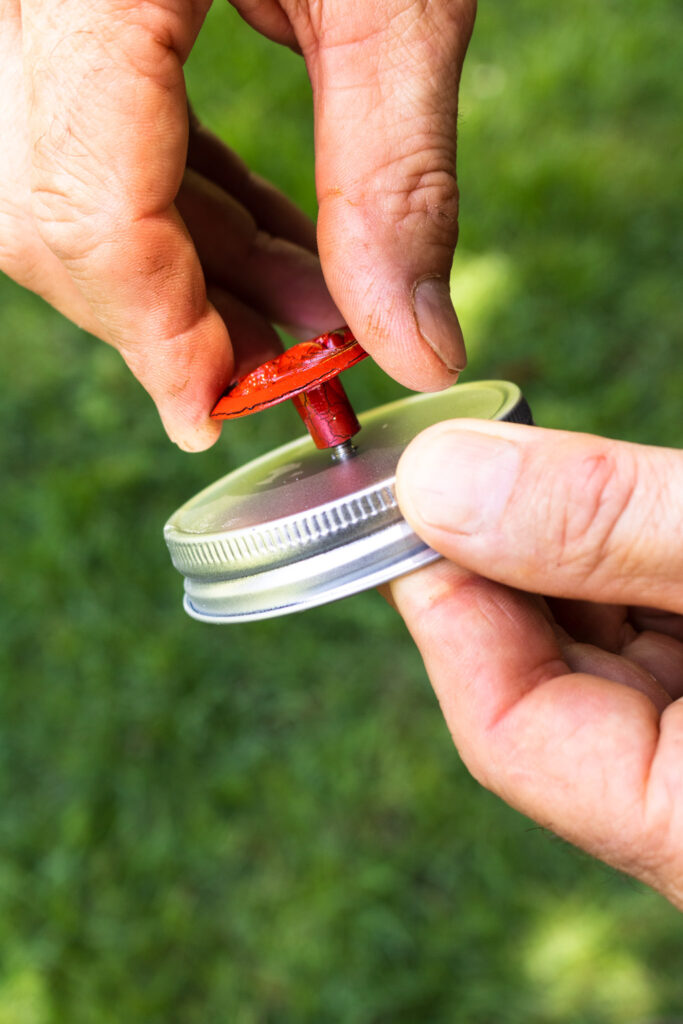

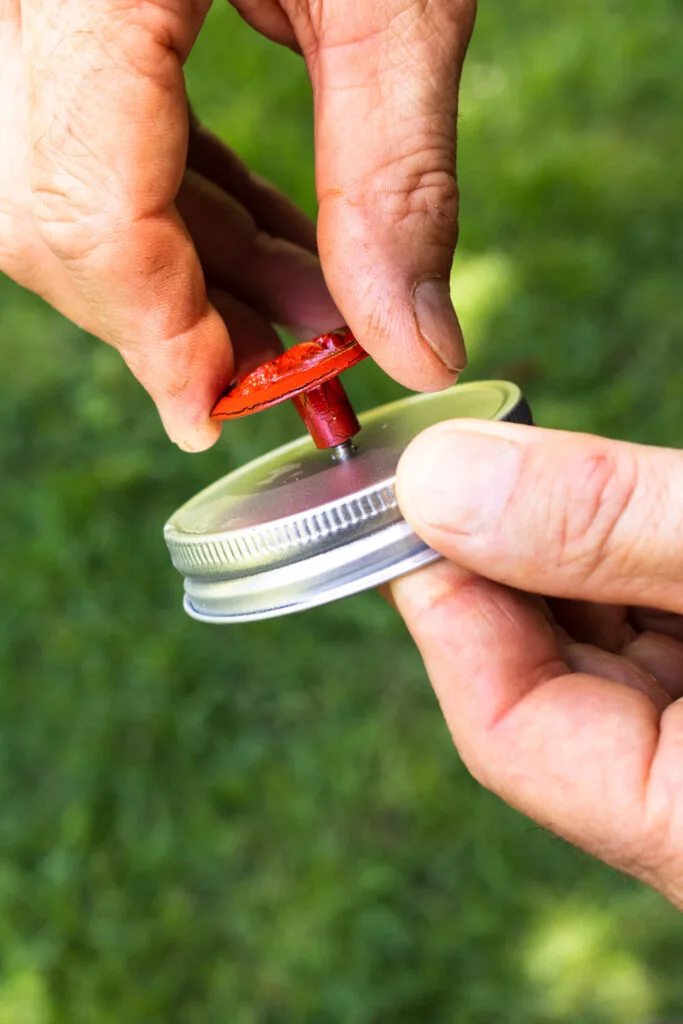

Screwing the knob on the lid
Embellishing the Jar
The jar needed some red and white stripes to give it a patriotic vibe. I wrapped some red and white baker’s twine around the neck of the jar a few times. To finish the ends of the twine, I glued paper stars I cut out of cardstock.
Download the star cut file to use with your cutting machine.
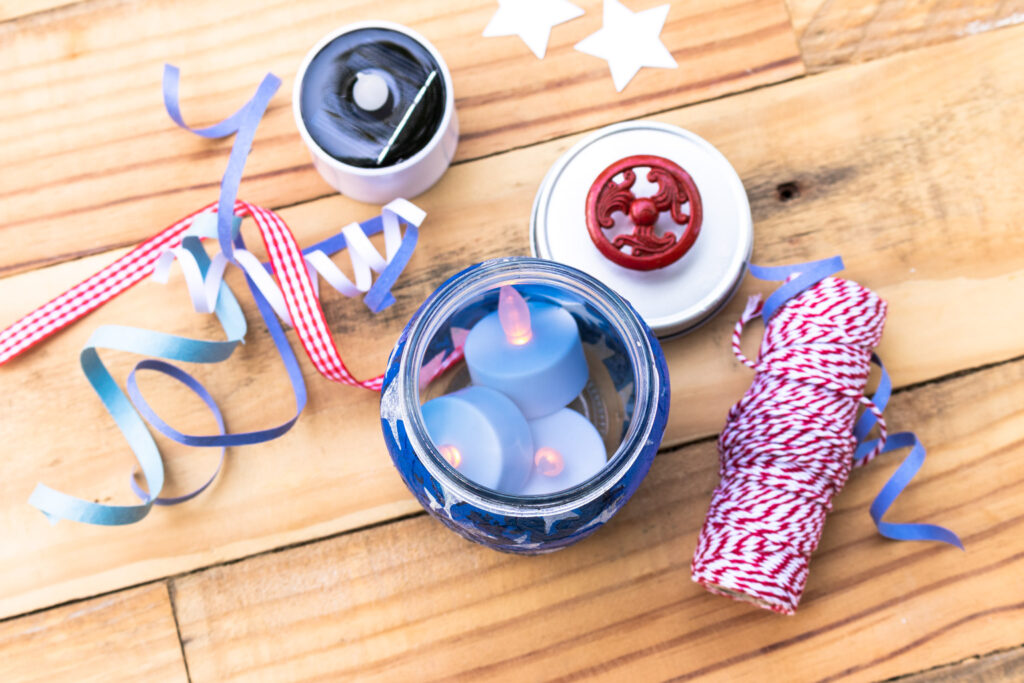

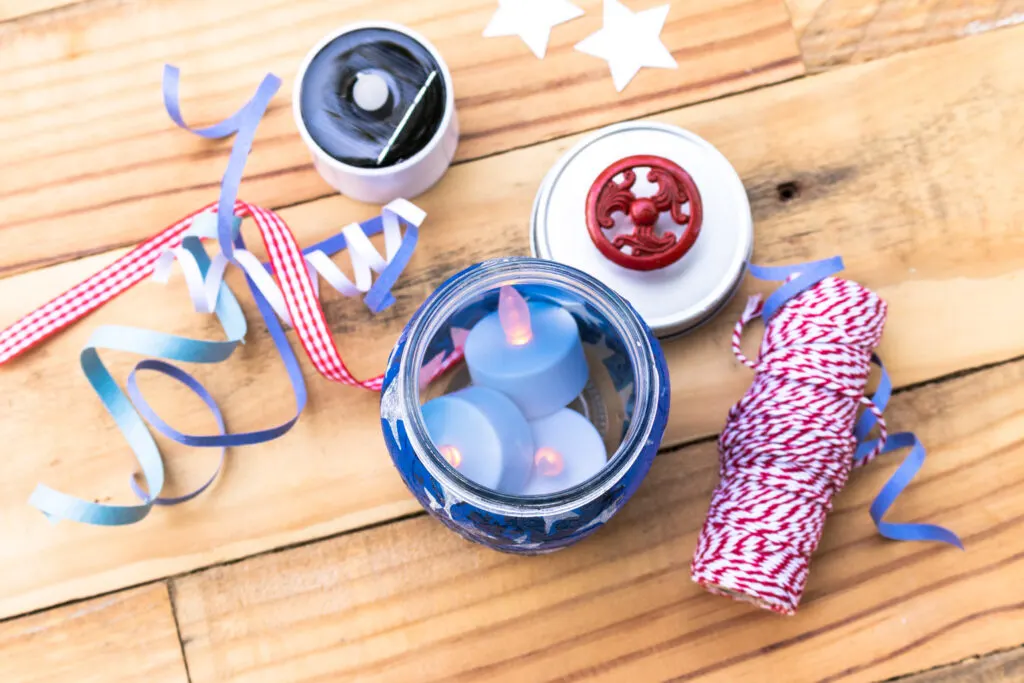

4th of July Mason Jar Lighting
More Lighting Ideas
- Solar tealights
- Solar string lights
- Battery tealights
- Wax tealights
These DIY lights are gorgeous in the garden at night. I used solar and battery tealights. Solar tealights are the best lighting source since they recharge every day and light up every night.
I made some hanging mason jar lights (you can see them HERE) a few years ago that I still use. I have used solar string lights in a jar for lighting as well.
When choosing the lights, I look for LED lights that have a warm glow.
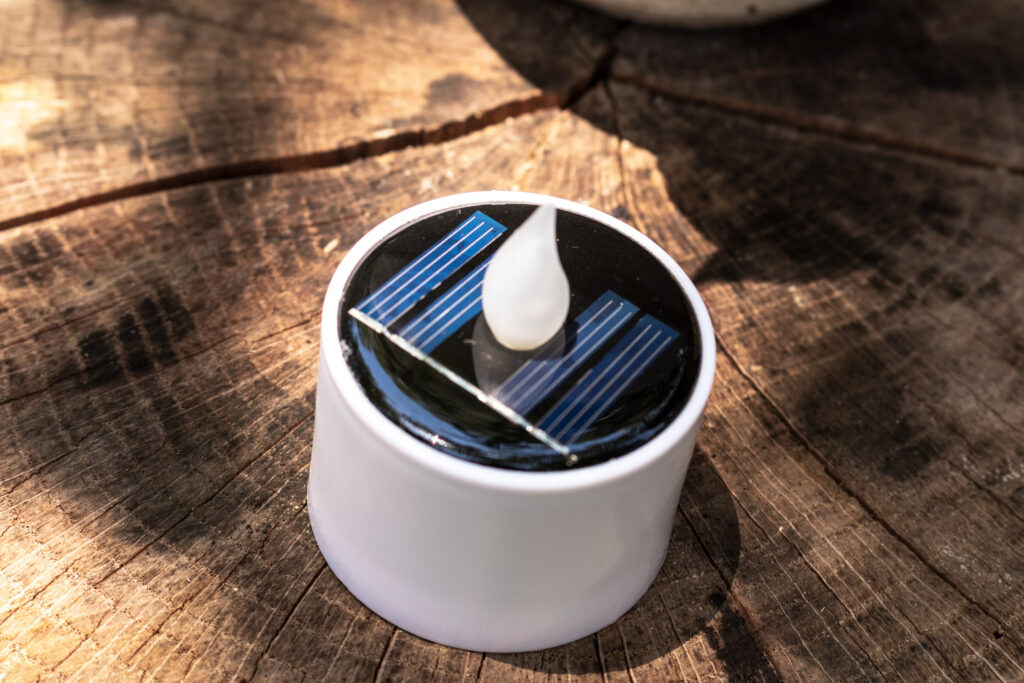

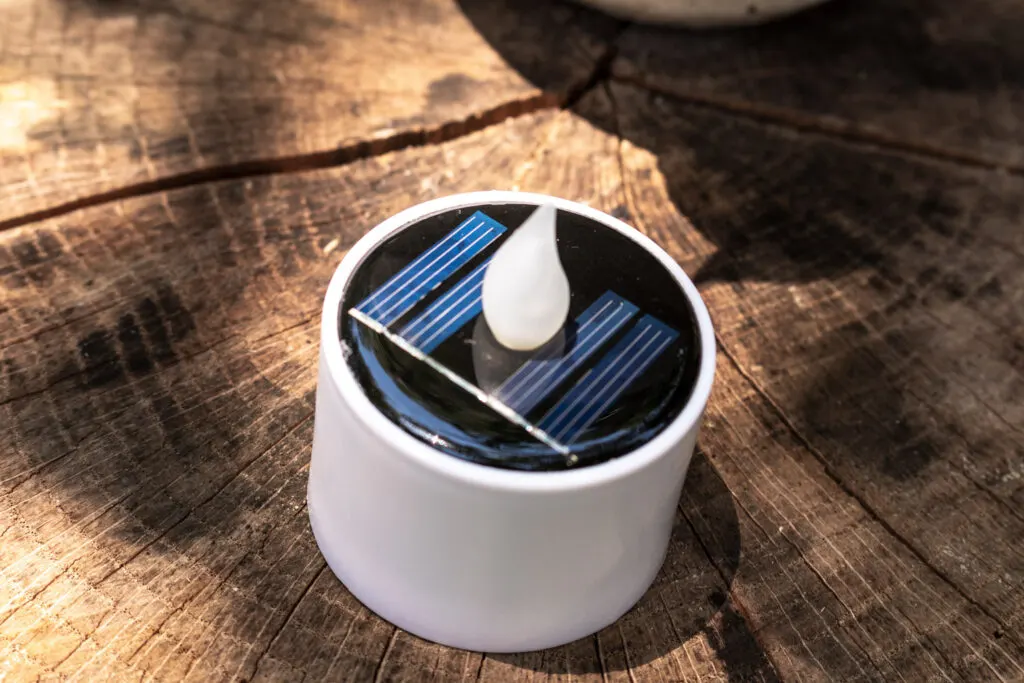

Solar tea light
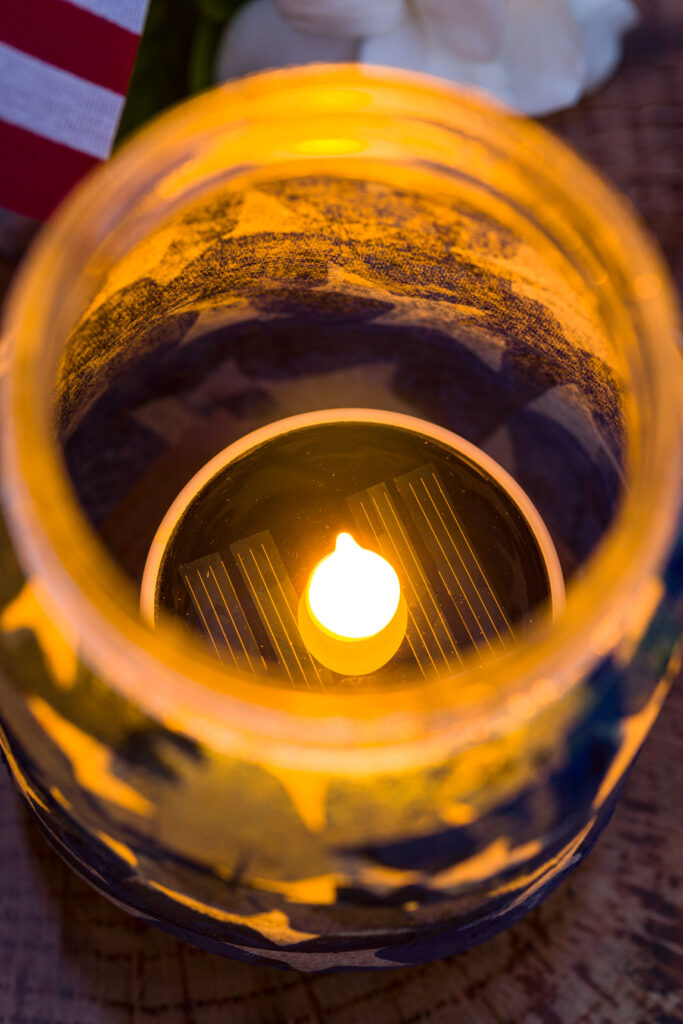

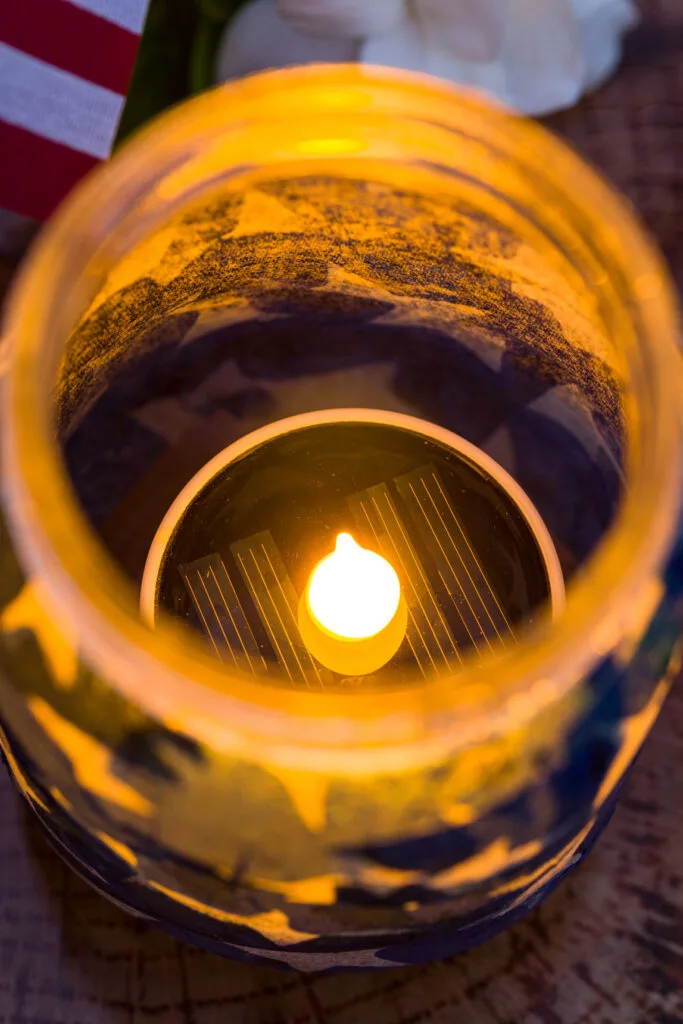

DIY Mason Jar Solar Light
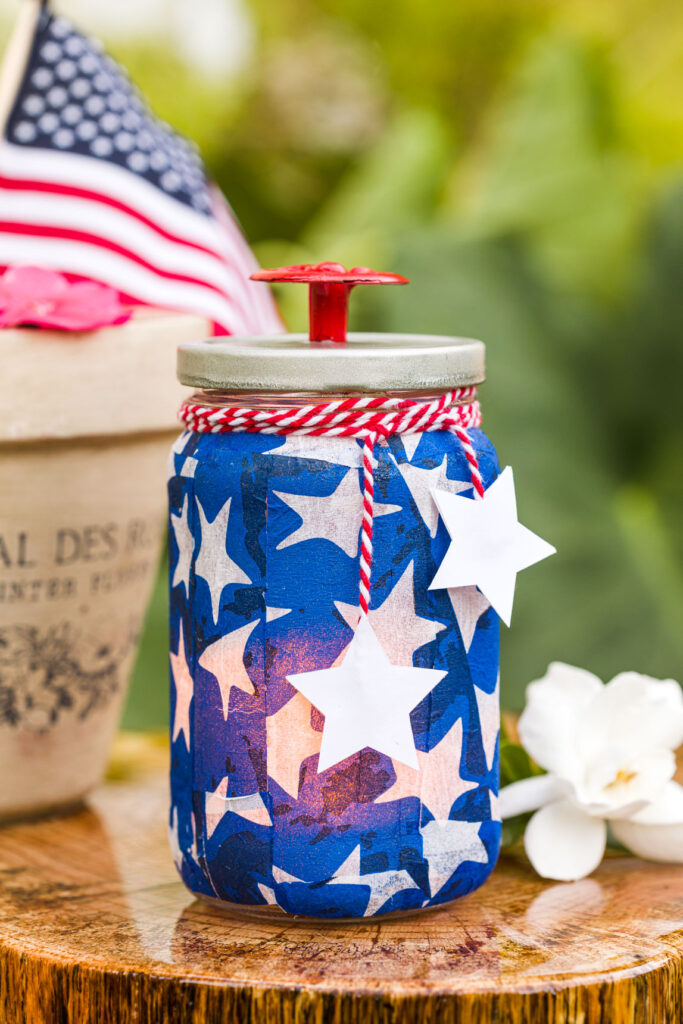

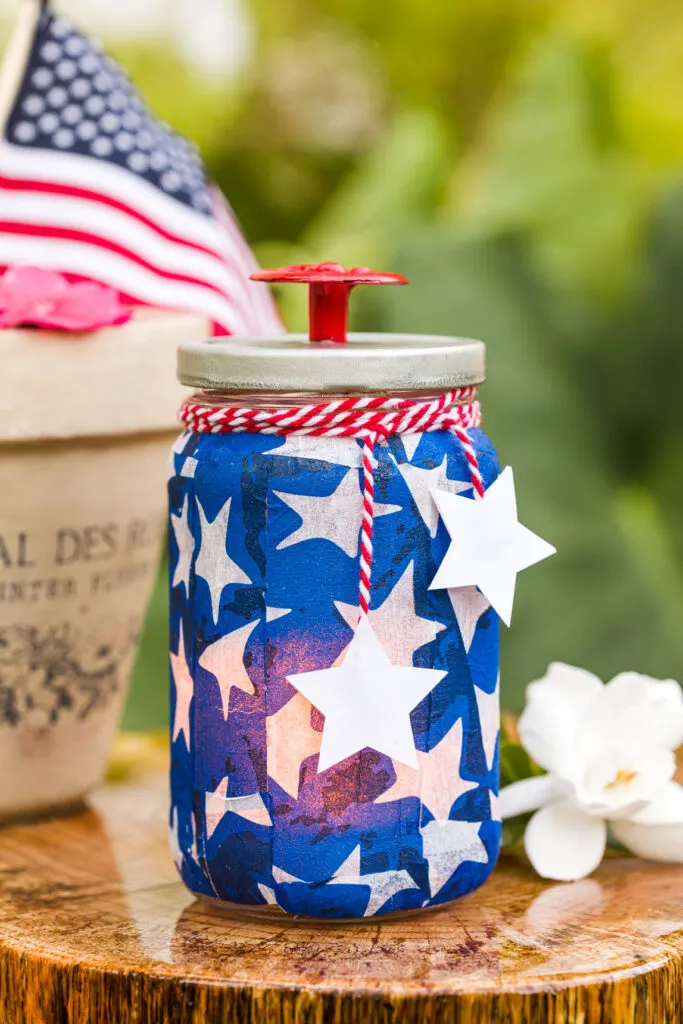

DIY jar light in the garden
You can see the warm solar candle glowing through the colored mason jar lantern.
More 4th of July Inspiration
I have gathered some favorite bloggers (yours and mine!) to bring you lots of 4th of July Inspiration. With all these amazing ideas, you are bound to walk away with tons of ideas!
Next on tour is my friend, Niky, from The House on Silverado blog. I love the way she decorated her tray for the 4th of July. It could be used anywhere to add some patriotic decor. Be sure to check it out along with all the other amazing bloggers below.


Kippi at Home // House on Silverado // Sonya Burgess // Zucchini Sisters
🇺🇸 🇺🇸 🇺🇸 🇺🇸 🇺🇸 🇺🇸 🇺🇸


My Family Thyme // A Life of Balance // From Farmhouse to Florida // Peacock Ridge Farm
🇺🇸 🇺🇸 🇺🇸 🇺🇸 🇺🇸 🇺🇸 🇺🇸


This Dear Casa // Feet Under My Table // Darling & Dapper Life // Olivia O’Hern
That was a blast!!! I hope you found a ton of amazing inspiration for your summer decorating and parties.
Want more crafting inspiration?
Please join me (HERE) as we craft up some fun. You can look forward to receiving new inspiration every week. As well as special online crafting events, seasonal and holiday crafting too.
See you soon,
Kippi 🤗
Ps. This post was shared on Between Naps on The Porch.

Anna
Friday 26th of May 2023
This is such a cute idea! I love that you added led lights to the mason jar!
Olivia O'Hern
Thursday 27th of May 2021
These lanterns are so cute! Such a great way to use up some extra seasonal napkins. Thanks for sharing.
Rachelle
Wednesday 26th of May 2021
All I need is some star napkins and those solar lights and I'm all set! Thanks for the inspiration and fun hop tour :)
Beth
Wednesday 26th of May 2021
The fancy red knob and star garland really make this lantern unique!! I’d love for you to join us over at our Crafty Linky Party every Wednesday through Sunday https://creativelybeth.com/creative-crafts-linky-party-43/ Followed and Pinned! 🙂 Creatively, Beth
Ann
Sunday 23rd of May 2021
Did you put the napkins on the inside or outside of the jar? Thanks for the idea- very cute!