Since spring has sprung, I wanted to plant a ton of flower seeds to brighten the yard, porches, and my home. That means it is time to paint terracotta pots for my flower seeds.
If you have been following my creative adventures, then you know I love a DIY project! I chose to use clay pots since they are inexpensive and super easy to paint. I am still enjoying the flower pot I painted and added a stencil and my spring flower pots. This new one will be enjoyed for years to come.
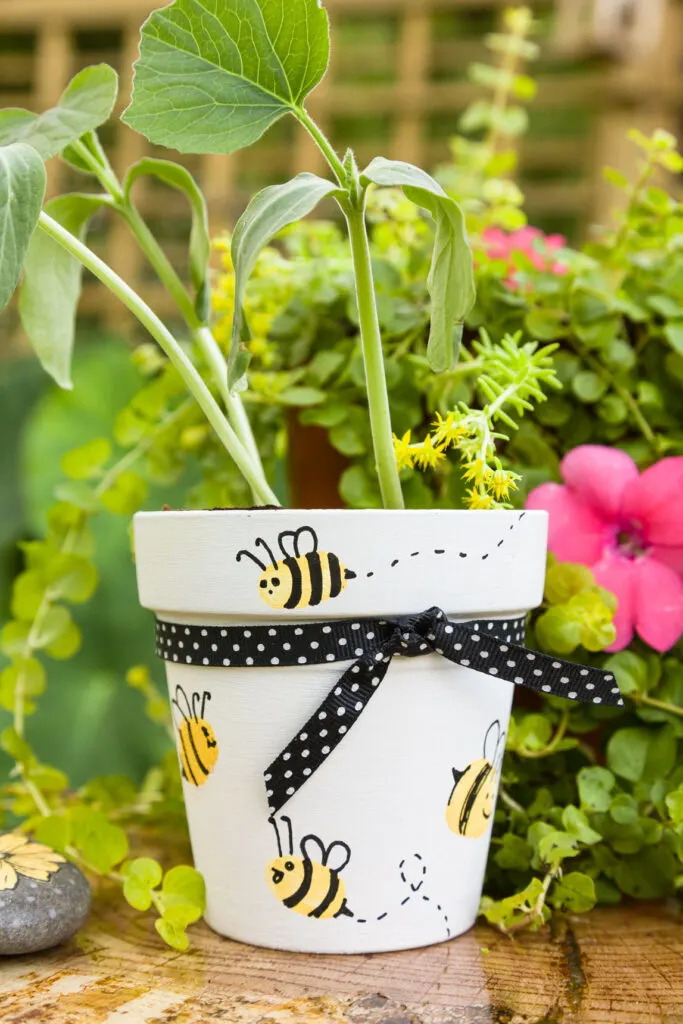
DIY Painted Flower Pot
This post contains affiliate links. This means that if you purchase from one of these links, I will make a small commission. However, you can rest assured you will not pay more for any products.
Flower Pot Painting
My inspiration for my flower pot design was from a thumbprint counting booklet my daughter made in pre-school years ago. The cheery little bees would be perfect on my handpainted terracotta pots.
After gathering just a few simple items, I was ready to transform my terracotta pot with paint.
Supplies
- Chalk paint white
- Chalk paint yellow
- Plant pots (terracotta, clay)
- Marker (this is the one I used)
- Paintbrush or foam brush
- Polka dot ribbon
- Sealer Mod Podge or spray sealer
You can see us painting the pot and some bees during a Facebook live (HERE). We will be crafting live on Facebook at least two times every week this summer, so please join us. If you would like a supply list and a reminder sent straight to your inbox, please fill out THIS form. I cannot wait to meet you.
Gather supplies and Prepare your Pots for Painting
Since we used a new terracotta pot, we did not need to clean it before painting. However, if your clay pot is dusty or dirty, you can use a brush and water to clean it. Allow it to dry before painting completely.


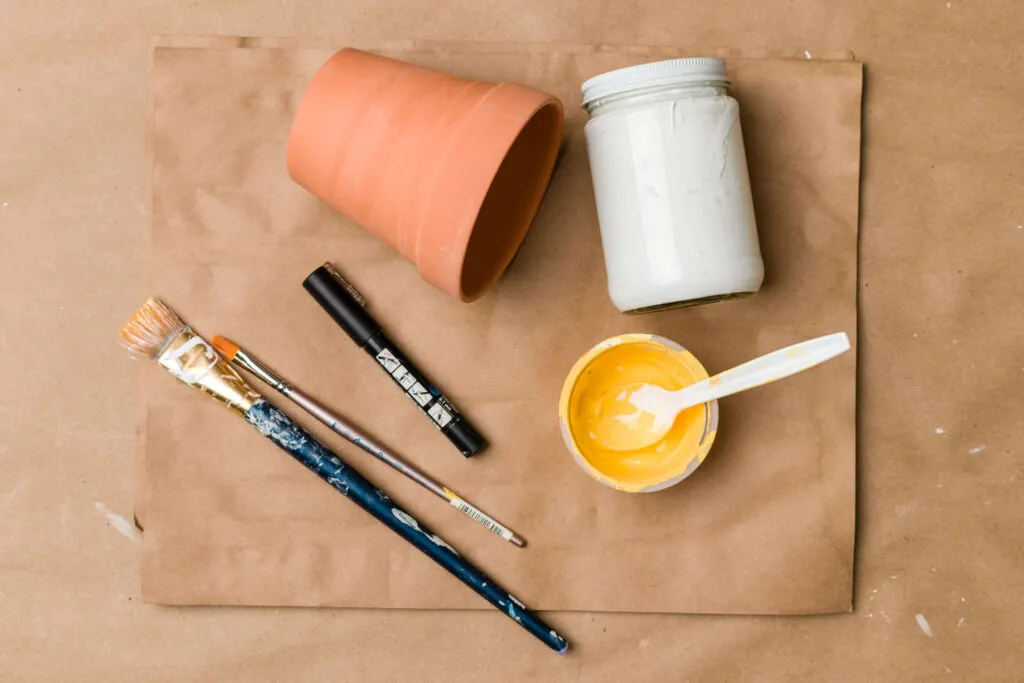

Supplies for painting clay flower pots
We used a paintbrush to paint the pot with two coats of paint. You can use a foam brush if you prefer.


Hand painting each coat of paint
Painting the Design
To paint the body of the bee, I used my thumbprint. With a little trial and error, I discovered the best way to add paint to my thumb. Using a paintbrush to apply the paint to my thumb gave the best results. I practiced making thumbprints and the bees on paper before attempting to paint them on my flower pot.
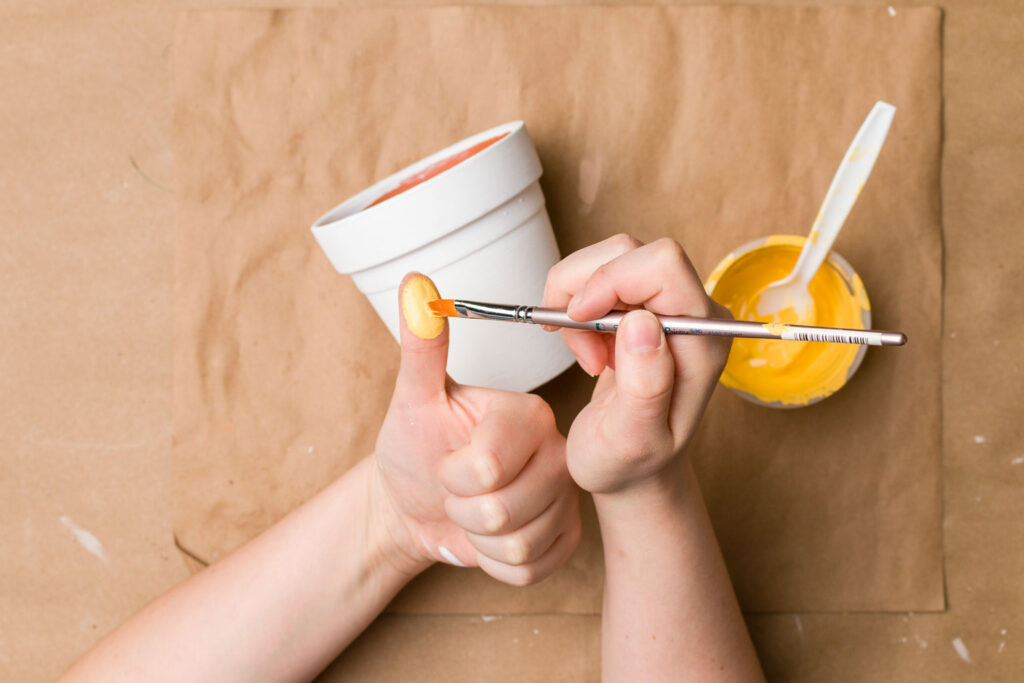

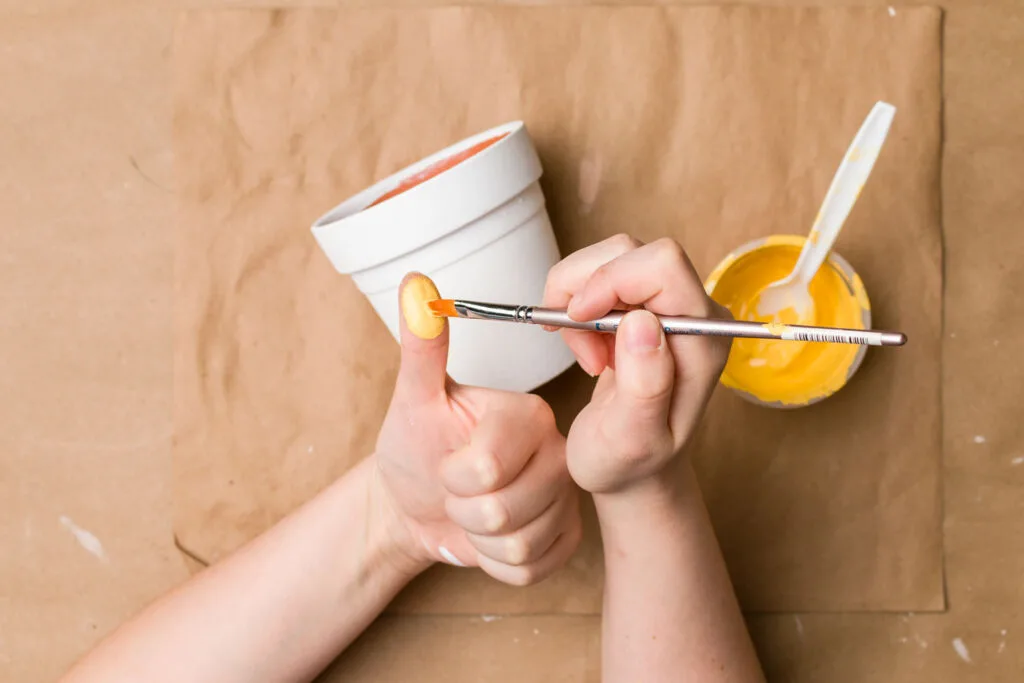

After applying the bee body (thumbprint), I allowed the paint to dry before adding the other details.


Thumbprint bee body
Using my favorite paint marker (this is the one I used), I added a smile to my bee.


Drawing the bee’s face


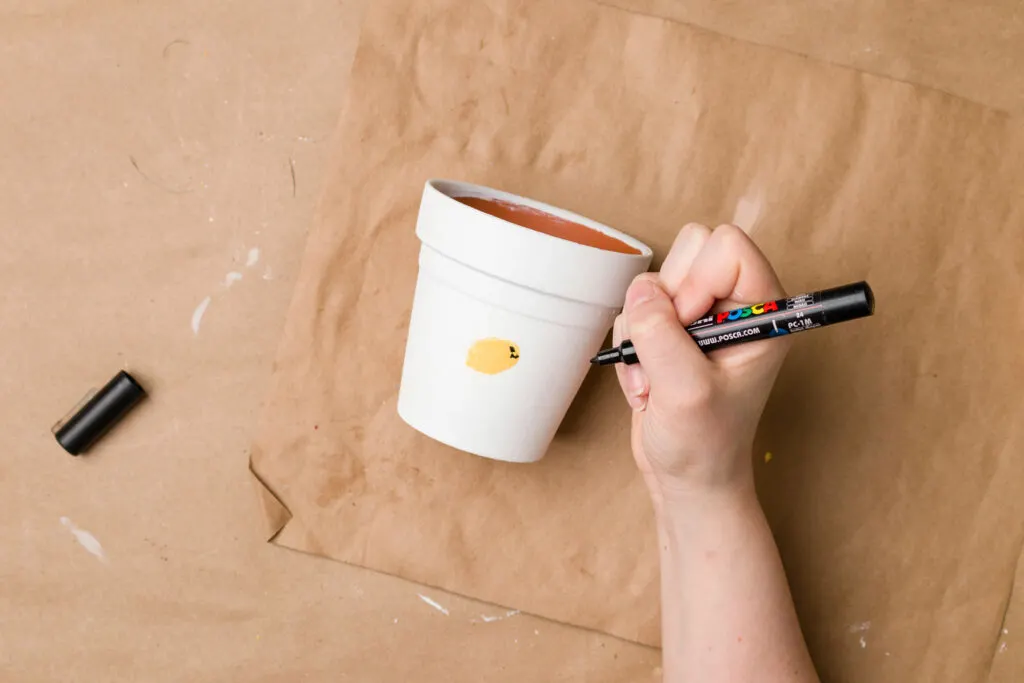

Drawing on the bee’s eye
After drawing the bee’s face, I added stripes and a tail on his body.


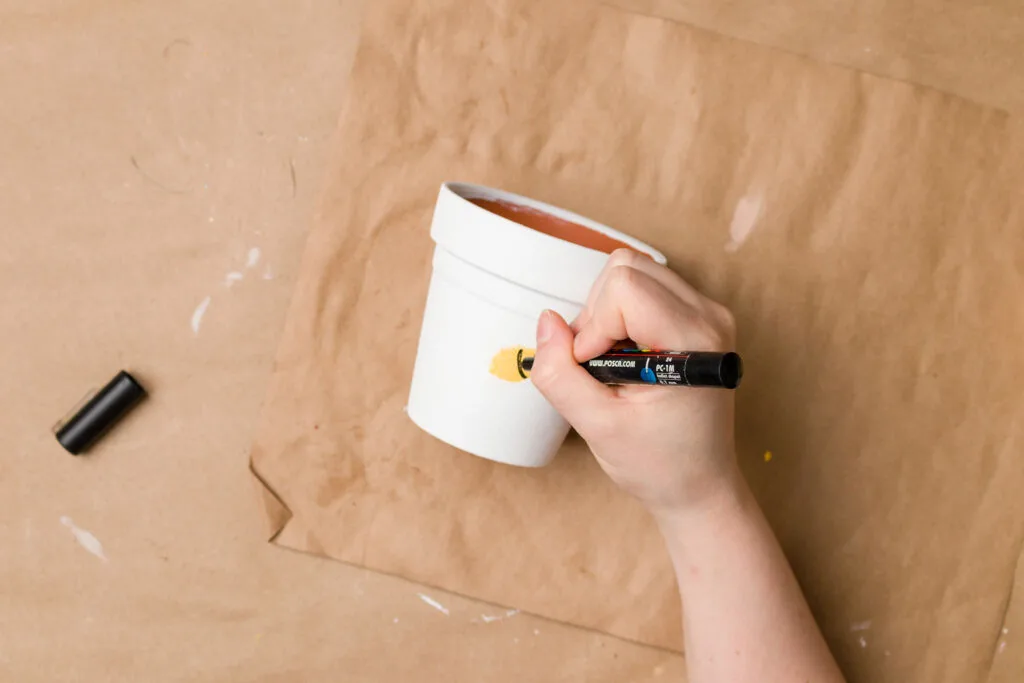

Drawing on the bee’s stripes


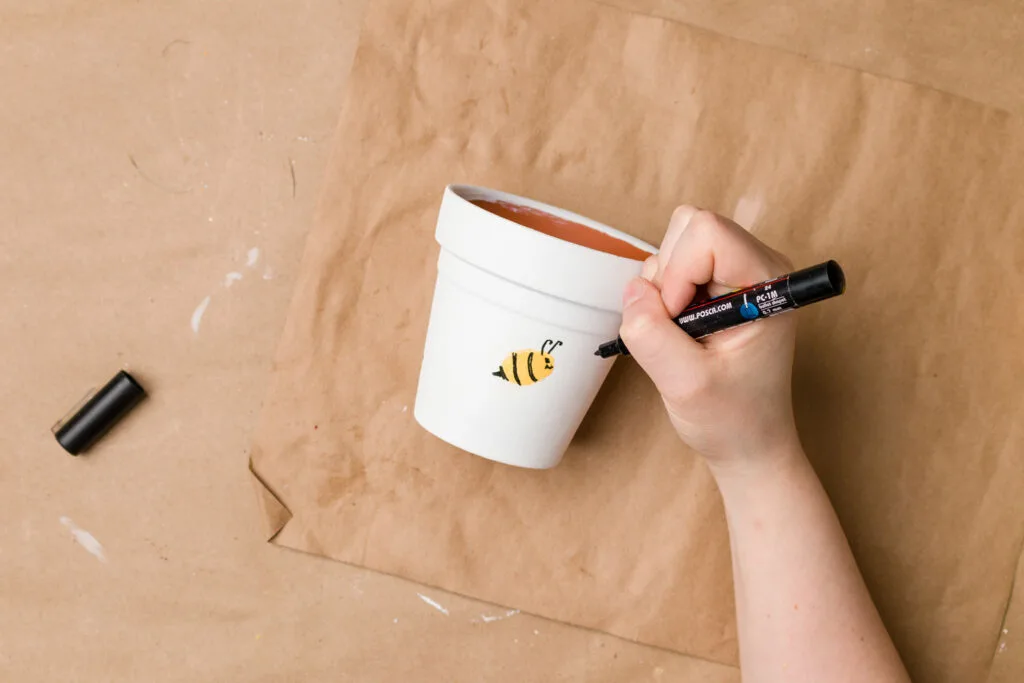

Drawing the bee’s antenna
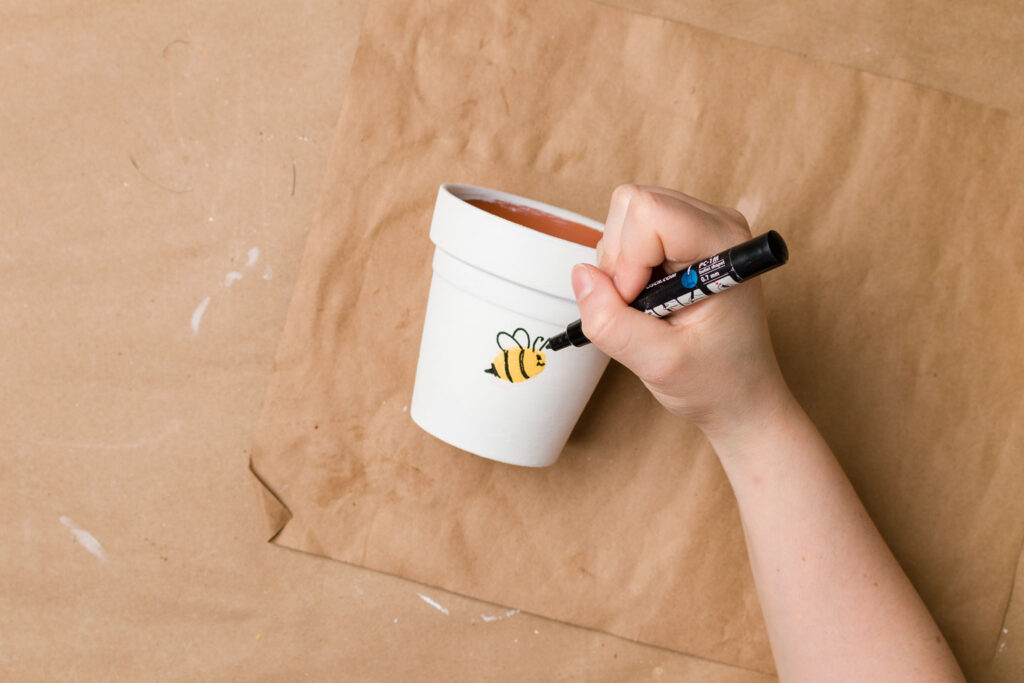

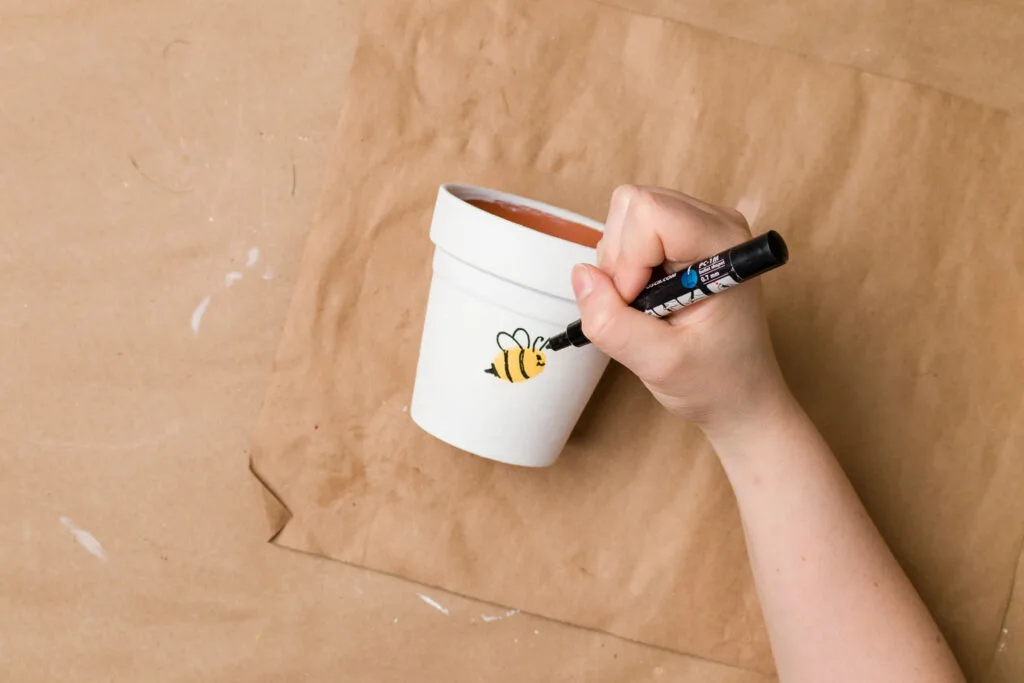

Using a paint marker to draw wings on the bee
Then I added a dotted line of the bee’s flight pattern.
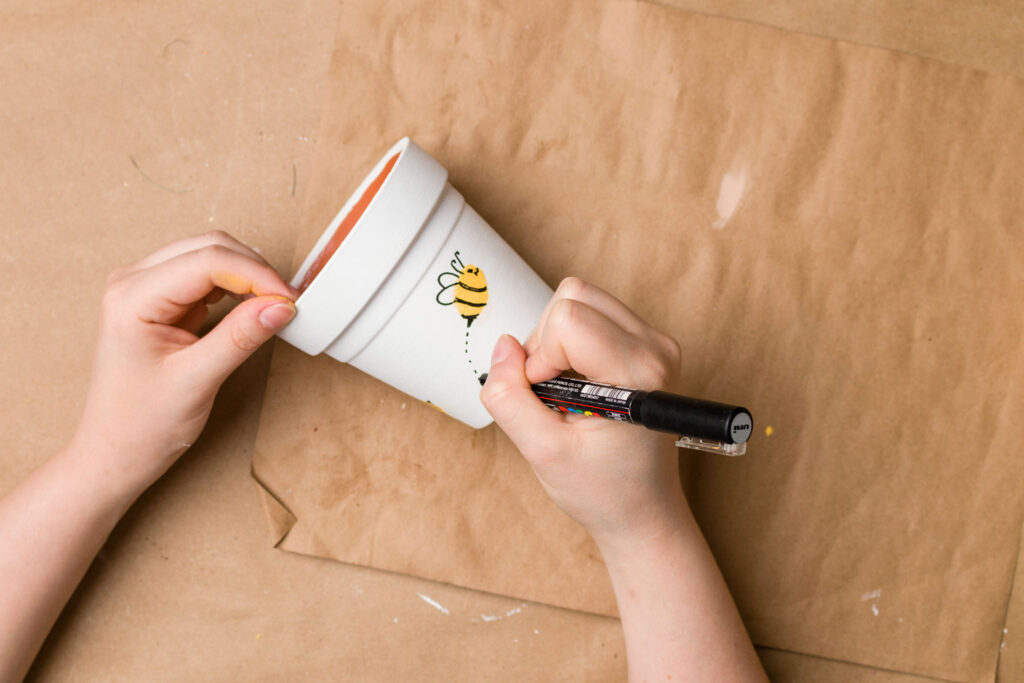

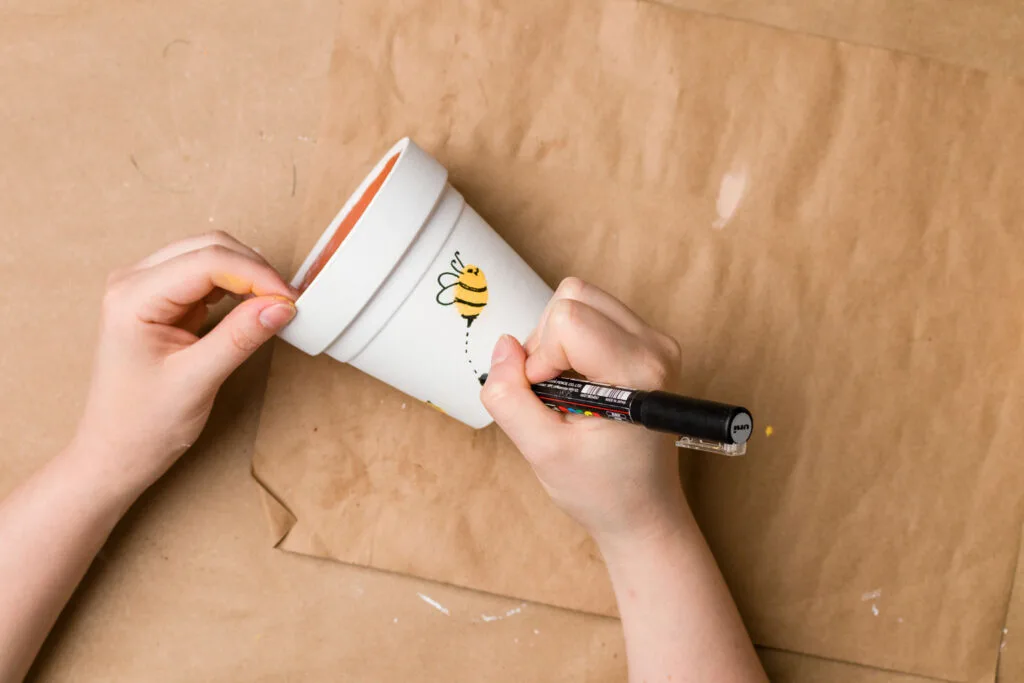

Once I had finished adding bees to the flower pot, I decided it needed a polka dot ribbon to finish it.
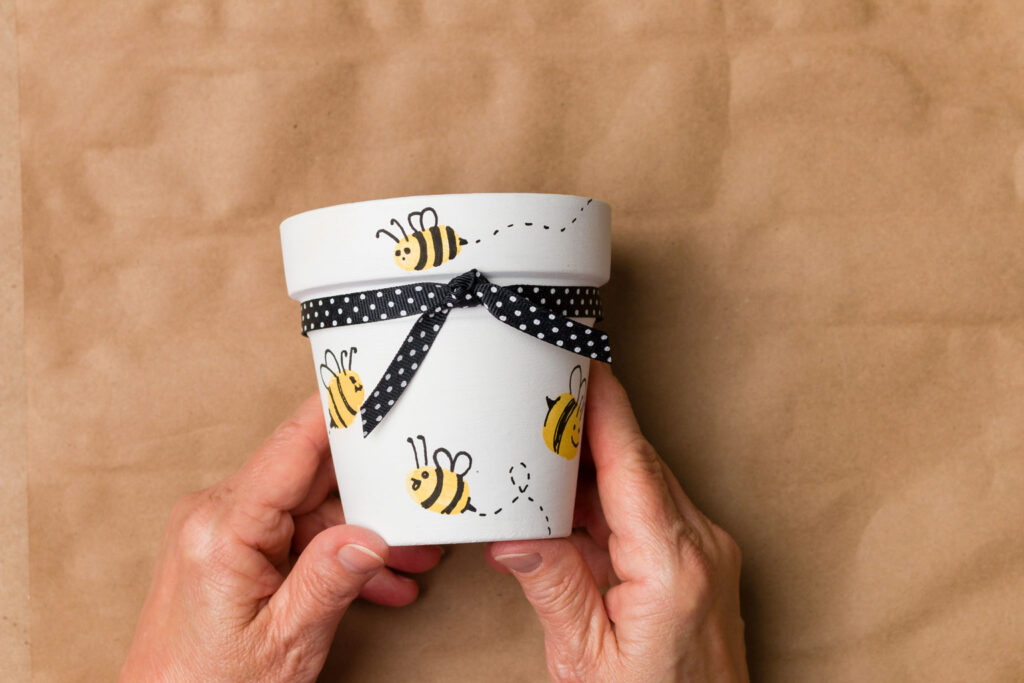

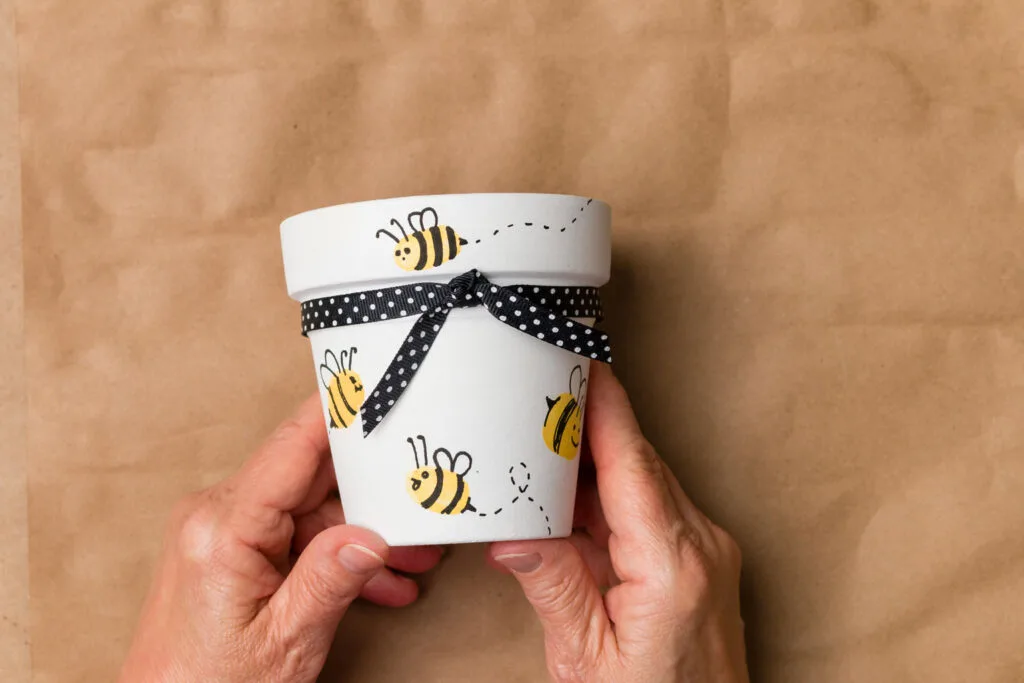

It turned out better than I imagined!
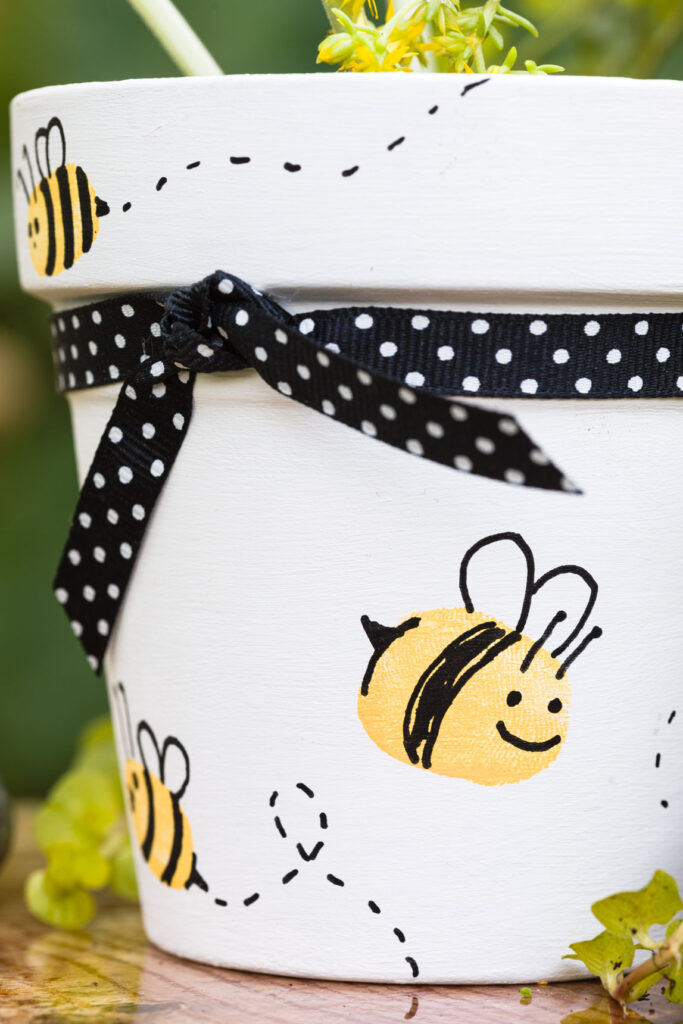


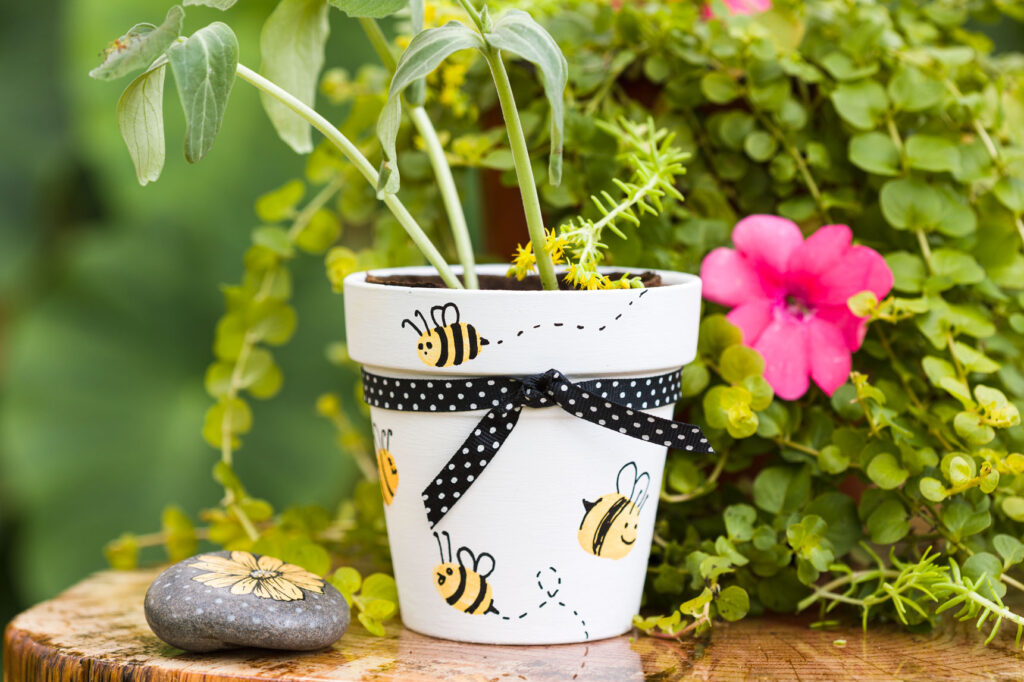
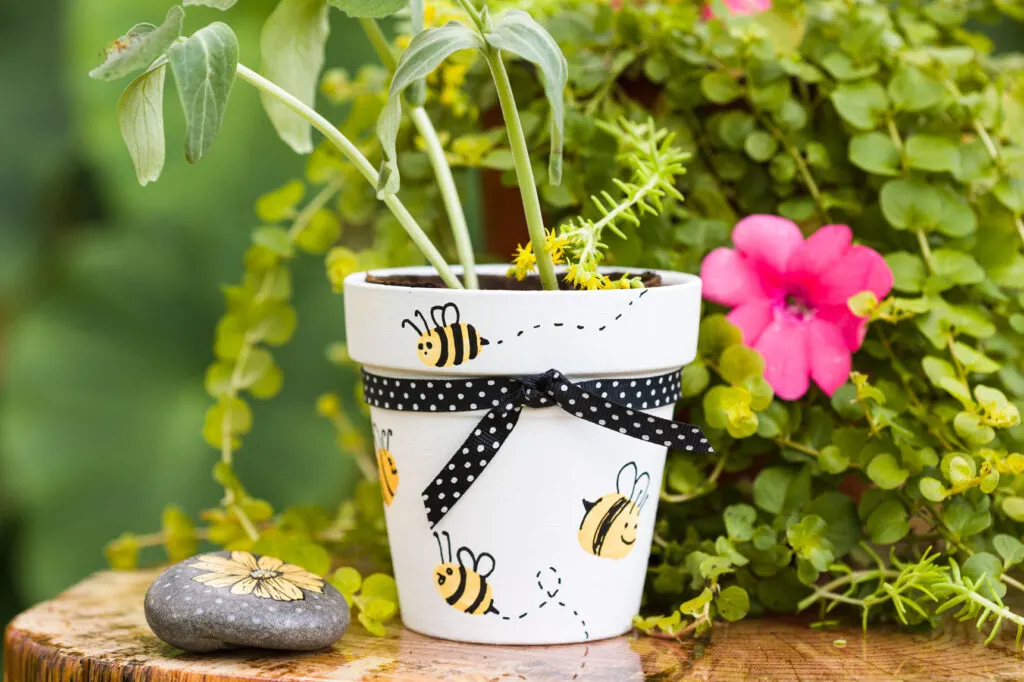
Flowerpot painted pot with bees and ribbon in the garden


Please join me (HERE) as we craft up some fun. You can look forward to receiving new inspiration every week. As well as special online crafting events, seasonal and holiday crafting too.
See you soon,
Kippi
As seen on Between Naps on the Porch

Marie
Sunday 16th of April 2023
What a cute pot! I could see these as a gift for teacher appreciation, hostesses etc
Lynne
Tuesday 11th of April 2023
These are adorable! What a cute and clever idea...perfect to make with children too! Pinned!
Kippi
Sunday 16th of April 2023
@Lynne, Those sweet hands in the photos are my daughters. Happy spring, Kippi
Anita Holland
Tuesday 11th of April 2023
Really cute pot, I love the thumbprint idea, very creative.
Kippi
Sunday 16th of April 2023
@Anita Holland, the idea is from my daughter's kindergarten project. The hands in the photo are my daughter's. Happy spring, Kippi
Sara
Monday 10th of April 2023
That's the bees knees!!
Kippi
Sunday 16th of April 2023
@Sara, thank you for stoping by today. Happy spring, Kippi
Tuesday 12th of July 2022
QUE HERMOSA IDEA Y QUE FÁCIL DE HACER CON POCOS MATERIALES!!!!!! ME ENCANTO !!!!