My modern teen boys’ bedroom DIY makeover was long overdue. When we moved into our current home my son was only 3 years old, so I gave him the smallest bedroom. At 11 years old he started his photography hobby and since then he continued to acquire more and more photography equipment. By the time he was in high school he was cramming all his photography equipment into his small bedroom. That is when I decided to switch my office/sewing-room with him. See the results below:
I decided to wait until my oldest went away to college to start the switch. My son moved into my daughter’s bedroom while I repainted his room and moved my items out of his future bedroom. Did I mention I removed the popcorn from the ceilings too? Our lives and the house were a mess during our modern boy’s bedroom DIY makeover, but it was so worth it.

After the modern teen boys bedroom DIY makeover
The Design Plan:
My inspiration for the modern teen boys bedroom DIY makeover was the gray and white geometric fabric I used for the headboard and cornice board.
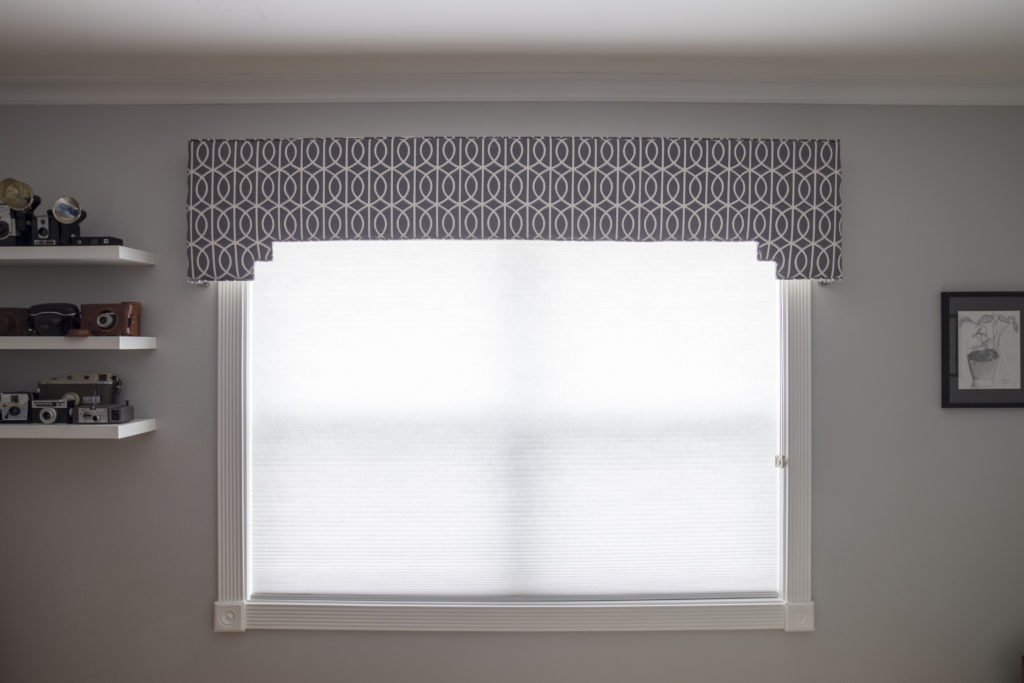

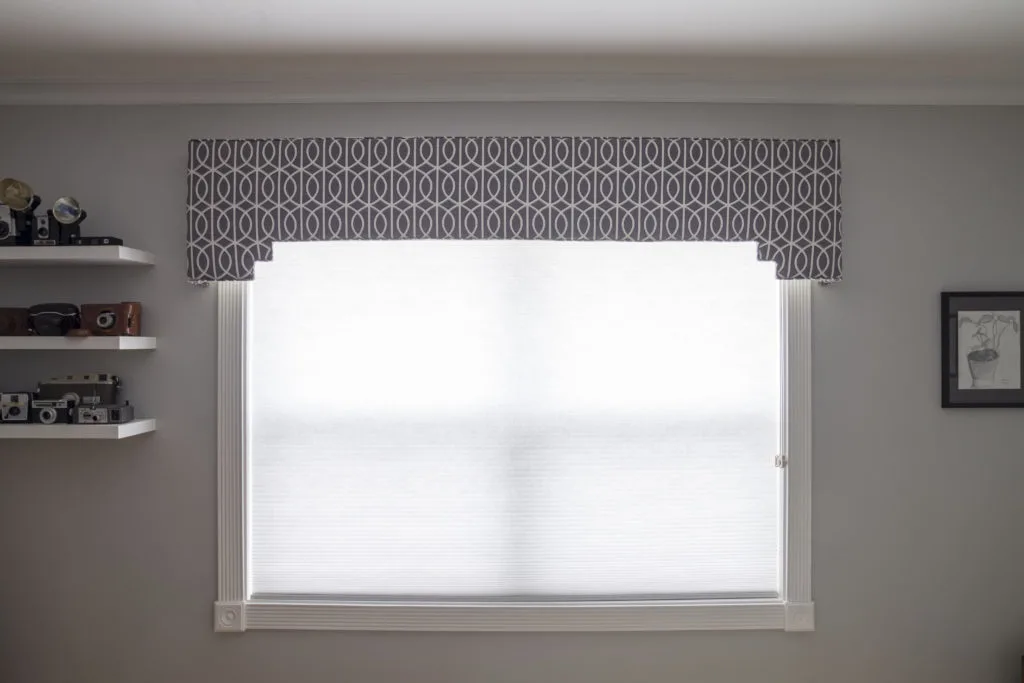

Custom cornice board and a cellular shade
After selecting the main fabric it was time to look for contrasting fabrics to add some interest to the room design. Choosing a wall color was a breeze using a Sherwin Williams fan deck. He chooses the paint color Passive for the walls.
We painted the ceiling white and added white crown molding. I replaced the baseboards with 1 by 6 pine boards and routered the top edge to give a modern clean finish and painted them white. I used quarter round trim that I left natural and sealed them with polycrylic since it would not show bumps and scrapes.
The windows face West so the afternoon sun is brutal. With that in mind, we choose a double cell shade. It helps to insulate from the Florida sun and provides privacy.
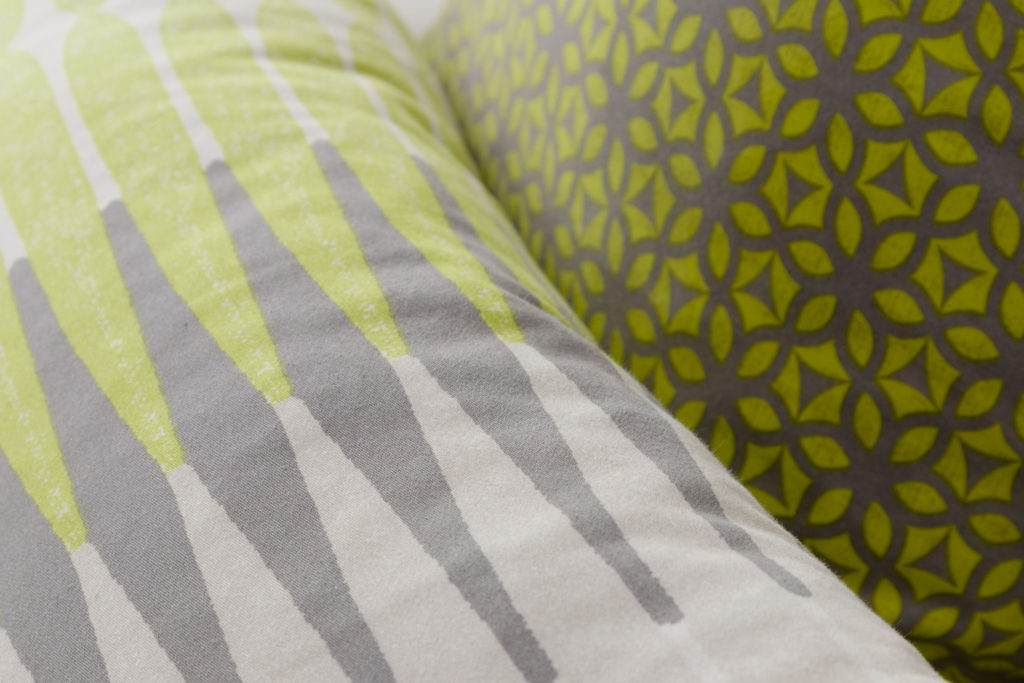

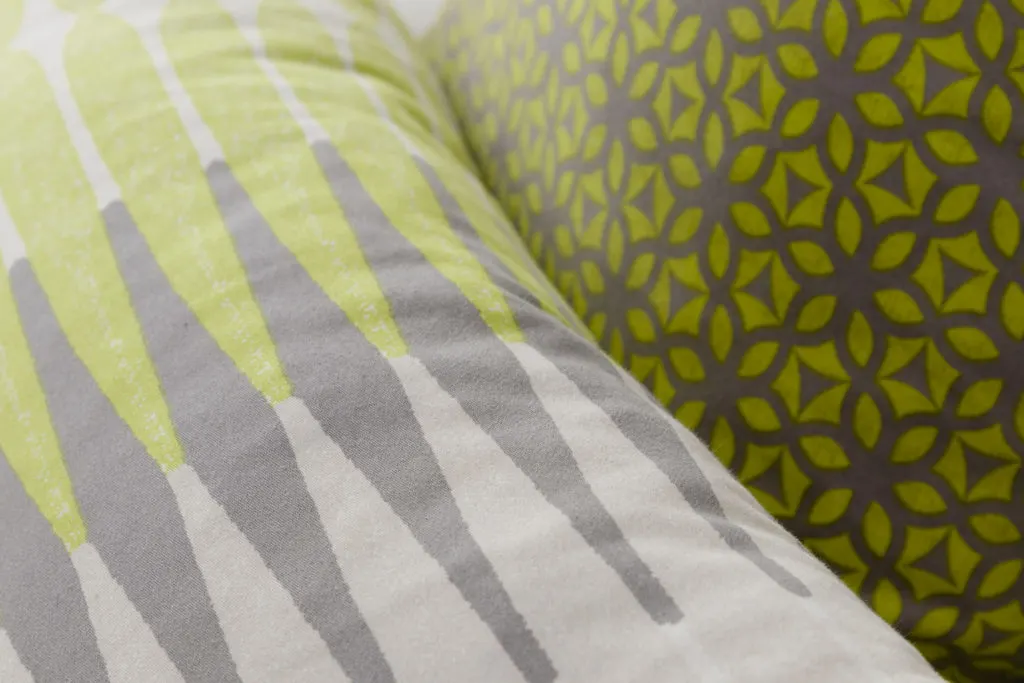

Fun geometric patterned DIY pillows
To add interest to the room design I made pillows with fun geometric prints in grays, chartreuse, and white. I used washable fabrics since they were going to be in a child’s room. The pillows and duvet insert I choose were down. The white cotton duvet cover I purchased and later added more ties in the side seam allowances to keep the insert centered in the cover. I made the bed skirt with washable chartreuse and white geometric fabric.
Thrift Store Finds:
This groovy ottoman was a steal for $15.00, but when purchased it was upholstered in tattered orange velvet. I had to upholster it, but luckily it only needed a couple of yards of fabric and a new piece of foam to upholster it.
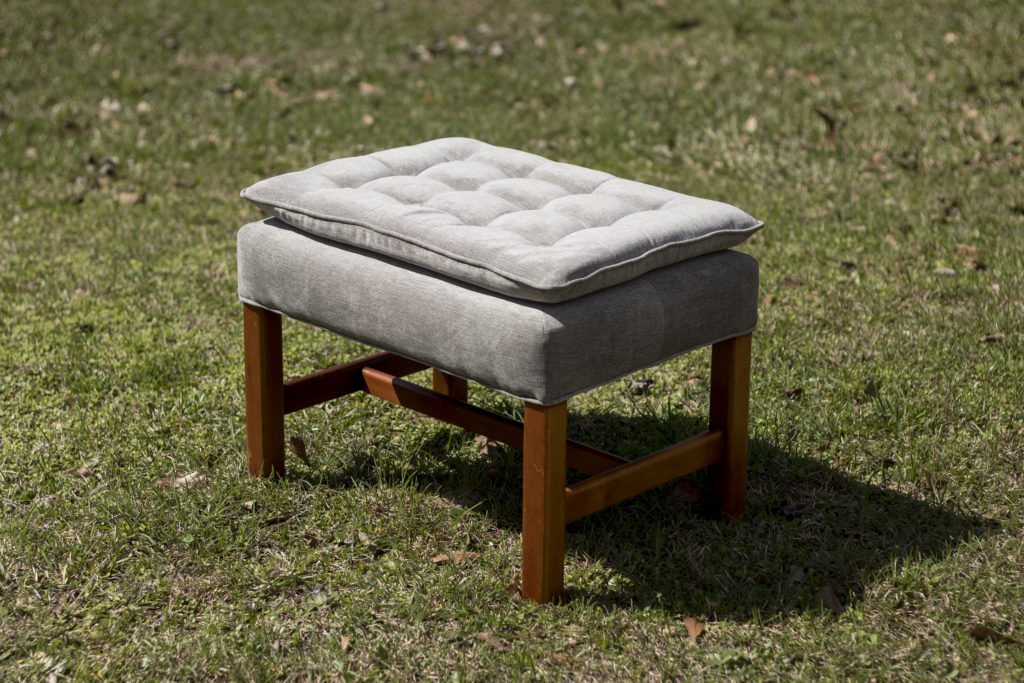

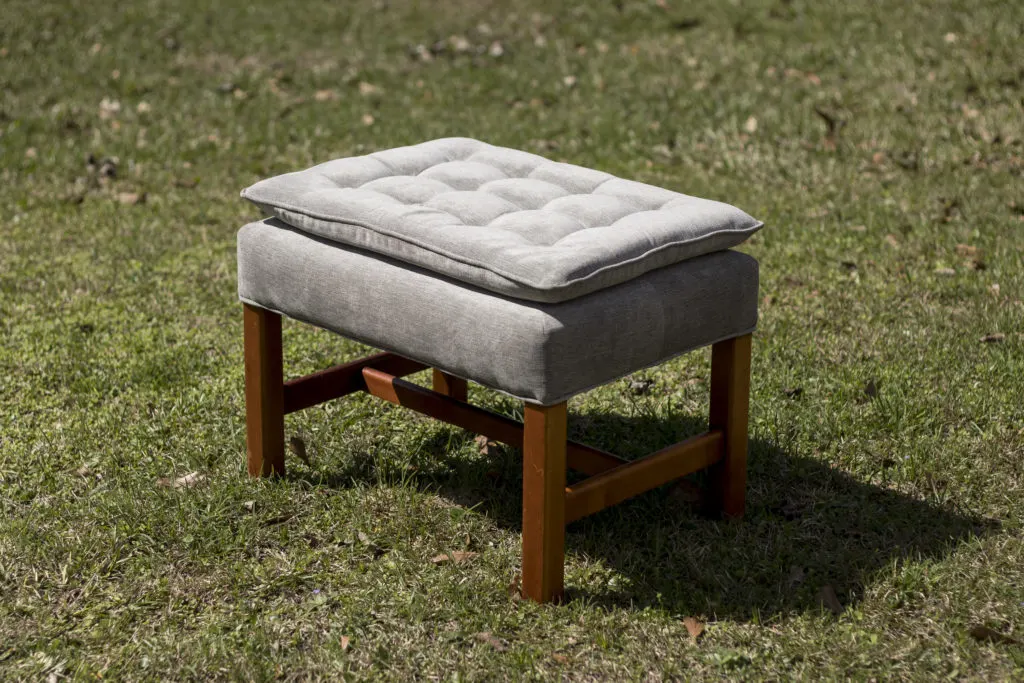

Ottoman made new again with fresh upholstery
This post contains affiliate links. This means that if you purchase from one of these links I will make a small commission, but rest assured you will not pay more for any products.
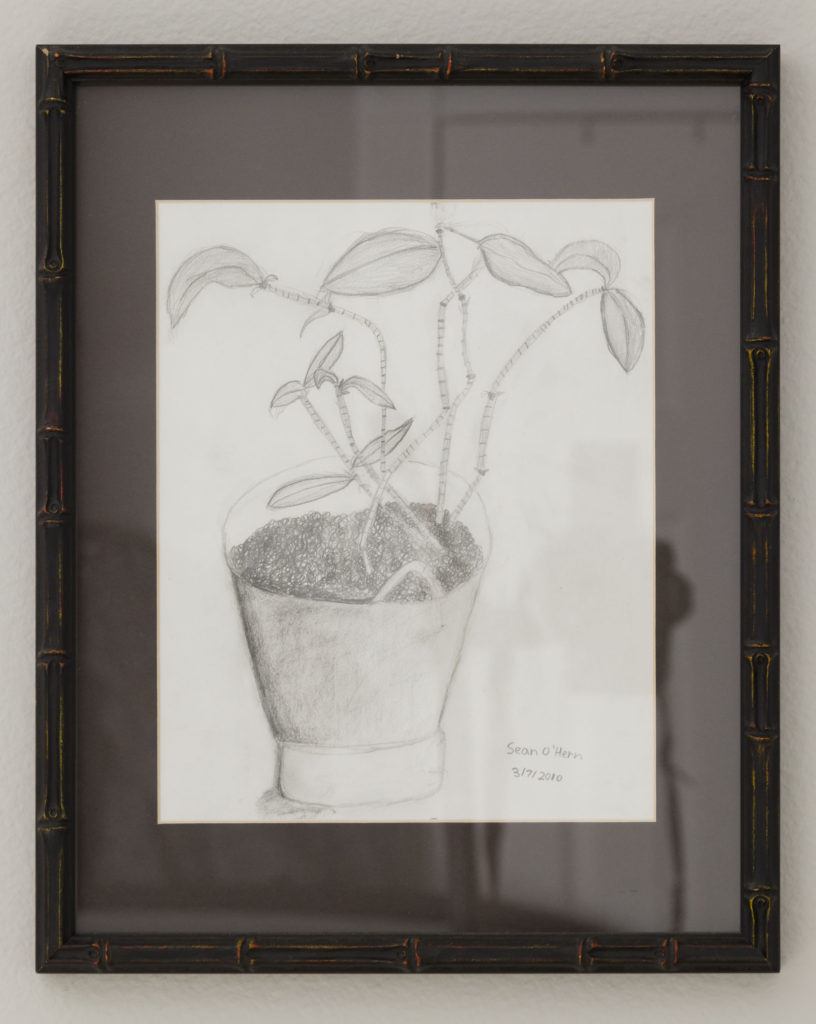

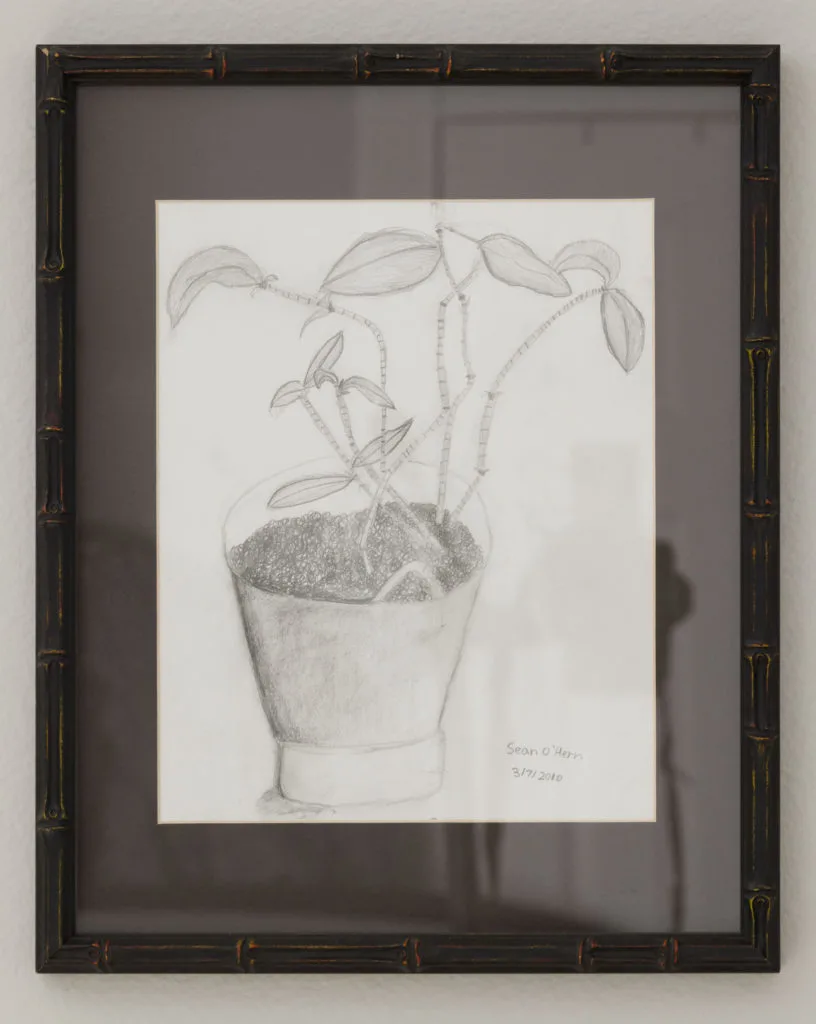

Bamboo sketch
This framed sketch was not from the thrift store but instead was the inspiration for the thrift store frames purchase. The bamboo sketch was done by my son when he was 11 years old. I had it framed with a bamboo style frame. After having this framed I stopped in the thrift store and saw the frames in the photo below.
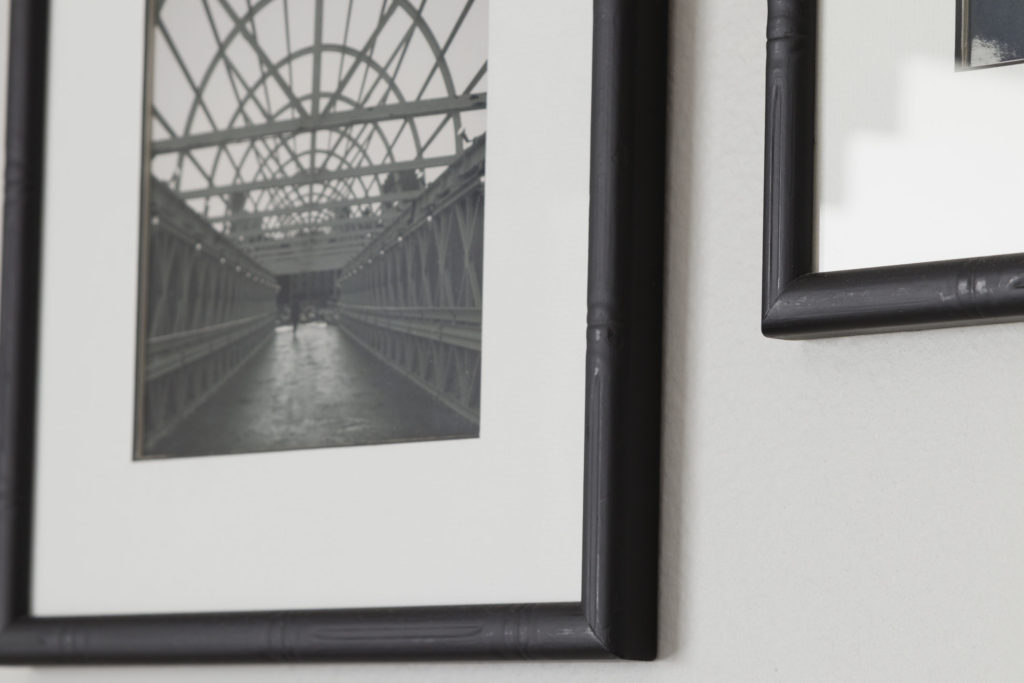

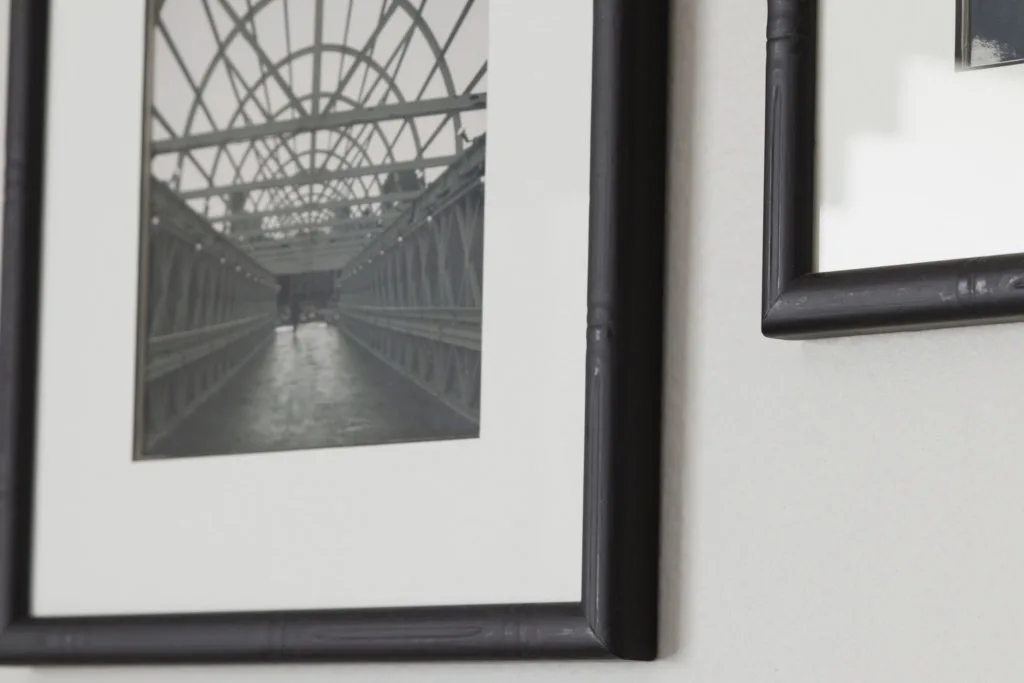

Painted thrift store frames
I knew they would be perfect so I grabbed them, however, they were a natural wood tone so they needed to be painted. My son took the black and white photos in the frames. Each photo was from a vacation. This is such a fun way to make your space your own.
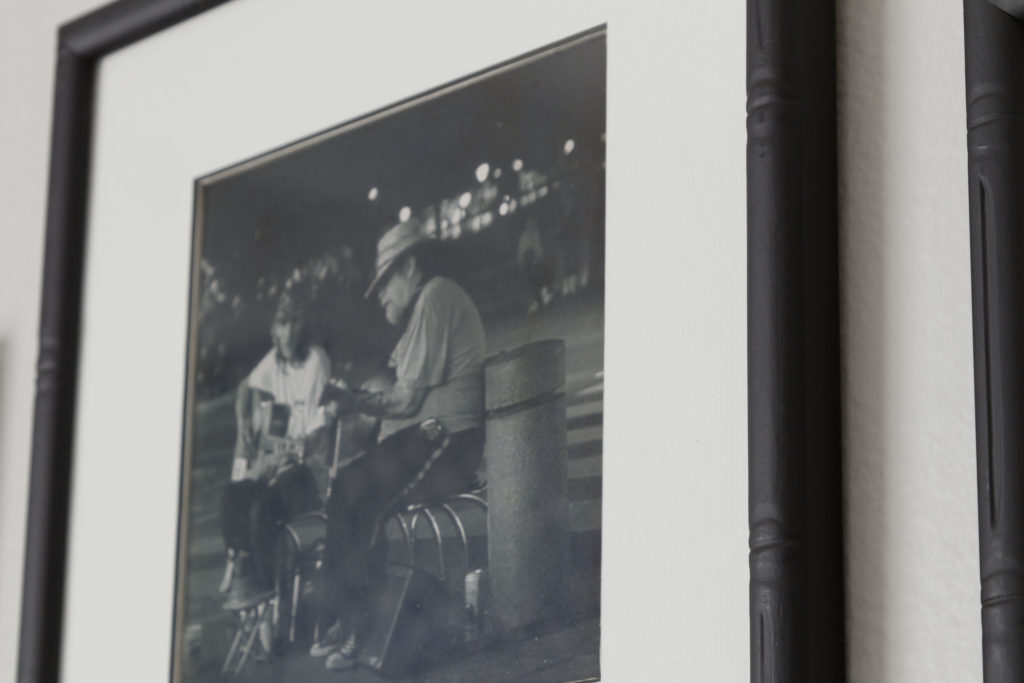

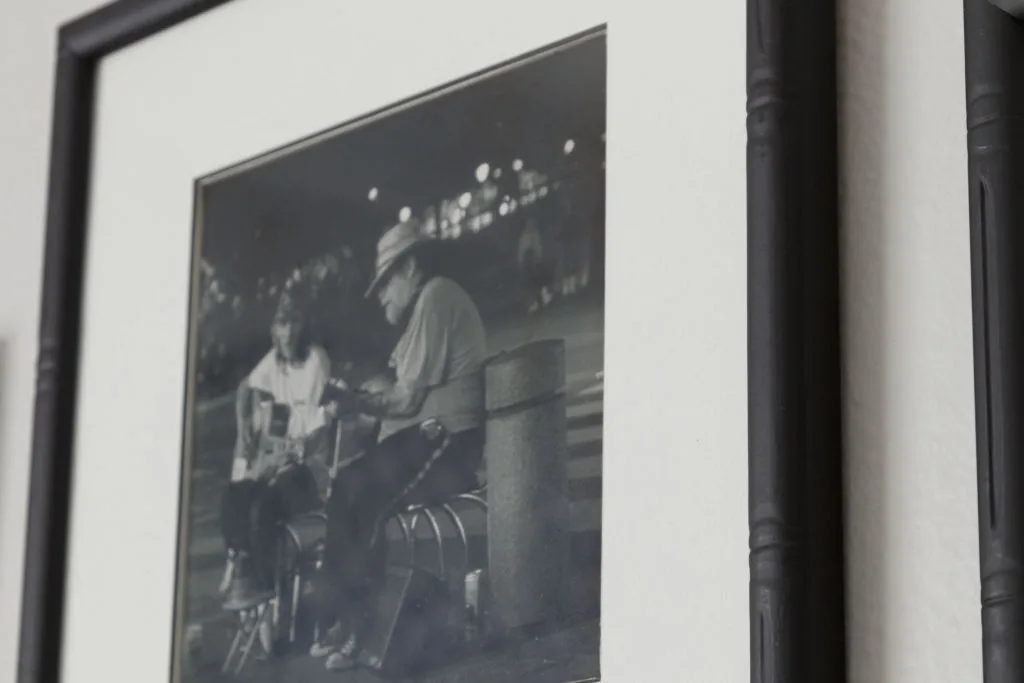

My son shot this photo in New Orleans on vacation
Seeing the collection of frames, photos and sketch make a statement.
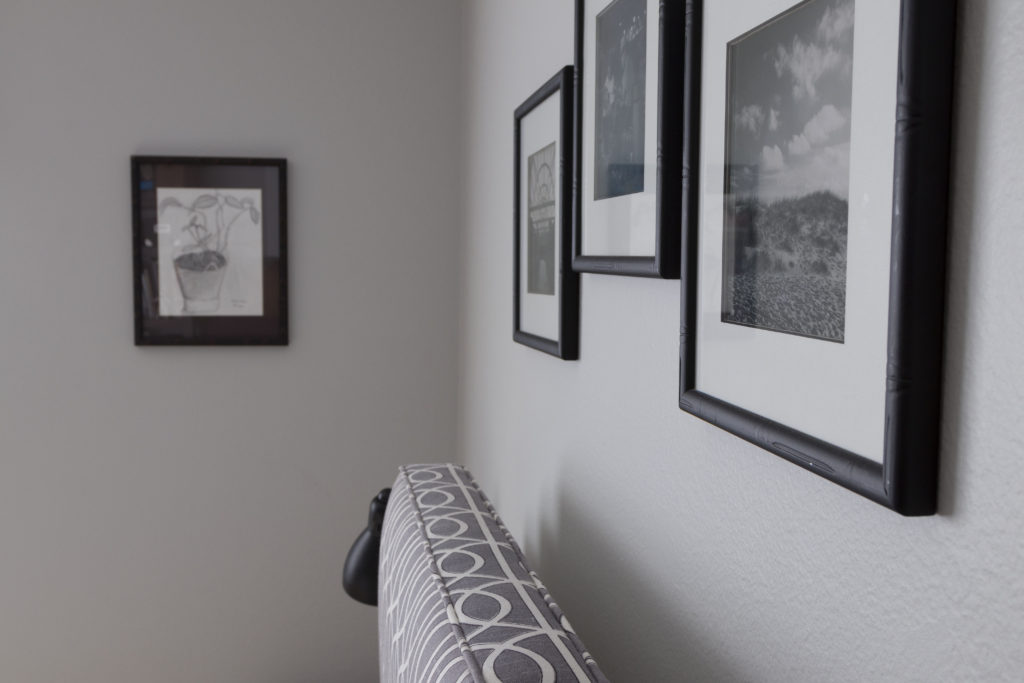

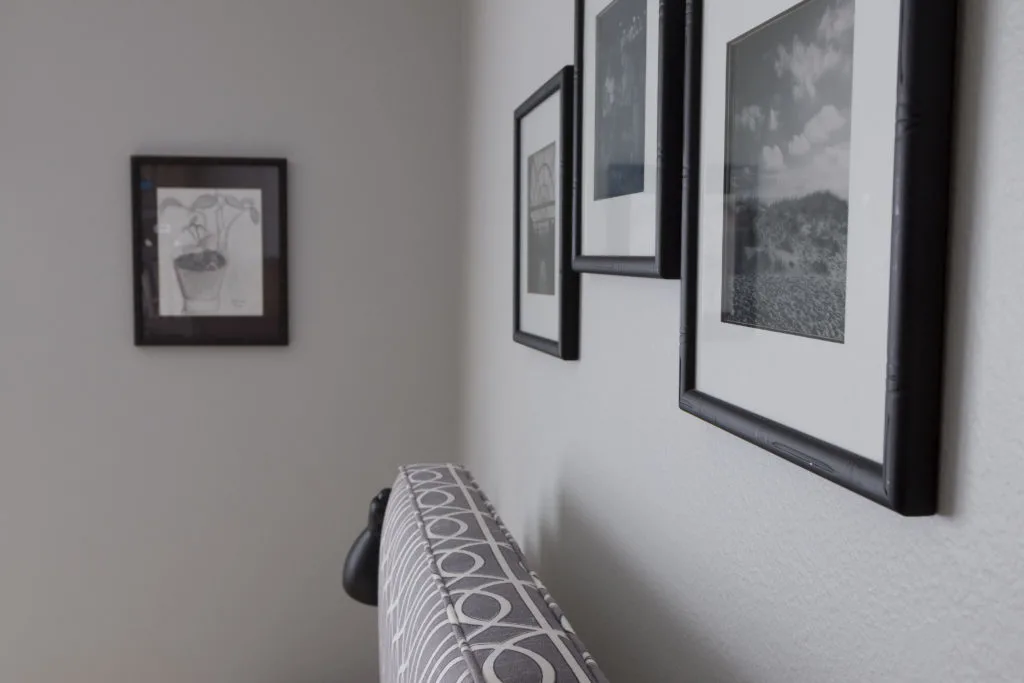

Collection of framed art
Headboard and Cornice:
The headboard shape is interesting with this linen geometric fabric. I considered the pattern placement before I started upholstering the headboard.
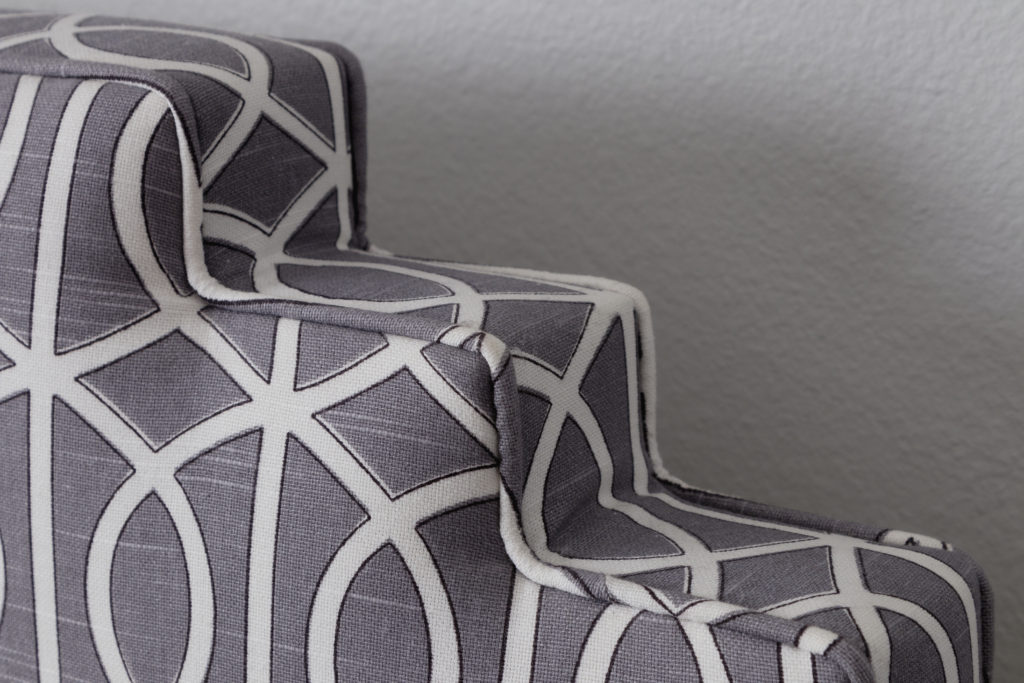

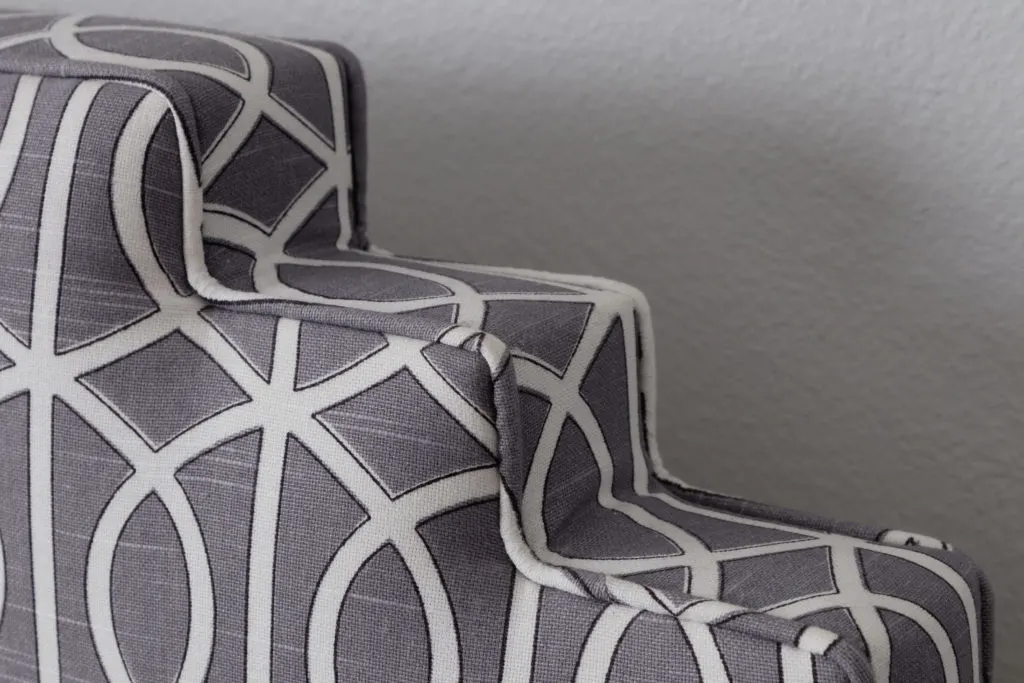

Headboard detail
Centering the fabric’s geometric design and keeping it straight and without pulling it out of shape. The design choice was influenced by the bamboo sketch. It says the orient to me so with that in mind I choose this stair-stepped corner design since it has that feel of a pagoda.
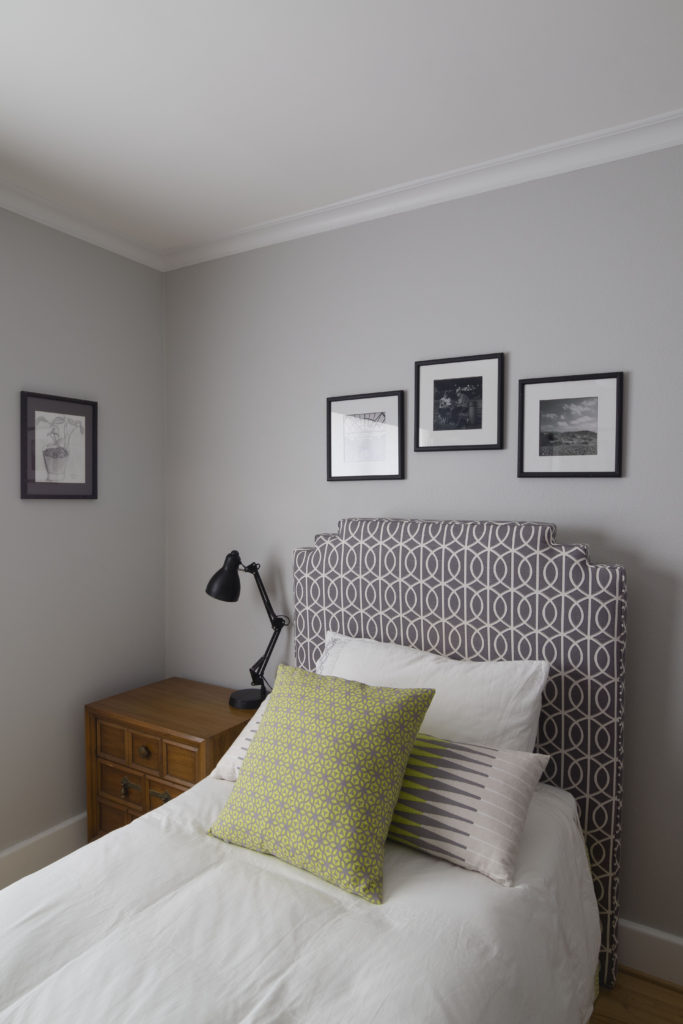

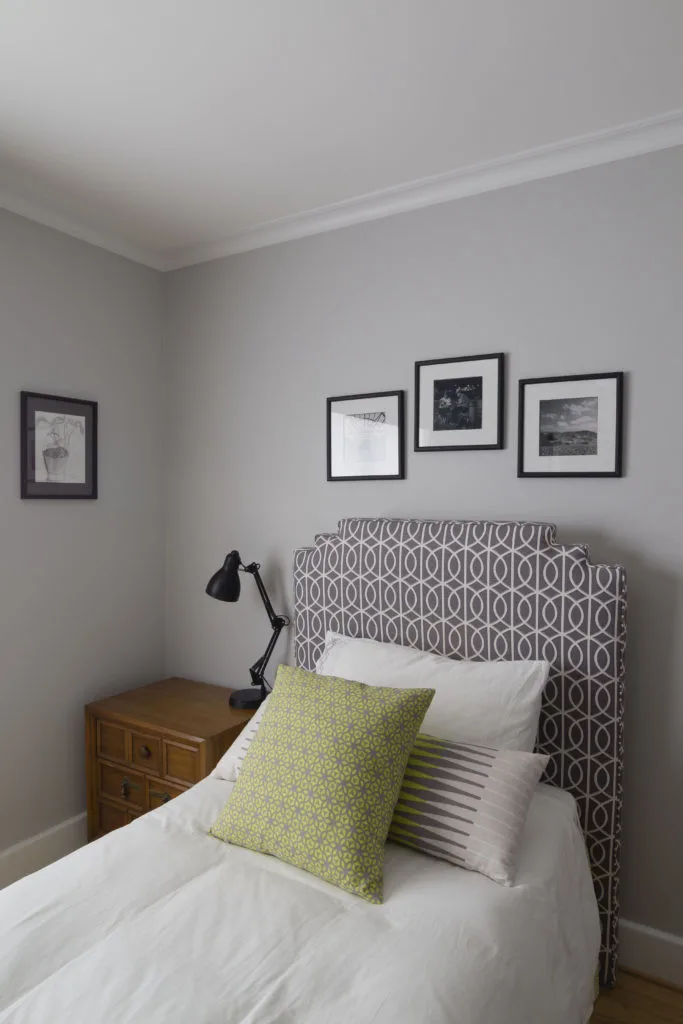

Perfect pattern match on the headboard and cornice board
I constructed the cornice board with the same attention to detail. Centering the pattern and keeping it straight and finishing it with self-covered cord.
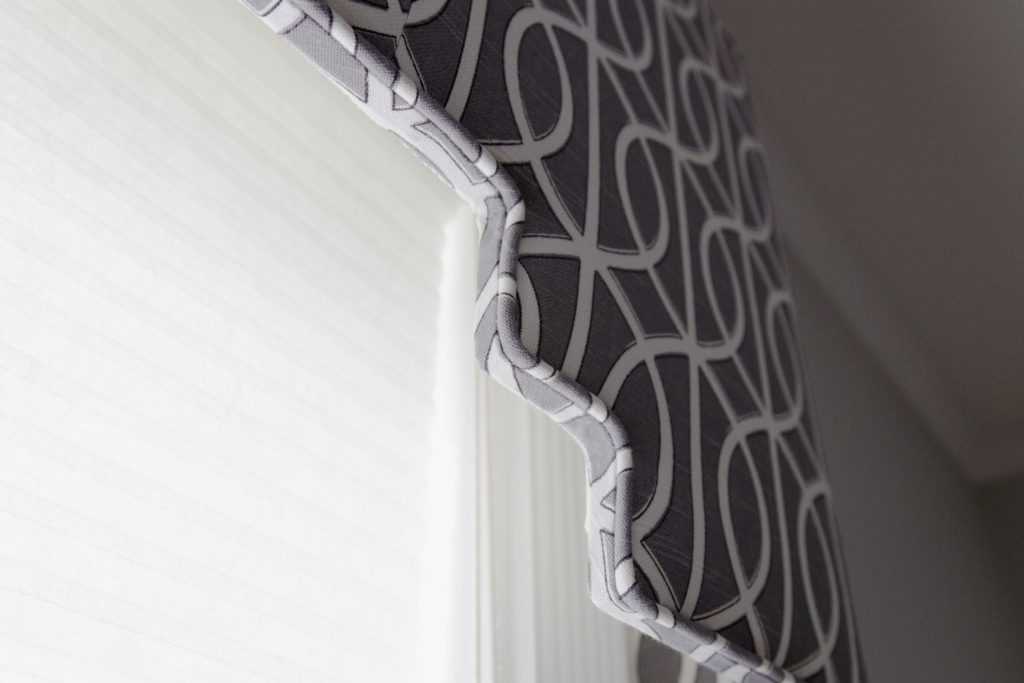

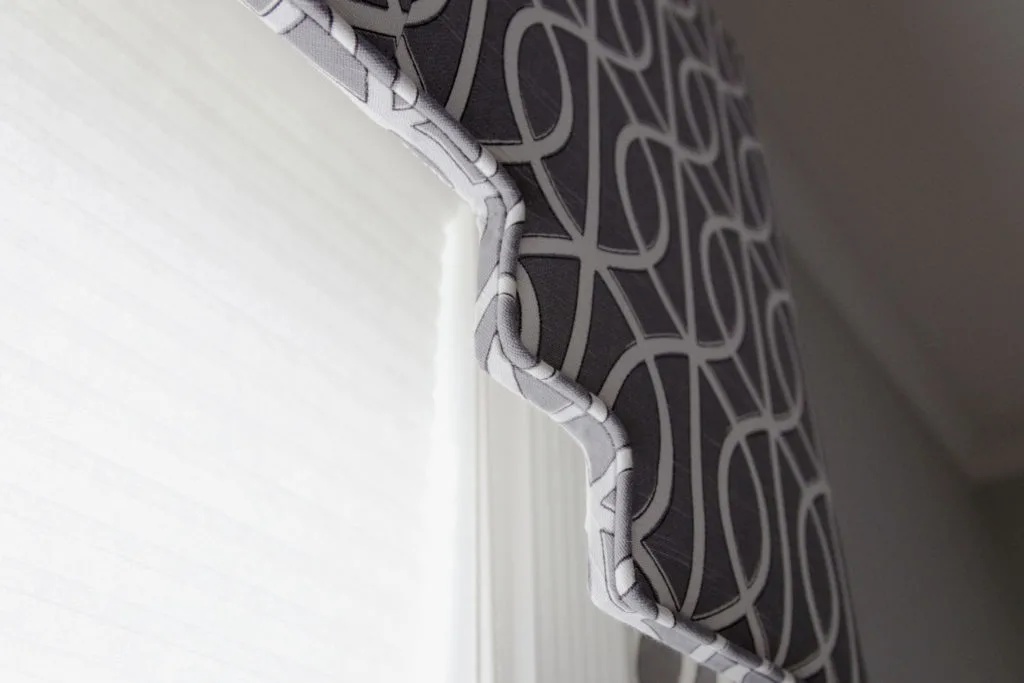

Cornice board professional finished edges
A peek up inside the cornice board. Notice the clean professional finishes. I painted the “L” brackets white before installing I also finished the inside and top like I was upholstering a piece of furniture. My son would most definitely notice if I skipped the professional finishing step. He has been assisting me for years and knows how I like to design and finish projects. His modern boys’ bedroom DIY makeover was intended to create a sanctuary for him to relax and be surrounded by colors, shapes, and items he enjoyed.
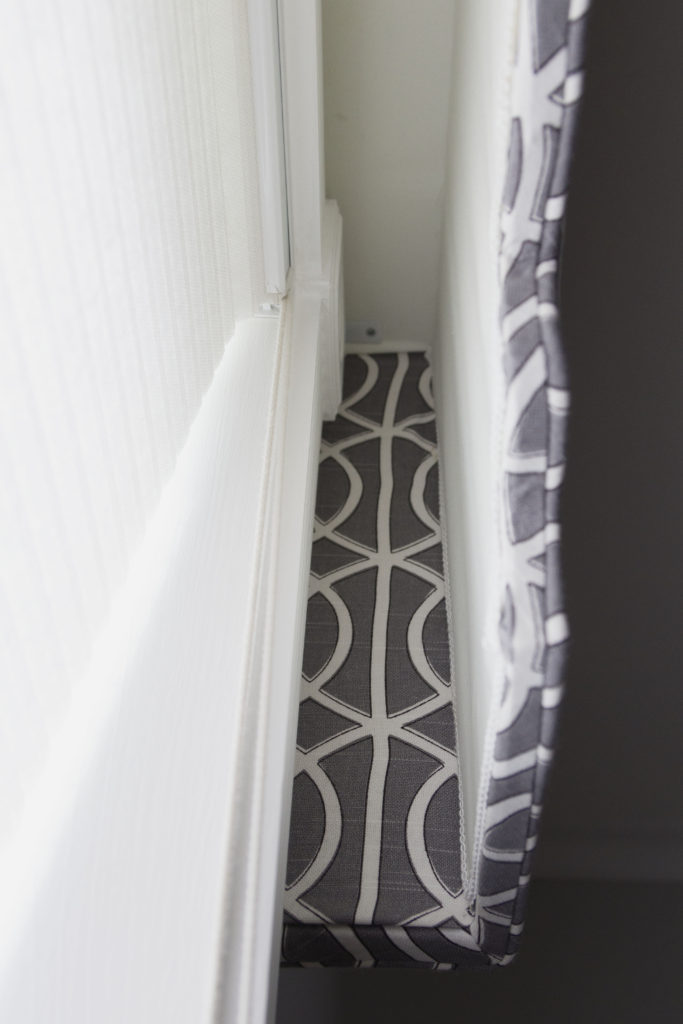

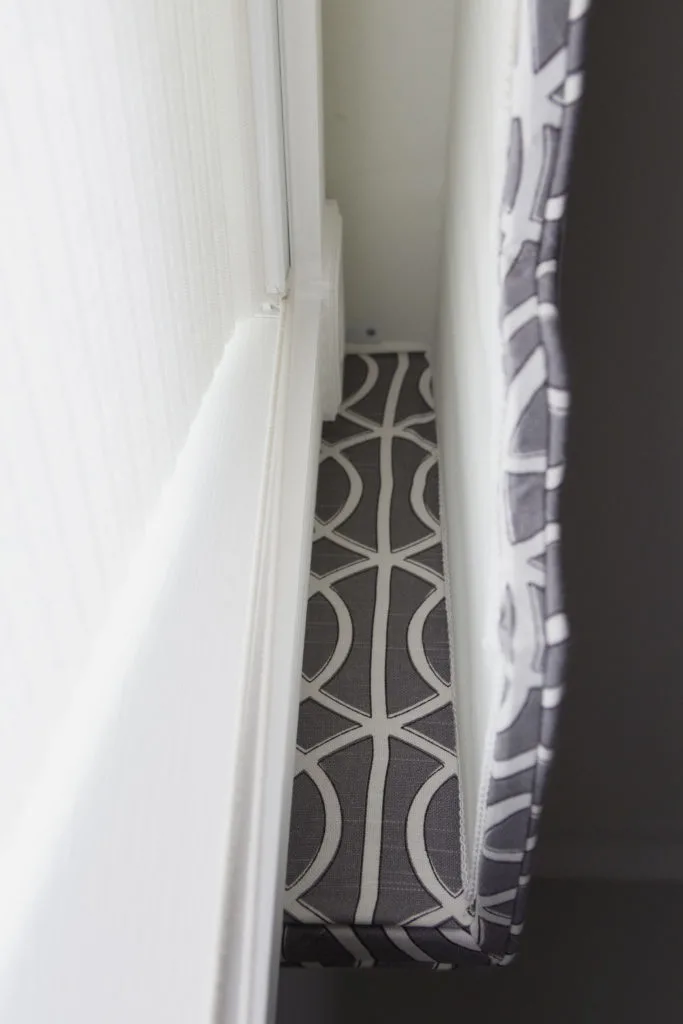

Inside and back view of the cornice board
Vintage Collection:
These floating shelves are a modern element with clean lines but when paired with the vintage cameras they add a unique statement to the room’s design.
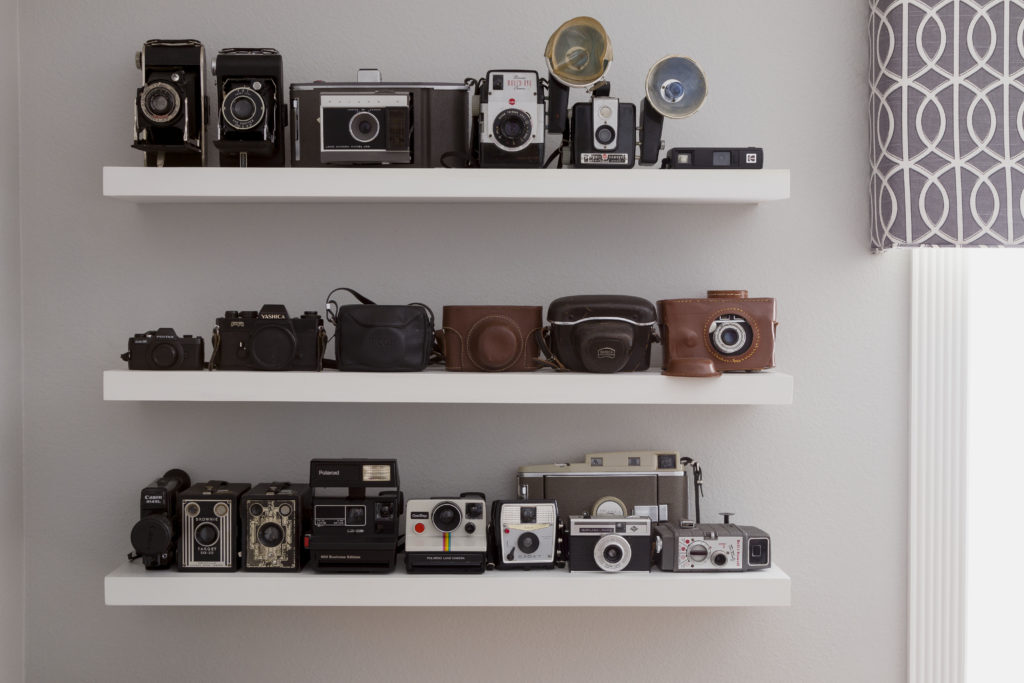

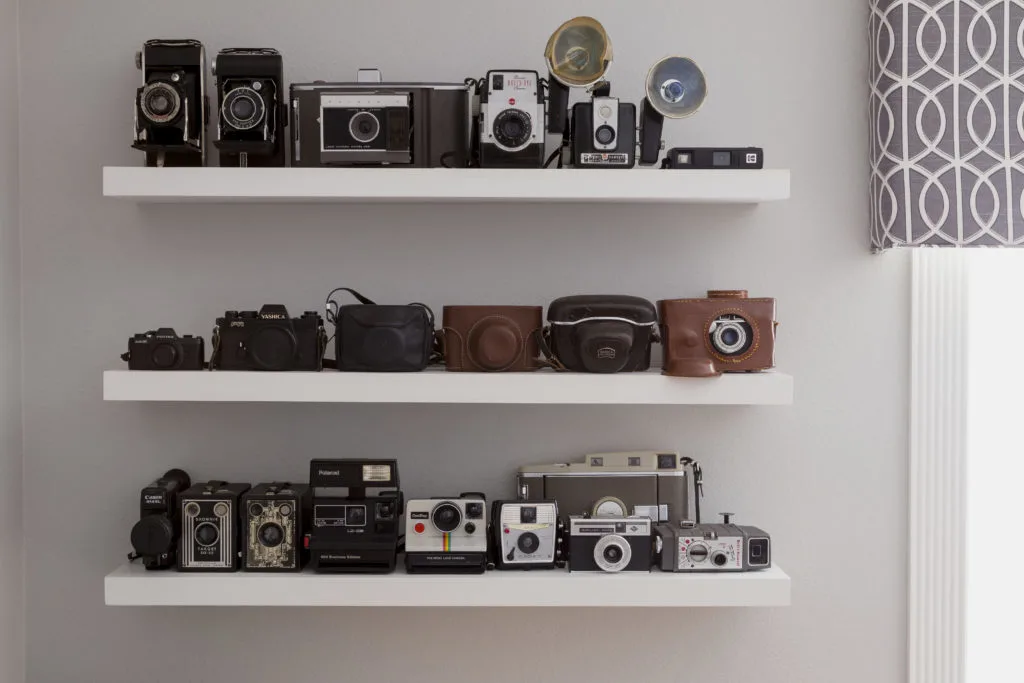

Vintage camera collection
My favorites:


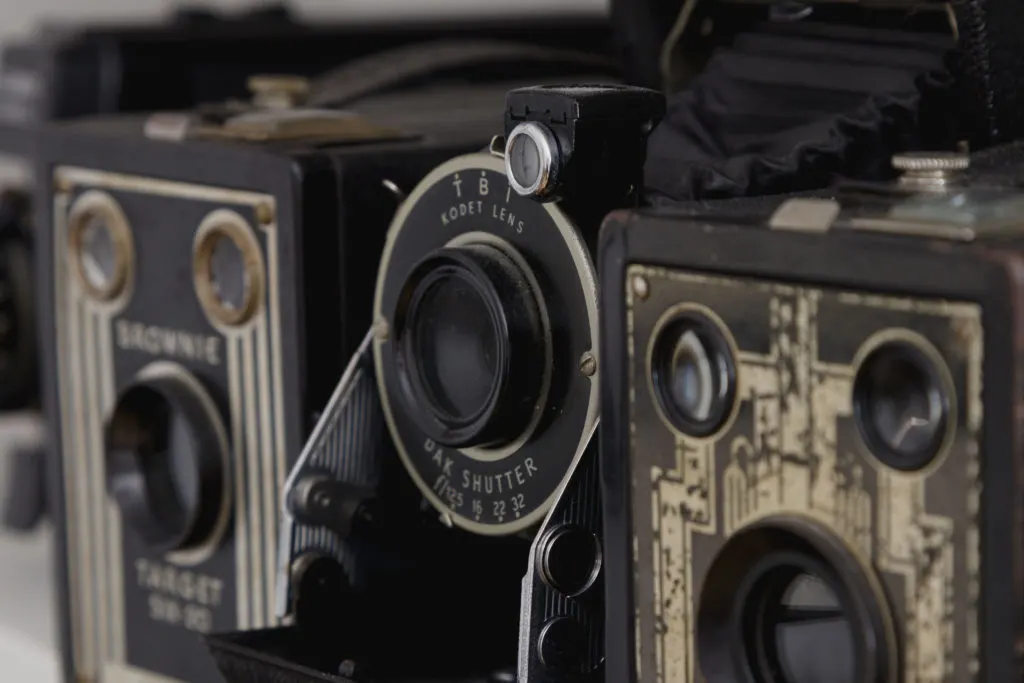

My favorite cameras
Our lives forever changed when my son received his first camera 10 years ago.




Budding photographer
How funny is this? The only current photo of my son is one that he took of his reflection while shooting for my blog.


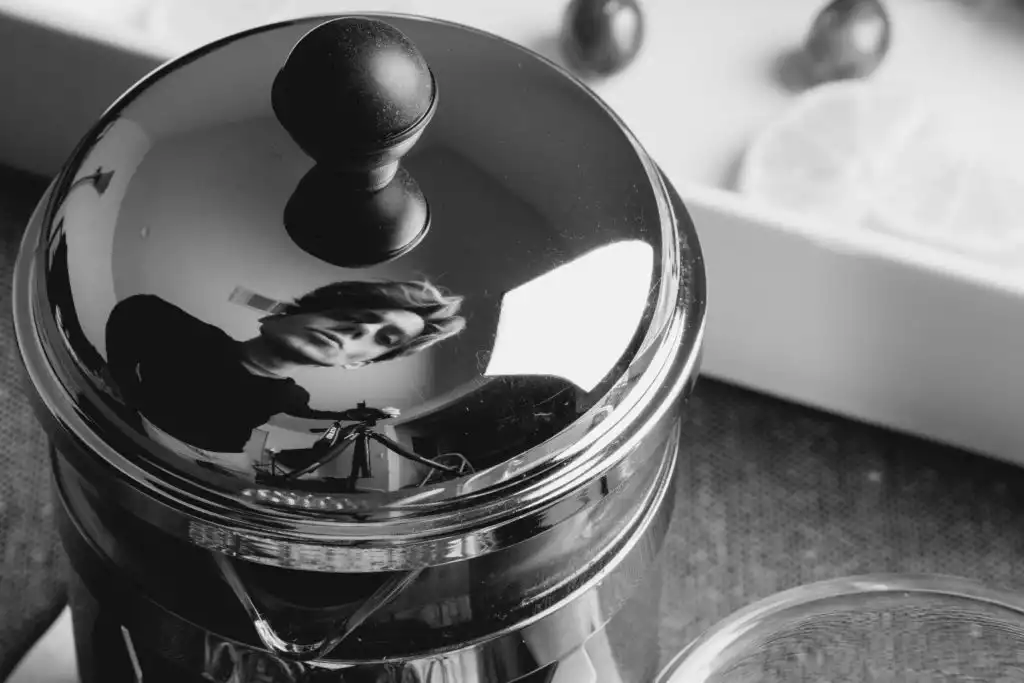

Polished reflection
Modern Teen Boys Bedroom DIY Makeover Completed:
That is a wrap on my modern teen boys’ bedroom DIY makeover if you have a question please don’t hesitate to ask in the comments below.
Thank you so much for visiting today. I have started my daughter’s room makeover and I will be posting and sharing my how-to’s with you. Subscribe so you don’t miss out on any inspiration or DIY how-tos.
First on the how-to is how to make a Roman Shade. I hope to see you soon.
You might also enjoy:
I love to hear from you so please leave a hello in the comments below. Do you have any plans to update a room this spring?
Happy Spring,
Kippi

