Spring is just around the corner, so I decided to create some fun paper baskets for decorating.
You could make these cuties with pretty paper to fit the occasion and your decor.
Paper baskets

This post contains affiliate links. That means that if you purchase from one of these links, I will make a small commission.
How to Make a Paper Basket
This simple basket is so easy that you could invite the kids to craft some.
Basket Making Supplies


Basket supplies
**Before you begin, I recommend watching the paper basket how-to video.
- Craft Paper
- Basket Paper
- Hot Glue
- Brads
- Hole Punch
- Cutting Mat
- Craft Knife
- Quilt Ruler
- Pencil
*You can find all my favorite crafting supplies that I have gathered for your convenience.
Paper Basket Cuts
I used double-sided craft paper (like this one). However, you can use any craft paper for this simple project.
After selecting my craft paper, I traced a 6″ by 6″ square for the base of the basket.


Trace cut lines
Then I used a Xacto knife, cutting mat, and a quilt ruler to cut along my pencil marks.


Cut out Basket bottom.
Next, I cut the basket’s handle along the 12″ inch side of the paper using a quilt ruler, craft knife, and cutting mat.
Note: I cut one 12 inches long strip by one inch wide for the handle.


Cut out handle
Basket Folds
The easiest way to mark the side slits is to fold the paper square. Therefore, I used a pencil and ruler to mark my fold lines at two and 4 inches on each side.


Mark fold lines
Next, I folded the paper at two marks to the same marks on the opposite sides.
Note: I folded the paper towards the outside.


Two Sides folded
Then I repeated the folded for the other two sides and erased my pencil marks.


All sides folded
Cutting the Basket Sides
Next, I cut the paper with scissors making two-inch slits along the folded lines on the sides.


Cutting side slits
The sides with the slits cut are ready for assembly.


Slits cut
Assembling the Paper Basket
I folded all the folds in the opposite direction to form the basket.
Then, I folded up the side pieces keeping the left and right flaps on the outside, and placed a dot of hot glue between the center side square and the folded up side squares. I used a clothespin to hold them in place while the glue dries.
Next, I repeated this process for the opposite side.


Glue sides
Basket Handle
The handle can be attached with tape or glue to the sides of the basket if you want it stationary. However, I used brads to attach the handles to make it movable.


Attach handle
The 12″ long handle works best against the bottom of the basket since it provides more stability.


handles with clothespins
Once the handle and sides aligned, I placed a clothespin to hold everything in place.
Next, using a hole punch, I made a hole through the sides and the handle.


Punch handle hole
I repeated this process for the other side. Then I added a brad through the sides and handle and then opened the brad on the side.


Insert brad
This method of attaching the handle allows the handle to be movable.


handle on one side
Fill your baskets with decoupaged eggs, candy eggs, or small gifts.
This is a great project to use leftover strips of paper, paper scraps, etc.


DIY Easter Paper Baskets
More Fun Craft Ideas You Might Like:
Fill a door basket with season flowers to welcome family and friends.


Sunflower Door Basket
Easy DIY Hanging Mason Jar Lights.

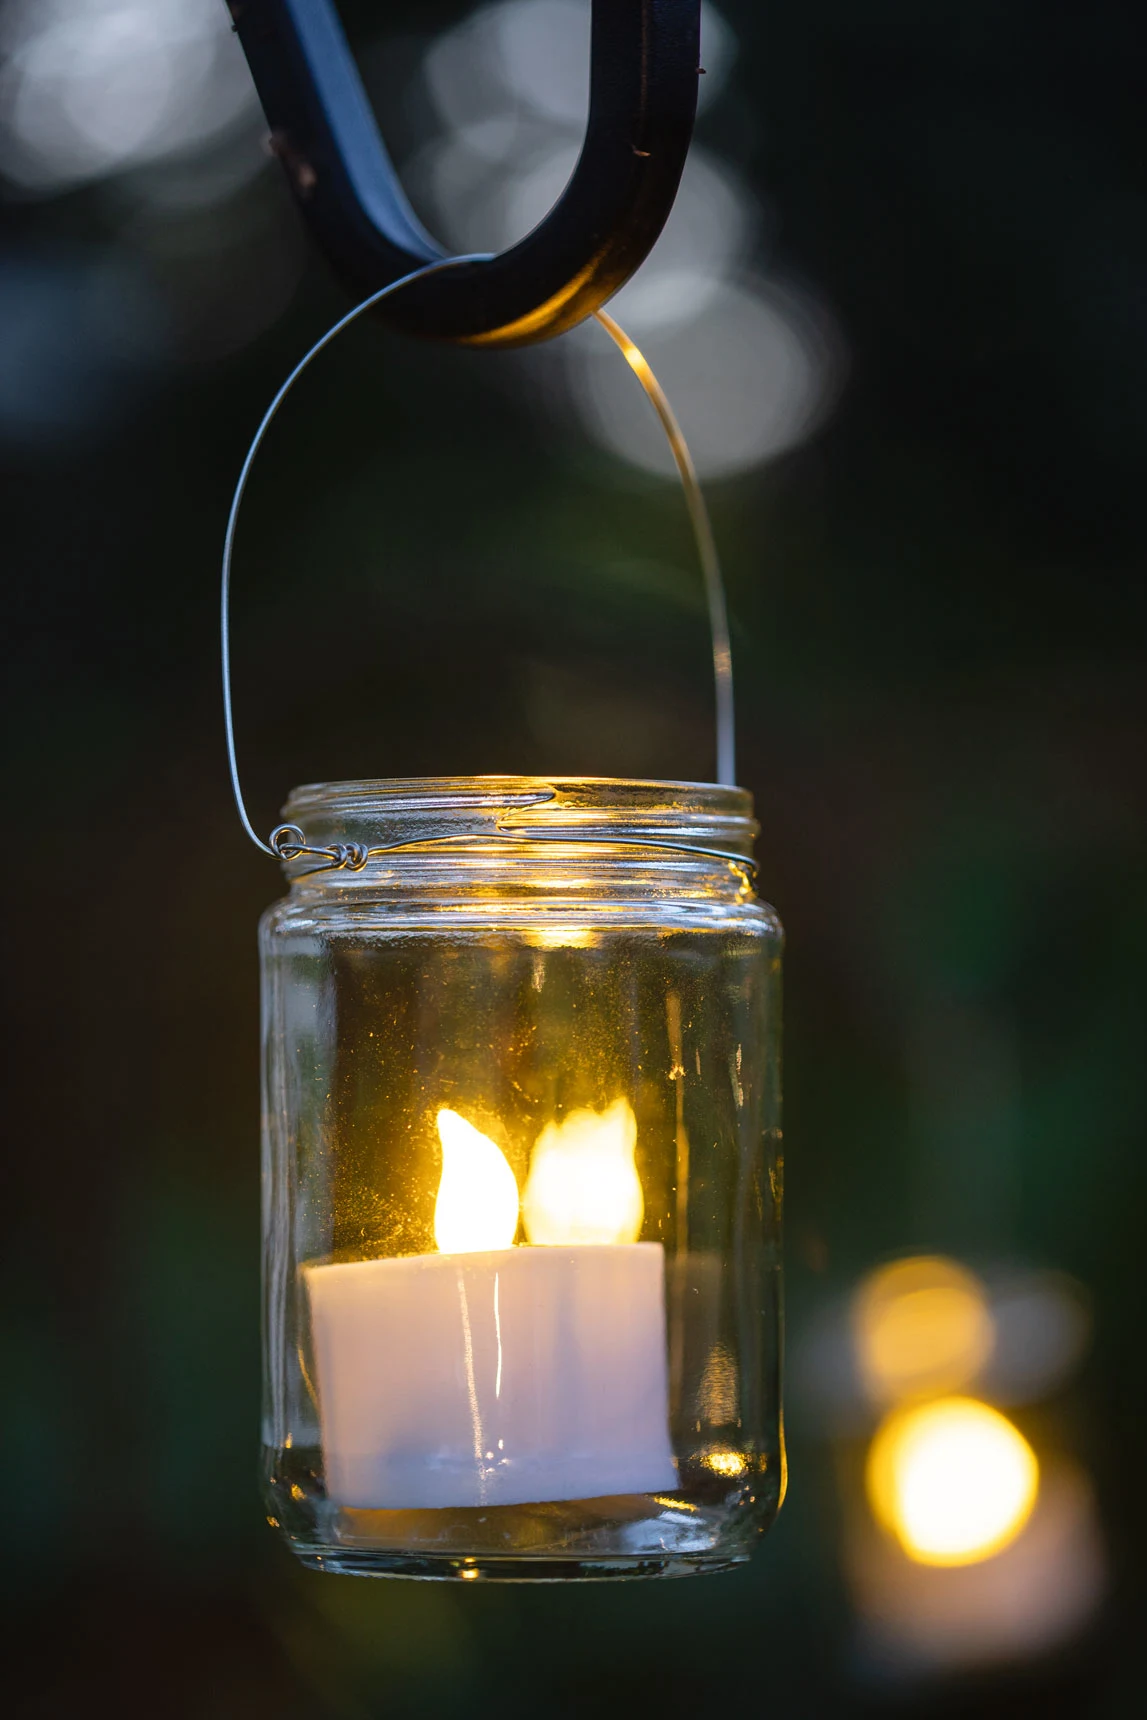
DIY Hanging Mason Jar Lights
Want More Crafting Inspiration?
Please join me (HERE) as we craft up some fun.
You can look forward to receiving new inspiration every week, including special online crafting events and seasonal and holiday crafting.
Thank you for your visit today,
Kippi
Rachel Harper
Friday 8th of April 2022
Kippi, These baskets are just precious. I'd like to share a link to your tutorial on Sunday. I've pinned and can't wait to try this craft idea.
Rachelle
Friday 18th of March 2022
Kipi, these look like something from my childhood in all the good ways. What a pretty idea for gifting! Rachelle
rosemary palmer
Thursday 17th of March 2022
Love these - I could see them on a table all year long in different colors as a hostess gift. Or filled with treats.
maria
Thursday 17th of March 2022
I love your take on the paper basket very cute.
Brooke Fedigan
Thursday 17th of March 2022
These are way cute! Love how they turned out and your easy step by step is just perfect. I'm for sure going to give these a try. Happy Easter Season