Learning how to make tin can planters is perfect for repurposing tin cans. So, I collected cans for crafting and decided to make some tin planters.

Tin Planter
This post contains affiliate links. In other words, if you purchase from one of these links, I will make a small commission, but rest assured, you will not pay more for any products.
DIY Tin Can Planters
These planters are so easy, fast, and inexpensive that you want to make them for gifts and decorating.
Supplies to Make Tin Can Planters
After gathering your supplies, you are ready to create a one-of-a-kind tin can planter.
- Tin cans
- Transfer (this is the one I used)
- Napkin
- Paint
- Wood
- Hammer
- Wirecutter
- Wire
- Hole punch (love this tool {toy})
- Ribbon
- Foam
- Flowers
- Can opener
- Wood beads
- Mod Podge
- Heat tool
- Gold gilding wax
*** I highly recommend you watch the how-to video before you begin.


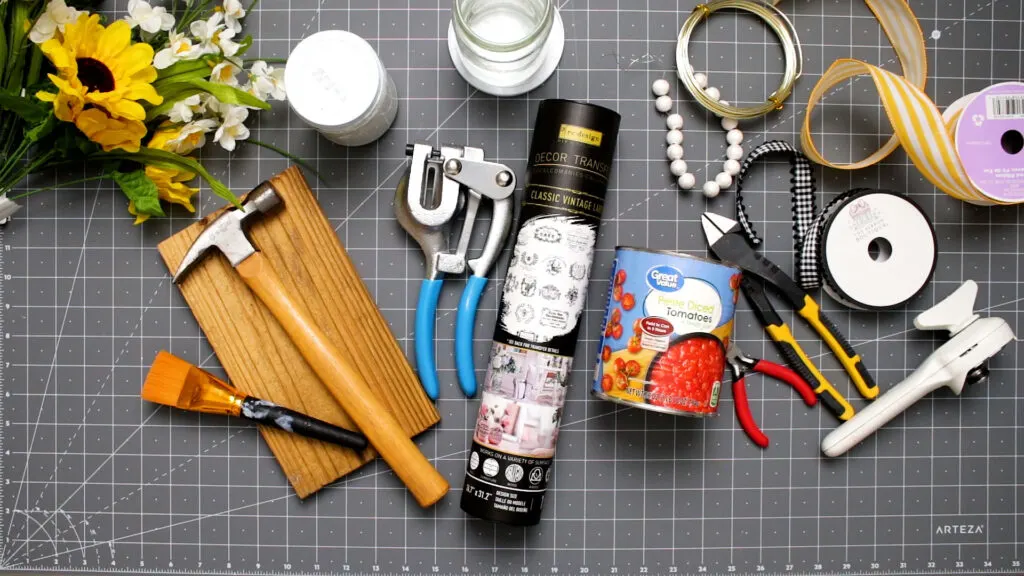

Tin flower pot Supplies
Step-by-Step Directions for Recycling Tin Cans – Planters
Step 1. Prepare Cans:
Before making your planter, give your cans a good scrub and allow them to dry.
Remove the label and glue. I used a heat tool to melt the glue.
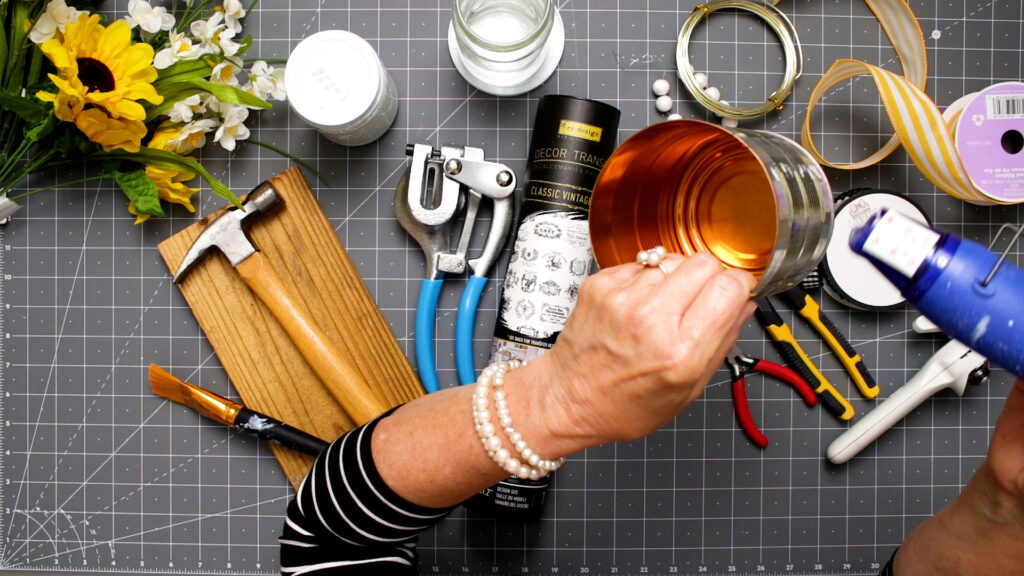


Heat label glue
Next, I removed the bottom of the can with a can opener that leaves a non-sharp edge.
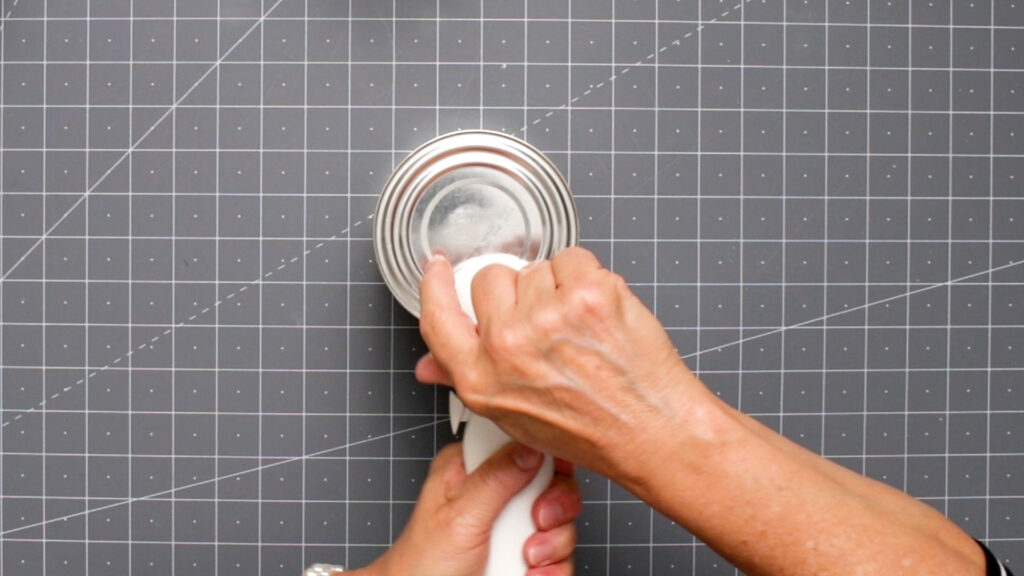

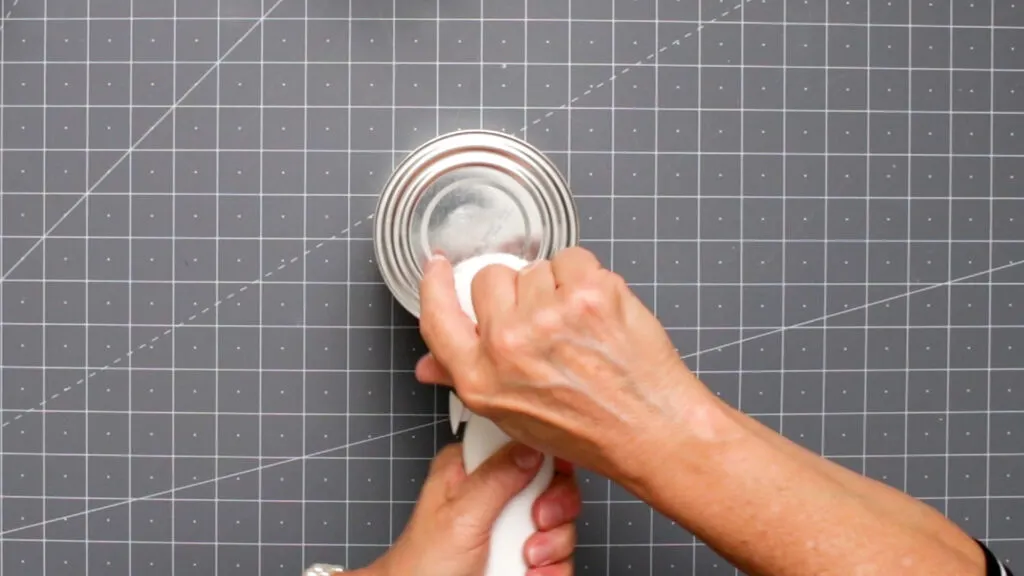

Remove can bottom
Step 2. Smashing Cans
Then I figure out where my sides will be before smashing the can.
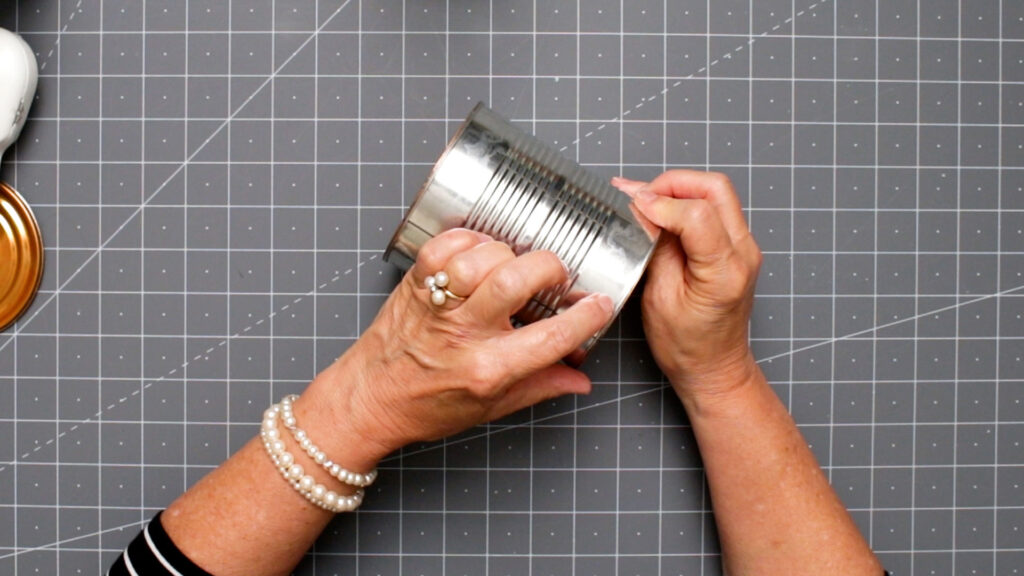


Sides of the tin pot
Next, I slowly start bending the can but not crushing the sides.


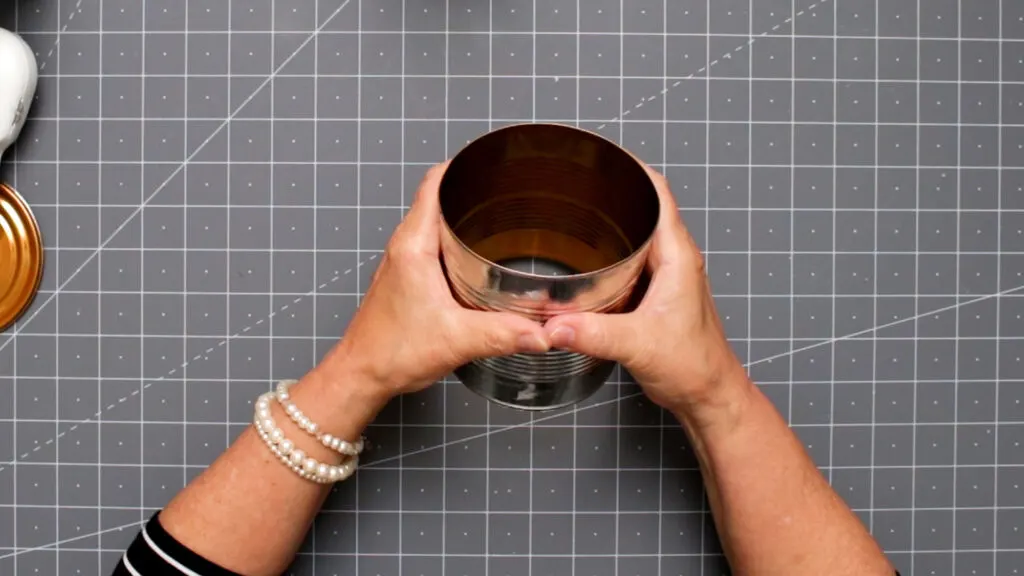

Forming the can
To close off the bottom of the can, I place my can on a piece of wood. Then I use a hammer and start hammering the bottom edge closed.
I turn it over and repeat the process.


Smash the bottom
Step 3. Punch Holes
To make the holes for the handle, I use a metal hole punch.
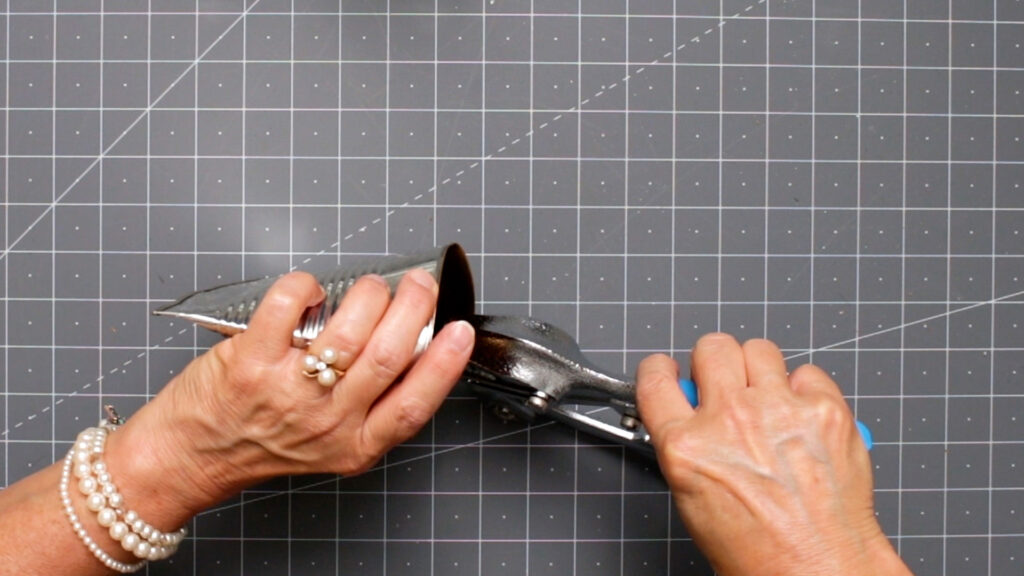


Punch handle holes
Step 4. Painting and Transfer
Next, I paint the can and allow it to dry.


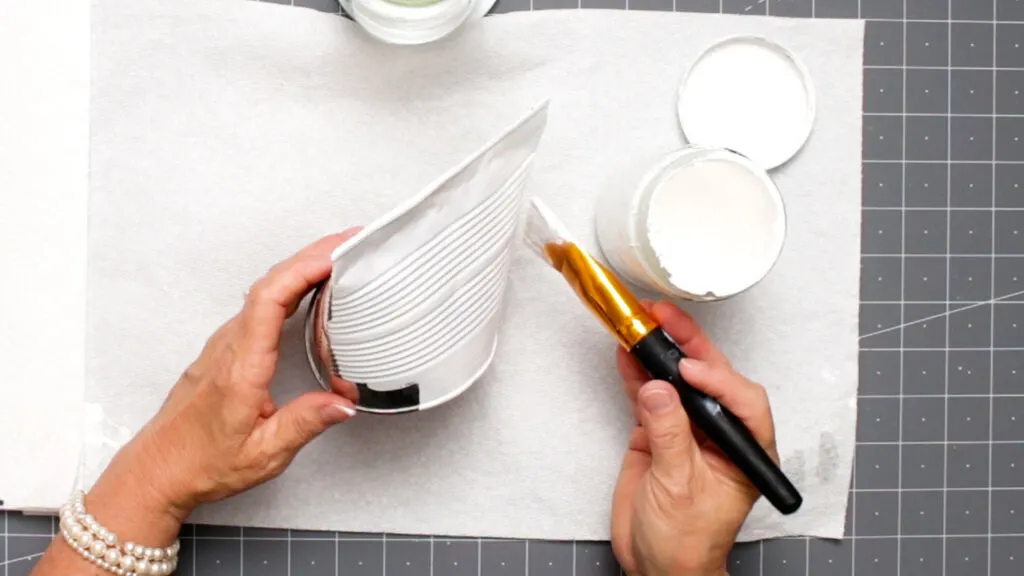

Paint the can
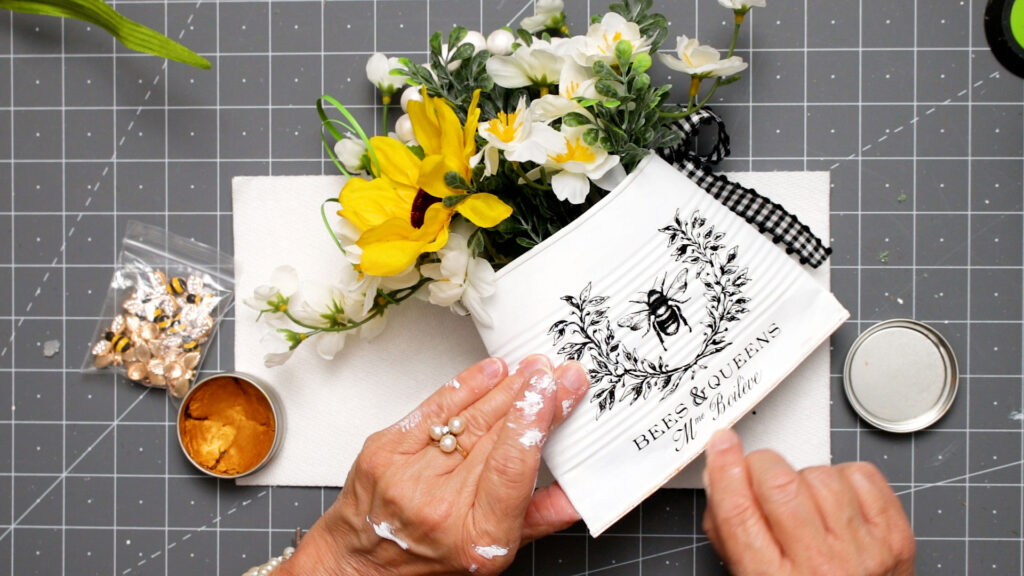
Then I position my transfer in the center front.
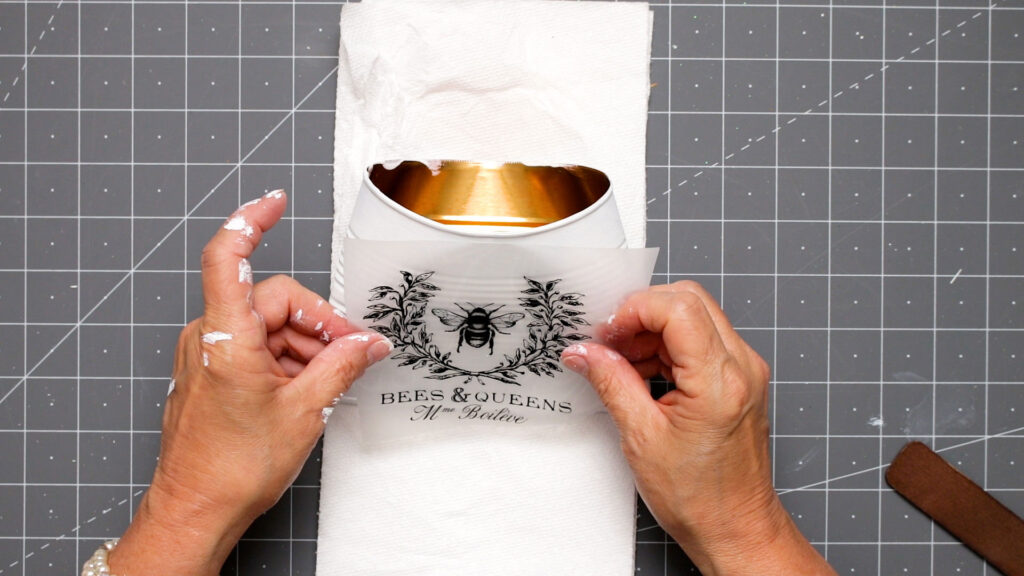

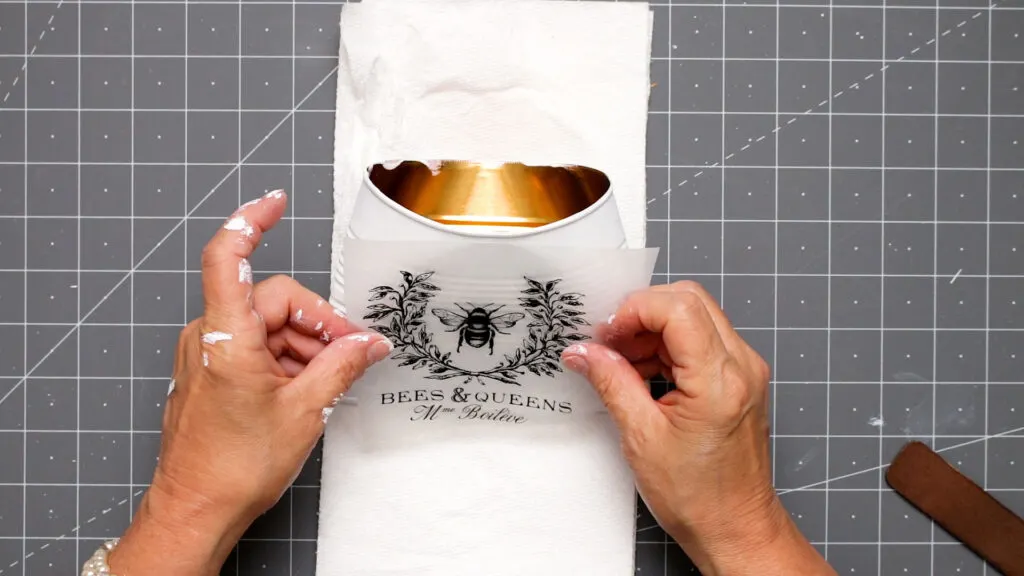

Center the transfer
Next, I started rubbing the transfer using the wooden tool provided with the transfer.


Rub on the transfer
Please enjoy this YouTube video, and don’t forget to subscribe to our YouTube channel.
Step 5. Filling and Adding a Handle
Then I fill the tin planter with craft foam.
Note: If you are planting real flowers, line your can with weed block or burlap to hold your soil. Then will with potting mix and your flowers or seeds. There will be small gaps or holes in the bottom for drainage.
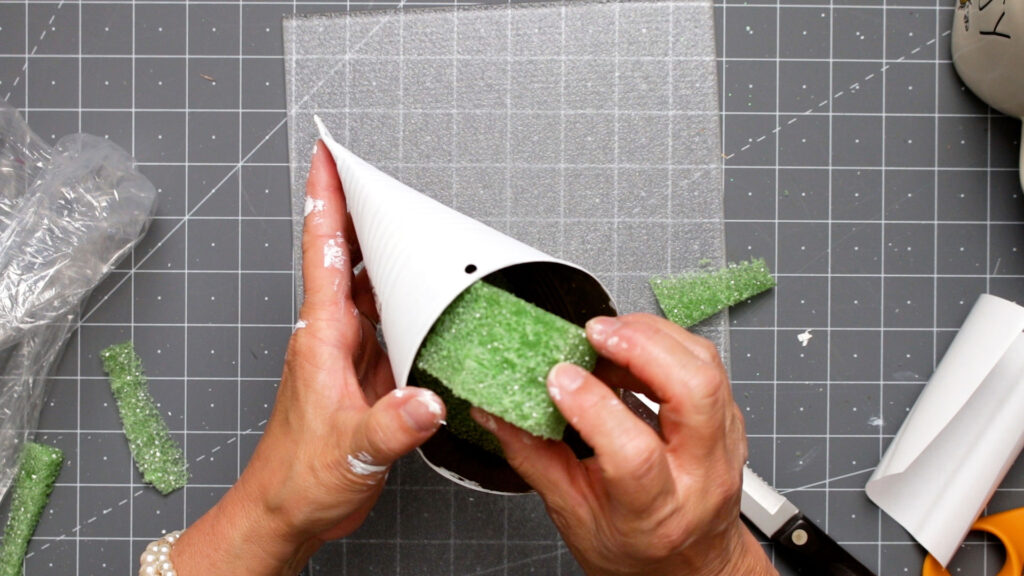


Fill the planter with craft foam.
You can add painted wood beads or use plain wire for the handle.
Place the wire through the holes to form a hanger or handle.
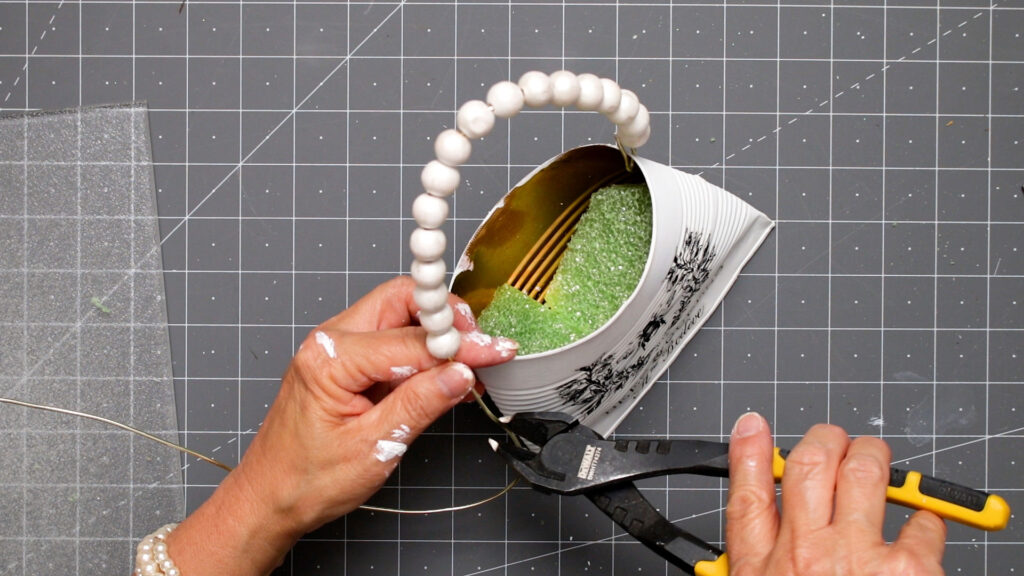

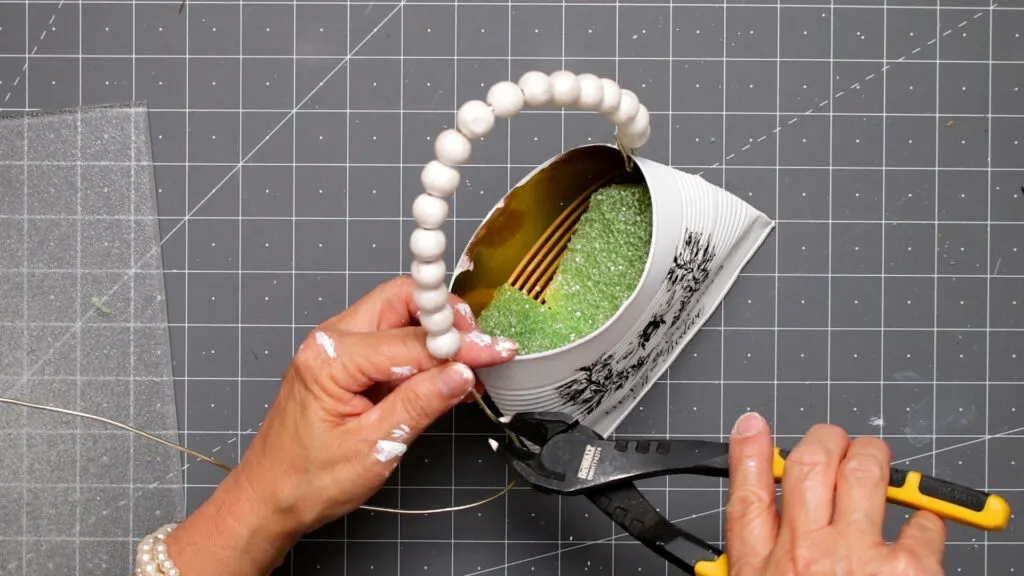

Adding handle
I like to add a simple ribbon or lace bow to the handle.


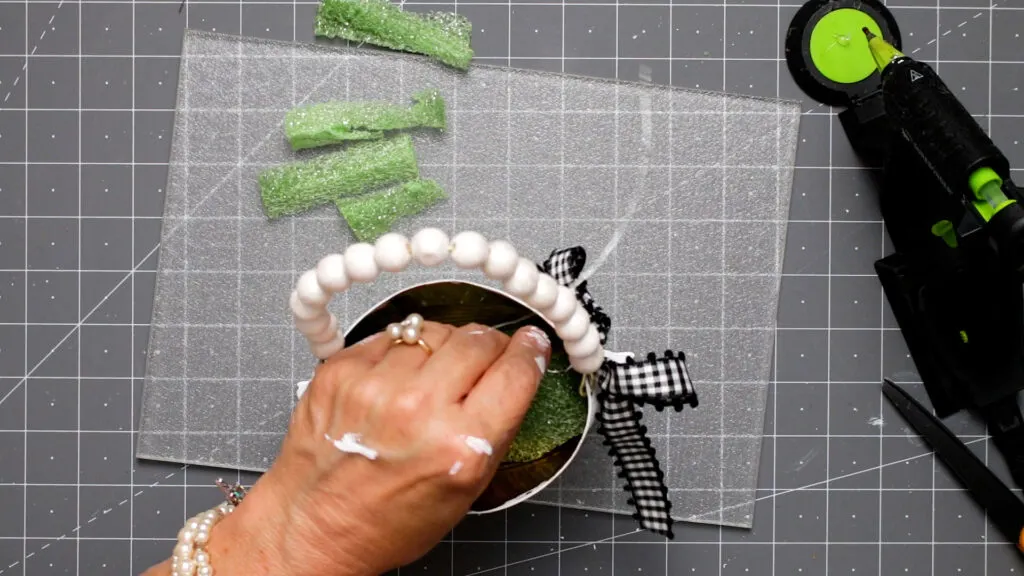

ribbon bow
Next, I fill the basket with faux flowers using craft foam to hold the flowers in place.
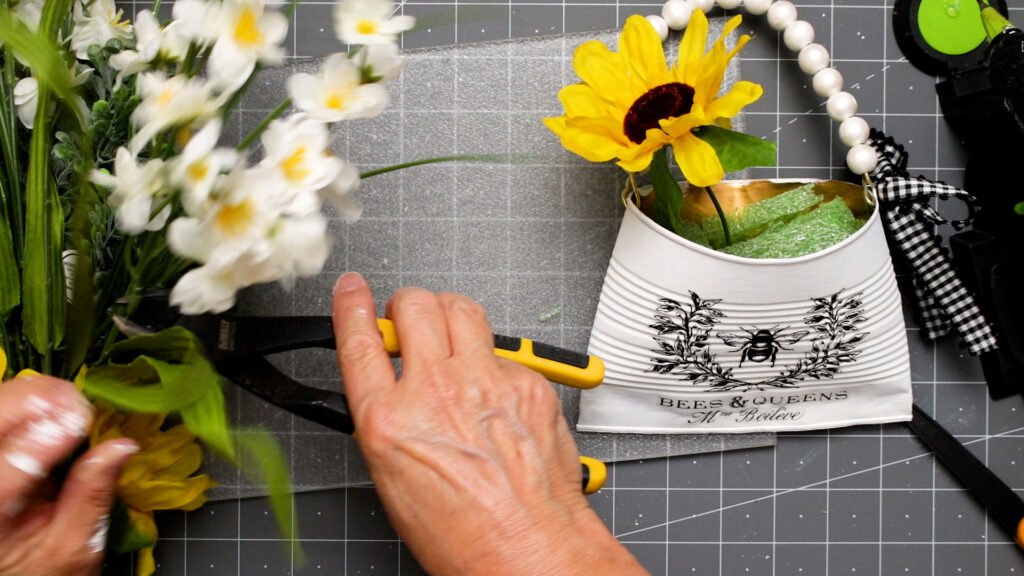

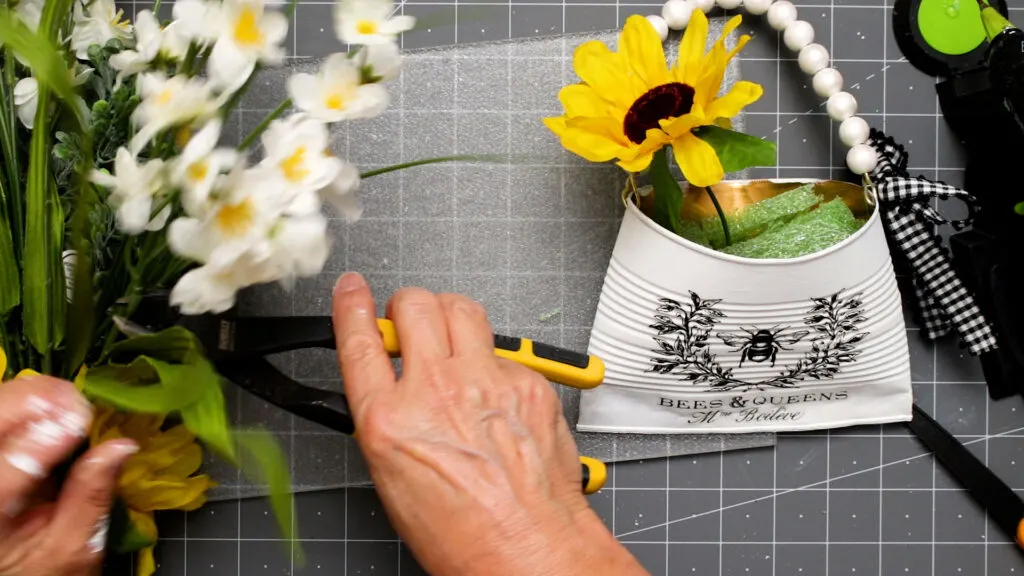

Add flowers
Step 6. Rub on Gold
Lastly, I rub on some gold gilding wax to the top and bottom rims of the can.

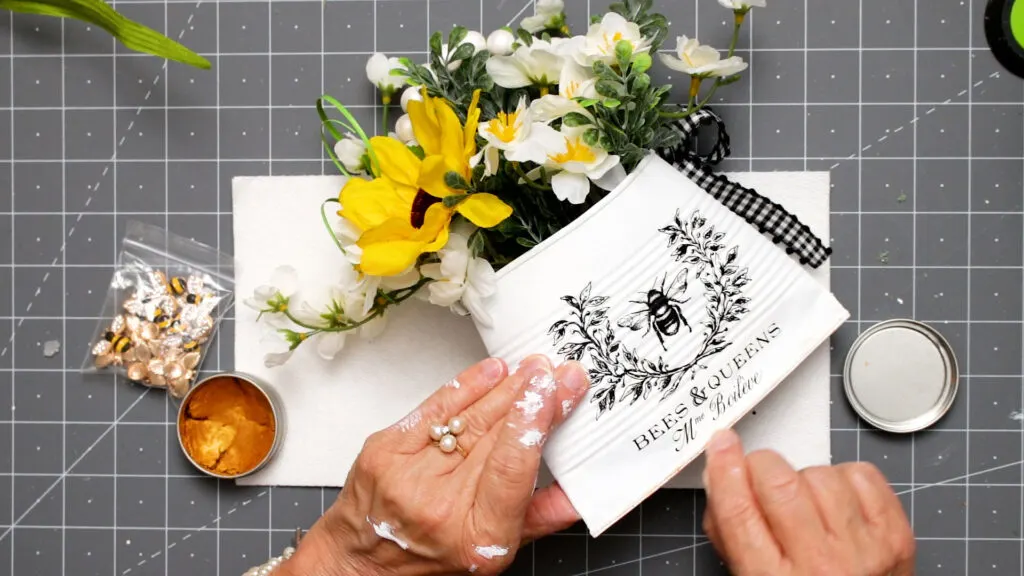

Rub on Gold Wax
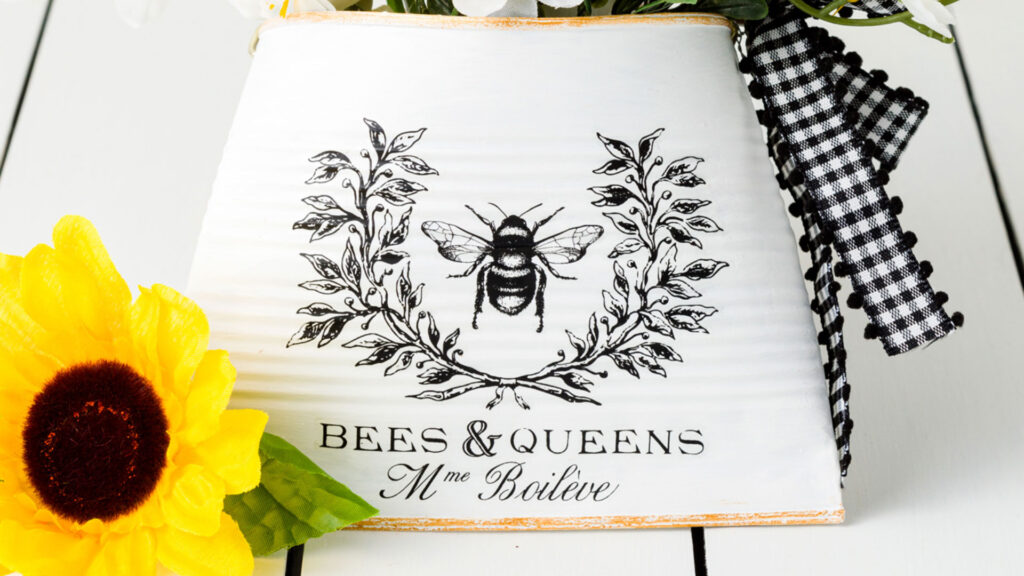


Bee tin planter
More Tin Can Plater Options
You can decoupage a gorgeous napkin on your planter for another unique look. See how to decoupage in this earlier post.
You can watch the how-to video for this planter in this planter how-to video.


Decoupaged Lavender Tin Can Planters
You might like this fun bicycle decoupaged napkin basket with flowers, lace, and a sweet bird. You can watch the how-to video for complete instructions.
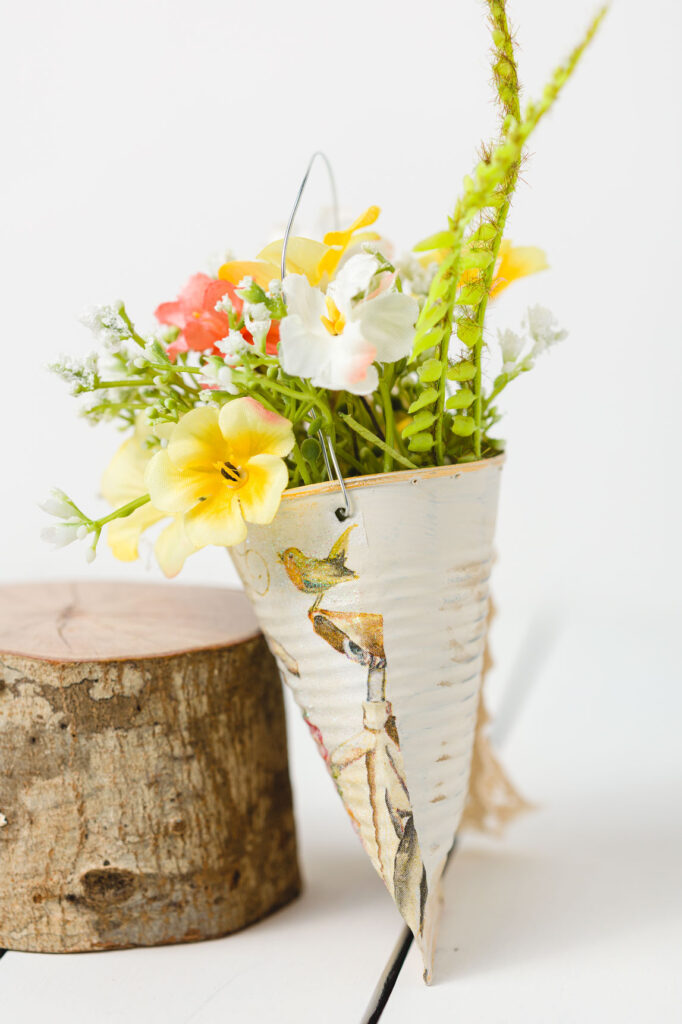

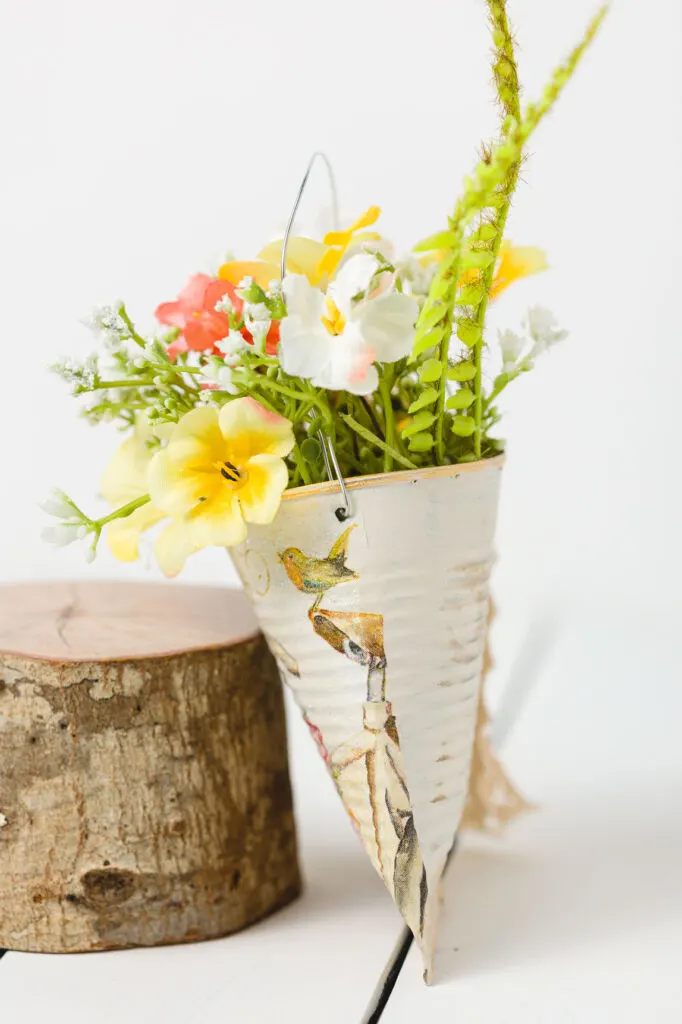

side view
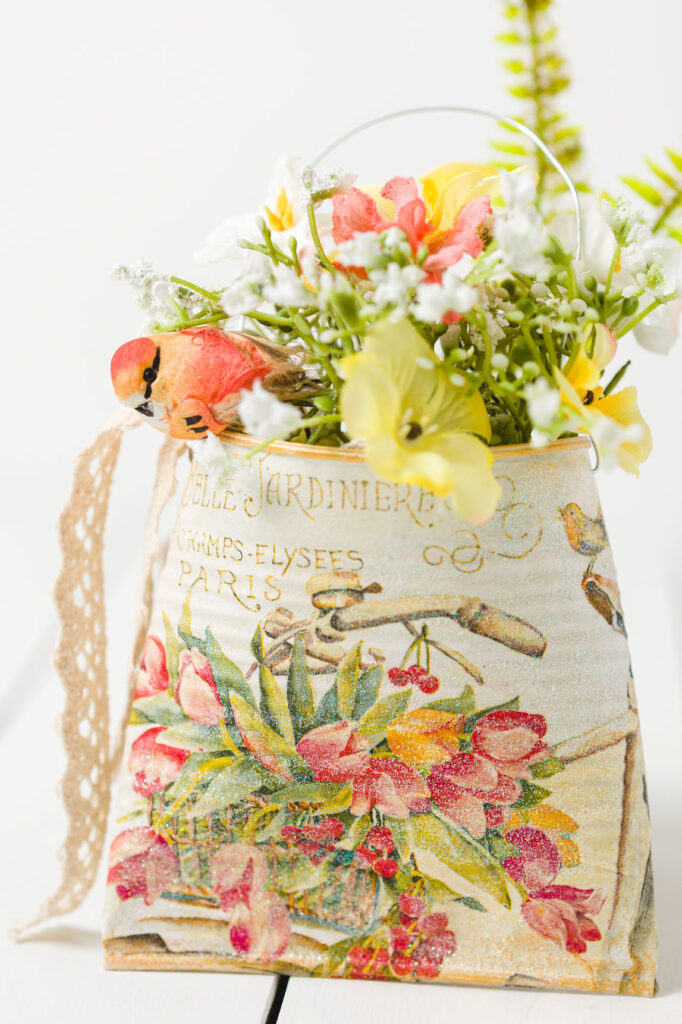

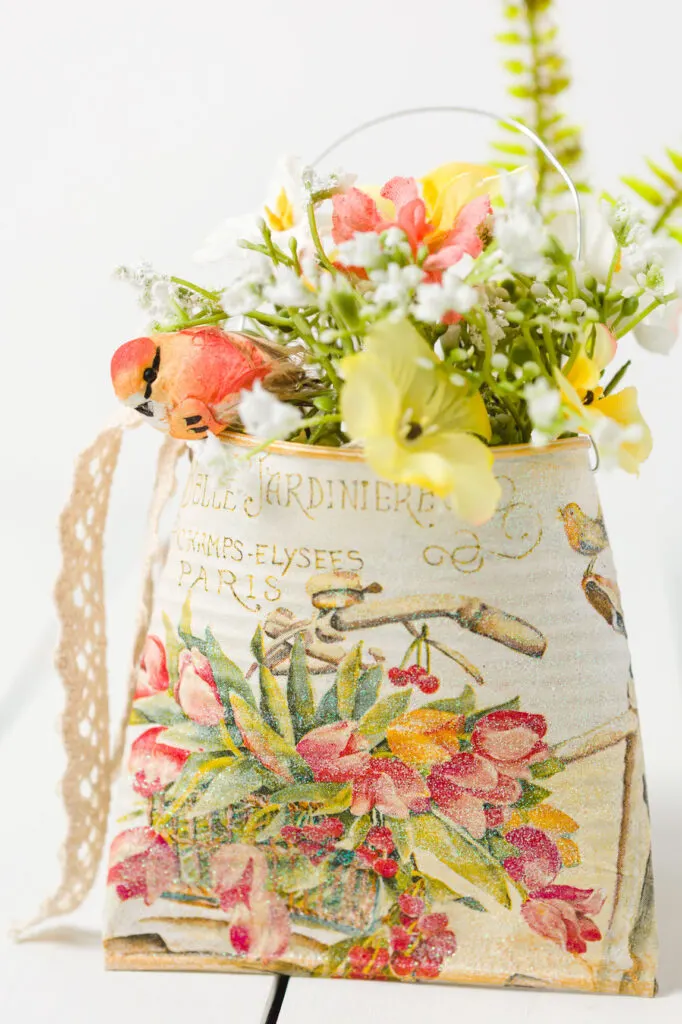

Napkin decoupage can with bird


Planter on table
More Inspiration You Might Enjoy:
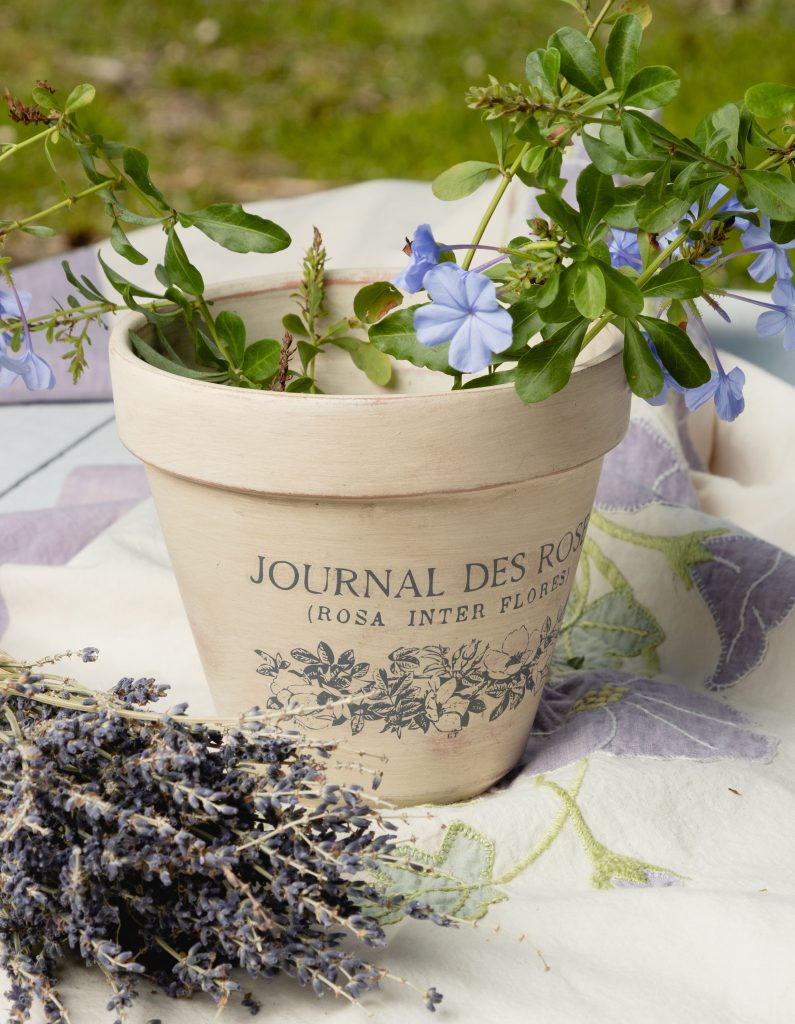


Transfers
Want More Craft Ideas?
Please join me (with this form) as we craft up some fun. You can look forward to receiving new inspiration every week.
See you soon,
Kippi
Ps. This post was shared on Between Naps on The Porch


Hot Ride
Tuesday 23rd of April 2024
Great tip! It's essential to start with clean, dry cans for your planter project. Removing the labels and glue can be a bit tricky, but using a heat tool to melt the glue is a clever solution. Thanks for sharing this helpful prep step! Mobile Car Detailing In Bankstown
Harriet
Monday 4th of December 2023
Neat idea!!! Thanks for the great directions!!!!! 😊👍
Rita
Wednesday 18th of October 2023
I want to turn these into Christmas tree ornaments.
Beth
Thursday 4th of May 2023
This is a BRILLIANT upcycle, Kippi!! I’d love for you to join us over at the Team Creative Crafts Linky Party every Wednesday through Sunday https://creativelybeth.com/creative-crafts-linky-party/ Followed and Pinned! Creatively, Beth
Leanna
Wednesday 1st of March 2023
Very very cute Kippi. I love the addition of the wood beads to the hanger on the bumble bee tin can planter.