This summer, we have been working on some updates to get our home ready to sell such as, a bedroom makeover, bathroom remodel, updating landscaping, and building trellises with lanterns. As I stood back to admire the new bushes on the house’s backside, I noticed how unsightly the garden hoses were. Something needed to be done to organize and store our garden hoses, but it had to coordinate with the new landscaping’s overall atheistic.
Since this month’s DIY Project Challenge was to create something using wood, my DIY garden hose holder and storage post with hooks and solar light fit the criteria, hence I designed a garden hose holder and a little deck for the watering station. You can see the photo below.
DIY garden hose holder

This is what our hose storage area looked like before building our DIY Hose Storage Post.


Before Garden Hose Storage Post
This post contains affiliate links. This means that if you purchase from one of these links, I will make a small commission, but rest assured, you will not pay more for any products.
How to Build a DIY Garden Hose Holder
Before I get started building or working in the yard, I like to put on a hat, sunglasses, and gloves for protection.


Garden Hose Holder Hooks
Supplies
- 4 hooks
- 4 by 4 by 48″ long pressure-treated (post)
- Solar post cap
- Gorilla Epoxy
- Quikrete
Note: I chose to use 2 hooks on either side of the post that coordinated with hooks I used on my trellis for hanging plants. See the inspiration hooks below.


Hanging planter hook
Tools
Planning the garden hose post with hooks
I began by gathering my tools and supplies. Next, I determined the post’s height, the distance from the house, and the water spigot. I made a chalk mark on the brick to mark the place, and then I measured out from my mark on the brick to find the perfect location to start digging a one-foot-deep hole.
Installing Garden Hose Post Step by Step
Once the hole was ready, I placed the post in the hole and poured dry Quikrete in, and filled it around the post. I used a level to make sure the post was straight.
At this point, I gently added a quart of water and let it soak into the dry Quikrete. This is my secret Quikrete method that is so easy with no cleanup! Let the Quikrete set up for 4 hours.
Learn more tips and tricks and be inspired by joining our newsletter will not miss out.


Waiting for the Quikrete to setup
Quikrete
When the Quikrete was set, I added the hooks. I determined the hooks’ placement by rolling up the garden hose and then holding it up to see where I want it and marked it.


Holding the hose to figure the hook placement
Hook placement
Checking the hook placement
To determine the hook placement, I held 2 hooks up to the post and marked where I wanted to install them. I decided they would work best on either side of the post instead of front and back.
Attaching hooks


Installing hooks
DIY hose holder post with hooks and post cap solar light
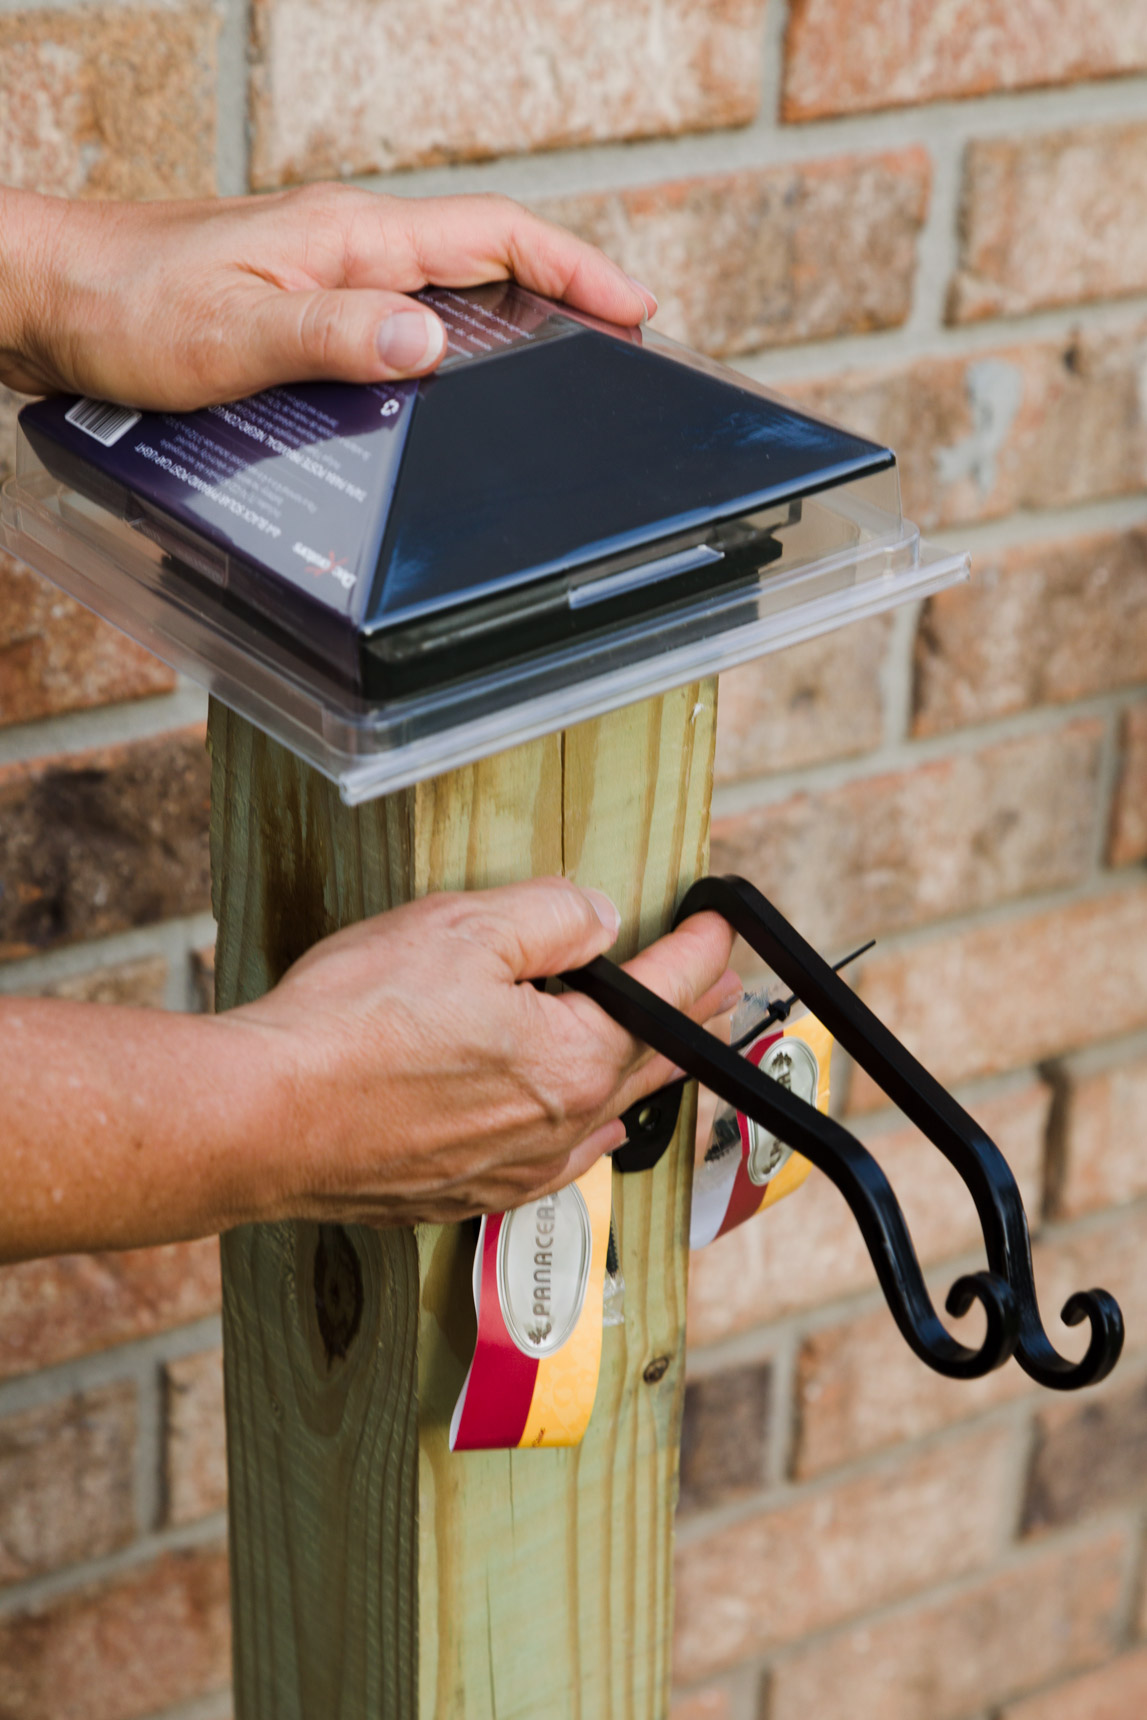
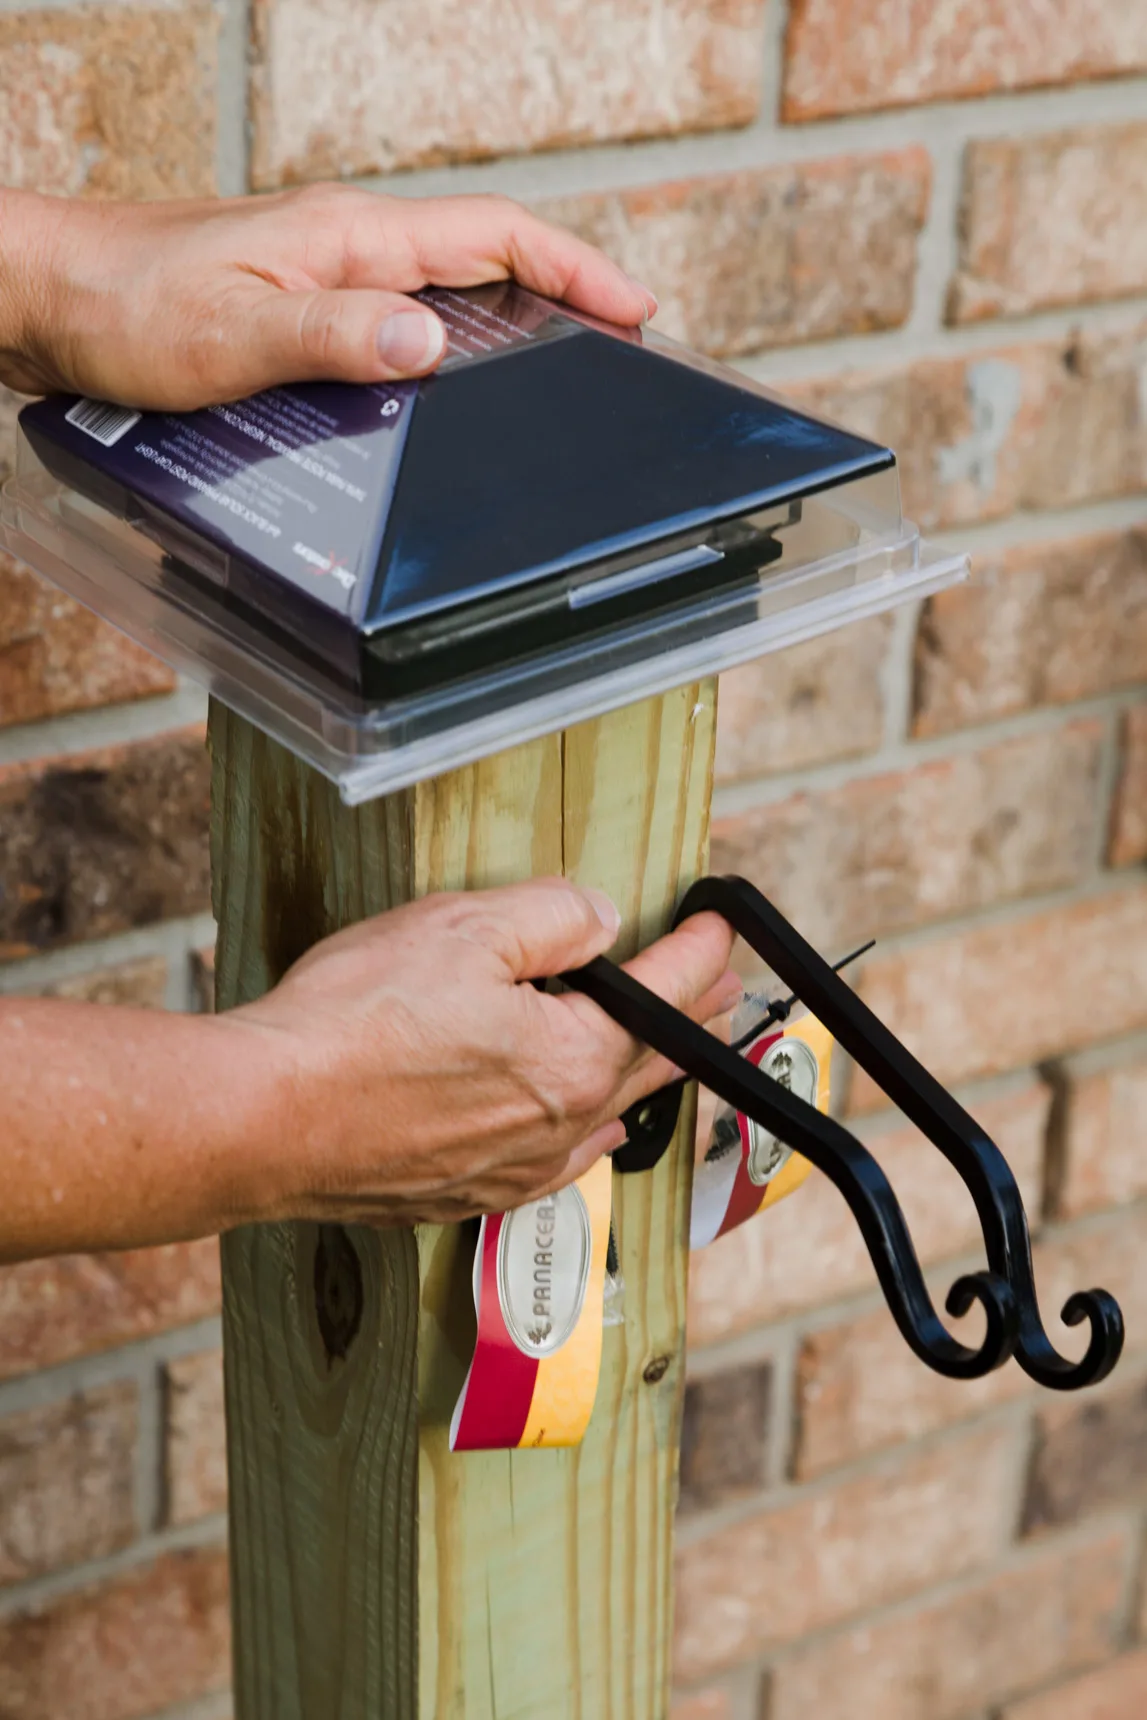
Solar Post Cap
Next, I added the post cap with solar light. I choose Gorilla Epoxy to attach the cap.


Solar light post cap and Gorilla Epoxy
The final step was adding the solar post cap light. See in the photo below how I mixed the Gorilla Epoxy on the packaging with the stir stick. That was so easy. I added a dollop of the epoxy mixture to each corner of the post then pressed the solar post cap in place.


Garden hose post with hooks


Finished garden hose organizing post with hooks and solar light post cap


Closeup of completed garden hose storage wooden post with solar light
Finished deck and garden hose holder post with custom hose hanger
You can see how we build this easy floating deck HERE.


Landscaping and hose storage
Solar cap light at night
The solar light helps me find my way when I need to turn off the hose after dark, and it looks great with all the other solar lights in our yard. See an earlier post about my solar lanterns.


Nighttime view of the post with the solar light
Some of the other landscaping updates
These easy DIY projects have a cohesive overall aesthetic since I designed everything with a similar style, materials, and colors.
Some of my favorite gardens find:
This is the BEST water hose I have ever found. It is a featherweight, and that’s a huge bonus; with our yard being 11 acres, we have many hoses, and they can get super heavy, but this one is a dream to manage. You see more of my favorite finds HERE.


My favorite garden hose
Remember that I said I had an 11-acre yard? To that end, I need a sprinkler that covers a huge area, and this one is the best I have found! It fits perfectly on my new garden hose holder.


The best sprinkler hung on garden hose holder
You might also enjoy these DIY projects too:
DIY Garden Obelisk with Solar Lights


Garden Obelisks
Garden Watering Station Floating Deck


Floating deck watering station with a water hose holder


Night Time Trellis
DIY Outdoor Lighting – Solar Lanterns


Garden trellis solar light lantern


DIY Window box – Flower planter
You also enjoy our Better Homes & Garden One Room Challenge Post

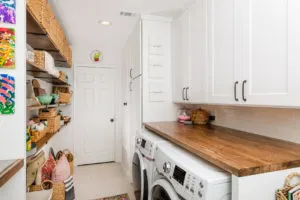
Laundry Room Makeover Reveal – Laundry Room After Photo
More inspiration
**If you are ready to plan your outdoor dream space, please join me as I create the "Best Life Now" in our gardens (join HERE).
DIY Project Challenge with wood project reveal
I am honored to be a member of this amazing group of DIY bloggers. They inspire and dazzle my readers and me every month with their stunning projects, and this month is the best one yet. So please hop on over and see all their projects.
Herb box
Stop number one is Lia from Southern Yankee DIY is sharing how she build this lovely herb box. It would look great as a centerpiece all year too!
DIY Herb box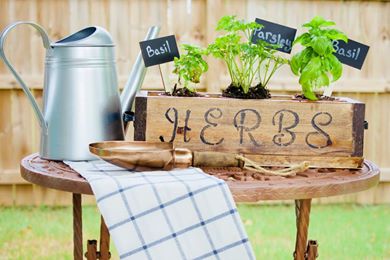

DIY Gable Roof
The next stop is this stunning over-door DIY Gable Roof made by Rachel at Joyful Derivatives. It is a magical look with the design and her color choices.

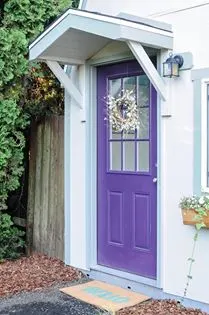
DIY Gable Roof over the door
House number planter box
The third stop is easy to find with the house numbers beautifully displayed over at Pam’s DIY Vibes. She made her house numbers into a swoon worth project. You are going to want to make one too.

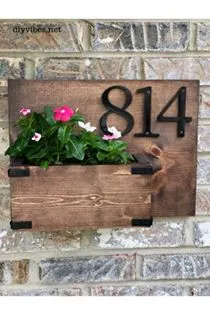
DIY house number sign
Screen porch
If you are ready to be amazed by a beautiful porch transformed into a beautiful screen porch, then hop on over to see how Ashley from Emory Farm DIY’ed the project.
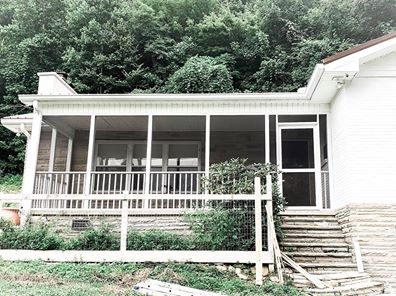

How to add screens to your porch
Ladder Ball
We are all serious DIY’ers, but we are NOT all work and no play. So to that end, my friend Eileen from Sand Dollar Lane is sharing how she whipped up her DIY Ladder Ball Set for some summer fun. It is just in time for back to school, and her kids are lucky to have a game of ladder ball to look forward to when they get home from school. Learn how to make this, too, by hopping over to Sand Dollar Lane.
-


- Supplies for ladder golf lawn DIY
-
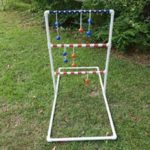

- DIY Ladder Ball Set
That was a fun and inspiring roundup tour of the outdoor DIY Project Challenge. Did you find something you would like to DIY? Let me know what you liked best in the comments below.
Thank you for visiting,
Kippi
Janet Clark
Wednesday 12th of May 2021
Great idea Kippi! I hate a hose just piled up but think those plastic boxes look cheap. This is classy looking as well as useful.
Timika B.
Saturday 3rd of October 2020
I love the hose station - will be trying this soon! I also LOVE the row of plants alongside the house. What type of plant is this?
Finlay
Thursday 27th of February 2020
Hello! Would you mind if I share your blog with my myspace group? There's a lot of folks that I think would really appreciate your content. Please let me know. Many thanks
Dee | Grammy's Grid
Monday 12th of August 2019
Thanks so much for linking up your post at the #UnlimitedMonthlyLinkParty 3! Am I overlooking your share buttons? This is a one I'd love to share :)
Julie Briones
Sunday 11th of August 2019
That you added a solar light to your garden hose stand is such a smart idea, Kippi! We are blessed to have you at Tuesday Turn About, friend! Hugs! Miss you!