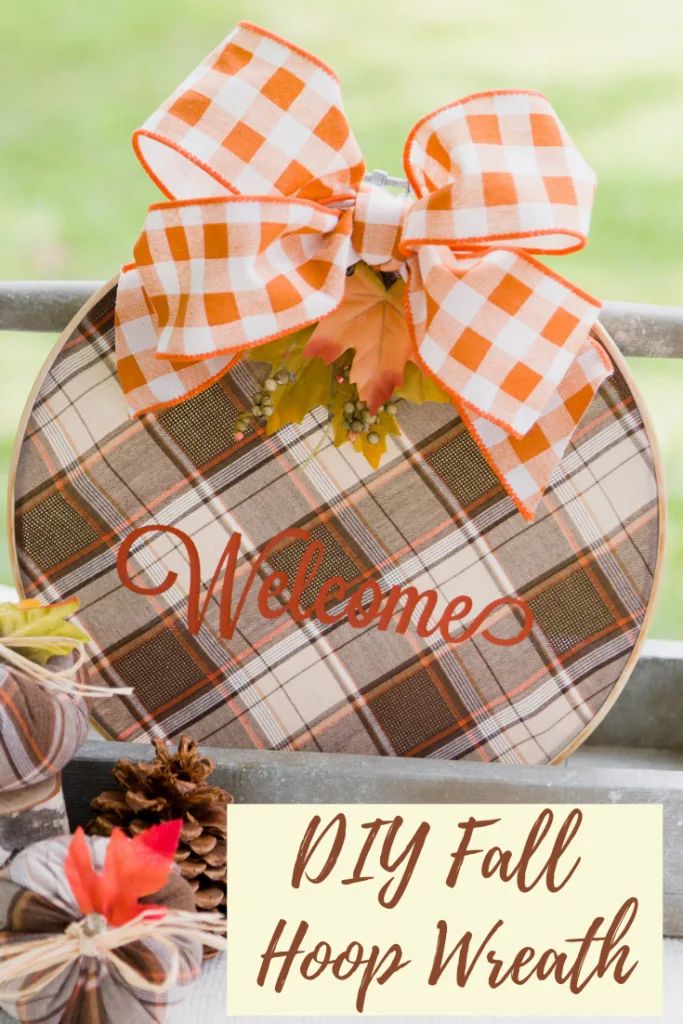
Fall is in the air, well, the current temperature is 91 degrees, so maybe its just me. I am so excited since my favorite time of year is Fall, hence I am in full Fall decorating mode as soon as I see the first fall decor in stores. DIY fall embroidery hoop wreath is my next Goodwill shirt project. One of my favorite projects from last fall was making Goodwill shirt pumpkins. I even offered a make and take for my local community to join me making them. This year I decided to offer the make and take class again, but I am adding a demo of the DIY easy Goodwill shirt fall wreath with the easy buffalo check bow.
Fall embroidery hoop wreath
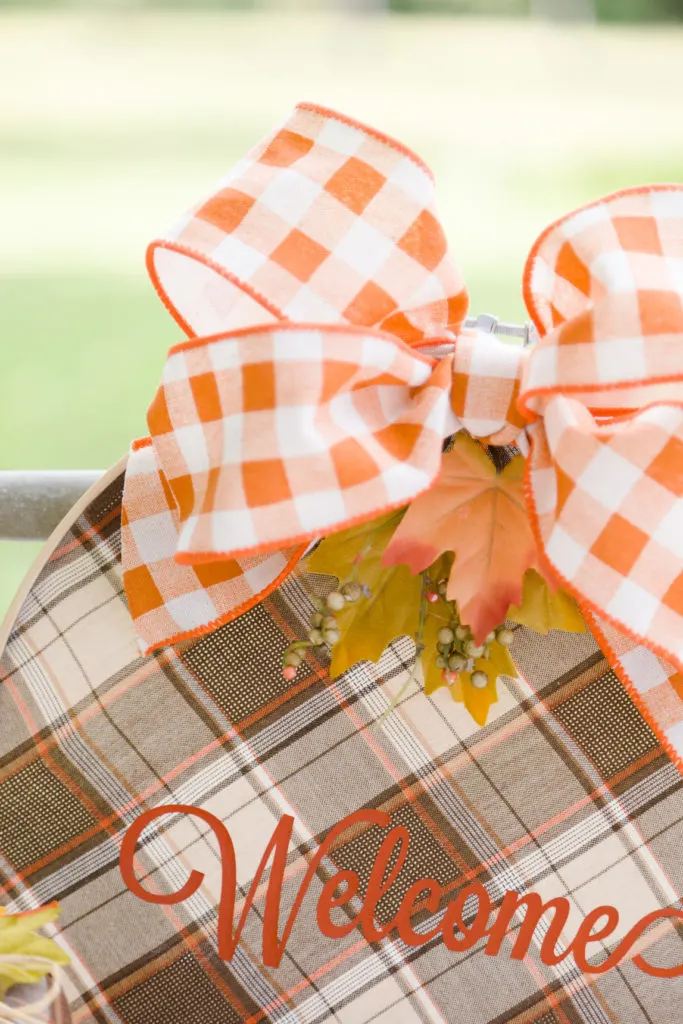
DIY Fall Wreath
How to make an Easy Fall Wreath
What you need:
- Old shirt (Goodwill, thrift store, or your closet)
- SVG file
- Embroidery hoop
- Cricut maker
- Easypress 2
- HTV vinyl
- Cricut Easypress mat
- Teflon sheet
- Ribbon
- Leaves
- Chenille stem
- Chalk
Step 1:
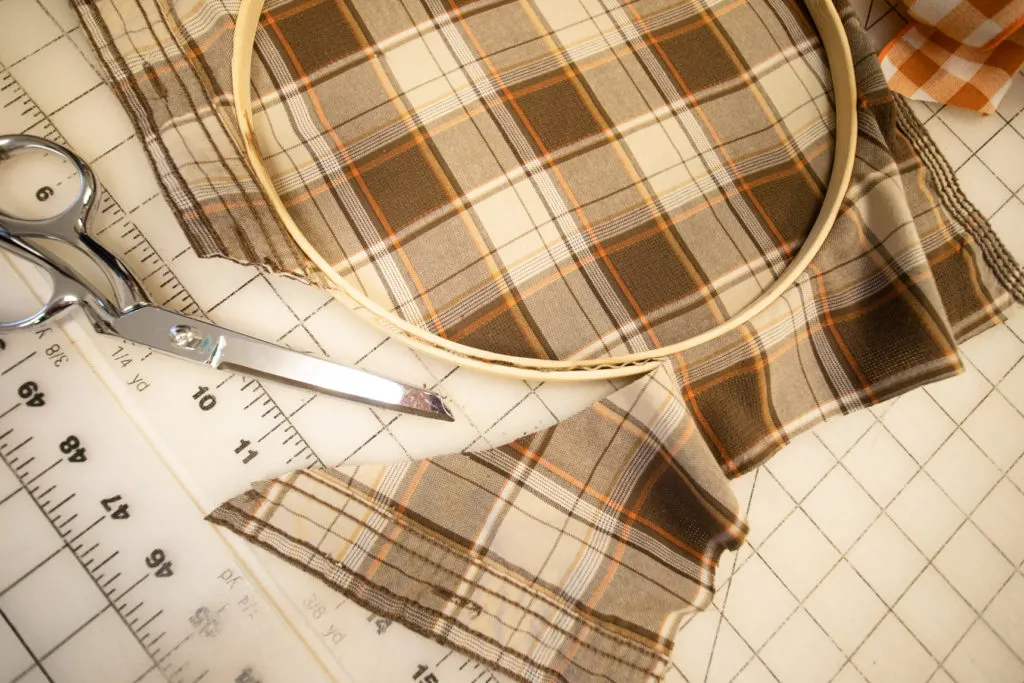
Cut out a piece of your Goodwill shirt a little larger than the embroidery hoop. I wanted to make my wreath with the plaid on the diagonal so I placed my hoop on the fabric and marked with chalk the outer edge of the hoop and the top with a line.
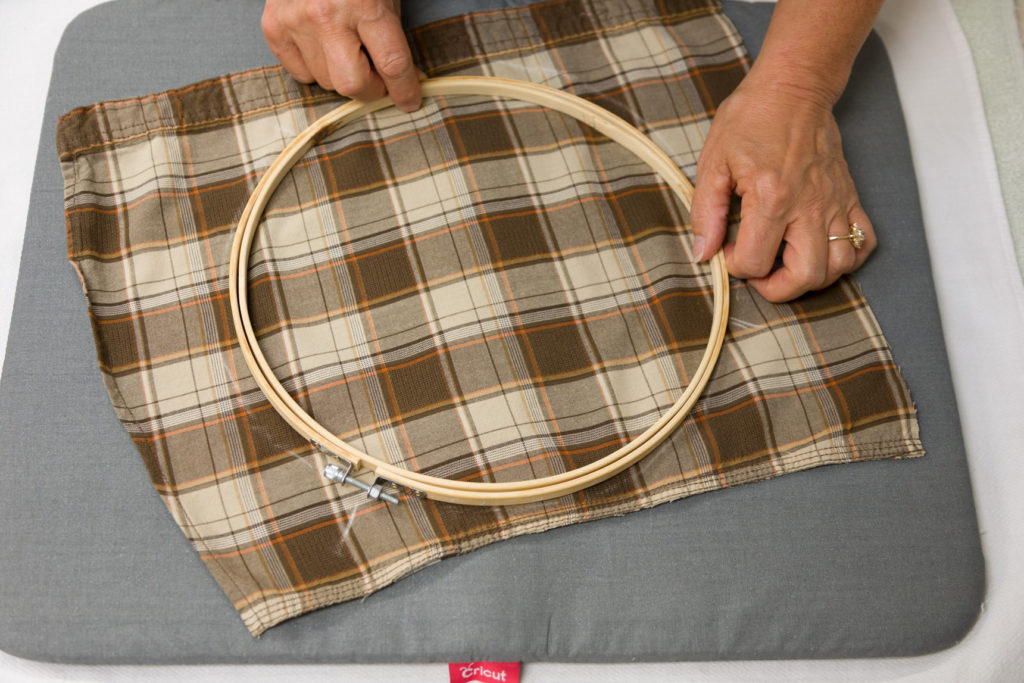

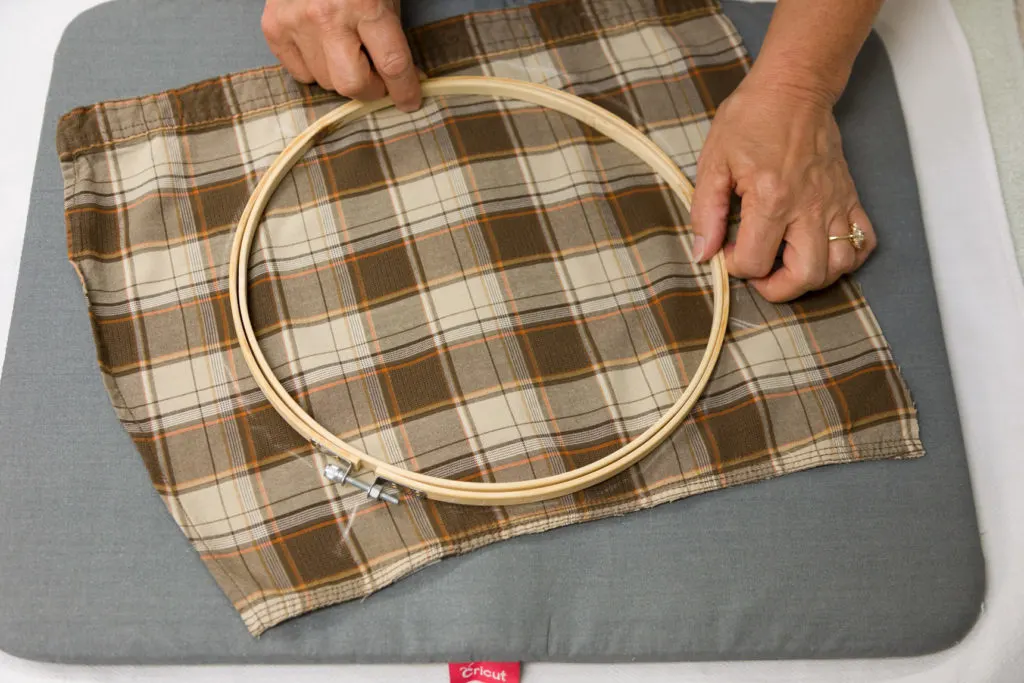

Goodwill shirt bottom front and embroidery hoop
Step 2:
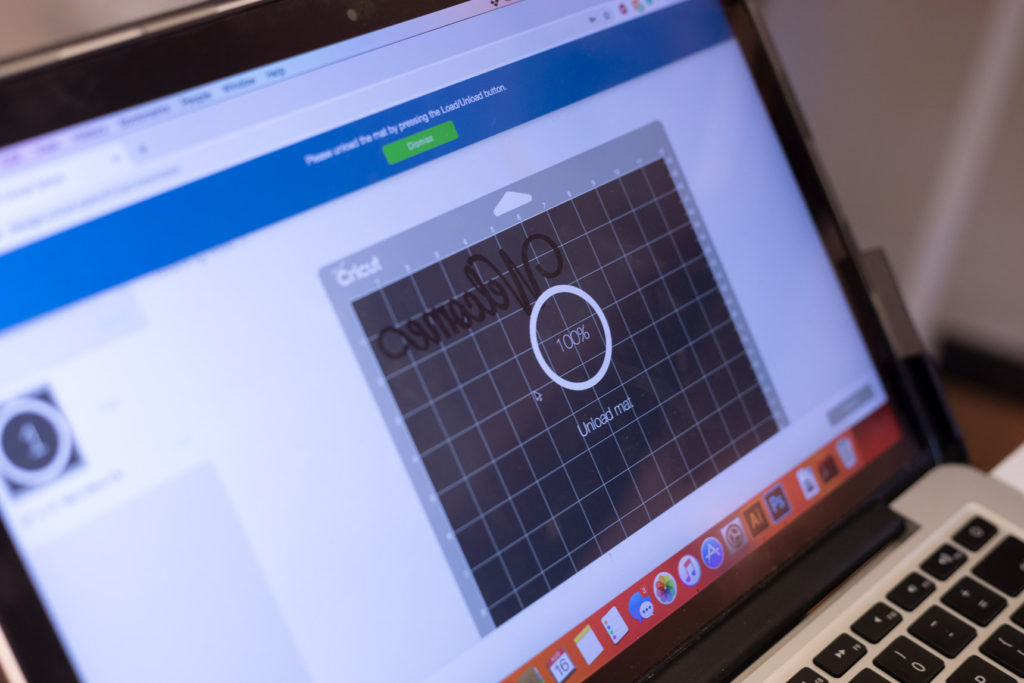
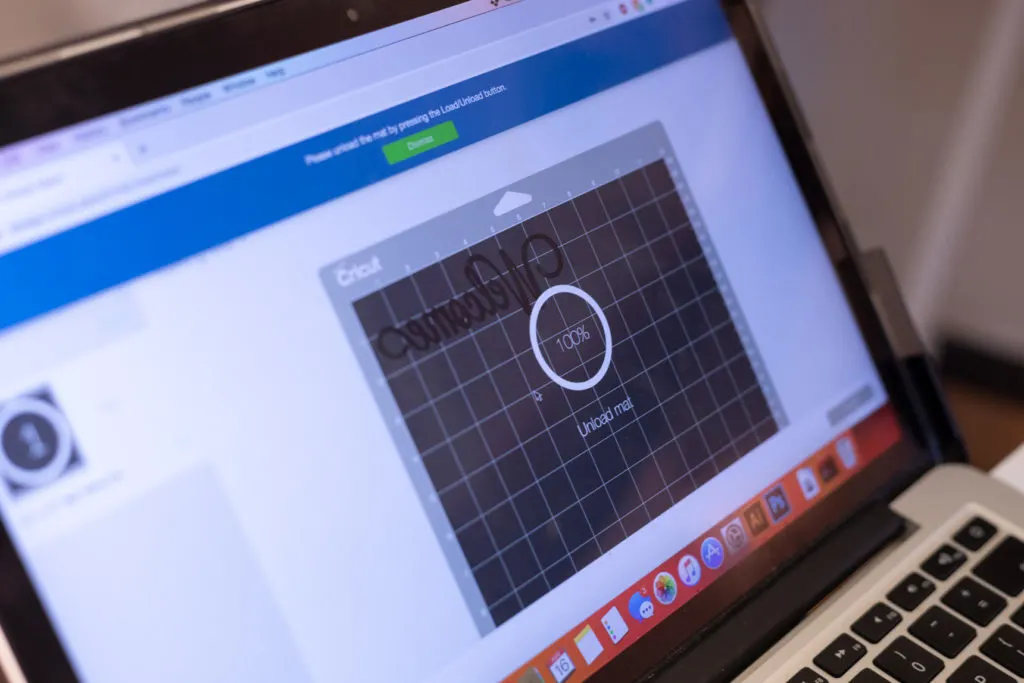
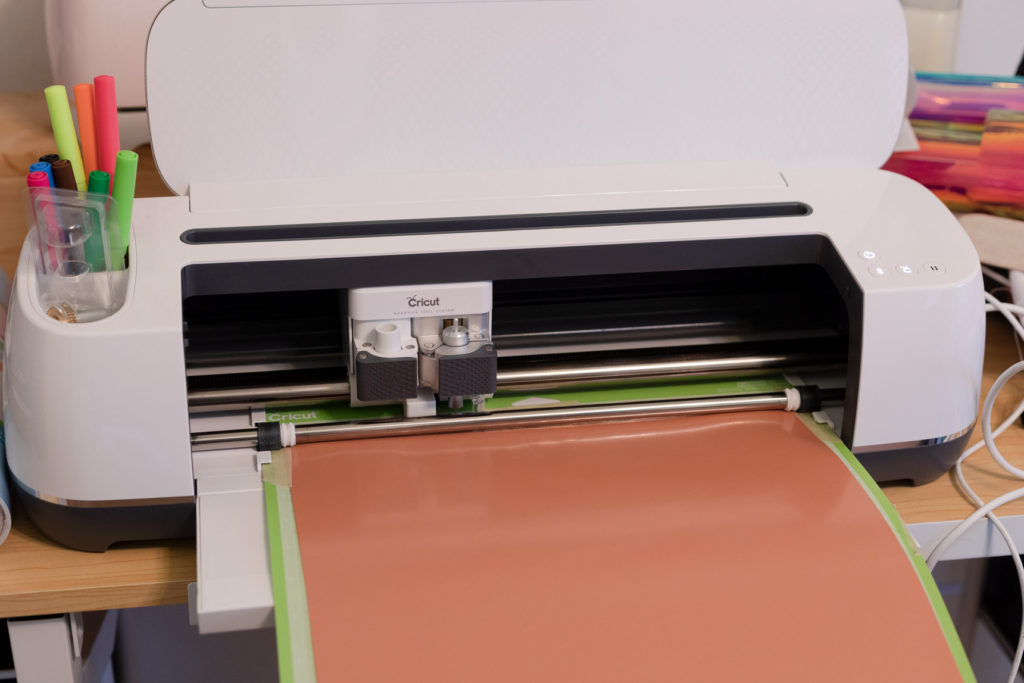
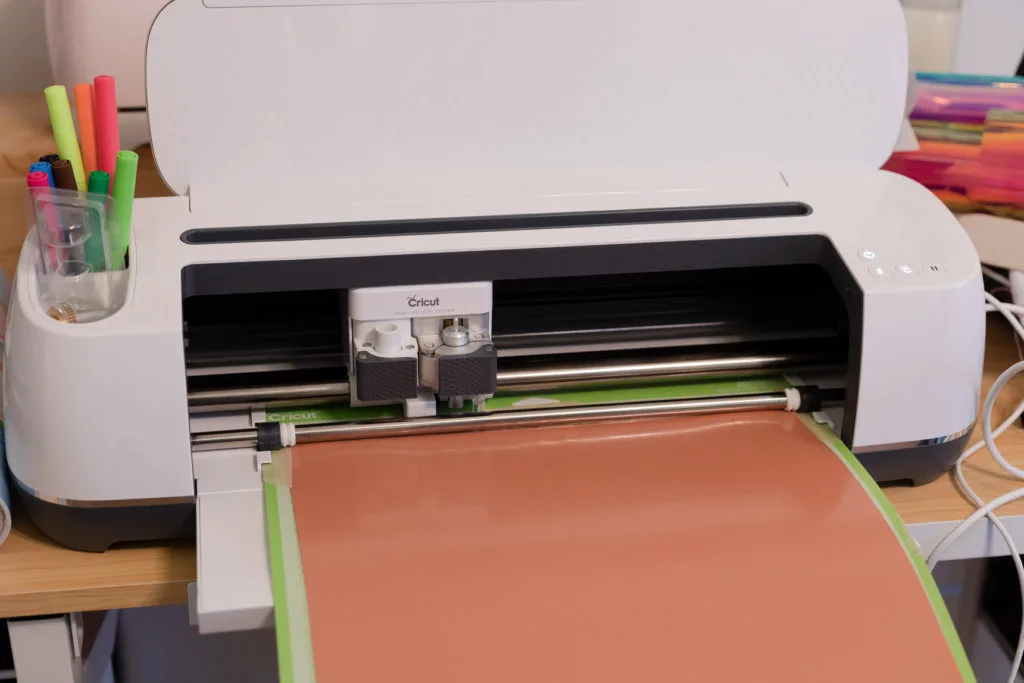
Then I asked my daughter, Olivia, to design and cutout the vinyl Welcome for the fall wreath. Olivia typed out the Welcome in Design Space, then she setup her Circut Maker to cut the vinyl. She mirrored the design so it cut out it out of the dull side of the HTV. Once it was cut she weeded the excess vinyl.

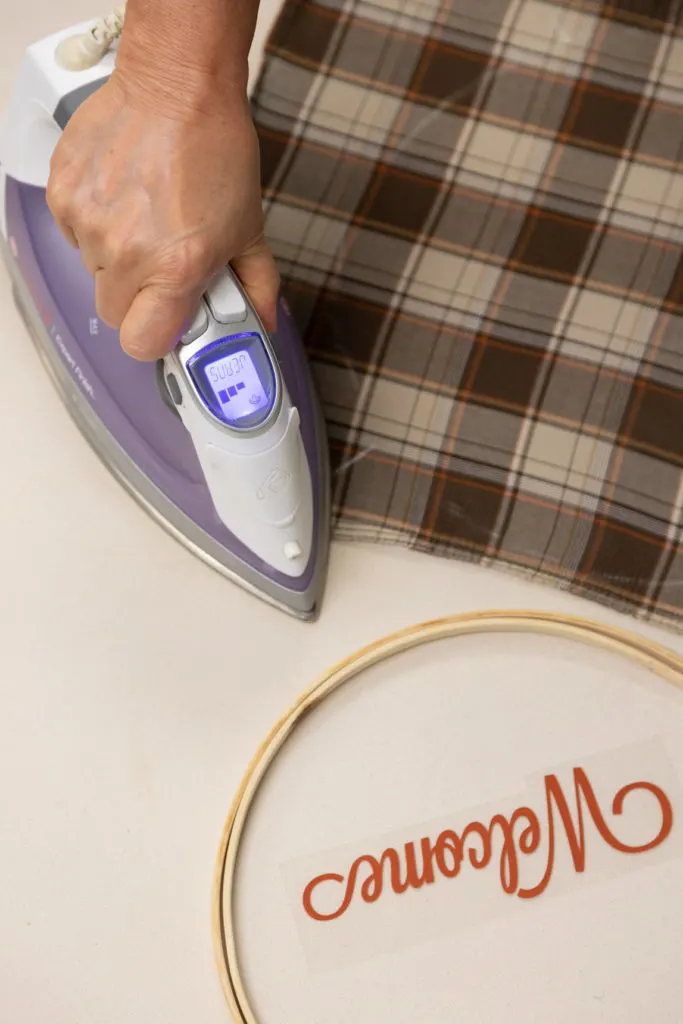

Fall embroidery hoop wreath supplies
Step 3:
I prepared my work surface for the Easypress 2 by placing the Circut Easypress mat on a folded towel then I placed the shirt fabric on the mat with the hoop. To decide on the placement of the vinyl Welcome I placed it in the hoop and made chalk marks.
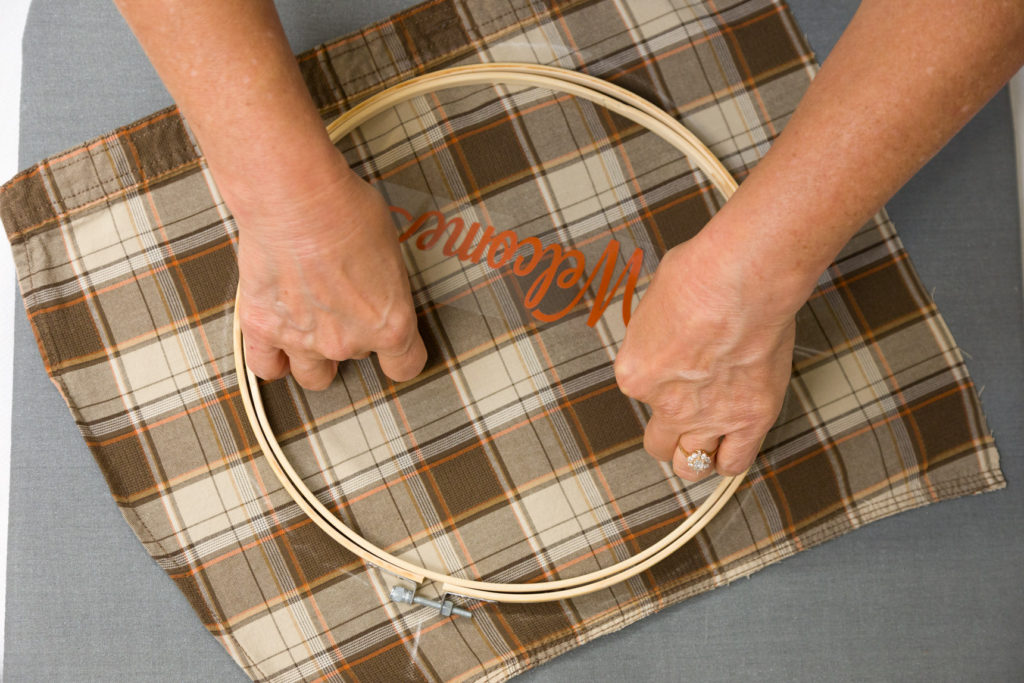

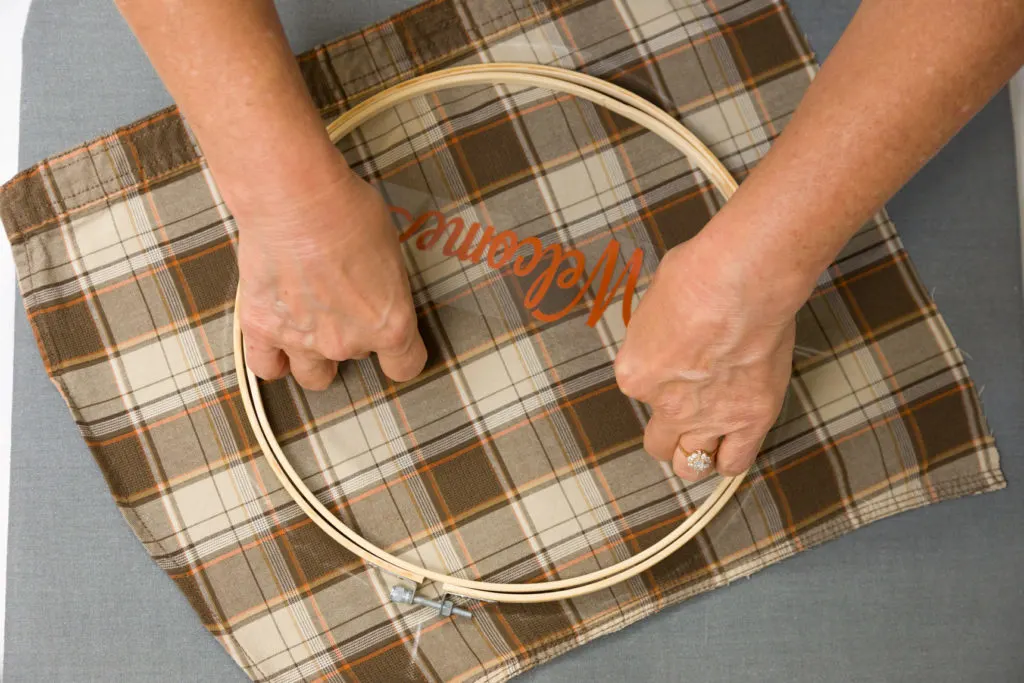

Finding the word placement
Step 4:
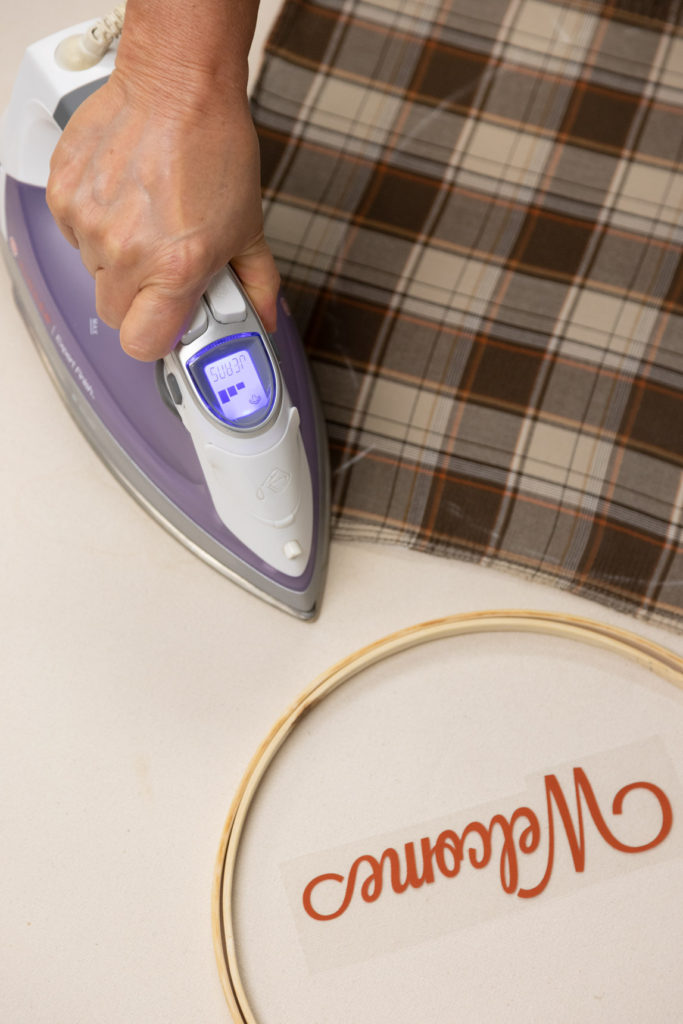
Now its time to preheat the Circut Easypress 2 to 33o degrees F. Once the Easypress is heated I pressed the shirt fabric for 5 seconds BEFORE adding the vinyl Welcome. Then I put the design shiny side up on the fabric with a Teflon sheet on the top, and pressed for 30 seconds at 330 degrees F.
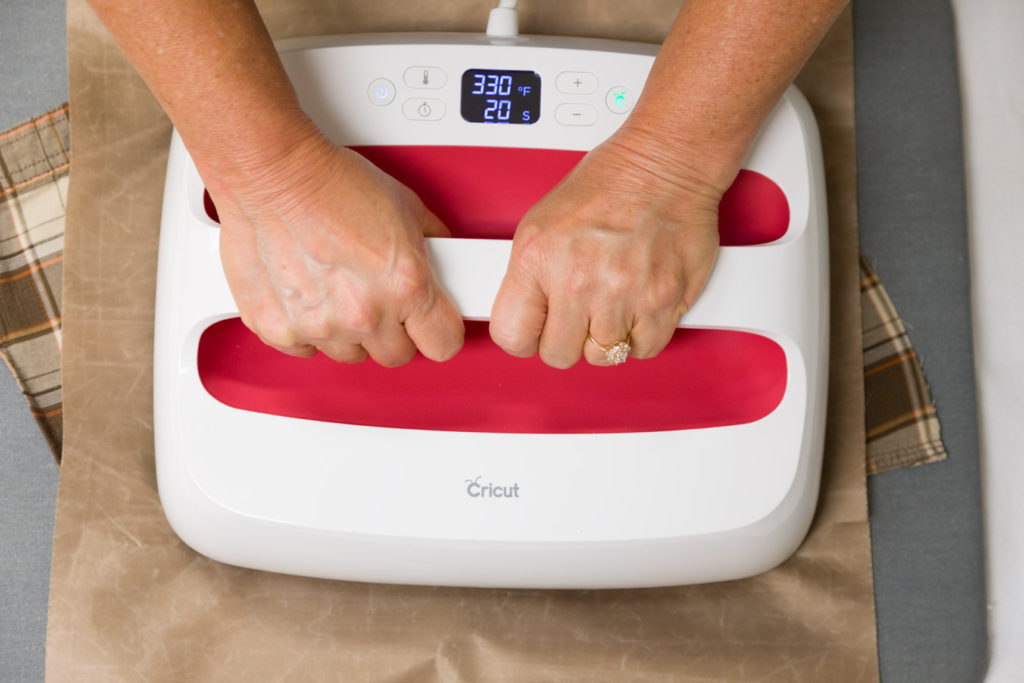

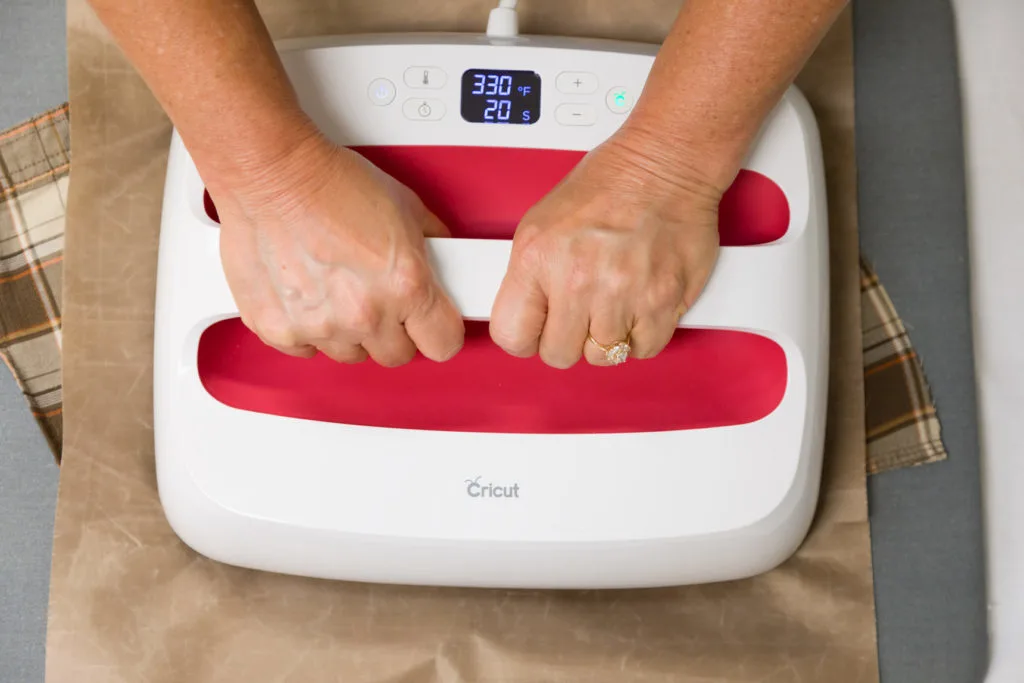

Using the Cricut Easy Press to heat press the vinyl Welcome
Step 5:
Next, I removed the plastic carrier sheet on the top of my design.
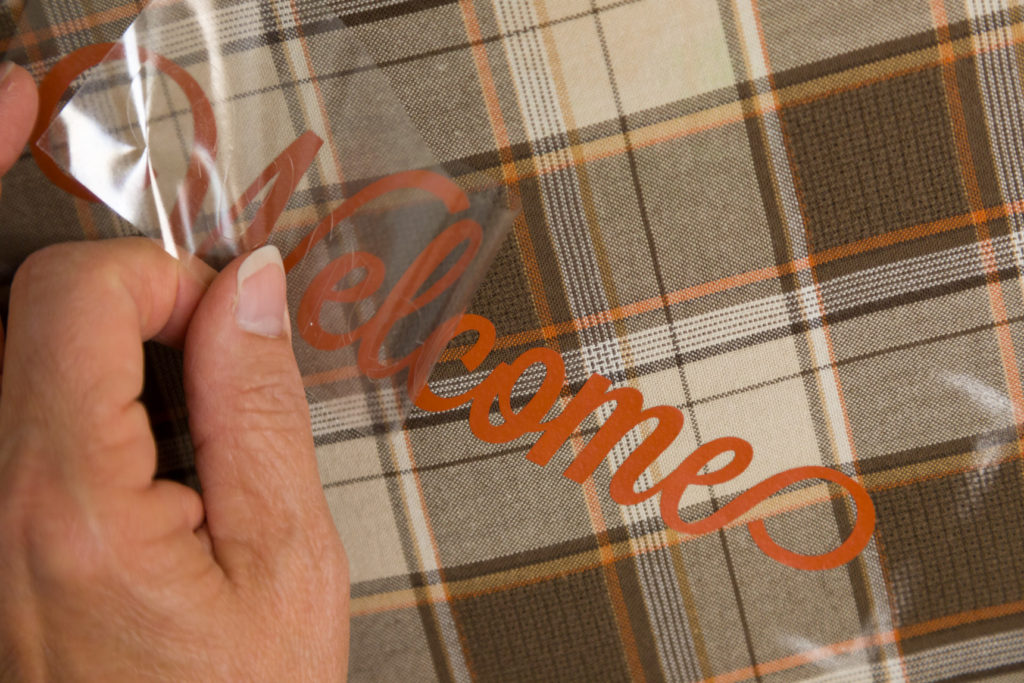

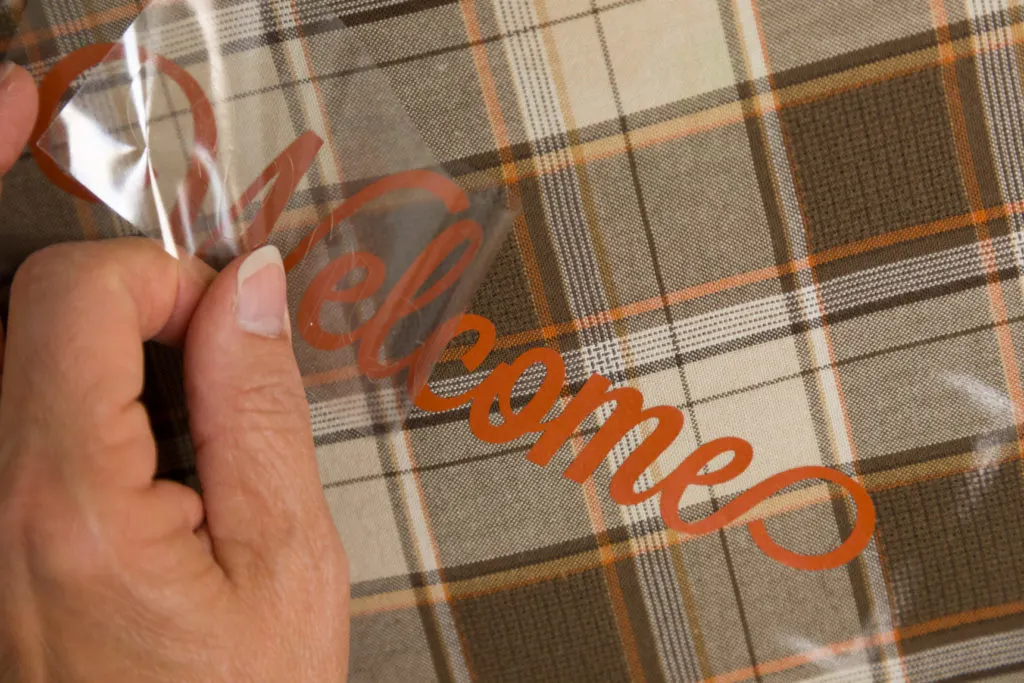

Peeling back the plastic sheet from the heat transfer
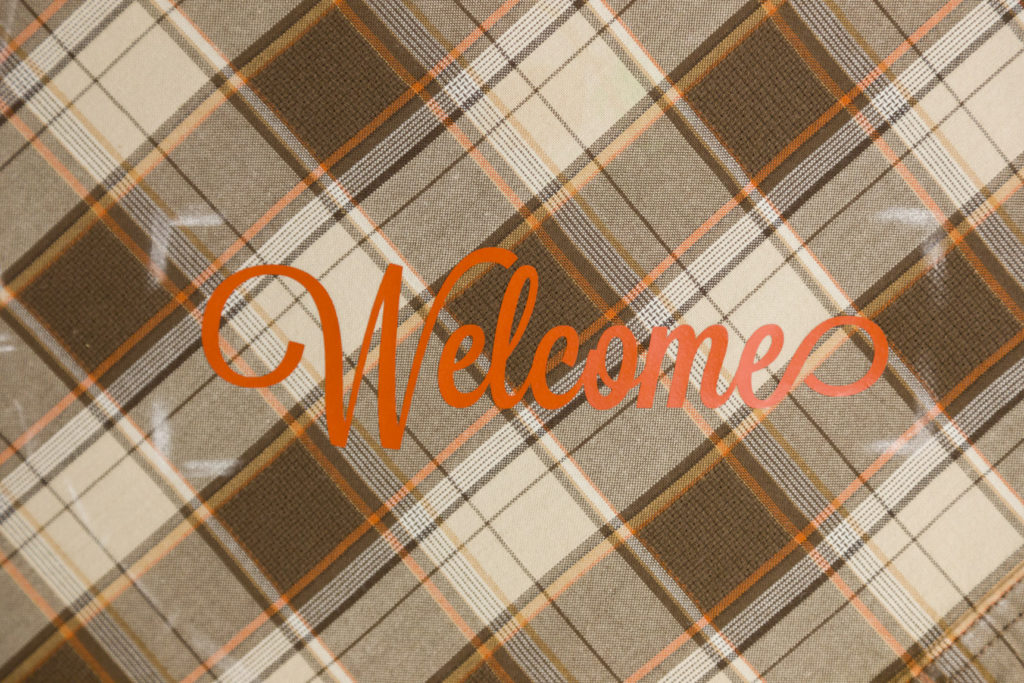


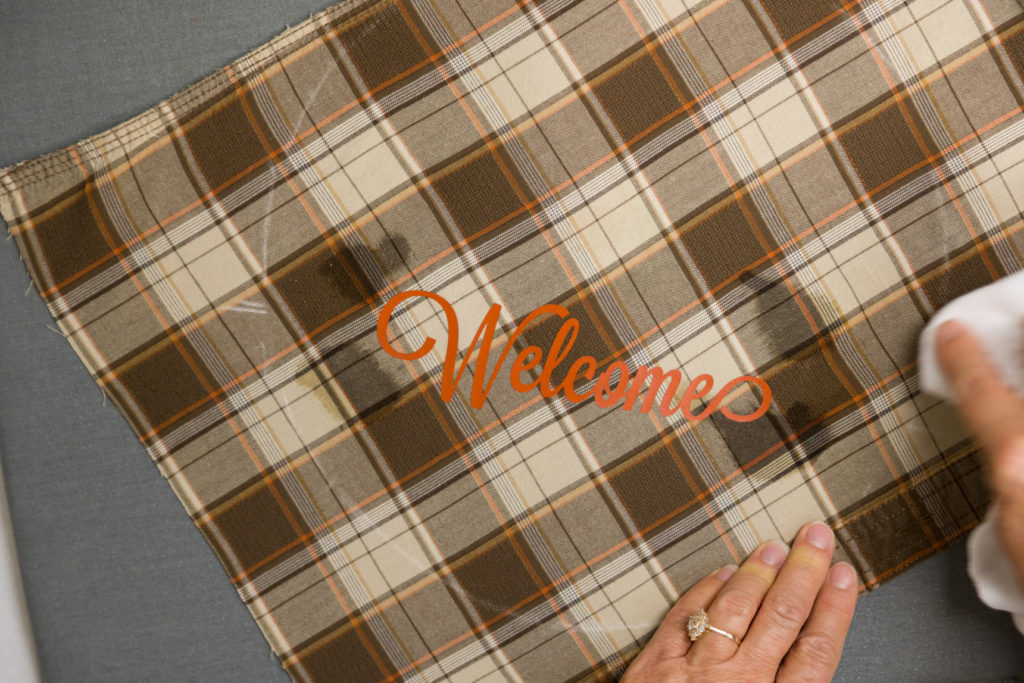

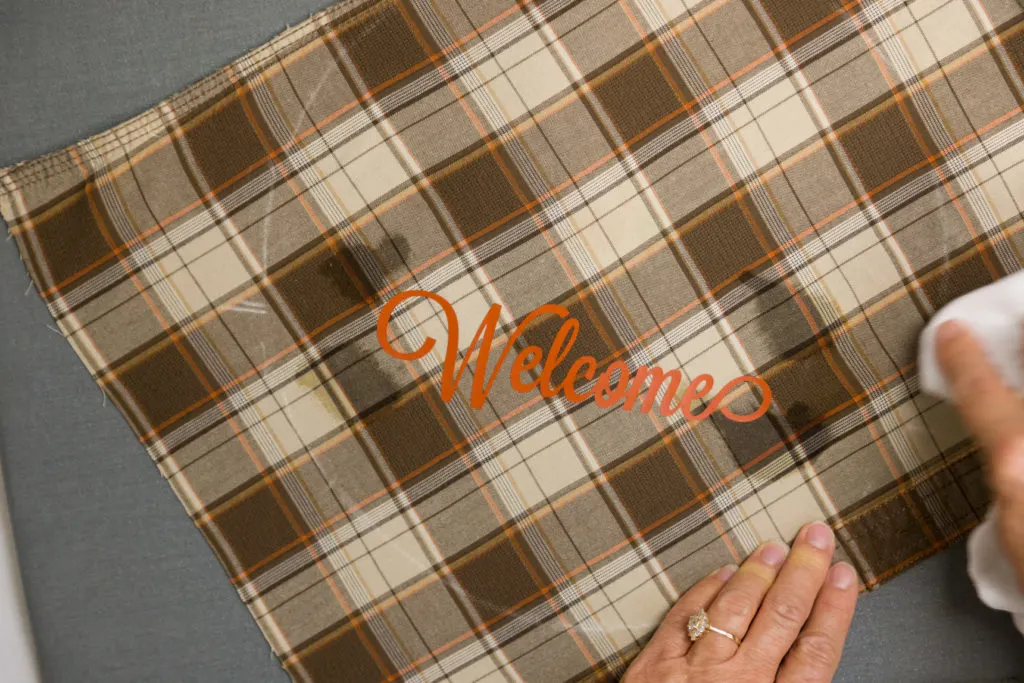

Removing the chalk markings
Step 6:
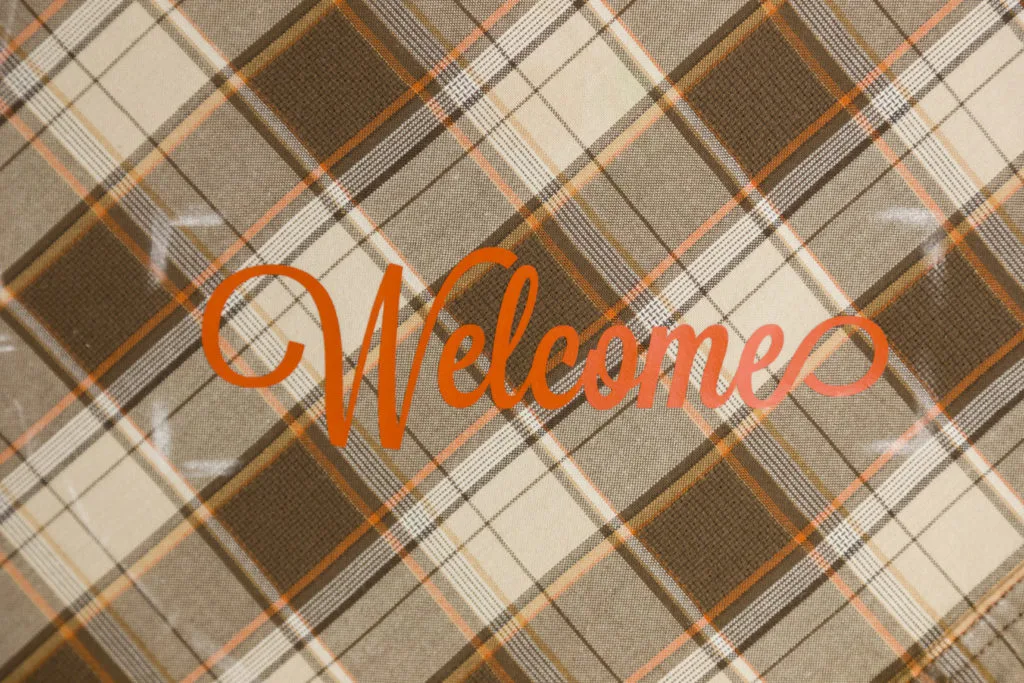
Before putting the fabric in the hoop I used a clean damp cloth and removed the chalk marks for the word placement, however, I did not remove any other chalk markings.
Hooping the design
Step 7:
I unscrewed the top of the embroidery hoop loosening it just so I could remove the inner circle. I placed my design on top of the smaller hoop once it was in position I placed the larger hoop over it.
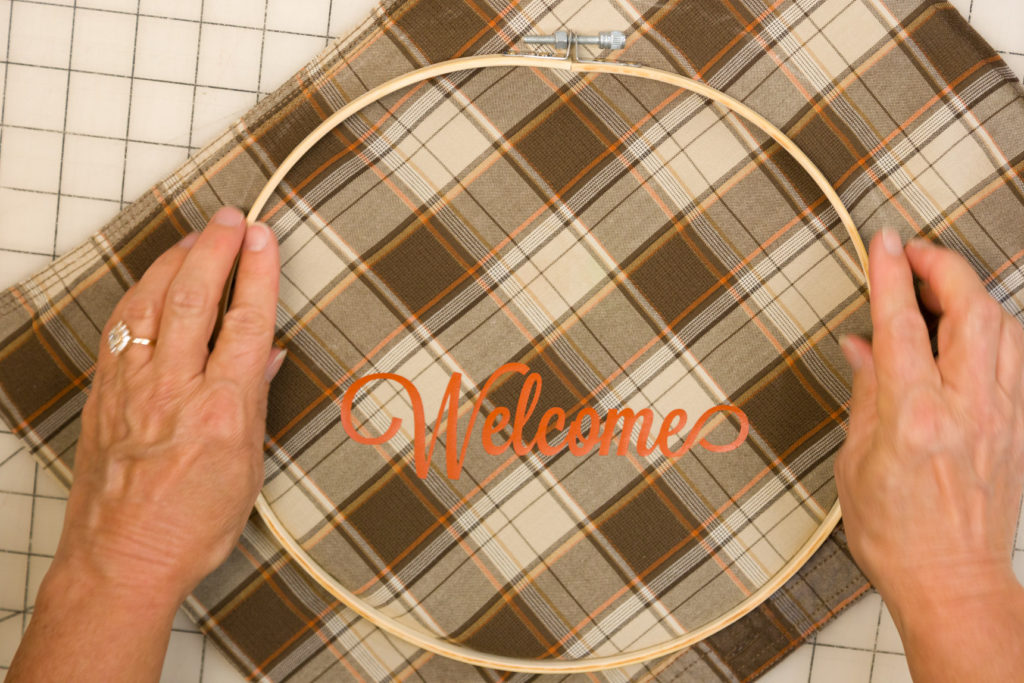

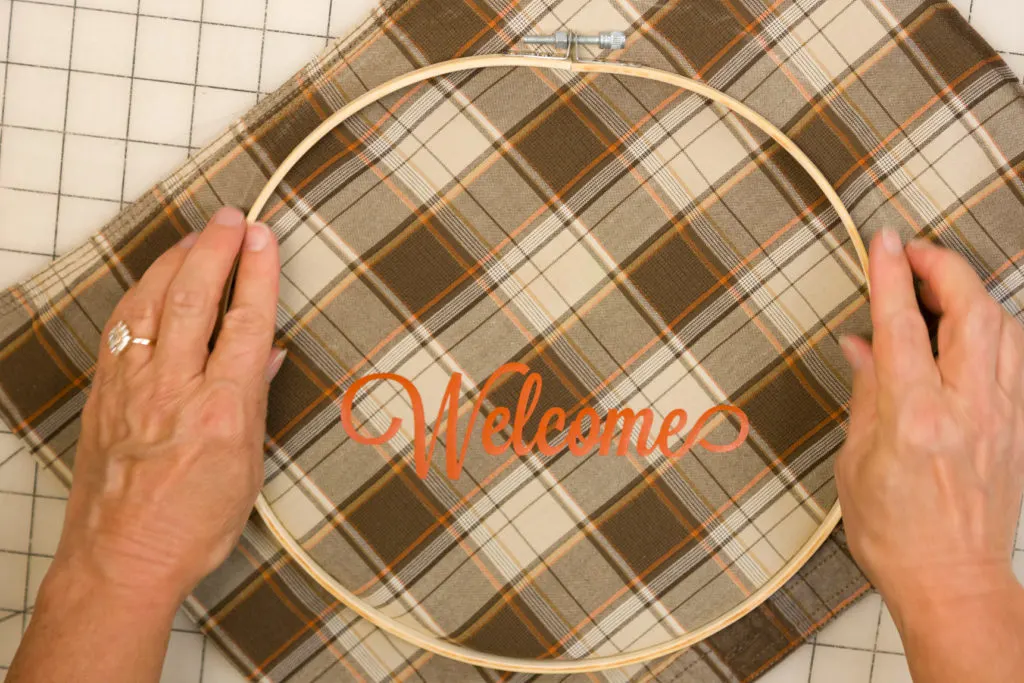

Placing the fabric in the embroidery hoop
I used a ruler to check the design placement.
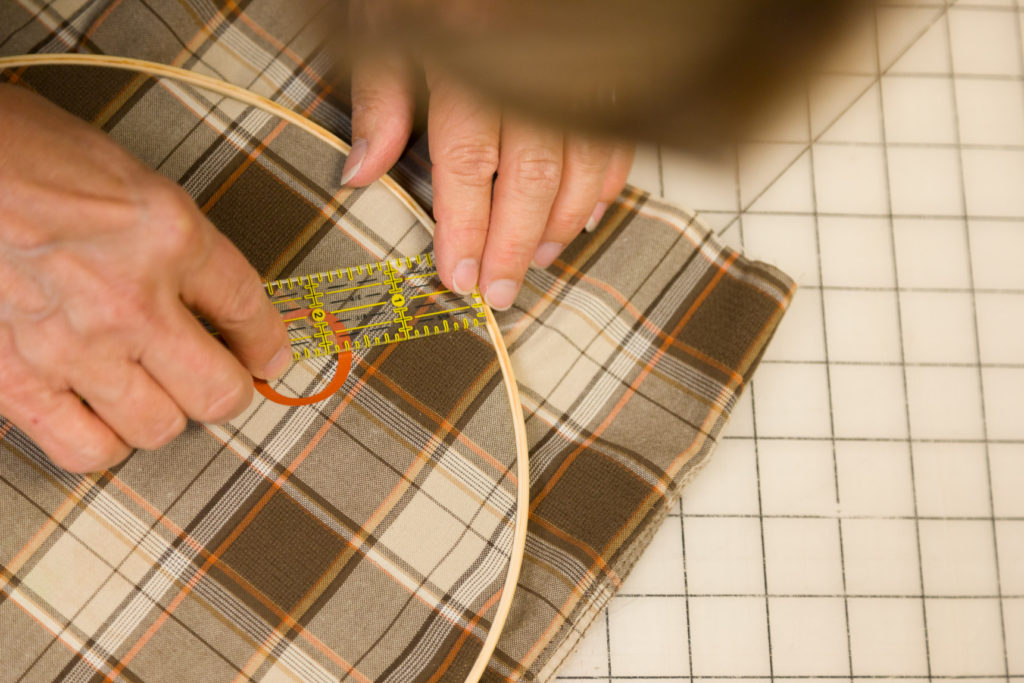

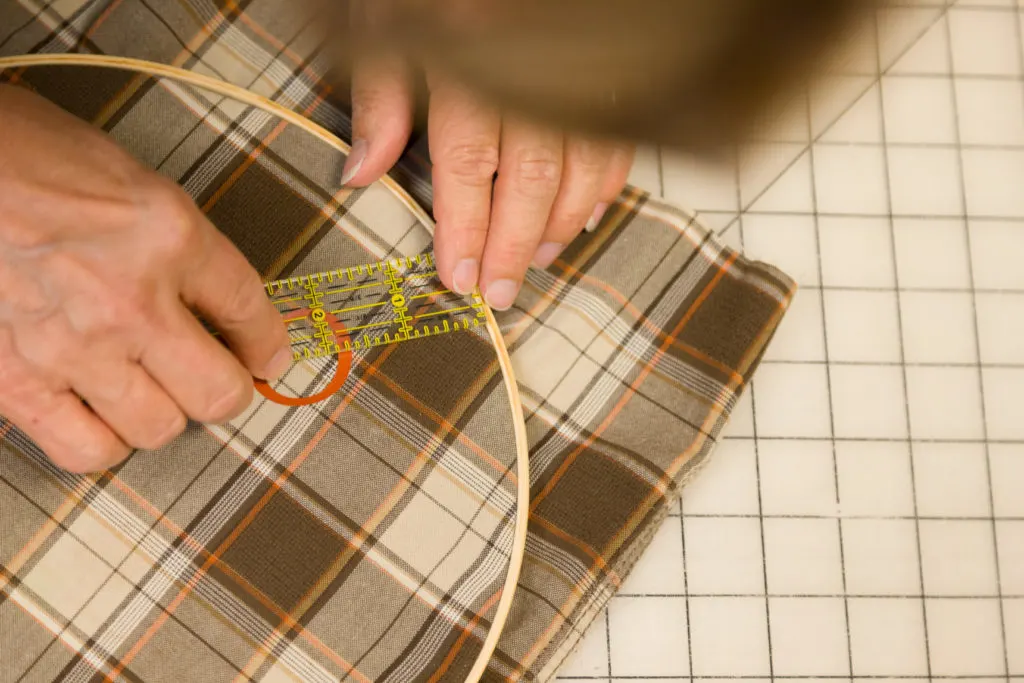

Measuring to make sure the design is centered in the hoop
Note: make sure to pull the fabric tight and screw the top hoop back into place.
Using a screwdriver I snugly tightened the embroidery hoop before cutting the excess fabric.
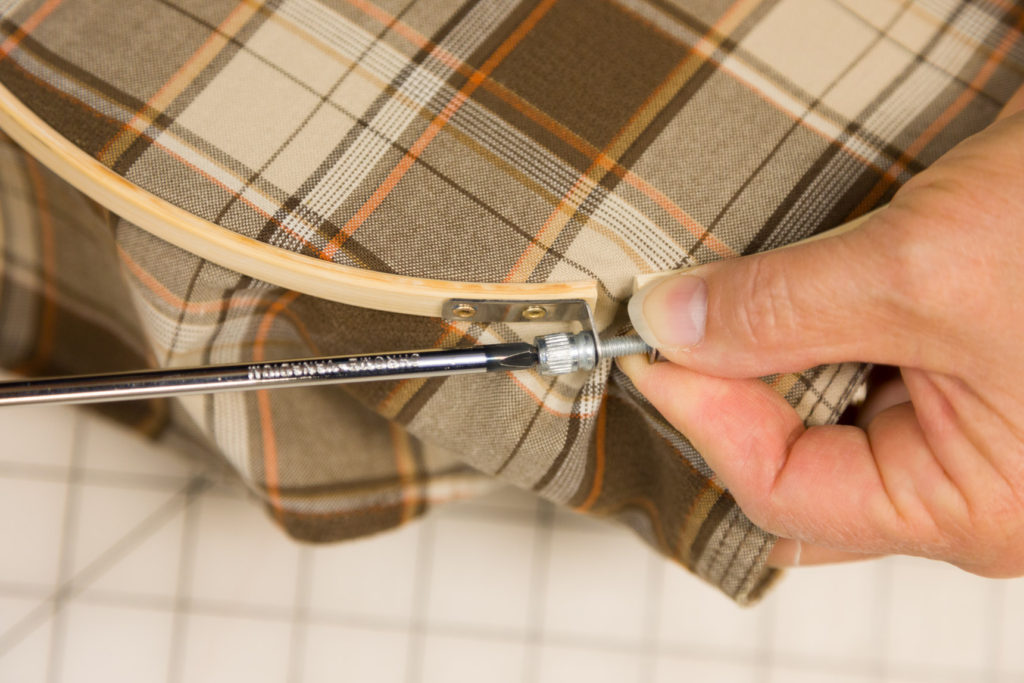

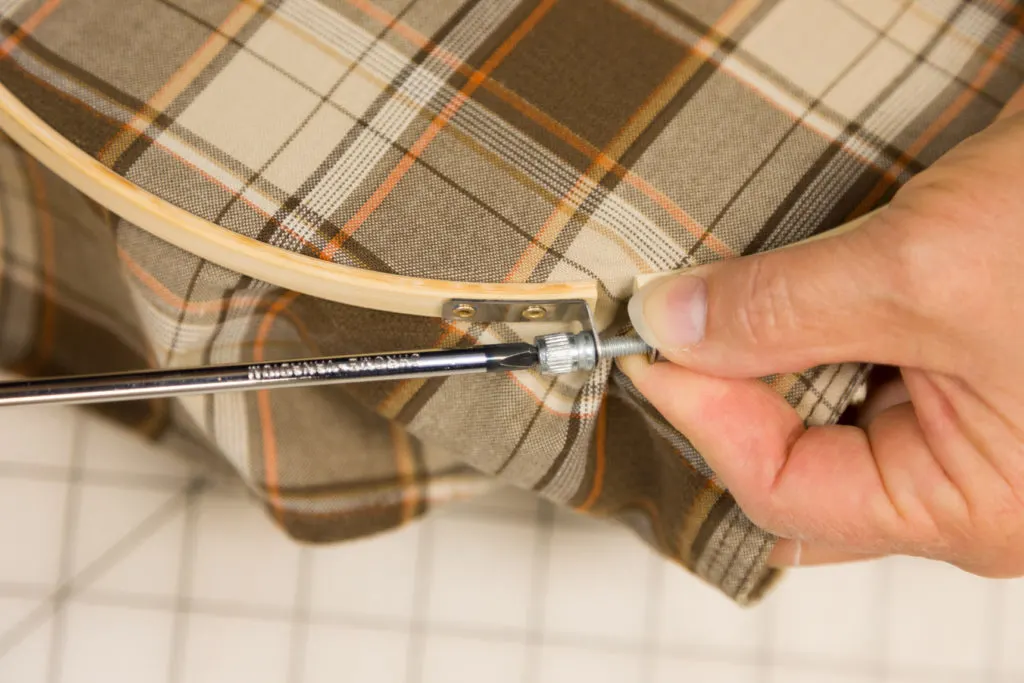

Using a screwdriver to tighten the embroidery hoop
Step 8:
After I was satisfied with the hooped design I turned it over and carefully trimmed the excess fabric.
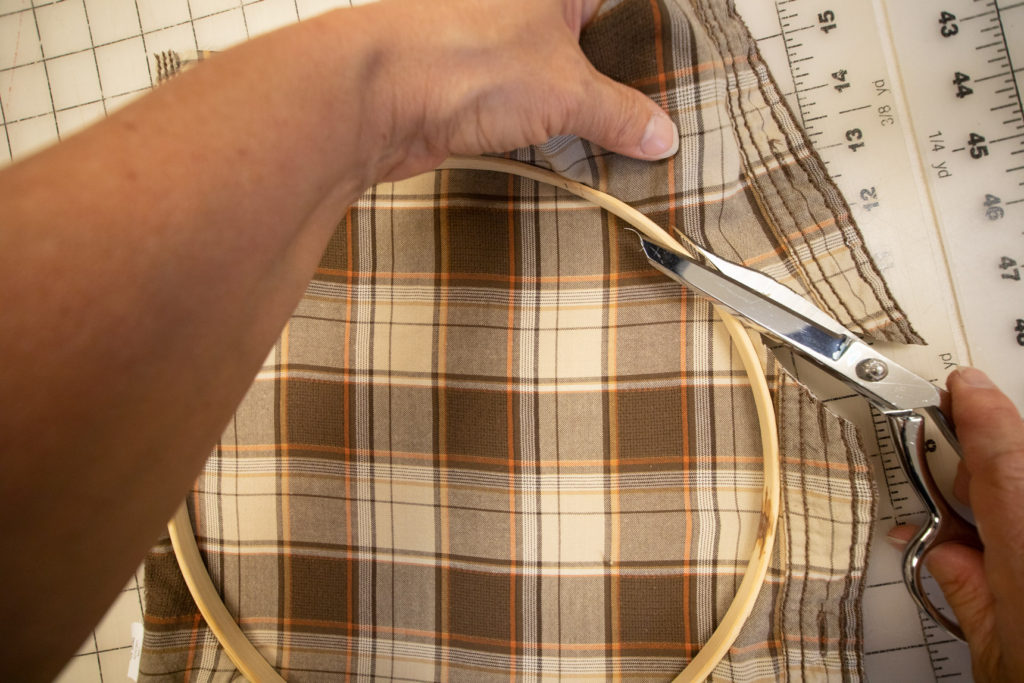


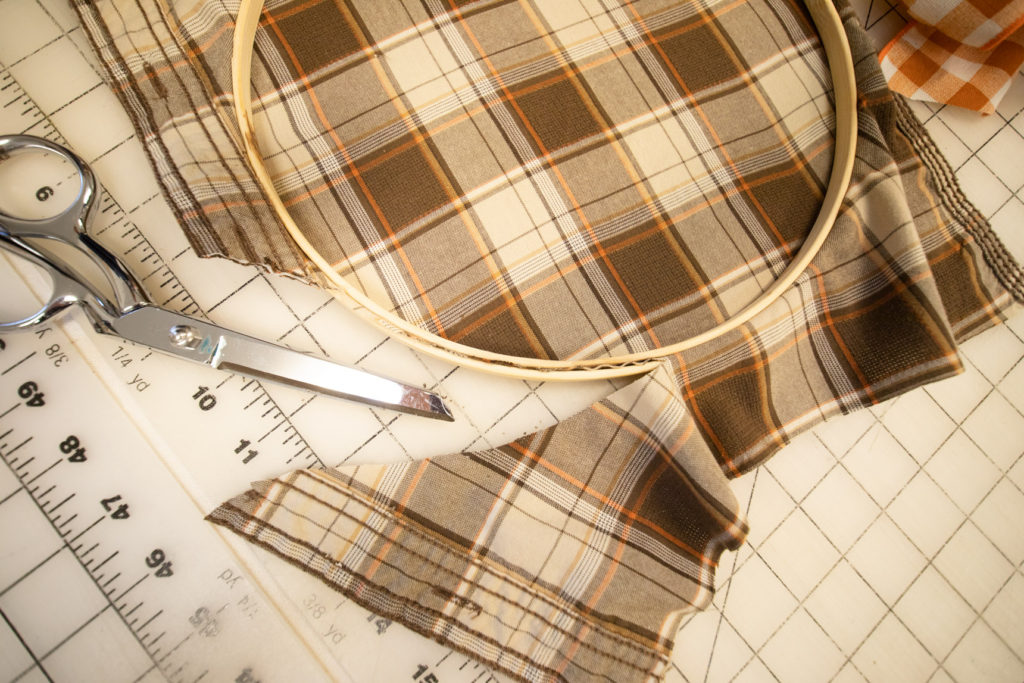


Step 9:
Making and adding a bow to the top was a breeze see these easy step by step directions:
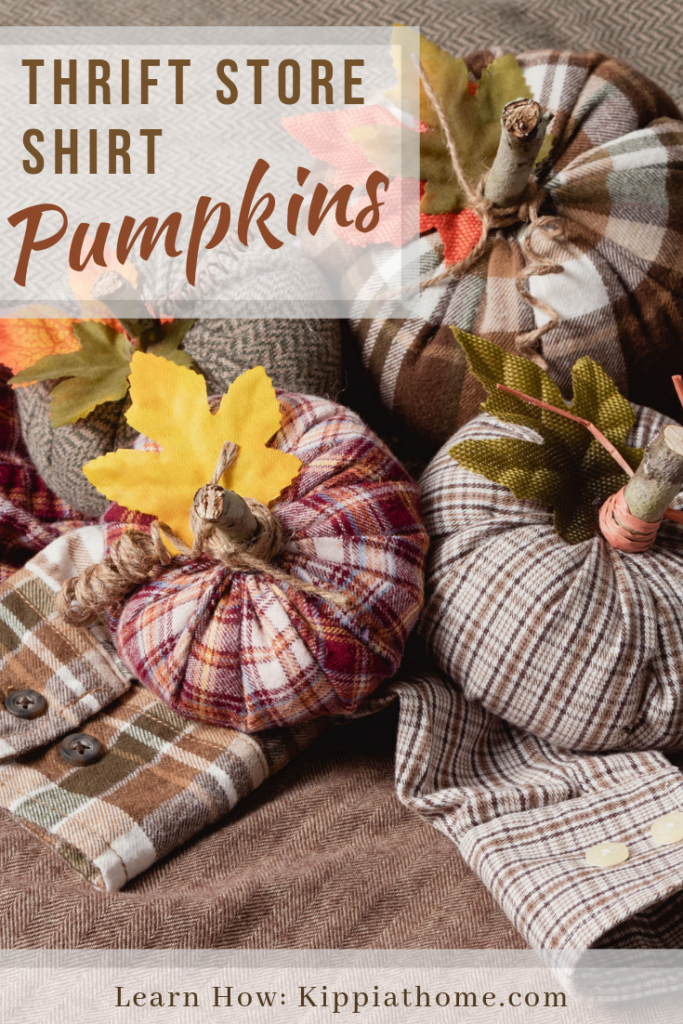
The pumpkin cuties in the below photo were made using the same shirt and our easy pumpkin pattern and instructions. The wooden tote I made using our free pattern and directions.
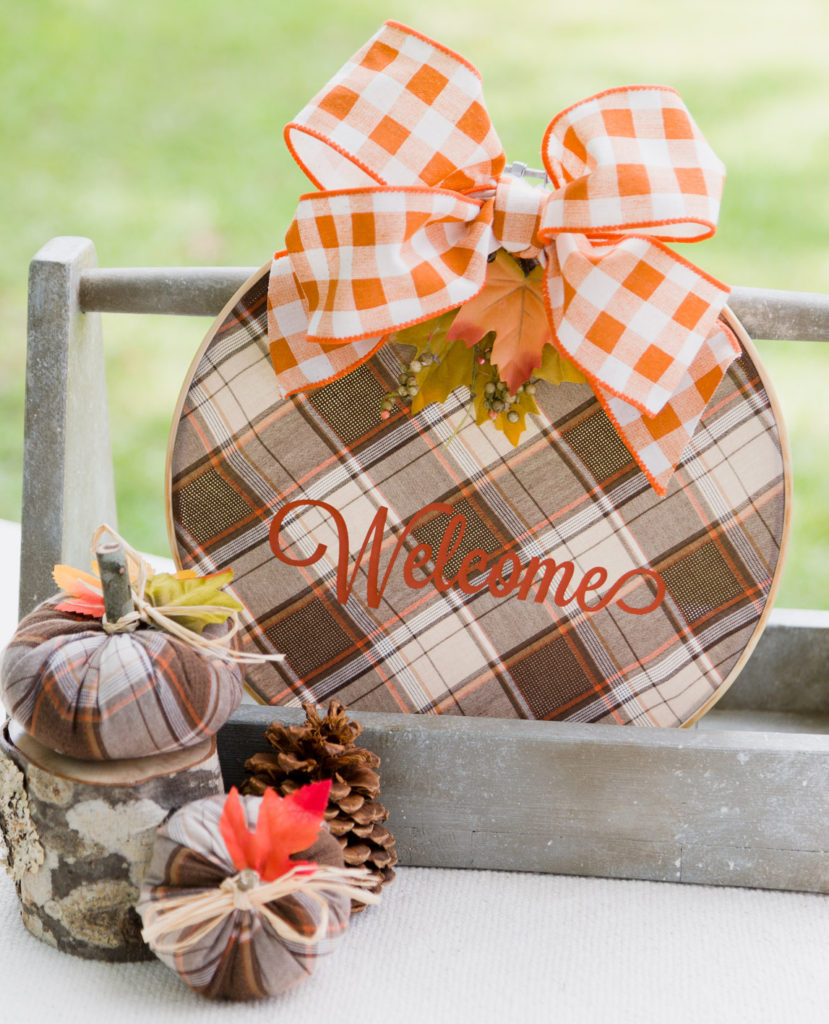

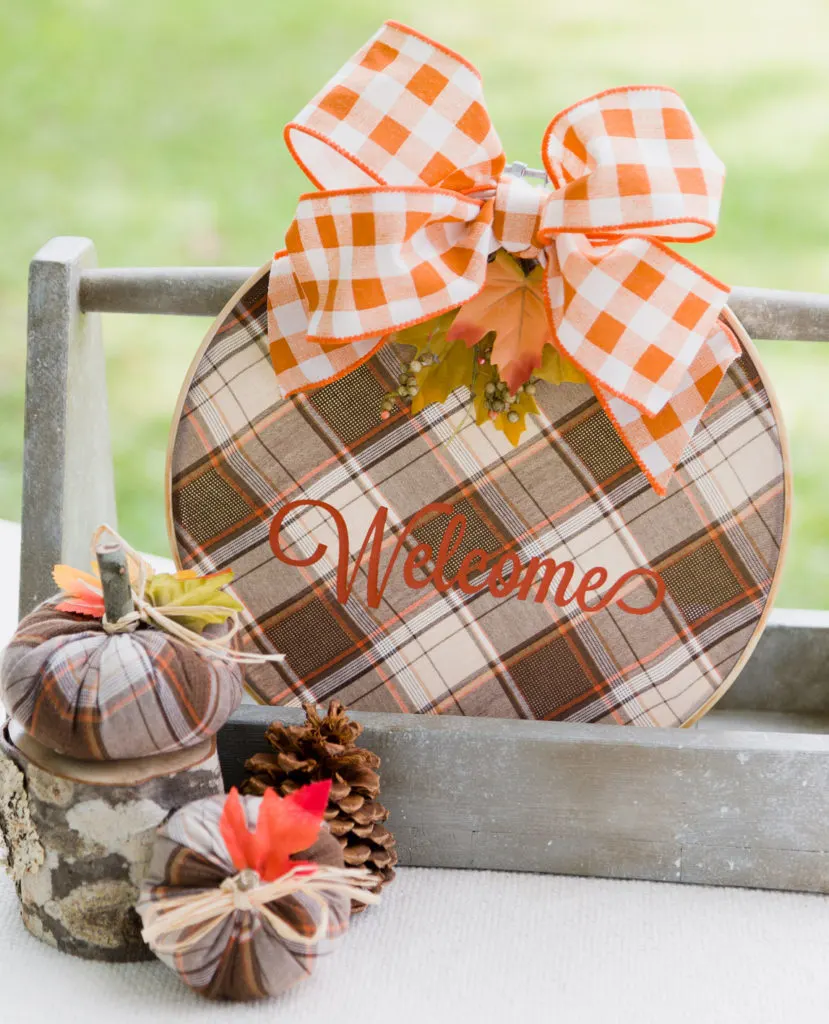

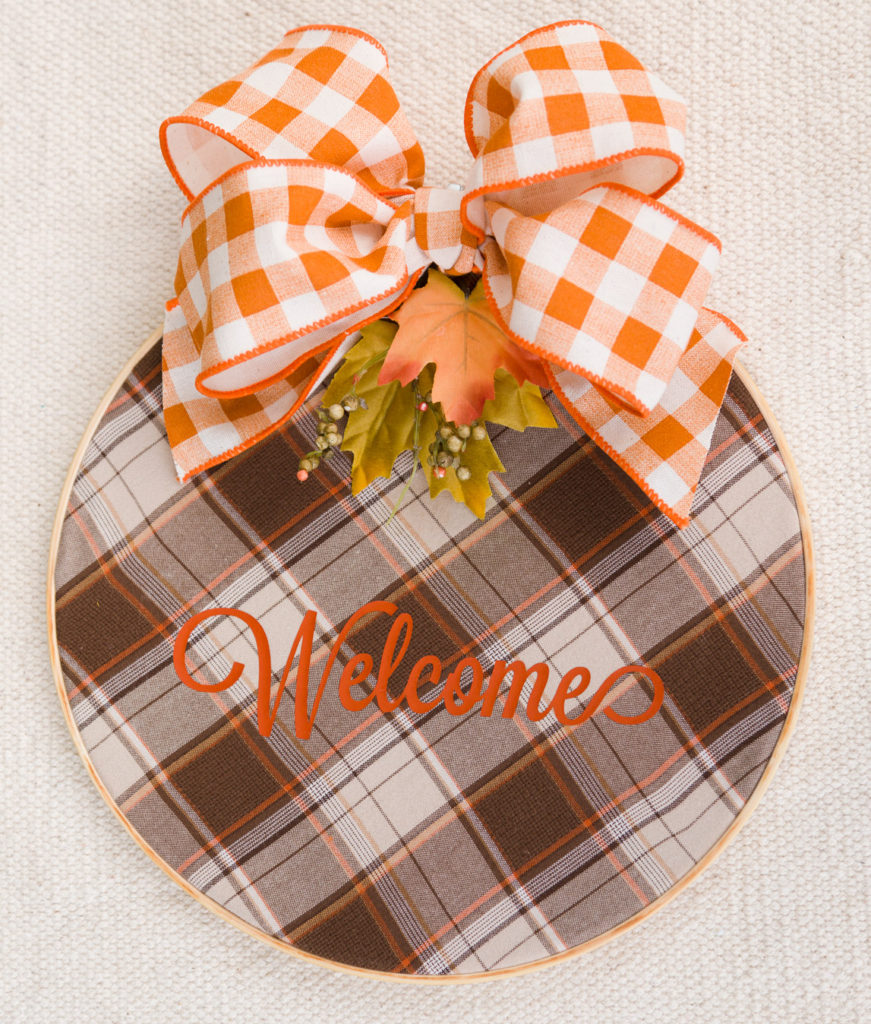

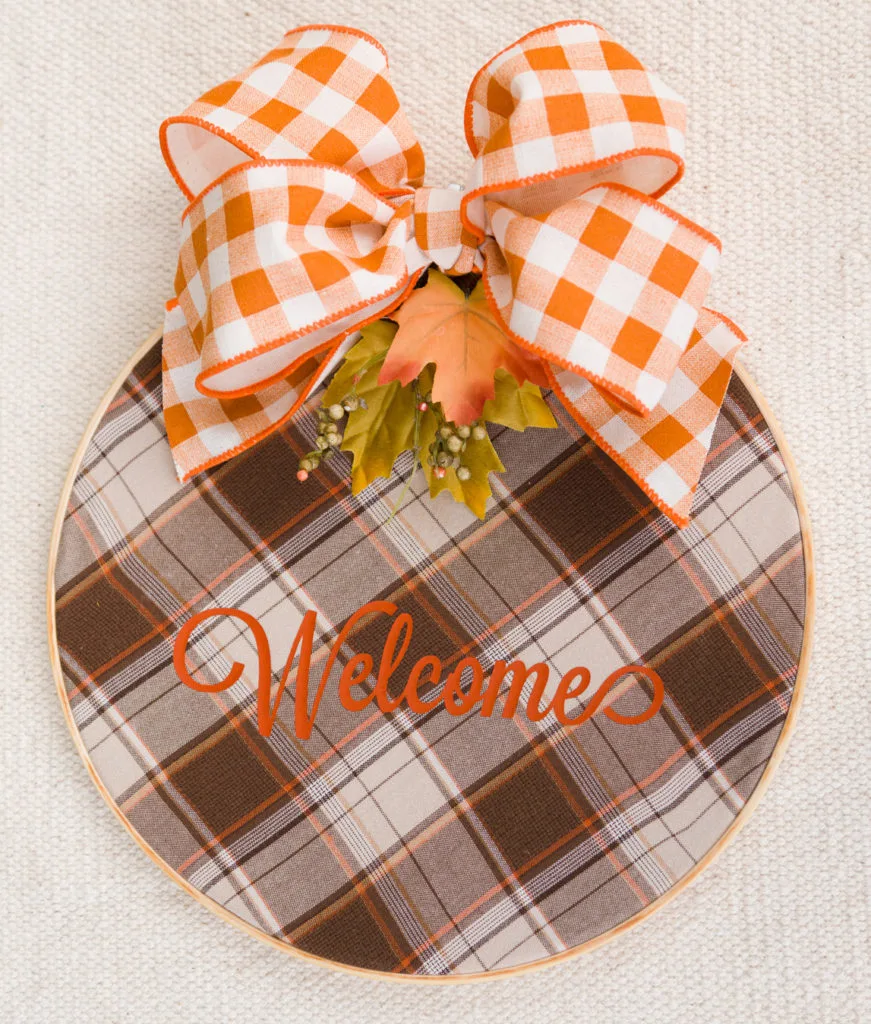

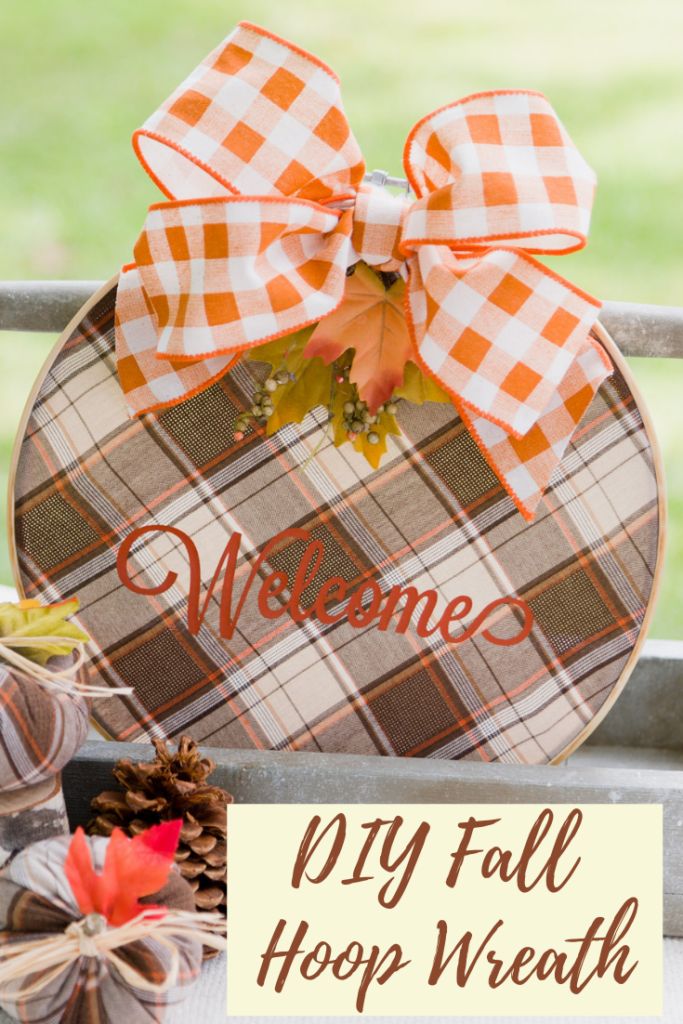
Finished fall embroidery hoop wreath with bow
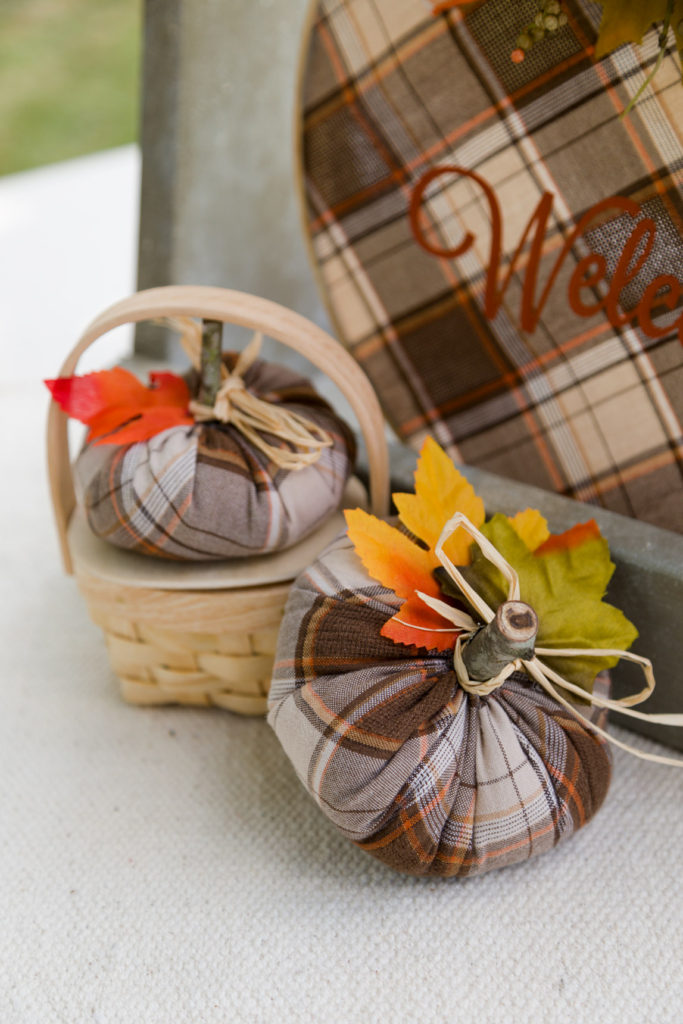

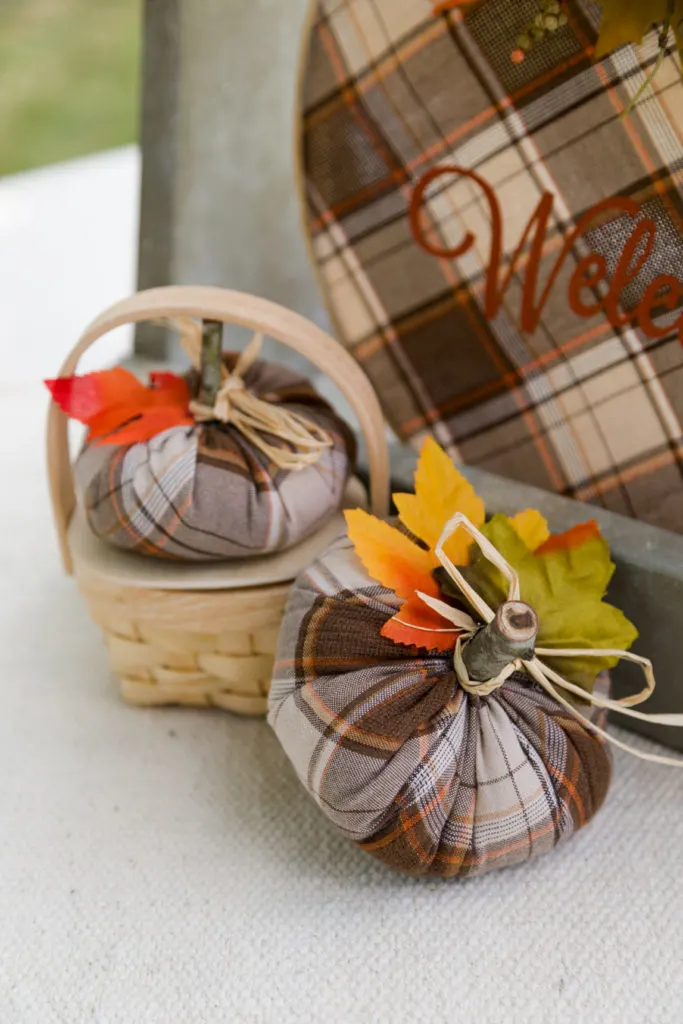

Goodwill shirt pumpkins
Sharing is caring please pin:
My favorite wreath hangers
aaaaaaa
More Fall Inspiration
I have been working on some easy gorgeous fall decorating projects you are going to love so if you don’t want to miss any inspiration join The Fall Inspiration Newsletter and get it delivered to your inbox.
You might also like this posts:
Goodwill shirt pumpkins are a quick fall craft that looks great in any decor. Cozy plaid flannel shirts make cute pumpkins and wreaths.
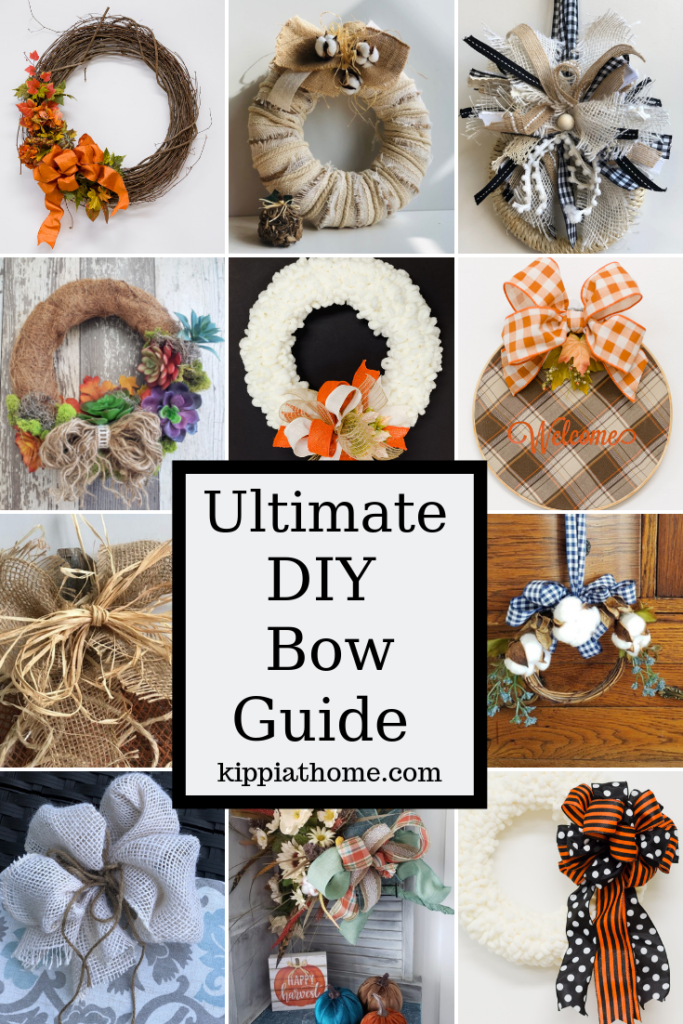
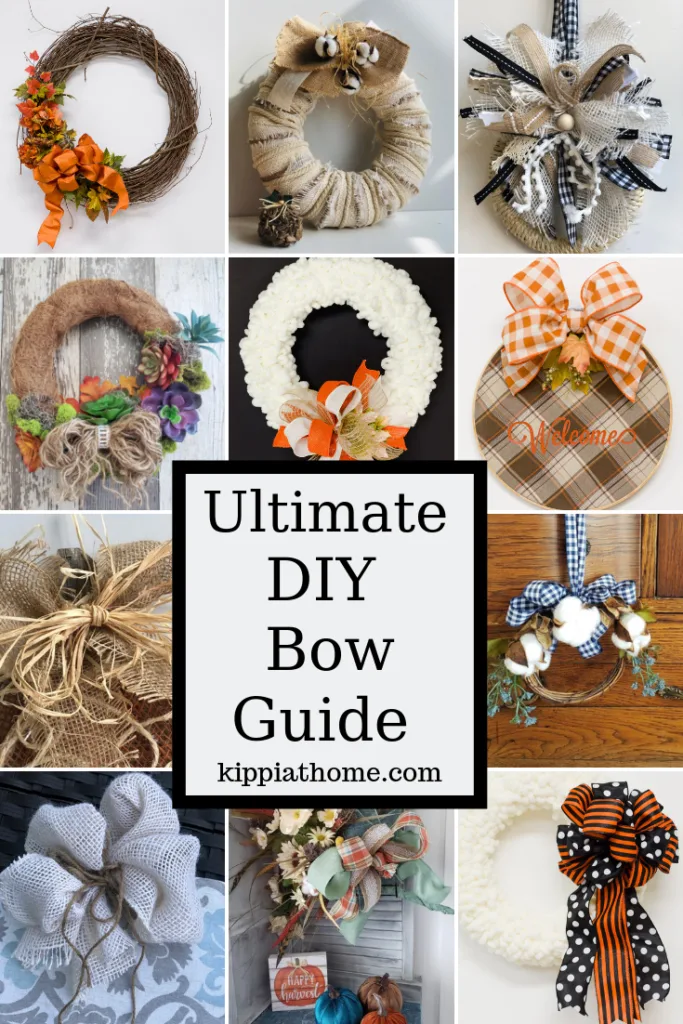
This bow guide is every crafter’s dream come true with all the bow hot to videos in place.
This was so much fun to create with my daughter, so grab a friend and make one too. Are you excited about fall?
Please say hello in the comments.
Happy Fall,
Kippi

Rebecca
Tuesday 1st of September 2020
This is the cutest, Kippi! You're being featured this week at Celebrate Your Story! Link Party :)
Paula@SweetPea
Tuesday 1st of September 2020
Love the fall wreath that you created! I'm a sucker for plaid and the combination of two plaids, fabric and ribbon, look terrific.
Clearissa Coward
Friday 28th of August 2020
This is absolutely adorable. I love the fabric choice. And the set with the pumpkin is the cutest. Thank you for sharing with #omhgww. Your post will be socialized if share buttons are provided.
Snehal
Monday 2nd of September 2019
I enjoy doing diys! And this is really cute! It will be this weekends acitivity for me :D
Erica (The Prepping Wife)
Friday 30th of August 2019
I love this idea! Not only is it adorable, but it is super simple to make. I'll be doing this soon. I'm sure my husband will be thrilled when I tell him I'm starting a new craft project. Lol. Those little baby pumpkin cuties are my favorite and can be added anywhere around the house for an extra decoration.