It is spring, so it is time to create fun DIY planters for the yard, garden, patio, and garden.
We moved into a new house, and I thought DIY planters would be an easy way to add a splash of color to our outdoor spaces.
In these earlier posts, you can find more information about gardening, container gardening, how to start a flower garden, hanging flower baskets, and raised bed gardening.

This post contains affiliate links. That means I will make a small commission if you purchase from one of these links.
How to Make Planters
I have been collecting galvanized containers to use as planters, so I finally started decorating them to create my junk garden.
So let’s get crafting!
DIY Planters Supplies
- Galvanized container
- 220 sandpaper
- Cloth
- Drill with drill bits
- Impact driver and tip
- One screw 2.5″
- Wood dowel or pole
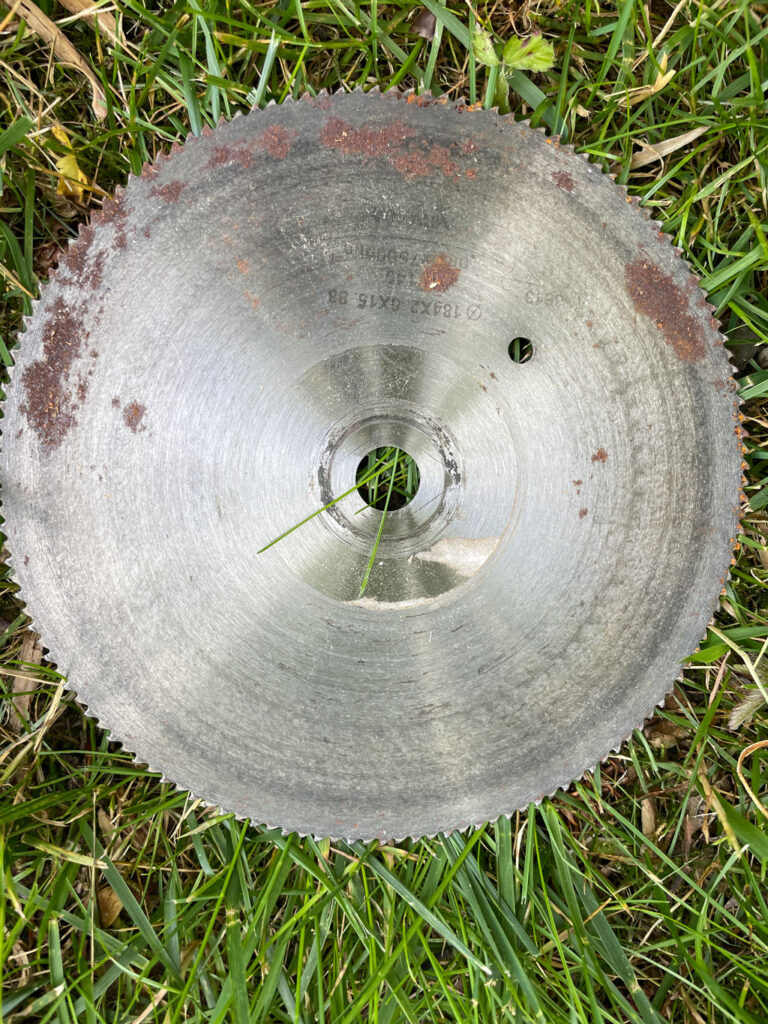
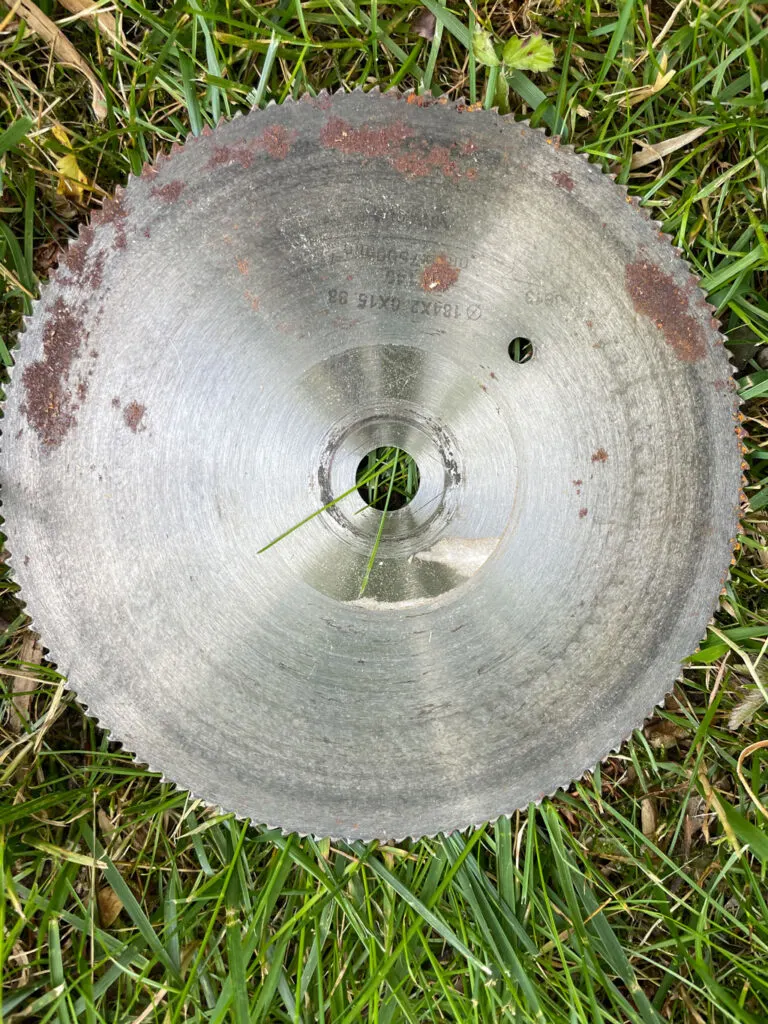
- Old sawblade
- Paintbrushes
- Paints
- Paint sealer
- Rocks
- Weed block, burlap, or coffee filters
- Potting mix
- Flowers and greenery
- Garden trowel
Preparing the DIY Planters
Before painting my container, I sanded the outside surface with 220 sandpaper.
Next, I wiped it down with a clean cloth.
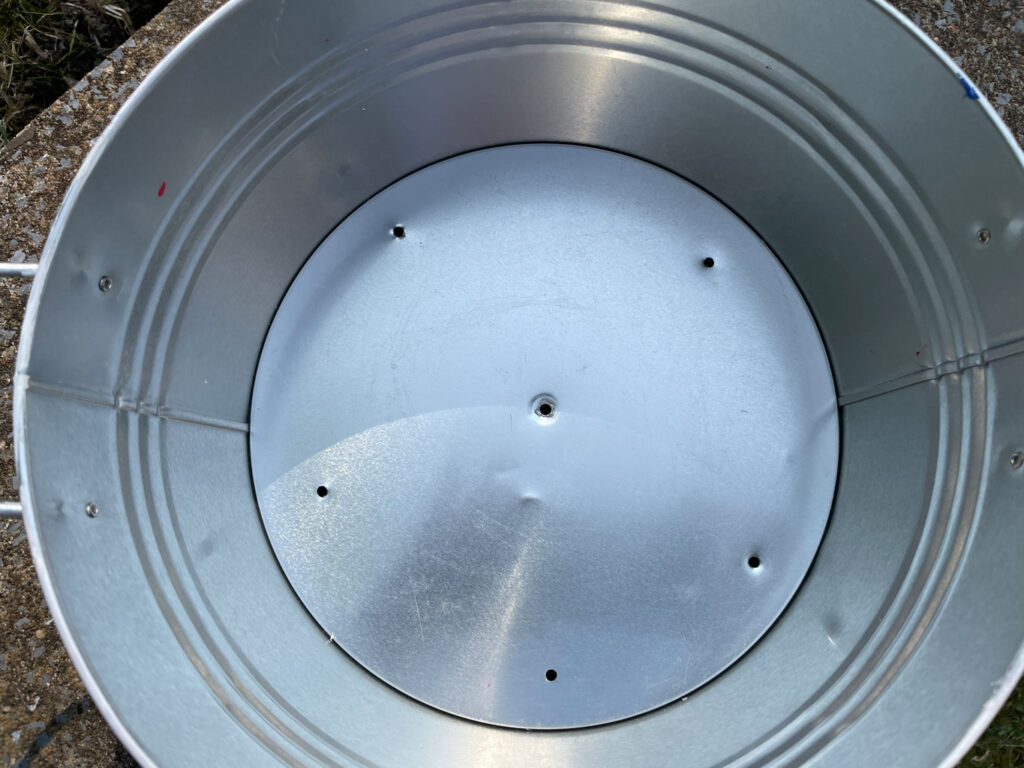
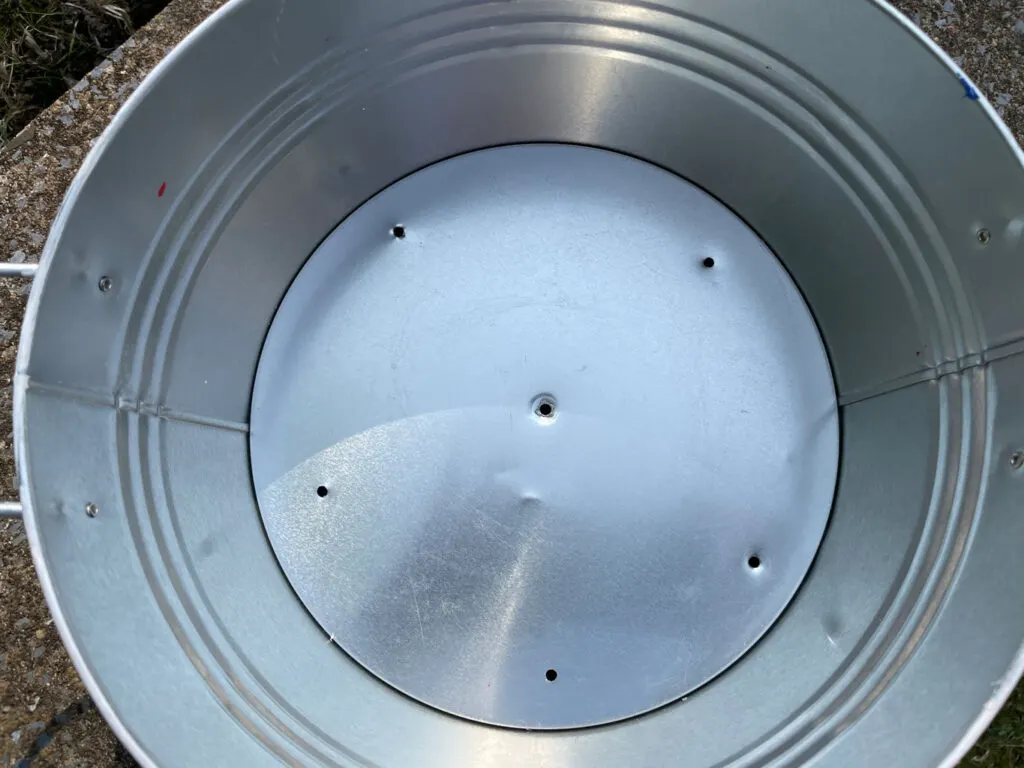
Then I measured the bottom of the container to find the center then. Finally, I drilled a hole in the center to attach a fastener later.
I also drilled five drain holes about 1 inch in the bottom from the edge.
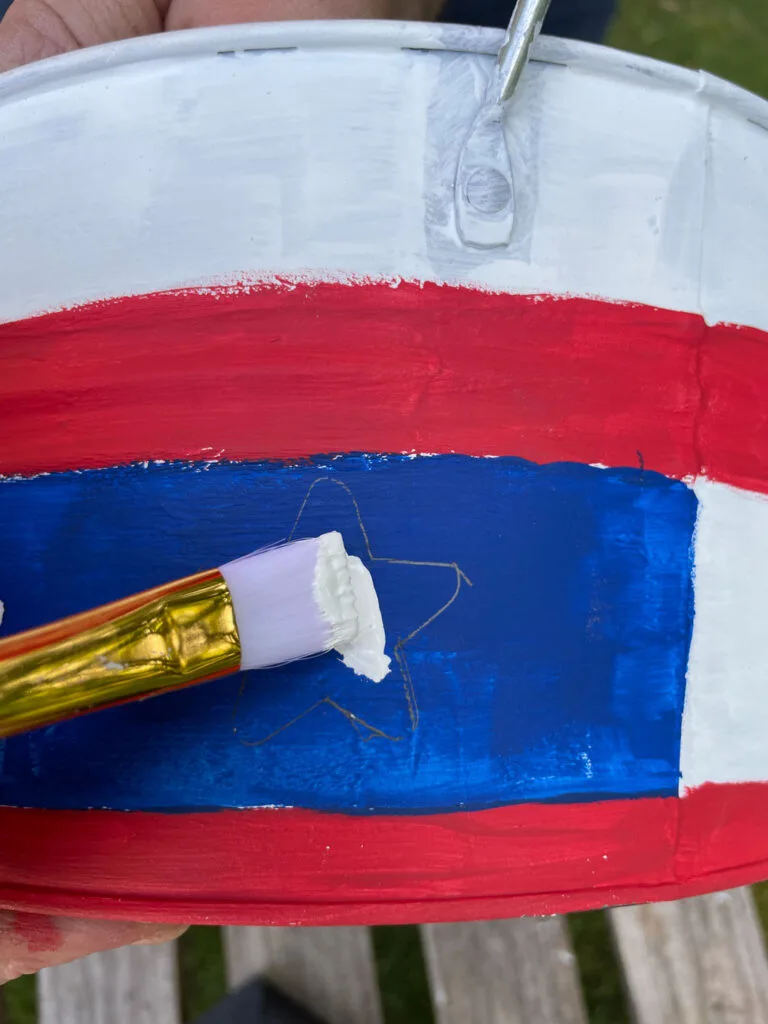
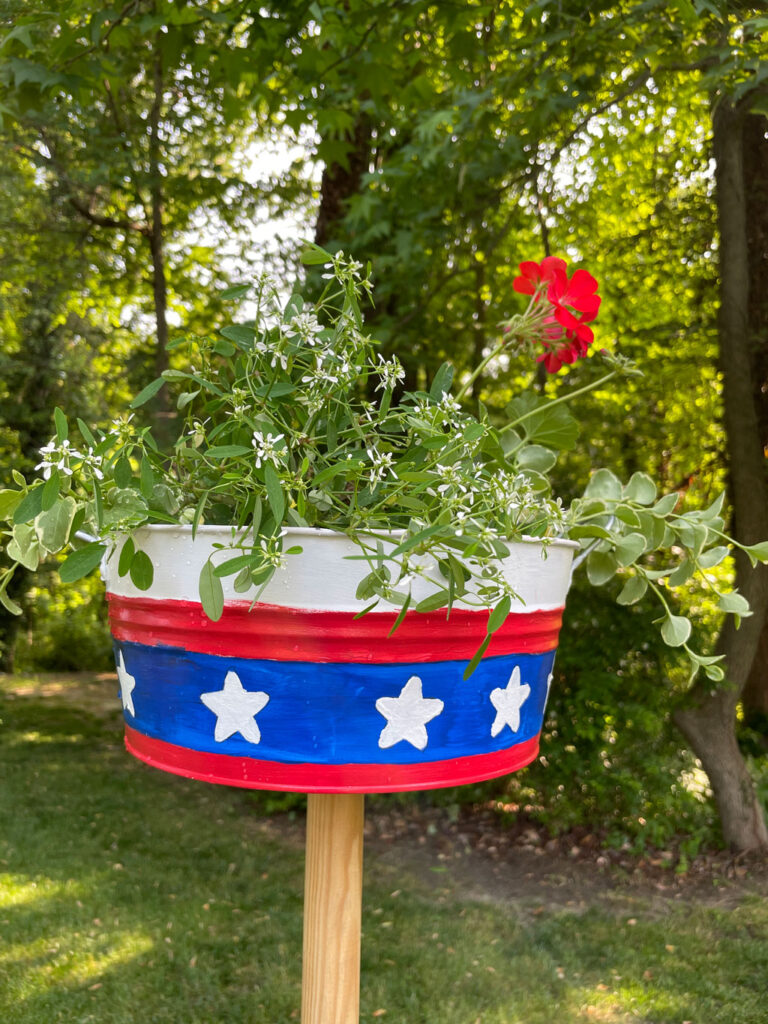
Decorating the DIY Planter
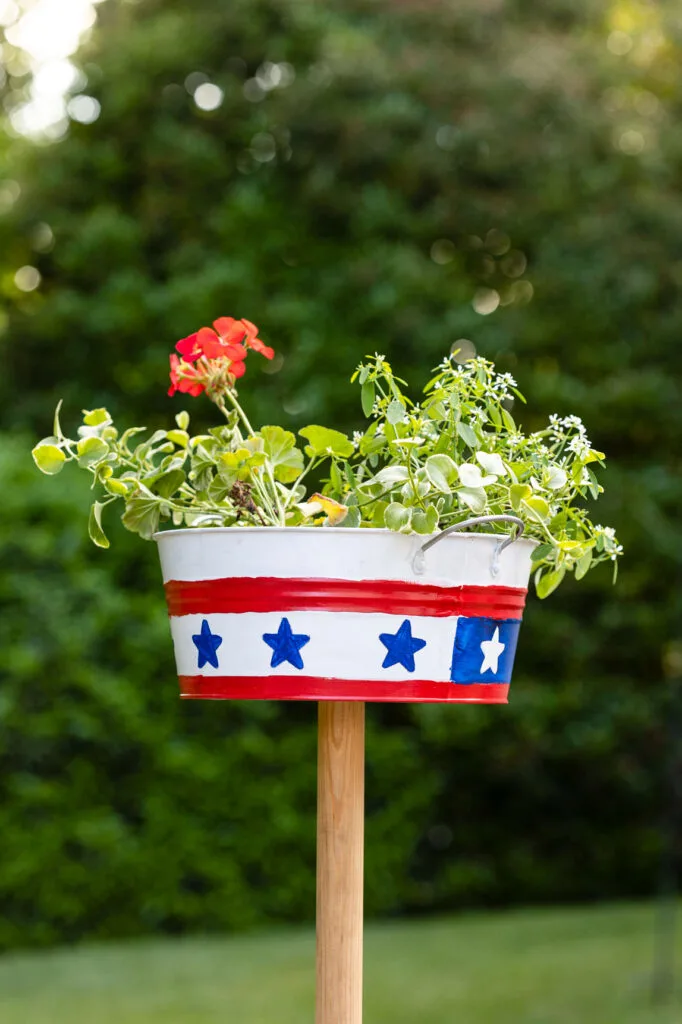
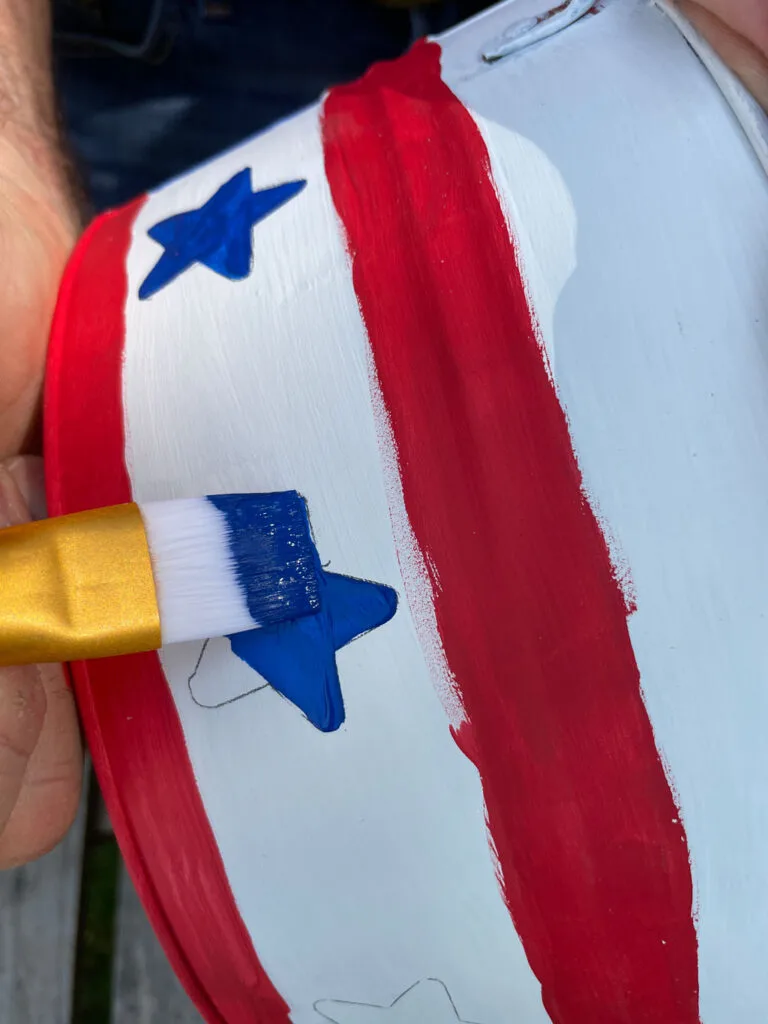
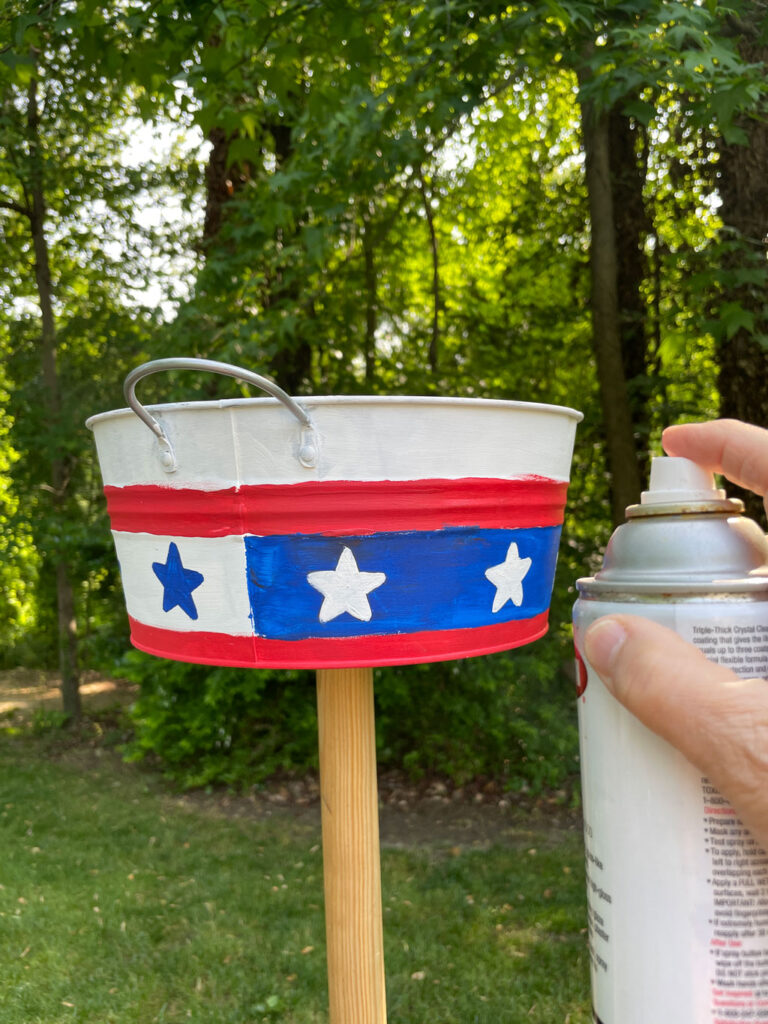
The design options are endless. However, I wanted to create a patriotic-themed garden, so I painted a flag-inspired design.


After the paint dried, I spray-painted the container with sealer (this is the one I used).

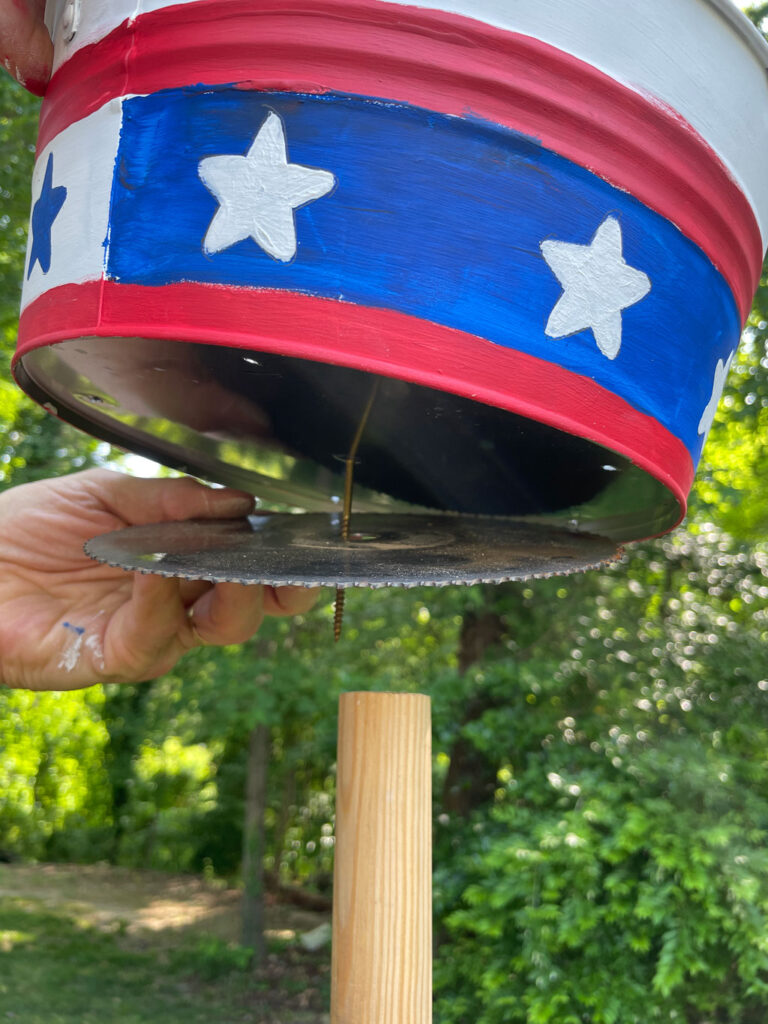
Mount the DIY Planter
The container’s bottom needed some support, so I placed an old saw blade under the container and then attached it to the wooden dowel with a 2.5″ screw through the inside bottom of the planter, the saw blade, and then into the dowel.

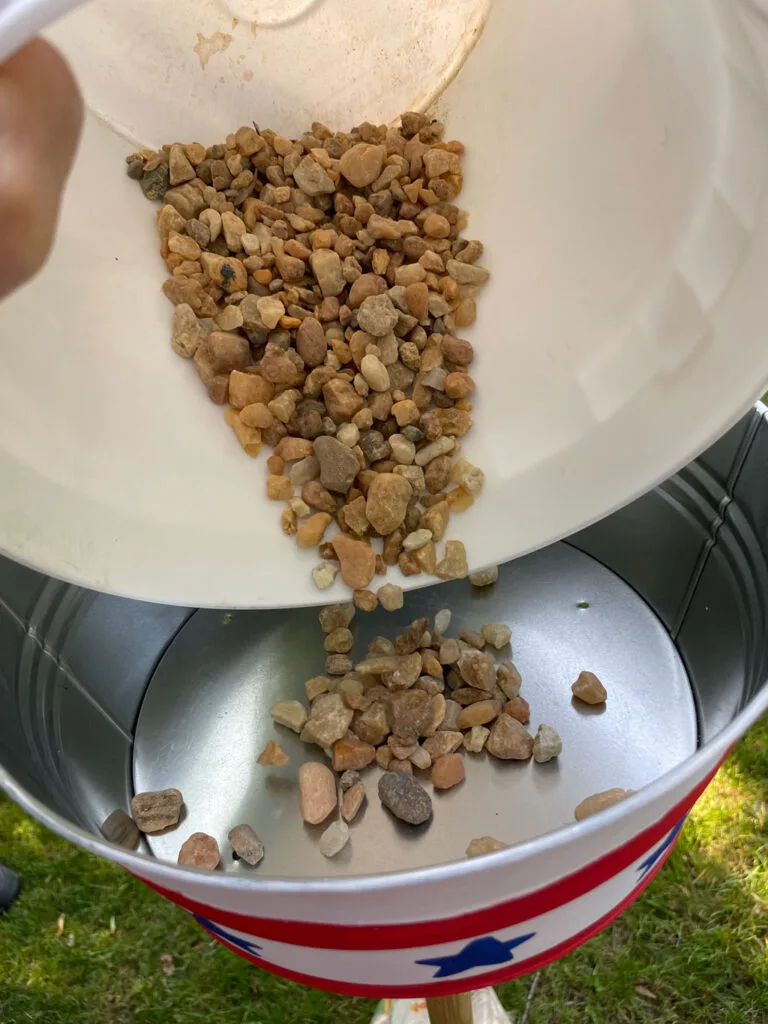
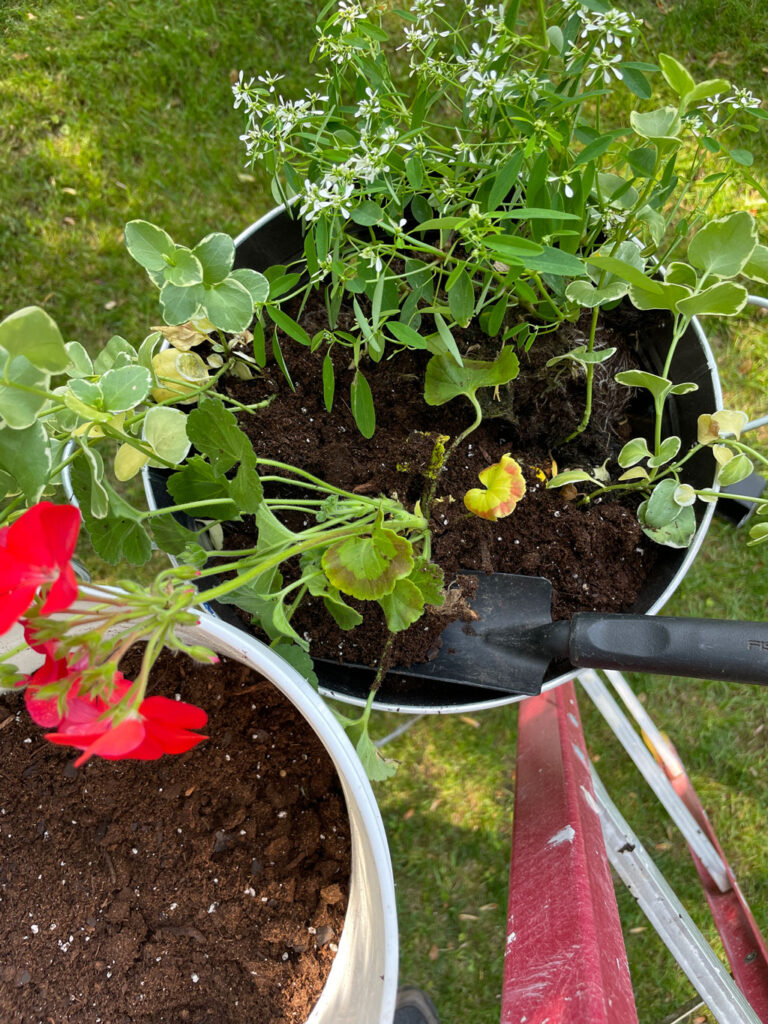
Fill the DIY Planter
For better drainage, I placed small rocks at the container’s bottom.

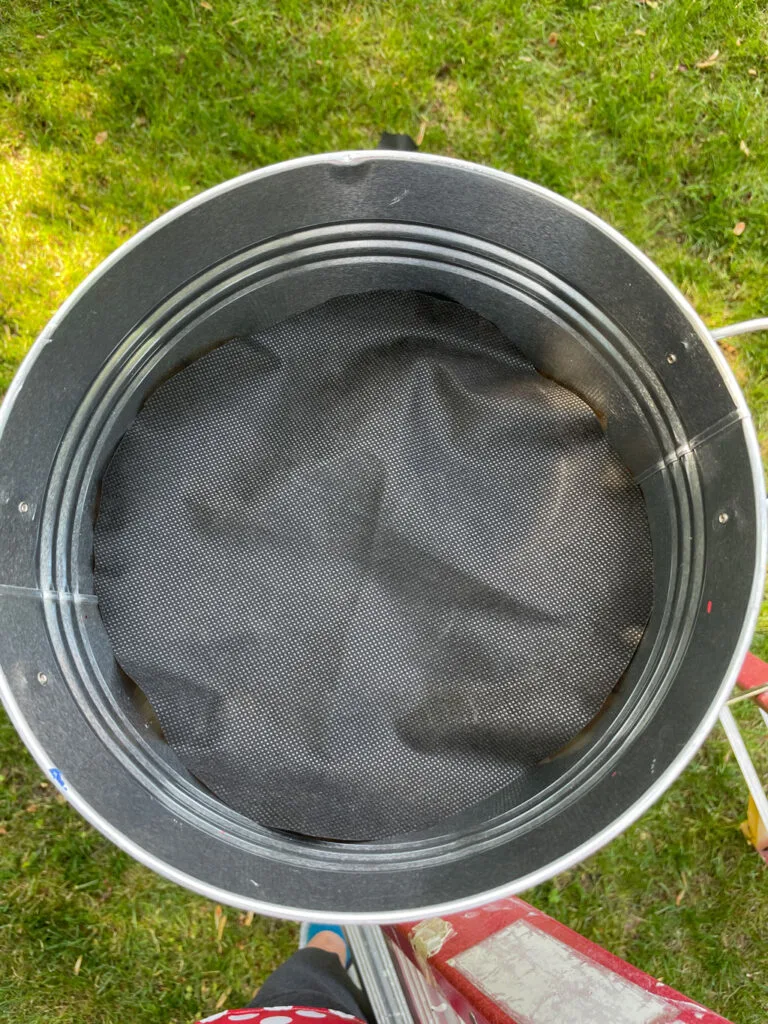
Next, I placed landscape fabric over the rocks to keep the potting mix from draining out the holes.

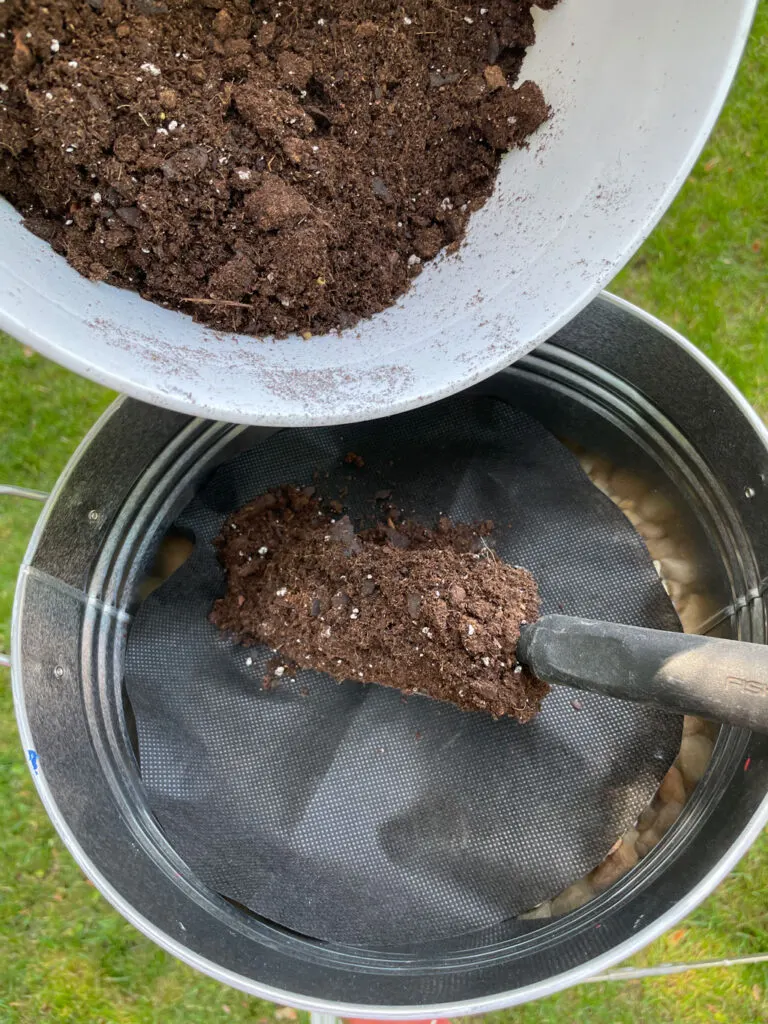
Then I filled the DIY flower planter about half full with potting mix.

If you love to garden or would like more gardening inspiration, please fill out the form below and join me as we beautify our homes one project at a time⬇️

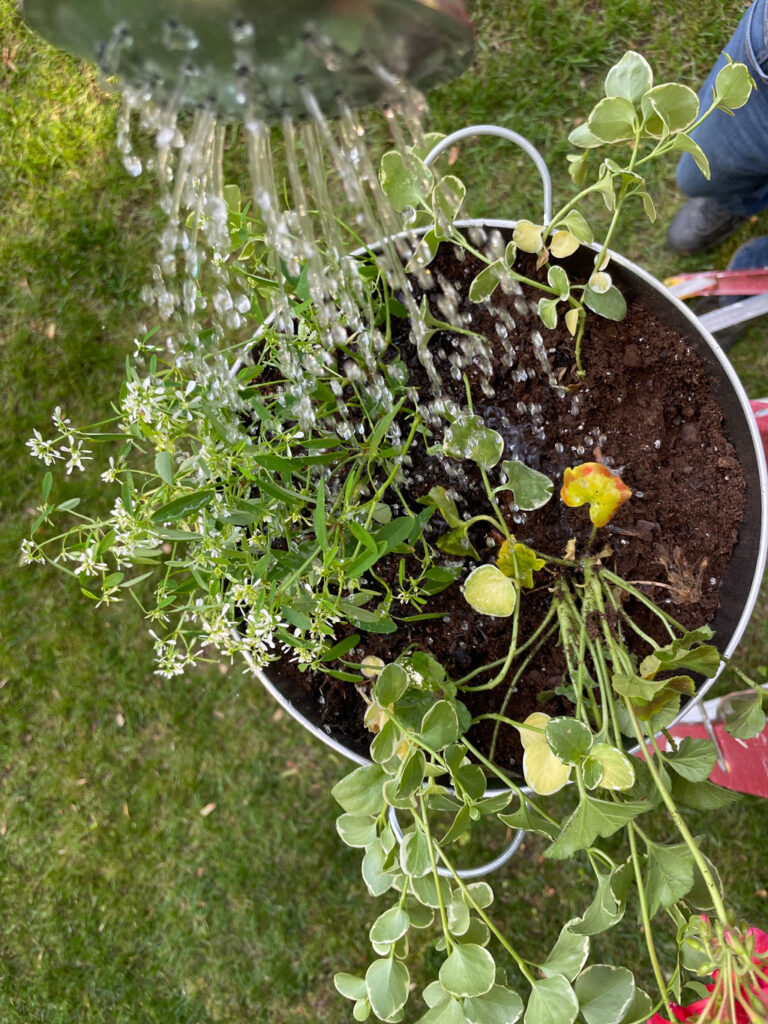
Caring for Planters
Since planters do not have a large soil volume, they can dry out quickly. Therefore you will need to check for moisture daily by testing them with your finger placed about one inch down in the soil.
Once you have established when your planter dries out, you can water it when needed.

Now it is time to make more DIY planters.

See you soon,
Kippi
Ps. This post was shared on Between Naps on The Porch.
pseudo
Saturday 27th of May 2023
nice idea. just love your blog Blob Opera
vicki
Wednesday 24th of May 2023
I really like the patriotic planter.
Cara
Wednesday 24th of May 2023
Love this planter Kippi, and the way you attached it to the stake was ingenious! What a great idea, I need to remember to spray on a sealer. I didn't and my paint faded on a project, thank you for the tips!
Marie
Tuesday 23rd of May 2023
I like that you elevated the planter. Makes it more versatile; like to line a walkway or peeking out amongst shrubs. Pinned!
kristin
Monday 22nd of May 2023
This is such a great idea and it's so cute!!