Christmas gnomes are so whimsical and fun that they make everyone smile. They are perfect for Christmas decor and every day, too.
The easiest way to make gnomes is using the gnome pattern printouts and this simple no-sew sock gnome tutorial.
DIY Christmas Gnome
Making Christmas crafts is one of my fondest memories from childhood, so I wanted to make some quick, economical Christmas crafts for my kids. Everyone wanted to make a Santa Christmas Gnome, so I made a little hat pattern, and we got to work.
Christmas Gnome

This post contains affiliate links. That means if you purchase from one of these links, I will make a small commission, but rest assured, you will not pay more for any products.


DIY Christmas Gnome Supplies
How to Make a Sock Gnome
Supplies needed for a DIY Santa Gnome:
- Patterns
- Rice (stuffing)
- Rubber-bands
- Hot glue gun and glue sticks
- Scissors
- Felt (hat)
- Fur Fabric (beard)
- Pompom maker (Watch this video about using this one)
- Ankle socks (body) Note: you can make two gnomes from each pair
- Beard Pattern
- Glue Gun
- Pins
- Cup
Please Join Our Craft Group HERE. It is a place to share and be inspired by other amazing crafters. I cannot wait to meet you🤗
After your supplies are ready, you can print out the hat and beard pattern.
Step 1: Fill the Sock With Rice to Form the Body of the Gnome
To begin with, fill a thirty-ounce cup with rice. Then, stretch a sock over the cup’s opening and turn the cup over to fill the low-cut sock with rice. Fill the cup again about halfway this time and repeat the process of filling the stocking.
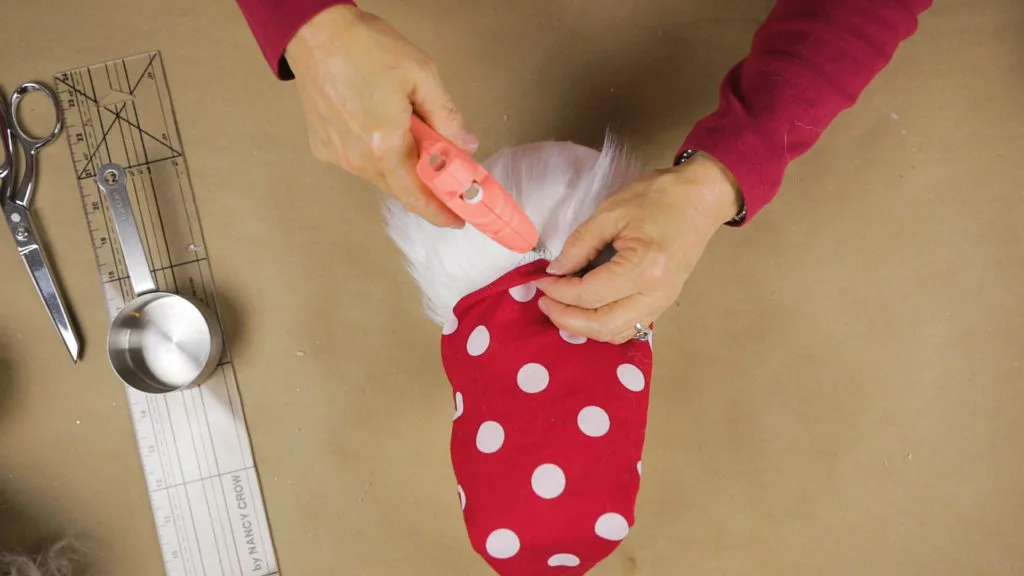
Use a rubber band to secure the top sock to prevent leakage and create the shape of the body of the Gnome. Next, cut down the excess fabric from the sock to about 1.5 inches. Finally, glue down the remaining fabric to the top of the body (sock) using a hot glue gun.


Filling a cup with rice
**Special invitation to join me to get organized in 30 days. It’s so easy to join; fill out the form below and go to an organized home.
How to Make a Christmas Gnome Video:


Filling the sock gnome with rice
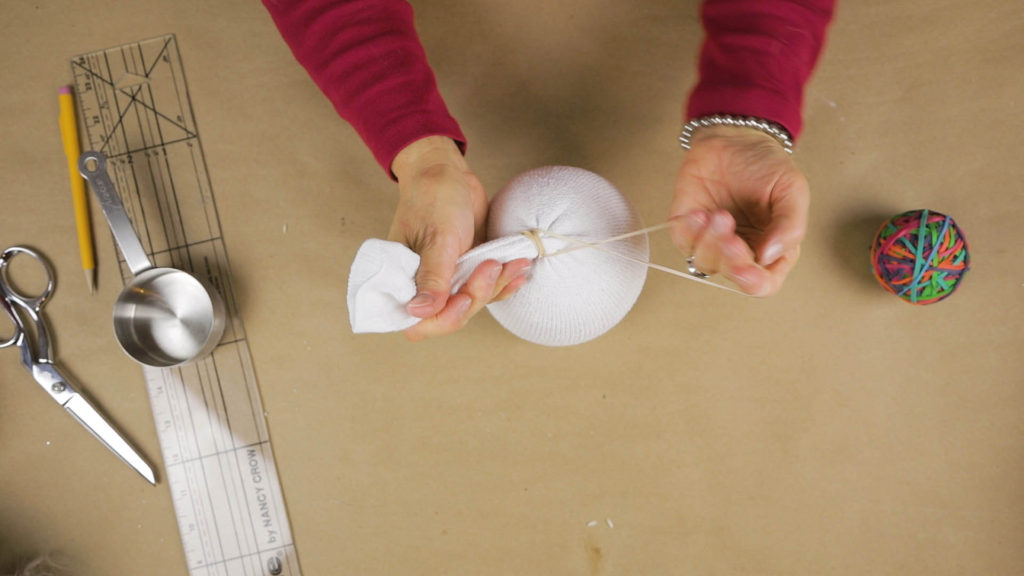

Closing the gnome sock with a rubber band
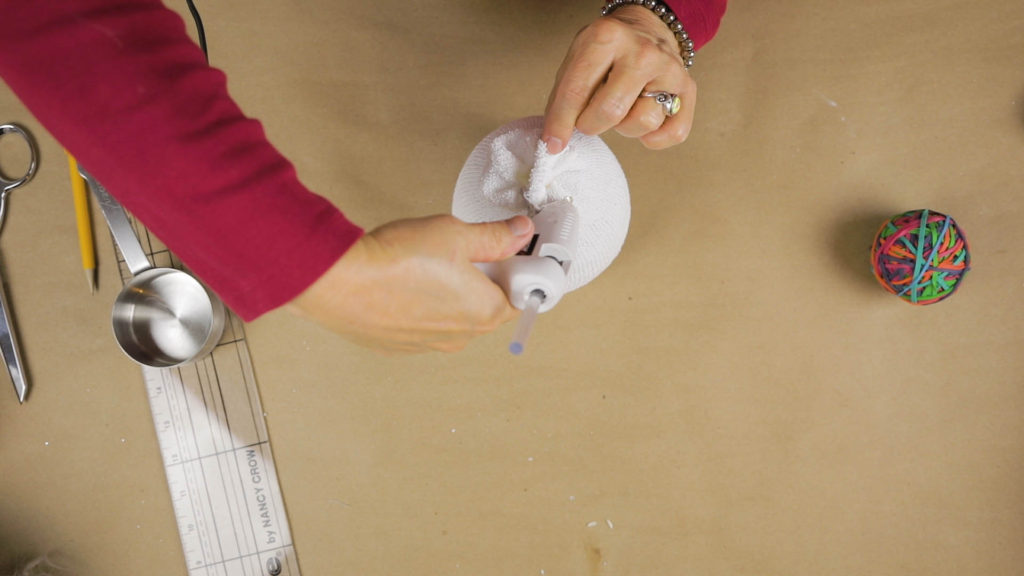

Gluing the sock gnome
Step 2: Attaching the Beard and Wooden Nose
Cut out the beard by following the above pattern using a faux fur fabric you choose.
Next, test fit the beard on the sock gnome body to see where to lay a bead of glue. Finally, a bead of glue is laid down where the top edge of the beard will sit on the sock body. Then, find the center front of the Gnome and glue it on the wooden nose.
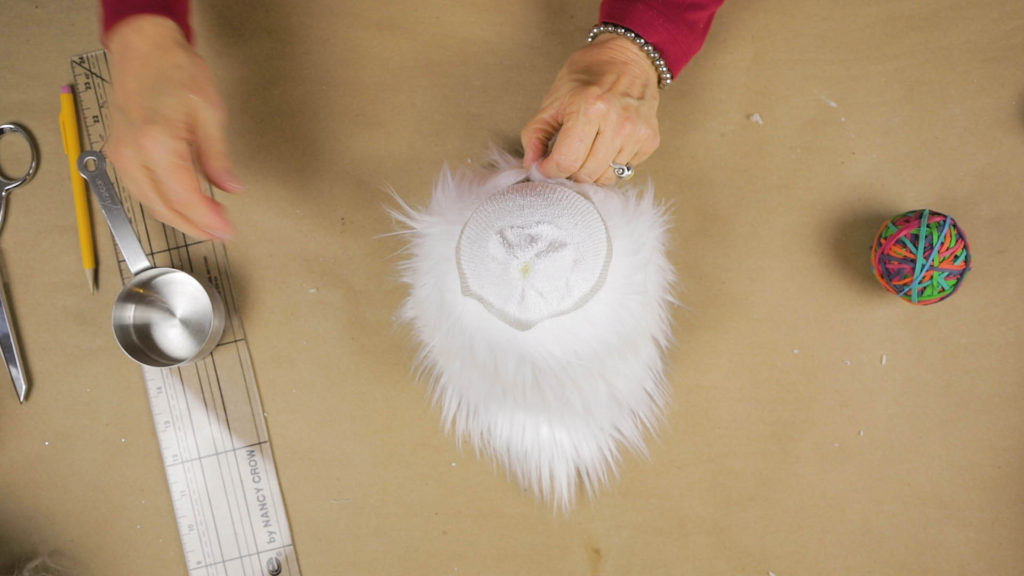
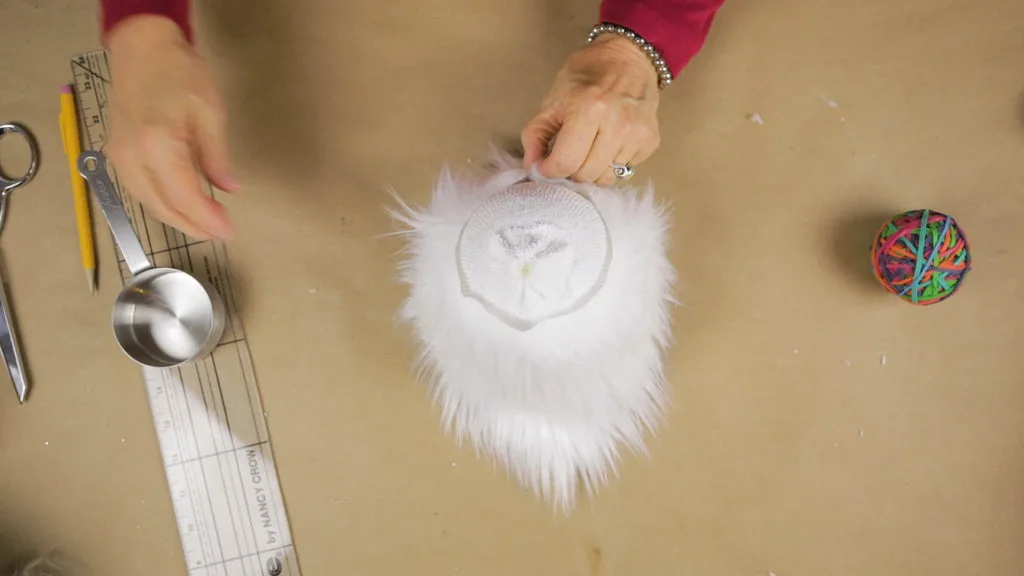
Beard placement


Cut out Gnome’s beard with the pattern, then glue.
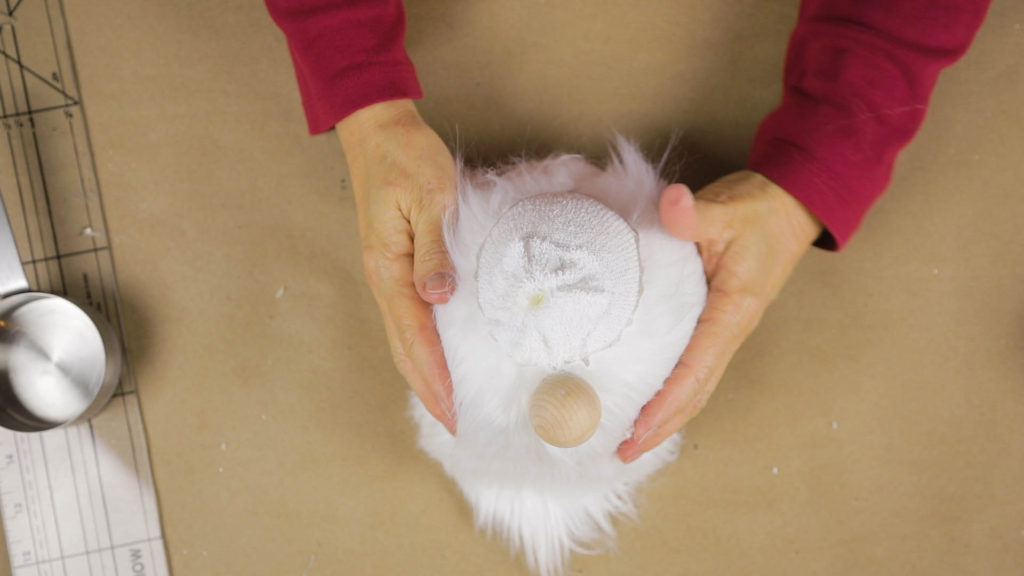
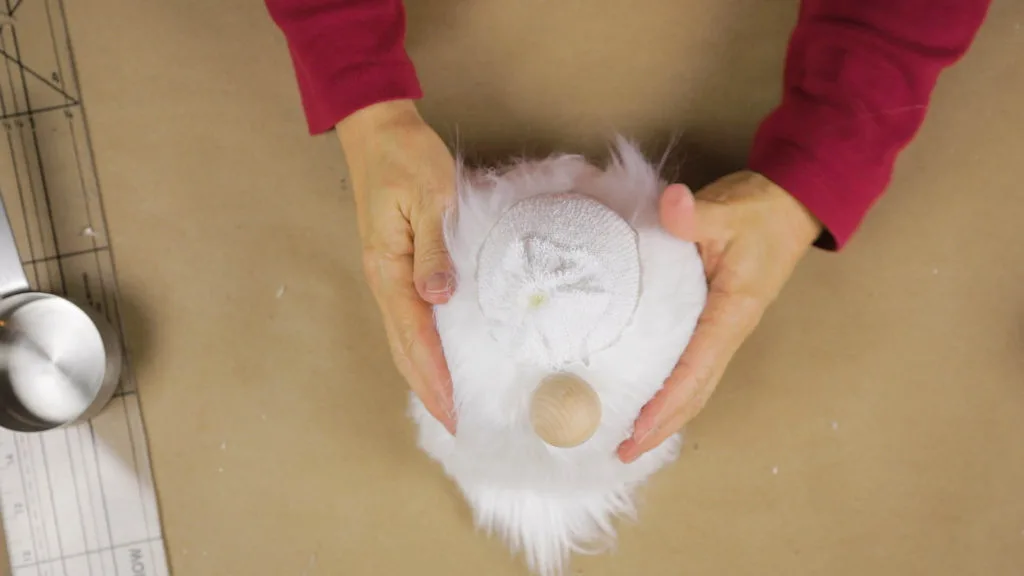
Glue on the wooden nose
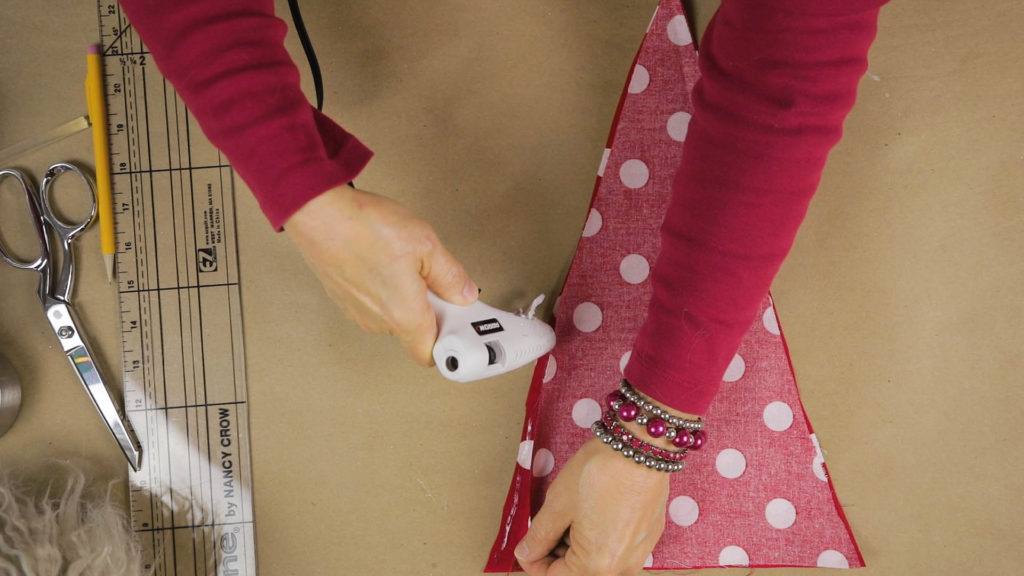
Step 3: Creating the Christmas Gnome Hat
Next, we will create the hat. Cut out the above pattern and pin the pieces as shown. I opted to cut out one piece and use that as my pattern to cut out the second piece, then, with the faces of the fabric facing each other, glue the piece together along the edges, making sure to leave the bottom of the hat open, creating a cone-shaped hat.
Next, turn the hat on the right side out, then stuff it with fiberfill to help it stand up once it is placed on the Gnome’s body. Finally, fold under the edge of the open end of the hat to create a clean edge around the gnome hat.
With the edge of the hat folded under, proceed to glue the hat to the gnome’s body using hot glue. It is always good to test fit the hat before deciding where to lay down a bead of glue to secure the hat on the Gnome.


Using the hat pattern to cut out the hat
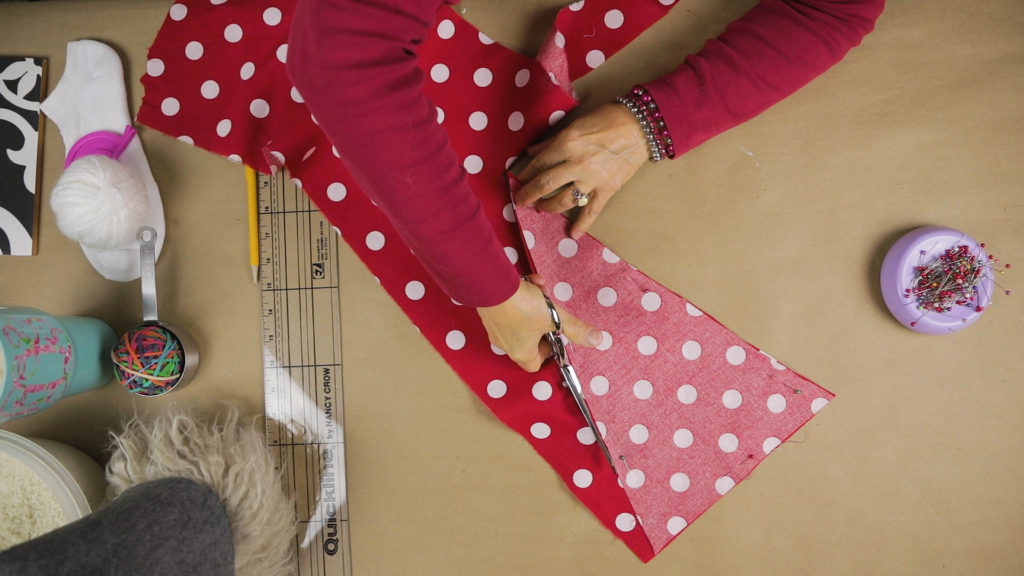
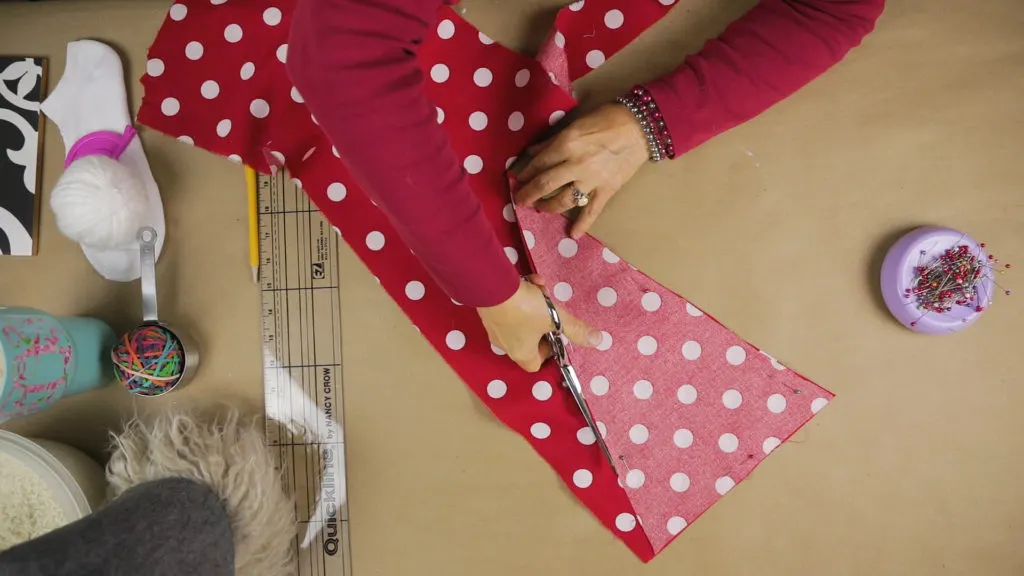
Cut out two hat pieces.
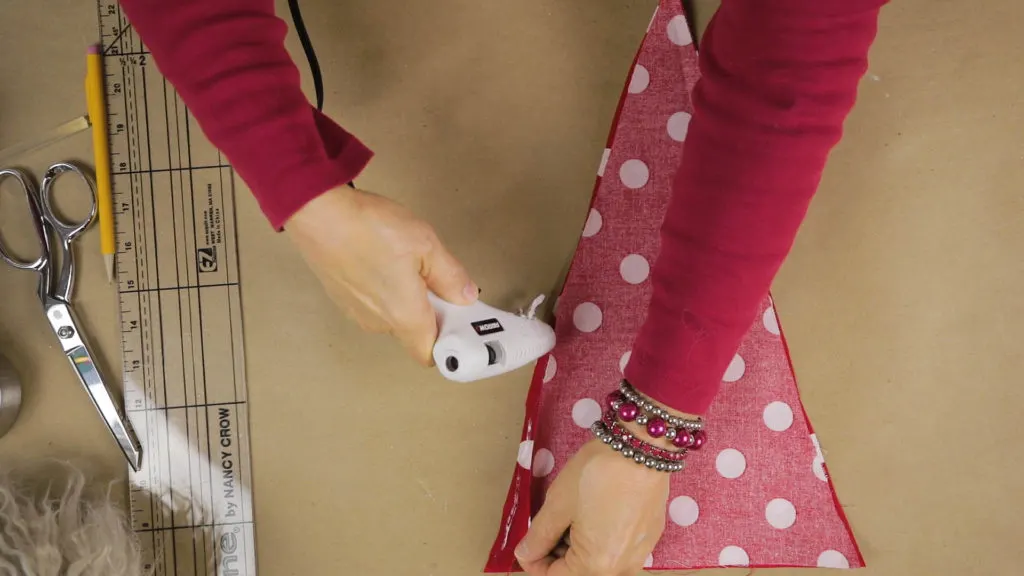
Glue or sew hat seams
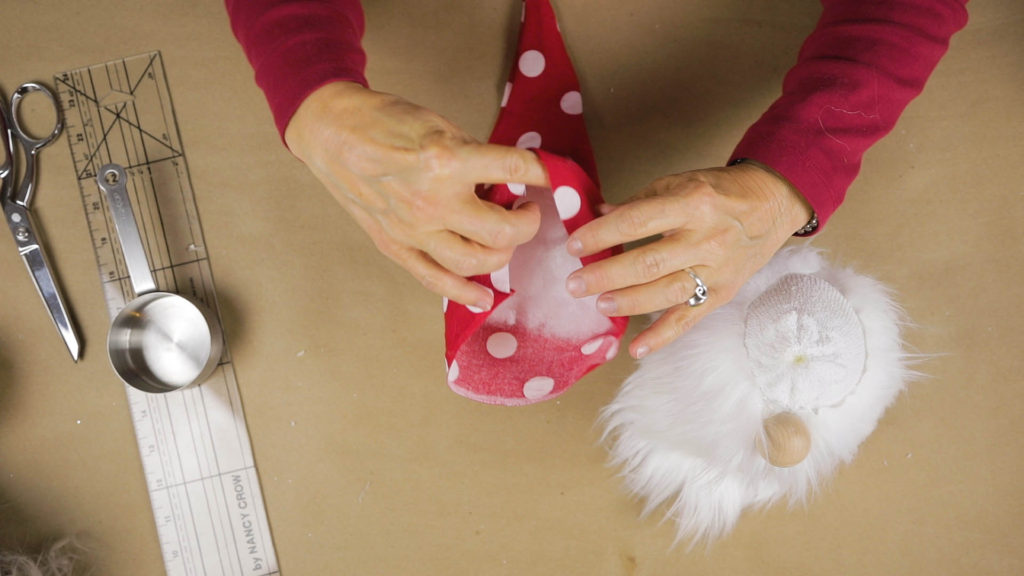

Adding a little fiberfill to the hat
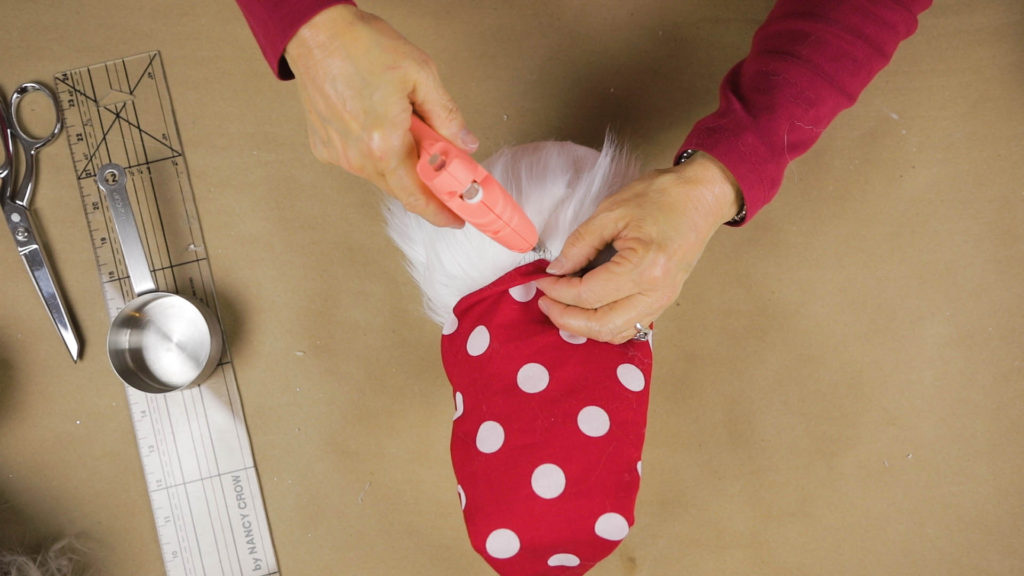
Glue hat in place
Step 4: Making the Pom Pom
A pompom is great for adorning the cone hat of any gnome, and this one is no exception. Check out this post to learn a super-easy way to create a pompom. After making the pompom, attach the pompom to the tip of the hat with a dollop of hot glue.

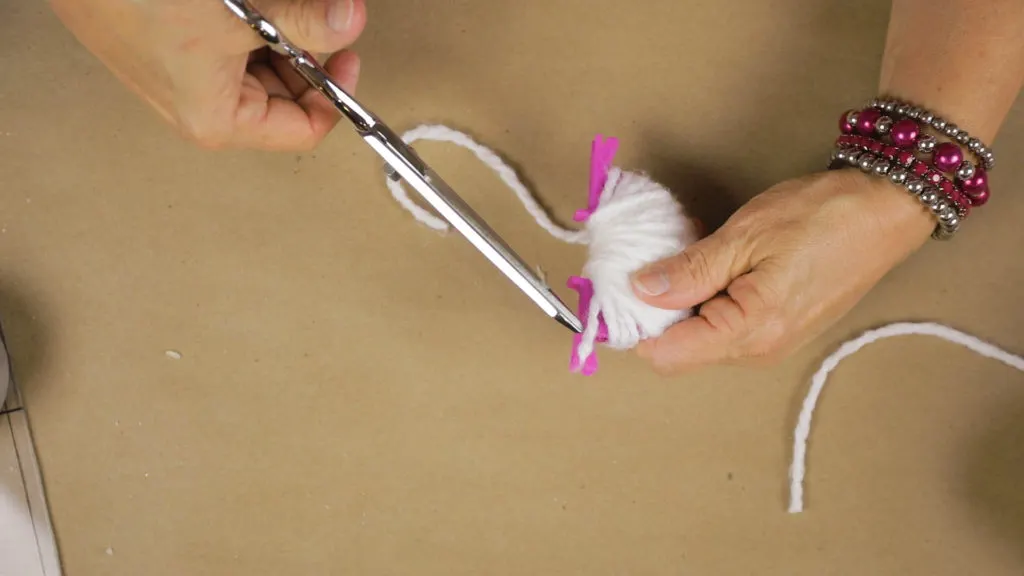
Make a pompom for the end of the hat.

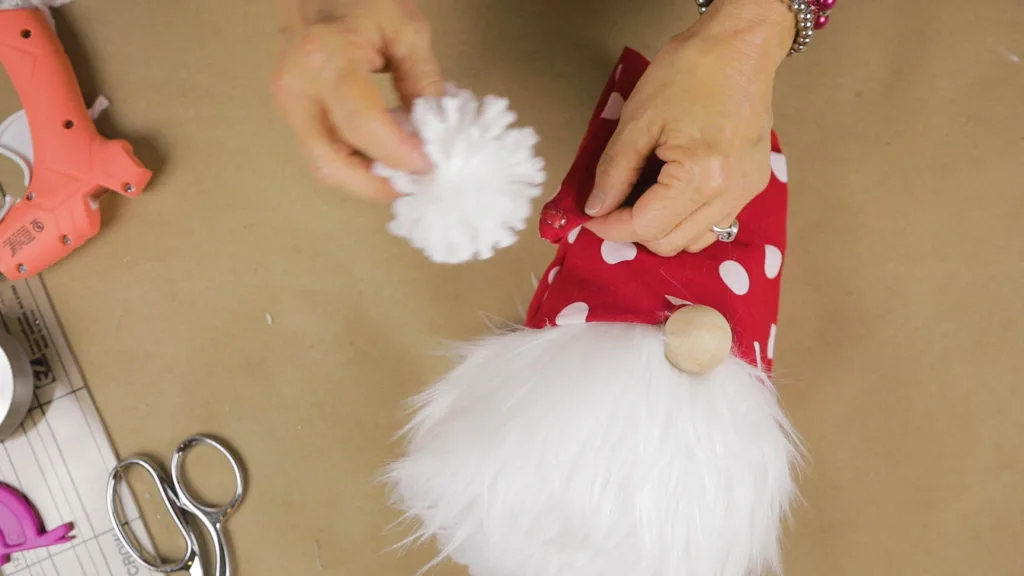
Glue pompom to the hat
Step 5: Decorate!
These gnomes are perfect for decorating this holiday season.


Christmas Santa Gnome on Hot Cocoa Bar
Setting up a Christmas hot cocoa bar is so fun to see how to set up one here. I made the hand-painted signs in an earlier post and the little gingerbread house I made in a YouTube video.
**Please join my fun Facebook crafting group HERE and be inspired and meet new friends.
More Gnome Ideas
These super easy Gnome Christmas Ornaments were made with a cardboard box.
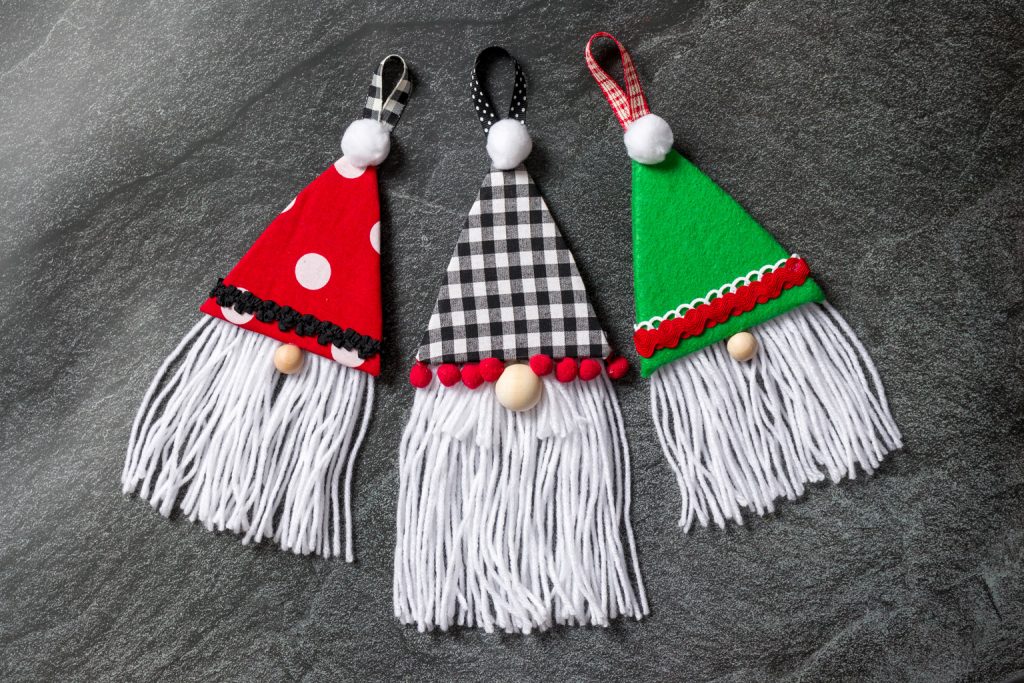
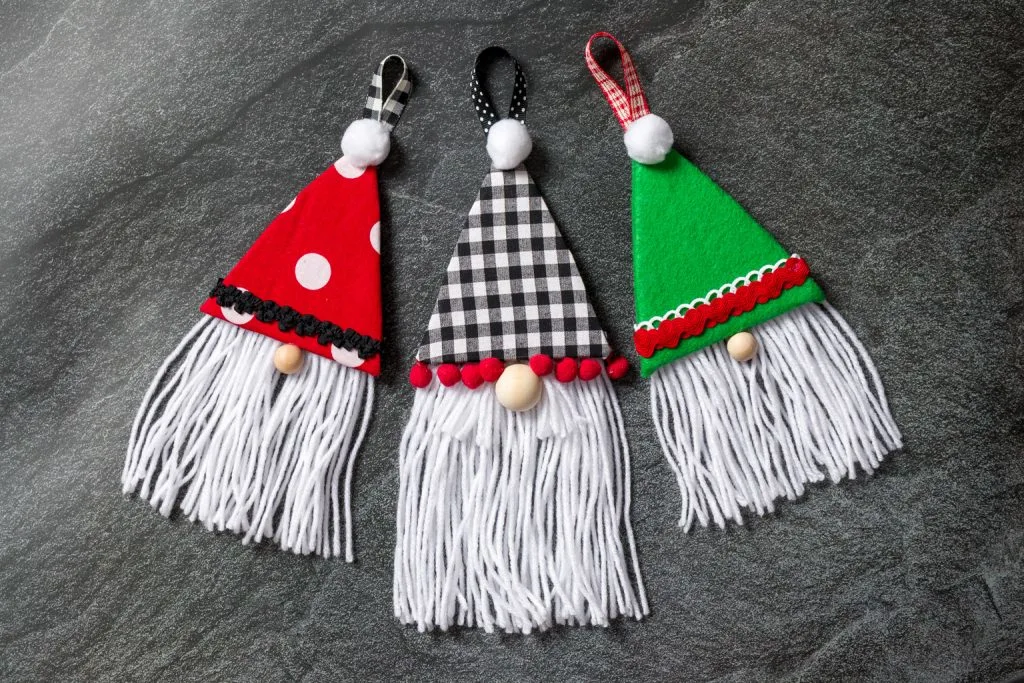
Gnome Christmas Ornaments
You might also like these handmade felt Nordic Gnome Christmas ornaments of gnomes, gingerbread-man, hearts, stars, hearts, and more. Grab your free pattern and learn how.
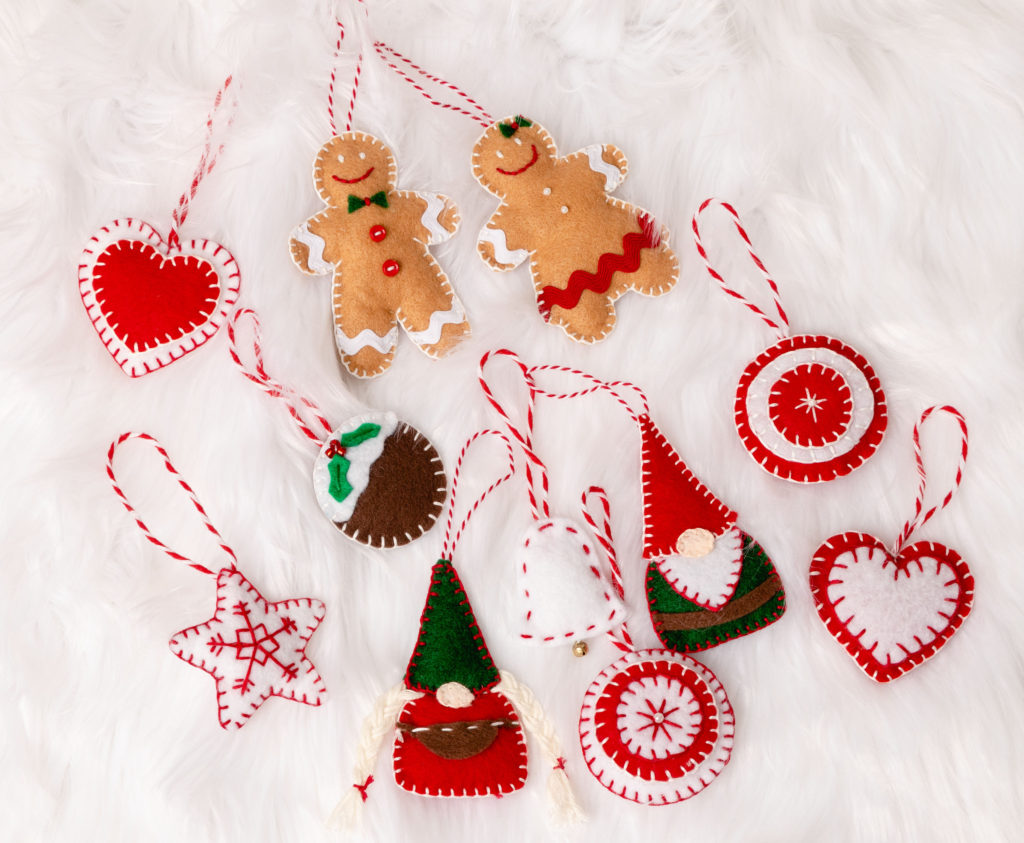

Gnome Christmas Ornaments and more
Easy Gnome DIY is the original Gnome with patterns and step-by-step instructions.
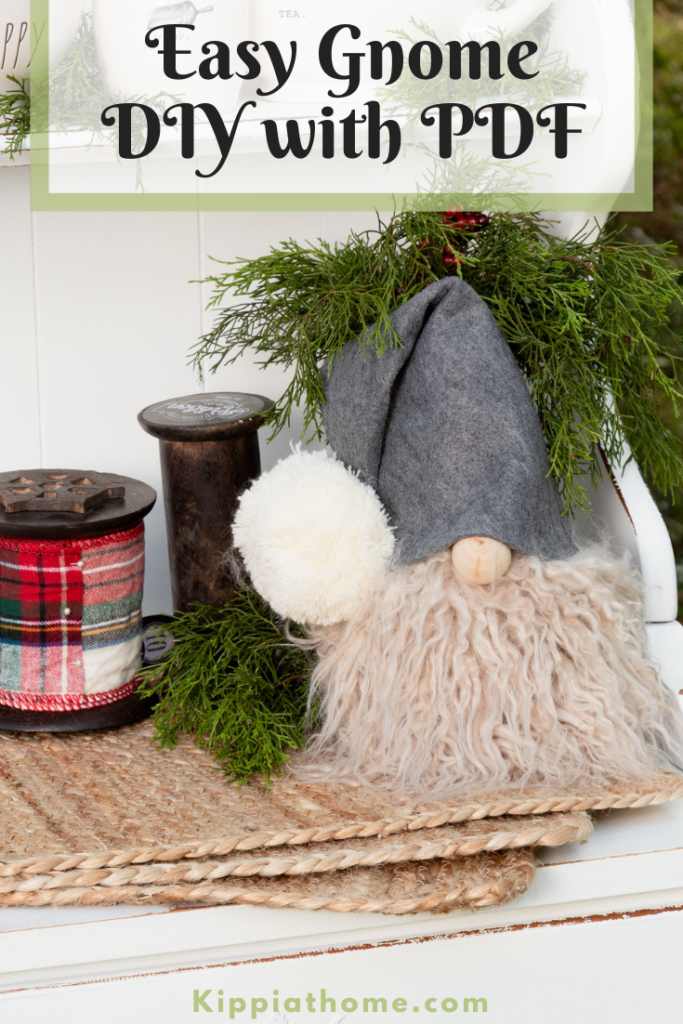

Easy Gnome DIY
Gnome pillows with patterns and step-by-step tutorials. Why not decorate all year with gnomes?
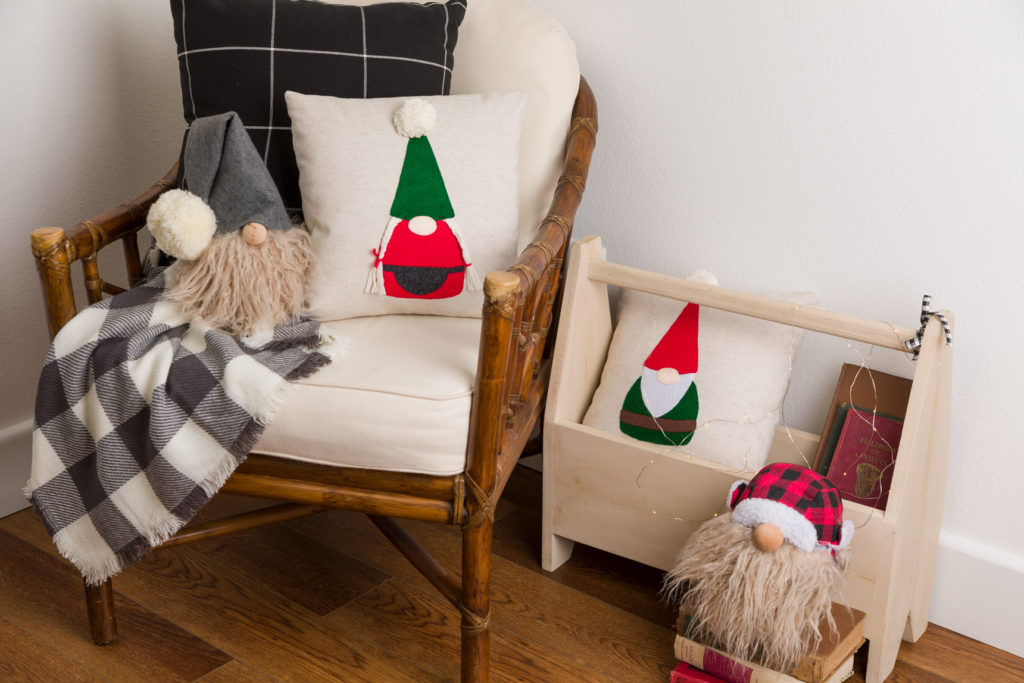
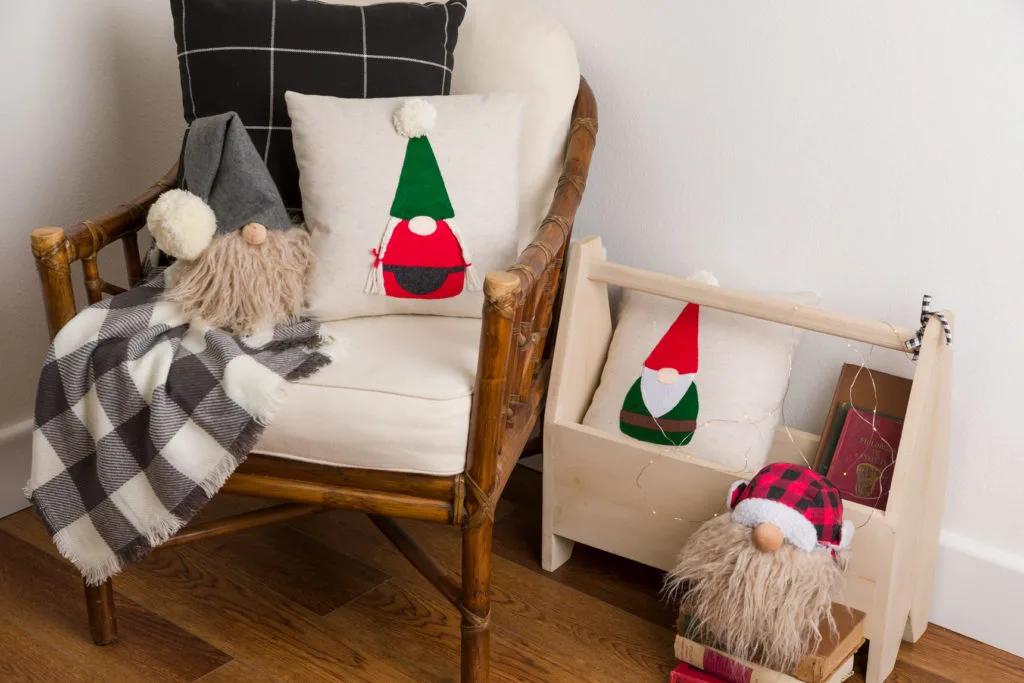
Gnomes and pillow gnomes
Please join me (HERE) as we craft up some fun. You’ll receive new weekly inspiration, including special online crafting events and seasonal and holiday crafting.
See you soon,
Kippi
Kathy
Sunday 12th of November 2023
I wasn't aware their were so many ideas for making the gnomes. I'm so surprised with so many ideas and the sharing of these ideas. Thanks for sharing.
kristin
Monday 16th of October 2023
Your gnome is just adorable! I can't wait to make one for Christmas!
Marie
Monday 16th of October 2023
These are adorable! And you styled him so cute.
Sherri McIntyre
Wednesday 2nd of August 2023
Can you please email me the size of the beard. I have everything else completed. I love the Santa. I am making two. Thank you
Kippi
Monday 16th of October 2023
@Sherri McIntyre, Thank you so much for your interest in gnomes. Please visit this post for more information. https://kippiathome.com/easy-gnomes-diy/
ann
Thursday 13th of January 2022
just enjoy these little guys just getting for them. thank you for your help