Decorating with vintage-style flags is perfect for the 4th of July. So I decided to make a DIY flag with items on hand.
Making these flags was so easy and fast.
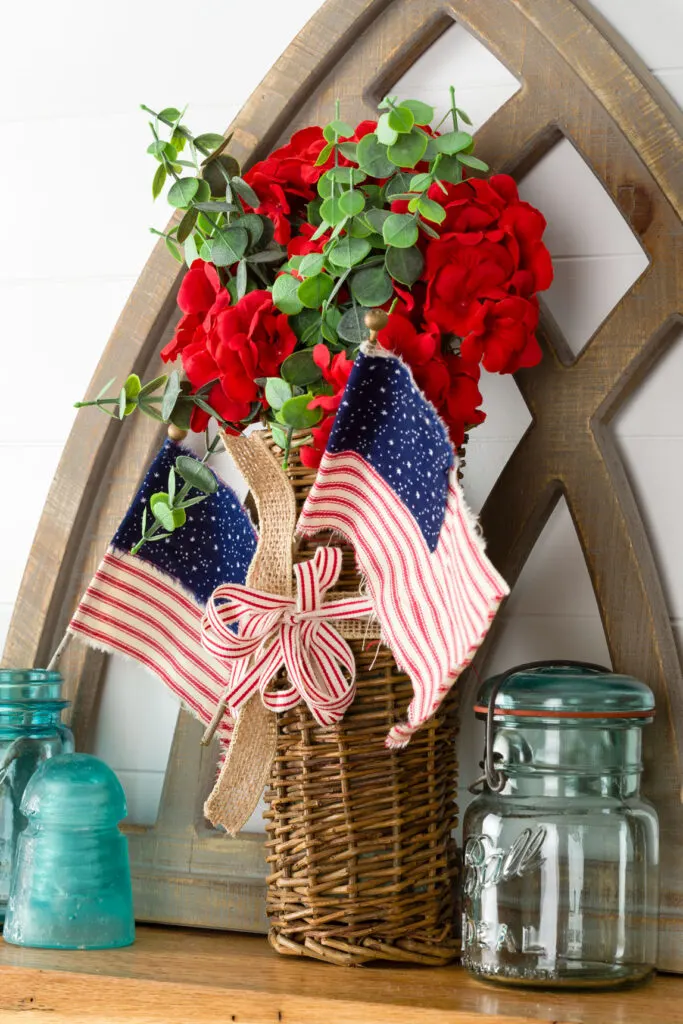
DIY Flag
This post contains affiliate links. If you purchase from one of these links, I will make a small commission, but you will not pay more for any products.
How to Make a Flag
I wanted to decorate my mantel with some of my antique blue ball jars, so I wanted an antique-looking flag to coordinate with them.
Therefore I used a vintage-style fabric (this is the one I used) for my main fabric.
I used blue fabric with stars for the star area, a small branch, and a wood bead.
Flag Making Supplies
- Striped fabric (this is the one I used)
- Star fabric (like this one)
- Wire cutters (these are my favorite)
- Scissors
- Chalk maker
- Hot glue gun cordless (this one is the one I use)
- Non-stick glue mat
- Wood bead
- Quilt ruler
- Sewing ruler
- Sharpie
- Stick or dowel
To make your flag, you can use just about any fabric. For example, you can use fabric from old shirts, blankets, drop cloth, etc.
The pole can be a stick from your yard or a dowel.
For the topper, I used a wooden bead. However, you can make the flag without a topper.
The best part about making these easy flags is you do not need a sewing machine.


DIY Flag Supplies
Cutting Out The Flag
I wanted my flags to be mini flags for my mantel. Therefore, if you’re going to make a large flag, you will need to increase these measurements.
DIY Flag Cuts
- Red striped fabric (if you are making an American flag) cut one rectangle 7′” by 4″, ensuring the stripes go a long way.


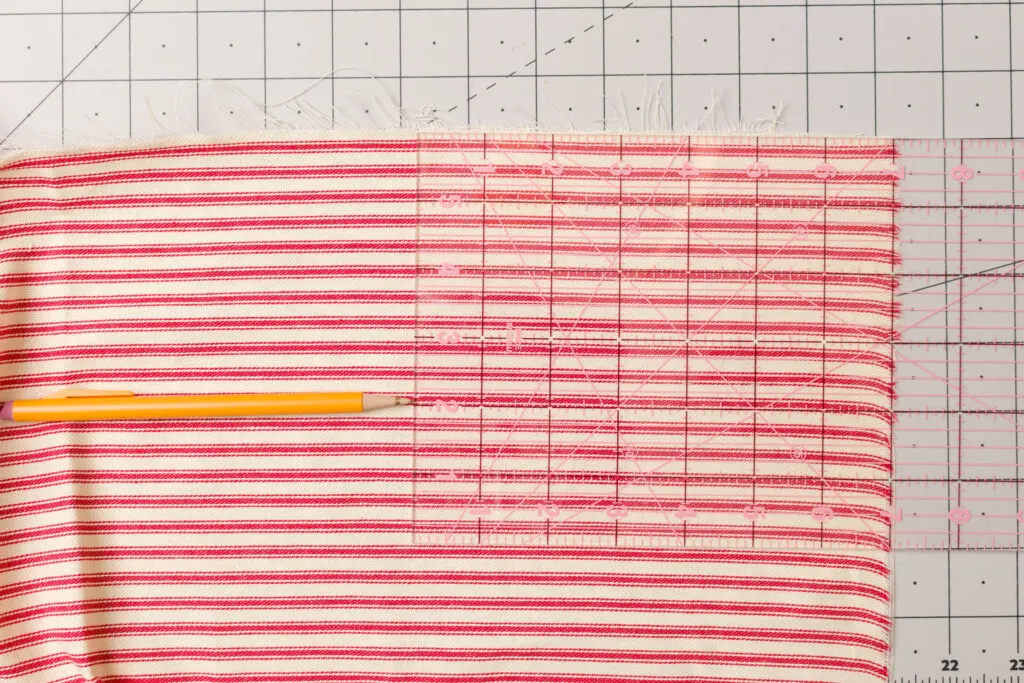

Main flag fabric
I used a chalk marker (the one I used) to make tiny marks at the 7″ and 4″ for the fabric.
I wanted the fabric ripped to form a more vintage look. So if you like that look on the edges of your flag, then make a snip with the tip of your scissors (these are the ones I used) at your chalk marks and rip the fabric.


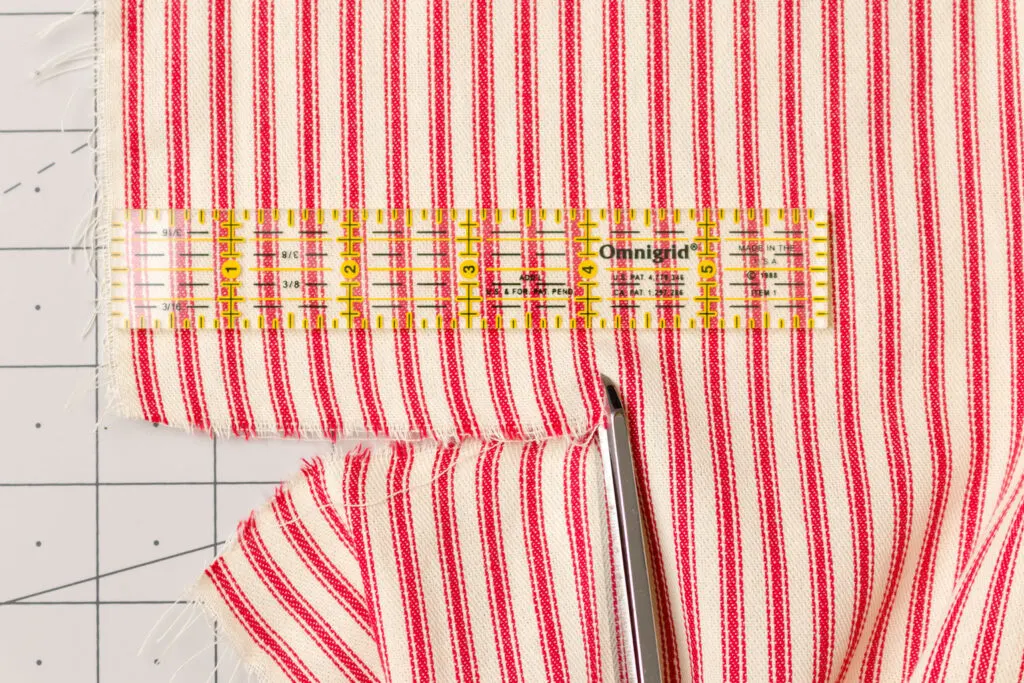

Clip flag fabric at cut marks
I cut (ripped) a 4″ by 2.25″ rectangle for the blue stars.


Rip the star fabric
I assembled my flags after cutting out fabric for three American DIY flags.


Fabric pieces for flags
DIY Flag Assembly
Since my flags will have an American Flag vibe, I needed to attach the blue star fabric to the upper left corner. Again, I used hot glue to secure it.


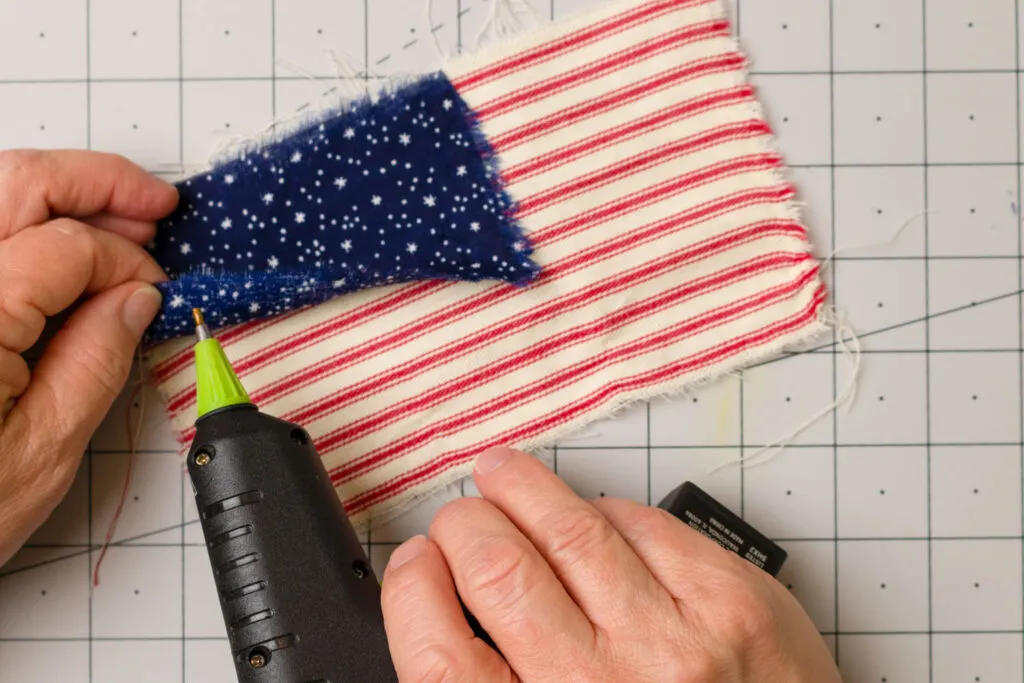

Glue flag pieces together
How to Make a Flagpole
I used a wood bead that I “painted” with a gold sharpie. I was quick and easy. Of course, you can paint the wood beads instead, but with this method, there so no cleanup.
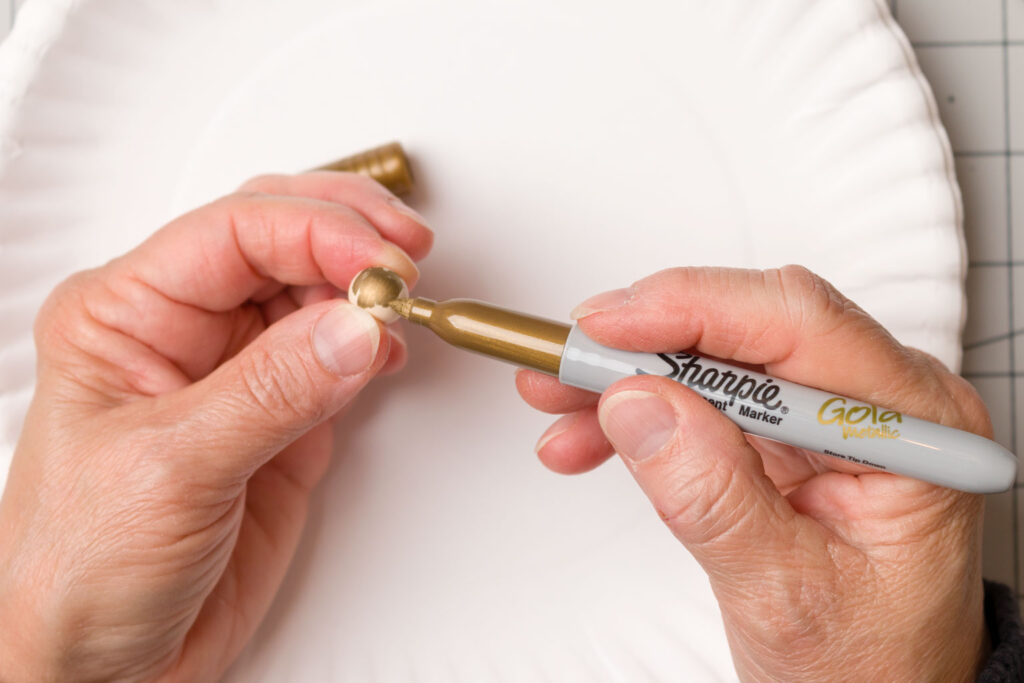

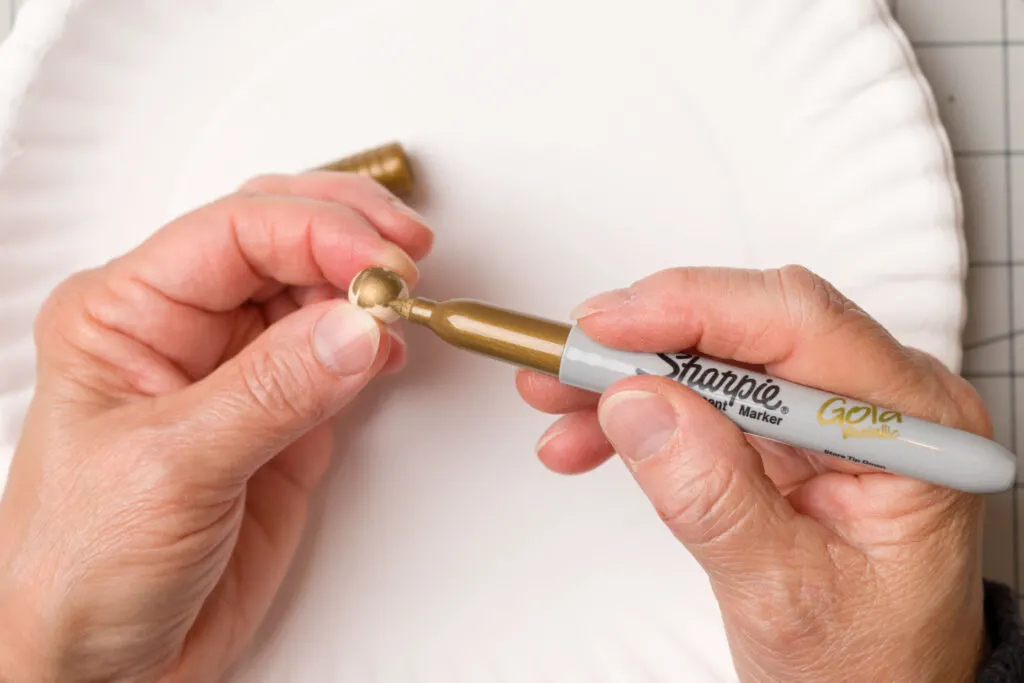

Coloring the wood bead gold
I used a small branch from a bush in my yard for the flagpole. I cut it to length (10.5″) and glued the bead to the top.


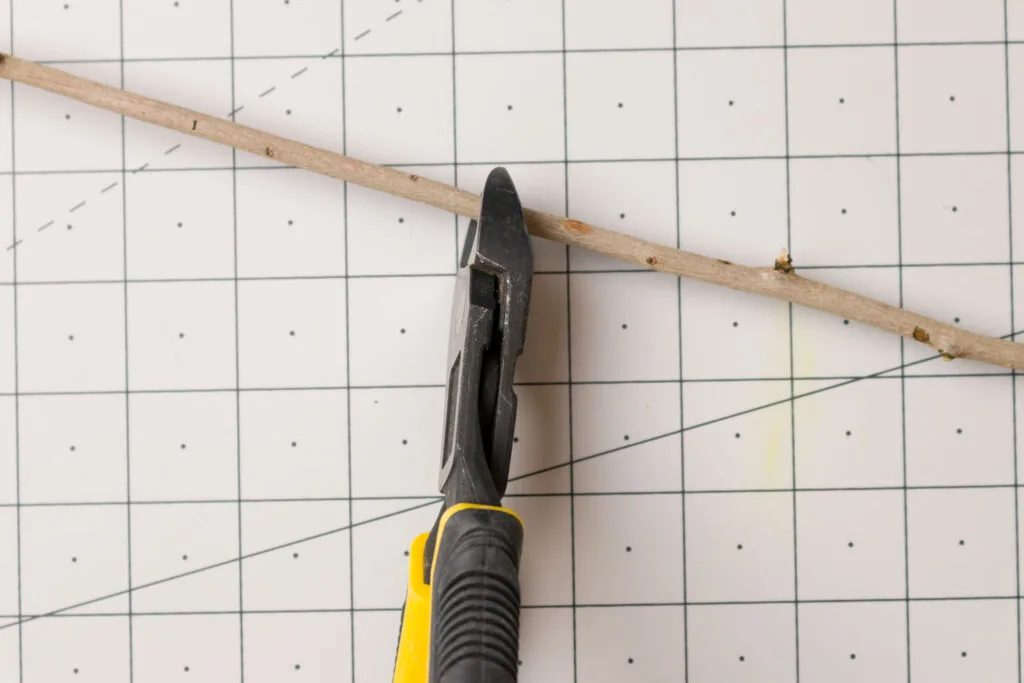

Cut the stick to length.
To attach the flag to the flag pole, I placed a line of glue along the left backside of the flag. Then put the stick in place until the glue dried.


Glue the pole to the wrong side
Then I folded the cut edge over the stick and glued it.


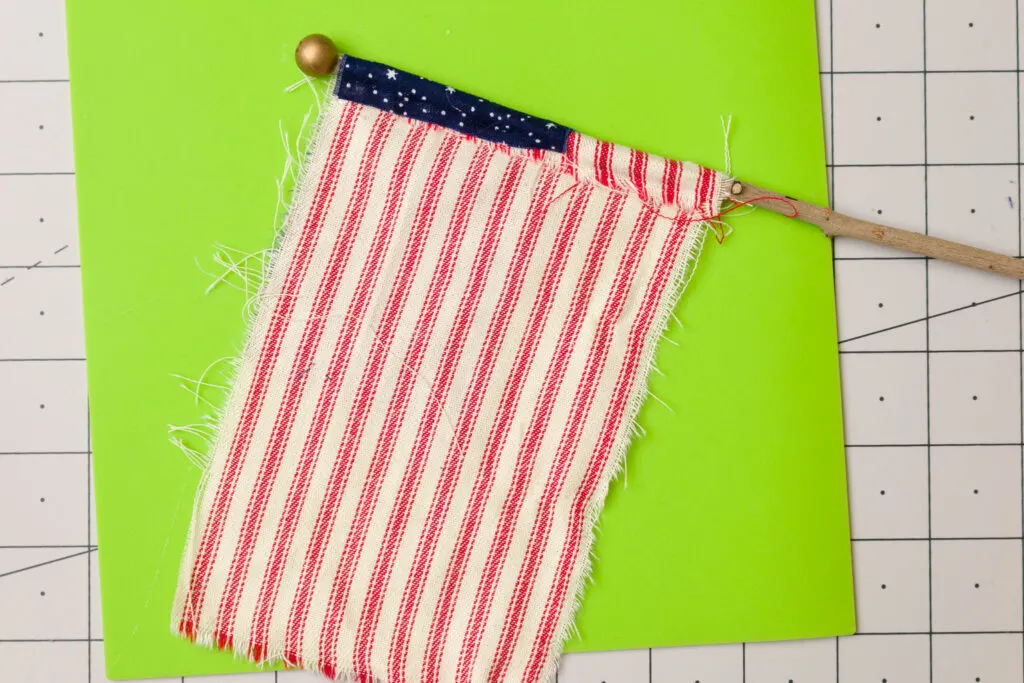

Glue flagpole fabric around the pole


Homemade Flag
These adorable flags look festive on our mantel for the 4th of July. But I think I will leave them out all summer.
I had so much fun making these flags. I will be making some seasonal ones too.


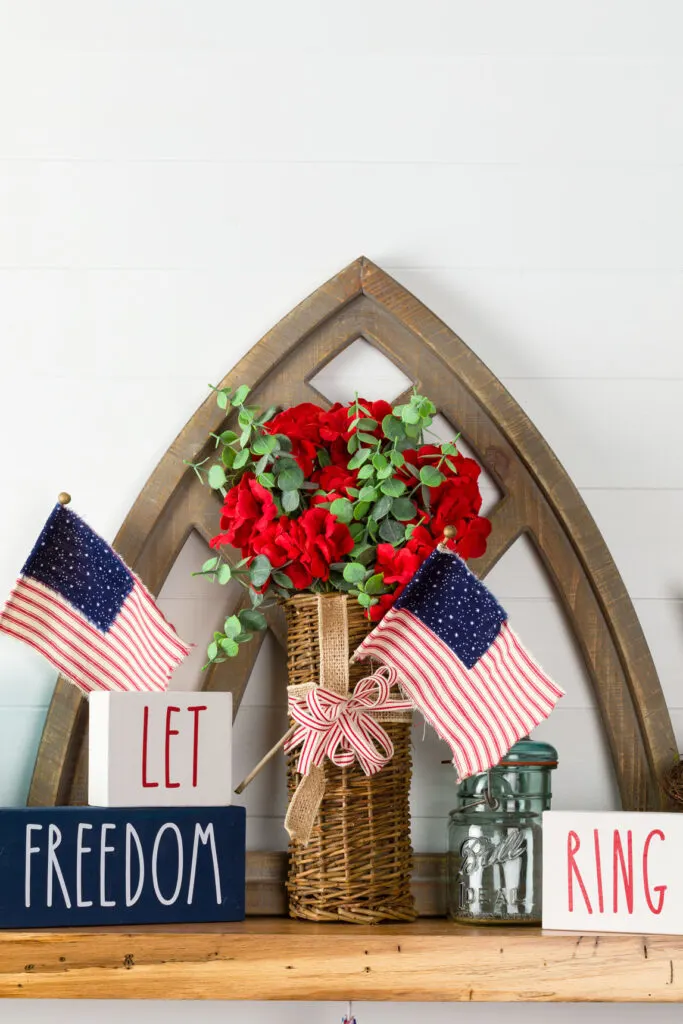

DIY Farmhouse Flags
I made the adorable DIY Block Signs in an earlier post (you can see them HERE).
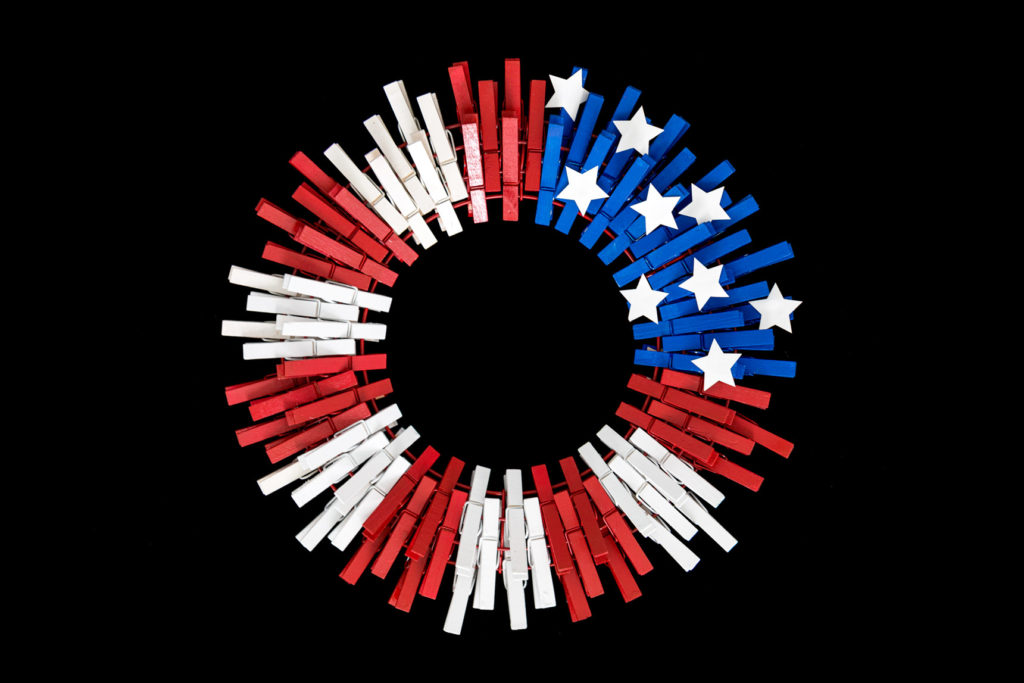


Flag Wreath
You might also enjoy making a flag wreath with clothespins.
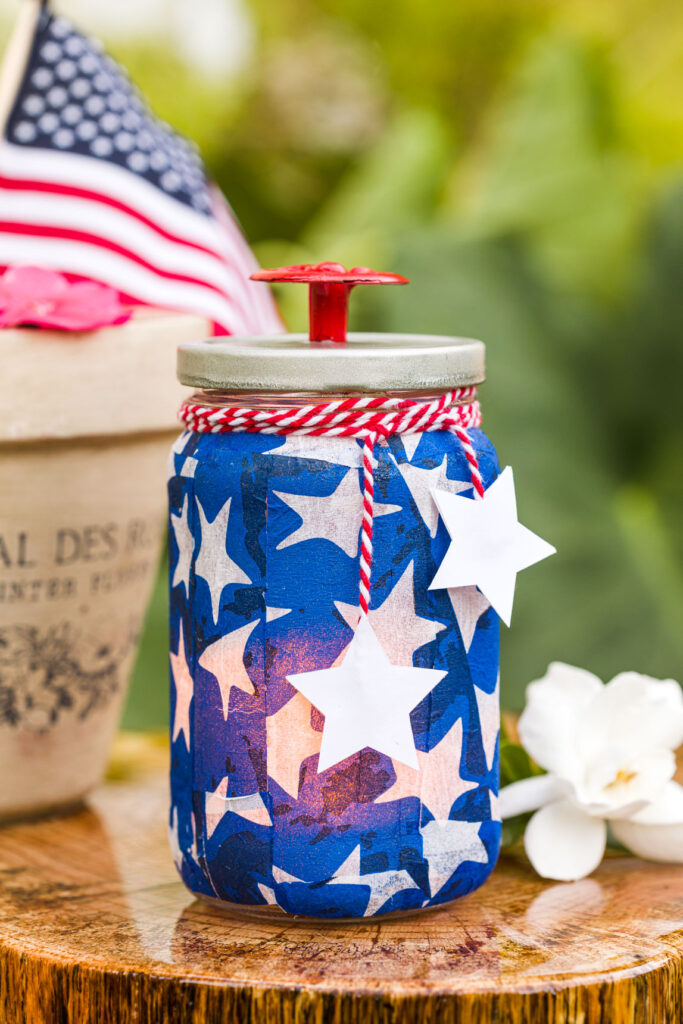

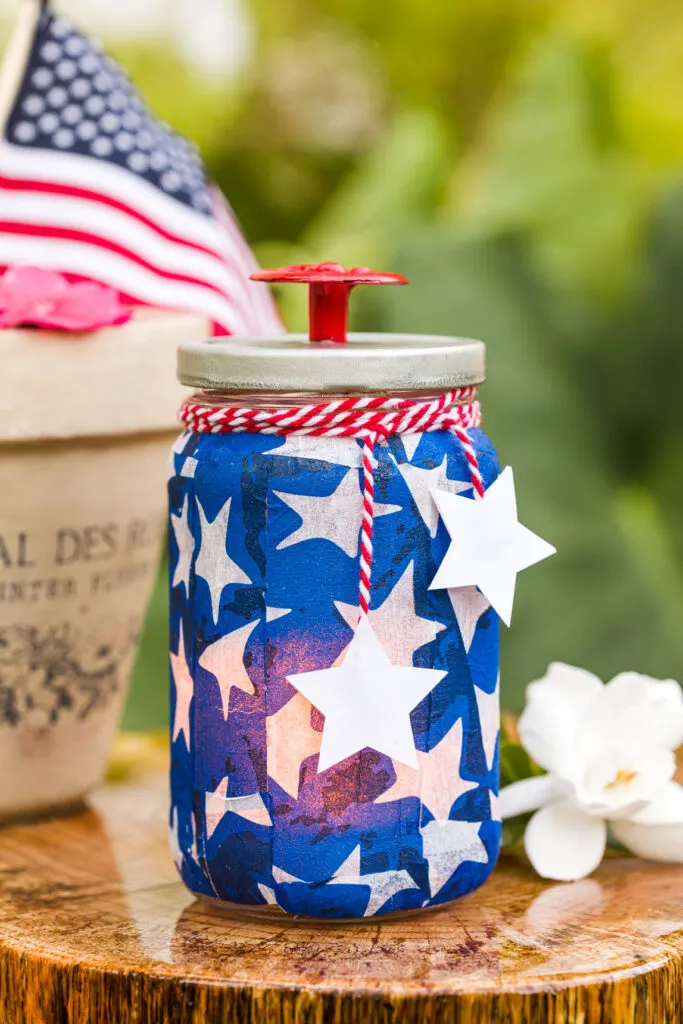

DIY jar light in the garden
This fun decoupaged solar mason jar light is perfect for your garden.
Want more crafting inspiration?
Please join me (HERE) as we craft up some fun. You can look forward to receiving new inspiration every week.
See you soon,
Kippi

Cindy@CountyRoad407
Friday 27th of May 2022
Such a cute and fun idea. I need to get to making some instead of buying them! Love this. Thank you for linking up at Farmhouse Friday!
Patrick
Sunday 27th of June 2021
Great craft ideas for the 4th of July
Kippi
Sunday 27th of June 2021
Thank you so much for your visit. Kippi
Patty
Sunday 27th of June 2021
Love your patriotic decor.
Kippi
Sunday 27th of June 2021
Thank you so much. I hope you have a wonderful week. Hugs, Kippi