Boho style is all the rage. Nothing says Boho better than pom-poms. Therefore, I decided to add some to my decor, but I could not find the colors, style, or sizes; furthermore, they were expensive.
Creating my own was my only solution to getting the size, color, and price that I needed.
I have been making pom-poms for years using DIY cardboard makers, but they were difficult to use, and the results were not consistent.
This post contains affiliate links. This means that if you purchase from one of these links, I will make a small commission, but rest assured, you will not pay more for any products.
Yarn pom poms

Then my daughter, Olivia, brought home this strange-looking pom-pom maker, and I gave it a try.
I finally found the easiest way to make pom poms, and I wanted to share it with you. I use this simple tool to make perfect ones every time.
Making a Pom Pom with Yarn
Gather your supplies, and let’s get crafting some homemade pom-poms.
Supplies:
- Yarn
- Pompom maker (this is the one I use)
- Scissors (this is are my favorite pair)
- Watch the how-to video HERE
**You can find all my must-have crafting supplies HERE.
Before starting, I had to determine the final size I needed for my project.
Note: The finished size will be determined by the size of the maker and yarn. Roughly the finished size will be the same as the diameter of the maker.


Pom-pom makers
Open one side of your maker. Then hold both your maker and the yarn tail in one hand.


Open the maker
Start wrapping the yarn with your other hand until it is the marker’s arm is full.
Note: This might take a few trials to see what you like for fullness.


Half Yarn wrapped maker.
Once the first side is full of yarn wraps, close it and then open the empty side.


Open the second side
I jump the yarn over to the next side and then start wrapping the yarn until it is as full as the other side.


Wrap the second side with yarn
Next, close your maker. It forms a yarn hamburger.


Close the maker when filled
Securely hold the yarn hamburger in one hand. Then using a sharp pair of scissors, cut the yarn down the center following the center groove.


Cut wrapped yarn
Cut a 12-inch length of yarn and tie it around the center of the maker.


Wrap a yarn time around the center of the maker
I like to tie it tightly before removing it from the maker.


Tie off the yarn


Pull apart the maker
Once the yarn is removed from the maker, I tie it one more time through the middle of the pom-pom. It is my “insurance policy” that they stay nice and tight.


Pull the yarn to one side and tie the yarn tightly
Use the piece of yarn that you tied the yarns together as “tails” to hold while trimming.


Pom-pom with a long tail


Trim
I used the yarn tails for holding while trimming I can now use to attach the pompom to my project or trim them if they are not needed.
What Type of Yarn Can I Use?
Well, that was the first question I asked my daughter about using this maker.
If you would like a seriously full pom-pom, then roving yarn would be the choice.
Using a chenille yarn produces a luxuriously soft product.
If you are looking for a pretty petite-sized one, then use an alpaca yarn (like this).
What I would call a regular yarn (this is the yarn) produces an ordinary product.
You might also enjoy these posts:
See how I used these on this adorable pillow.


Envelope pillow covers
And I made some to use on these irresistible DIY Gnomes.


Christmas Gnome
I used some on one of my favorite projects, the Gnome pillow.
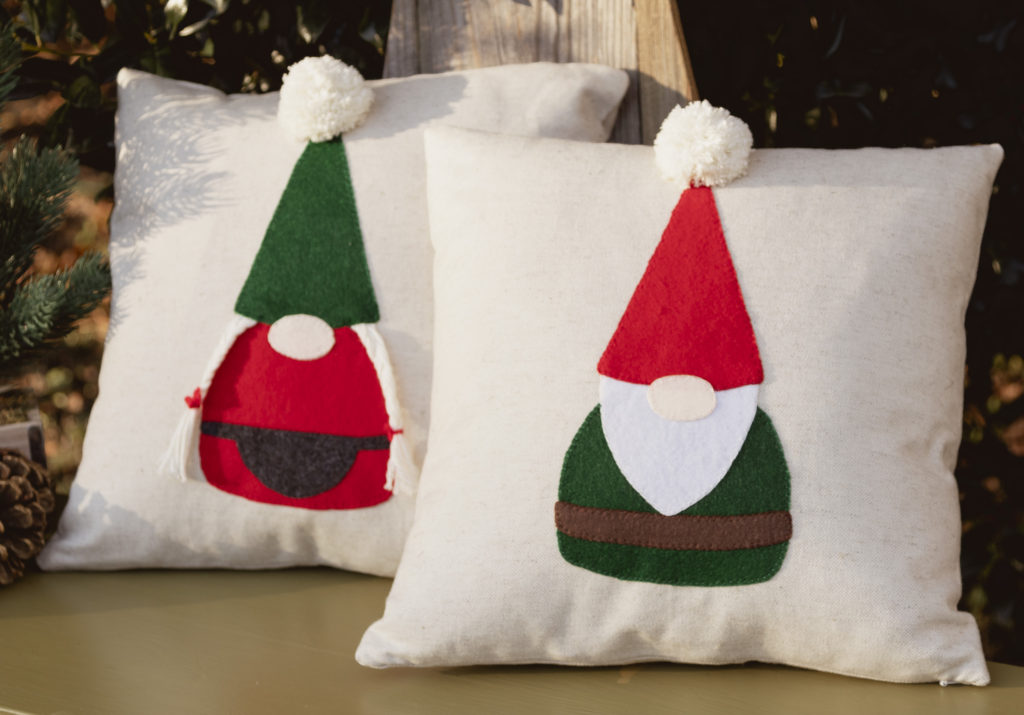
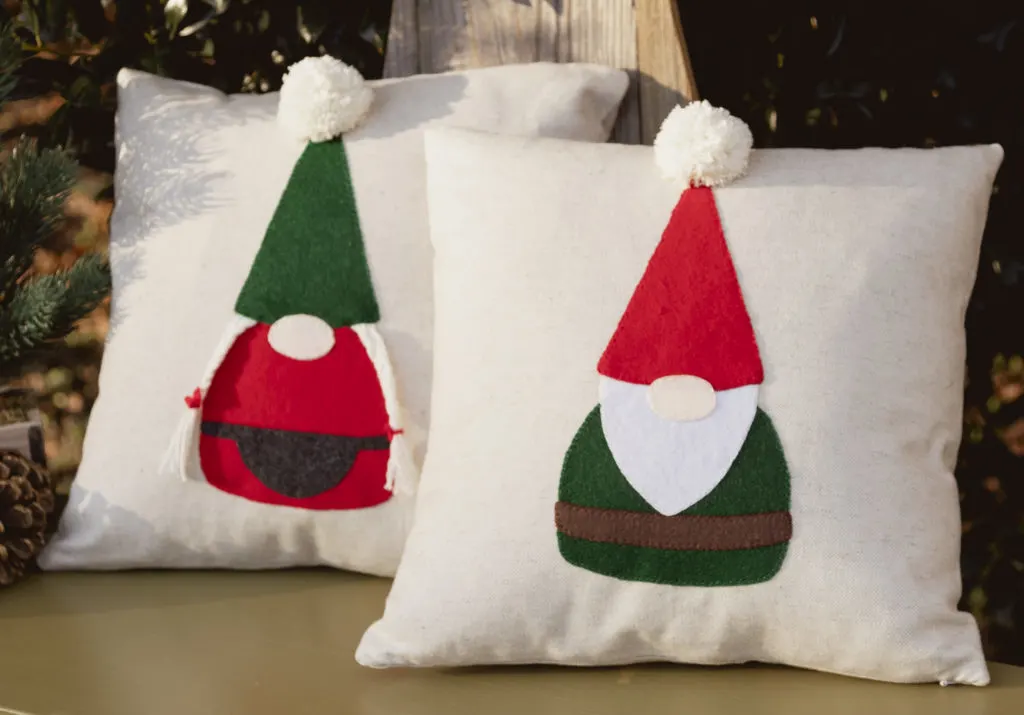
Mr. & Mrs. Gnome easy appliques


DIY Valentine’s Wreath
Please join me (HERE) as we craft up some fun. You can look forward to receiving new inspiration every week. As well as special online crafting events, seasonal and holiday crafting too.
See you soon,
Kippi