We love tending our vegetable garden. Regular fertilizing is vital for healthy plants. Therefore we are building some easy DIY Compost Bins.
Compost provides the necessary nutrients for plants. The best part is it is a “free” organic method for amending the soil.
We use vegetable scraps and yard debris in a composter to create the best rich garden amendment.
Last year we built a small raised bed garden that produced a small amount of fresh produce. We enjoyed it so much we decided to build a larger garden to enjoy an abundance of fresh vegetables and herbs. That means we will need more compost too.
We used a wide plastic tube that was not attractive, and it did not have good airflow. We wanted to build our compost bin to coordinate with the other wooden structures in our yard, such as our obelisk, trellis, lanterns, hose storage, floating deck, window flower boxes, shutters, and birdhouses.
🌱Please note: You will find more amazing garden inspiration at the end of this post. 🌱
Compost Bins

How To Make a Compost Bin
Building a compost bin is easy and inexpensive.

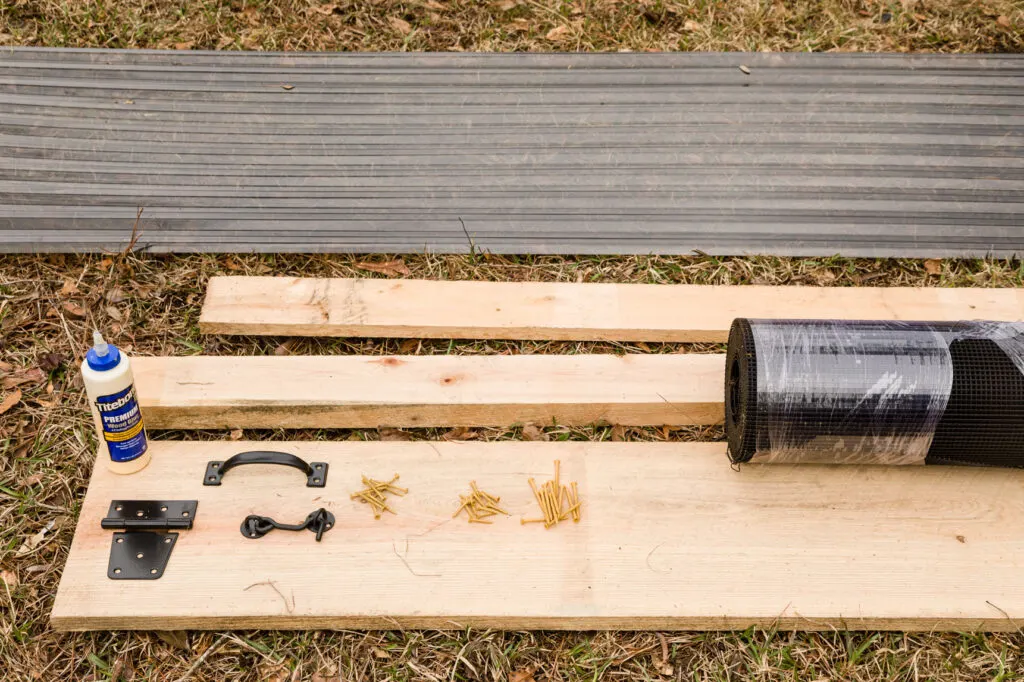
Compost bin building supplies


Compost Bin Tools
This post contains affiliate links. This means that if you purchase from one of these links, I will make a small commission, but rest assured, you will not pay more for any products.
Compost Bin Building Supplies:
Lumber {we used cyperss}:
1x4x8 6 each
2x4x8 1 each
2x2x8 2 each
Hinges 4 each
Handle 2 each (these are the ones we used)
Hook and eye 1 each
Lid support 1 each (this is what we used)
Polycarbonate roof panel 24×96 1 each
1-inch pan head screws 14 each
1 ¼ inch deck screws 24 each
2-inch deck screw 22 each
2 ½ inch deck screws 16 each
4-inch deck screw 8 each
½ PVC coated wire mesh 48×64 (this is the one we used)
Staples 3/8″
Tools:
Cordless drill with a countersink drill bit
Impact drive with driver tips
Miter saw (this is the one I used)
Stapler
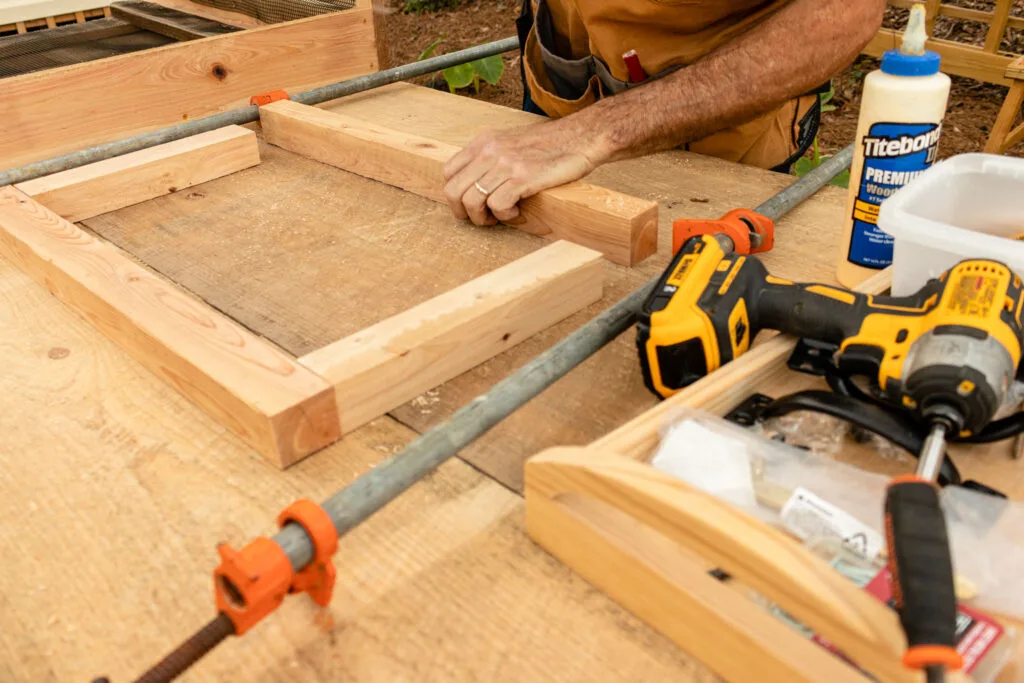
Building the Sides
Cut lumber to size:
- Legs – cut four 1x4x32
- Horizontal supports – cut six 1x4x24
To assemble the sides, lay the legs on a flat work surface. Predrill then attach the horizontal supports with 1.25″ screws (these are the ones we used) on the top of the bottom and top of the side legs.


Building the sides
To attach the center side horizontal support measure and mark the centers. Attach in the same manner as above.


Mark the center


Attach side center support
Attaching Hardware Cloth {Mesh}
Using the side measurements of less than one inch for both length and width, cut the hardware mesh.


Measure and Cut the hardware cloth
Center the hardware cloth and begin stapling it in place, starting in the center working your way outward.


Stapling the hardware cloth to the inside of the sides
Press the mesh in place to achieve a tight fit.


Form the hardware cloth to fit tightly against the wood
Building the Back
Lumber cuts:
- For the legs, cut two 1x4x32
- Horizontal supports cut three 1x4x24
Attach legs to outside edges of the sides using 2″ deck screws.
Note: Using a pipe clamp to hold everything in place while attaching makes it easier.


Attaching vertical boards to sides for back
The Back Side
We used a small trigger clamp to attach the center horizontal support (this is the one we used) to hold the board in place while attaching 2″ deck screws.


Attaching the backboards
Measure and attach hardware cloth (mesh) to the inside back.
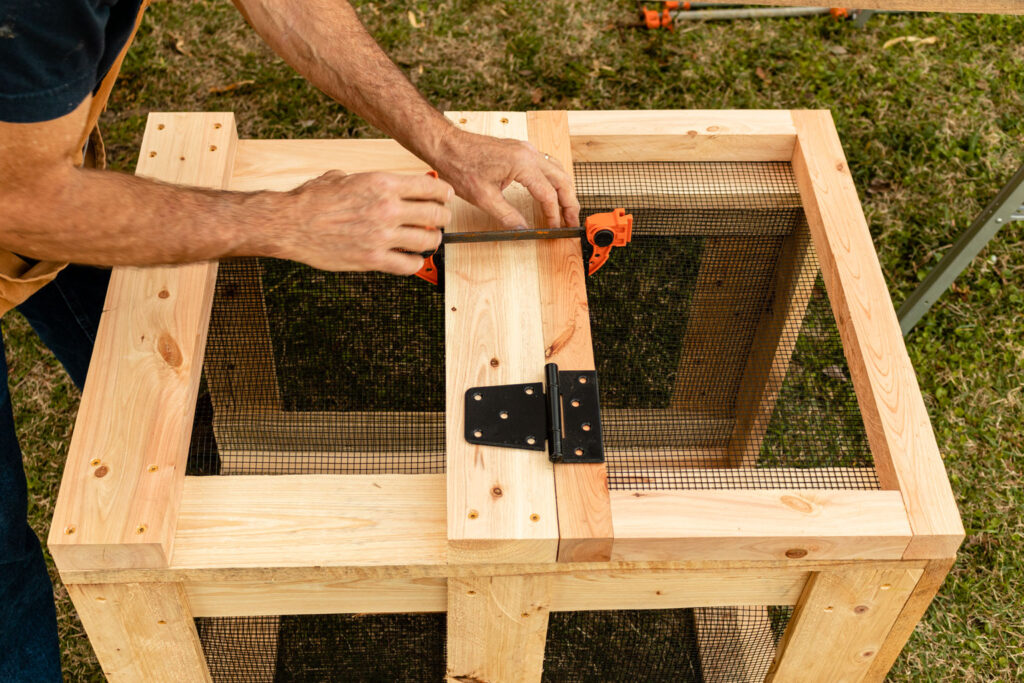
Building the Compost Bin Front
Lumbar cuts:
- Cut two horizontal supports 2x4x24
- For the legs, cut two 1x4x32
Attach front side legs to outside edges of the sides using 2″ deck screws.
Attach the supports (one flush with the top of the bin, the other in the center) using 2.5″ deck screws.
Measure, cut, and install hardware cloth to the inside area between the center and top horizontal supports.


Adding the top board to the front
Before building the door, we measured our bin was square (learn how here).


Checking that the compost bin is in square
Building the Door
To determine the door’s size, measure from the bottom of the center horizontal support to the bottom of the bin.
The door’s width will be the same as the bin front width.


Measuring to build the door
Cut the boards to the


Cutting the door frame

Build the door frame
Measure the finished door to determine the hardware cloth size (cut the cloth 1″ smaller than the width and length measurements


Stapling hardware mesh to the door frame


Composter hardware
Before attaching the door, check that it fits in the install area.


Checking the door size for DIY Compost Bin
With the door in position, use a clamp to hold it in place while installing hinges.

Clamping the door in place to attach hinges


Installing hook and eye to side and front door


Door closure
Lid Building
Lumber cuts:
- For the front and the backside of the lid, cut two 2x2x24
- The side frame pieces cut two 2x2x22.5


Building the lid frame
Place your cut boards on a flat surface to assemble. Attach with 4″ deck screws.
Measure the lid frame for the exact final measurements. Add 1″ overall for the polycarbonate top. We used snips to cut the polycarbonate to size.


Marking the cut line for the lid top
Predrill in the valley areas of the polycarbonate to attach 1″ pan head screws.


Drilling pilot holes
Attach hinges to the back of the lid.


Adding the lid hinges
We added lid support (stay) to make adding composting materials easier.


Attaching the lid support


The lid stays holding lid open


Compost bin with the lid open


Compost bin
Indoor Compost Collection
It is easy to start composting; you can start by gathering your kitchen scraps. To collect our vegetable and fruit scraps in the kitchen, I purchased this farmhouse-style bin for our kitchen.
What to compost:
Food scraps (fresh)
Coffee grounds
teabags
dry leaves
Yard waste
Eggshells
Grass clippings
After filling and turning the organic material in the first compost bin, it will decompose into a nutrient-rich soil amendment.
To scoop out the finished compost, you can lift the “front” door and remove compost. Adding compost to your garden beds to create rich soil for your vegetables.
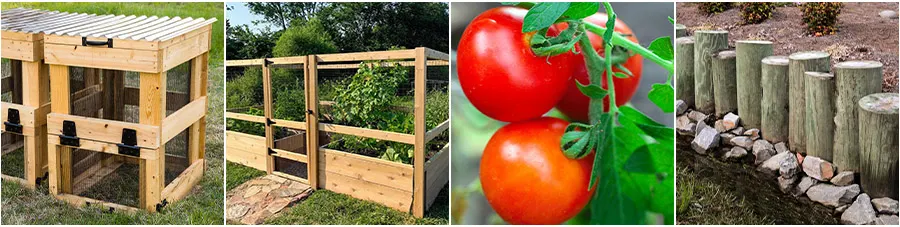
🌱🌱🌱More Amazing Gardening Inspiration🌱🌱🌱
I have gathered some of my favorite bloggers to bring you lots of Garden Inspiration.
Next on tour is my friend, Niky from The House on Silverado. I am green with envy over her fenced garden. I would be in heaven with a gorgeous garden like this (hint, hint)! Be sure to check it out along with all the other amazing bloggers below.

Kippi at Home // The House on Silverado // Sand Dollar Lane // Sonya Burgess
🌱 🌱 🌱 🌱 🌱 🌱
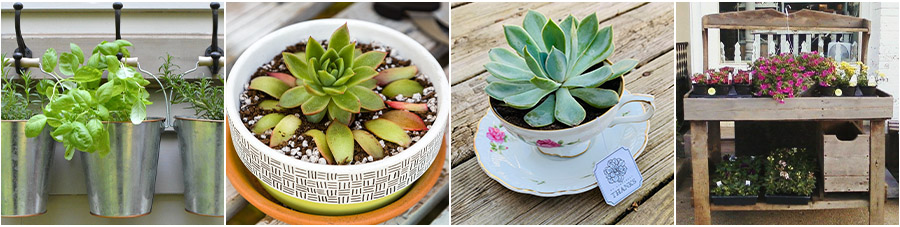

My Family Thyme // Olivia O’Hern // Darling & Dapper Life // From Farmhouse to Florida
🌱 🌱 🌱 🌱 🌱 🌱
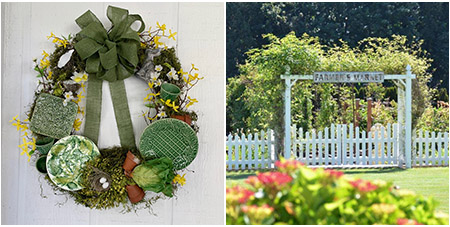
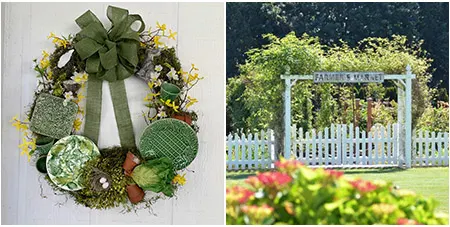
Do you enjoy a beautiful garden and yard? Please join me HERE for everything you will need to create a beautiful garden/yard one project at a time.
See you soon,
Kippi
Anita Holland
Monday 31st of May 2021
Really cool project and very usefull. Pinned for later.
CoCo
Wednesday 21st of April 2021
This is such a creative and helpful idea, Kippi! We use a plastic one but I love the look of yours so much I might need to upgrade. It's fabulous! Hugs, CoCo
Grandma's House DIY
Monday 12th of April 2021
Thanks for sharing with us! I'll be featuring you this week when the next To Grandma's house we go link party starts!
Marie B.
Thursday 8th of April 2021
Your compost bin puts my plastic one to shame. These are some of the nicest DIY versions I've seen and a great tutorial too BTW.
Lynne
Tuesday 6th of April 2021
Beautiful job, Kippi! What a great composter and detailed tutorial! I love the idea of composting and this post is so helpful. Thank you so much for putting this hop together and for sharing this post. Pinned!