Making inexpensive Christmas ornaments is a fun family tradition. Every year, while I was growing up my family, spent a day making new Christmas ornaments together. We picked one style, and my mother gathered the supplies and let us make our own Christmas ornaments. This year will are making Wood Bead Christmas Ornaments.
I cherish those Christmastime memories and those ornaments, so I am continuing the tradition with my family.
I wanted to share some of the ornaments we will be making this year. These super easy DIY wooden bead ornaments are so easy the kids can make them too.

Wooden Christmas Ornament wreaths




DIY Christmas Star Ornaments
DIY Wood Bead Christmas Ornaments
You probably have most of the supplies to make these ornaments already.




DIY Christmas Star Ornaments
This post may contain affiliate links. That means that if you purchase from one of these links, I will make a small commission.
Rest assured, you will not pay more for any products.
Beaded Christmas Ornaments Supplies and Tools
- Wooden beads
- Ribbon
- Floral Wire
- Wire cutters
- Needle-Nose pliers
- Scissors
- Hot Glue Gun
- Hot Glue Mat
- Craft Mat
- Baker’s Twine
DIY Wood Bead Wreath Ornament
Let’s start by making a simple wood bead wreath.
Cut a piece of wire (this is the wire I used) about 15″ long with wire cutters (I used my favorite cutter).
My daughter, Olivia, and I made a video on making wooden bead wreaths and bead snowflake ornaments, and you can see it HERE (video quality is not excellent).
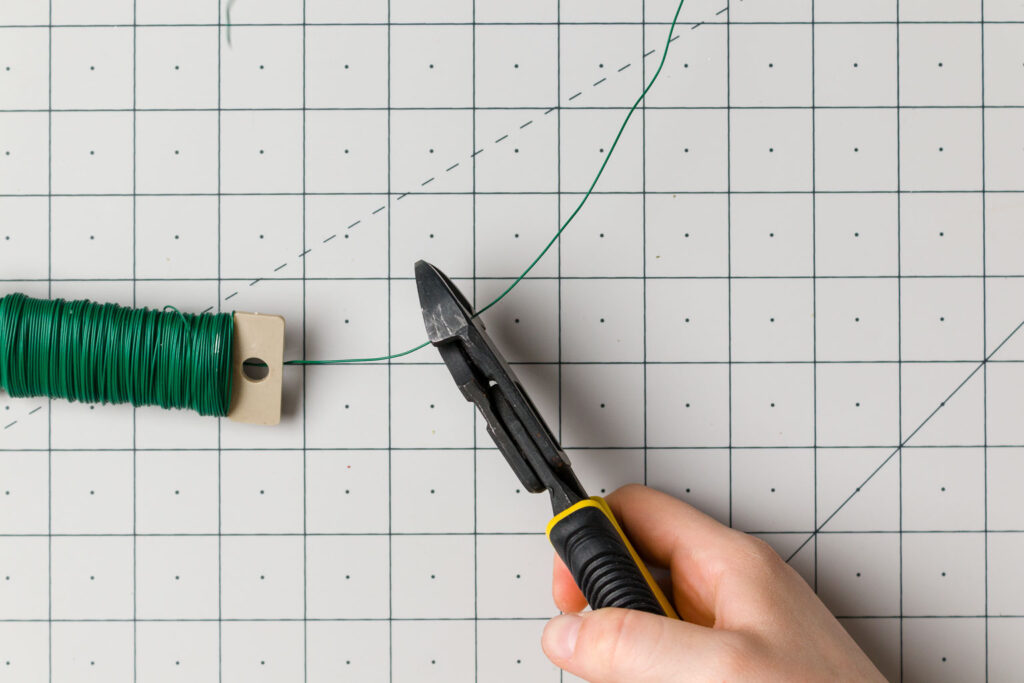

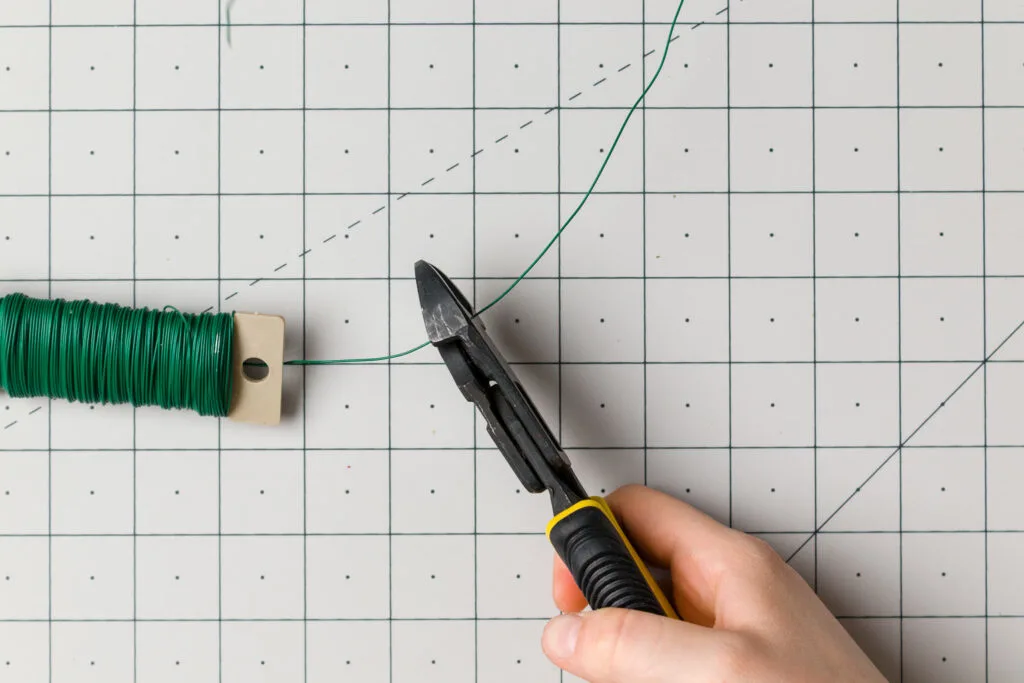

Cut Wire
Count out the number of wood beads (I used 18 of these beads). To make your wooden bead ornaments the same size, I always use the same size and amount of beads.
Please note if you would like a more miniature wreath, you can use smaller beads or mix the sizes of beads for a whimsical wooden bead wreath.
Curve the wire in a circle (the wire is the wreath form), then add the beads while holding the opposite end of the wire.


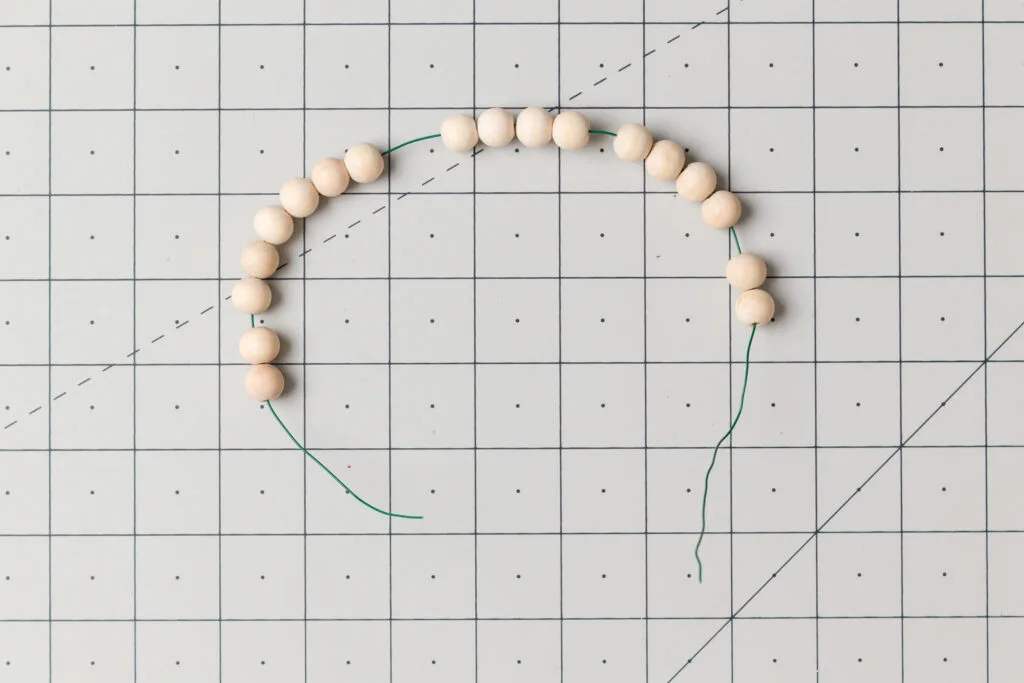

Add beads to the wire
After adding the wood beads to the wire, push the other end through the first bead to form a wreath ring.




Run the wire back through the first wood bead
Pull both ends of the wire to form a tight circle.




Bring the wires around to the back
Using needle-nose pliers, twist the ends of the wire together behind the first wood bead.
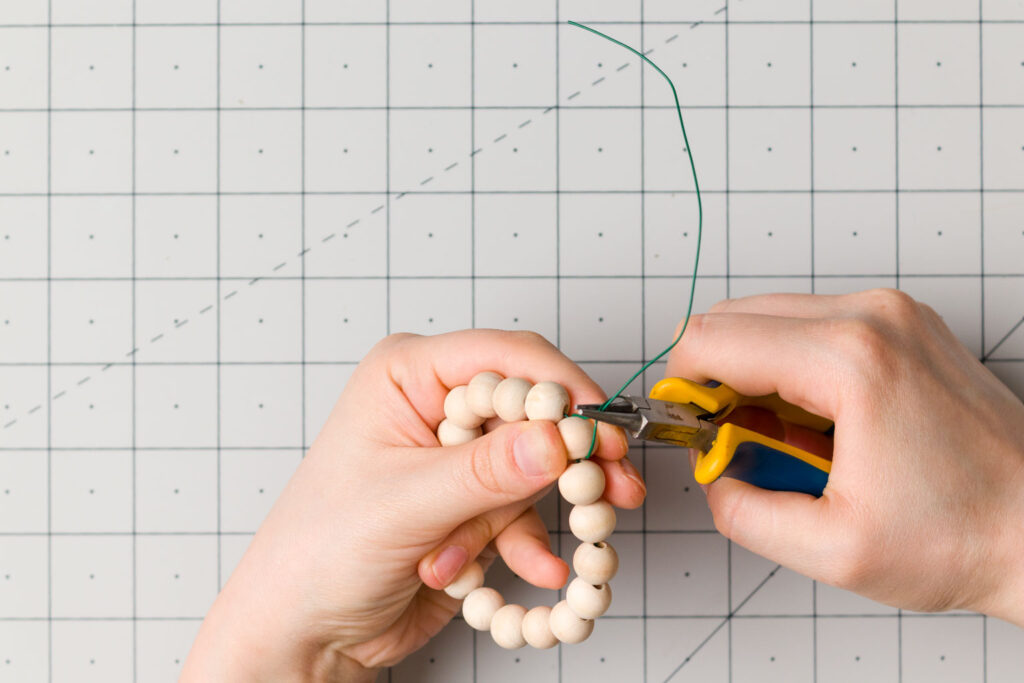

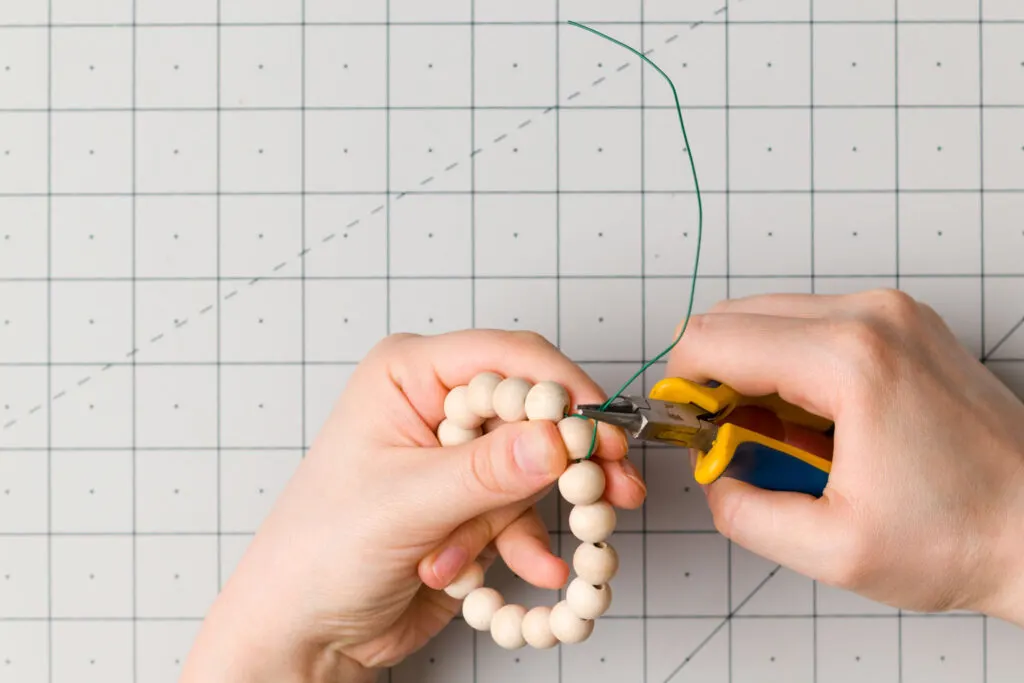

Twisting the wire together
Cut the extra wire off with wire cutters, then use needle-nosed pliers to bend the wires to the backside of the wreath.
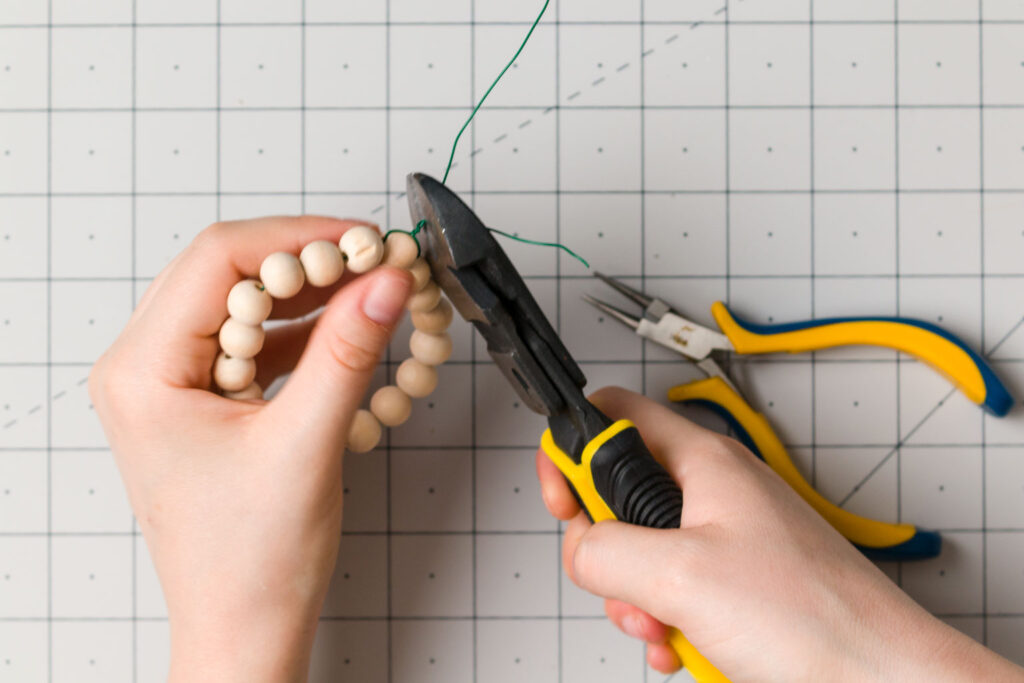

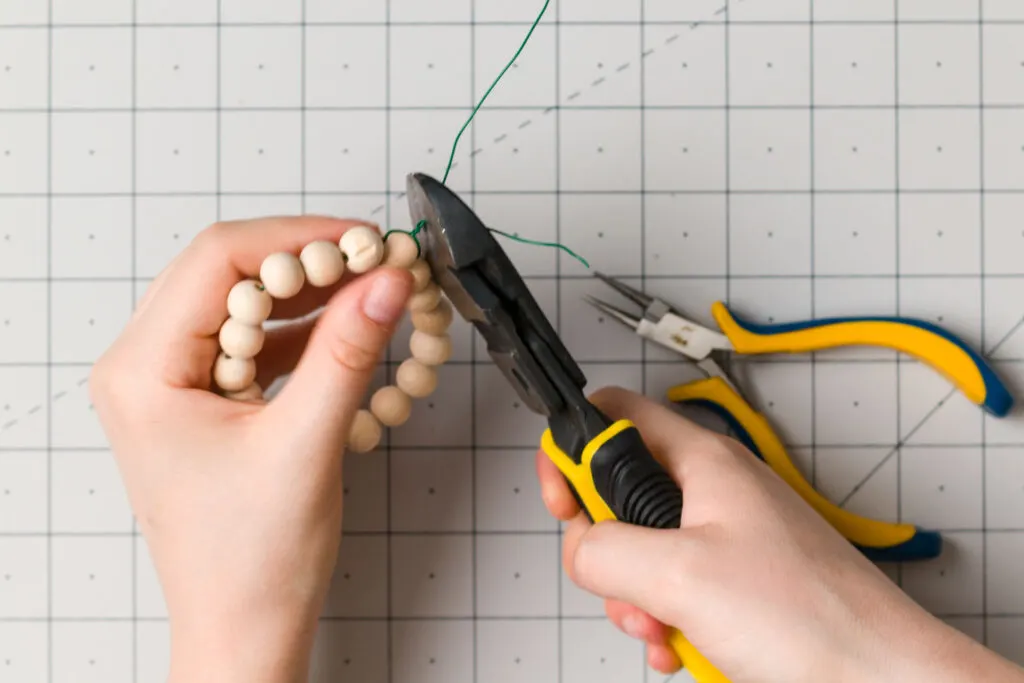

Cut the extra wire
Finished Wood Ring
Please note that this wooden bead wreath can be used for home decor as well, such as an adorable napkin ring.




Wood bead wreath
Decorating the Bead Ring
Make a bow using a ribbon (I used this ribbon) of your choice.




Tie a bow
Add a little greenery or “mistletoe” to your wreath for a festive look.




Cut a piece of greenery
Ornament Hanger
Cut a piece of Baker’s twine (the one I used) for the hanger and loop it between the beads at the top of the wreath.




Loop Bakers twine around the wreath between the beads
Knot the cord and cut to length.




Knot the Baker’s twine
Put a dot of hot glue on the Baker’s twine to attach the greenery.
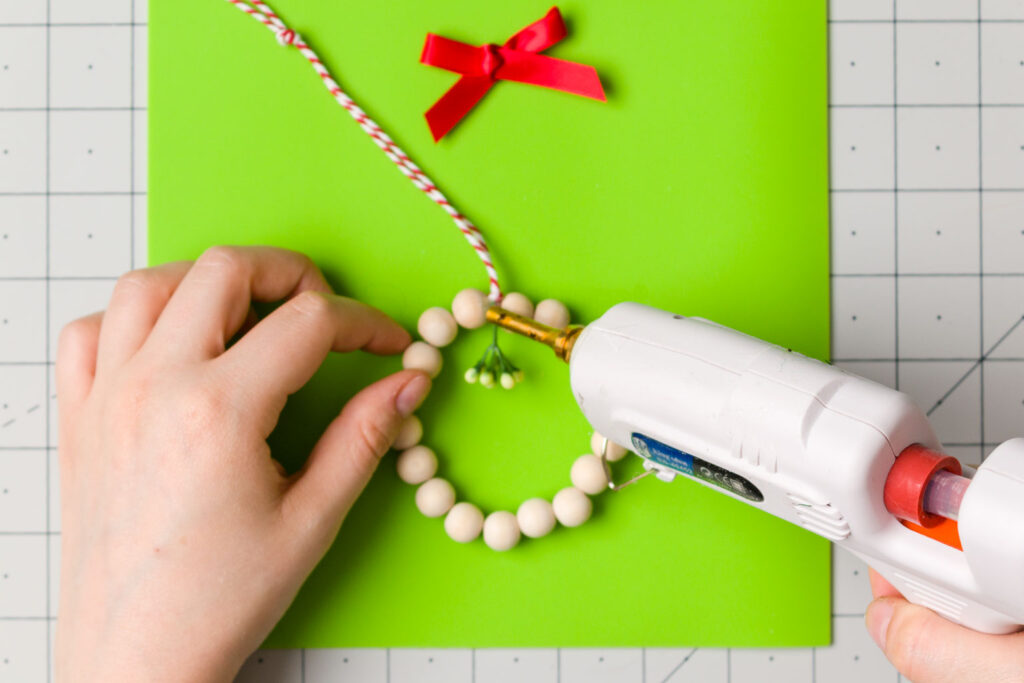

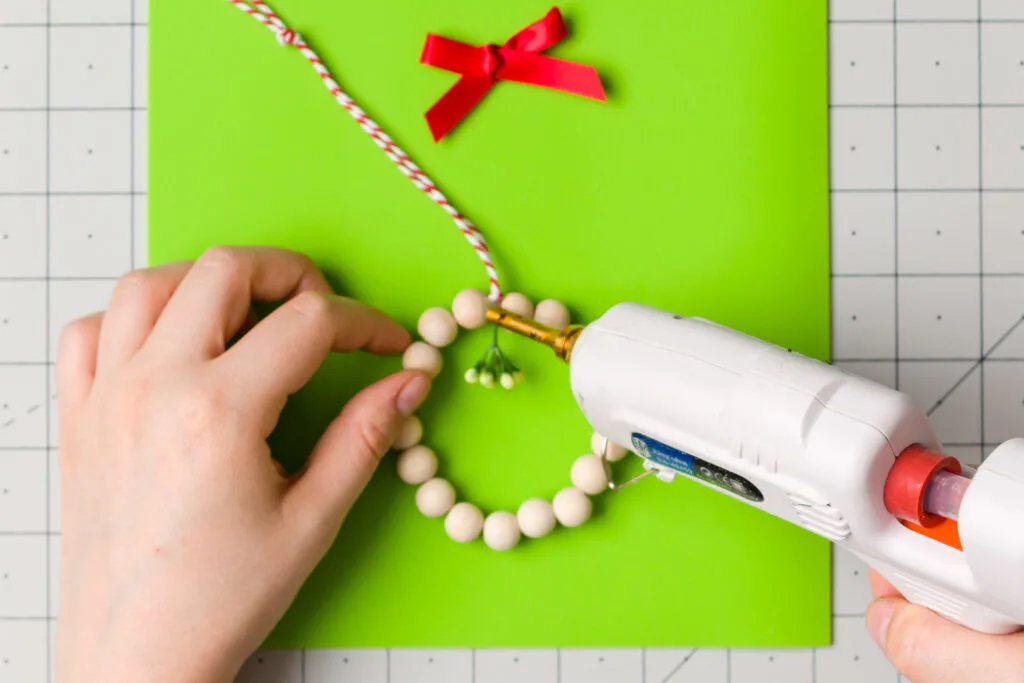

Add a dot of hot glue
Then add another dot of hot glue to attach the bow.




Add the bow




Christmas Wooden Bead Ornaments
Want a Stress-Free Holiday???
Want to enjoy all the holiday season has to offer? Are you feeling overwhelmed?
Join me as we enjoy a stress-free holiday season with a ton of inspiration, money-saving ideas for decorating, gift-giving, and so much more. Join HERE! And have the best of everything this holiday. So have a Merry Christmas, and enjoy all the blessings of the season!
DIY Bead Snowflake Ornaments
I recommend you watch this live-recorded star wood bead video before you begin making this ornament.
To make a wood bead star, you will need 48 wood beads. The size of your beads will determine the size of your star.
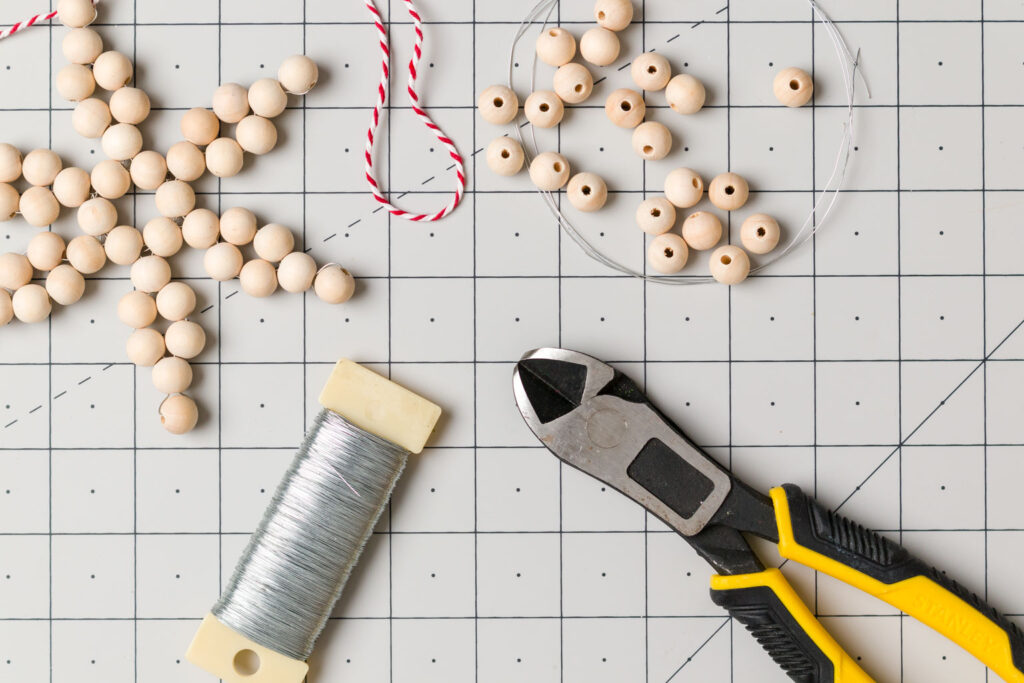

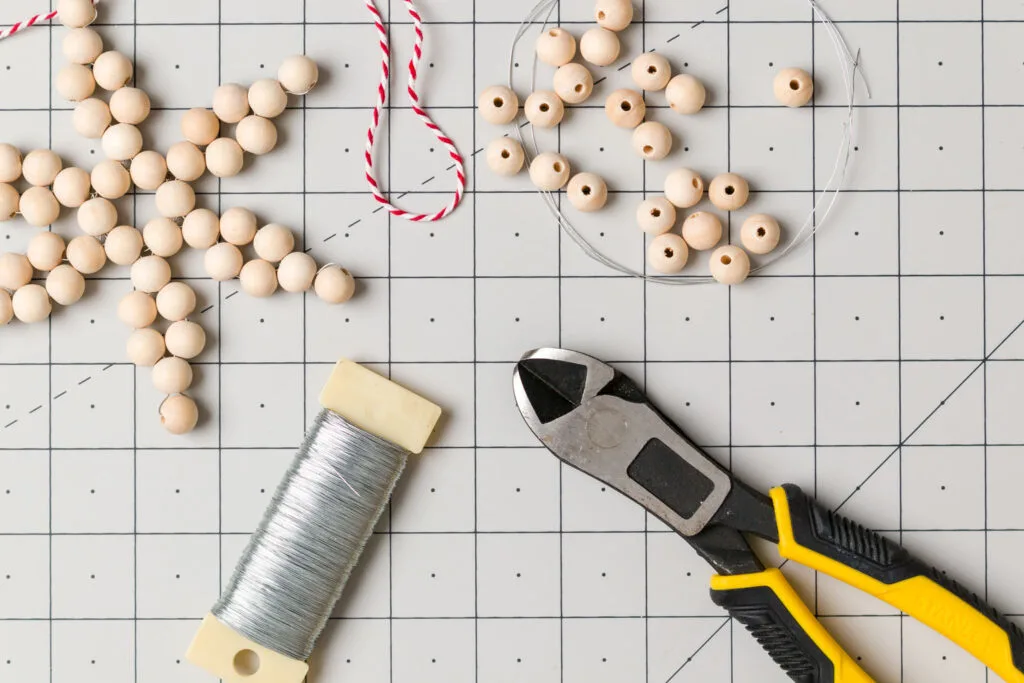

Wooden Snowflake Supplies
First Step
After gathering your supplies, cut a length of wire about 24″ long (you can add more later if needed).




Bead circle
Second Step
Thread six wood beads onto the wire, then run the wire back through the first bead you added, twist the cut end over the long end of the wire, and trim. You now should have a circle.
Third Step
Push the long end of the wire through the next bead, then add five more beads. Now thread the wire back through the fourth bead you just added. Next, add two more beads.




Add five Beads
Fifth Step
Push the wire through the next wood bead in the original bead circle. Repeat the process until you have six-star points. To end I twisted the wire over the wires of the original circle and then trimmed the extra wire.




Adding two more beads
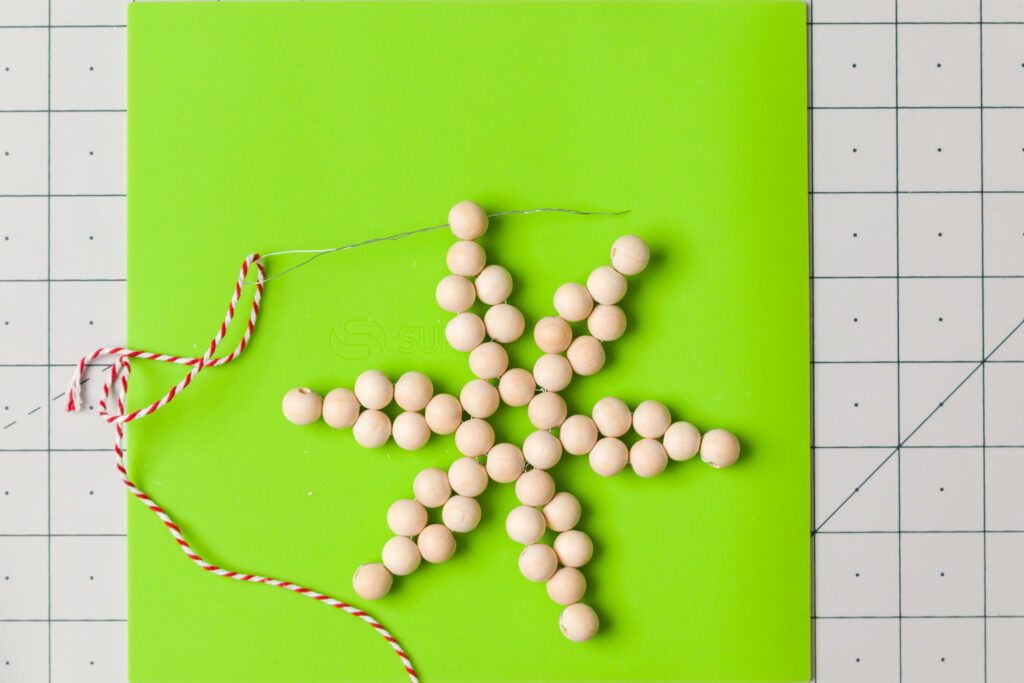

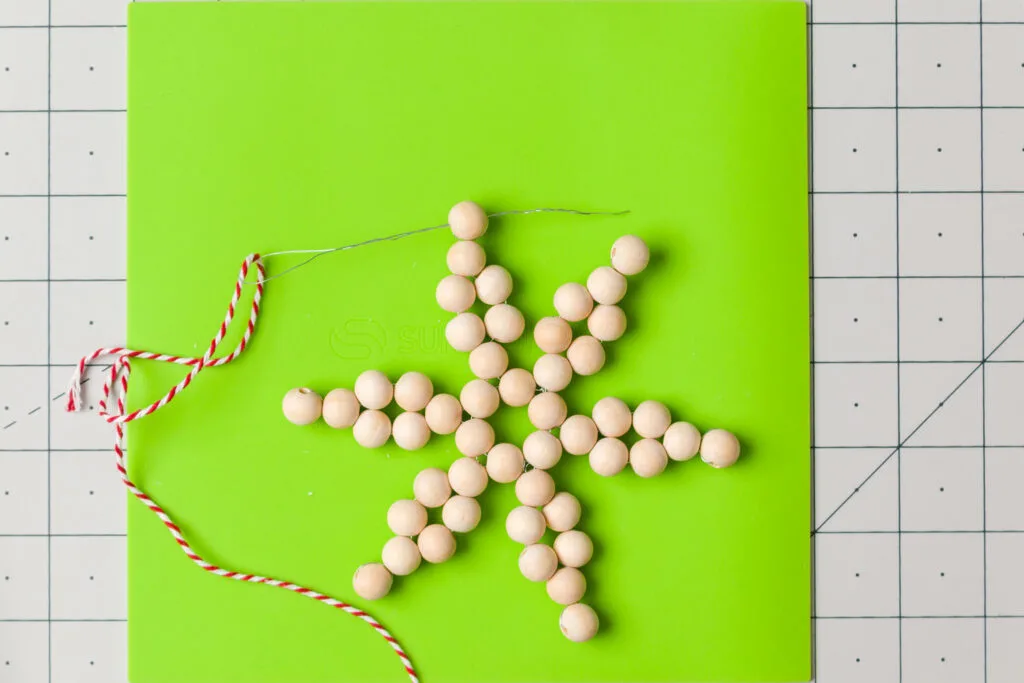

Thread the baker’s twine hanger
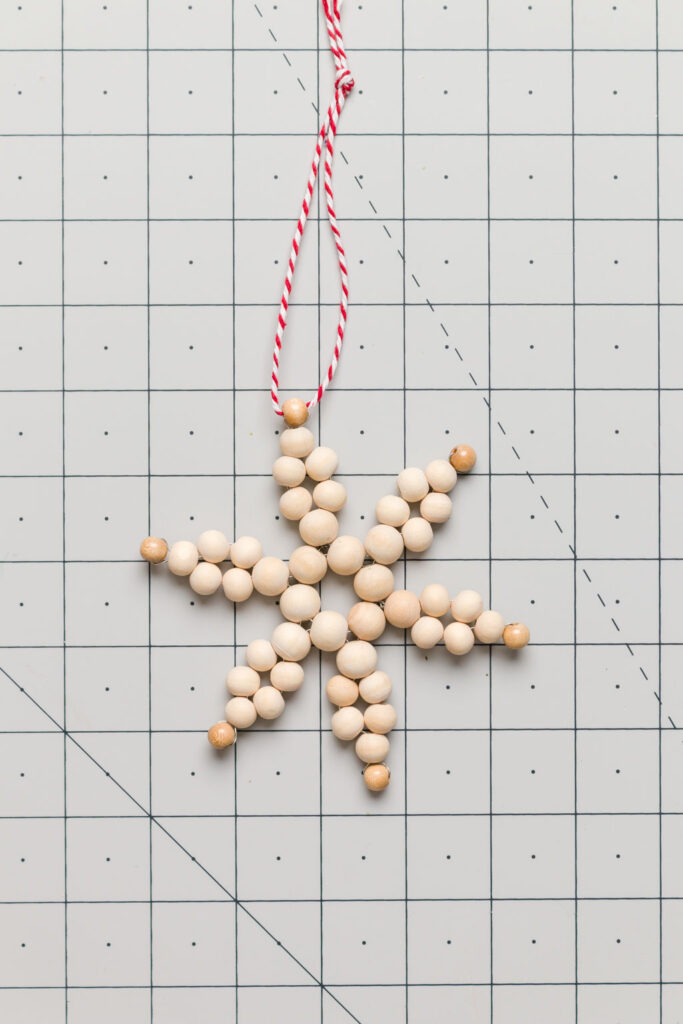

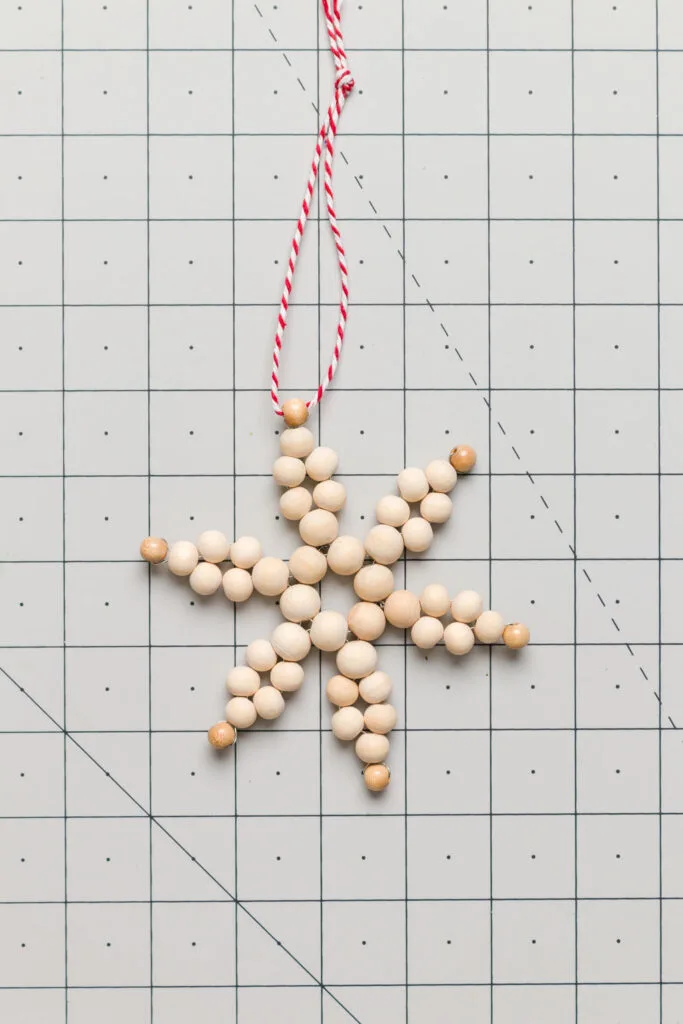

Wood bead star
You Might Also Enjoy These DIY Christmas Ornaments
Last year I had a blast making all-new Christmas ornaments for a pencil tree in our dining room (see all the photos HERE). For the hoop and painted clear plastic ornaments, I used my Cricut Maker to cut out the vinyl decals; see how HERE.




DIY Merry and bright hoop ornament
One of my easiest Christmas ornaments t make are these embroidery hoop ornaments.




DIY Christmas Ornaments (embroidery hoop)
My Favorite Christmas Cookie Recipe collection is HERE.


Christmas Cookies
Thank you for your visit today. I hope you found some sweet inspiration.
Happy Crafting and Merry Christmas,
Kippi

Cecilia
Saturday 13th of November 2021
What sweet ornaments! Thanks for sharing at Vintage Charm--pinned!
Kristin salazar
Wednesday 10th of November 2021
These are just stunning!!!!
suzan C white
Monday 8th of November 2021
Love this idea...have to do with my grand daughter...........I think they are coming to stay at my house for a while while dad gets right
kristie
Monday 8th of November 2021
I love those wood bead ornaments, Kippi. I will be making some. Thanks for the inspiration!
Julie
Saturday 6th of November 2021
These are just beautiful Kippi , they'll be a feature at Handmade Monday this coming week :-)