I wanted a Christmas door hanger with only red and white to coordinate my holiday decor, so I decided to create one. I plan to use this inside since I made this Christmas wreath for my front door.

Christmas Door Hanger
This post contains affiliate links. That means that if you purchase from one of these links, I will make a small commission.
How to Make a Christmas Door Hanger
Making this Christmas over the door decor was easy and inexpensive since I used two tags from the dollar store (price $2). For this reason, these would make great budget-friendly gifts.
Door Tags Craft Supplies
- Wood Door Tag Signs (be sure to order the 14″ size)
- Sandpaper
- White and red chalk paint
- Zip tie
- Bow
- Pouncer
- Small paintbrush
- Paintbrush
- Mod Podge (use the one for paper)
- Merry Christmas Design
- Pencil
- Craft paper
- Ruler
- Wirecutter
- Cardstock paper
- Cricut
First Step: Prepare for The Tag Signs for Painting
I recommend you watch this how-to video before you begin.
Since I purchased ready-made door tags, I had to remove the glitter to make the surfaces smooth.
I found that sandpaper worked best to remove the glitter and smooth the surface.
Next, I used a mini cordless vacuum to remove the sanding debris; however, you can use a dust cloth to remove the mess if you do not have a mini vacuum.




Sanding door tags
Second Step: Painting the Door Hanger Tags
I used chalky finish paints to paint the tags since they dried in minutes and were the perfect colors.
If you have a new tag without any design, you will probably only need one coat of paint. However, my tags required three coats of paint since I had to cover the old design.
Note: I had to wait for each coat of paint to dry before painting the next coat of paint.
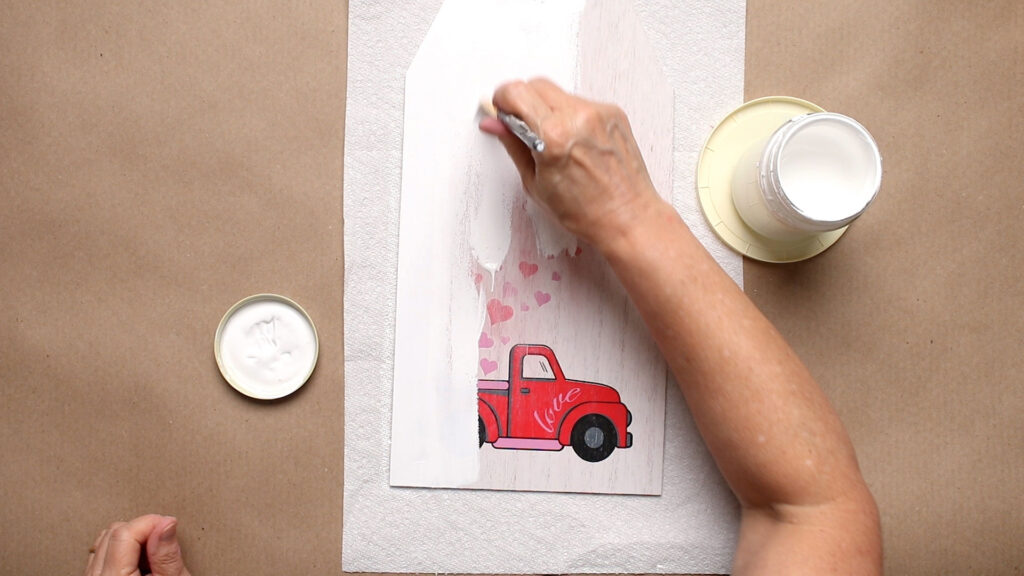

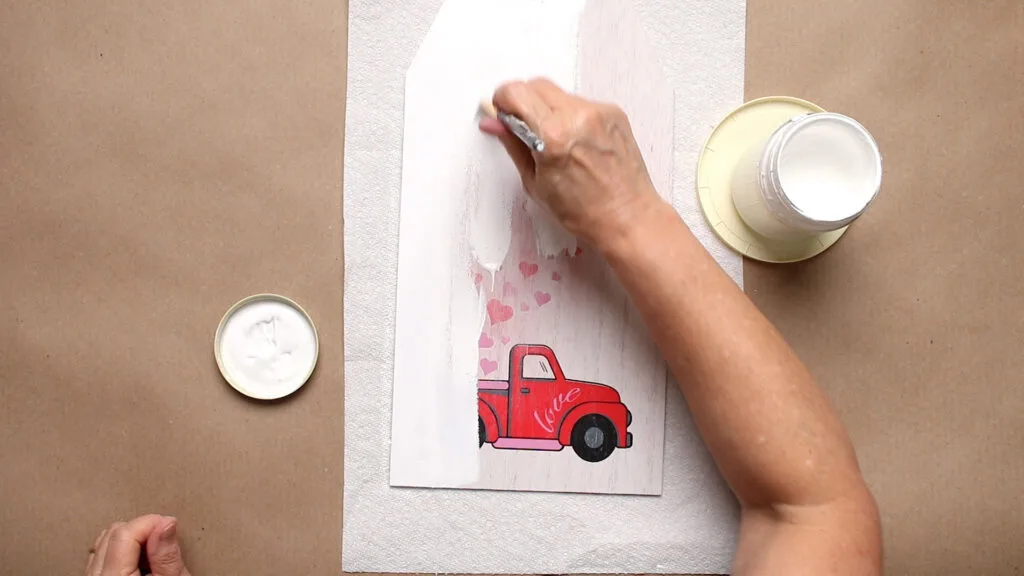

Painting one side white
I repeated the same process with the white one for the red tag.


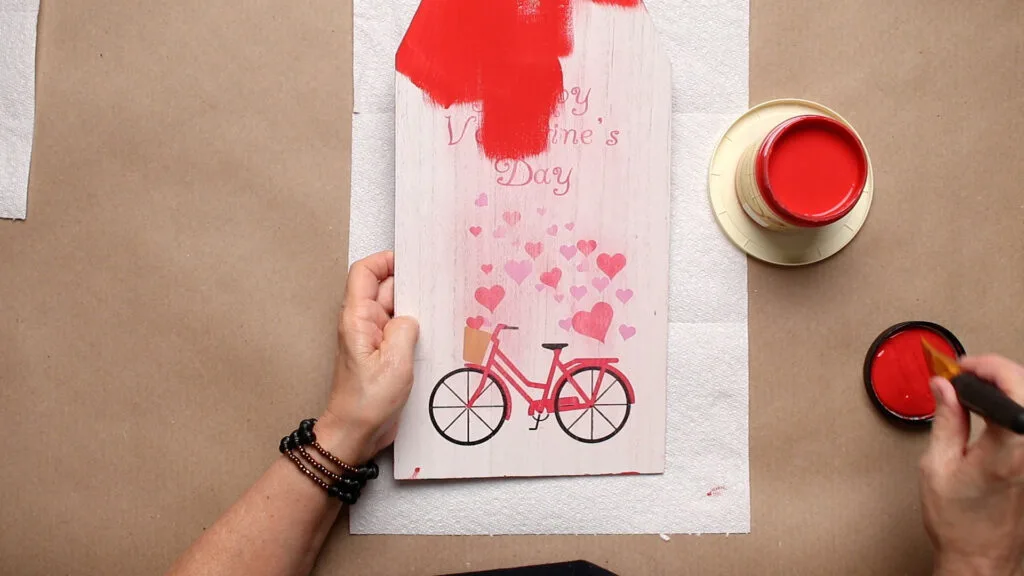

Paint the other side red
Third Step: Applying Mod Podge
To prepare my red tag, I applied a coat of Mod Podge.
While the Mod Podge was drying, I used my Cricut to cut out the design.
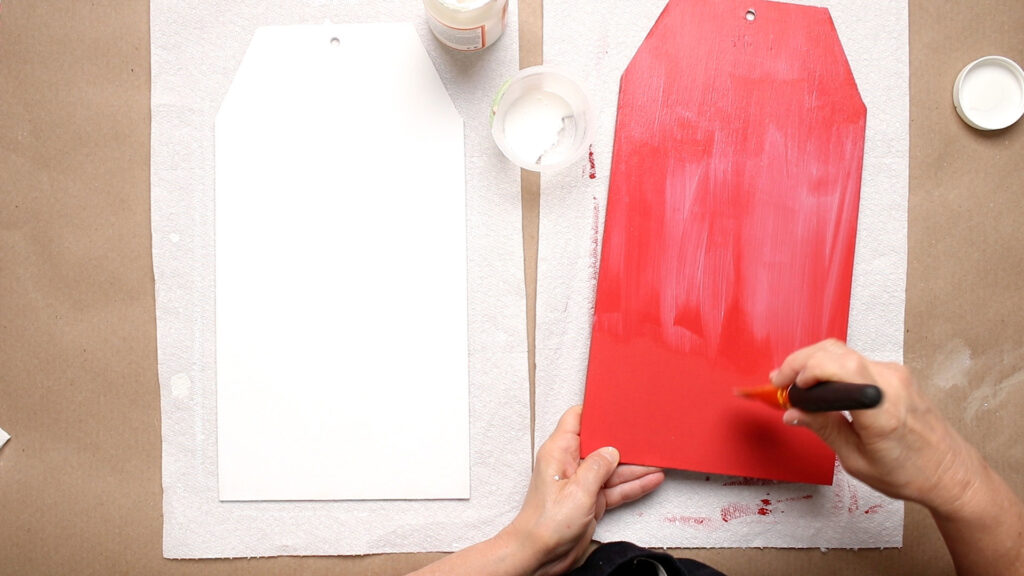

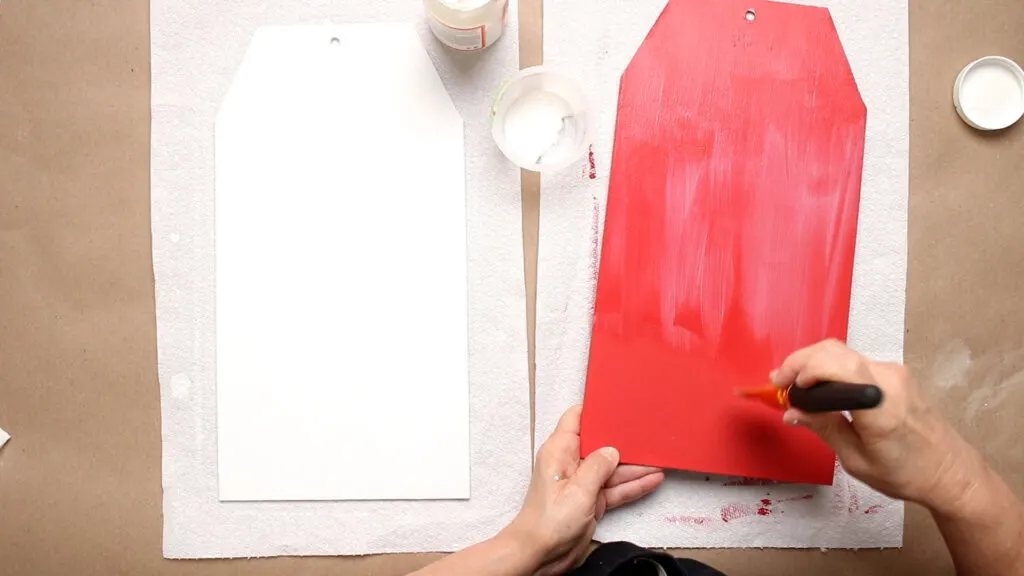

Applying Mod Podge
Fourth Step: Prepare The Door Decor Design
After cutting my Merry Christmas design, I carefully weeded the design and reserved the leftover cardstock with the design cut out of it.
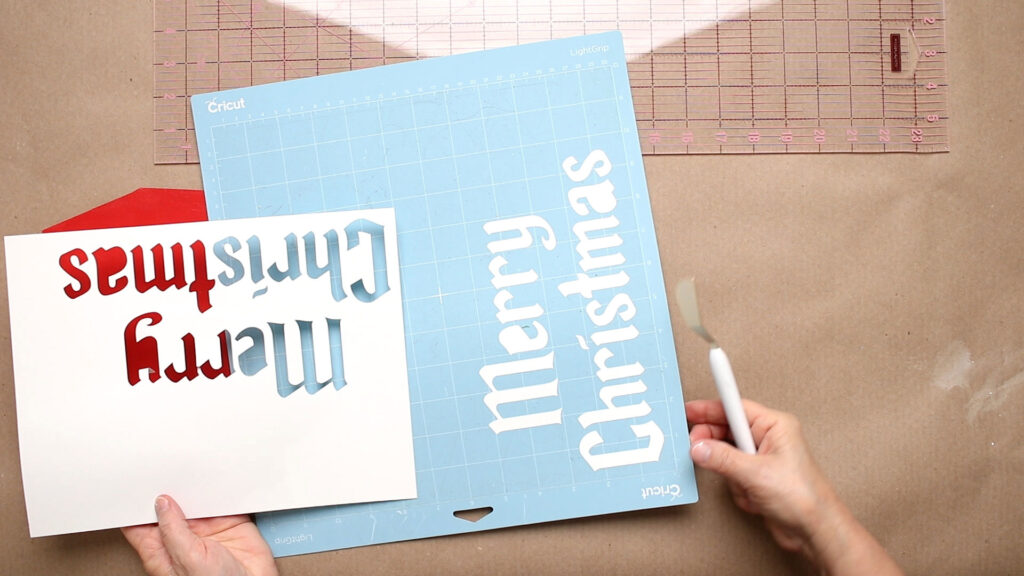

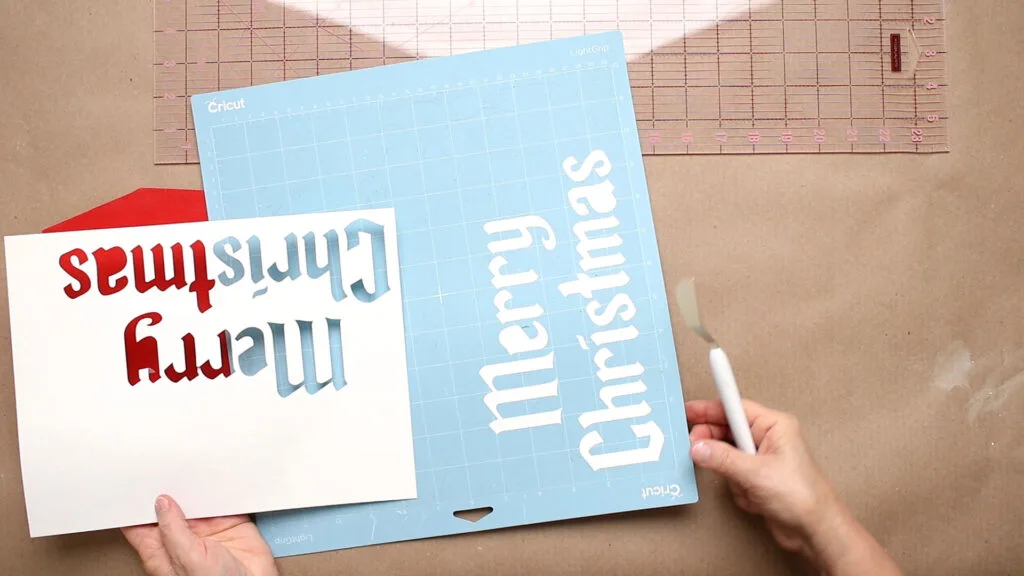

Weed cut words
Fifth Step: Trace Design from Template
I used the leftover cardstock paper with the design removed as my template for the design placement.
Before tracing the design, I used a ruler to find the center of the tag and the words. Then, I aligned the centers and traced the design using a pencil.
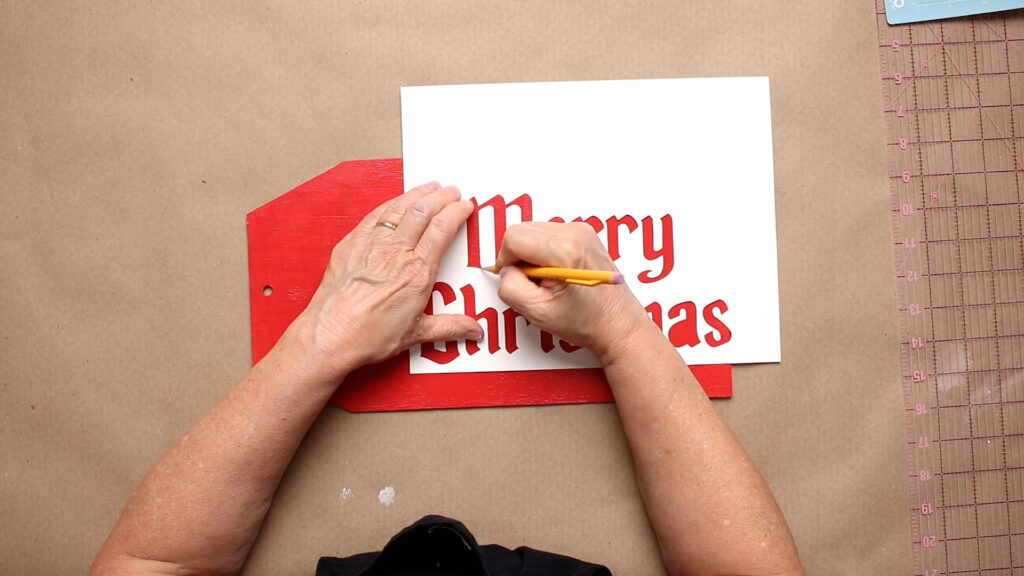

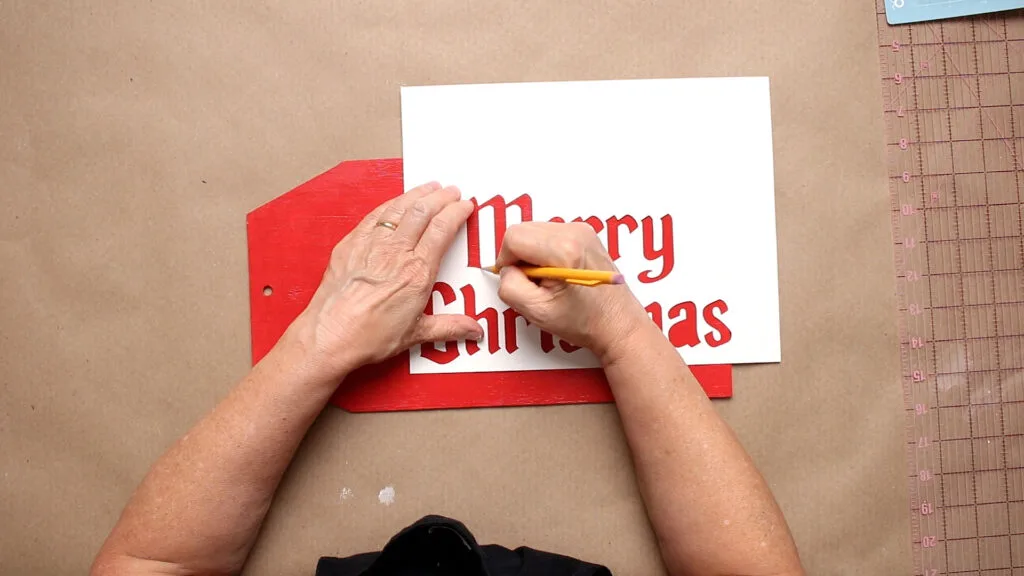

Trace word placement
Sixth Step: Attach Cut Out Design
Next, I used a small paintbrush to apply Mod Podge to each letter before positioning them inside my traced placement lines.
I found it easiest to pour some Mod Podge on a plate for this application.
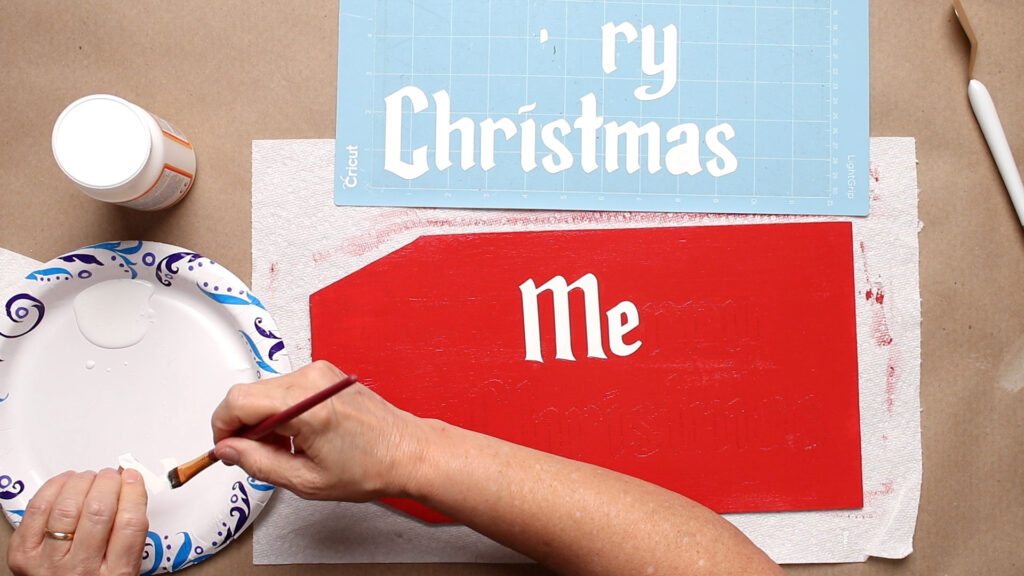

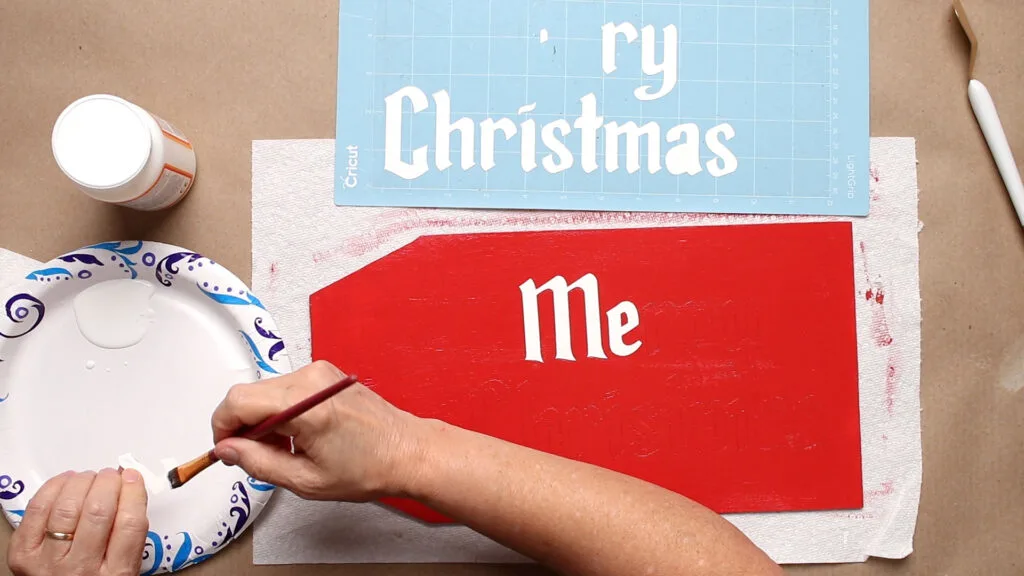

Apply Mod Podge to letters
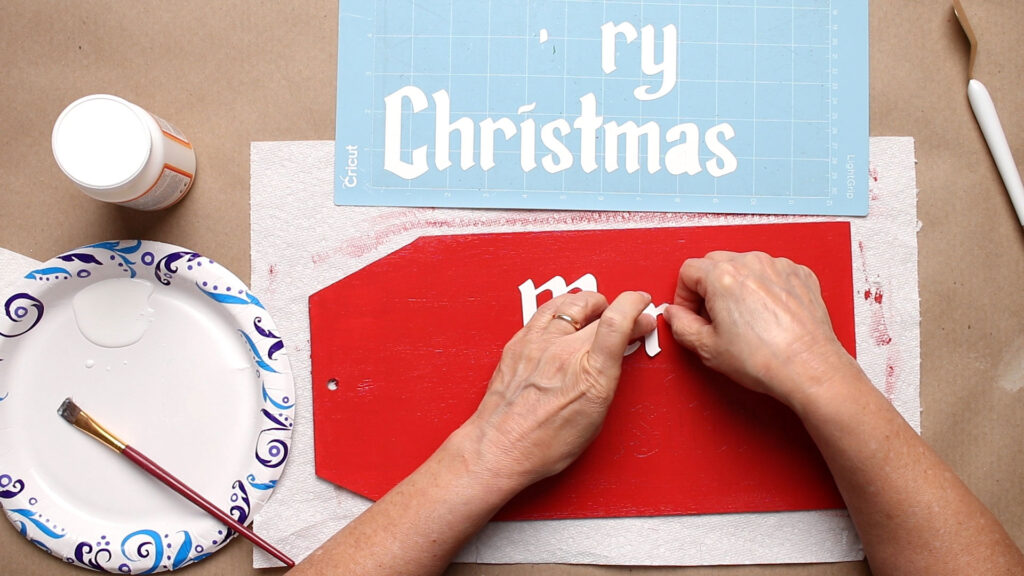

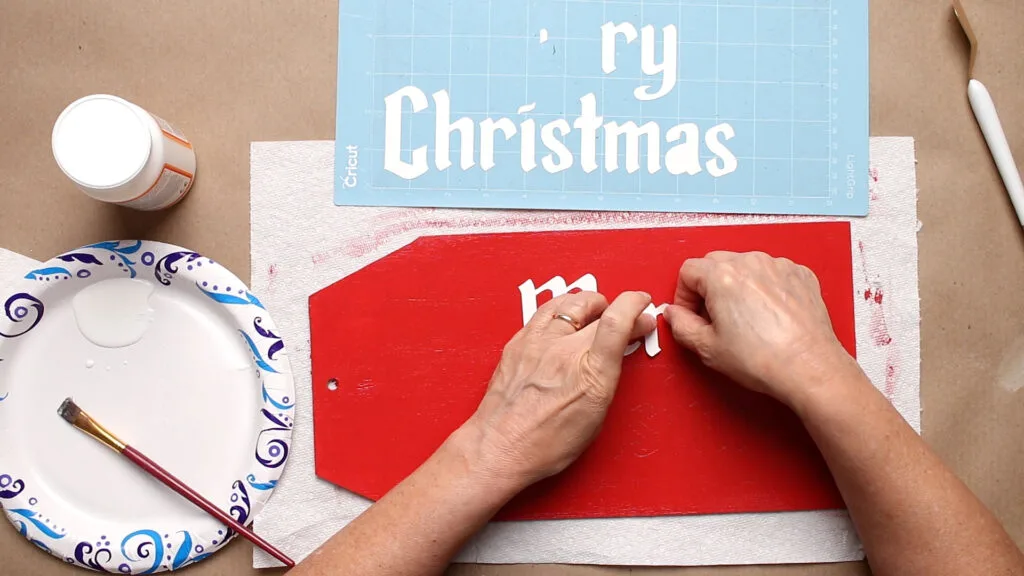

Attach the letters to the red side
Seventh Step: Mod Podge Over Christmas Door Hanger Design
Then I applied a coat of Mod Podge over the entire red tag.
Note: If you use this as a Christmas front door decoration, I recommend an outdoor Mod Podge.
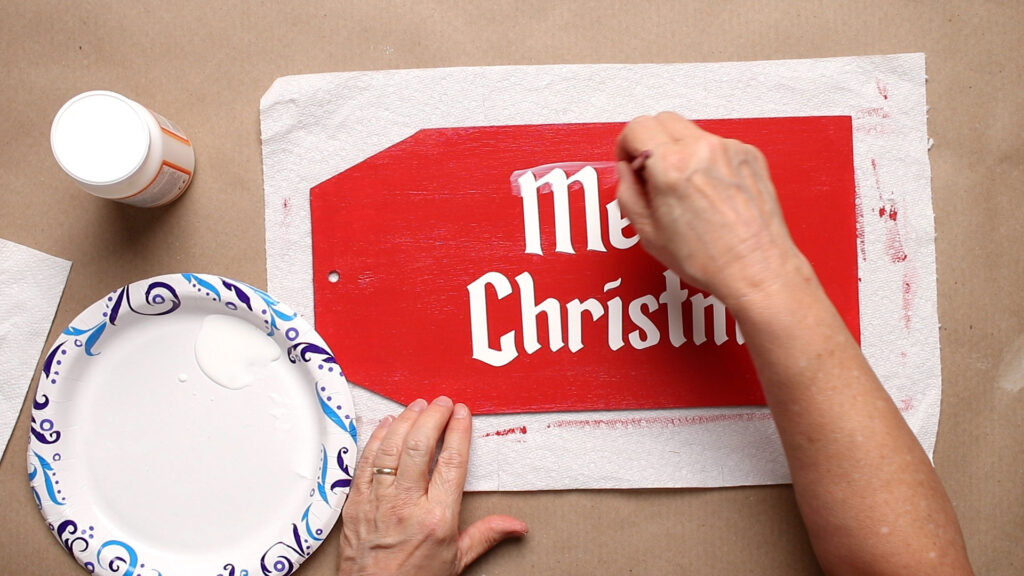

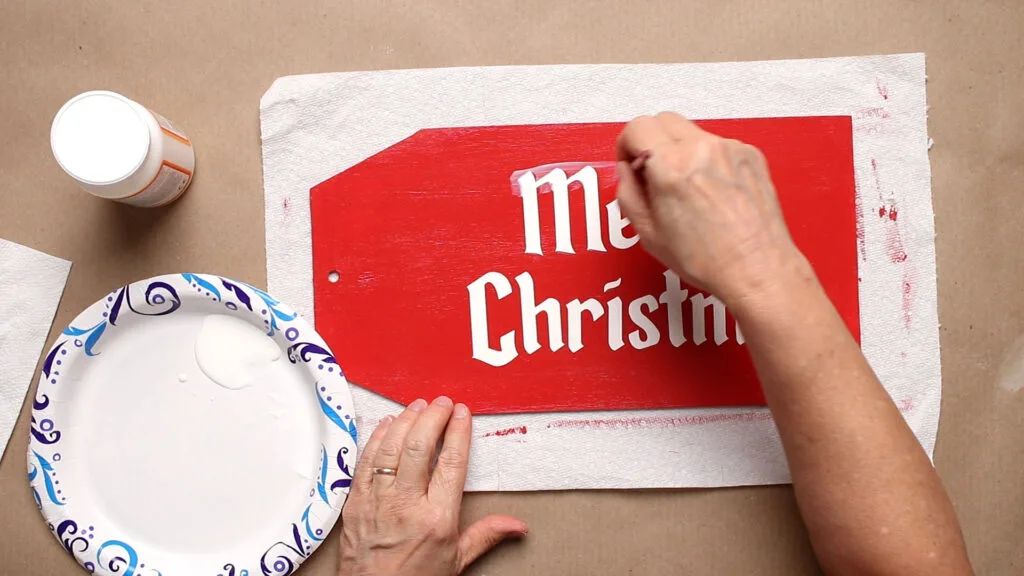

Paint on Mod Podge
Eighth Step: Painting Polka Dots
Next, I made a template for the dot placement on white craft paper. First, I drew circles to paint the polka dots with a pencil. Then I placed the template with the pencil circles down on the white tag.
I traced them on the opposite side to transfer the circles onto the tag.
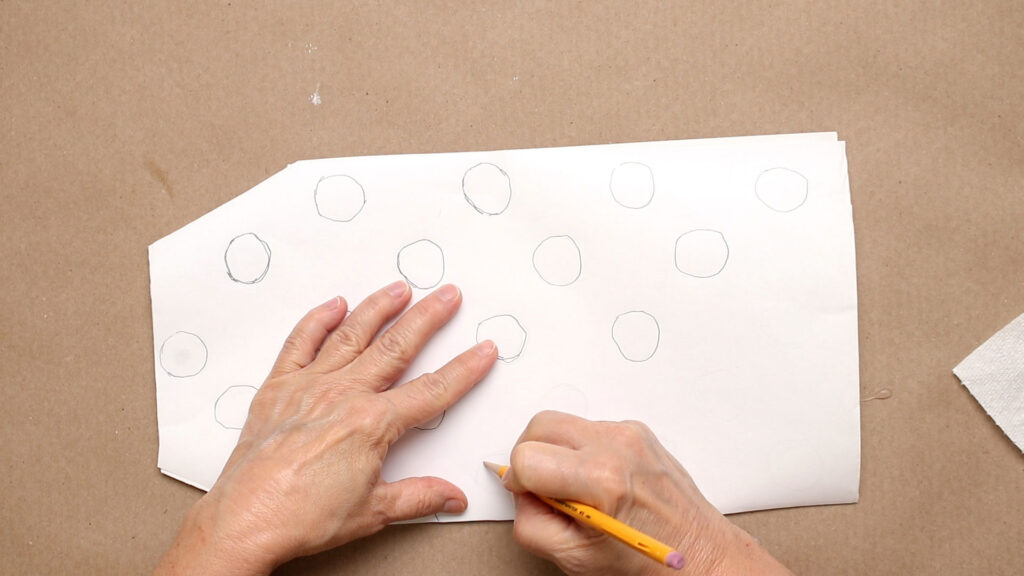

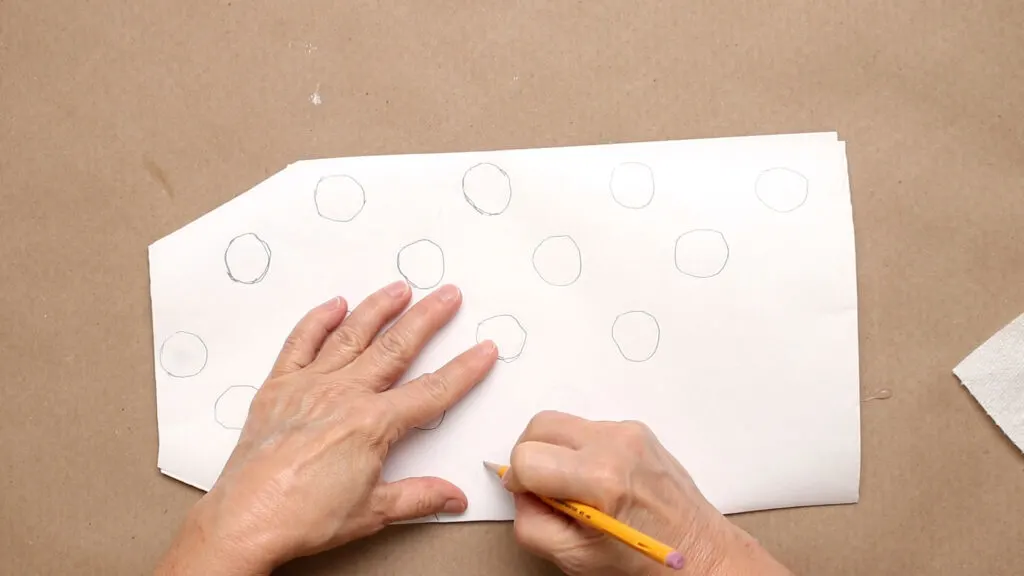

Trace dot placement
Next, I used a pouncer and red chalky paint to paint the polka dot pattern over the traced pencil circles.
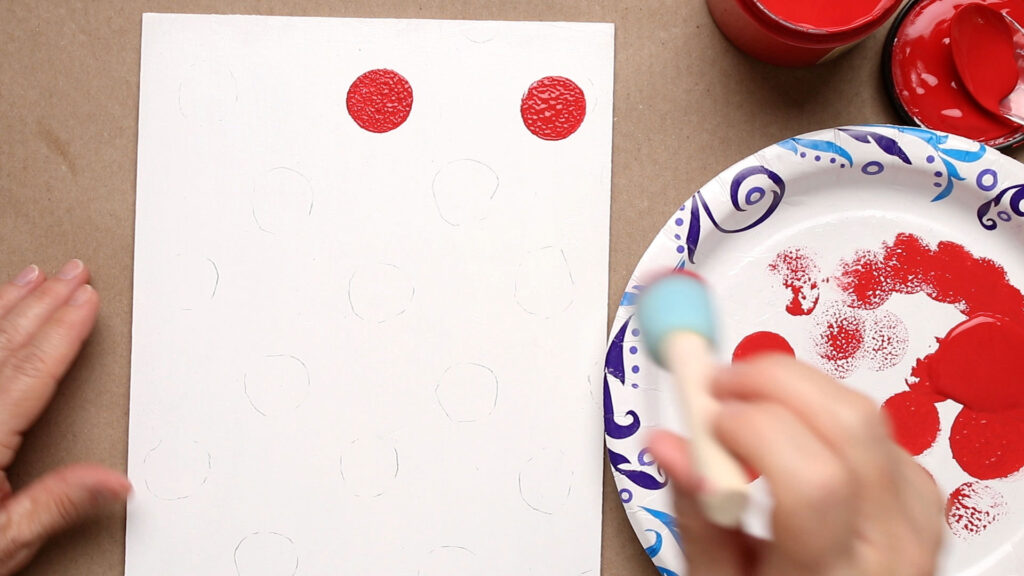

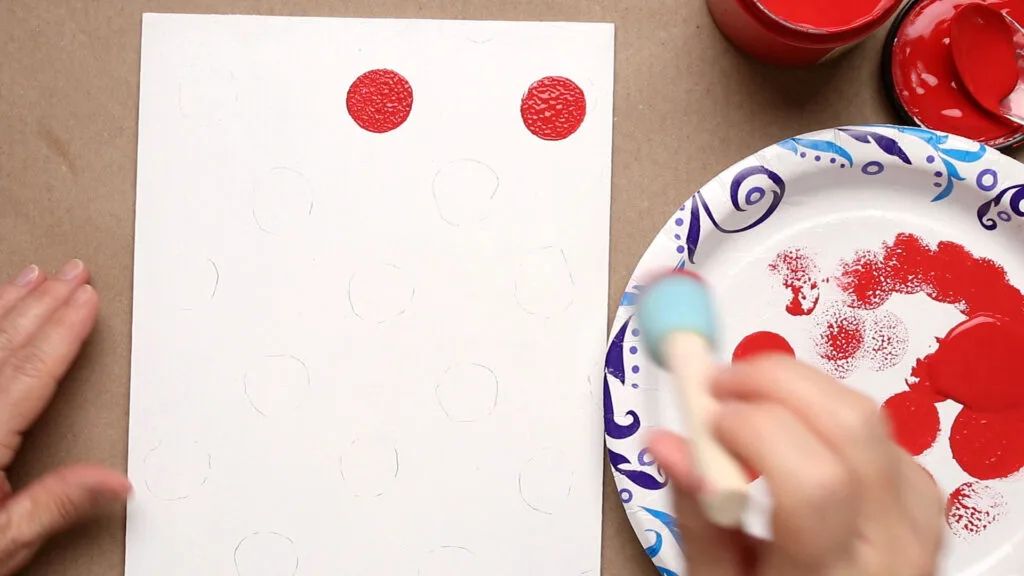

Paint on the red dots
After the painted dots were dry, I painted white highlights on a few dots.
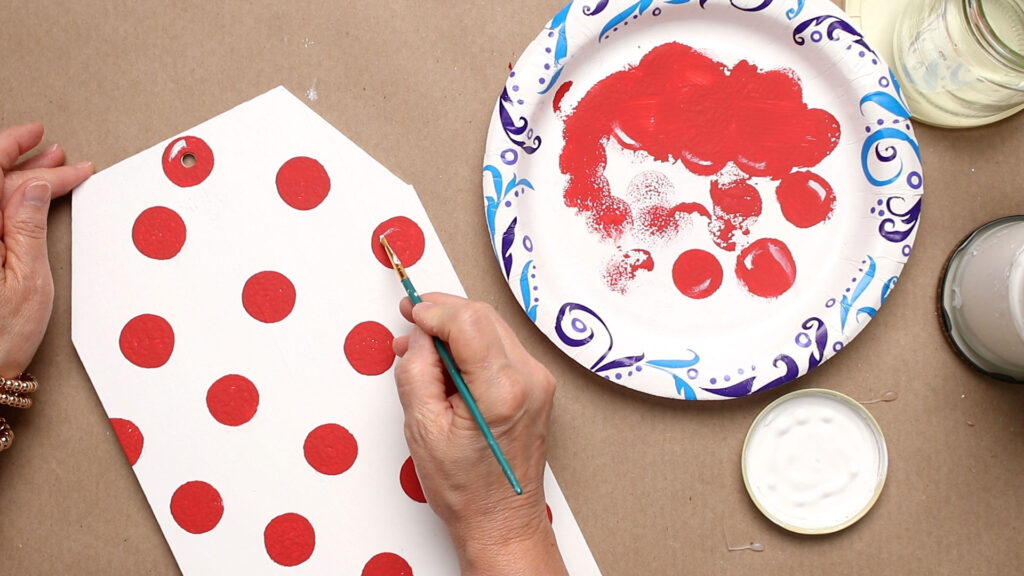

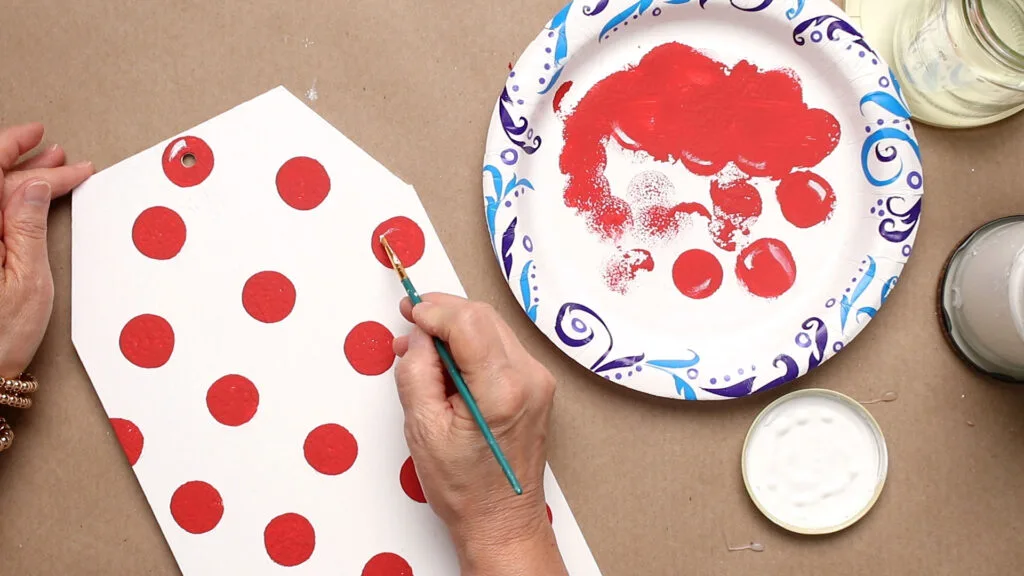

Add highlights
Ninth Step: Secure Door Tags Together
I used a zip tie to hold the two sides of the door hanger.
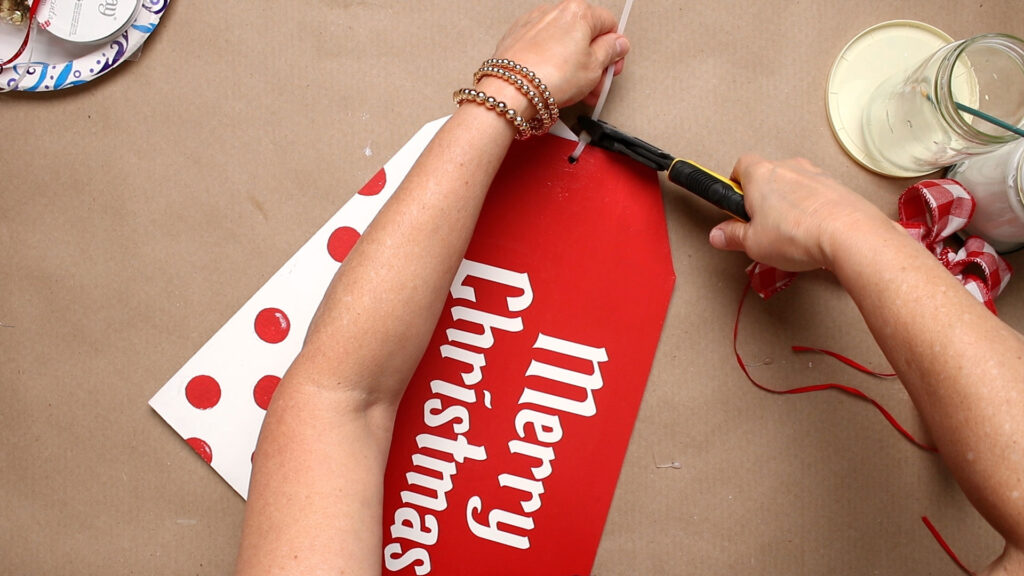

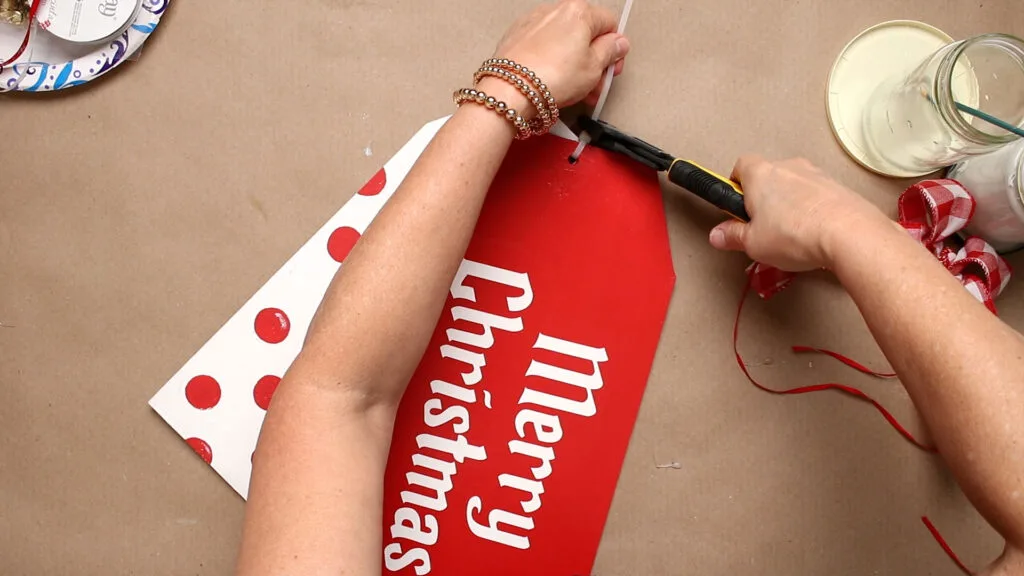

Attach the pieces with a zip tie
Tenth Step: Add the Perfect Bow to your Door Hanger
Then I added the perfect bow that matches the ribbons on my Christmas tree.




Attach bow
Eleventh Step: Secure the Tag halves Together
Next, I applied hot glue to the area between them to hold the two halves together.


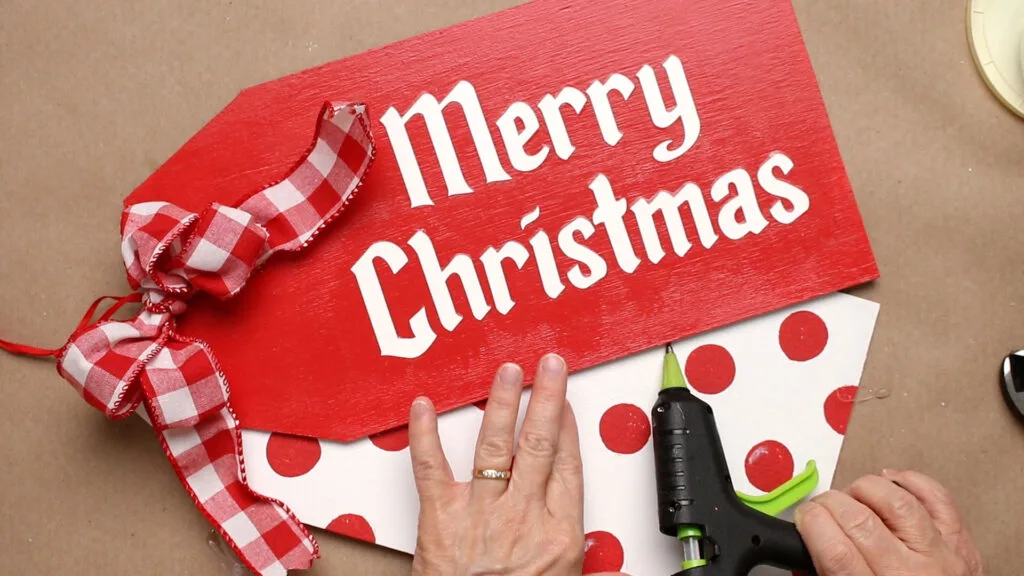

Add hot glue
Merry Christmas Door Hanger Display Ideas
I used a 1/4″ red ribbon to make a hanger loop, but I could have used wire or a pipe cleaner for the hanger.
This door hanger is hanging in my home in my mudroom to greet my family when they enter.
I used an over-the-door hanger to hang it.
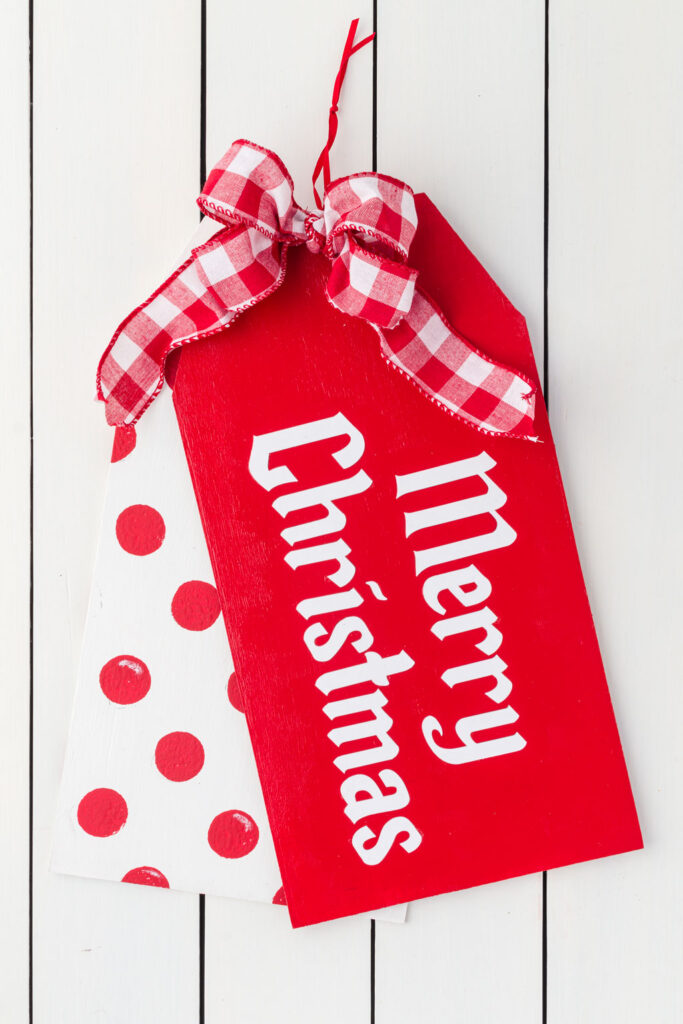



Merry Christmas Door Tag
More Christmas Home Decorations Ideas:




DIY Christmas Candle Holders
Easy Christmas Candy Calendar.
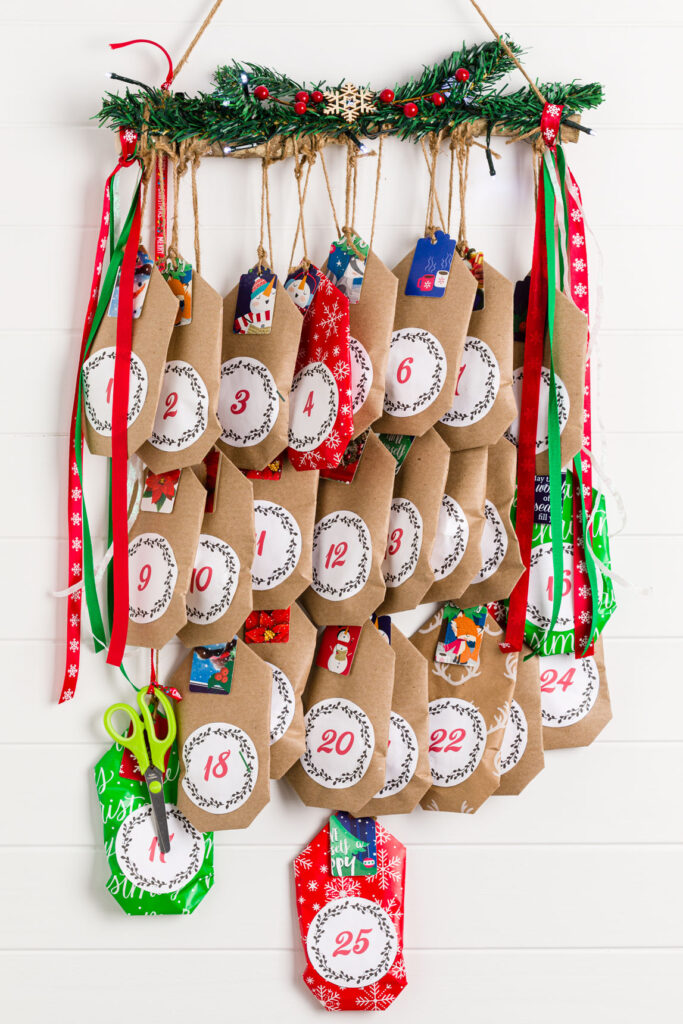


Christmas candy calendar
Want a Stress-Free Holiday???
Want to enjoy all the holiday season has to offer? Are you feeling overwhelmed when you think of the holidays?
Join me as we enjoy a stress-free holiday season. You will receive emails loaded with a ton of inspiration, money-saving ideas for decorating, gift-giving, and so much more.
Please join me for a ton of inspiration and ideas! And have the best of everything this holiday.
Merry Christmas,

Paula@SweetPea
Sunday 5th of December 2021
I love this project idea!
Kippi Ohern
Thursday 9th of December 2021
@Paula@SweetPea, Thank you so much. I have it up and it is really fun.