Learn how to make a bow for wreaths, gifts, Christmas tree toppers, and more. Wreaths are a good idea for decorating your front door.
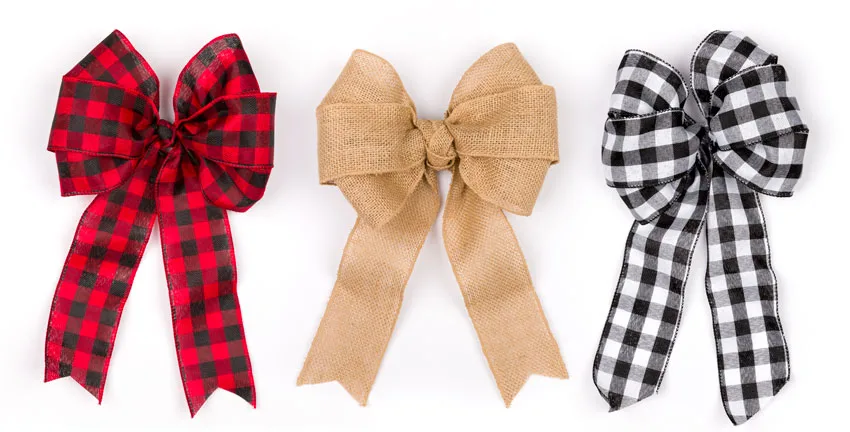
A gorgeous handmade bow adds a nice touch to your wreath. There are many different ways to make a ribbon bow; however, this one is the easiest. These are perfect for decorating wreaths, Christmas gifts, Christmas trees, lanterns, and more.
This post may contain affiliate links. That means that if you purchase from one of these links, I will make a small commission.
What Supplies Do I Need
I adore making bows; however, I remember my first few failed attempts at making them. Since then, I have learned to create many different ribbon bows. Additionally, I enjoy sharing my favorite ways to make a bow; you can find more bow tutorials in my ultimate bow-making guide.
Ribbons
Selecting a ribbon is the best part of bow making. There are a ton of different types of ribbons. However, my favorite ribbon to make a bow is wired ribbon since it makes shaping bows super easy. The wire also helps the ribbon bow maintain the loops and tails’ shape.
I prefer using a wider ribbon of 2 1/2 inches for wreath bows. However, my favorite ribbon for my DIY bows is a wired burlap ribbon.
Zip Tie and Wire
After you “tie” your bow, you will need a zip-tie or a piece of floral wire to hold your bow together. You can also use a chenille stem or pipe cleaner to cinch and hold it together. I like to use a chenille stem that matches the ribbon. Therefore, I keep a variety of colors on hand.
Wire Cutters and Scissors
I like to use sharp scissors and heavy-duty wire cutters (my favorite ones) when making bows and crafting.
How to Make a Bow out of Ribbon
- I used a 2 1/2-inch wide wired ribbon to make this simple bow. The first step is determining the bow size you would like to make. Once you know the size, you will make a loop with the ribbon, then loop your ribbon around the first loop two more times. Be sure to start and stop the ribbon circles a little before the center starts and a little after to finish.
Note: The number of loops on each side will be equivalent to the amount of ribbon “circles” you make. In other words, if you make three ribbon circles of ribbon, you will have three loops on each side of your bow.
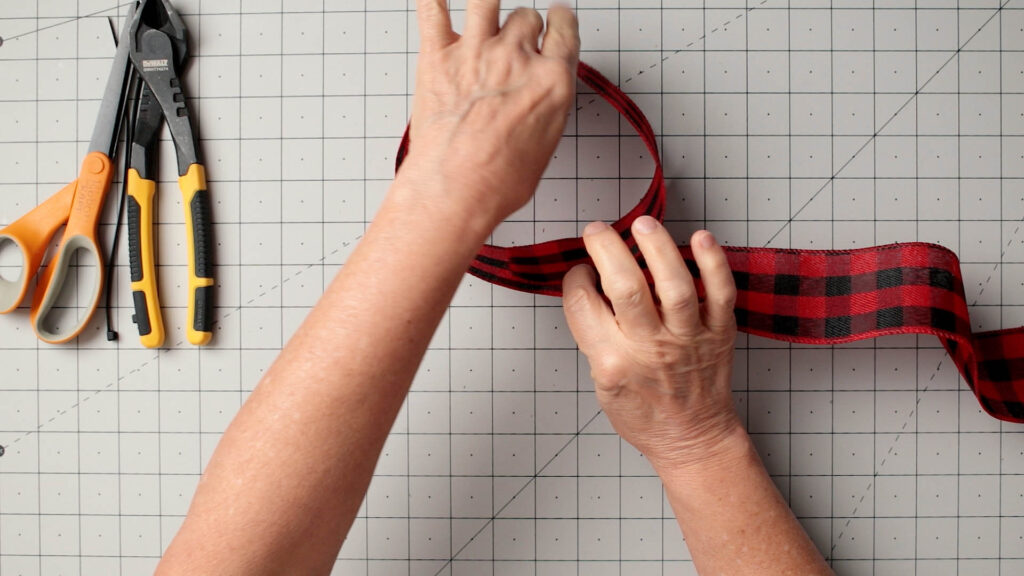

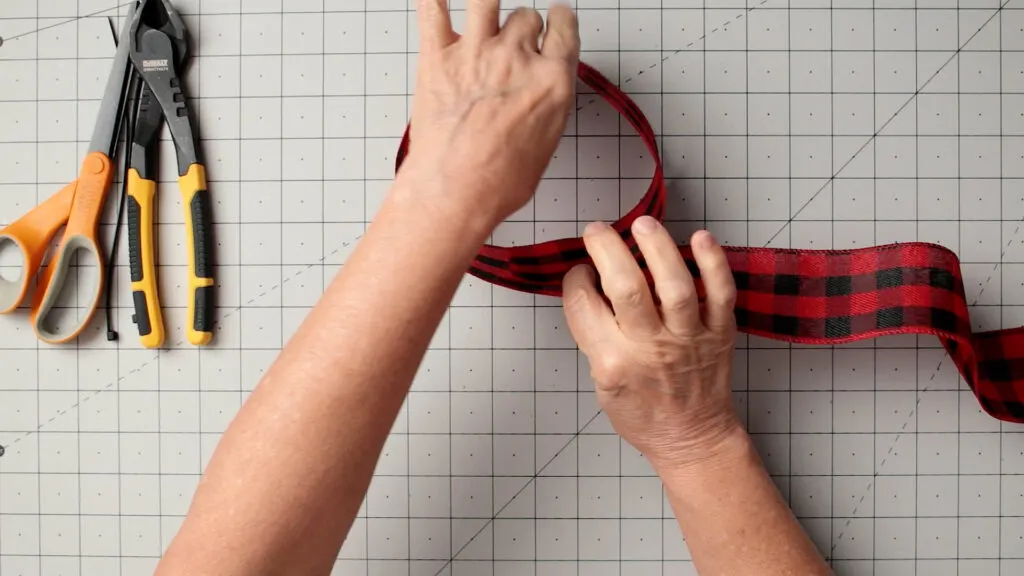

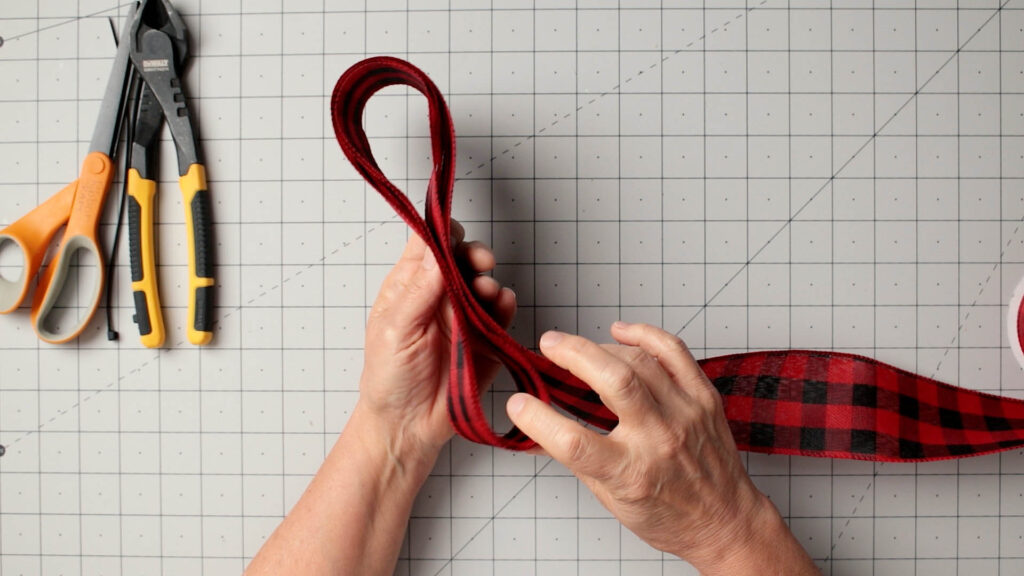

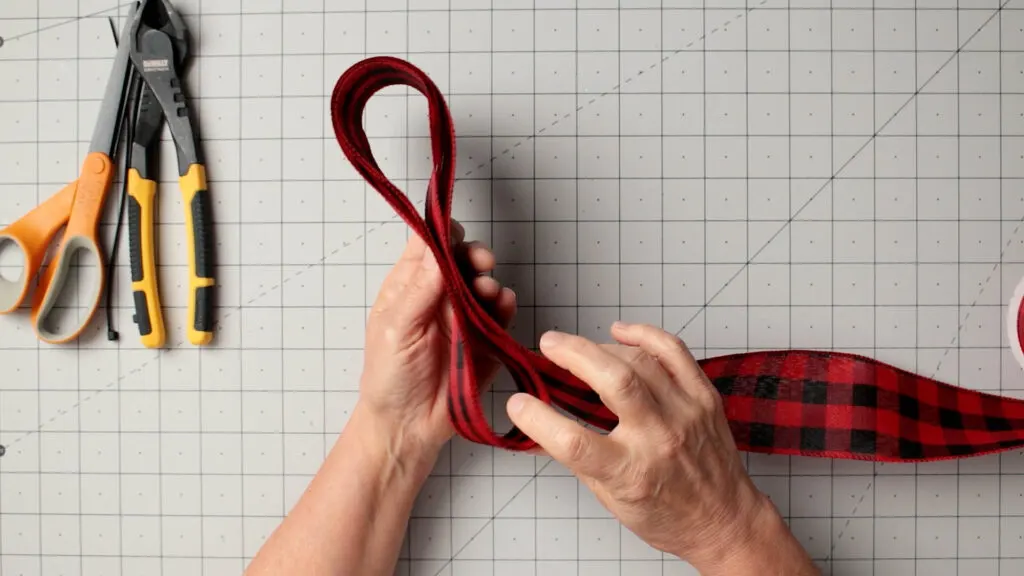

Make three ribbon loops
2. Cut the ribbon off just about an inch past the center.
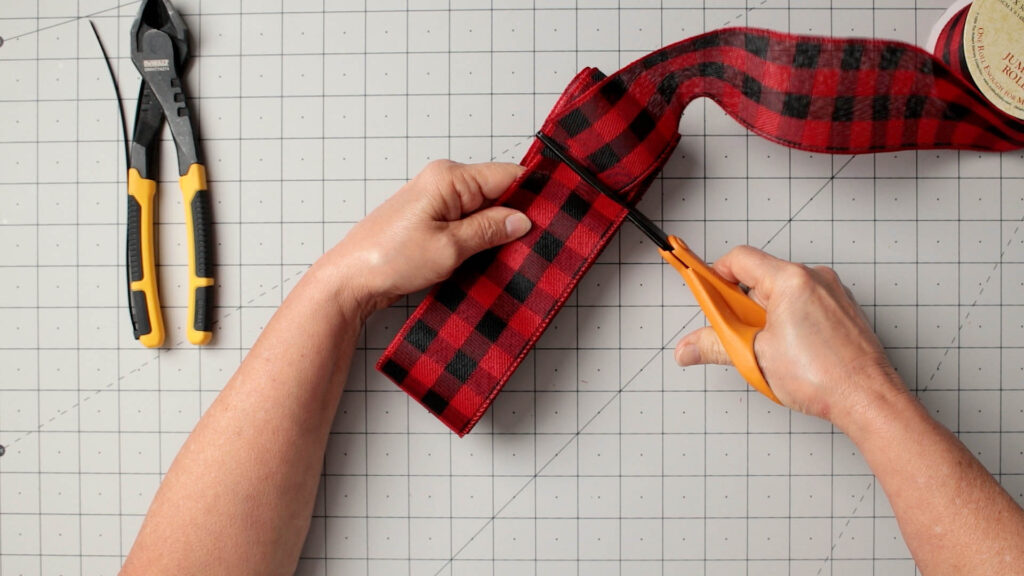

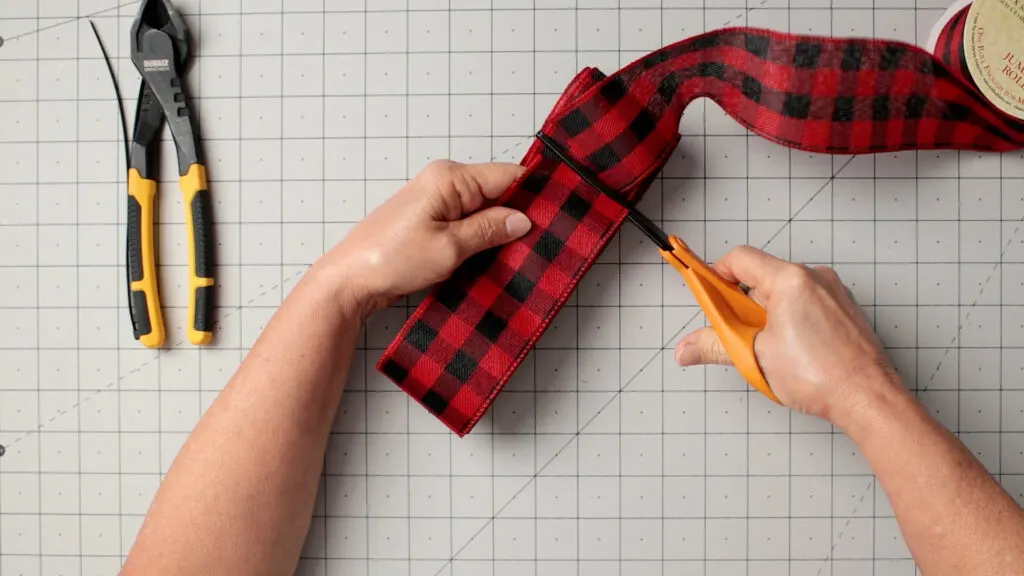

Cut the three loops of ribbon.
3. To form the streamer or tails, fold a piece of ribbon in half just a little longer than your desired final length and cut the ribbon.
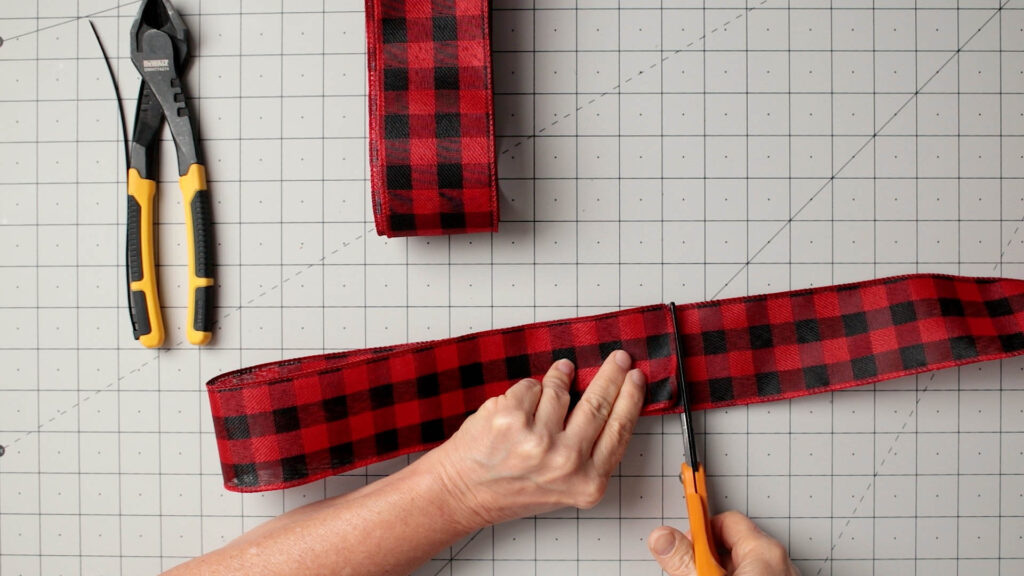

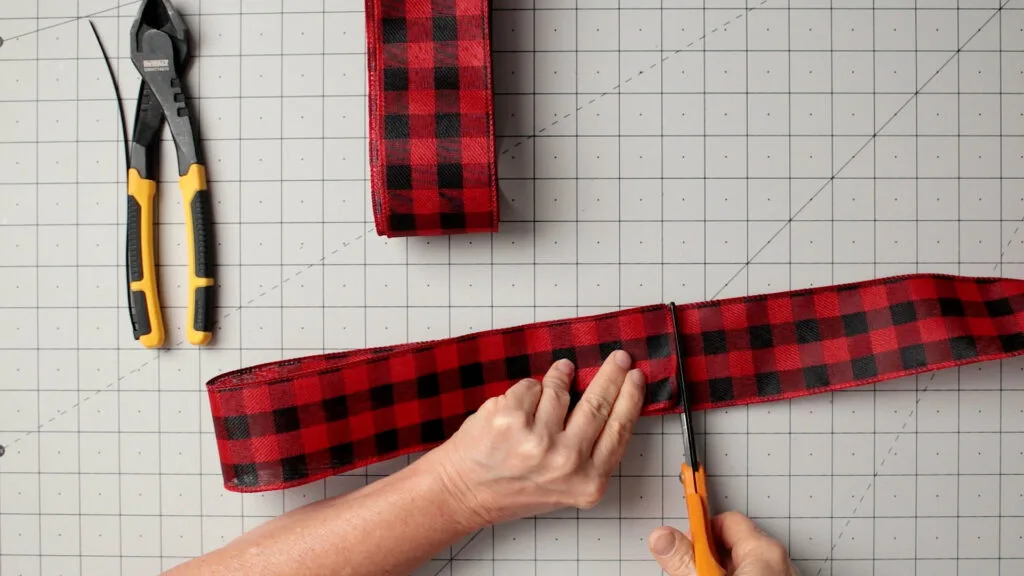

Cut ribbon for bow streamer.
4. To form the bow, pinch the center of the three ribbon circles.
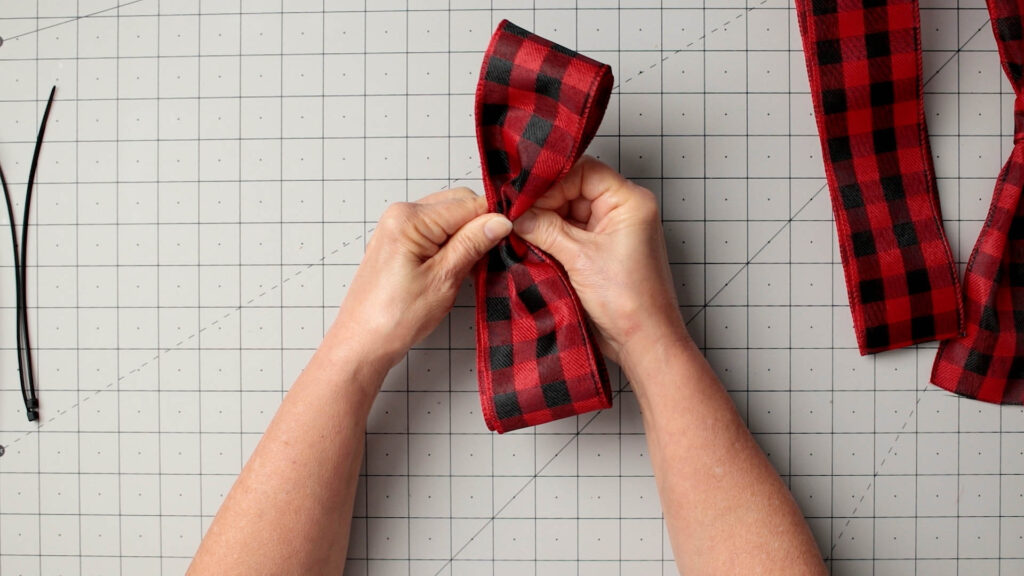

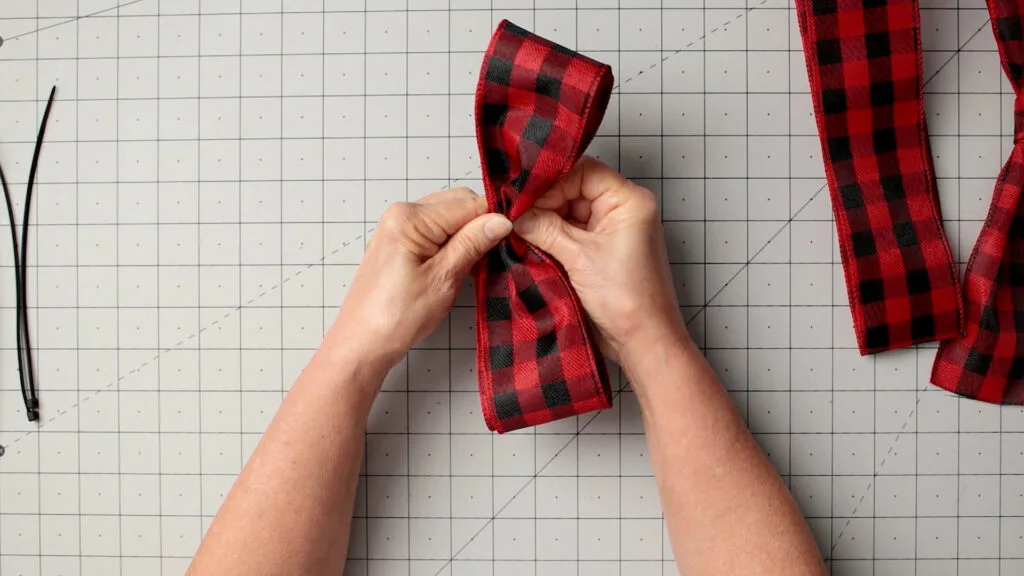

Pinch together the center of the ribbon loops
5. Next, pinch the center of your stream tail and hold it on the center bottom of the pinched loops.
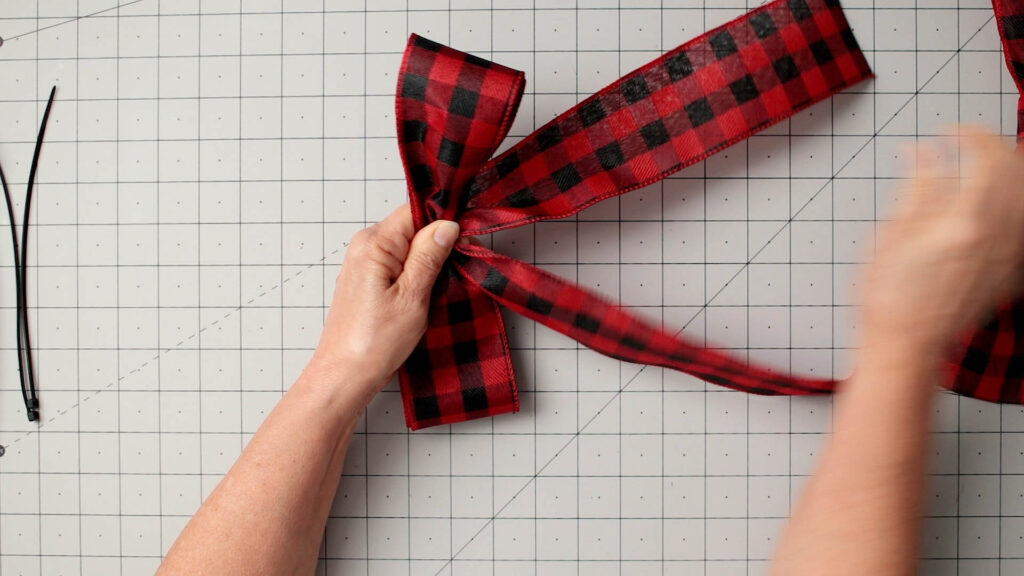

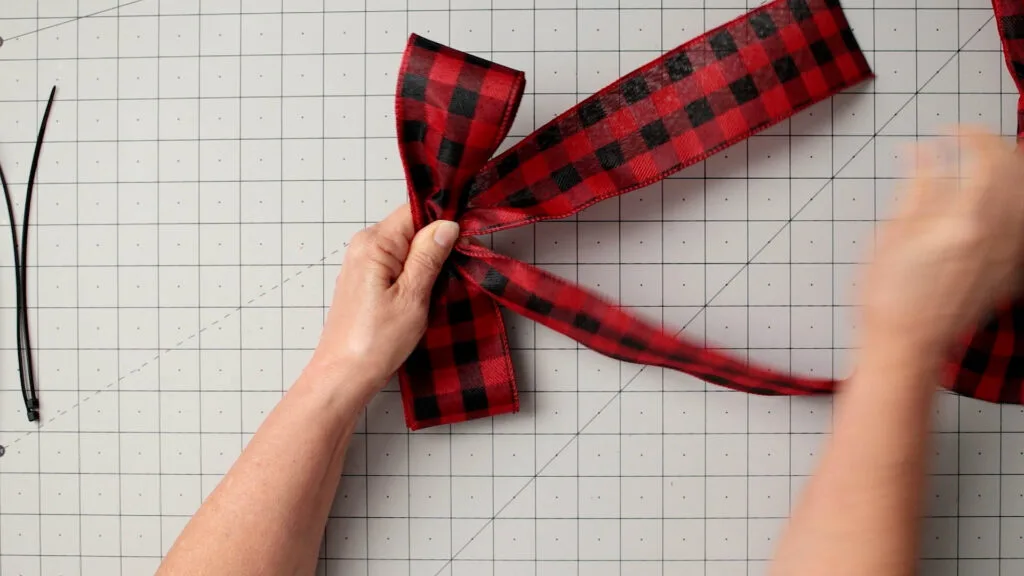

Add the streamer ribbon
6. Use a zip tie (the one I used) around the center of the bow’s loops. Be sure to pull it tight before trimming off the zip tie with your wirecutter (this one is my favorite). Please note: if you want to attach the bow to a wreath with wire or a chenille stem, place it on the back of your bow and then zip tie the bow and chenille stem together.
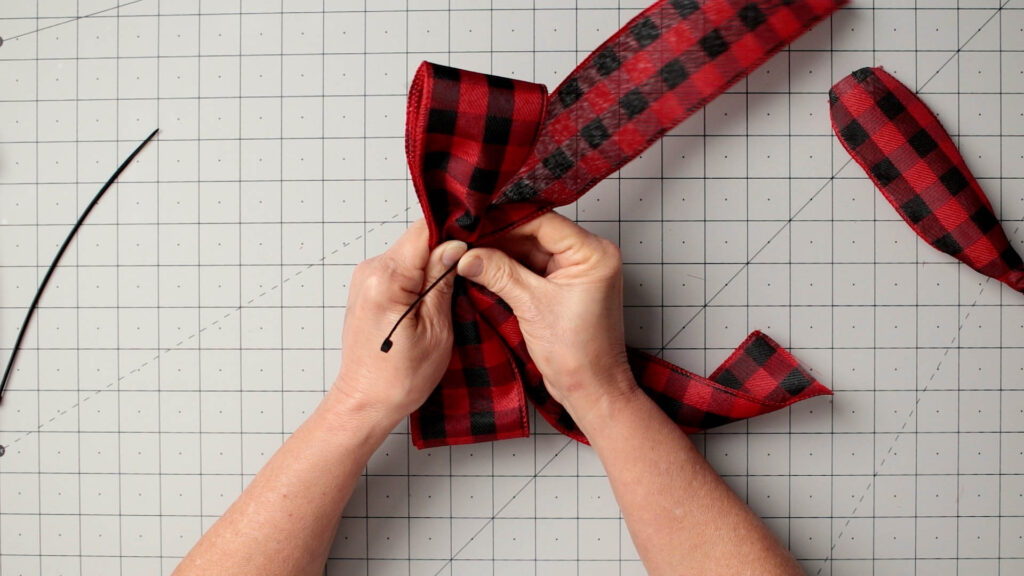

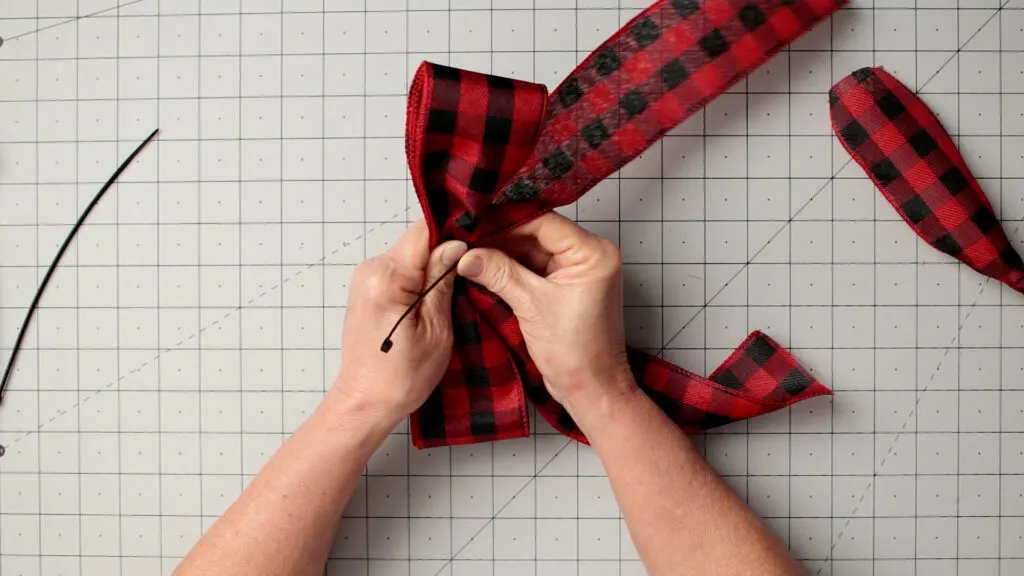

Use a zip tie to secure in the center.
7. The center ribbon knot is simple to make. Cut a piece of ribbon, then make a knot in the center of your ribbon. Use the tails of your ribbon knot to tie it around the center of the bow. Note: you can use another ribbon for the center knot.
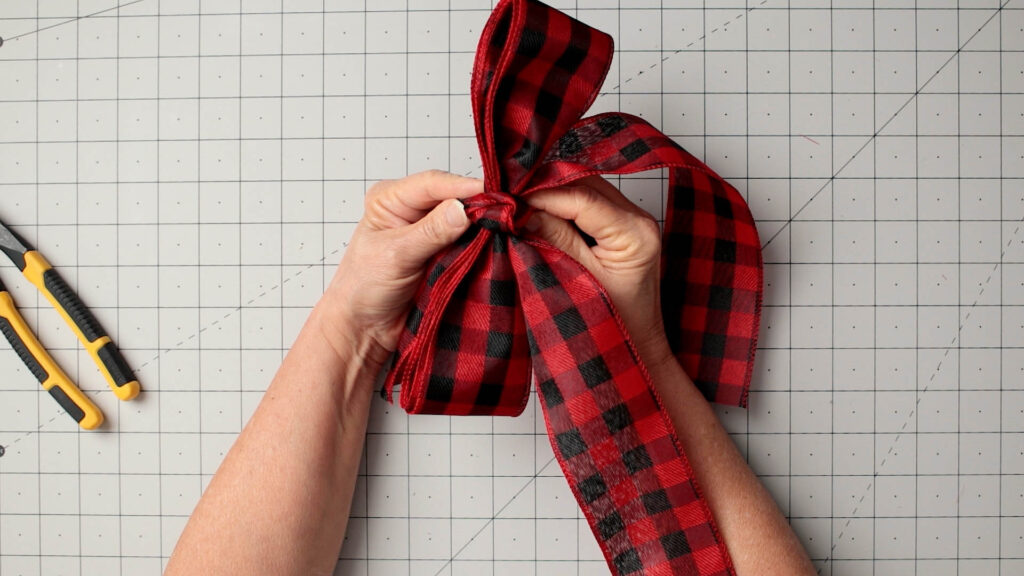

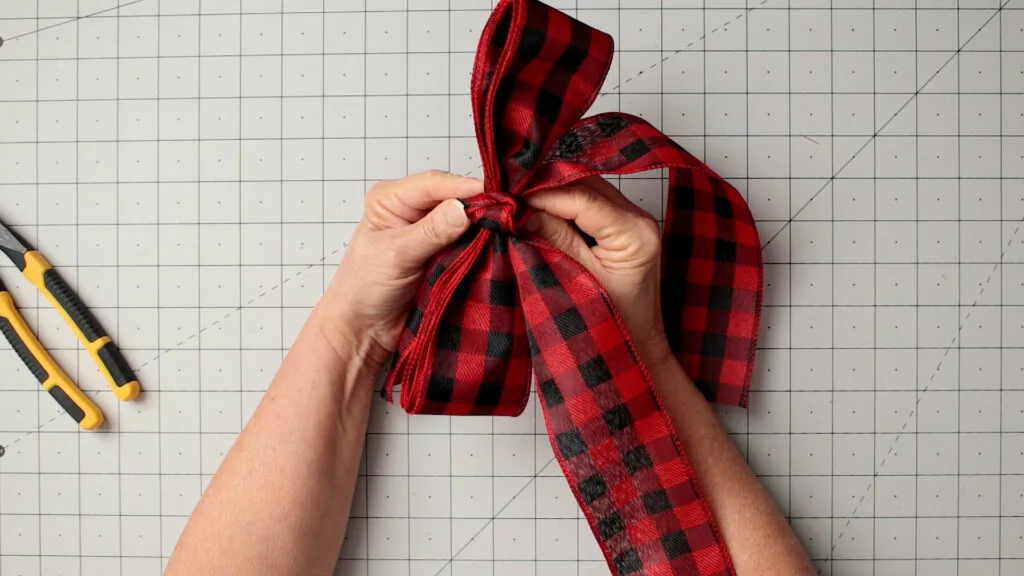

Add a ribbon knot around the center.
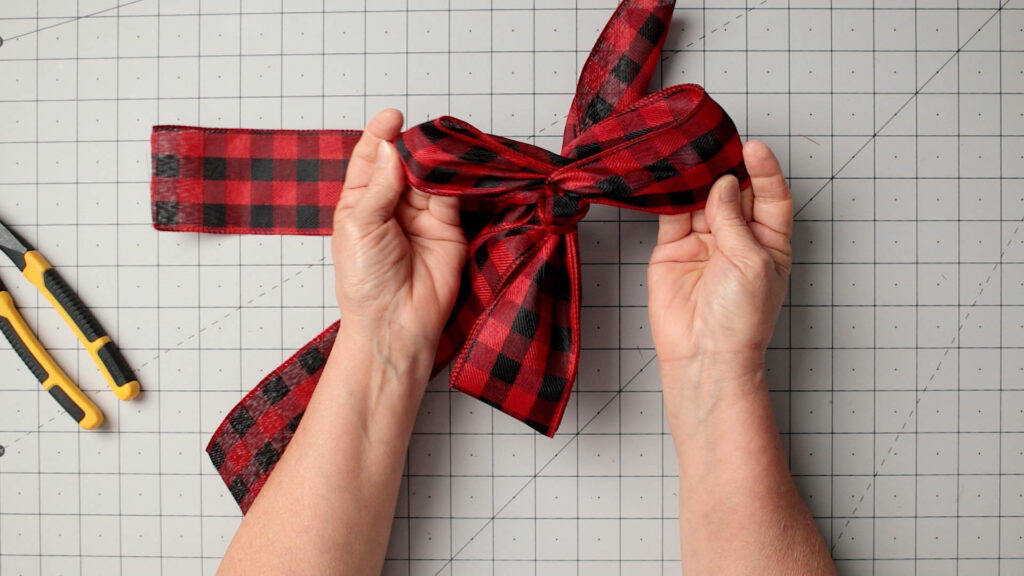
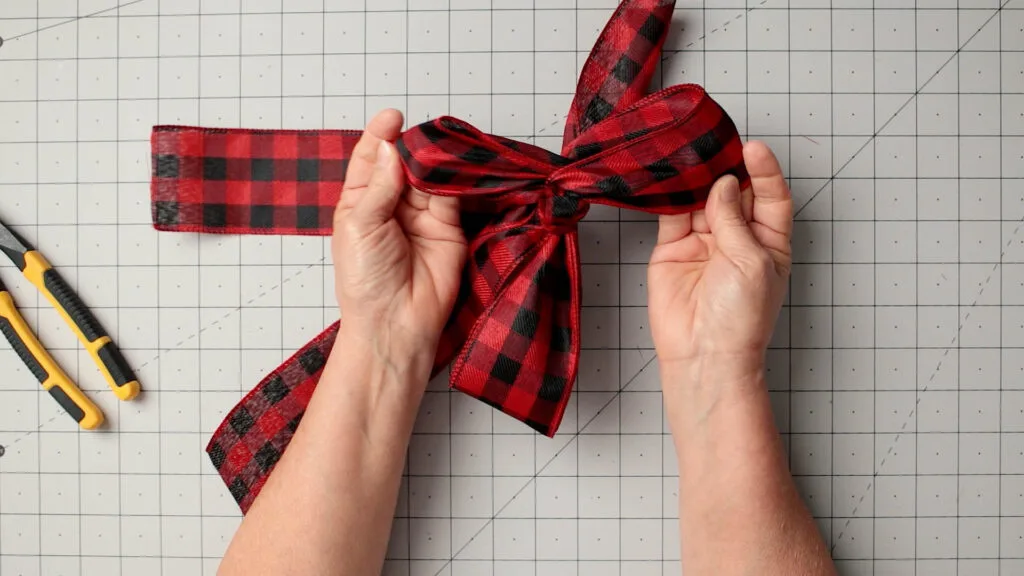
8. You can tie the knotted ribbon around the center of the bow and leave the tails long enough to attach the bow to a wreath, as a lantern bow, Christmas tree bow, swag bow, or gift wrapping bow. You can also use hot glue or floral wire to attach the bow.


Fluffing
9. To fluff the bow, I start with the inside left loop and pull it to the bottom, and then I grab the loop on the opposite side and do the same thing. I leave the loop on top as the center loop and pull out from the top, always leaving the center’s top loop. However, you may like to arrange them the opposite either way is gorgeous.
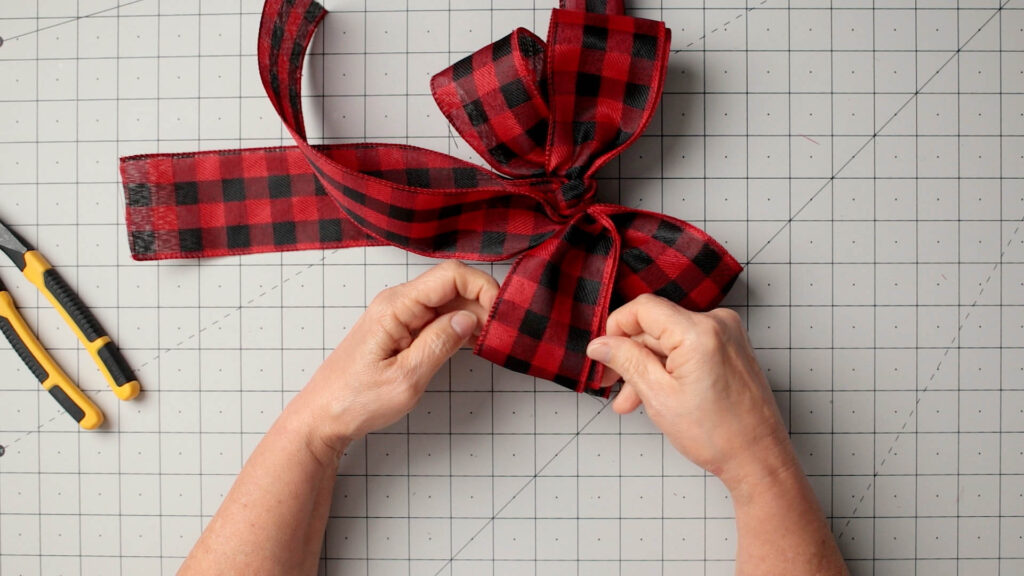

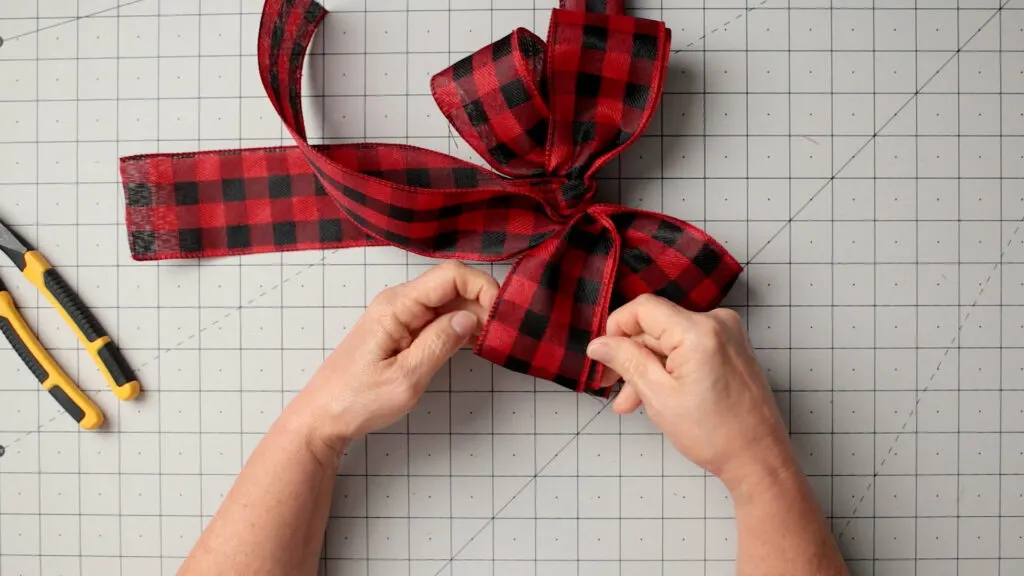

Pulling the ribbon loops out
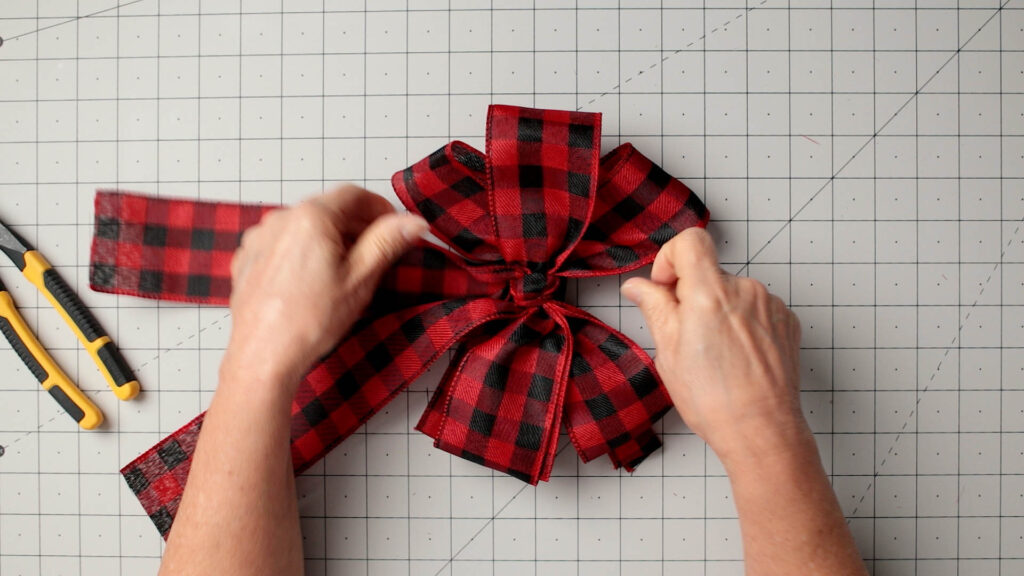

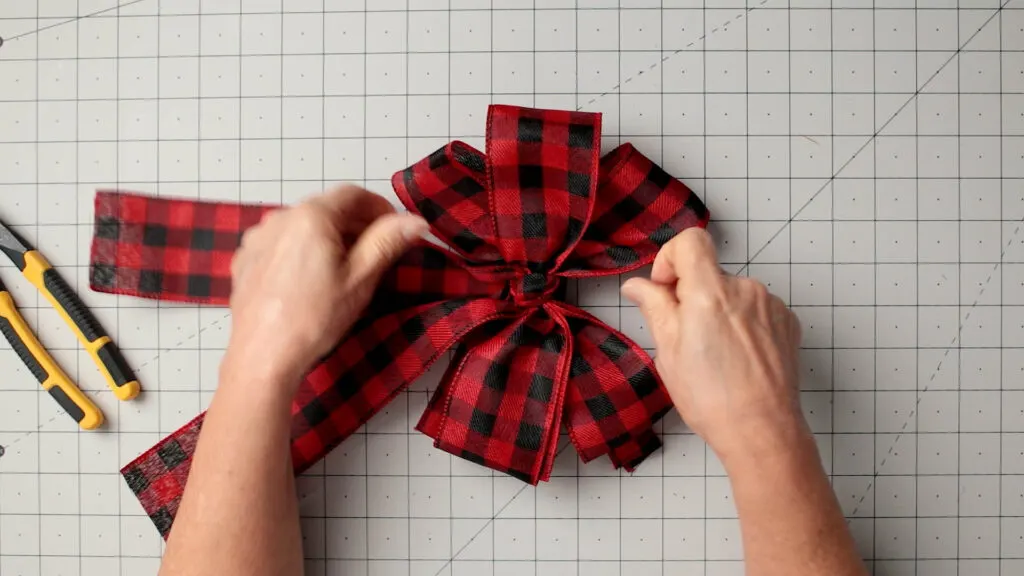

Finish fluffing the wired ribbon
10. Your wreath bow is ready to be attached to your wreath form. You could wire the bow to your wreath if you added a wire or chenille stem to the zip tie. However, you can use a hot glue gun and glue it to your wreath, or you can pin it in place.
Learning to make the perfect bow only takes a few minutes and no special tools!
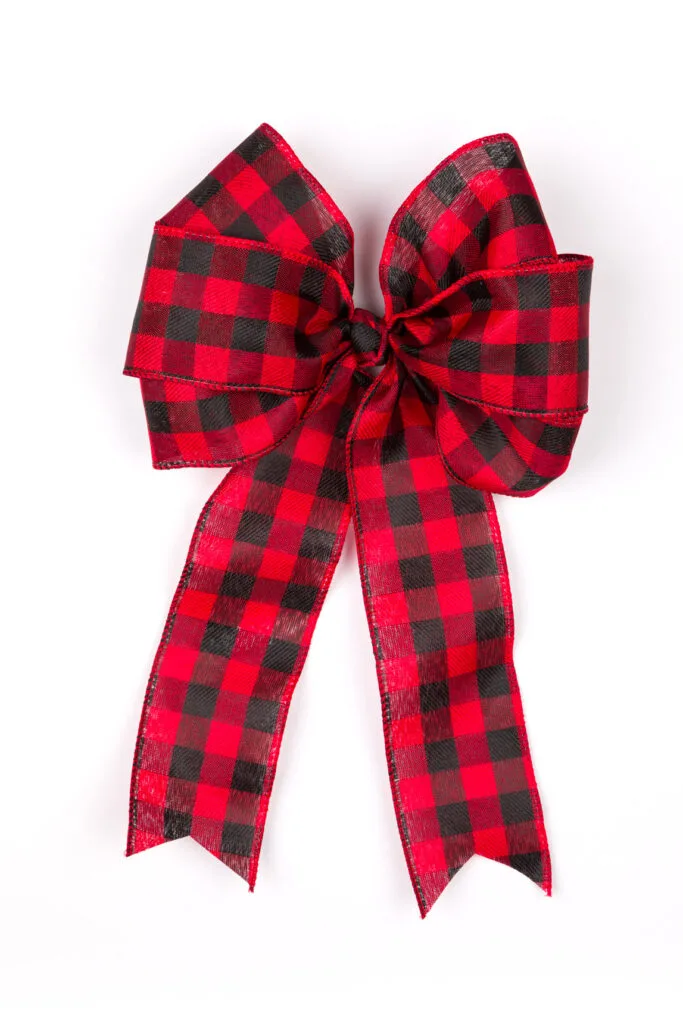
These gorgeous bows all have a farmhouse-inspired vibe with the buffalo check or burlap ribbon. However, if you use a satin ribbon to make this bow, it will look elegant.
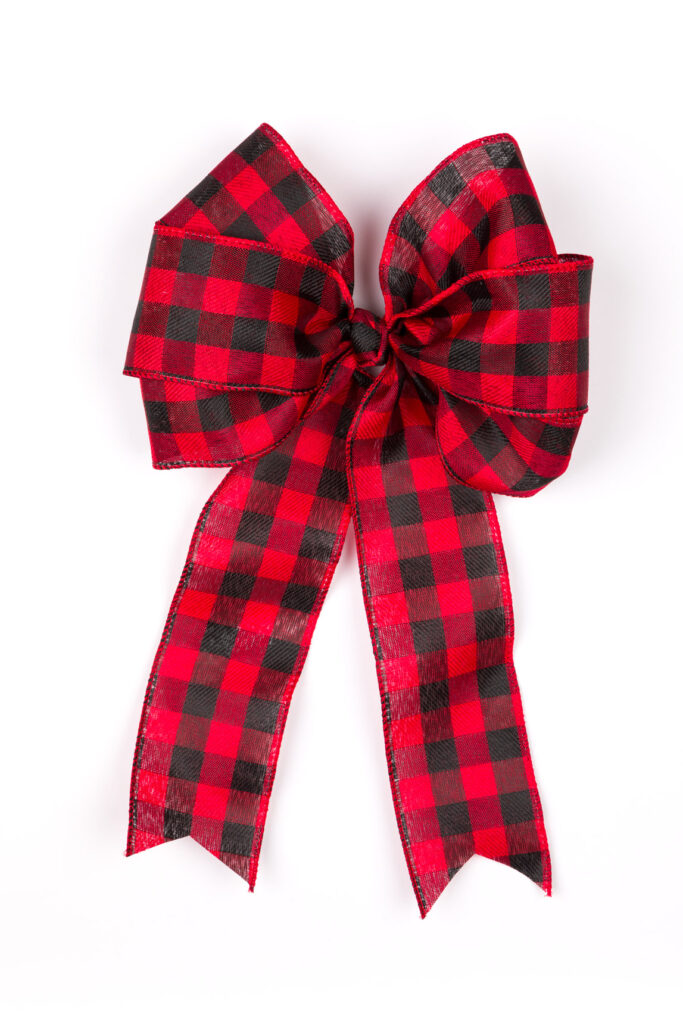


I used a black and white buffalo check ribbon for this DIY ribbon bow. The ribbon choice is perfect for all-year use.
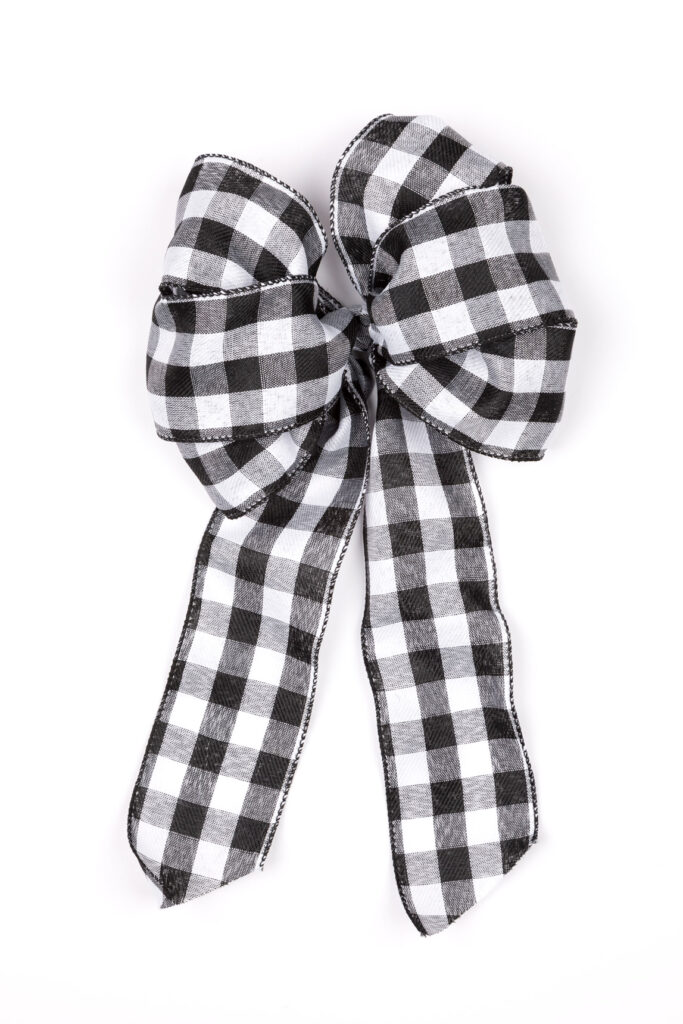

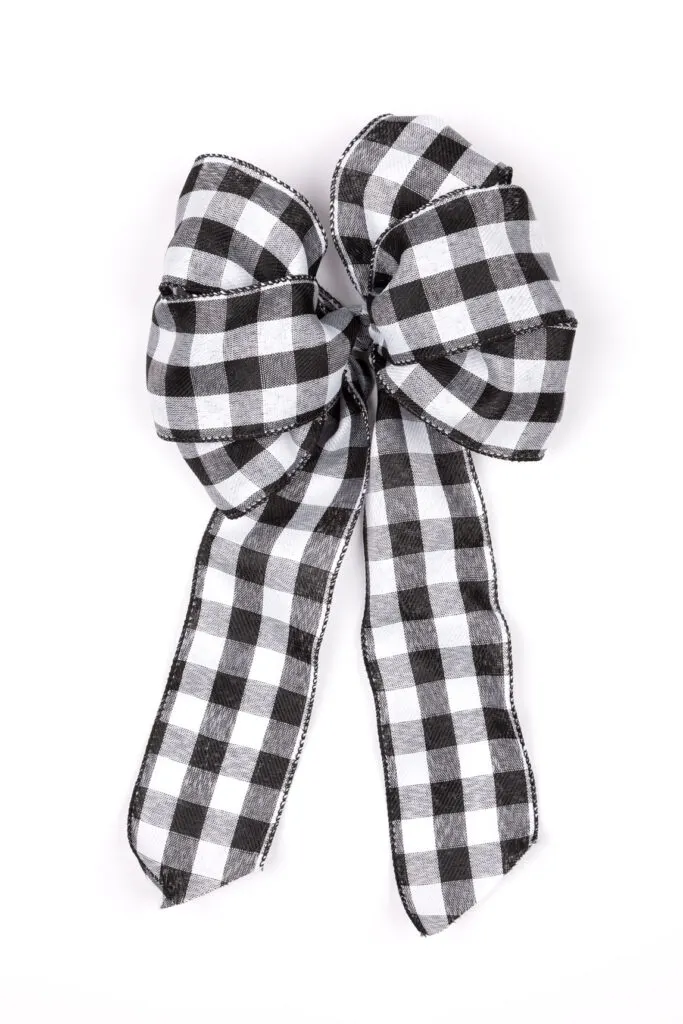

Farmhouse Black and white buffalo check
Burlap wired ribbon bows are the most popular since they are lovely for wreaths, weddings, gifts, crafting, and decorating.
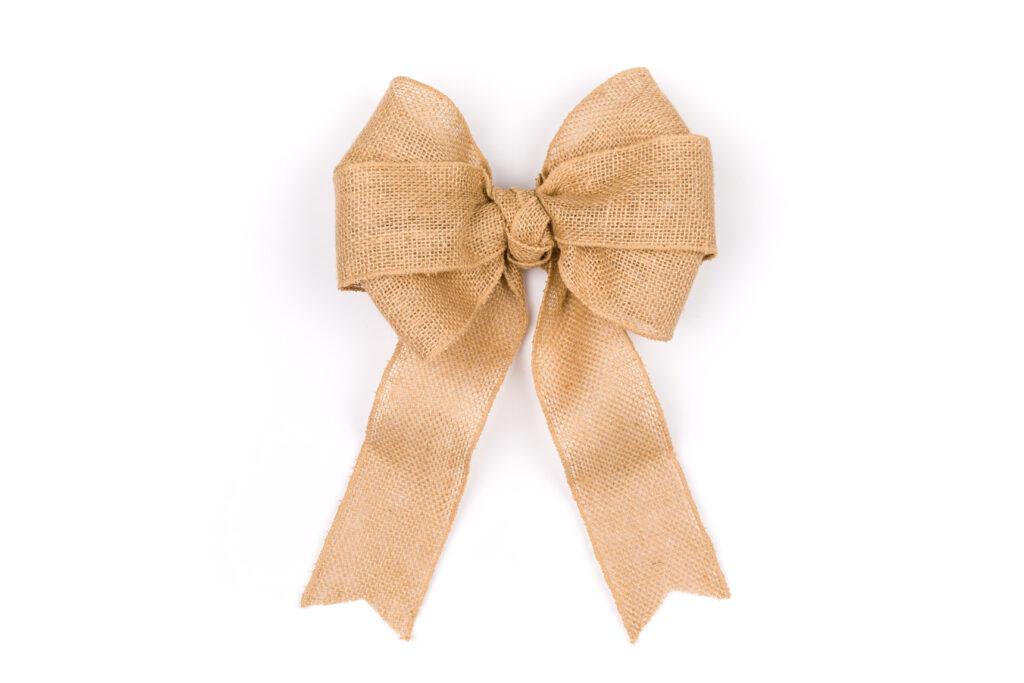

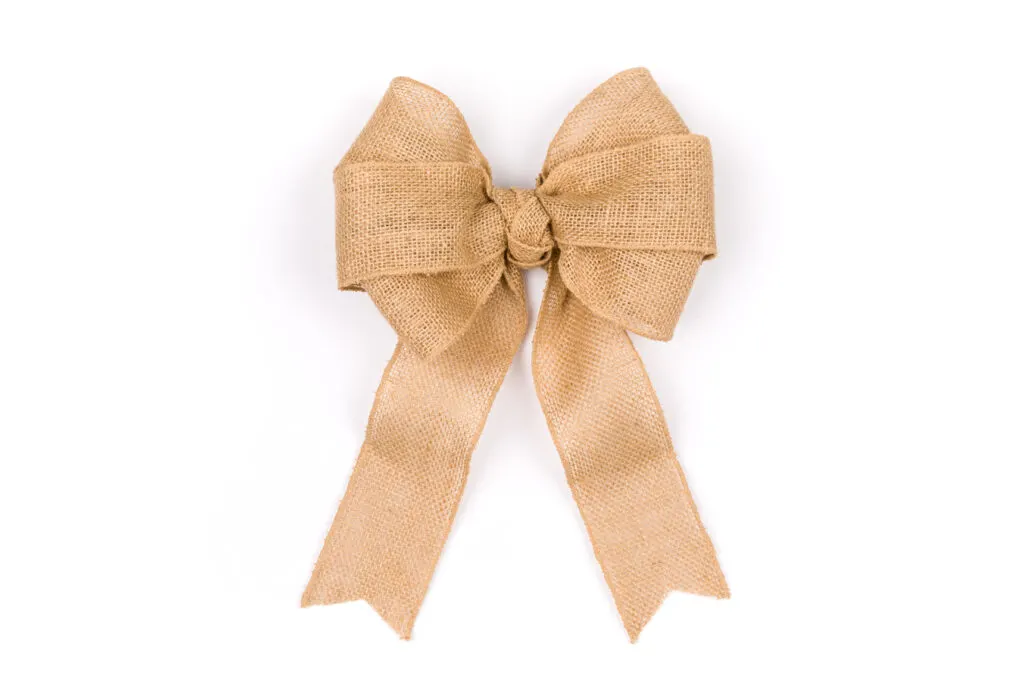

Wired Edge Ribbon Wreath Bow
You can make this bow with a grosgrain ribbon for a hair bow or a wide ribbon for decorating.
I made this handmade wood slice wreath from a fallen tree in my yard. I like the wood slices’ rustic farmhouse look, and I enjoy buffalo check ribbon, so combining these two elements was a must.
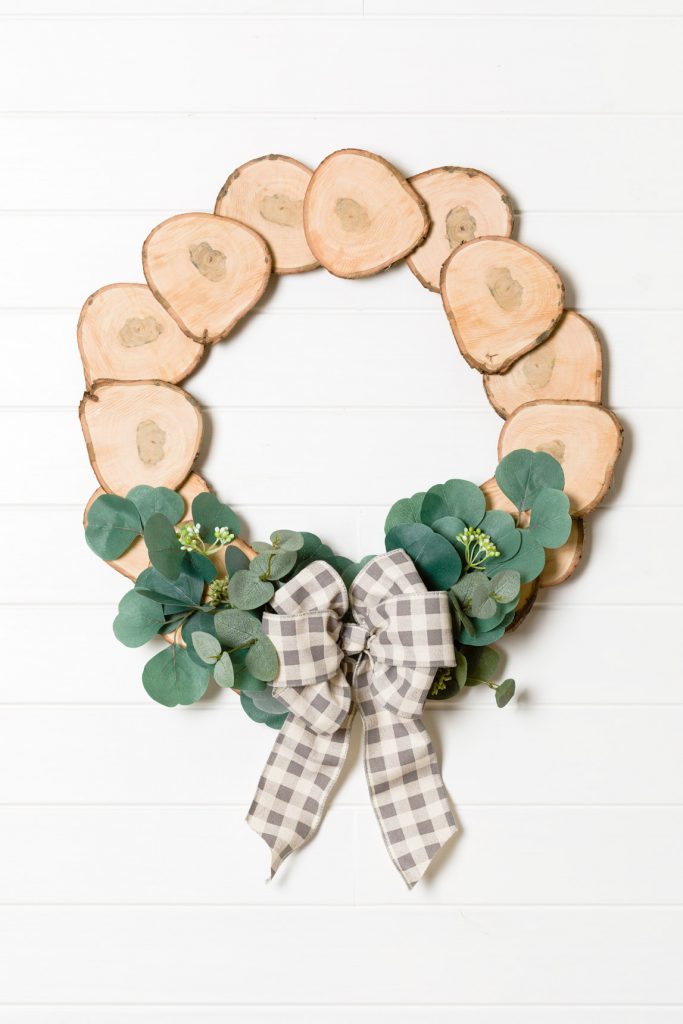


Wood Slices Wreath
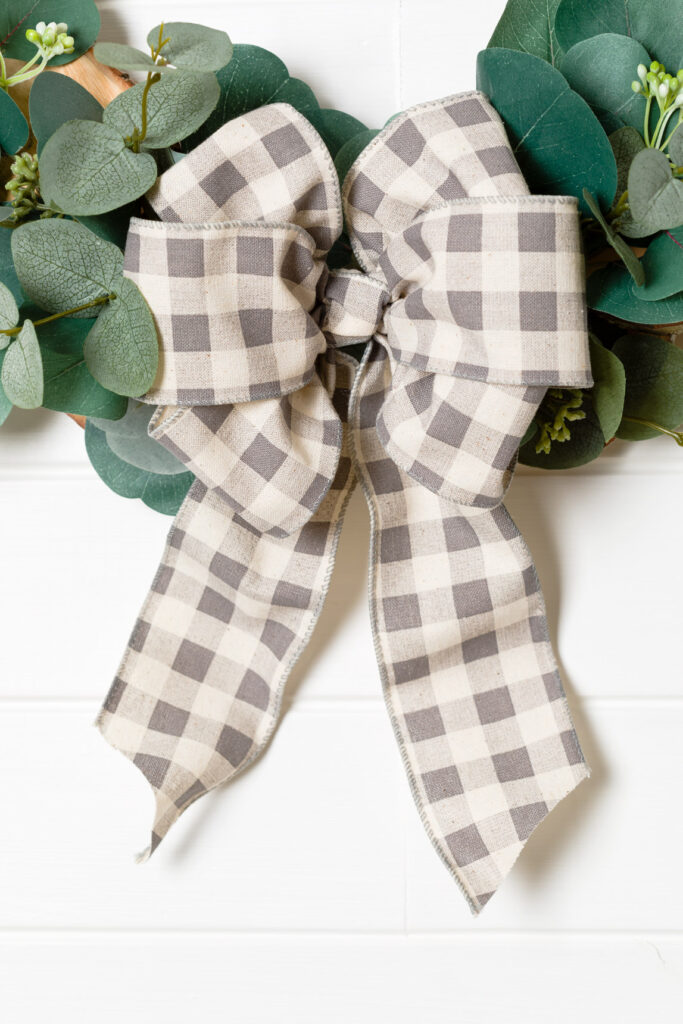

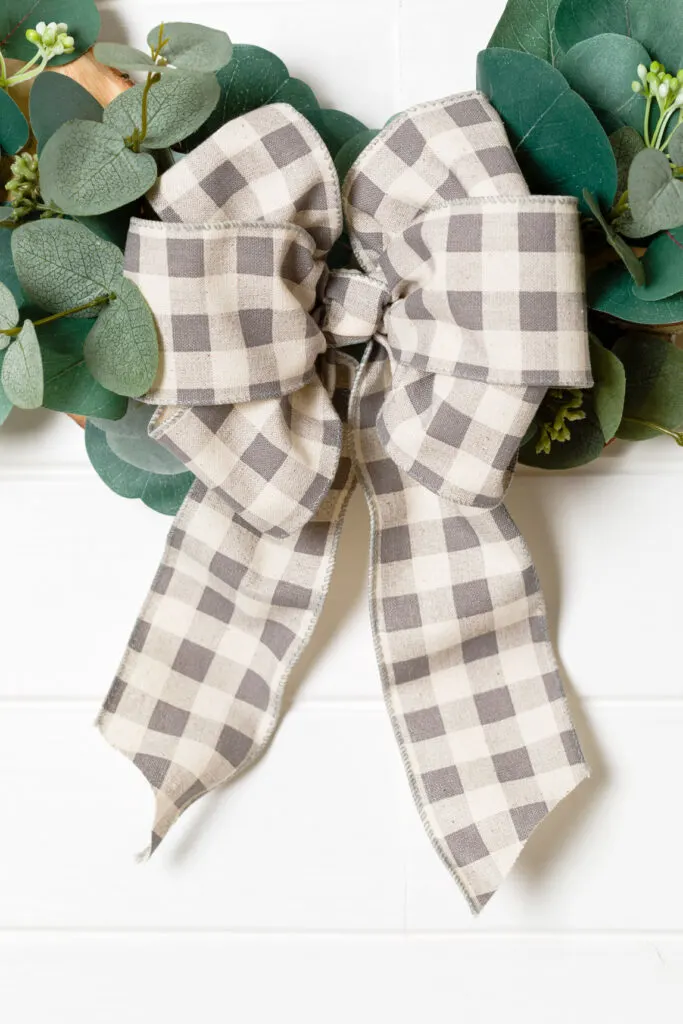

Make a rustic Farmhouse wreath with buffalo plaid ribbon
Making a Bow
Multi Ribbon Bow
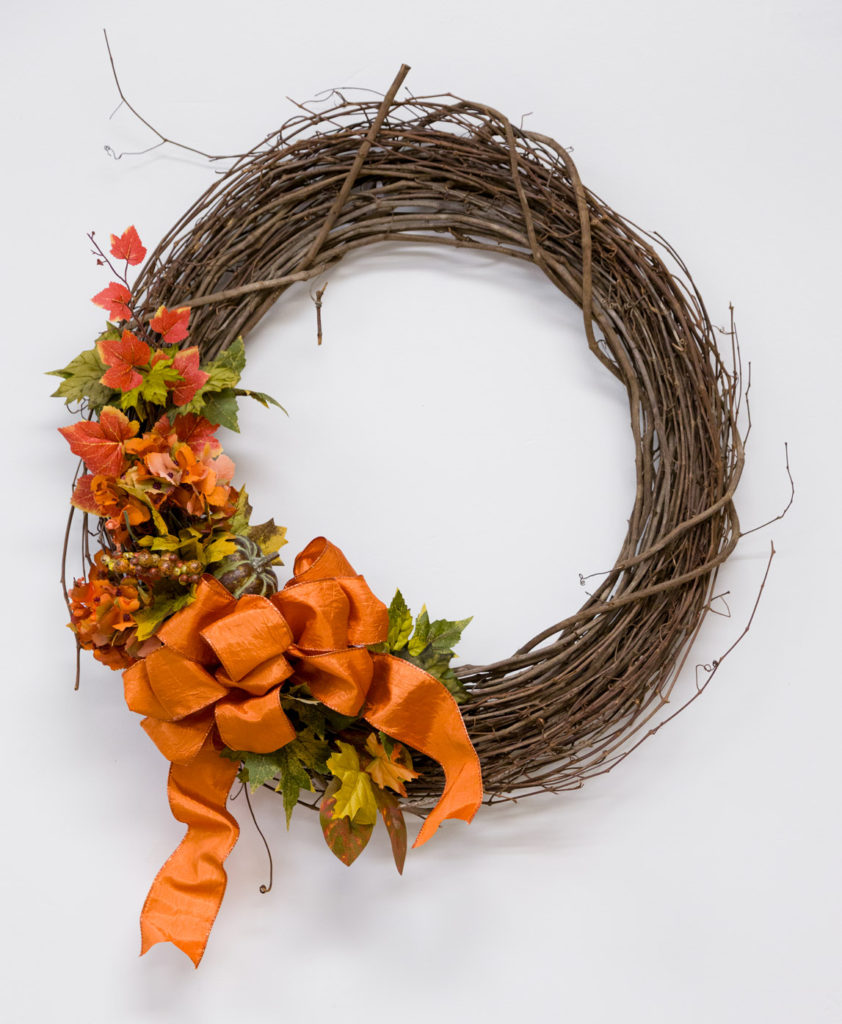
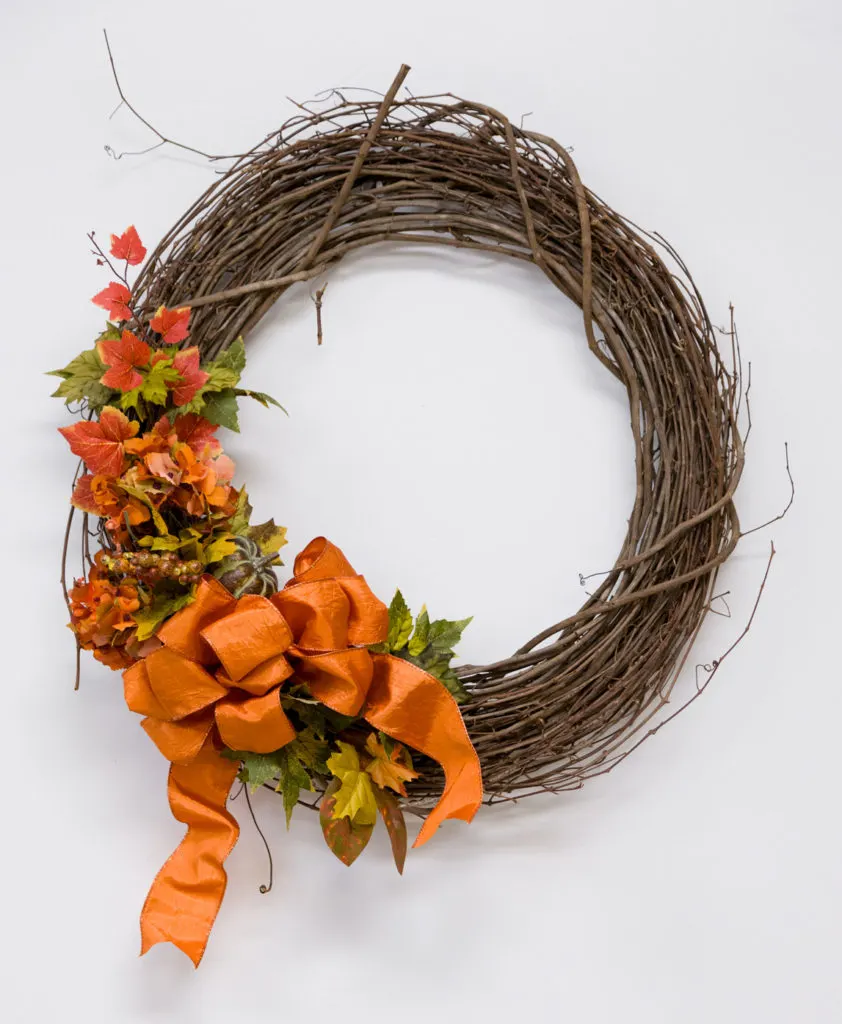
Fall is my favorite time of year, and to celebrate, I like to create a gorgeous new bow for my fall wreath. I shared how I made this multi Ribbon bow in an earlier post. It is an easy bow to make but looks so elegant. This bow is so gorgeous that I had to use it on my Christmas wreath.
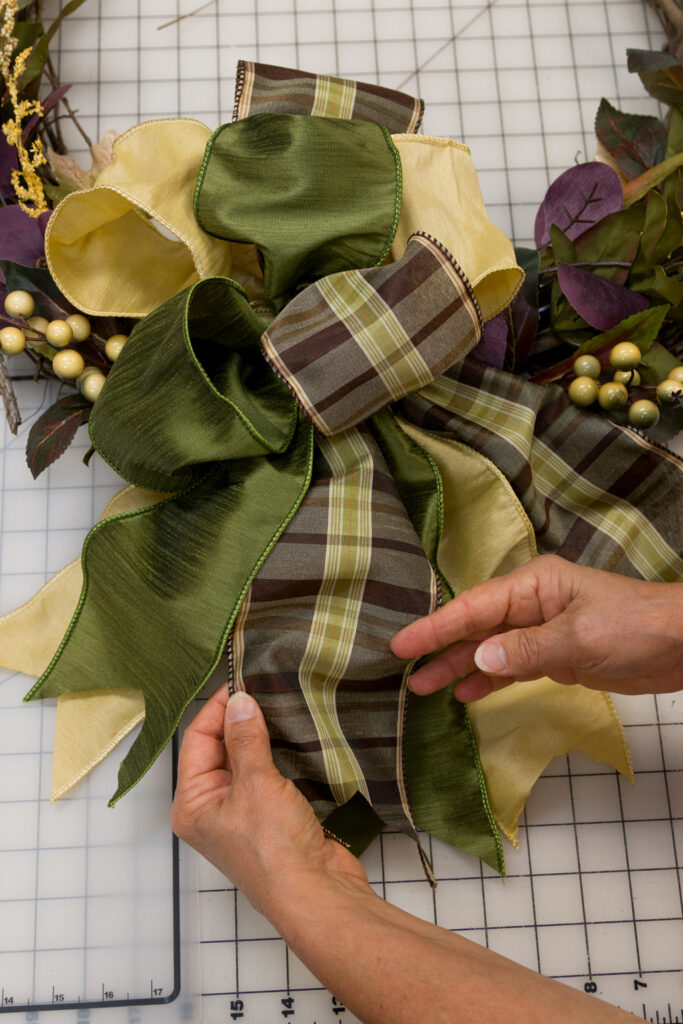

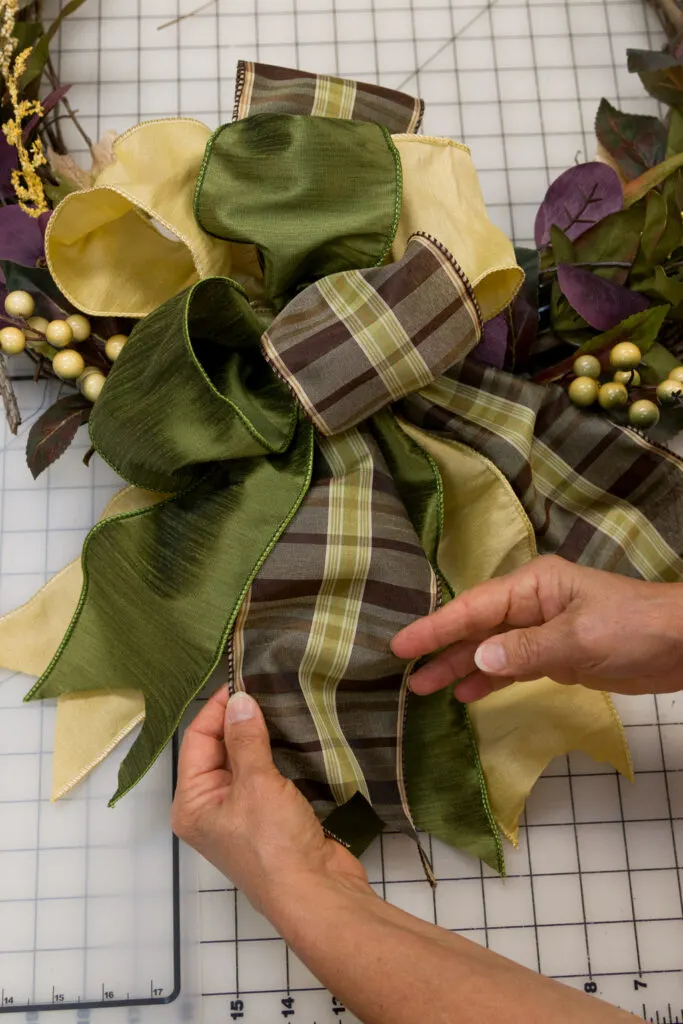

Easy DIY Bow
You know I LOVE Goodwill shirts, pumpkins! So I took it one step further, made a door hanger with a Goodwill shirt, and added this Easy DIY Bow. This two-loop b0w with short tails is just what my door hanger needed.
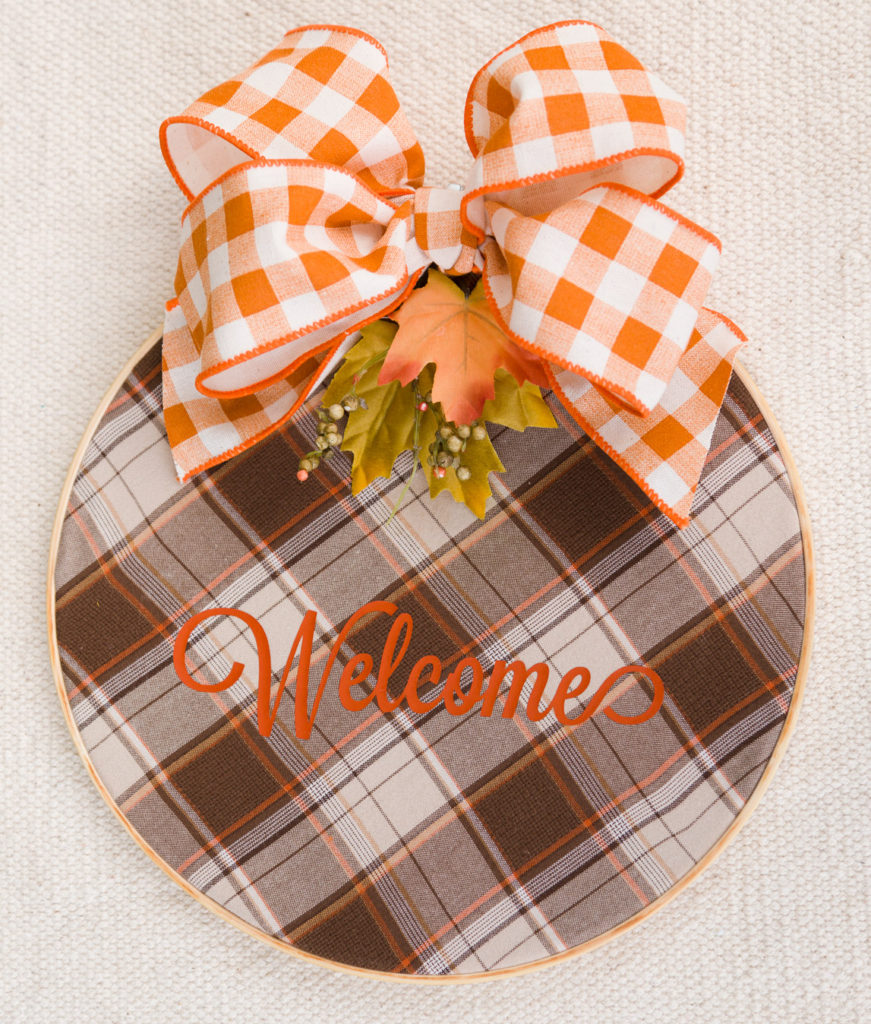

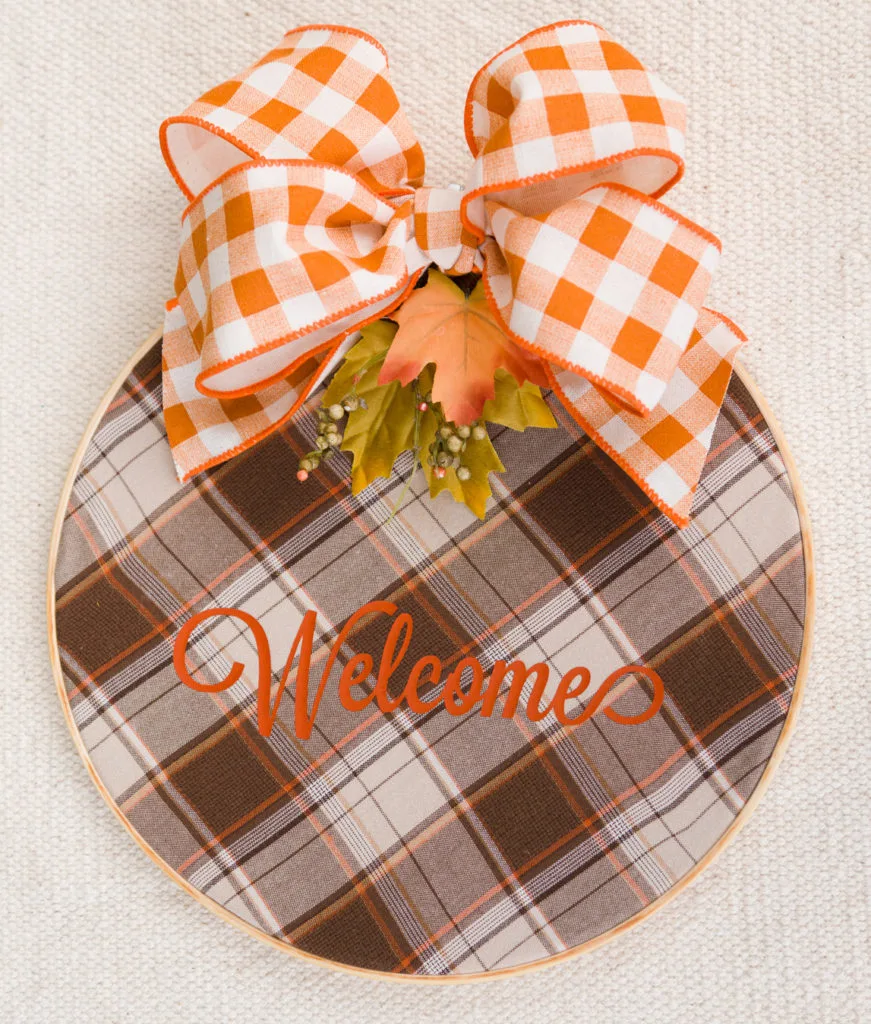

One Ribbon
This one ribbon bow has a center loop, right and left loop (add as many loops as you wish), and tails.


DIY Double Ribbon Bow Step-by-Step
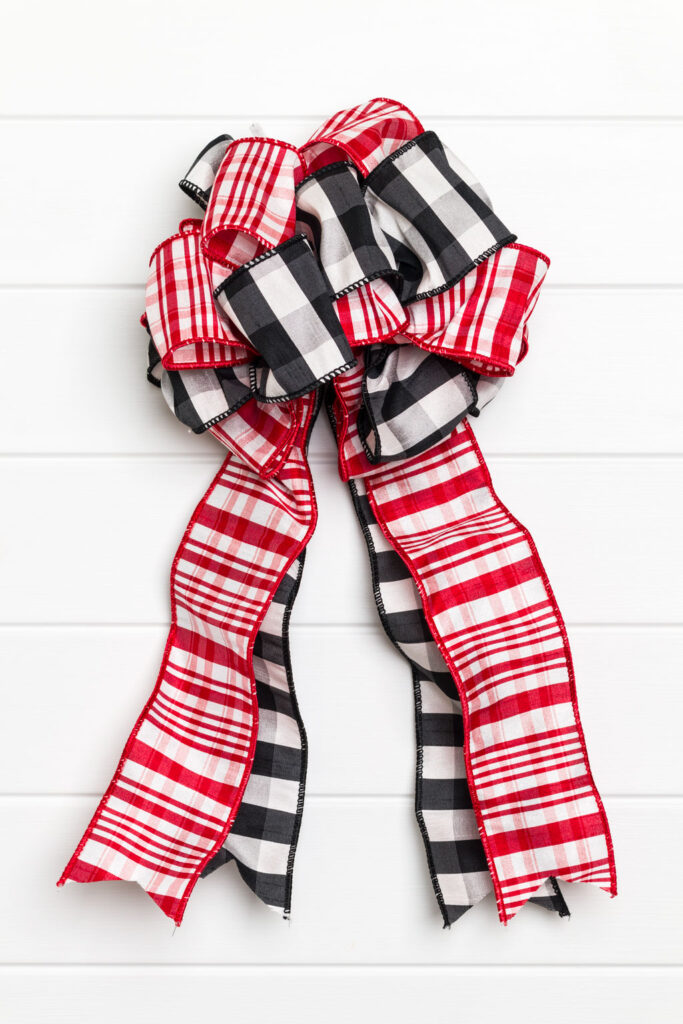
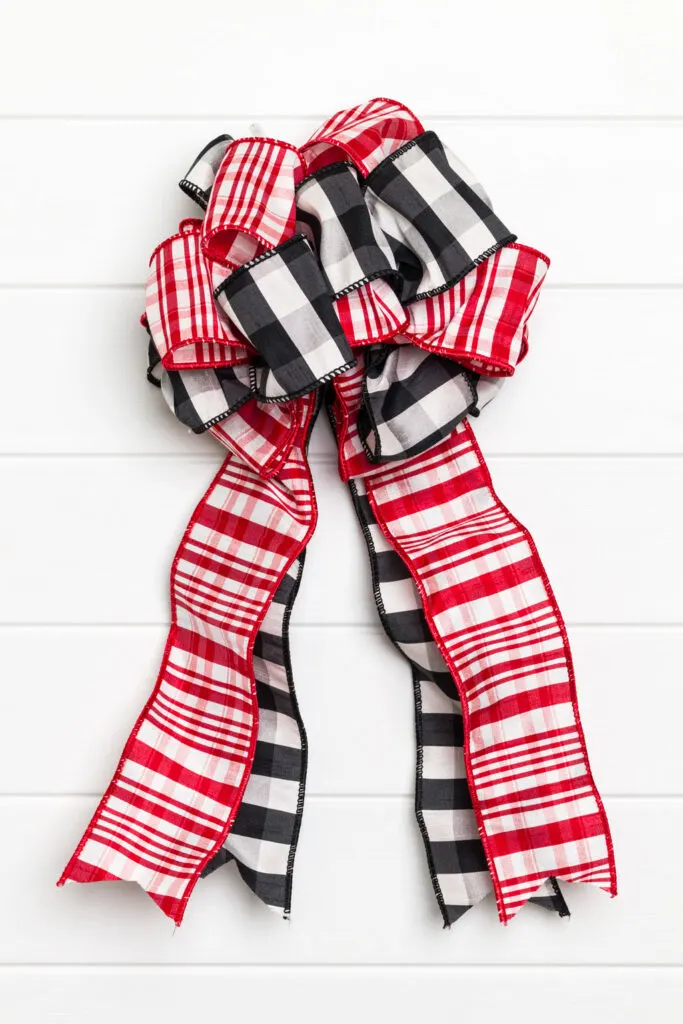
The Double Ribbon Bow is gorgeous and easy to make. See how to make this bow on my YouTube video.
Note: This one makes the perfect Christmas tree topper bow too.


Double Ribbon Bow Supplies
This bow does not require any fancy tools, just a few items you probably have on hand.
- Ribbon (red and white) and (black and white)
- Zip tie
- Scissors
I recommend that you use two different ribbons that are the same width.
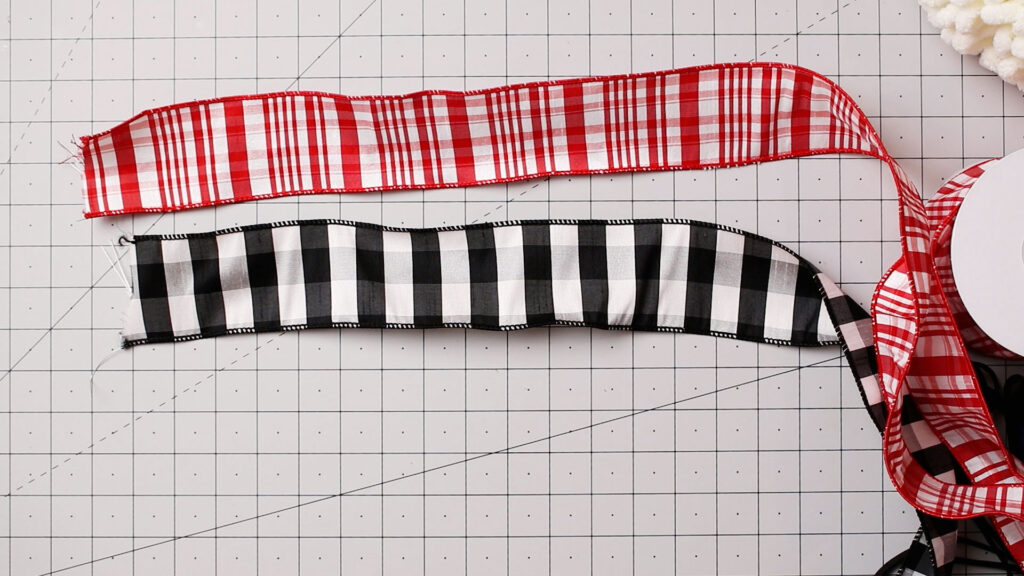

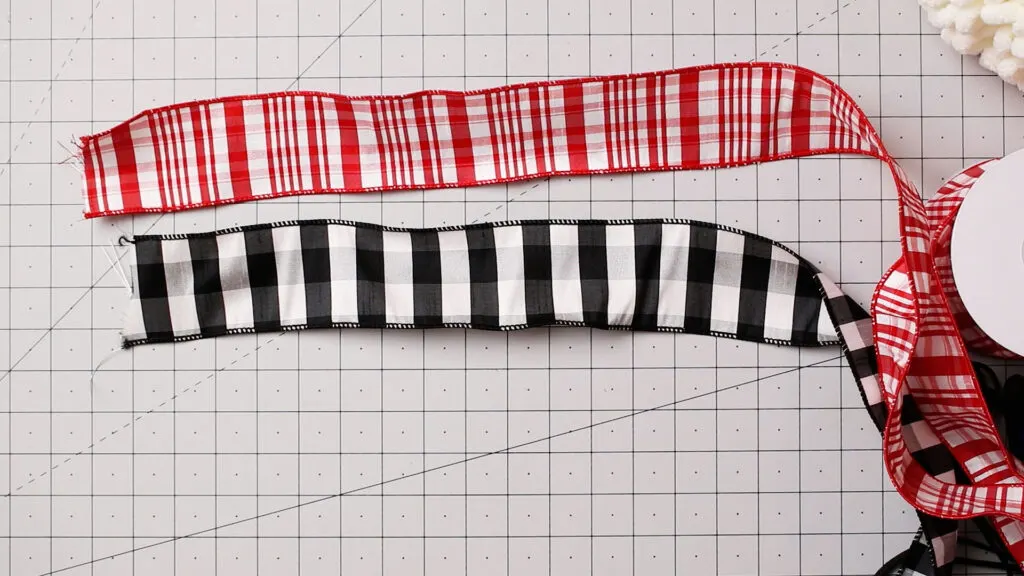

Dupioni Ribbons
Step 1. Place one ribbon on top of the other and treat it as one ribbon. Then, trim off the ends of the ribbon.
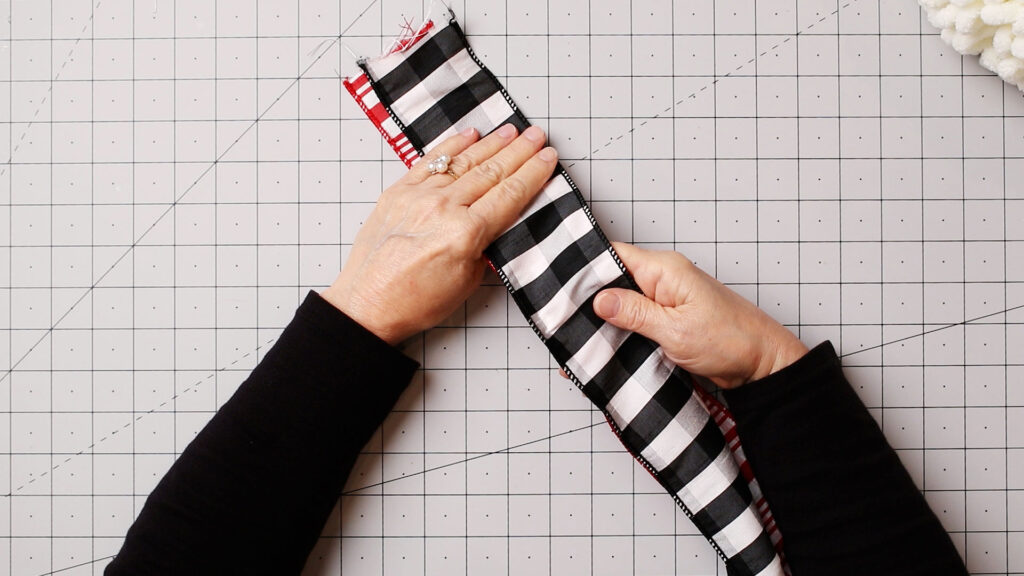

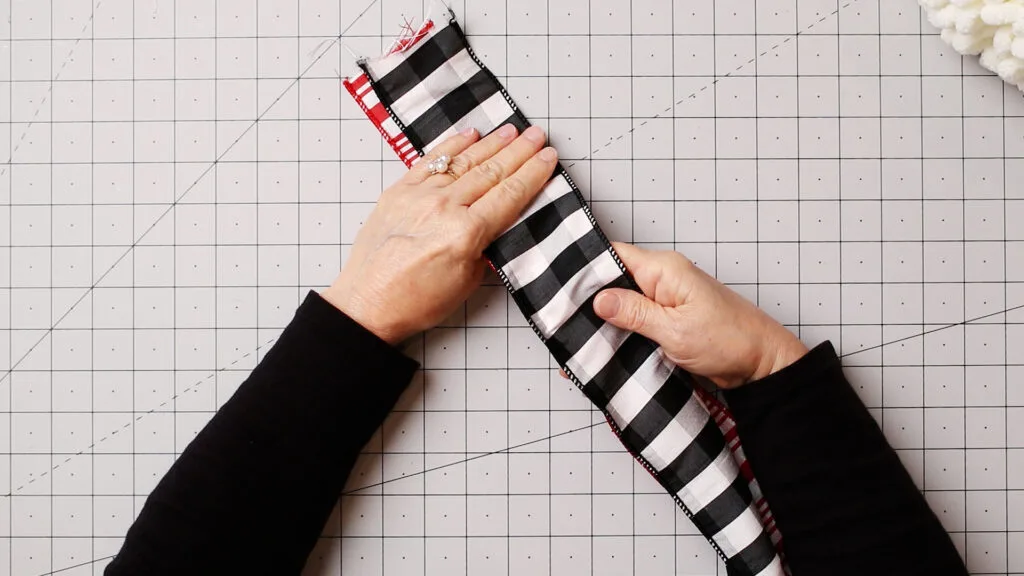

Place the ribbons together
Step 2. Curl the end of the ribbons to form a center loop.
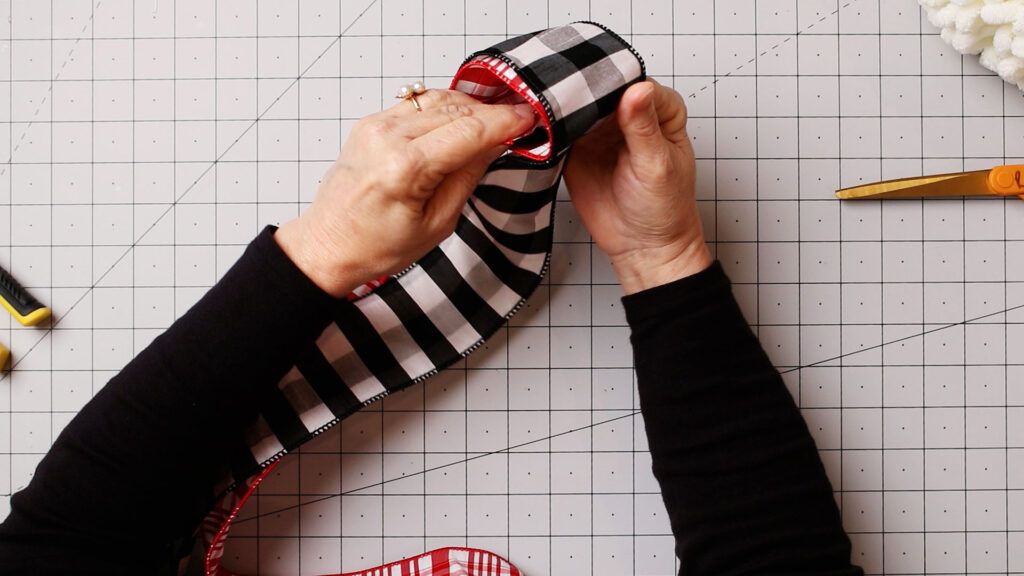

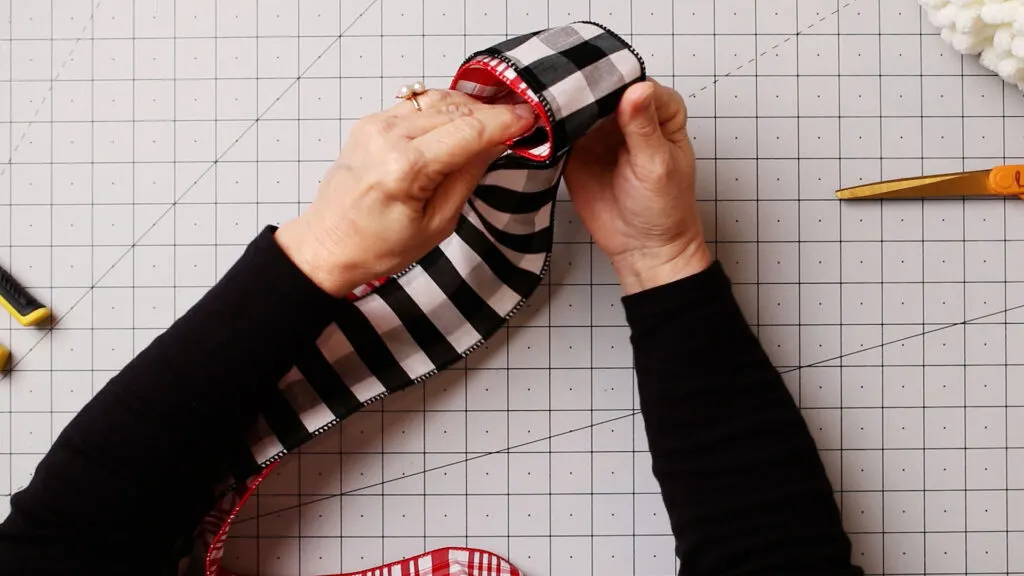

Center loop
Step 3. Next, form the side loops of the bow. If you use a one-sided ribbon, you will need to twist the ribbon for each loop.
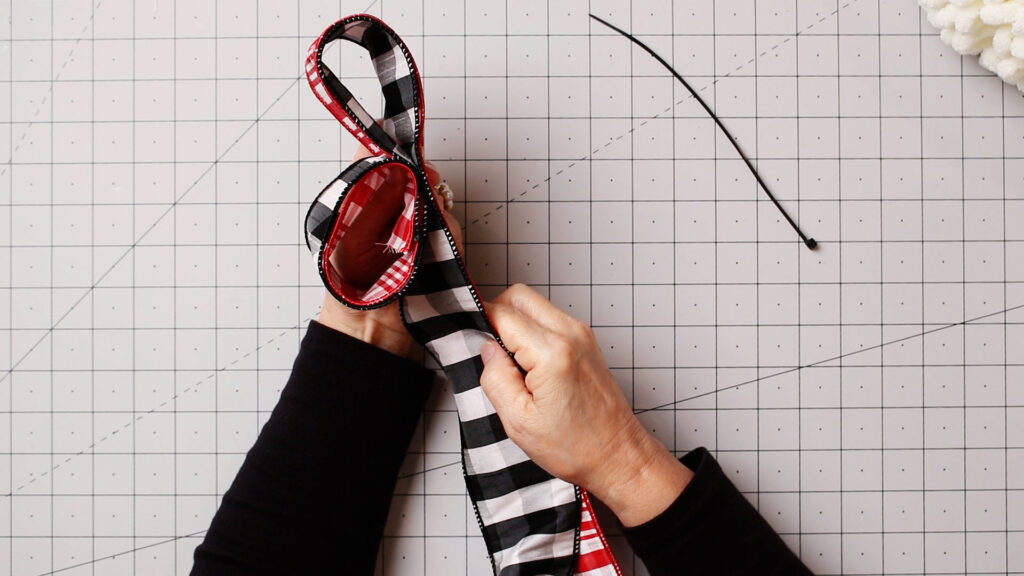

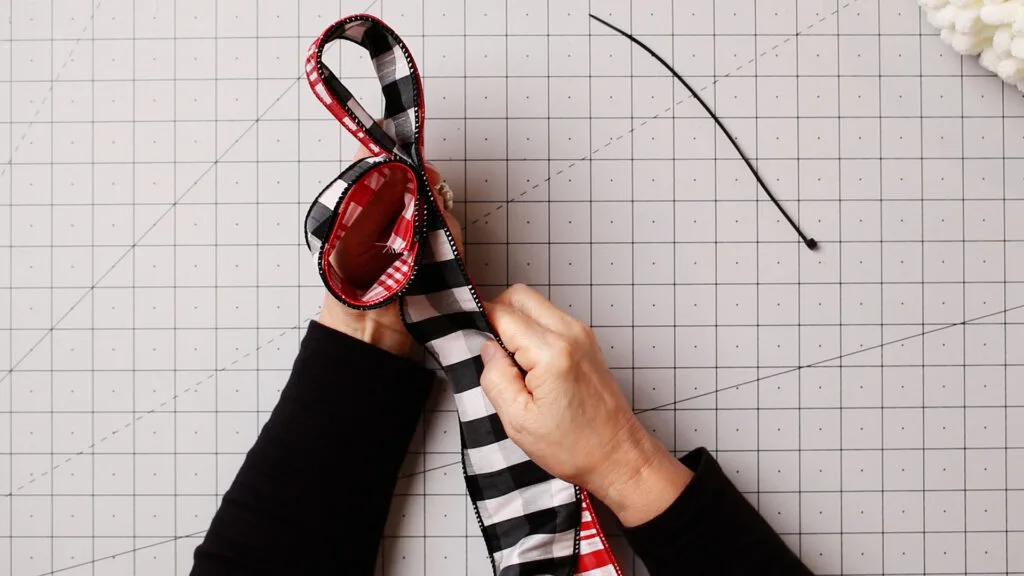

Add side loops
Step 4. Form loops on each side of the center loop, going back and forth as you add the loops.
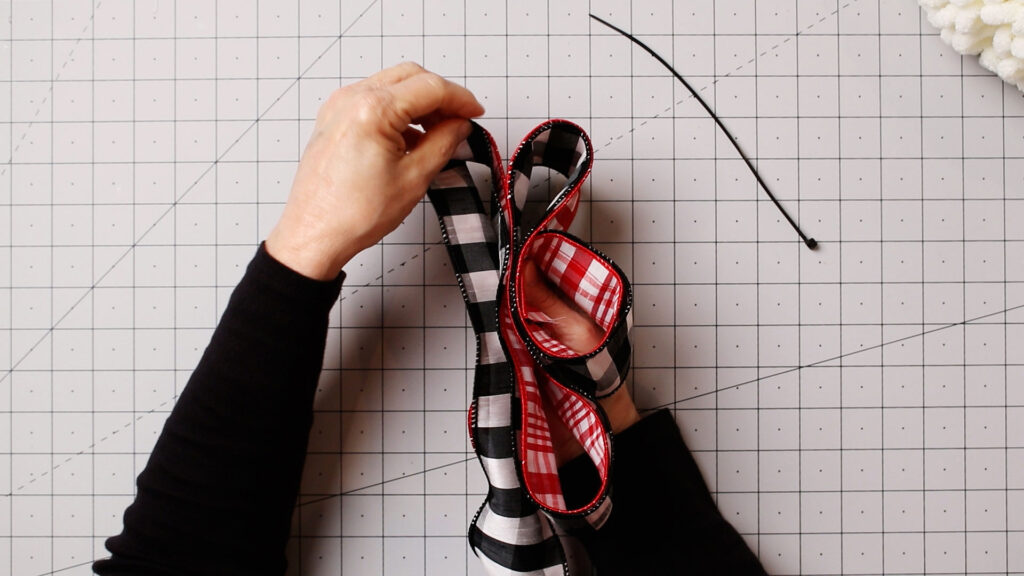

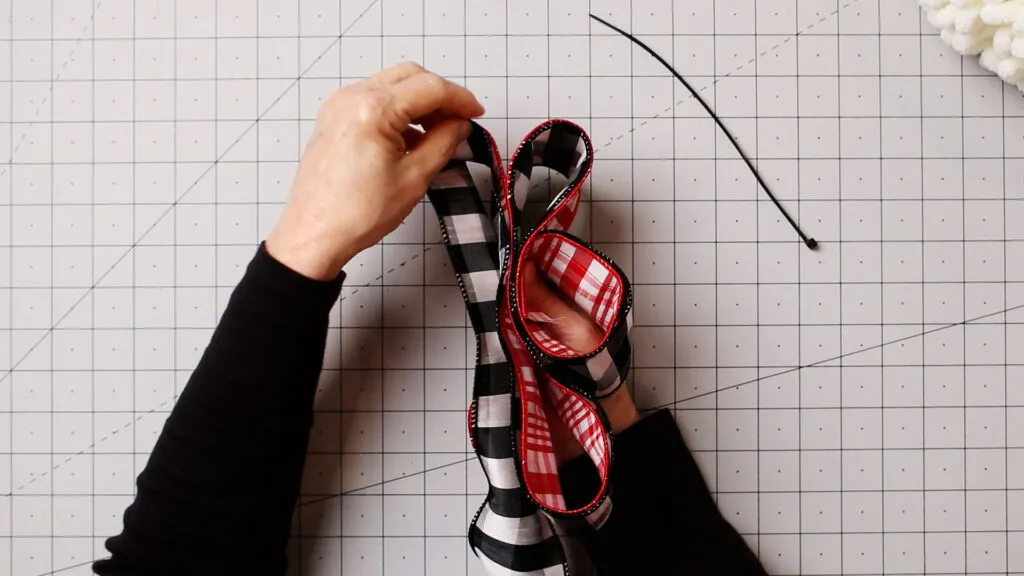

Adding loops
Note: You can choose to make all the side loops the same size or make each set of side loops a little larger. I made a total of four double-side loops and one center loop.
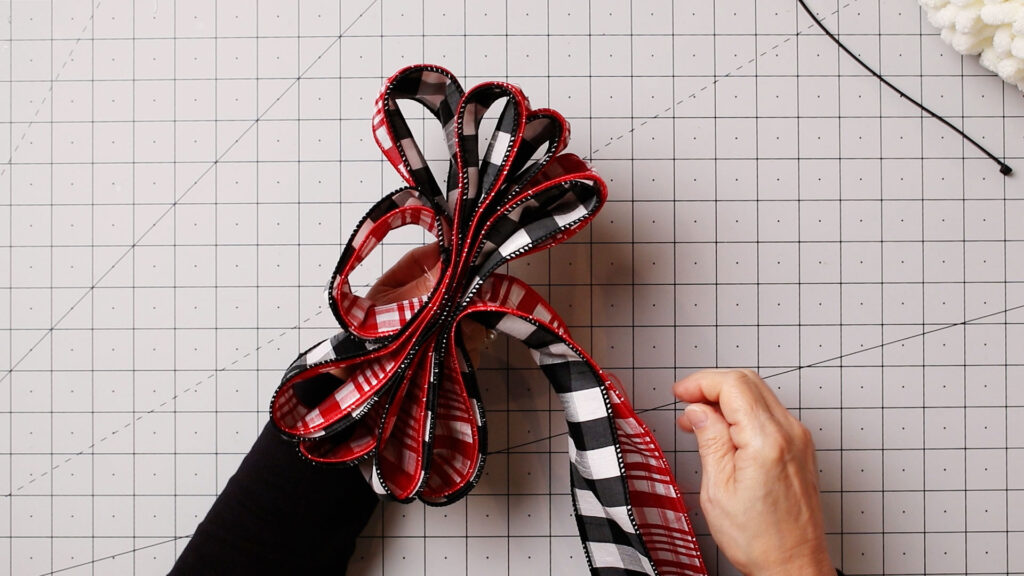

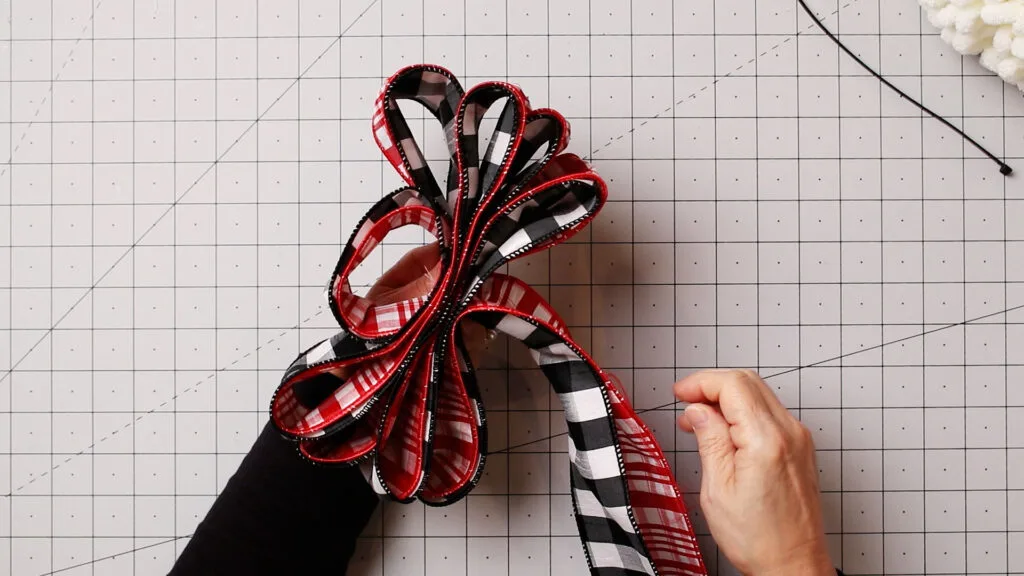

Adding the streamers
Step 5. To form the streamers (tails), I make a giant loop and then cut off the remaining ribbon.
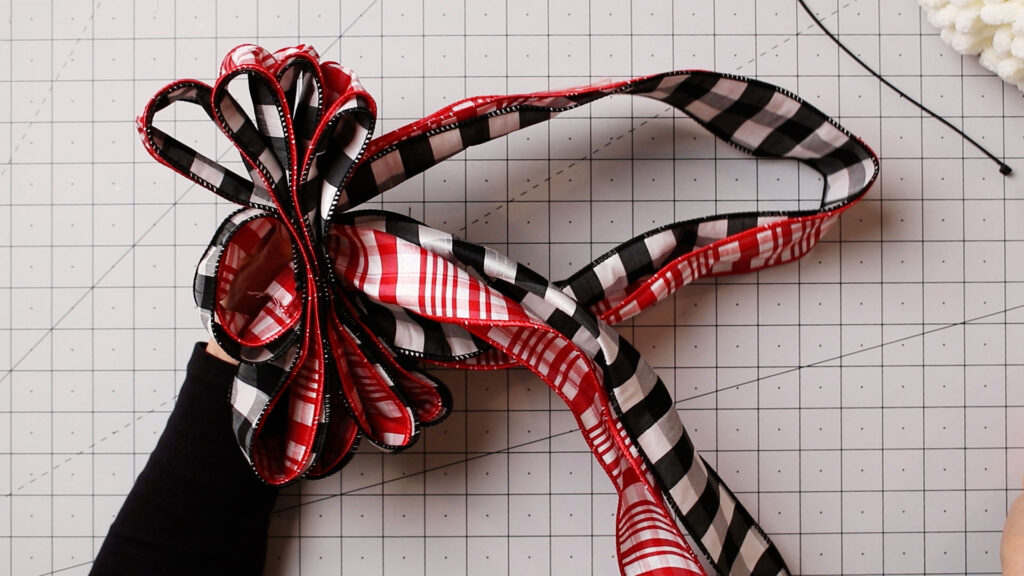

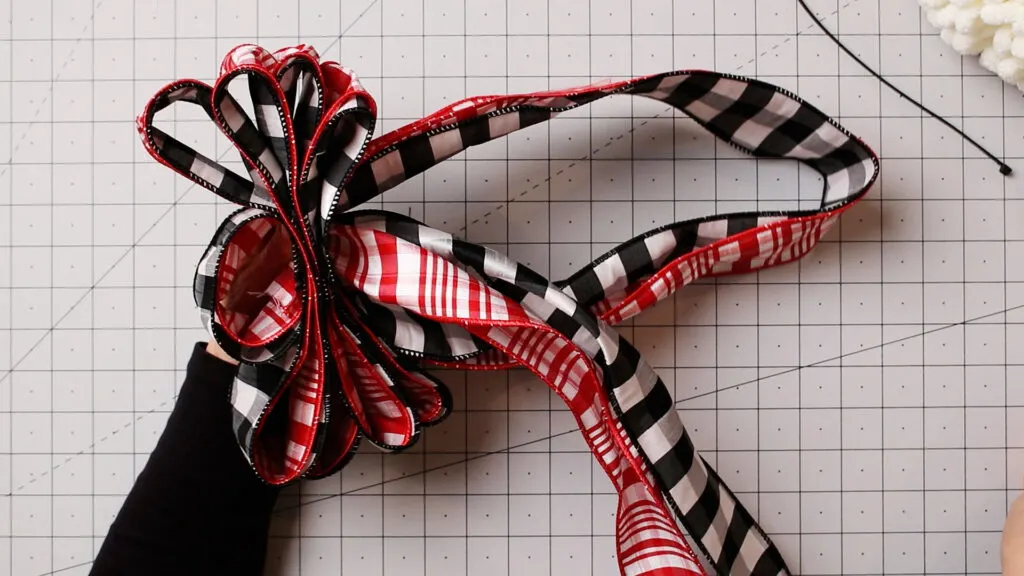

Making a large ribbon loop for the tails
Step 6. Then I pinch the center of all the loops and secure it with a zip tie.
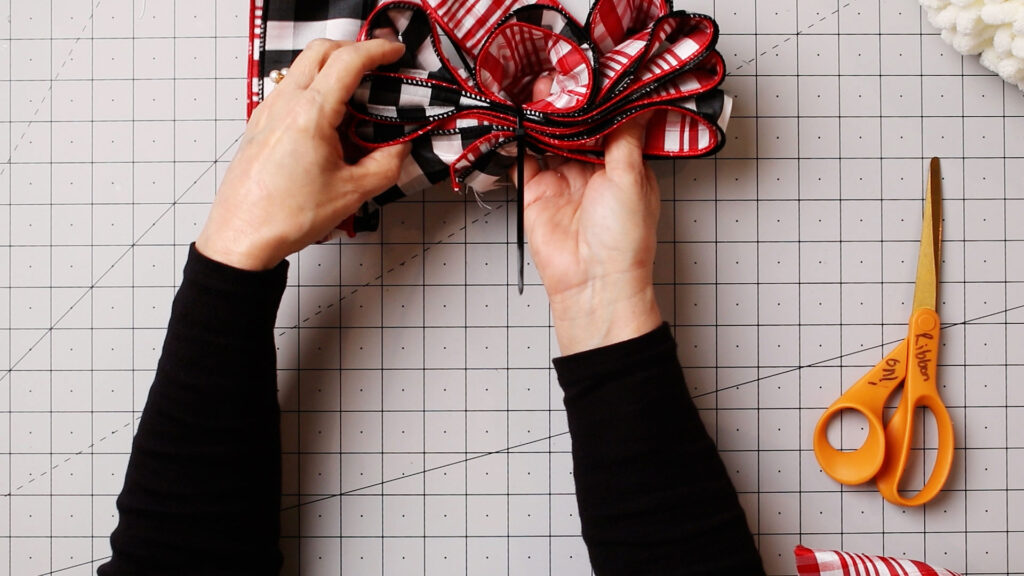

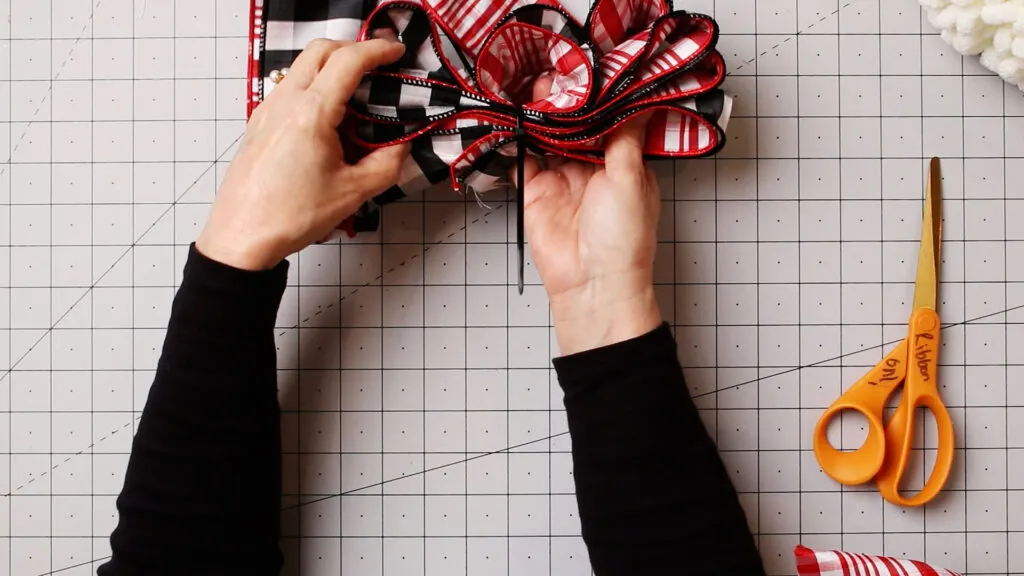

Secure loops with a zip tie
Step 7. The next step is fluffing the bow.
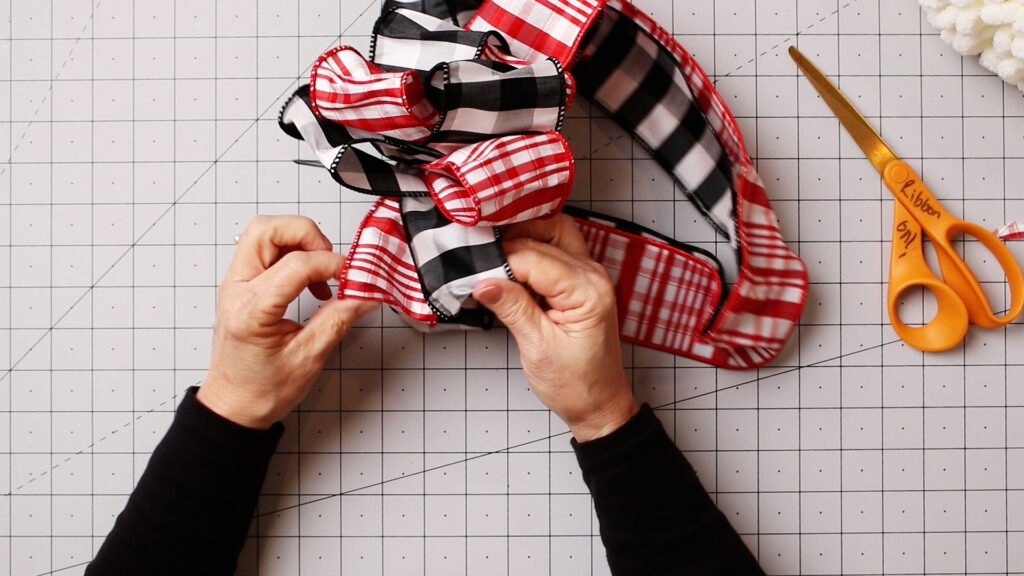

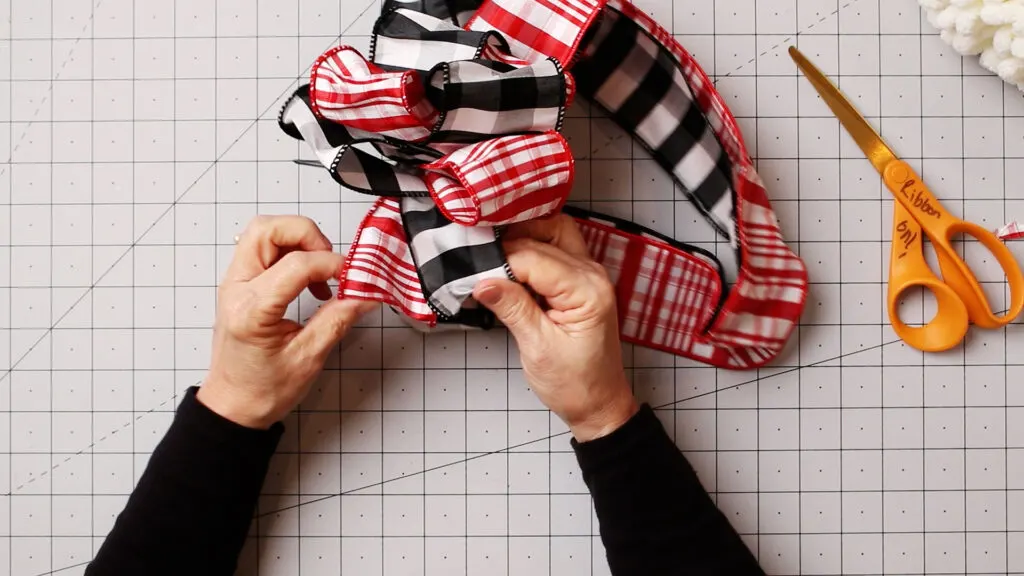

Fluffing
Step 8. To form the chevron, cut ends for the streamers, I fold the stream ribbons in half length-wise and then fold again width-wise too.
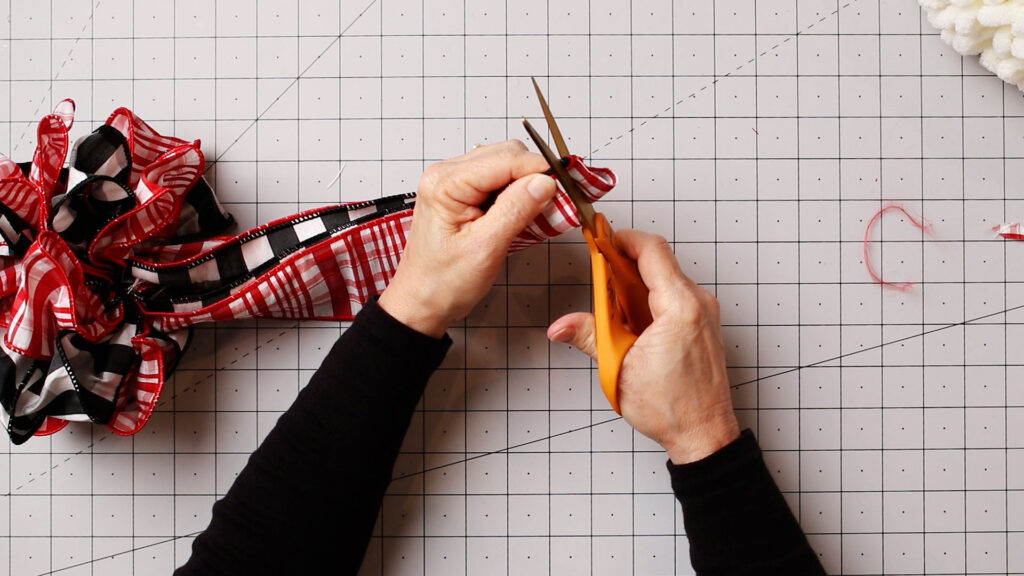

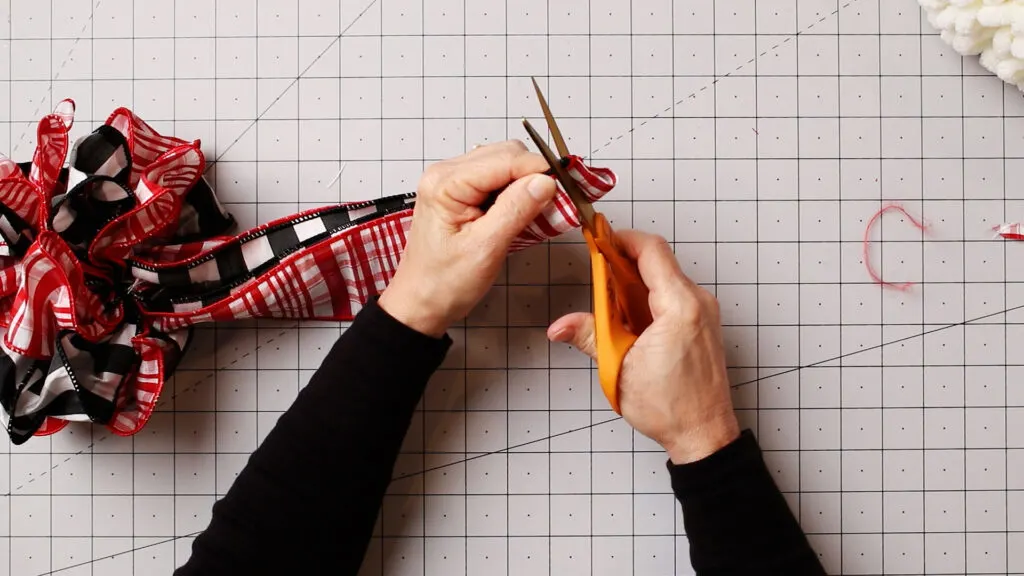

Cutting streamer tails
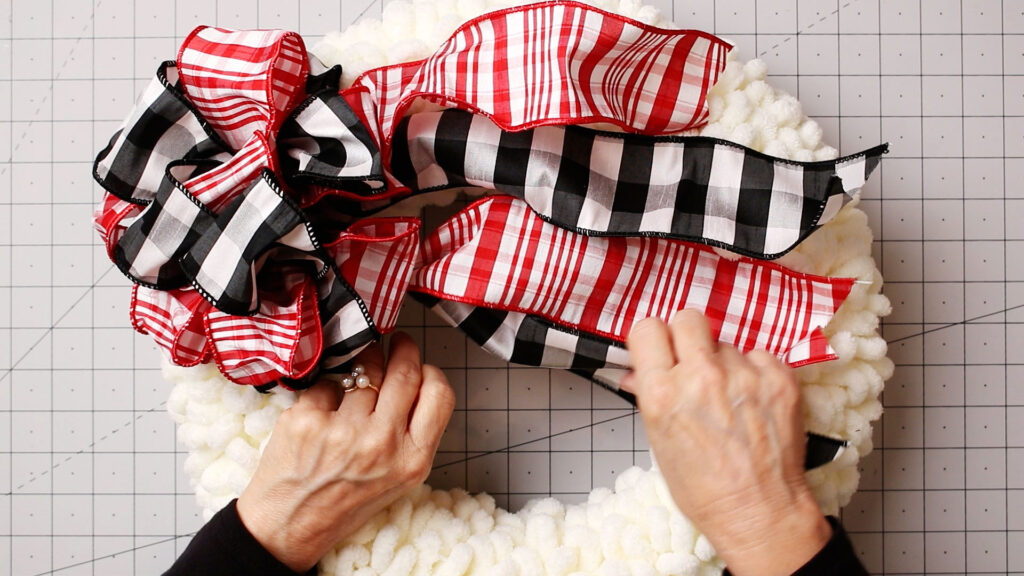

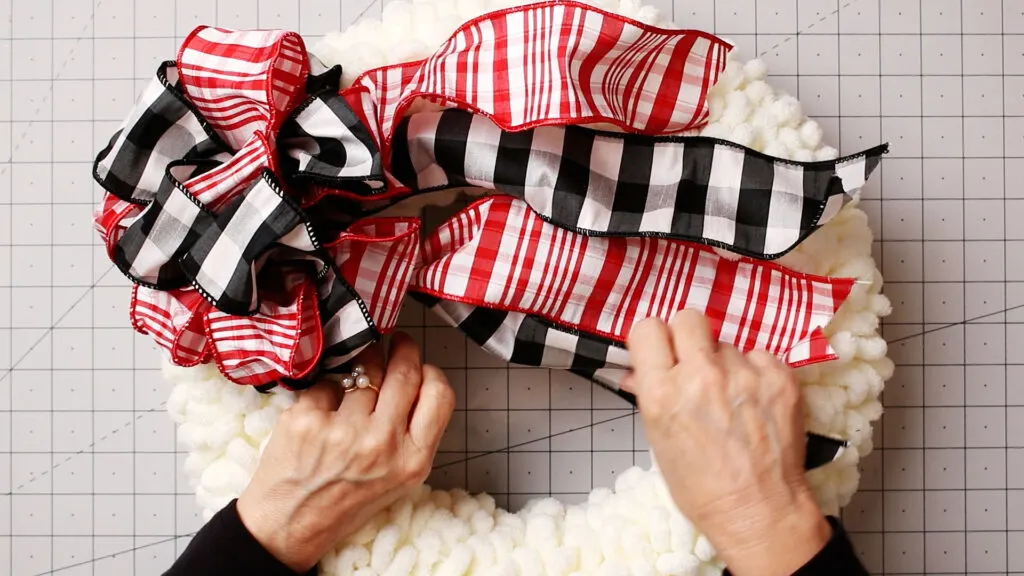

Attaching to the wreath
Rustic Christmas Wreath
You can make this funky bow with up to eight ribbons. It is the perfect way to use up pieces of scrap ribbon. You can see how I made this fun bow in this earlier post.
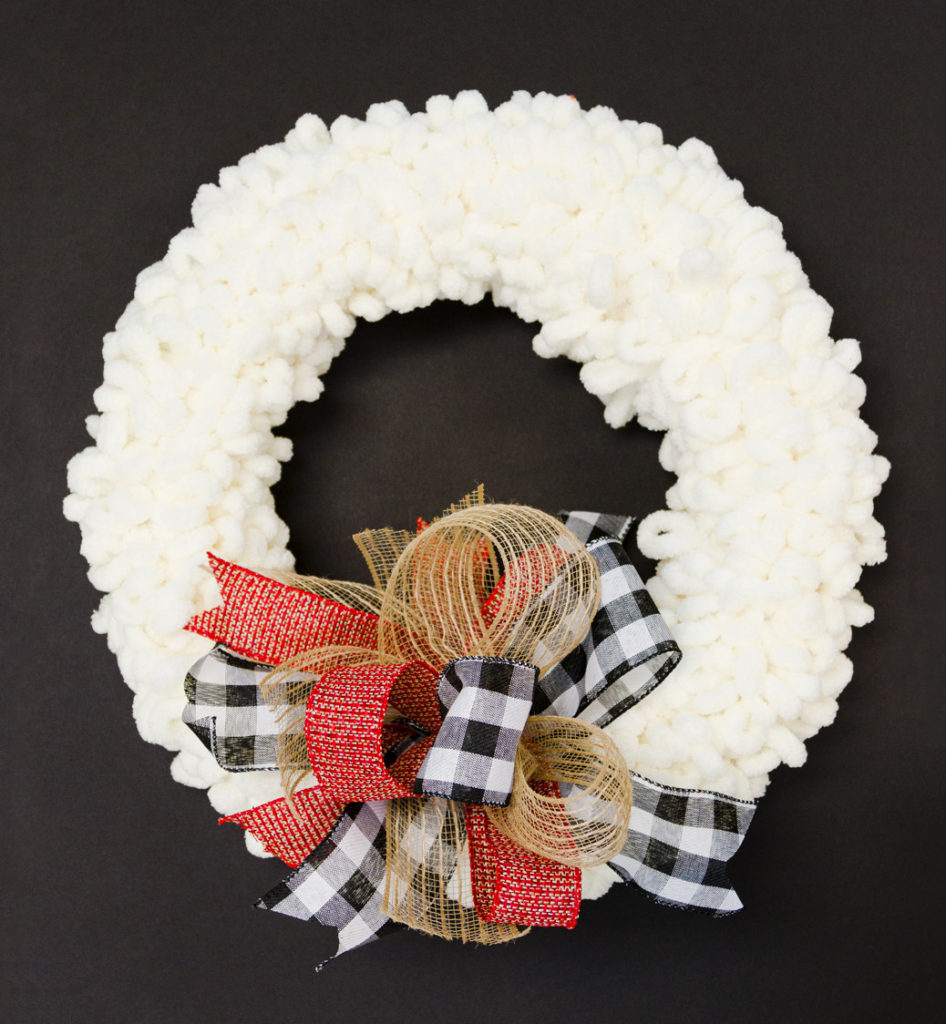

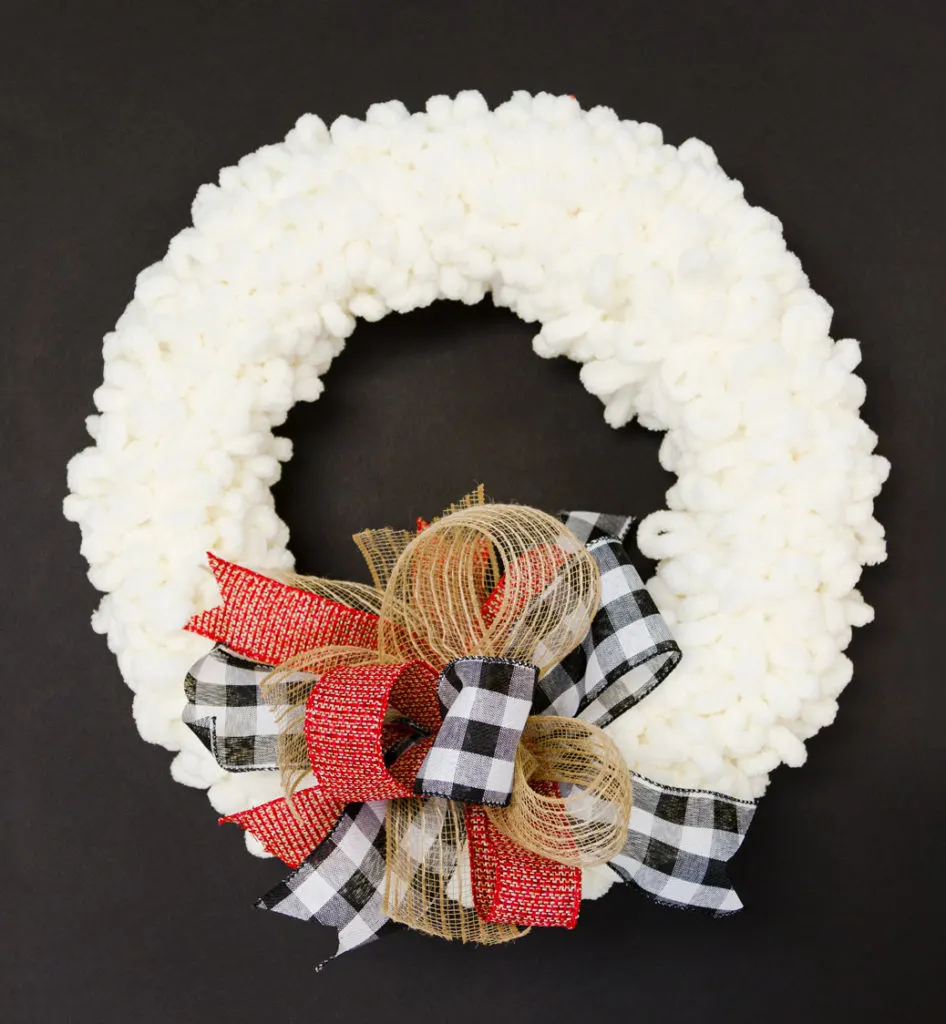

DIY Loopy Wreath
Want a Stress-Free Christmas?
Want to enjoy all the holiday season has to offer but find it overwhelming? Join me for a stress-free holiday season with tons of inspiration and money-saving ideas for decorating, gift-giving, and more. Join HERE! And have the best of everything this holiday.

Emy
Friday 5th of January 2024
Love your easy bow-making guide! For those looking to save money on crafting materials, mentioning popular coupon sites like https://www.emucoupon.com/ in your post could be a great way to help fellow DIY enthusiasts trim costs while enjoying their creative projects.
Lisa
Wednesday 29th of March 2023
Thanks so much for putting this video out, I struggle with bows all the time but doing it this way is so easy and I love the look of it.
Laurie K
Saturday 3rd of December 2022
Thank you for sharing a clear and easy tutorial. I had 2 wreath bows made in about 20 mins!
Blanca Bohne
Tuesday 11th of October 2022
Love your bows and videos. Thank you for sharing.
Gloria Kinard
Friday 5th of November 2021
what brand and size wire snips are you using
Saturday 19th of November 2022
@Gloria Kinard,