Spring is a time of new beginnings; for this reason, as soon as the temperatures start to warm up, I create new projects such as DIY crafts, gardening, and cooking. I had a stack of pallets, so I decided to make a pallet wood project; also, I wanted it to be an easy project. I know how much fun my pallet bunny has brought my spring and Easter decor, so I tried to make some to share.
A DIY standing bunny from pallet wood would be a fun DIY Easter project. Therefore I made a pattern from the bunny I made last year. These standing bunnies are perfect to greet my family and guests. I know these will make someone else happy too.

Wooden Easter Bunnies are the perfect Easter pallet woodcraft project.
This Easter bunny decoration project only takes a few minutes to build from the reclaimed pallet wood, however, taking apart the pallet does add another 10 minutes to the overall time.
This post contains affiliate links. That means that if you purchase from one of these links, I will make a small commission. However, you can rest assured you will not pay more for any products.
How to Build a DIY Standing Easter Bunny
Supplies and Tools:
- Reclaimed pallet
- Pattern (download here)
- Wood glue
- 1/2 staples
- Battens (cut from a scrap 2 x 4)
- 10″ base (cut from a scrap 2 x 4)
- Drill
- Drill bit (countersink)
- Stapler
- Band saw
- Sandpaper
- Chalk paint
- Chalk paintbrush
- Wood pencil
- Measuring tape
***For your convenience I have gathered all my favorite spring crafting must-haves HERE.
After gathering your supplies and tools, you can start building your Easter bunny decoration.
First, you have to deconstruct some pallets. You can see how we did that here.


Reclaimed wood pallets
Bunny Pattern
Assembling the bunny is especially easy if you set up a table since you need a flat surface to lay out the pallet wood. I used boards placed over a sawhorse as my work surface.
Also, I made a video about making the easy pallet bunny; you can see it here.


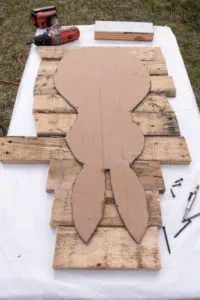

Reclaimed pallet wood
I am using the bunny pattern/template to determine where to place the smaller and larger pieces with attention to the bunny pattern placement.


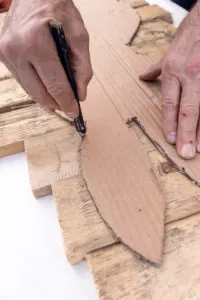

Tracing the bunny pattern on the wood
Once I traced the bunny pattern on the wrong side of the pallet wood, I used applied wood glue between the boards.
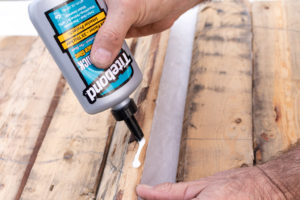

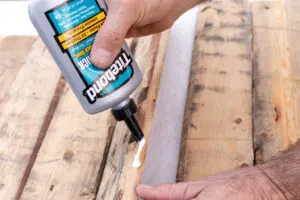

Gluing the boards together
Support Battens
Using a piece of scrap 2 x 4, I ripped them to make the support battens.
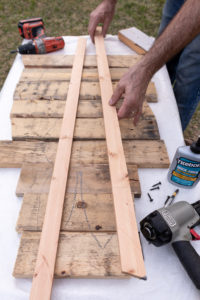


Adding battens to back of bunny wood
I determine the batten placement by placing them over the traced DIY pallet bunny (pieced of scrap wood) from the bunny’s bottom to above the ears’ tip.
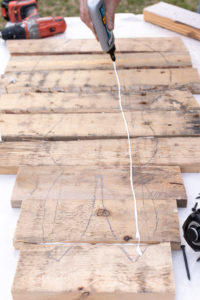

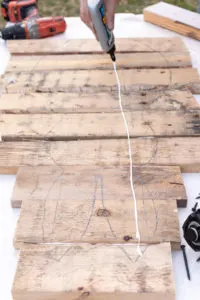

Adding glue
The batten wood gives the bunny support, so adding them is very important to allow the bunny to stand up straight. Using wood glue in the area where the battens will be attached coupled with stapling and adding two screws will keep your Easter bunny decoration in a straight standing position for years. Moreover, if you are placing your bunny outside, be sure to use waterproof wood glue.
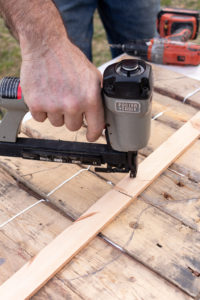

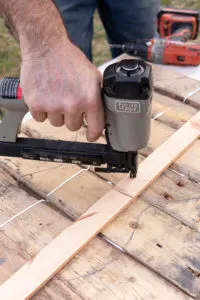

Stapling the battens
Staple the battens in place, particularly careful not to place any over the cut lines. I like to trace the ear cut lines over the battens before taking them to the saw.
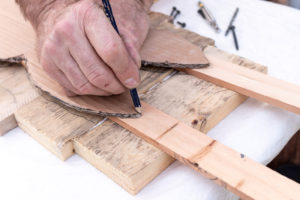

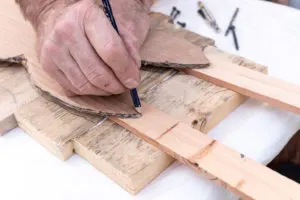

Marking the bunny ears
For extra support, I add two wood screws on both battens into the bottom board coupled with the staples and wood glue; this forms a stable wood bunny.


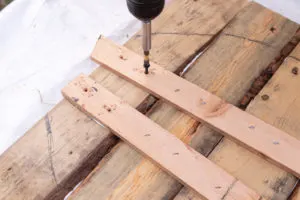

Add screws
Next is cutting it out with a band saw; as a rule, I wear eye protection when operating woodworking tools.
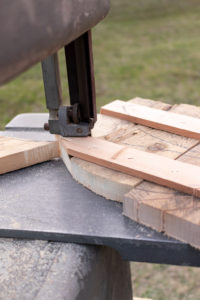

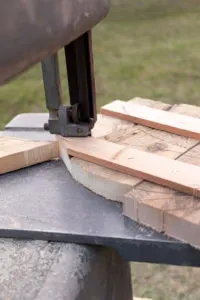

Cut out the bunny
Note: I gathered up all the wood scraps; as a result, I have enough for another scrap wood project, such as Easter eggs.
Bunny Stand
Then I used a scrap wood 2 x 4 cut to 10″ for the bunny’s bottom or base; then, I marked the screw placement. To begin with, I drilled countersink holes for the screws.
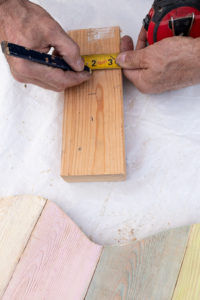


Marking the stand block
Note: It is easier to paint the bunny before adding the stand.
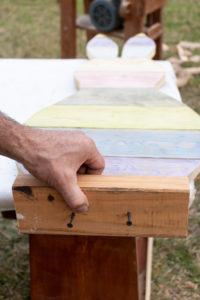

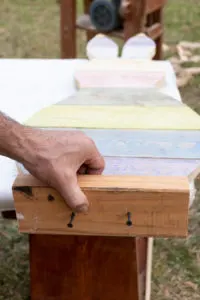

Attach stand
The next step is to add the two wood screws into the base.
Finishing the Pallet Bunnies with Chalk Paint
How you finish your bunnies depends on if you want to leave it rustic and unfinished or sanded a little and chalk painted. Another equally important question is will your bunny be outside and possibly get wet?
If you use your bunny inside, you will not need a water-protective finish. However, if you will be using the bunny outside, you would need to use this type of water protective finish to protect the wood.


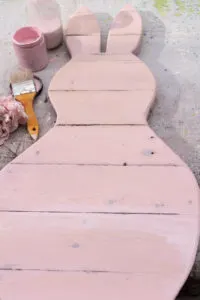

Chalk painted bunny


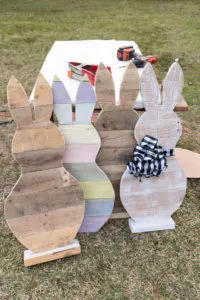

wood bunnies
Easy pallet projects are fun to do together. Kids can join you for this scrap wood DIY craft by allowing them to trace the bunny pattern, paint, make the bow, and decorate them. See how to make easy bows here.


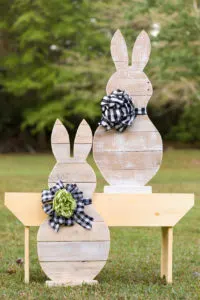

Wood Easter Bunnies
These easy DIY home decor projects are inexpensive beginner woodworking projects anyone can build. The one-board-bench the bunny is standing on is another one of my easy woodworking projects for beginners.


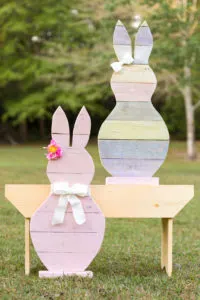

Painted wood bunnies
More DIY Craft ideas for reclaimed wood:
A farmhouse vintage toolbox inspired this adorable scrap wood project. Also, you can use this wooden tote all year for storage and home decor.
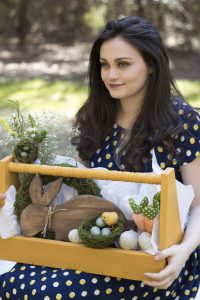

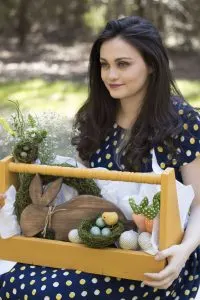

Wooden Tote for Easter
You might also like to build some Pallet Pumpkins together with the bunny project.
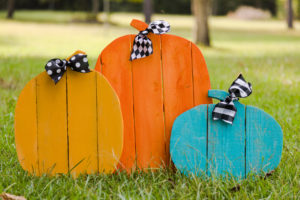


rustic pallet pumpkins
Chalk-painted wood signs for both spring and Easter.
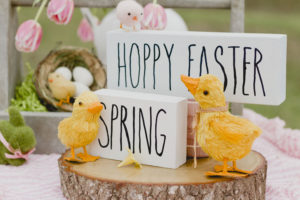

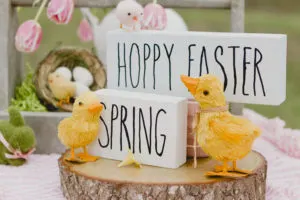

Spring Block Signs
More Easter Inspired DIY Crafts and recipes:
Up-cycle an old screen door or scrap wood to make a chalkboard, making it almost a “free” craft project. Moreover, you will find a simple DIY bird nest and DIY candle holders up-cycled as display stands.
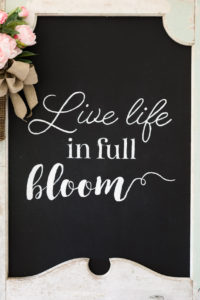

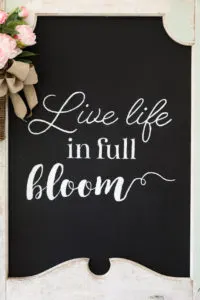

Spring Chalkboard Sign
Thank you for your visit today. I enjoy hearing from my readers, so please leave a hello in the comments below.
Happy and Healthy Spring,
Kippi

Jim
Saturday 2nd of March 2024
My printer would not print the bunny pattern you sent me. Any ideas?
Sara
Monday 20th of February 2023
Adorable! Love the soft colours you chose! Whenever I think of Easter, these are the exact colours that come to mind!
Friday 18th of February 2022
Thank you for sharing this beautiful project love love it will be looking for more beautiful things you share with us Alicia
patrick A ohern
Thursday 10th of February 2022
love the bunny project \
Patrick
Saturday 29th of January 2022
Great holiday woodworking project. Can’t wait to try this one.