Every year I add something new to outdoor decorations; I am adding DIY Halloween Lanterns. I am sure they will delight our Trick or Treaters.
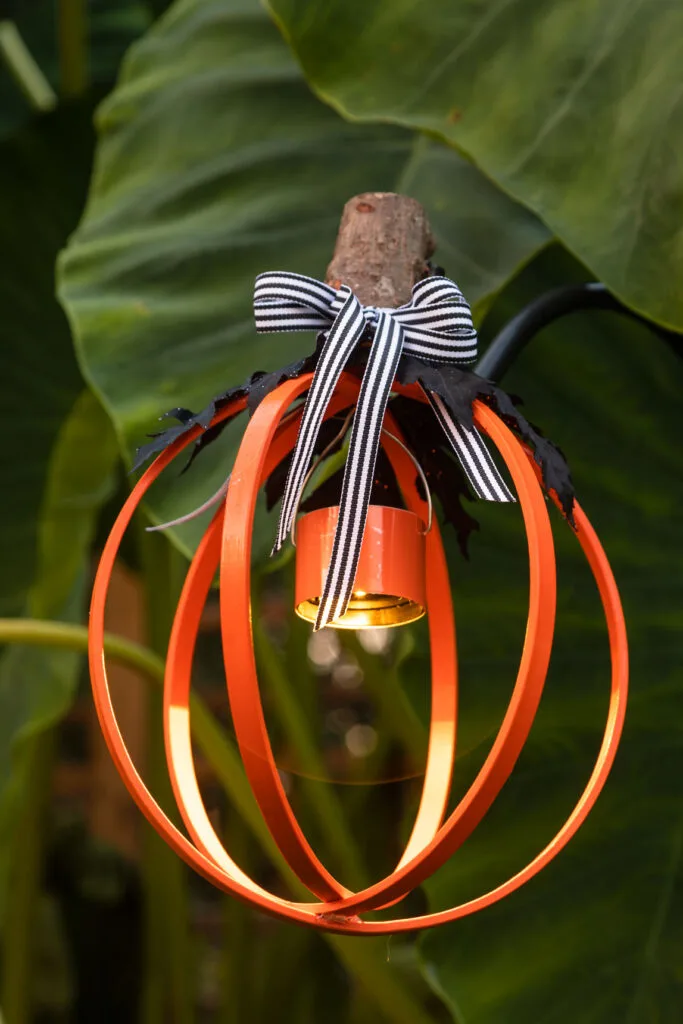
Halloween Lantern
I have added some other fantastic Halloween DIY ideas at the end of this DIY. I am sure you will find some amazing inspiration.
How to Make Halloween Lanterns
This adorable Halloween lantern was easy and inexpensive to create. I used ordinary ideas to make a one-of-a-kind pumpkin lantern.
This post may contain affiliate links. That means that if you purchase from one of these links, I will make a small commission.
Halloween Lantern Supplies
***Before making the lantern I recommend you watch the how-to video.
- Embroidery Hoops
- Spray paint
- Solar light
- Wire
- Wire cutters
- Vinyl
- Craft knife
- Ruler
- Tape
- Scissors
- Leaves
- Hot glue
- Ribbon
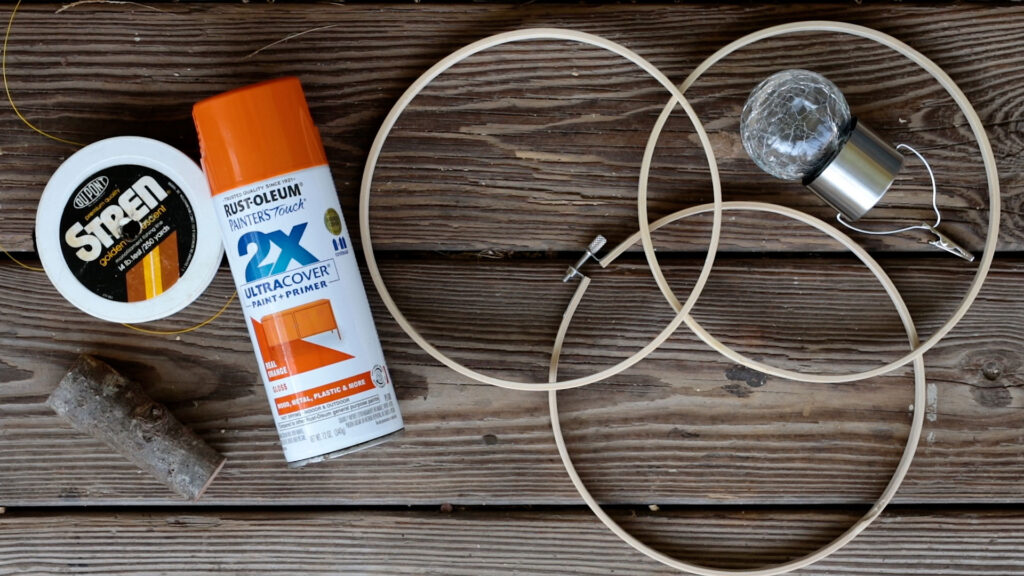

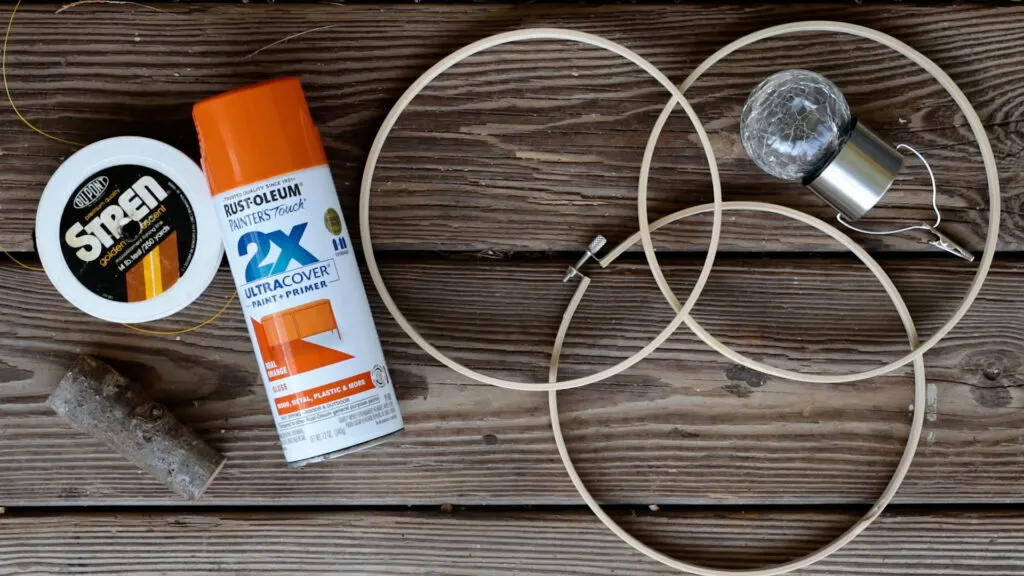

Halloween lantern supplies
Painting Embroidery Hoops
I wanted to spray paint my embroidery hoops so I tied some twine between two shepherds’ hooks.
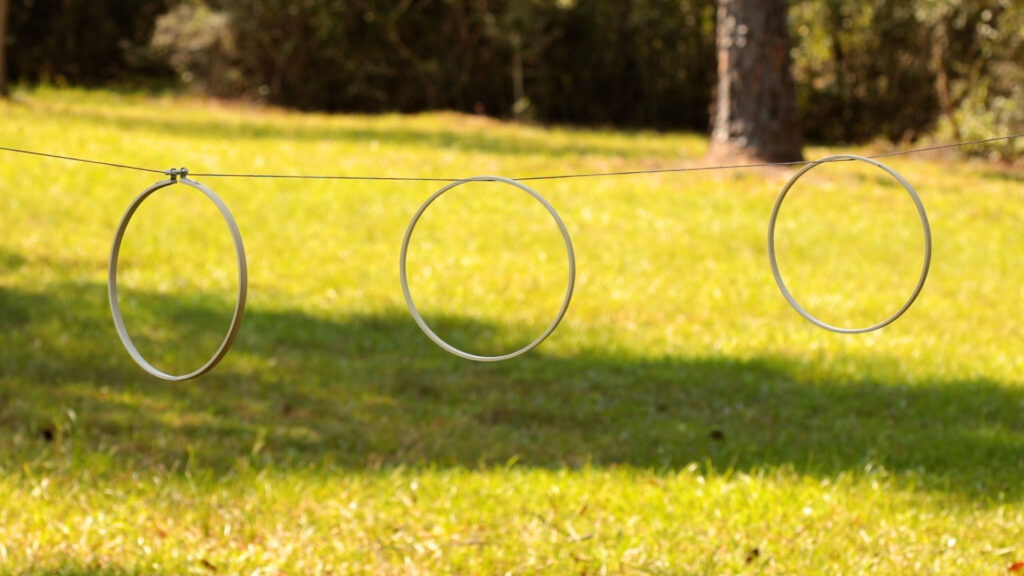


Embroidery hoops ready to be painted
I have to confess I had a great time painting the hanging hoops.


Painting embroidery hoops
Assembling Lantern
After the painted dried I gathered all my supplies to create Halloween lanterns.
Next, I removed the screw from the outer embroidery hoop.


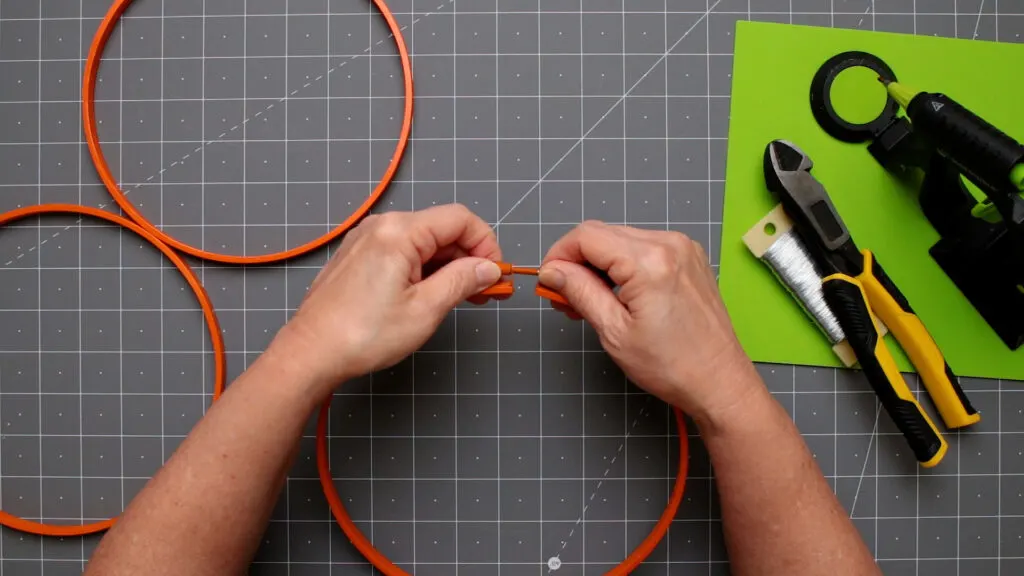

Remove the screw
Place one of the inner embroidery hoops inside the other one and center them.
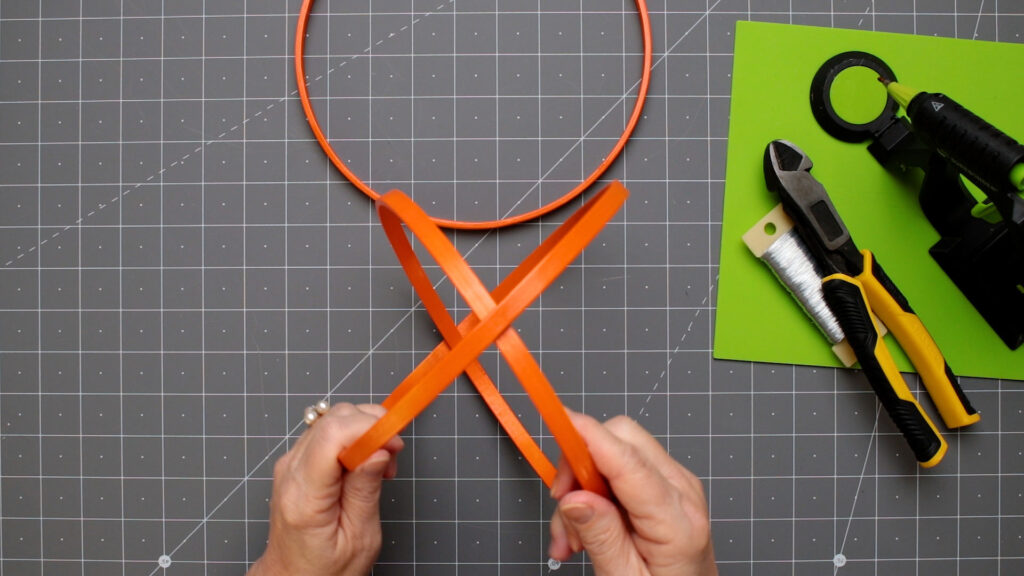


Inner embroidery hoops centered
Add a few dots of glue on the center bottom hoops.


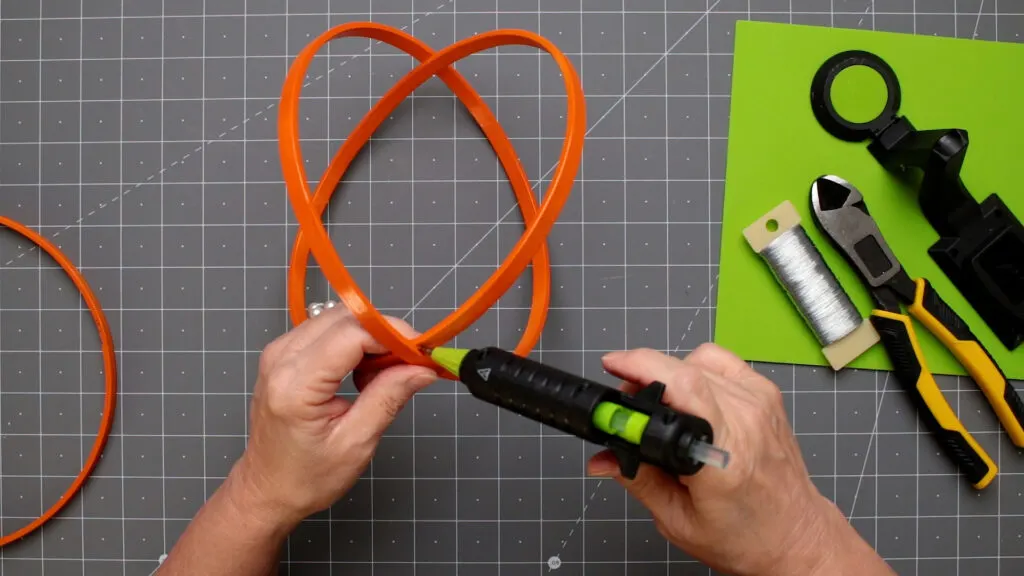

Glue the bottom hoops
Before the glue sets up add the outer embroidery hoop (the one with the metal eyes) and adjust the hoops so that they are evenly spaced.


Hold the metal screw eyes together
Secure the hoops with a piece of wire tied through metal eyes.


Hoops secured with wire
I filled the area between and around the eye metal eyes with hot glue.


Glue top center
Lantern Solar Light
I wanted the easiest light to maintain so I choose a solar light. However, the gorgeous cracked glass globe of the solar light was very heavy. Therefore I decided to remove it.


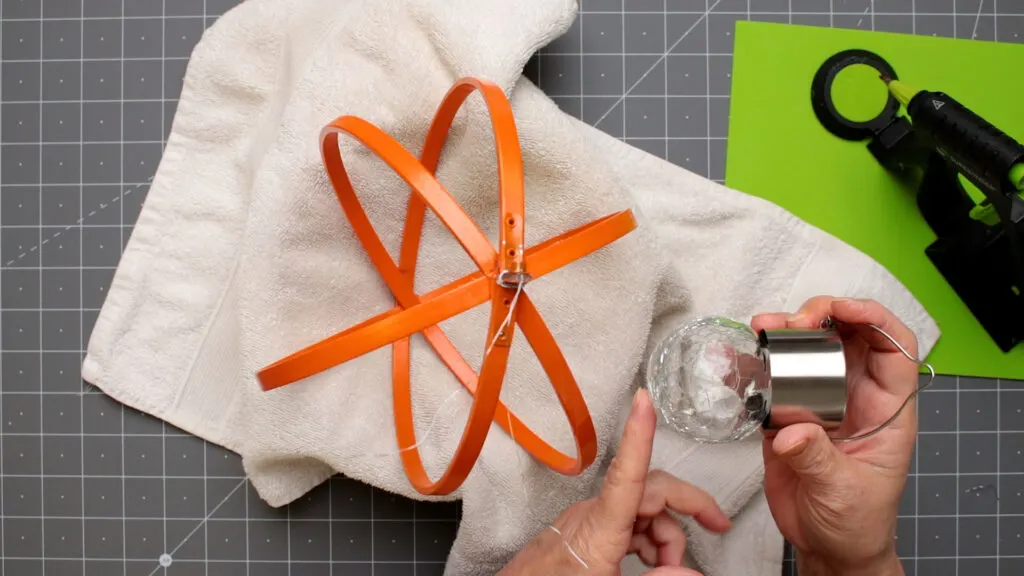

Solar light and Lantern
The shiny silver solar light needed to be covered. I cut a piece of orange vinyl to wrap around it. Then I replaced the hangers.


Reattach the hanger
Then I glued a piece of ribbon over the center of the metal eyes.


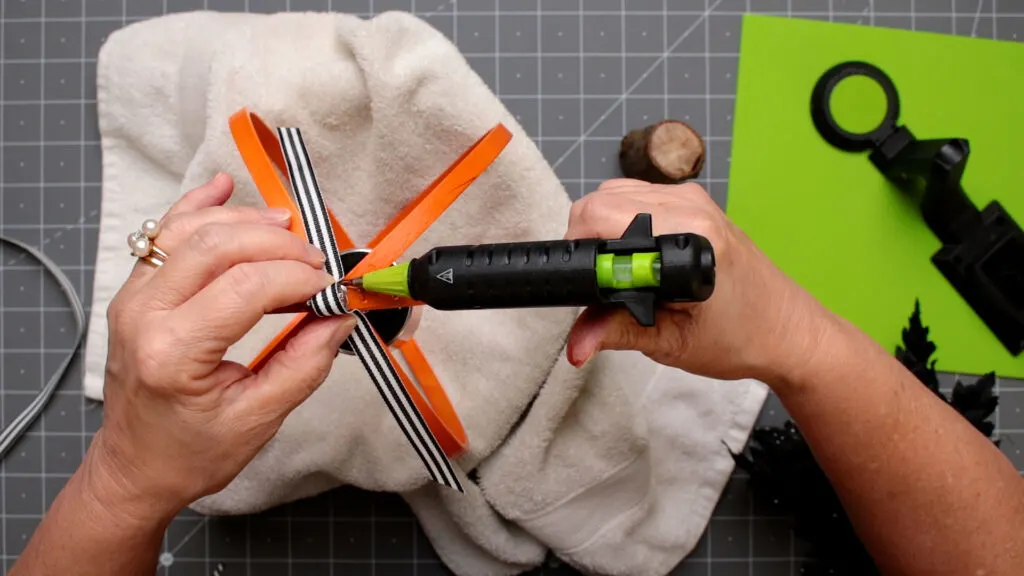

Attach ribbon to the top
Pumpkin Lantern Stem
I wanted to add a “real stem” so I used the next best thing a stem of a tree branch. To attach the stem I asked my husband to tunnel out an area for the metal eyes. I added glue to the tunnel in the stem then waited a few minutes before attaching it.
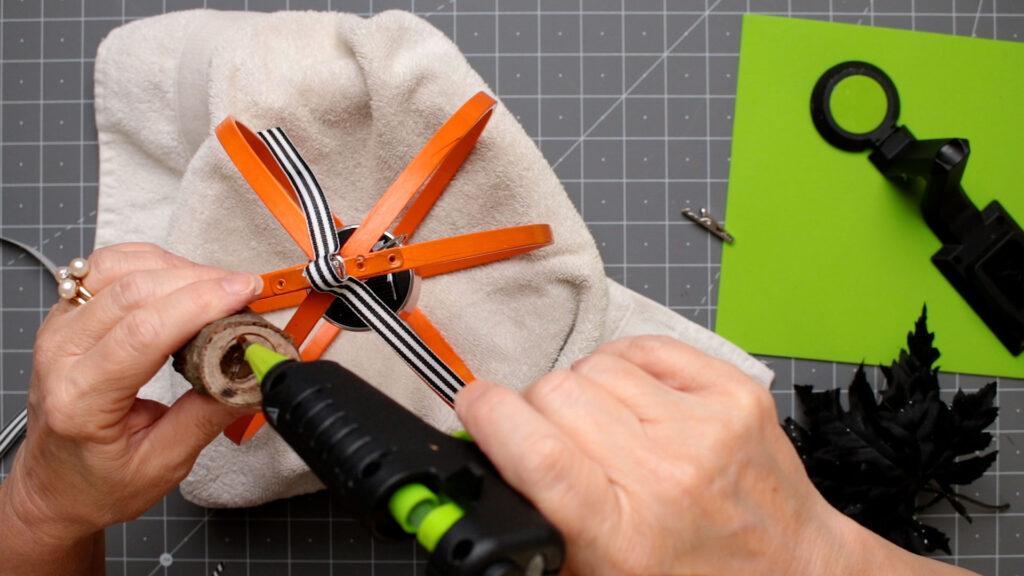

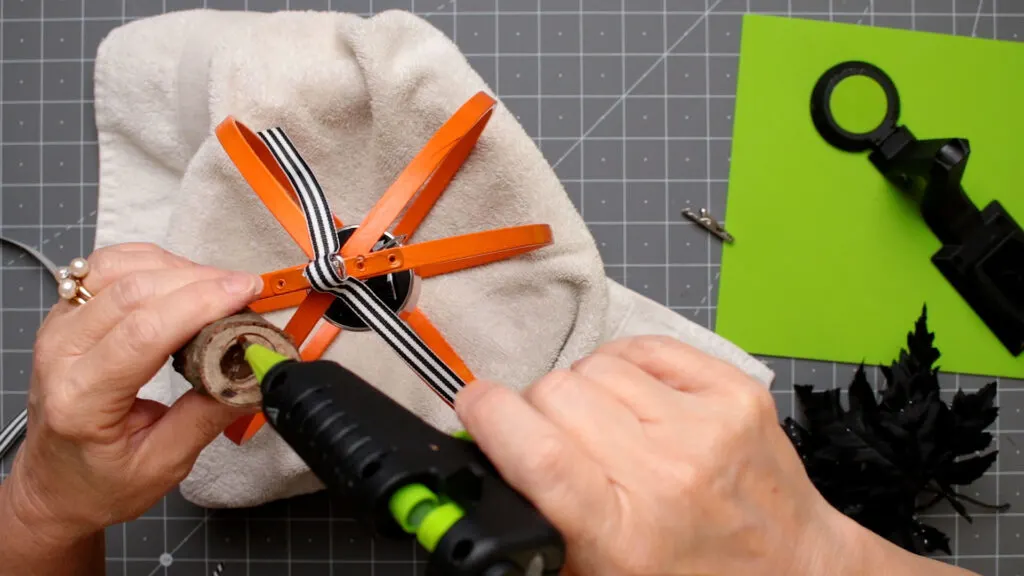

Add stem over the metal eyes


Add stem
Glue and attach leaves to the hoops.
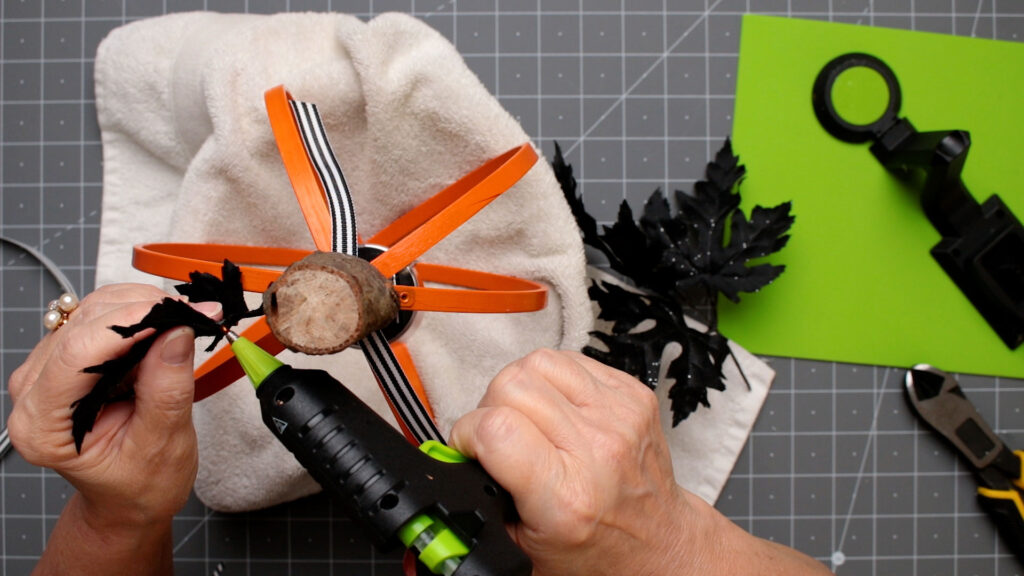


Decorate with leaves
Ribbon Bow
Tie a ribbon around the stem. To make a bow I wrapped ribbon around your fingers three times and cut the ribbon. Use the ribbon that is tied around the stem to attach the ribbon loops.


Attach a ribbon bow to the lantern
To display the lantern I used a shepherd’s hook between my DIY skeletons.
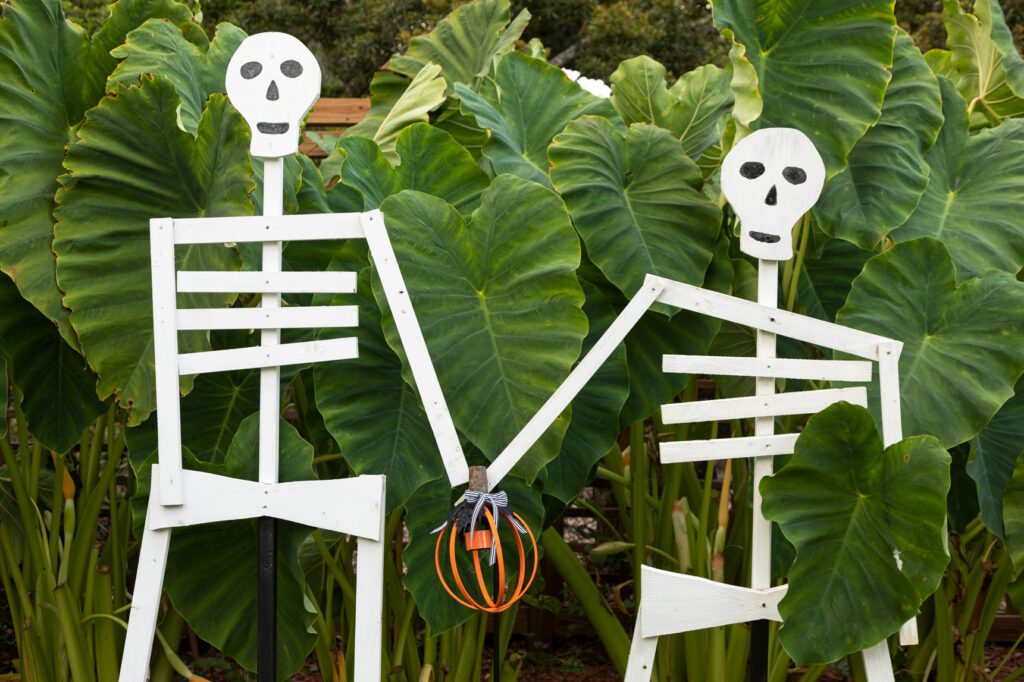


DIY Halloween Lantern and handmade skeletons
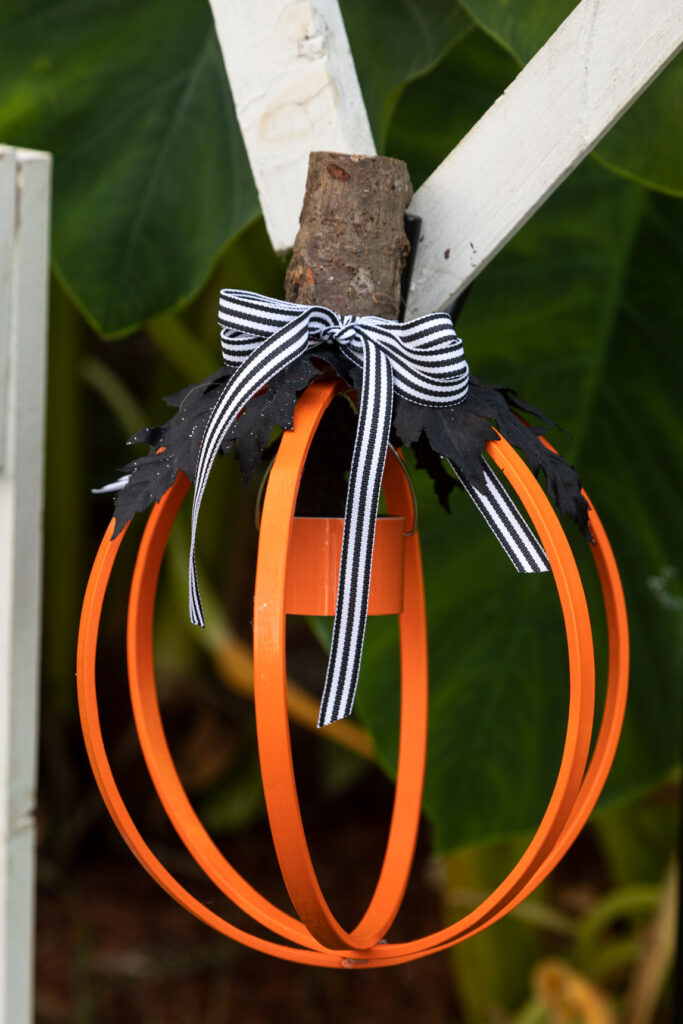


DIY Halloween Lantern
Last year I used one of my DIY Lanterns for light between the skeletons.
More Halloween Inspiration
These adorable little ghosts paper lanterns are sure to make everyone smile.


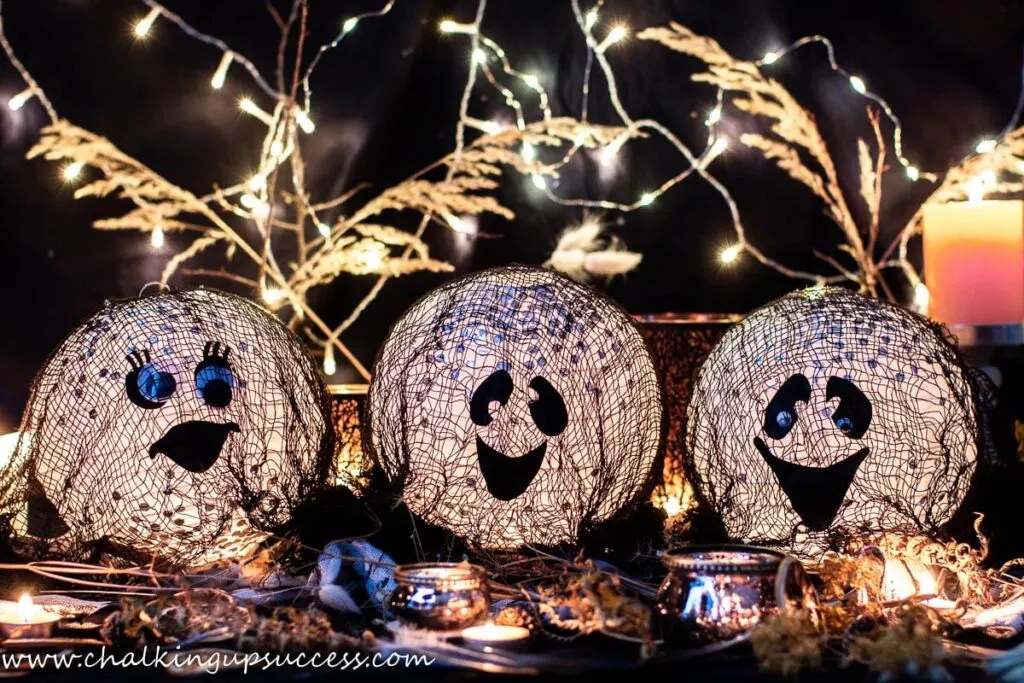

Halloween paper lanterns
This amazing huge spider is just one of the three spiders my daughter, Olivia, made. I cannot wait to see how the kids enjoy them.


Outdoor Halloween Spider
How about this DIY Boho Halloween wreath made with an old bike wheel is adorable and groovy at the same time? It is perfect for Halloween decorating indoors and out.


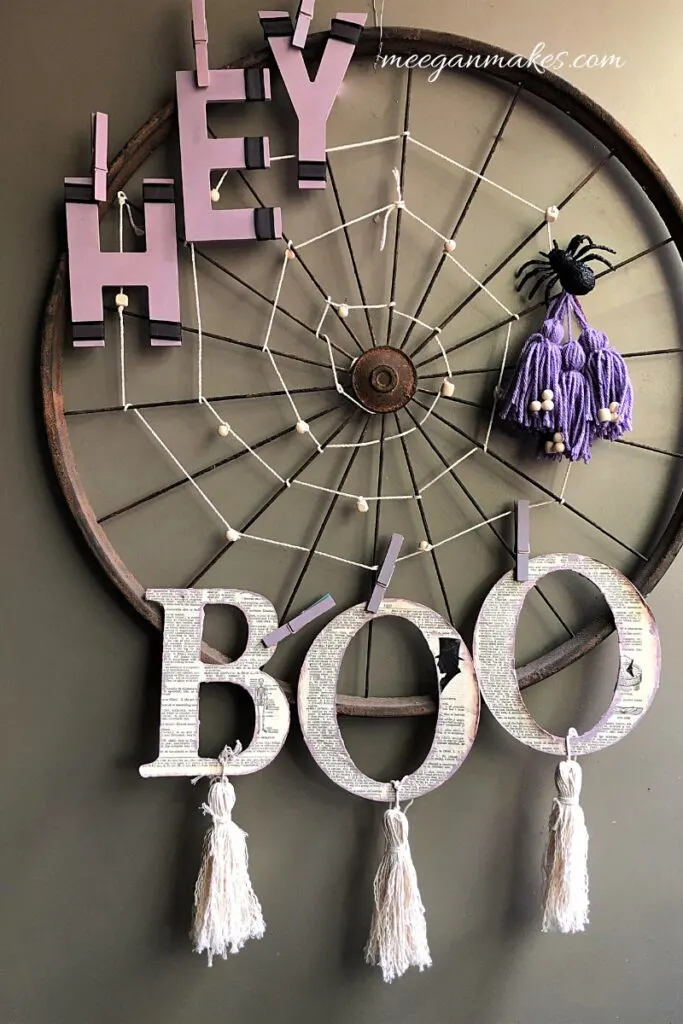

DIY Halloween Wreath
I am obsessed with this friendly scarecrow.
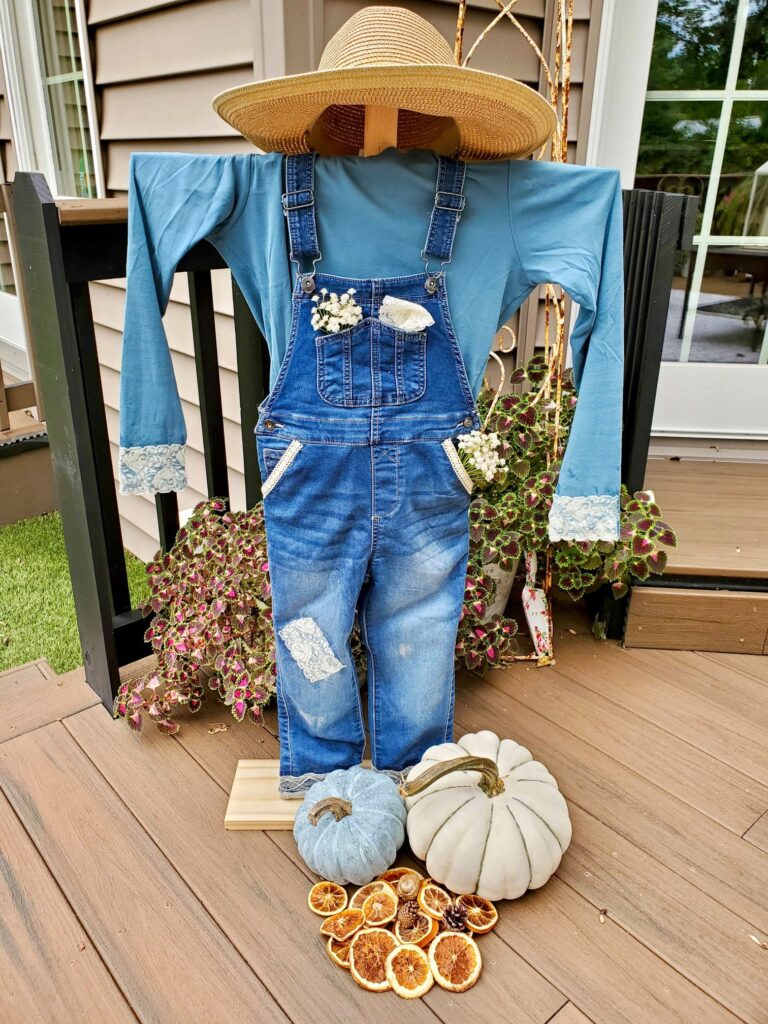

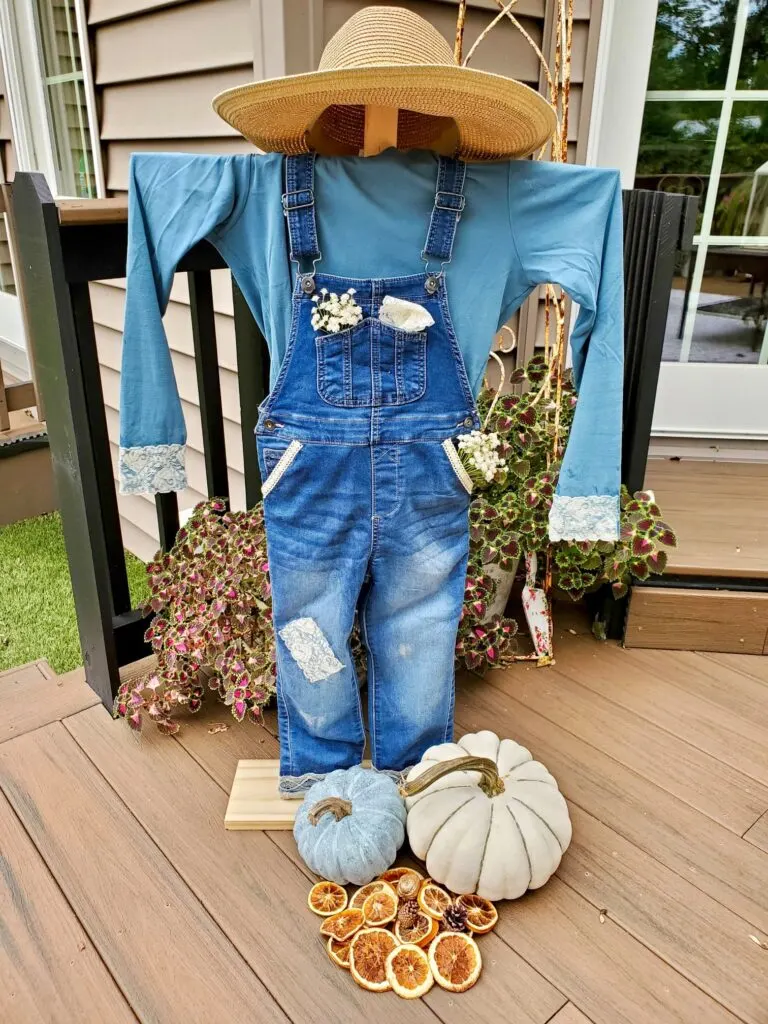

Friendly scarecrow
I am sure the kids will love this cute DIY scarecrow.


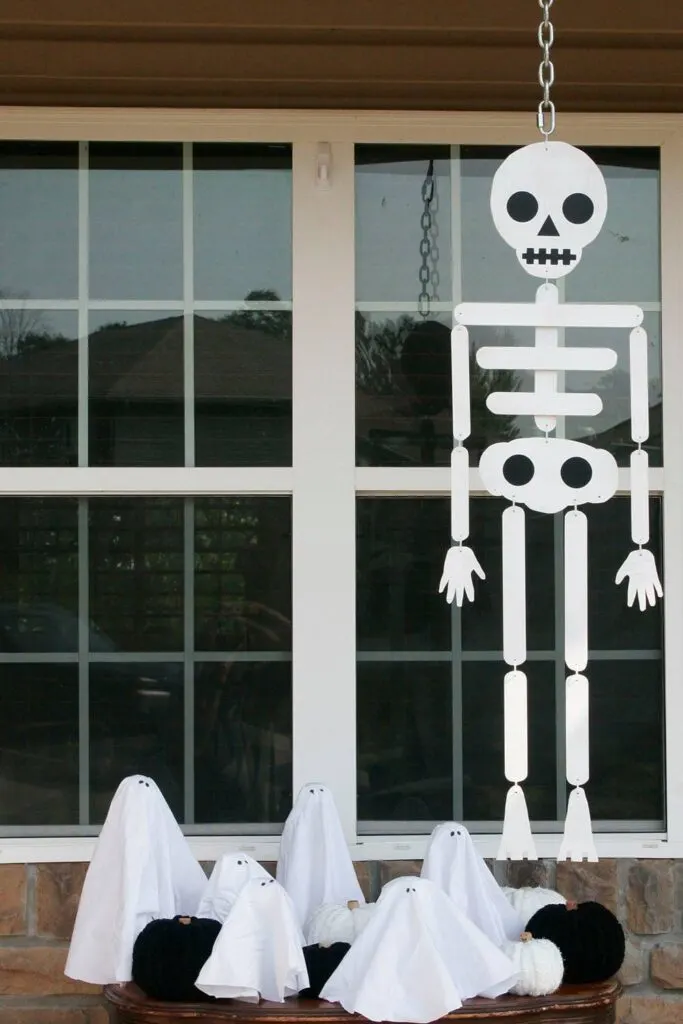

Handmade skeleton
These DIY garage door decorations are sure to keep the zombies away.


Halloween garage door decorations
I have been working on some easy, gorgeous fall decorating projects you will love, so if you don’t want to miss any inspiration, join The Fall Inspiration Newsletter and get it delivered to your inbox.
Happy Fall,
Kippi

Marie - Interior Frugalista
Wednesday 22nd of September 2021
Your Halloween lanterns are super cute, Kippi!
Marie
Friday 17th of September 2021
Such a fun idea! I just bought my first ever embroidery hoops for a craft & I'm so excited to try them. I don't think mine will be as creative as this though!
Janet
Friday 17th of September 2021
I love these. A great way to light up an area so it doesn't look so scary for the kids.
Meegan
Monday 13th of September 2021
What a fun way to add Halloween decorating to your yard or back porch. I really like the branch for a stem and the REAL light. Thanks for the idea and inspiration. Definitely pinning.
Olivia O'Hern
Monday 13th of September 2021
Love how this lantern turned out! Super cute with minimal supplies. Thanks for sharing.