Create a gorgeous Christmas tree with clear Christmas ornaments that you customize with spray paint, vinyl decals, ribbons, and trims. I wanted to create a fun Christmas tree inspired by candy canes and peppermints, so I chose red and white as my color scheme. However, you can use any color paint or combination of paint and vinyl to transform your one-of-a-kind clear ornaments.
Clear Christmas Ornaments

This post may contain affiliate links. That means that if you purchase from one of these links, I will make a small commission.
How to Paint and Decorate Clear Christmas Ornaments
Since I wanted to decorate a Christmas tree with red and white ornaments on a budget, I needed to make them. I had a few DIY red and white decoration felt ornaments and some wood beaded ornaments.
I needed many Christmas ornaments to fill my tree, so I found clear ornaments at a bargain price. Now to decorate those clear bargain ornaments. Some of the clear ornaments were plastic and some glass.
Supplies Needed For Clear Ornaments DIY
I recommend you watch the entire how-to video before starting.
- Vinyl
- Chalky spray paint (red and white) acrylic paint
- Garden snips
- Sticks
- Ribbon or trim
- Plastic ornaments
- Glass ornaments
- Disposable gloves
- Cricut or another cutting machine
***You can find all my favorite holiday craft supplies in my Amazon Store
Cut Sticks for Painting
The first ornament I painted while trying to hold it. It turned out messy with my fingerprints in the paint. Therefore, I decided I needed something to hold the ornaments while painting.
My first thought was to use my craft dowels, but I wanted to use them for another craft; for this reason, I decided to use sticks.
I cut enough sticks for every ornament.


Snip sticks
Painting Clear Christmas Balls
Before painting the ornaments, remove the metal caps and save them until later.
Another thing I learned from painting my first ornament was to wear a glove on the hand holding the stick.
Suppose you are like me and find spray painting so satisfying fun you will enjoy painting them. I recommend using spray paint with a chalky finish since it goes on ultra-smooth.
Spray in small bursts while turning the blub to prevent dripping.


Spray paint clear ornaments
After I painted the ornament, I placed the stick into the ground or a styrofoam block until dry.


Painted sticks in the garden drying
Vinyl Decals
The easiest way to add the vinyl decals to ball ornaments was to place the painted bulbs in a coffee cup lined with a paper towel.
I made each style and color into ornament sets to ensure equal amounts of each design and color.


Painted ornaments and vinyl
I cut out the decal design (stripes, dots, and crosses) with my Cricut Maker. You can use any Christmas decoration decal. Since I adore geometrics, I choose to use them for my DIY Christmas ornaments.
Design Placement
The center bottom had a small circle indention I used for my stripe design placement. I placed the center of the vinyl decal (sticker) over the ornament’s bottom indention. Then I pulled the vinyl up and around to the top.


Adding vinyl stripes
I repeated this process while crossing over the stripes on the bottom to form equal verticle stripes.


Attach the last red stripe
Some of the stripes were not long enough, so I added a little striped vinyl.


Vinyl stripe extender piece
After I finished adding the vinyl designs to my ornament, I carefully replaced the metal cap.


Replace the ornament cap
Polka Dot Design
The placement of the vinyl dots and crosses was random. You can see me decorating these in this video from earlier.


Making polka dot ornaments


Christmas tree with DIY Christmas ornaments
Embellish Painted Ornaments
I decided to add a ribbon or trim to each ornament. Since my Christmas tree ribbon has red and white check ribbons, I thought adding a mini check ribbon to the decorations would be fun.
I cut a piece of ribbon long enough to make a small bow (like tying a shoe).


Add ribbon
I added a white mini ball fringe to red ornaments with white polka dots.


Polka dot ornaments add ball fringe
Decorate with DIY Clear Christmas Ornaments
I added the ribbon to the Christmas tree first, then added the ornaments around the stripes. I was again careful to dispute the size and colors pleasingly.
More ornament ideas:
You can see how the adorable red and white felt ornaments I made a few years ago in this earlier post.
The wooden stars I made as well (see how in this earlier post). Finally, the pomo pom ornaments I made using a pom pom maker (see how in this post).
The ornaments with the pom-poms and tassels, you can see the how-to video from a Facebook live.


Tree Decorated with Handmade Christmas Ornaments
You can see the completed tree and room all decorated for Christmas in this earlier post.
Additional Tips
Note: The same paint worked for both plastic and glass ball ornaments.
Note: I cut the vinyl decal shapes in multiple sizes.
You might also enjoy these diy project posts:
DIY Embroidery hoop Christmas ornaments.


DIY Embroidery Hoop Ornaments with vinyl decals
Easy DIY Christmas stockings with cuffs.


Handmade Christmas stockings with Initials
Learn how to make the perfect bow.

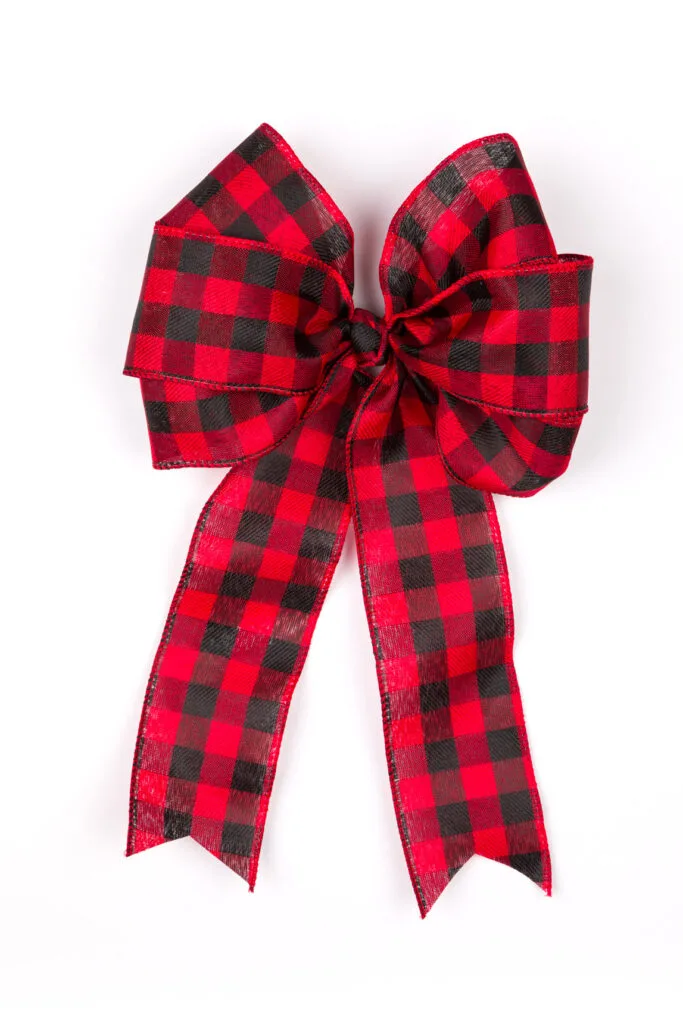
Buffalo Check Bow
Want a Stress-Free Holiday?
Want to enjoy all the holiday season has to offer, but it all seems overwhelming? Then please join me as we enjoy a stress-free holiday season with a ton of inspiration, money-saving ideas for decorating, gift-giving, and so much more. So join me with this form! And have the best of everything this holiday.
Merry Christmas,
Kippi
Jennifer
Thursday 23rd of September 2021
Your ornaments are fabulous! I got a Cricut for my birthday. This is the perfect project. Thank you!
Kelly Radcliff
Wednesday 22nd of September 2021
These are beautiful! ! Makes me want to a get a Cricut now! Pinning!
Marie
Wednesday 22nd of September 2021
I was wondering how you would use the sticks! These look great. Your photos are always so crisp & clear too.
maria
Wednesday 22nd of September 2021
This is perfect timing I just made some bows and didn’t like how they came out! will try yours.
Cindy
Tuesday 21st of September 2021
These turned out great Kippi. I love buying the plastic ornaments in bulk to create pretty ornaments.
Pinned