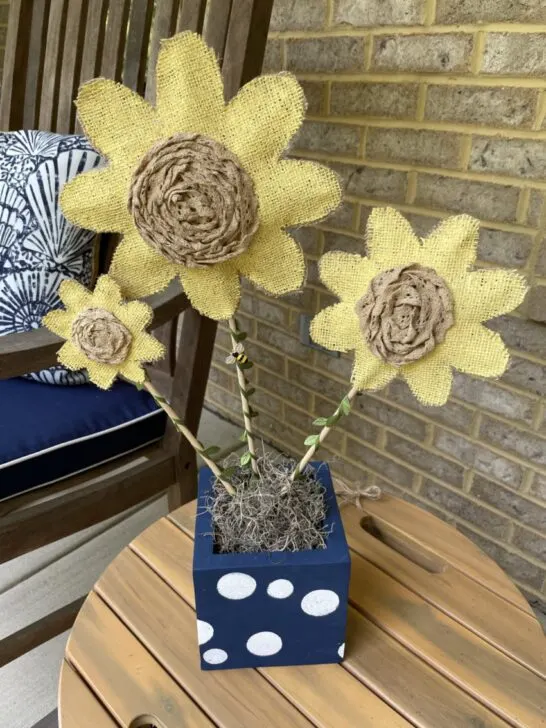
Decorating with fabric flowers adds a bit of sunshine to your porch, home, and patio. Sunflowers make me smile, so I painted my fabric flowers yellow. However, the flower color choices are endless.
Add these adorable fabric flowers to flower pots, wreaths, centerpieces, and more. I used a wood box that I painted to match my DIY-painted flower pot.
This post contains affiliate links. If you purchase from one of these links, I will make a small commission.
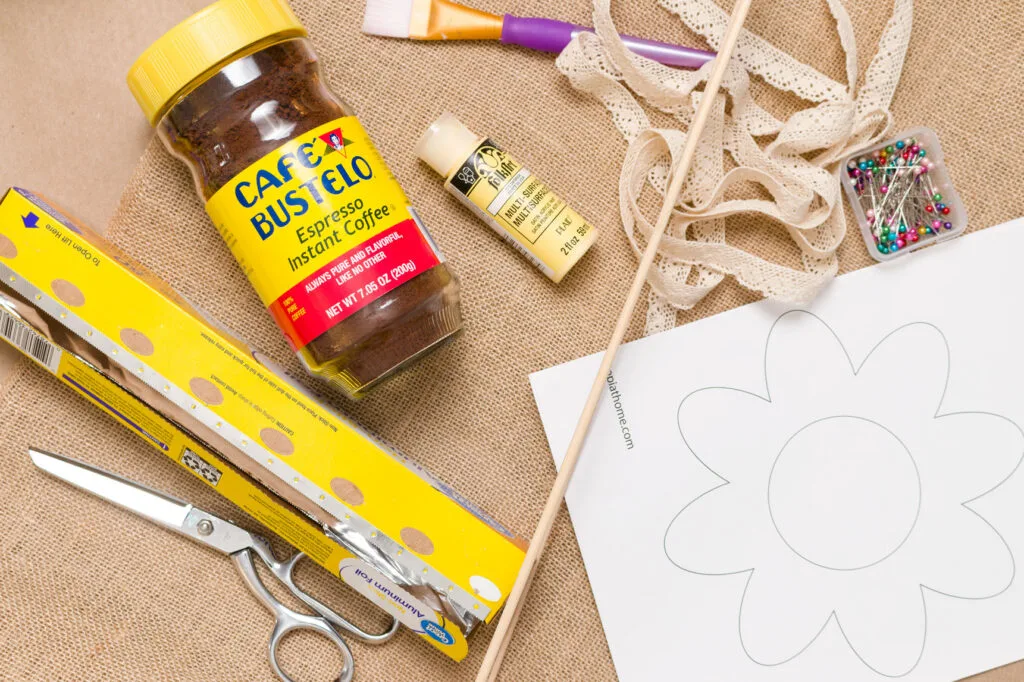
Fabric Flower Supplies
The supplies for this craft are simple, and you probably have them on hand.
Before you begin, I recommend you watch this how-to video.
- Fabric
- Lace
- Paint
- Paintbrush
- Scissors
- Pins
- Marker (this is what I used)
- Non-stick foil
- Coffee
- Hot glue and glue sticks (this one is my favorite)
- Silicone mat (this is the one I use)
- Stuffing (fiberfill, paper, or plastic bags)
- Skewers
- Dowels
- Fray check or clear nail polish
- Flower patterns (printable)



Step One Cut Fabric Flower Pieces
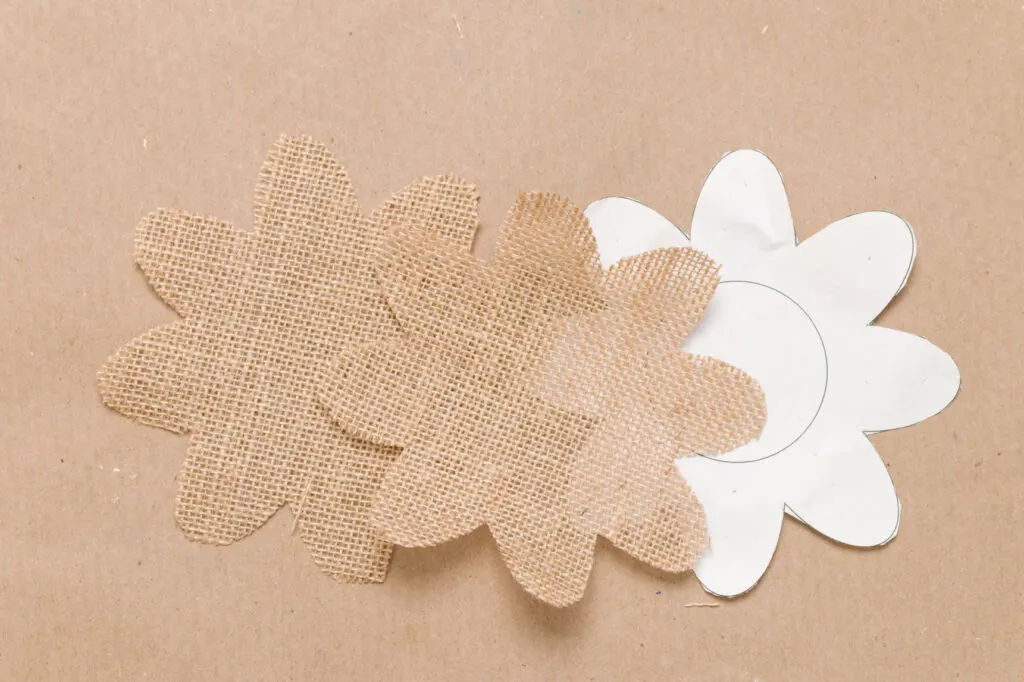
After you print out the flower patterns, place the one you are using on two layers of fabric with the right sides facing.
Next, pin the pattern to the fabric and cut along the outer petal lines.
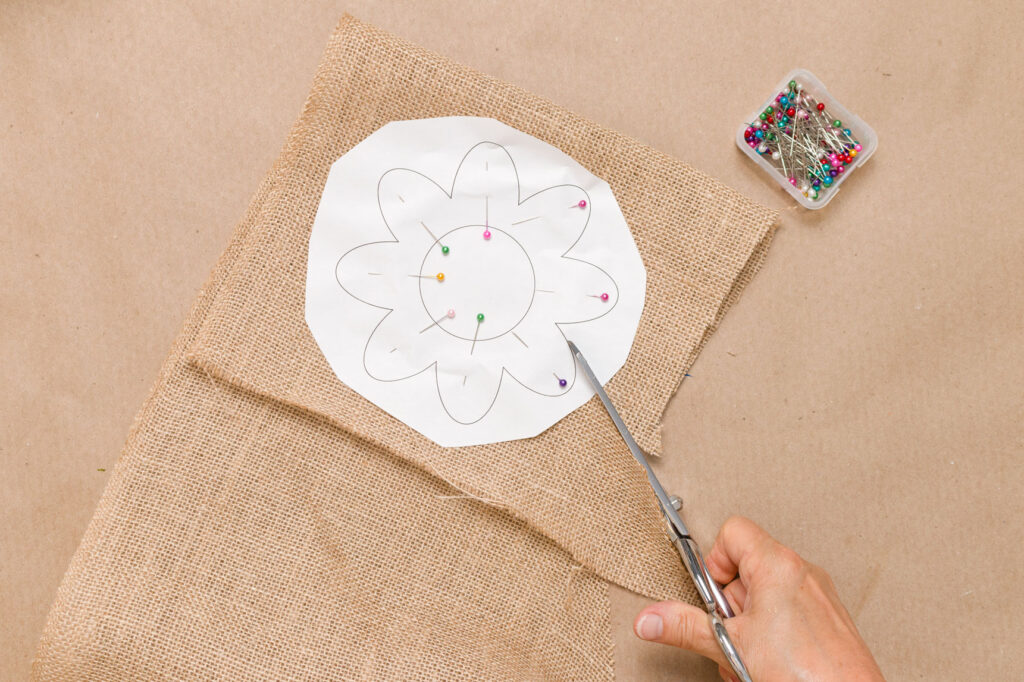

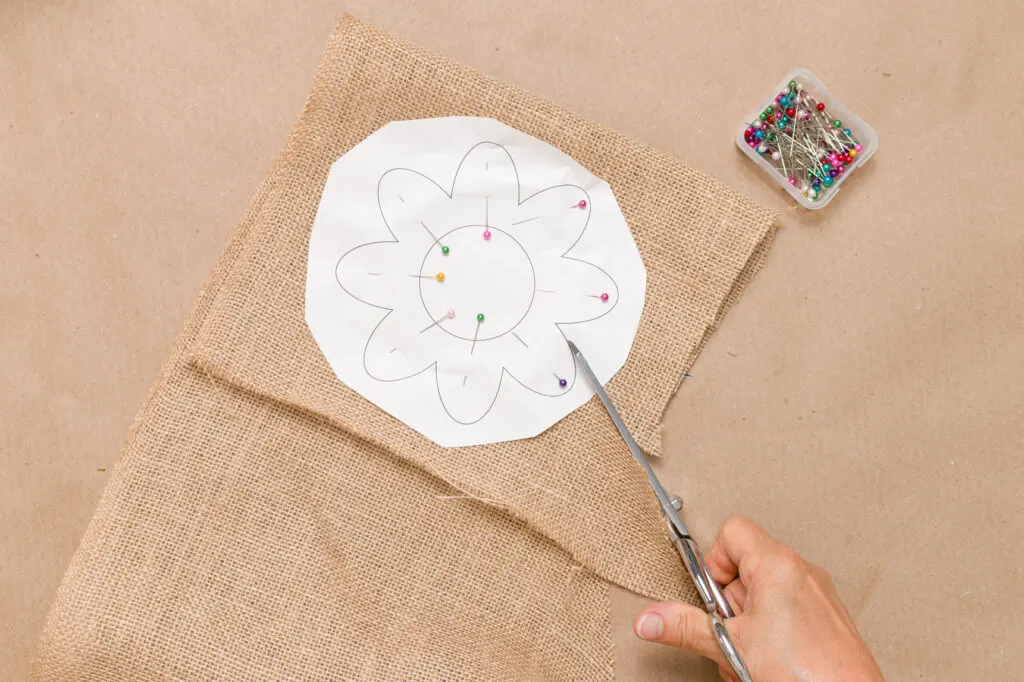

Save your fabric scraps for making the smaller flower.
You should have two identical fabric pieces.



Step Two Mark Fabric Flower Center
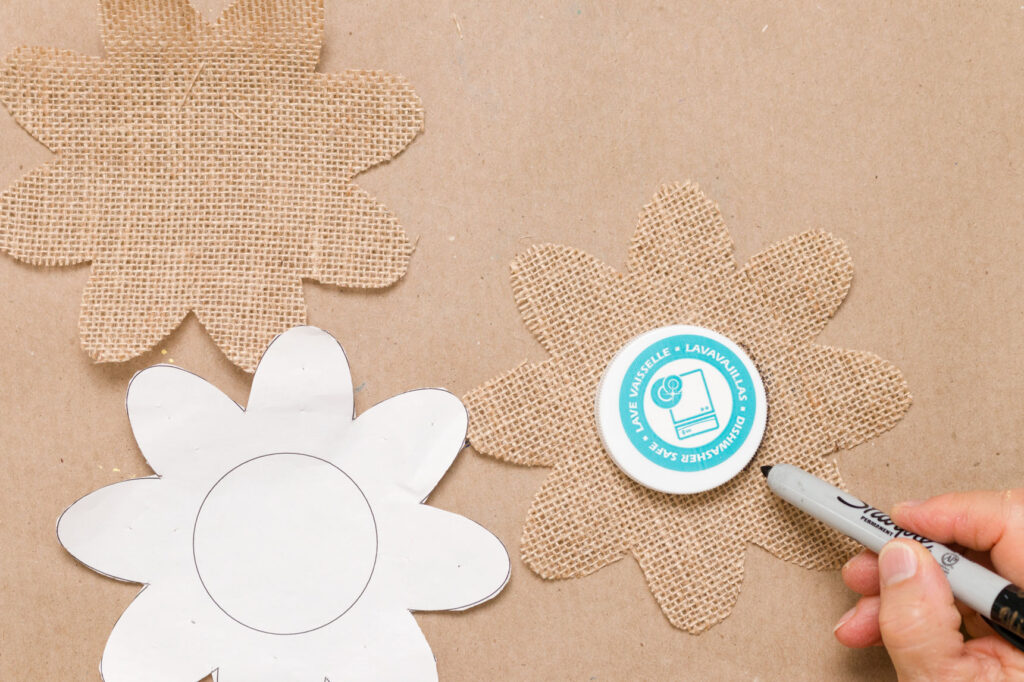
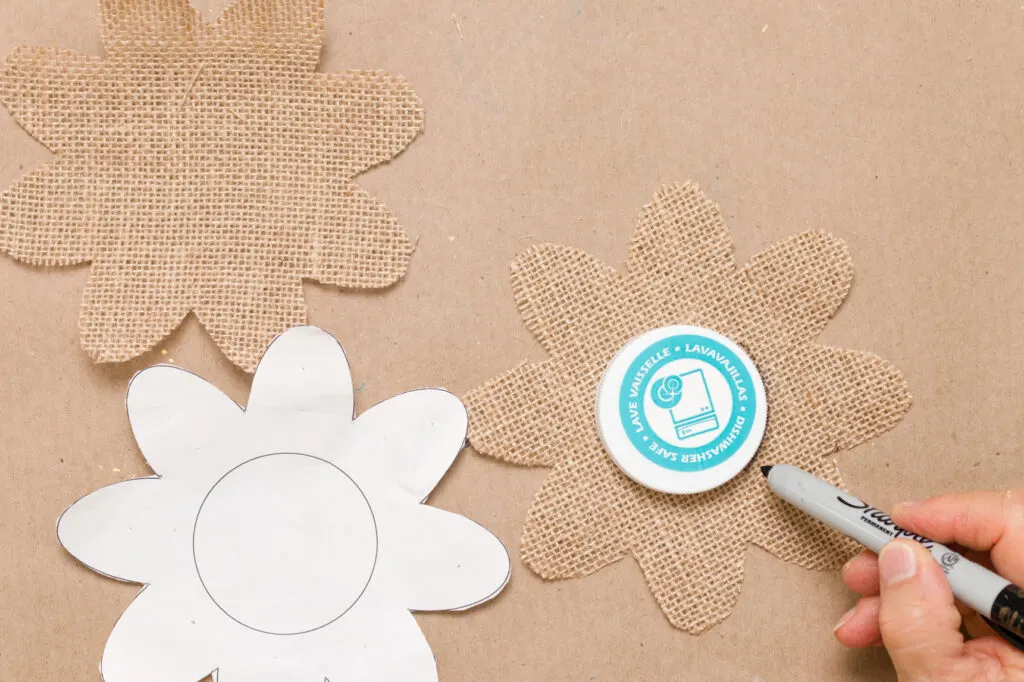
To mark the center, I used a lid the same size as the center to trace the center circle on the face of the flower.


Step Three Painting Fabric Flower
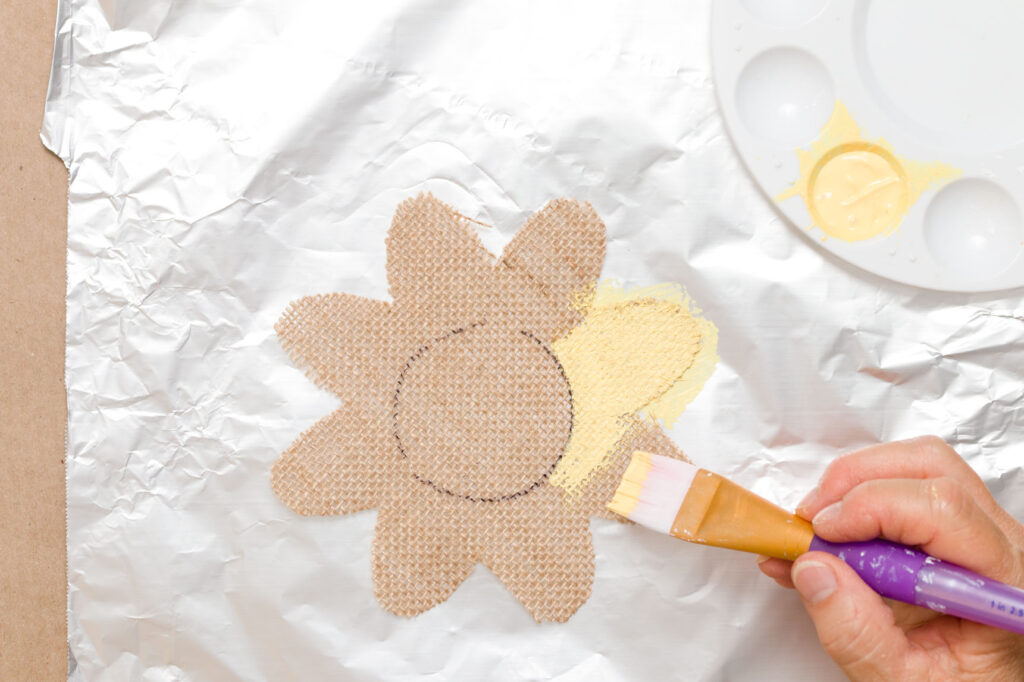
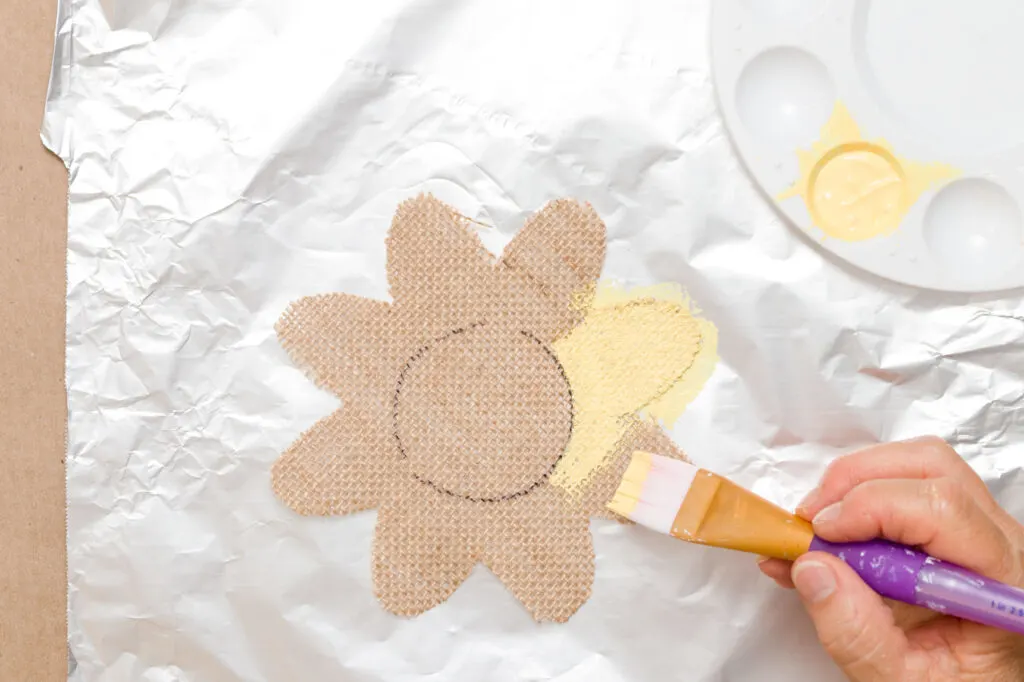
Next, place your flower’s face on non-stick foil and paint the petals the color of your choice.
I found that dabbing the paint around the cut edges worked the best since it tends to fray.


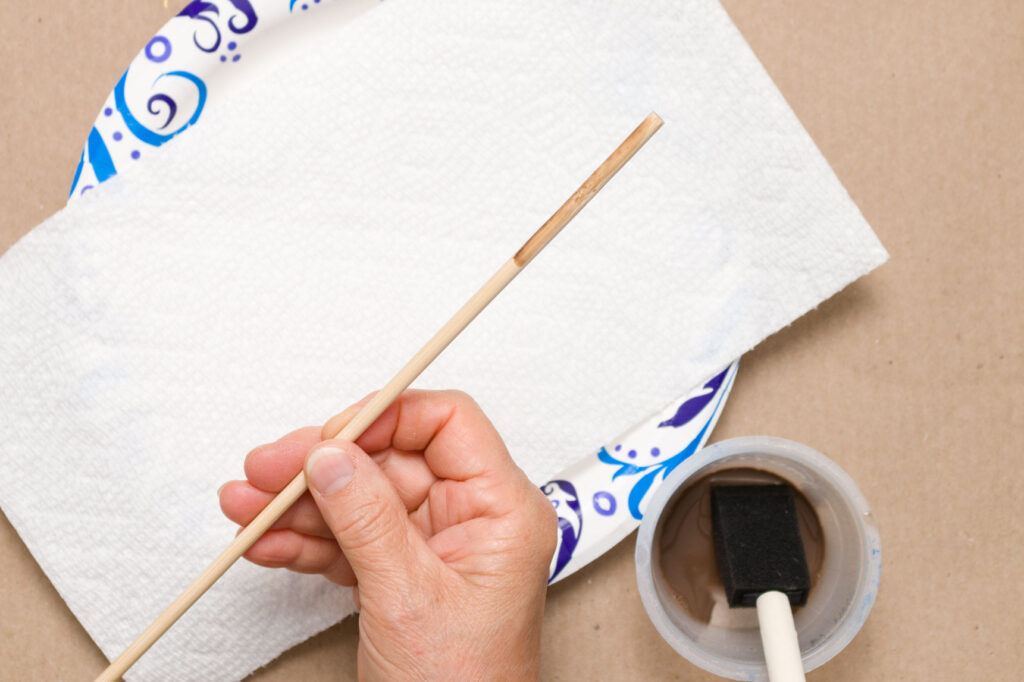
While the paint was drying, I painted or stained the stem (skewer).


While the paint is drying, you can add Fray Check or clear nail polish around the cut edges of the flower back piece.
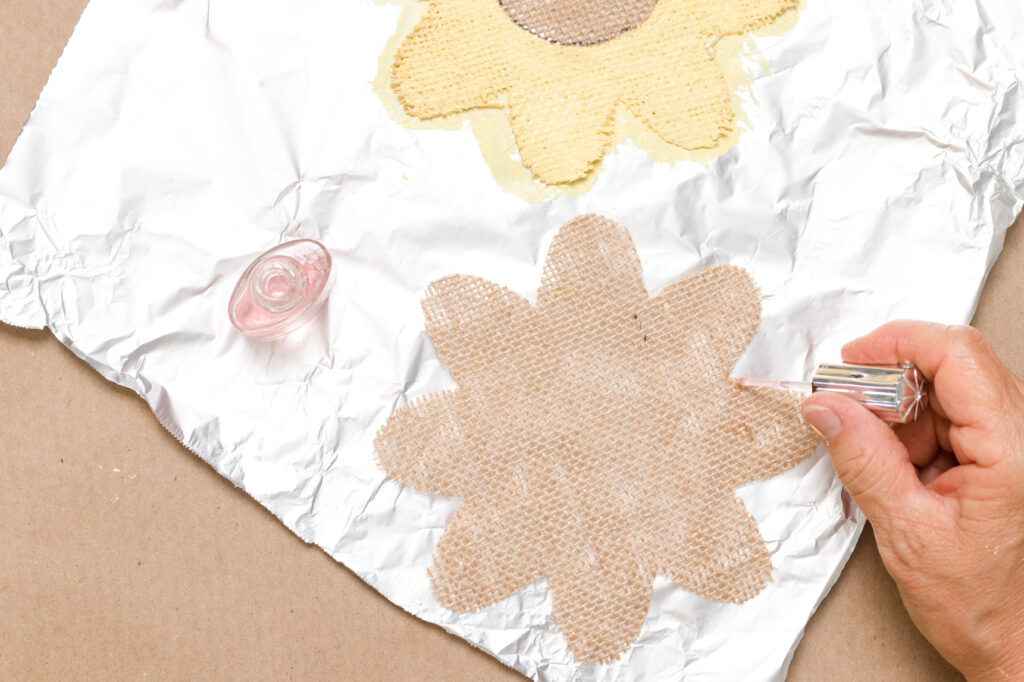

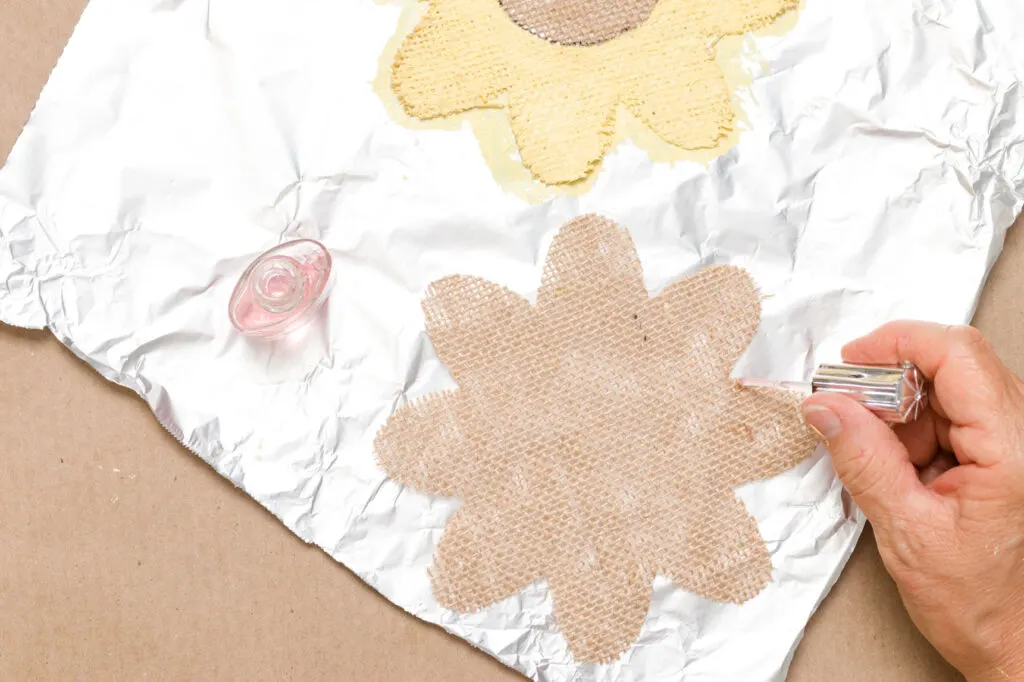

Allow the paint to dry overnight.
Note: If you are staining your lace with coffee, you can do it a day ahead. Before I begin, I make a cup of super strong coffee, place my lace in the coffee and stir. After 20 minutes, I remove the lace over the sink and wring out all the excess moisture. Next, I place the lace on paper towels overnight.
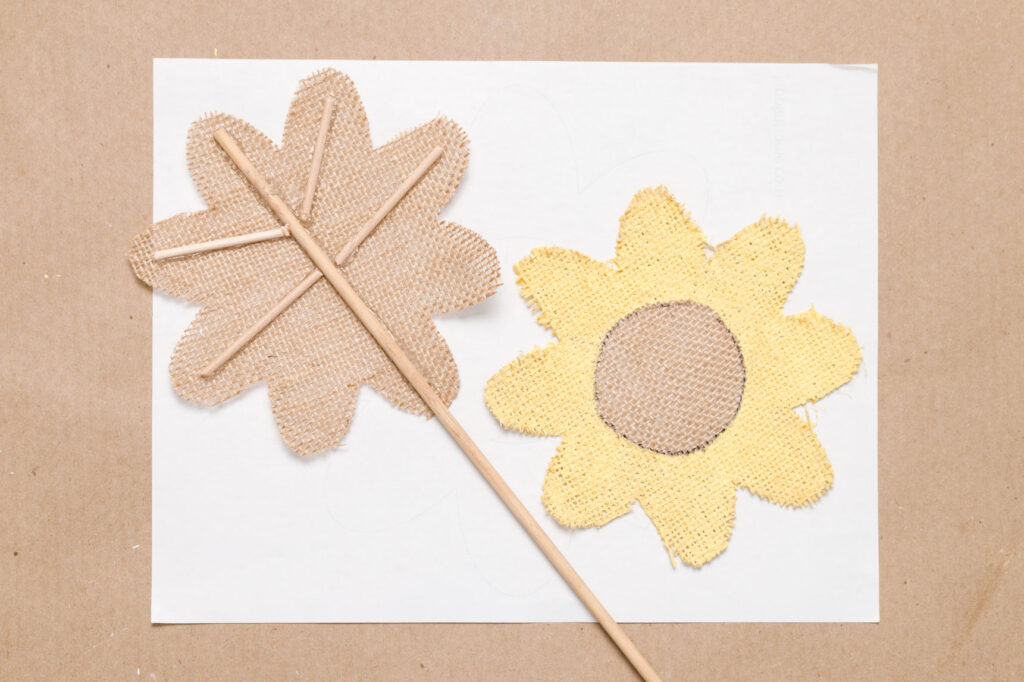
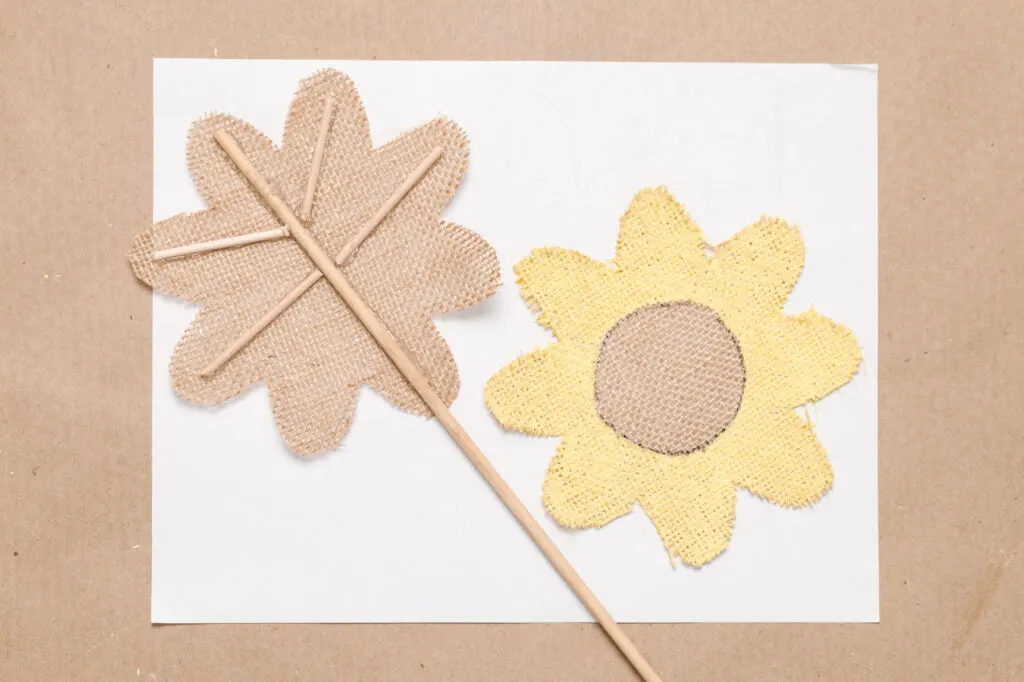
Step Four Attach Supports and Flower Stem
Hot glue is the easiest way to attach the stew to the inside of the flower backpiece.
Note: Place the fabric on your non-stick foil or silicone mat before you begin.
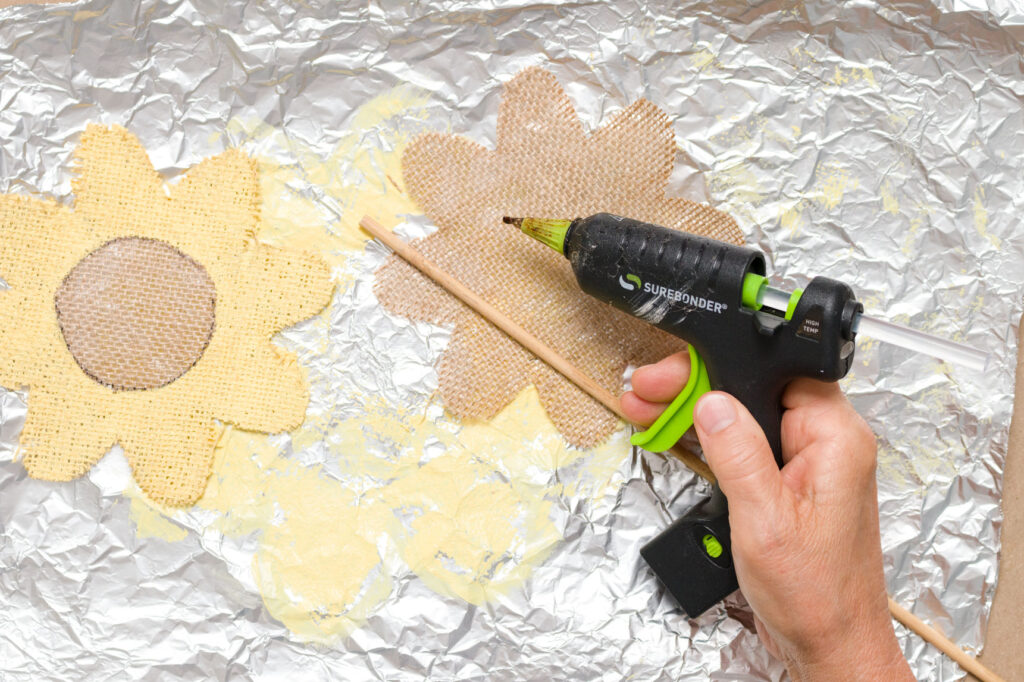

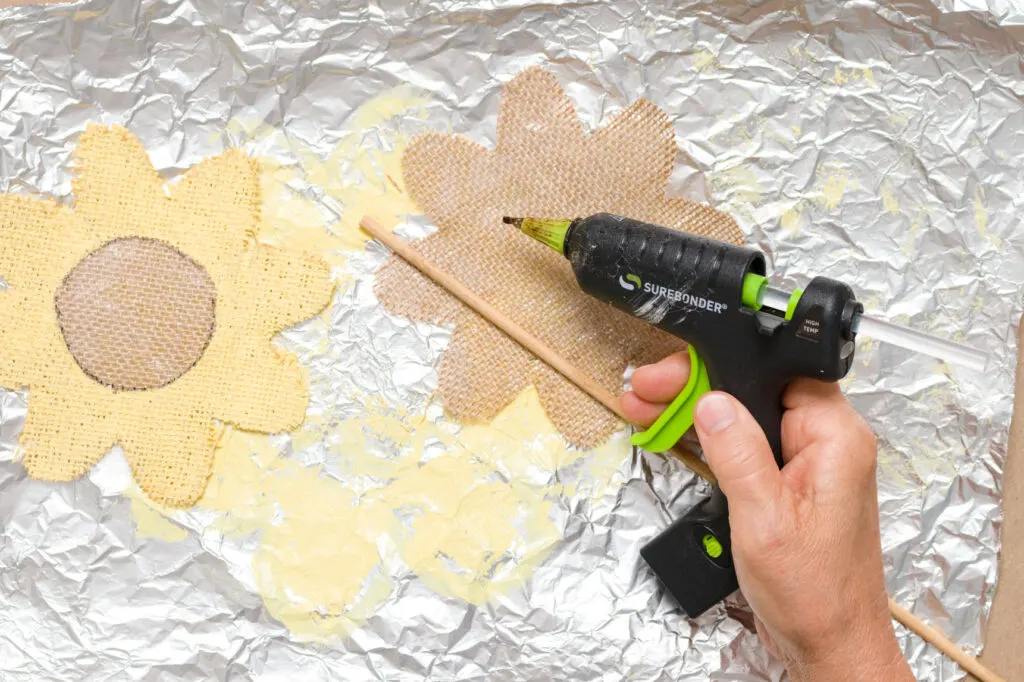

For support, I like to add mini dowels to the upper petals.
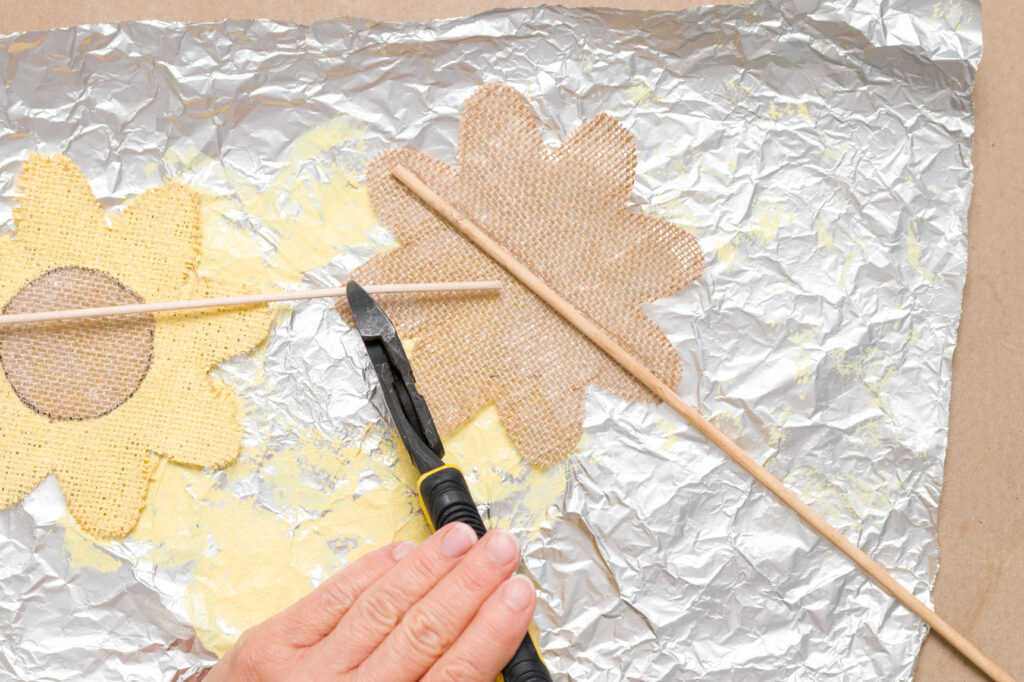

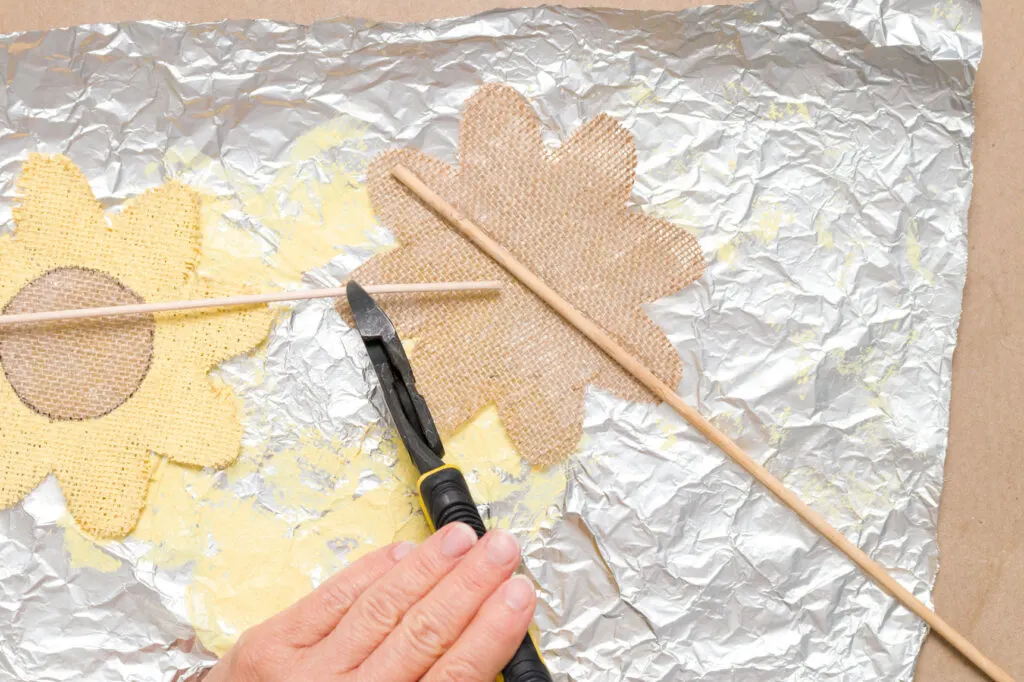

Painted front and back with supports and stem.


Step Five Stuff Fabric Flower
Now, you can decide if you want to sew a running stitch to attach the pieces of fabric together or use hot glue.
You will want to use your silicone mat to stuff the flower using hot glue.
Place a thin line of hot glue around the top three flower petals.
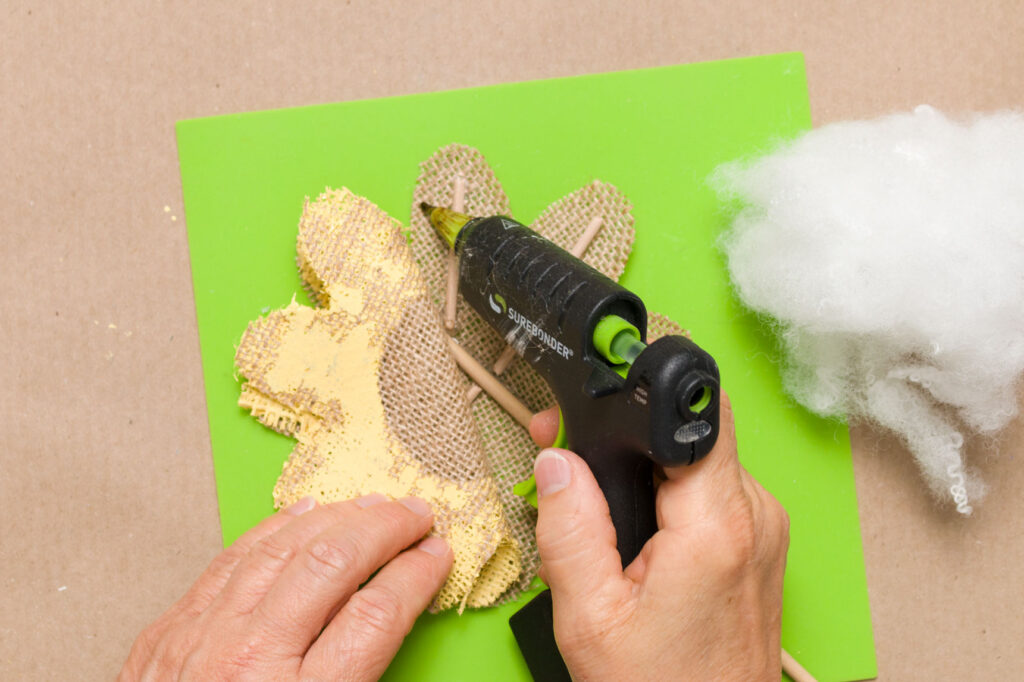

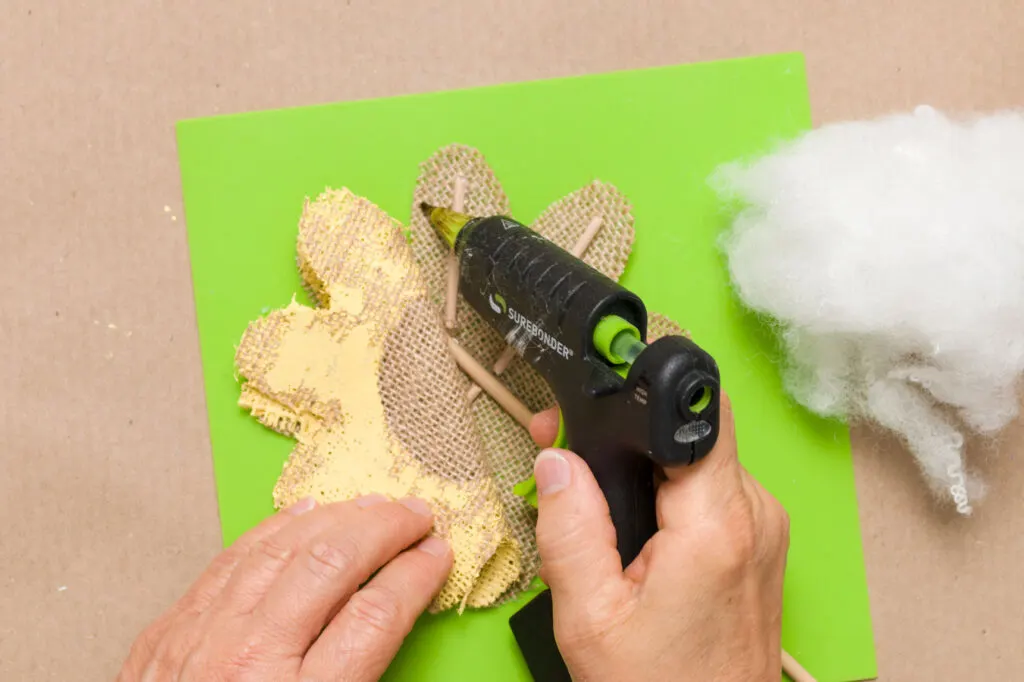

Next, press the glued pieces together with the corner of your silicone mat.


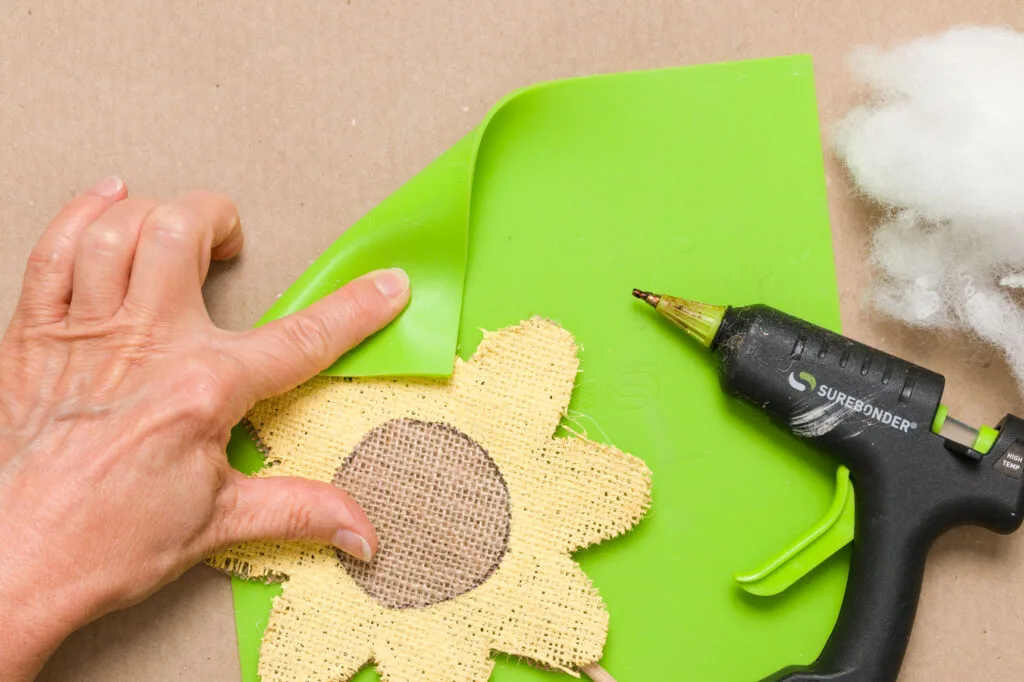

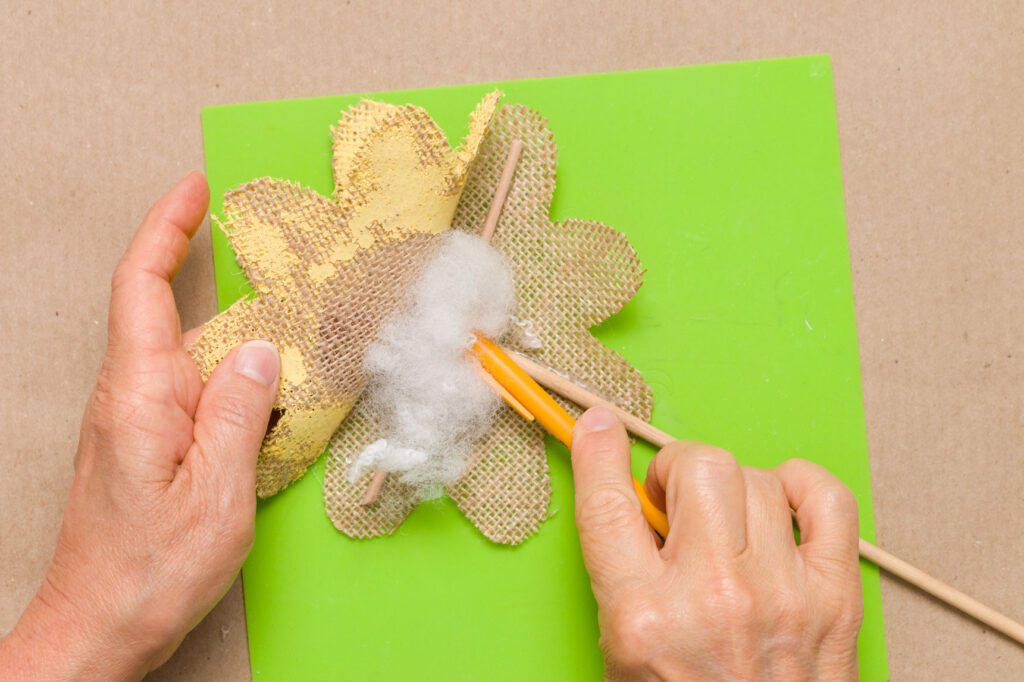
Then gently open the flower and stuff it with fiber, paper, strips of fabric, or plastic bags.
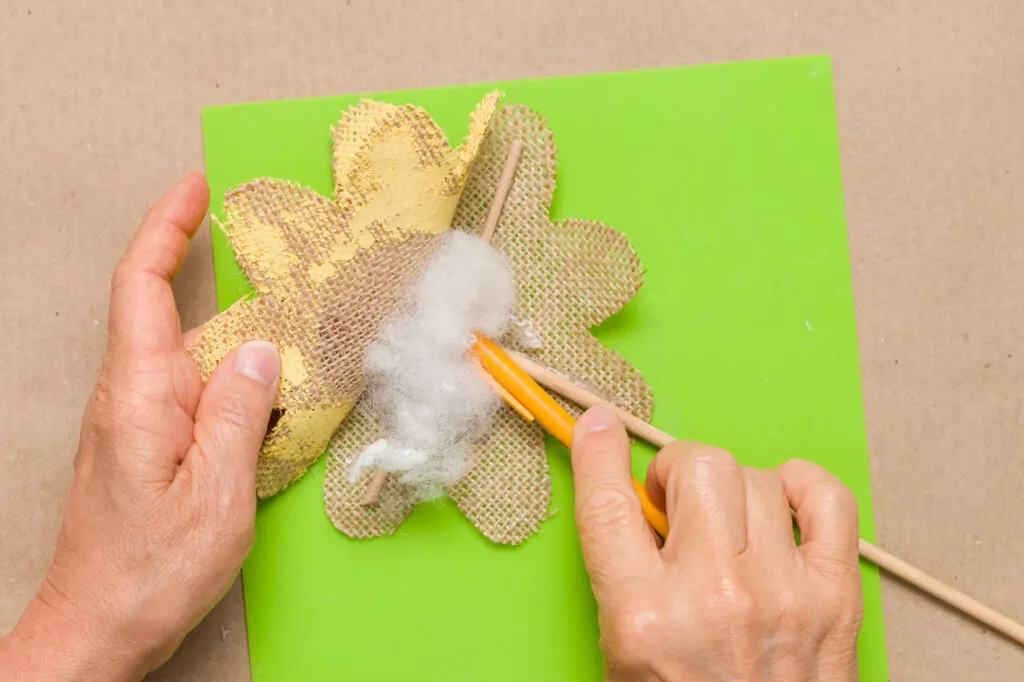
You can use a pencil or dowel to help push the filling into the petals.
Continue gluing and stuffing two or three petals at a time.


Step Six Decorate Flower Center
The decoration can be added to the center before attaching the two flower pieces together or after. I have done it both ways with the same results.
Start by placing a dot of hot glue in the center and attaching the lace.
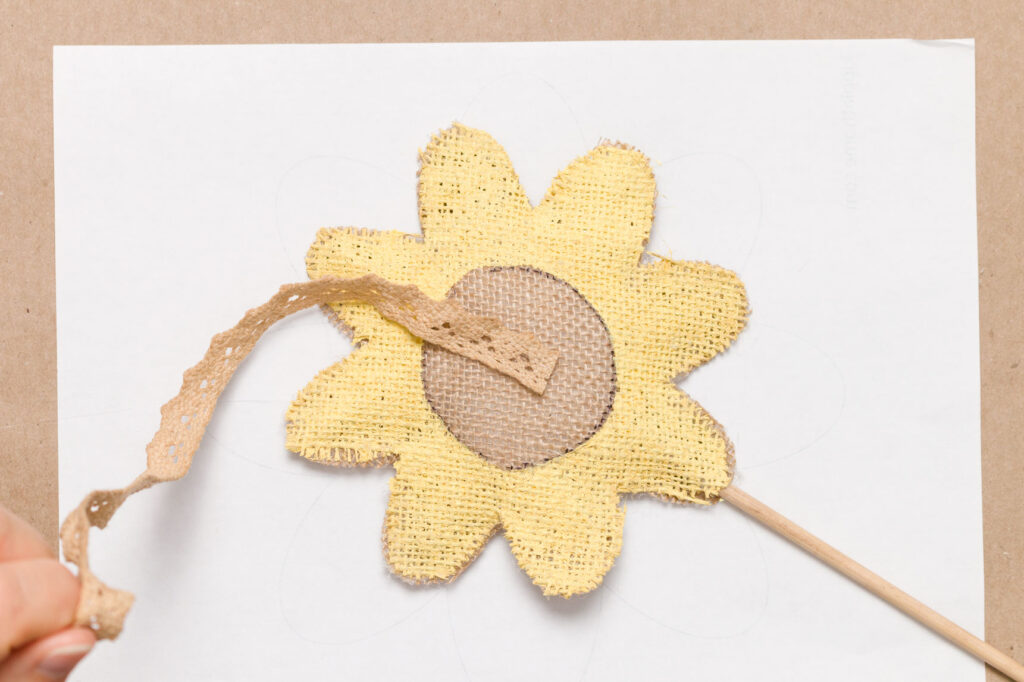

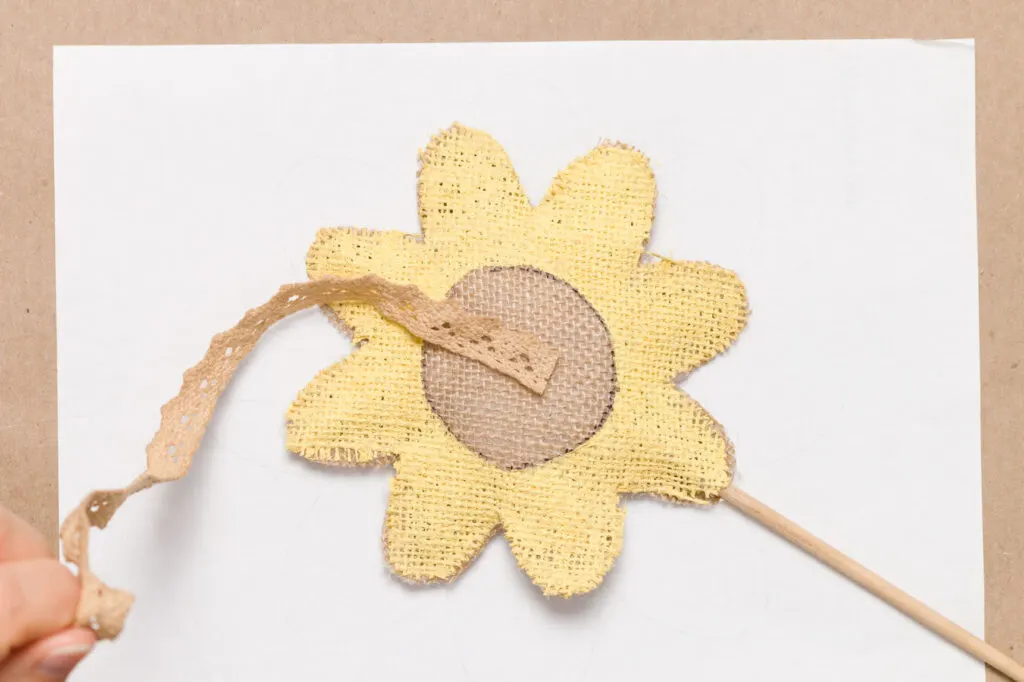

Next, start twisting and placing small glue dots where necessary to hold the ribbon as you circle the center point.
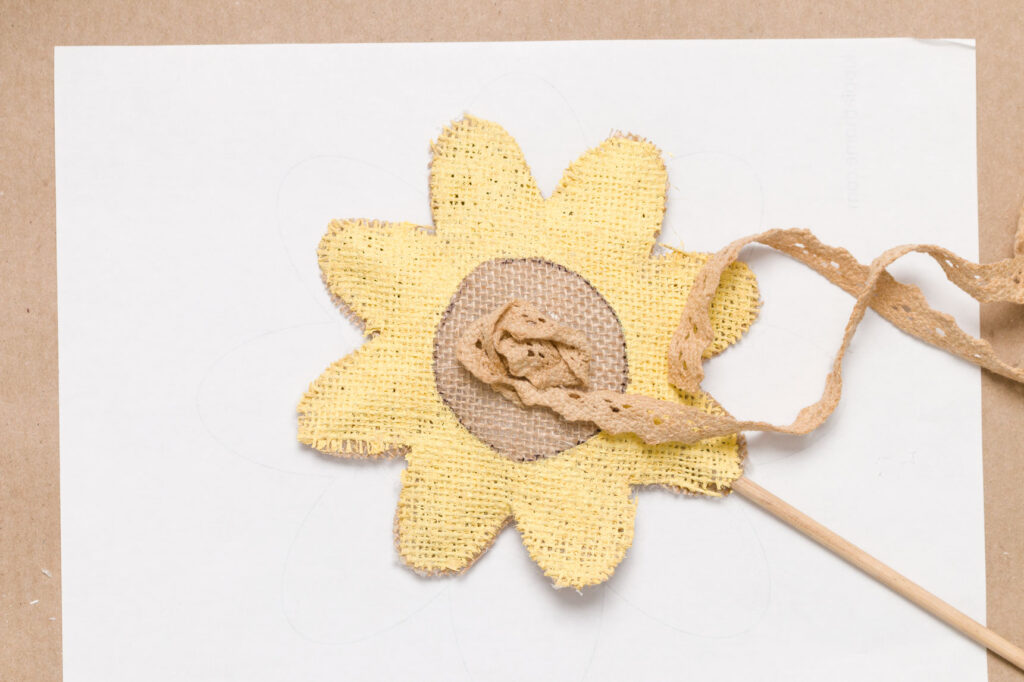

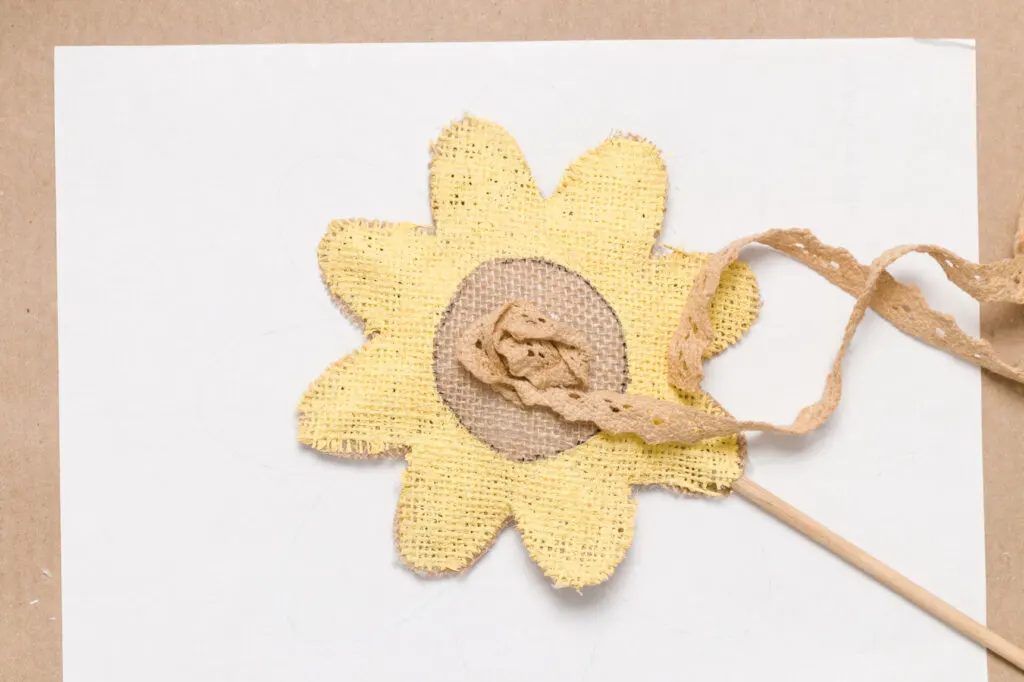

I made all three sizes of flowers and added a green leaf trim around the stems. The center one has a bumble bee. I placed some floral foam in the wood box, stuck the flowers, and added moss to finish the look.


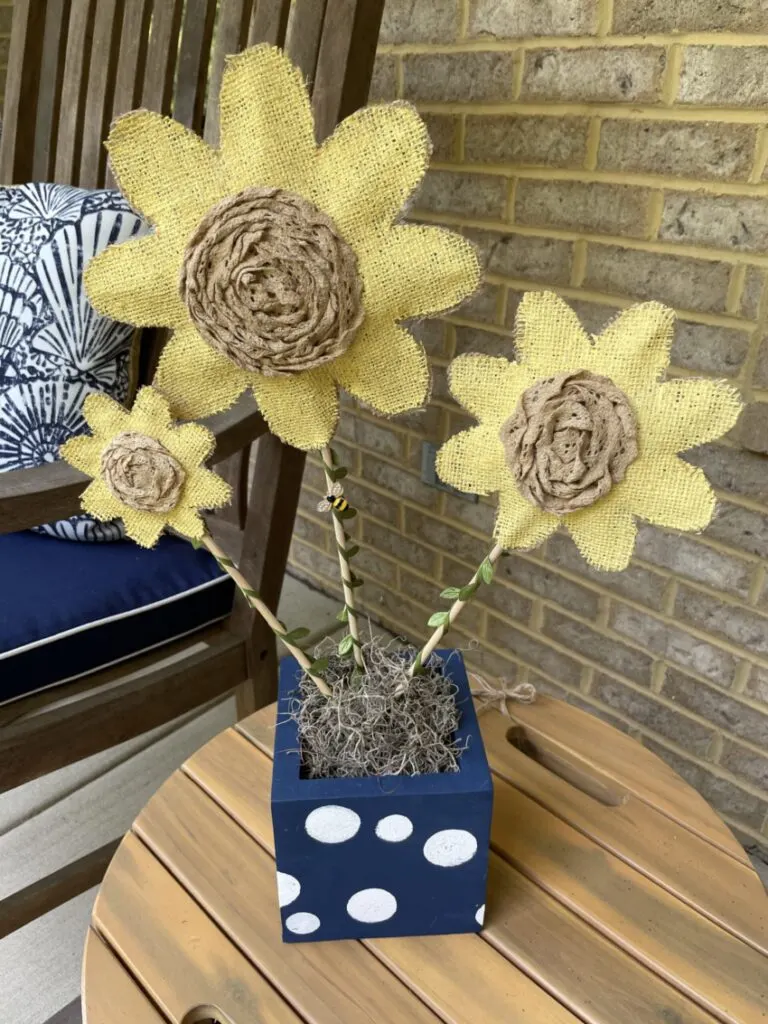

Since I enjoy sewing projects, I will make indoor fabric flowers with a running stitch.
More Craft Ideas:
- Manhattan Cocktail Recipe
- Decoupage Oyster Shell How to Guide
- Easy Chocolate Peanut Butter Banana Bark
- Irish Coffee
- Lemon Drop Martini
See you soon,
Kippi
Ps. This post was shared on Between Naps on The Porch.
