I wanted to make a fun bag to fill with treats, so I decided to make it a heart shape. A heart-shaped bag is perfect to say you care.
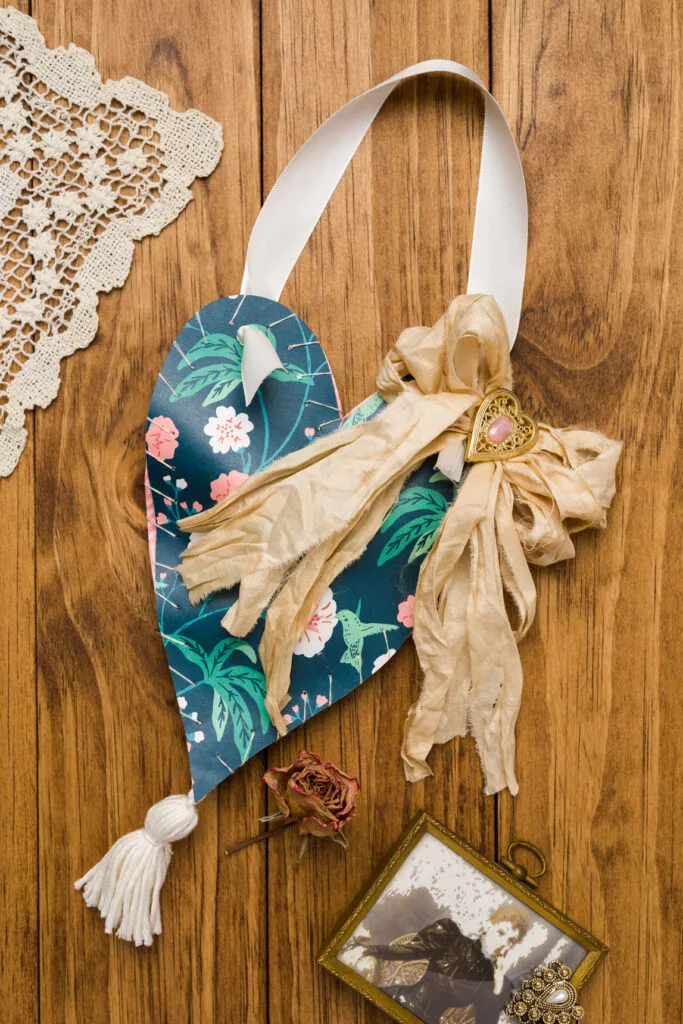
Heart-Shaped Bag
This post contains affiliate links. That means that if you purchase from one of these links, I will make a small commission, but rest assured, you will not pay more for any products.
How to Make a Heart-Shaped Bag
Gift bags are expensive, and they never seem to be the perfect color or size for small gifts; therefore, I decided to make my fun gift bag.
You can use this heart-shaped bag all year, but it is especially fun to use for Valentine’s Day. You might enjoy making fabric hearts too.
Heart Bag Supplies
- Heart Shape Pattern Note be sure to look in your Promotional and spam folders for the pattern
- Cricut machine or use scissors to cut
- Tassel maker
- Craft paper
- Ice pick
- Glue
- Sari silk
- Needle
- Thread conditioner
- Embroidery floss
- Ribbon
- Buttons
- Ribbon
- Yarn
- Cardboard box
- Scissors
- I recommend you watch the how-to video before you begin this craft.


Heart-shaped bag supplies
Cut Heart-Shape Pattern
After downloading the heart sewing pattern, you have two choices: to use scissors to cut out the design or to use a cutting machine such as a Cricut machine.


Paper Heart Cutouts
Make a Tassel
Adding a pretty handmade yarn tassel to the bottom of the heart adds a little Boho vibe that is feminine and fun.
I used the best tassel-making tool I have found to make this tassel, but no worries, you can make your tassel maker if you don’t have this tool. See how in this earlier post.


Yarn tassel
Punch Holes in Heart
To punch holes in the heart pieces, I place them on the wrong side together on some cardboard parts. Then using an ice pick, I punch holes into the seam allowance of the stacked heart pieces.
I like to make my holes about 1/2″ in from the cut edge and about 1/2″ apart.


Punch holes
Attach Tassel
Before sewing my heart bag, I attached the tassel to the inside of the back heart piece being careful not to get glue in the holes I punched.


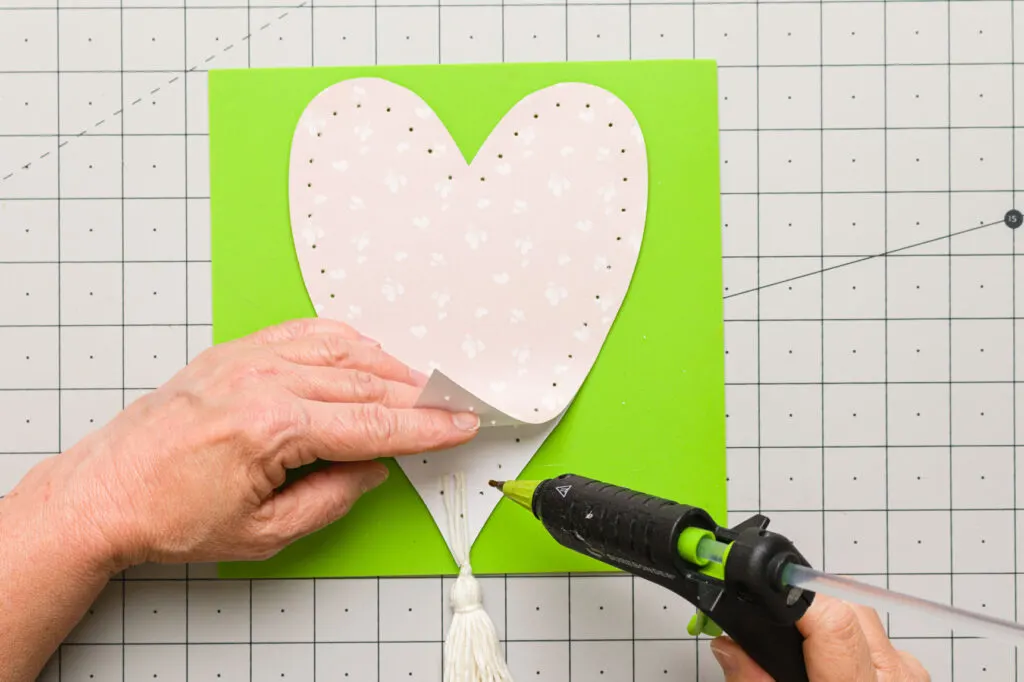

Attach tassel
Sew the Heart-Shaped Bag
Next, I cut 18″ of embroidery floss, then tread it through my needle and knot the other end.
Then I pull the embroidery floss through a thread conditioner to help my embroidery floss from tangling.
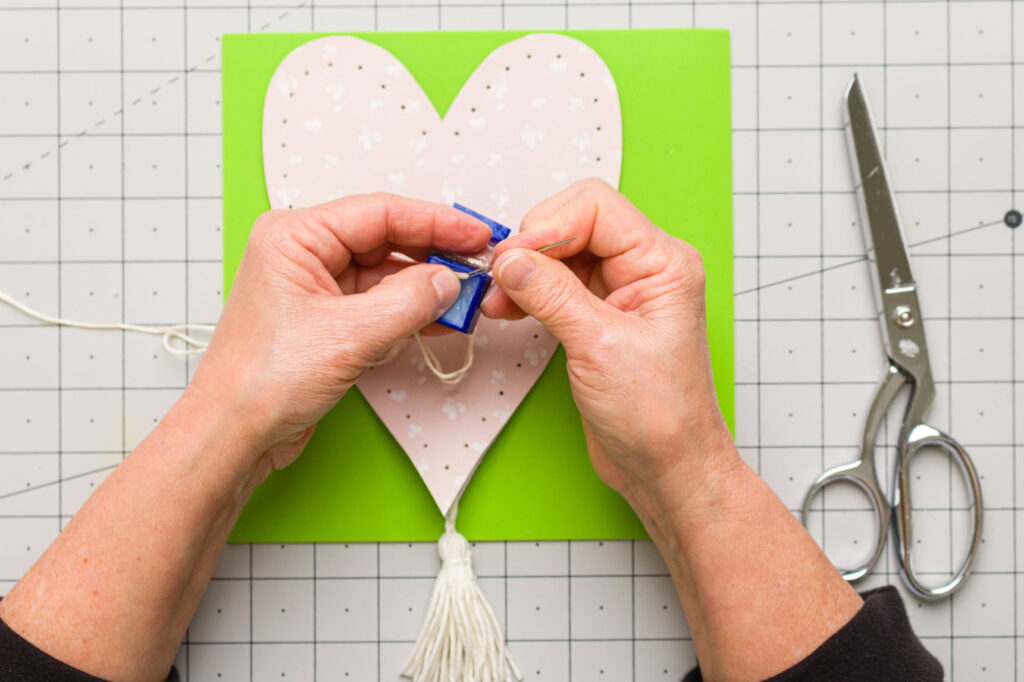


Condition thread
Note: You can top stitch your heart with a whip stitch, running stitch, or blanket stitch.
To begin sewing together my hearts, I hold the heart pieces with the wrong sides facing, then I start at the top center and pull my thread from the backside through the first hole to the front side of the heart.
I repeat this sewing process until I have sewn together about 2/3 of the heart so I have a large enough opening to fill the heart.
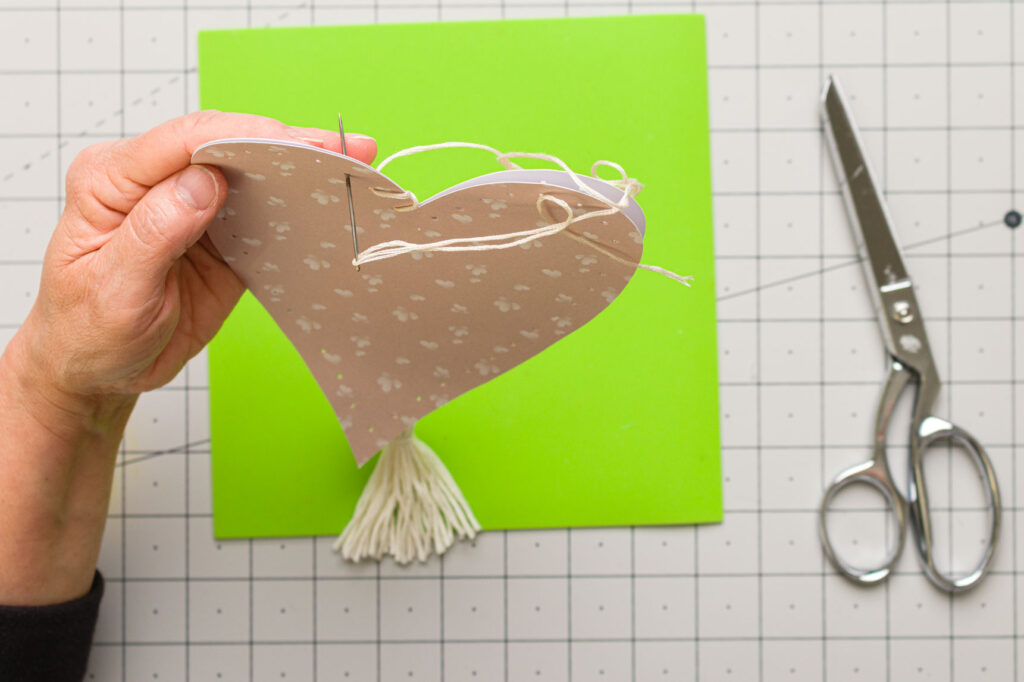


Sew Hearts together
If you enjoy sewing projects you might enjoy making a full-sized tote bag.
Fill Bag with Gifts or Fiber
You can fill your heart with candy, small gifts, or fiberfill.
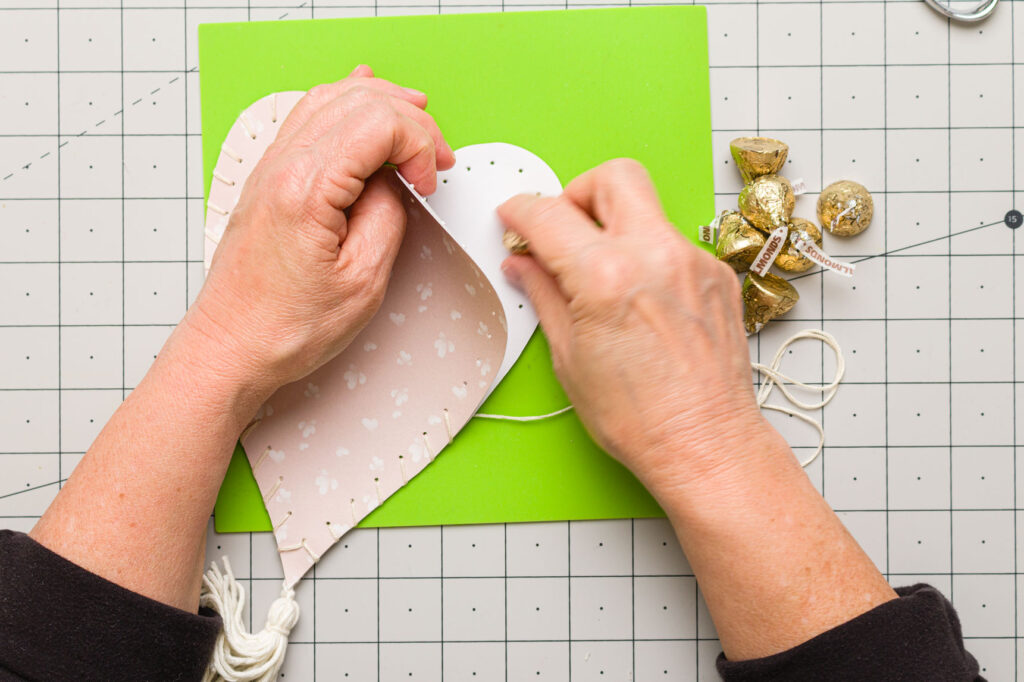


Fill heart
Seventh Step: Sewing to Close Bag
After I filled the heart with candy, I continued stitching around the heart until it reached the last hole then I knotted and trimmed my embroidery floss.


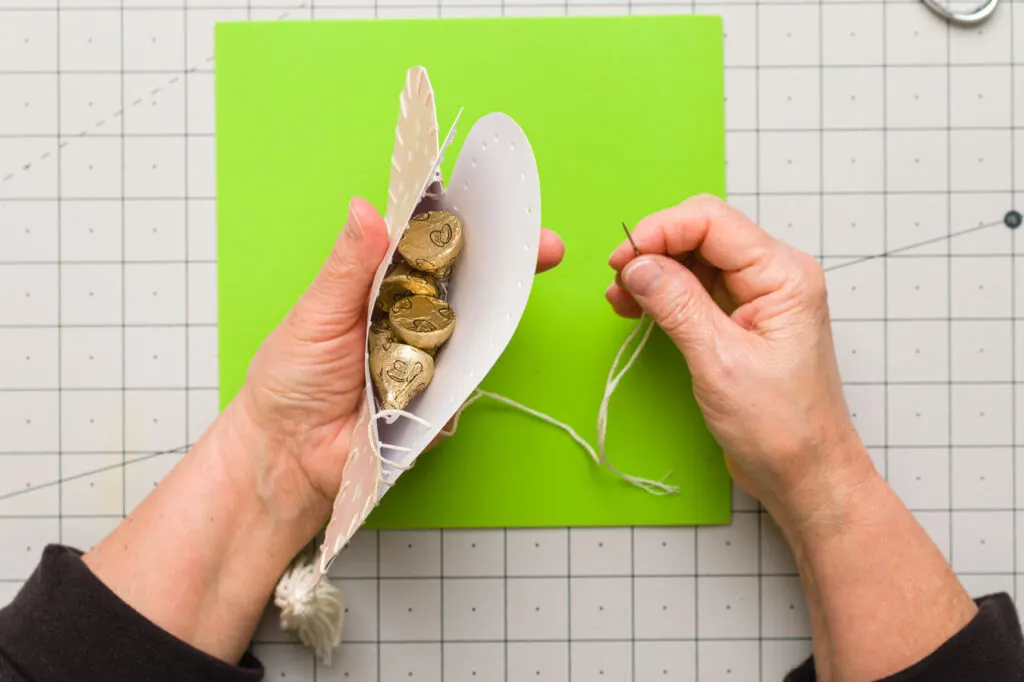

Filled heart
Add a Ribbon Hanger
Next, I used a hole punch to make holes at the top on both sides of the heart about one inch from the cut edge so that the heart does not tear.


Punch holes
To create a handle I pulled a ribbon through the back holes of the heart and knotted it on the front, however, the handles could be installed the opposite way if you prefer.


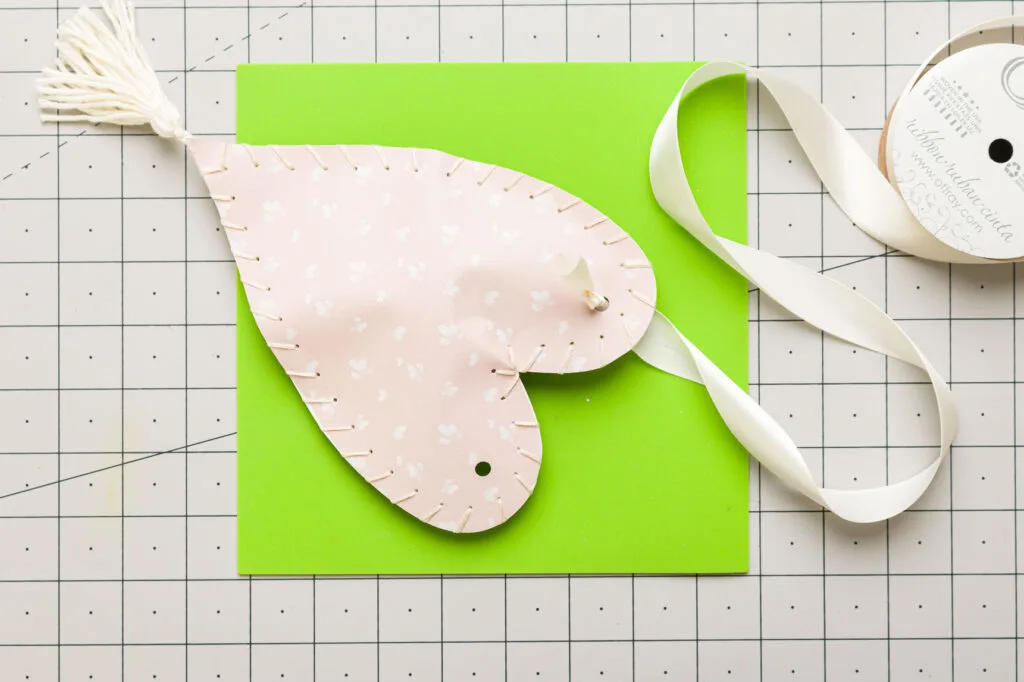

Ribbon hanger
Embellish Heart Gift Bag The a Button
Next, I like to add embellishments such as a bow made with ribbon, lace, or sari silk, and a little bling too. I used a button for my blink on these hearts.


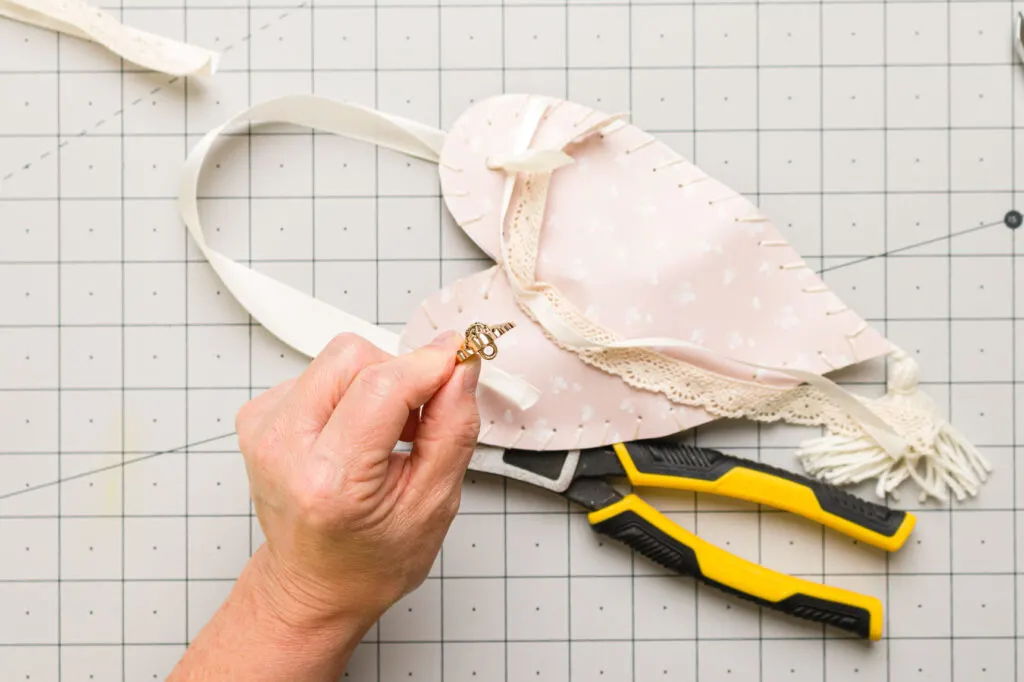

Embellish with ribbon and lace
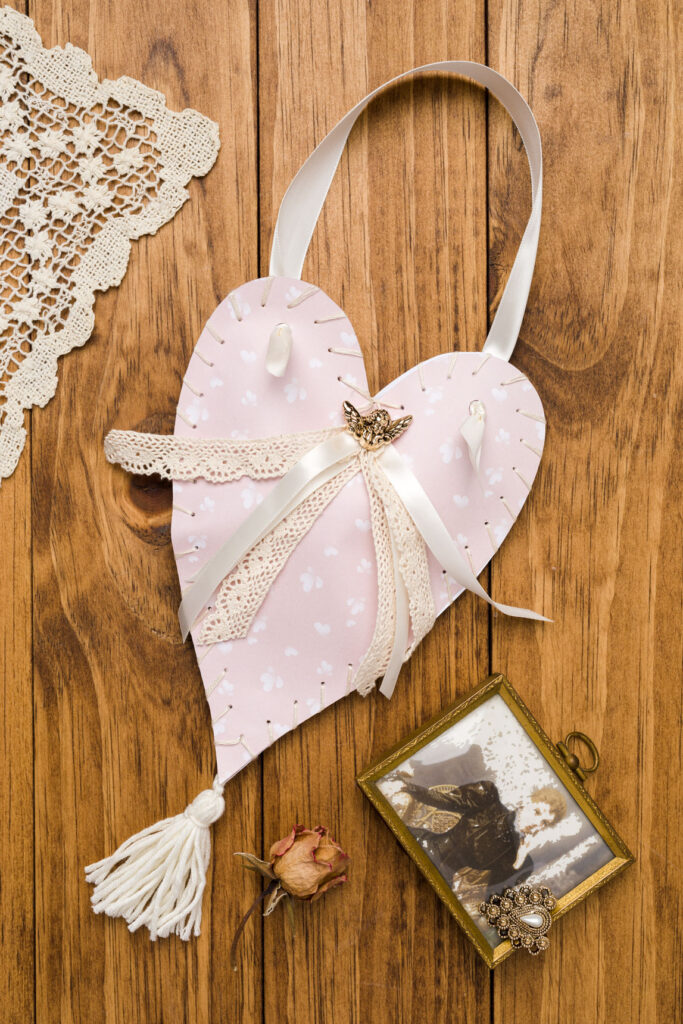


Heart-shaped bag with candy
The heart-shaped bag below has a gorgeous silk sari bow made using my favorite bow-making technique.
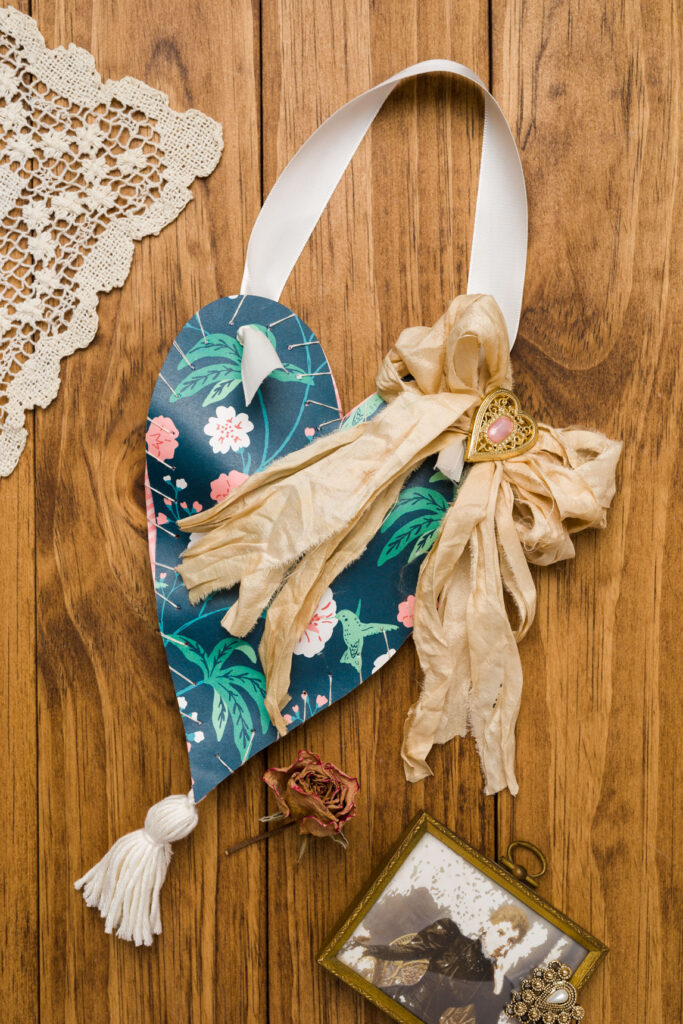


Heart Shaped Bag
Note: You can create your heart out of pieces of fabric for a mini heart-shaped tote.
Want More Craft Ideas?
Please join me (with this form) as we craft up some fun. You can look forward to receiving new inspiration every week.
See you soon,
Kippi

Sonya
Sunday 20th of February 2022
I just love these crafts
Kippi
Tuesday 22nd of February 2022
@Sonya, Thank you so much. Happy Spring, Kippi