Learn how to make a simple upcycled wine bottle bird feeder for your feathered friends.
I used an upcycled wine bottle as my inspiration for this fun project. For the wood, I used the same wood I used to build our birdhouses and bat houses.
We have enjoyed feeding the birds with pine cone and orange bird feedersOrange Bird Feeder, however, the bottle feeder is self-filling which makes it so easy.

Wine bottle bird feeder
Please note: I have joined some amazing bloggers for this upcycle bottle challenge; you can find their inspiring projects at the end of this one.


Int’l bloggers club
How to Make a Wine Bottle Bird Feeder
You can use a wine bottle or any bottle just make the size adjustments.
Bird Feeder Supplies
**I recommend watching the bird feeder video before you begin.
1x6x8 pressure treated
1 ¼ inch deck screws
1 ¼ inch finish nails
Exterior glue
Glass wine bottle
Tools:
Table saw
Miter saw
Cordless drill
Band saw
1 ½ inch drill bit
countersink drill bit
Measuring tape
Speed square
Glass cutter
Trim saw
Lumber Cuts
The first step for building this bird feeder is to cut off your wine bottle and then measure the length and width to determine the needed lumber cuts. Note: I used a simple glass cutter to cut my wine bottle half.
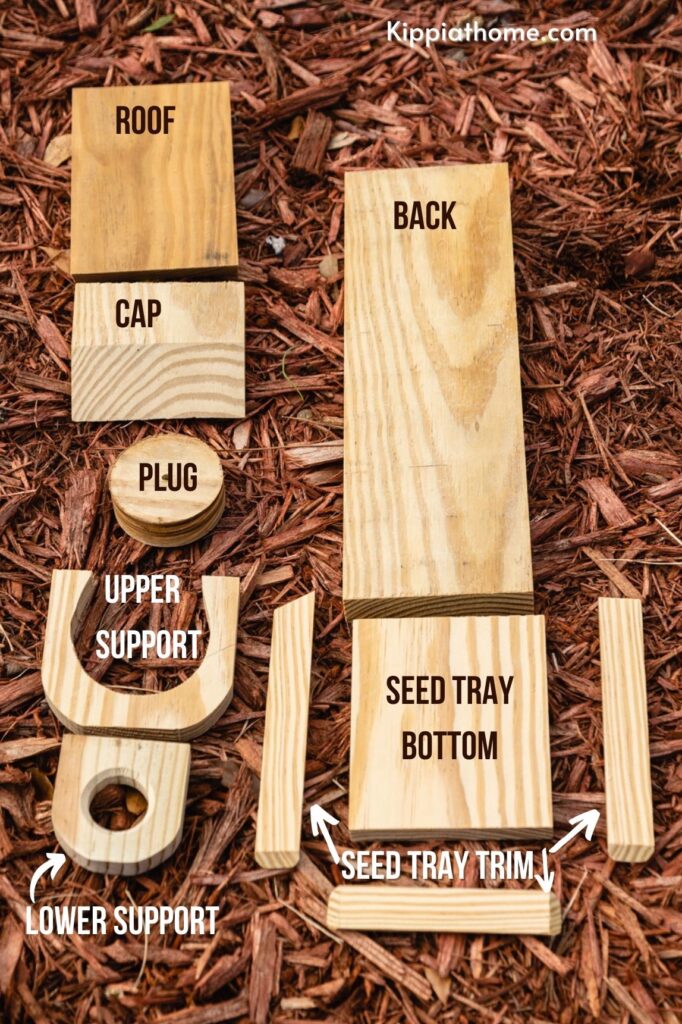

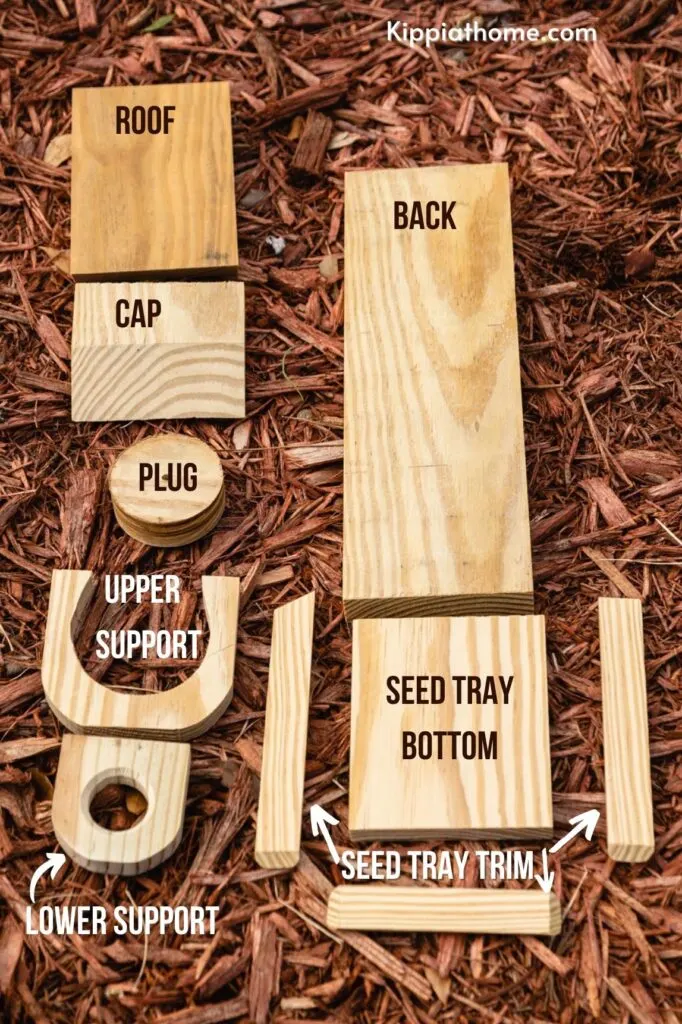

Lumber cuts
Back 1×4 1/2×15
Bottom 1/2×4 1/2x 5 ½
Lower bottle support 1x3x3
Upper bottle support 1×4 ½ x4 ½
Bottle cover 1×4 1/2×3
Roof 1×4 1/2×7
Seed tray trim 1×1/4 (cut three to fit the size of your tray)
To begin building the wine bottle bird feeder, I cut my lumber to fit the size and shape of my wine bottle; however, every bottle is different, so please adjust your cuts to accommodate your wine bottle.
After cutting out the back of the bird feeder, I then cut one end at a 30-degree angle.
Next, I cut out the bottom (seed tray).
Then I cut the lower bottle support and cut a hole to fit my bottle’s neck. Next, I rounded off the front corners using a tin can for my template.
Next, I cut the upper bottle support using a hole cutter (save the round wood cutout for the plug). Note: I cut the hole slightly larger than my bottle. I rounded the front of the upper support the same way as I rounded the lower support.
Then, I cut the bottle cover and cut a 60-degree angle for the front edge.
For the roof, I cut one end at 30-degrees (this will be the end that rests against the backboard).
Finally, I cut the seed tray trim to hold the seeds from spilling over the sides. Note: I cut the side trim pieces longer than needed then trimmed them to fit.
Wine Bottle Bird Feeder Plans
To begin assembling the bird feeder, I clamped the back piece to my work table and butted the bottom seed tray board, then made two pilot holes (A) through the bottom to the backboard.
Next, I install two deck screws (B) into my pilot holes.
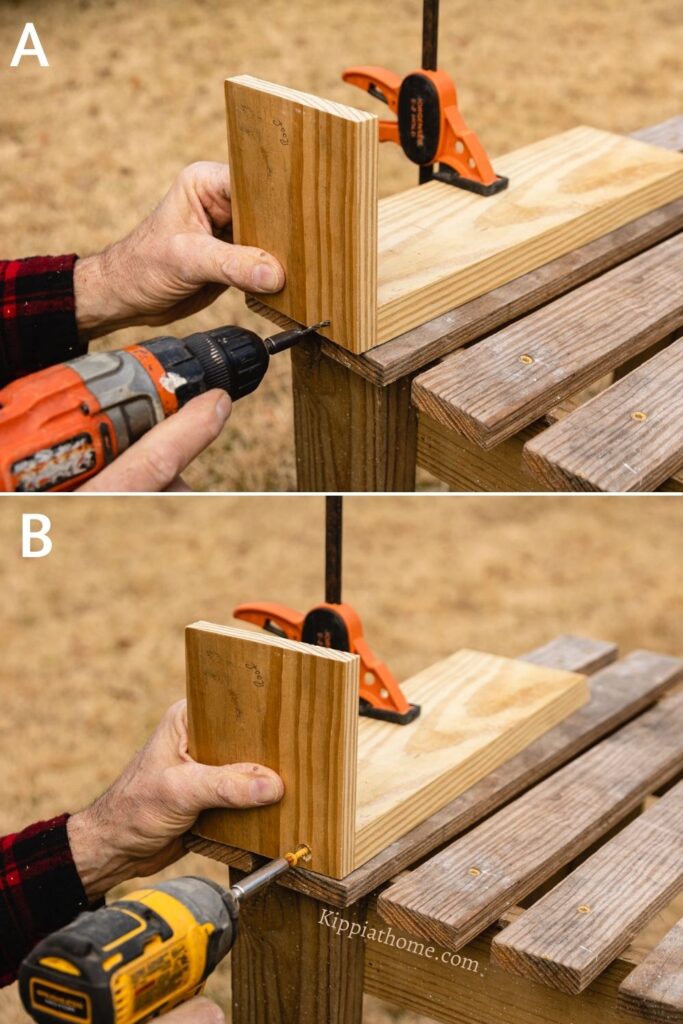

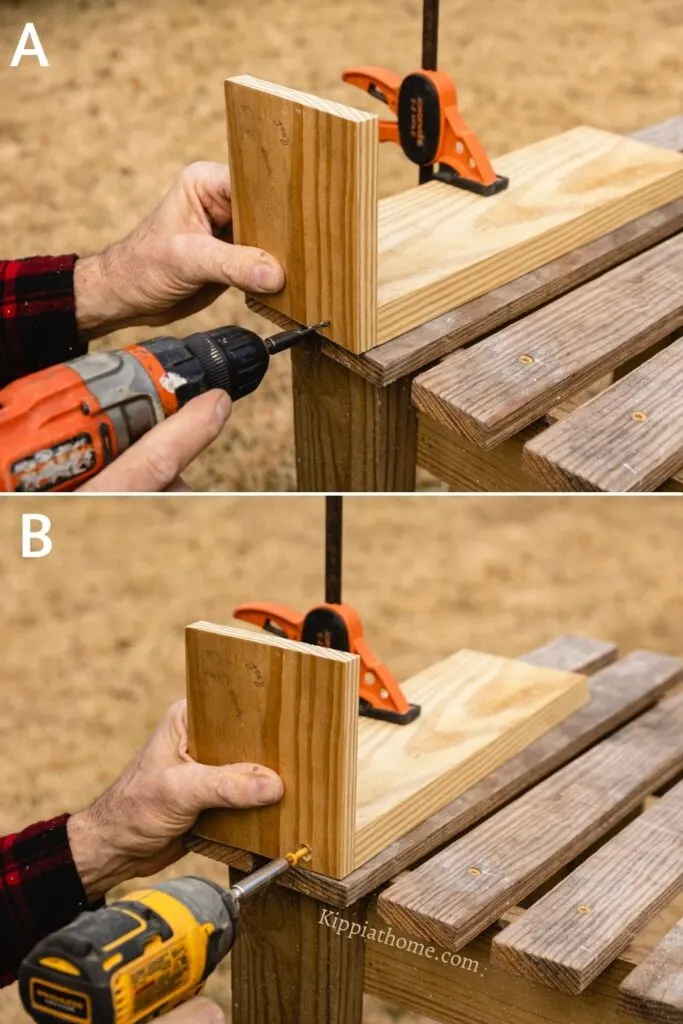

Pre-drill and screw
Lower Bottle Support
To attach the lower bottle support, I held it in place and drilled one pilot hole, then added a screw.
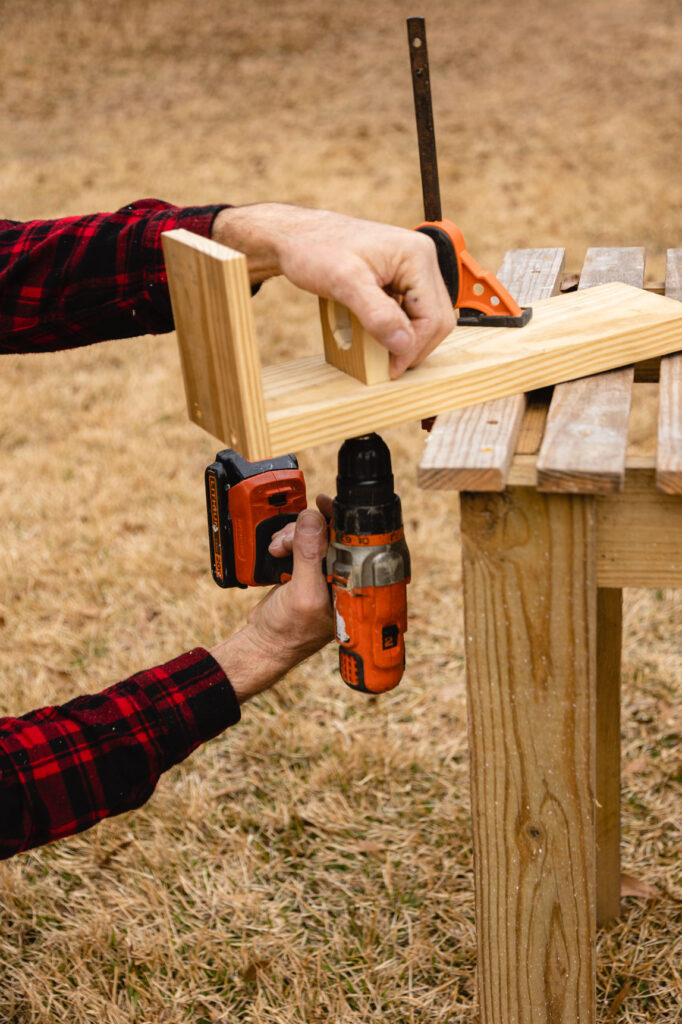

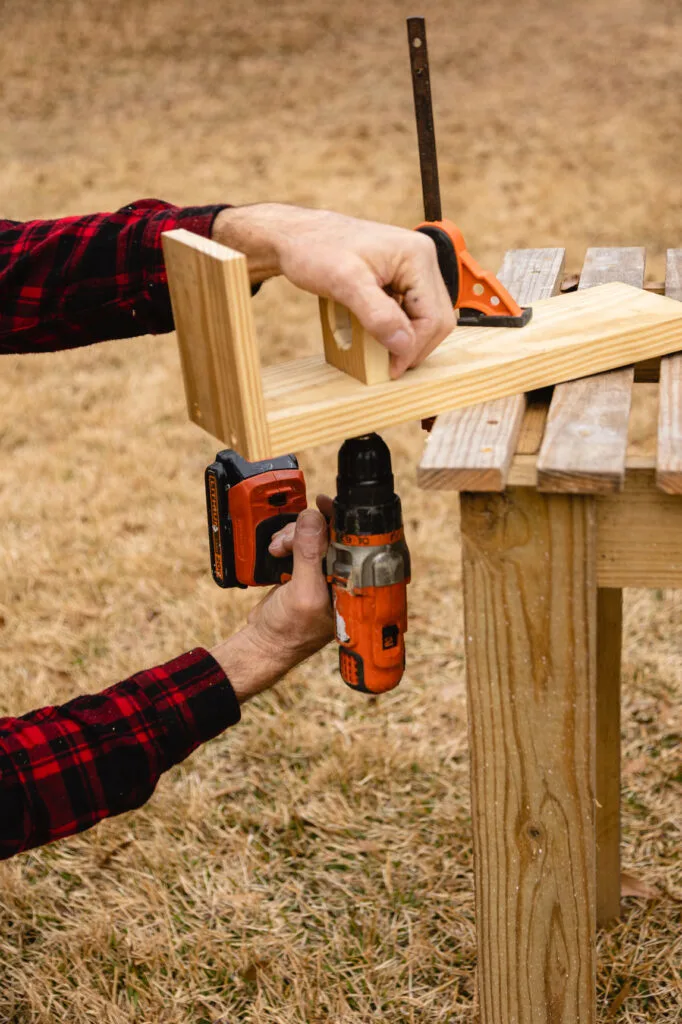

Pre-drill bottle support
Upper Support
Next, I clamped the upper bottle support in place. Note: Your support should be installed so that the cut edge of the bottle is even with the top of the wooden support bracket.
From the backside drill, two pilot holes to holes, then attach upper support with screws.
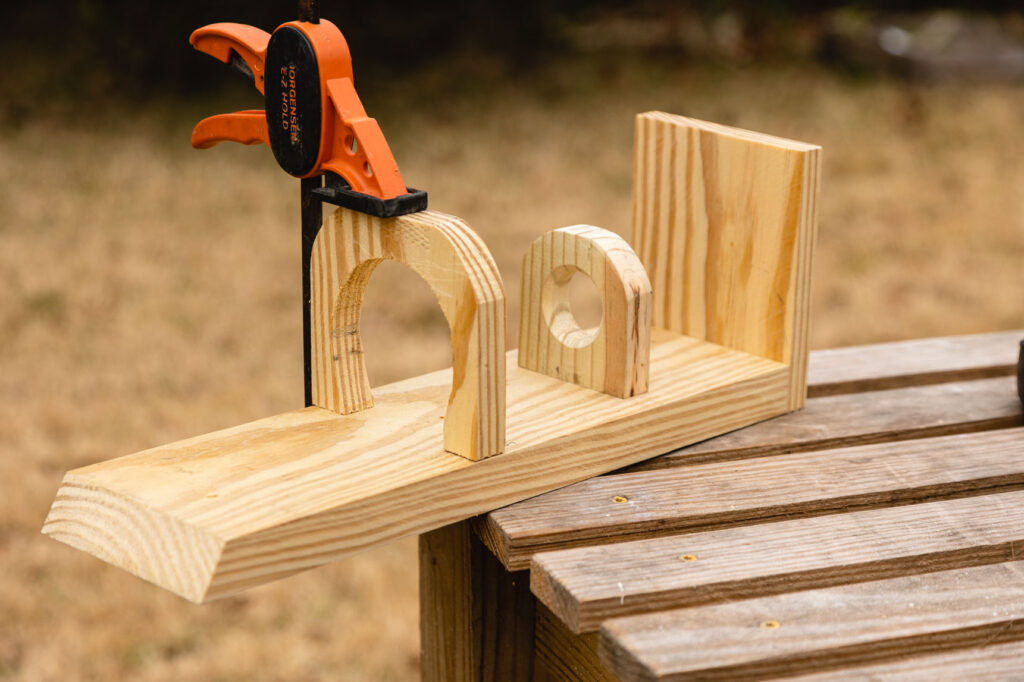

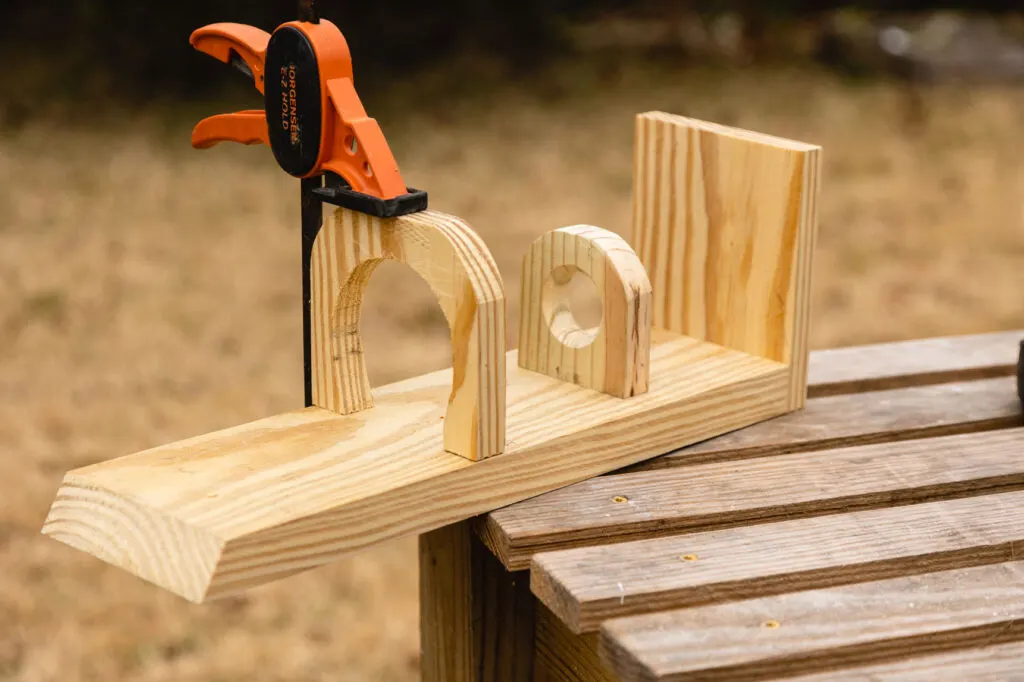

Clamp upper bottle support
Bottle Cover
I used the wooden circle cut out from the upper support and attached it to the bottle cover to create the bottle cover.
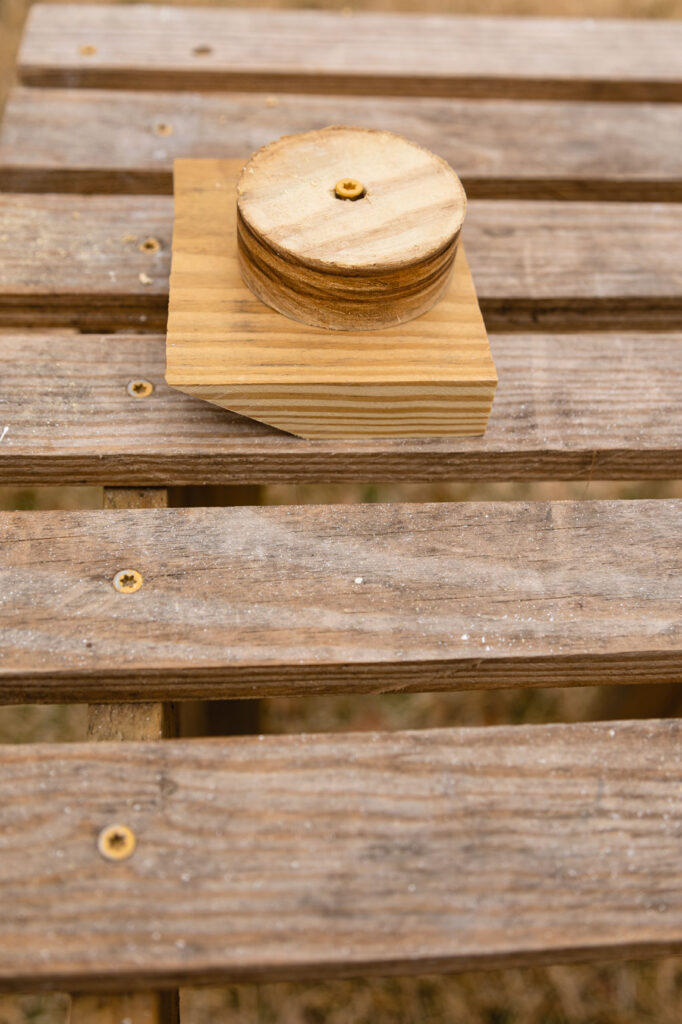

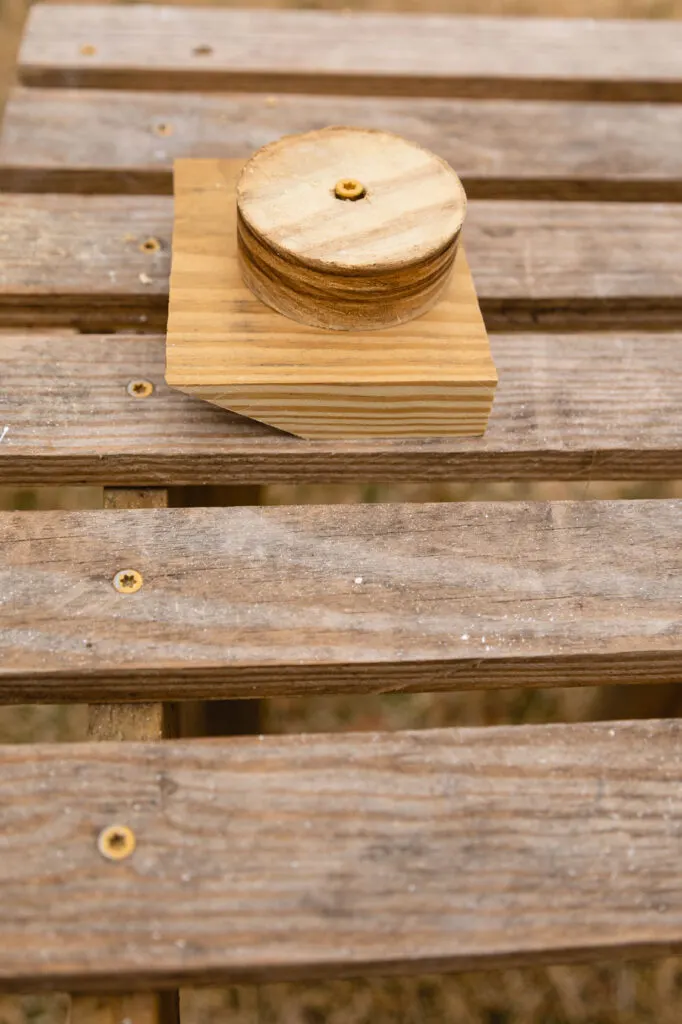

Bottle plug
I recommend placing the cut end of your bottle over the plug to check the fit.
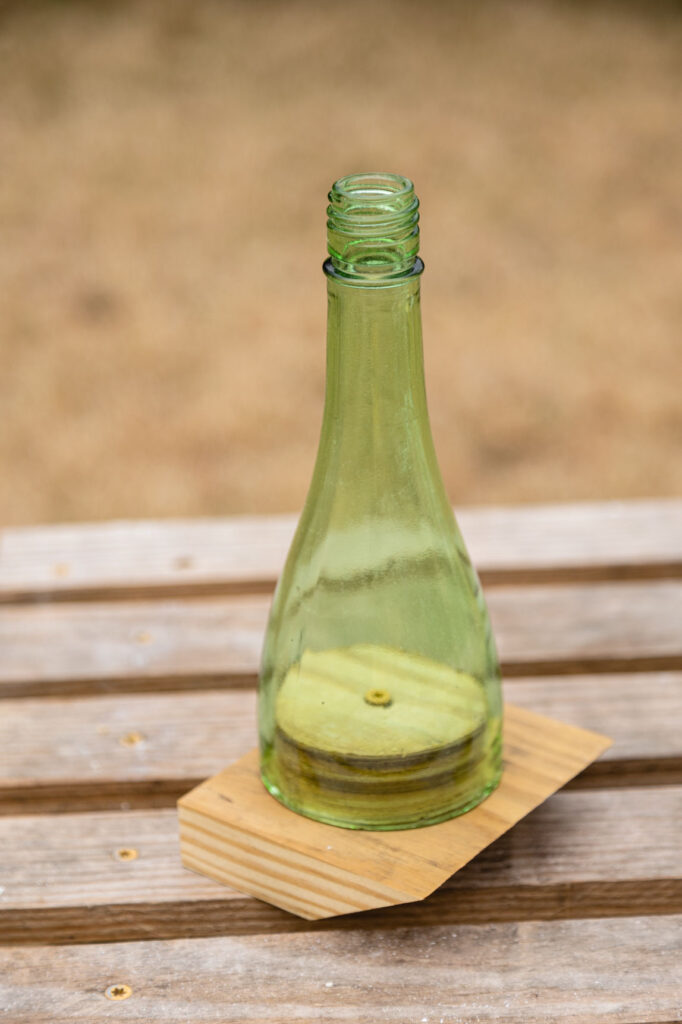

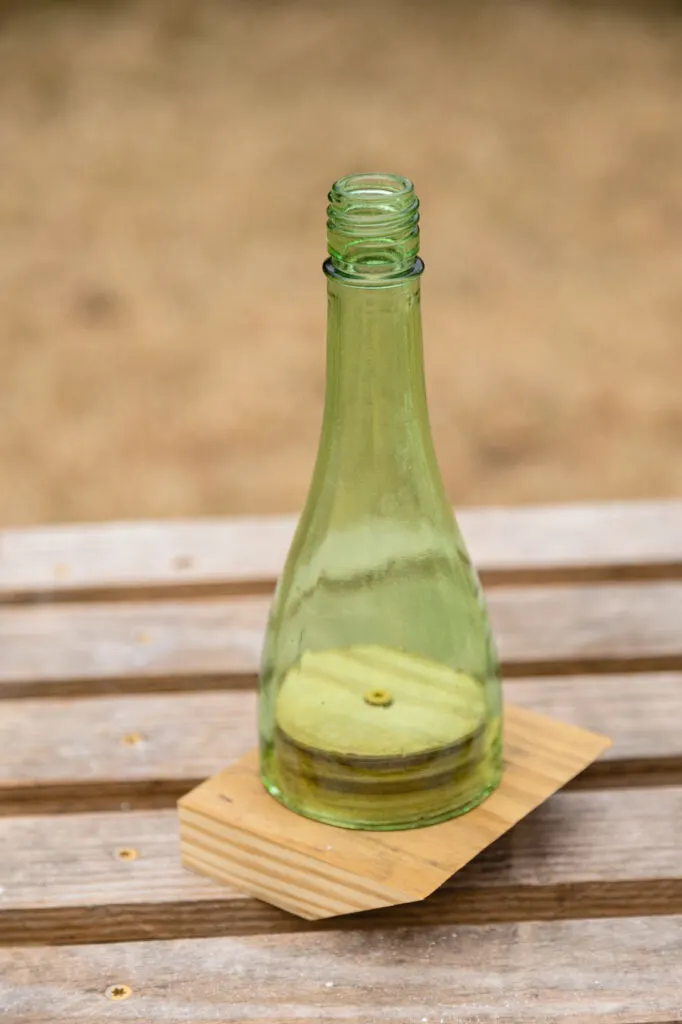

Glass Bottle with plug
Roof
Next, I placed the bottle and the bottle cover plug in the wooden holder to check the fit of the roof.
Note: I used a Dremel (a sanding band) to grind the front edge to adjust the fit.
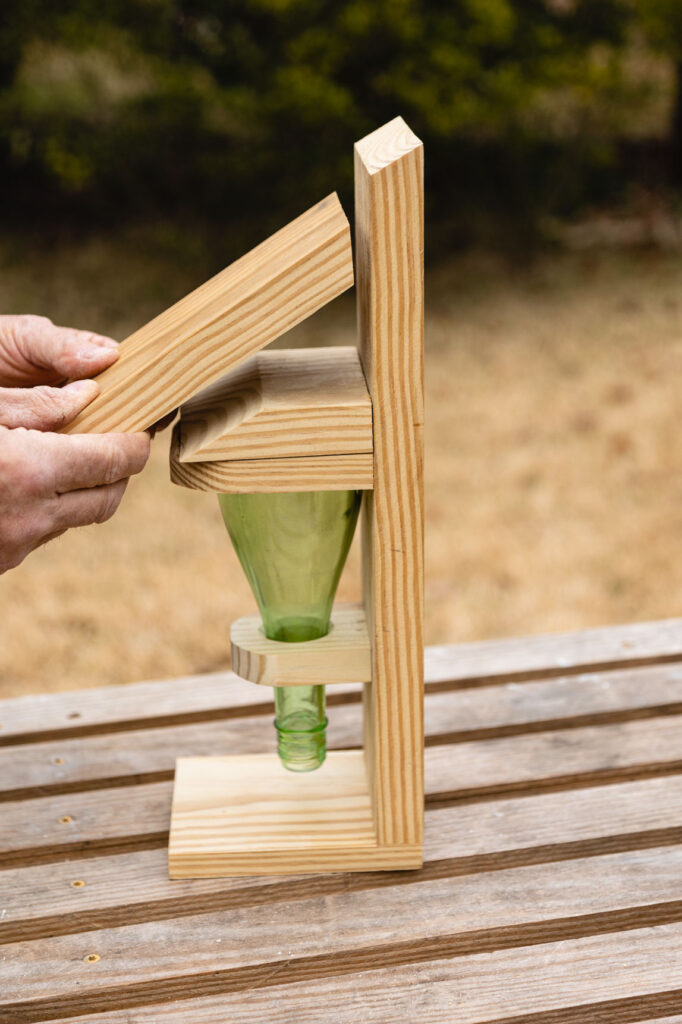

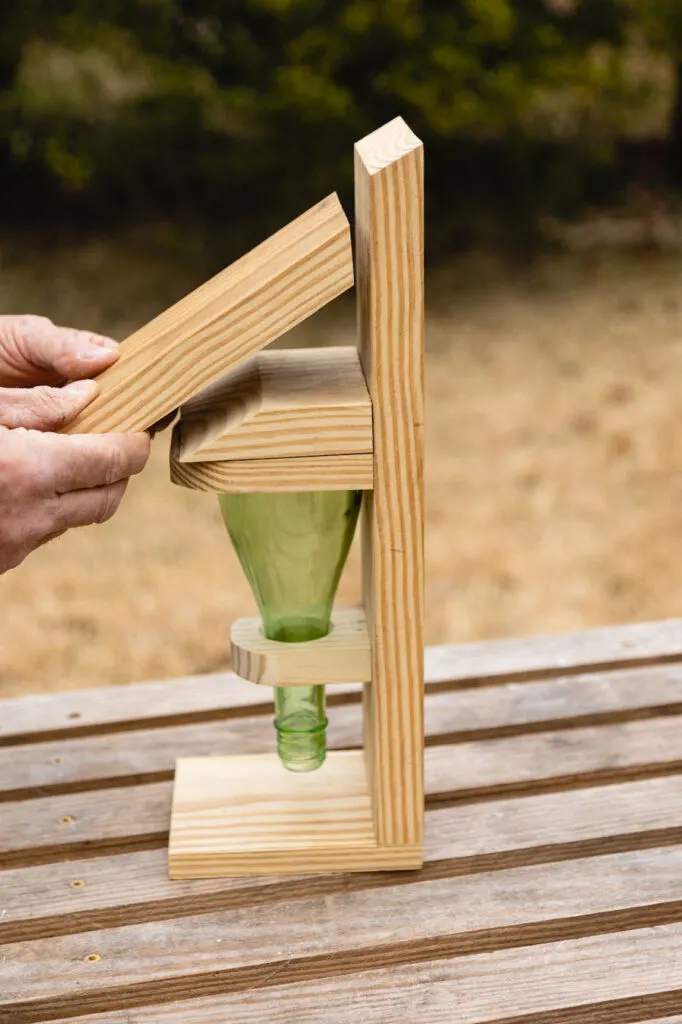

Glass bird feeder roof
Next, I attached the bottle cover to the bird feeder roof by making two pilot holes (C) and installing screws in the pilot holes (D).
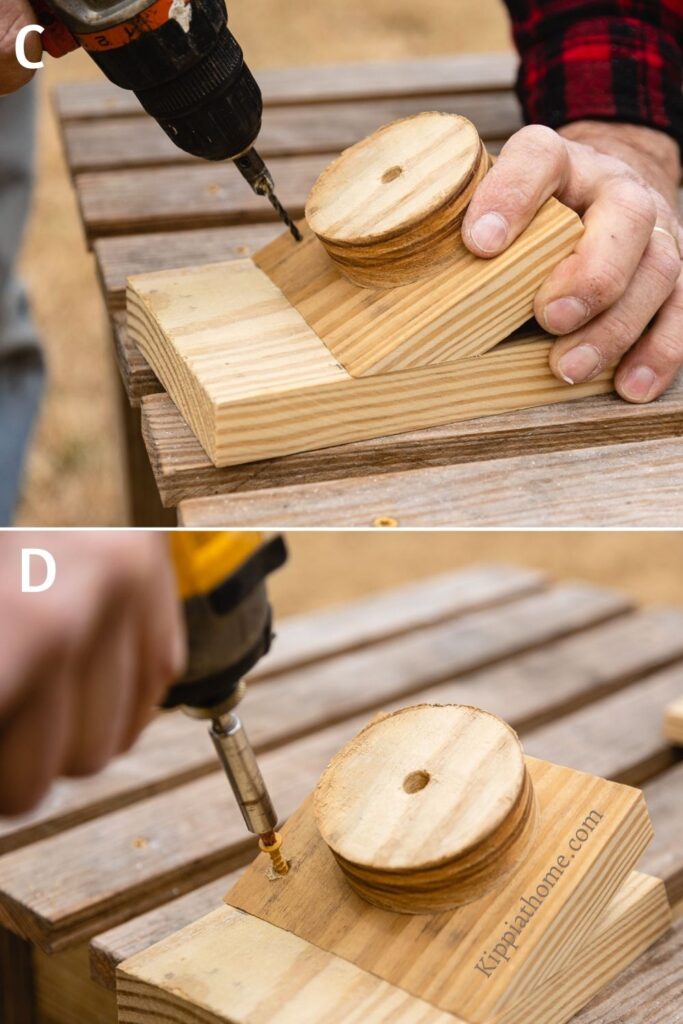

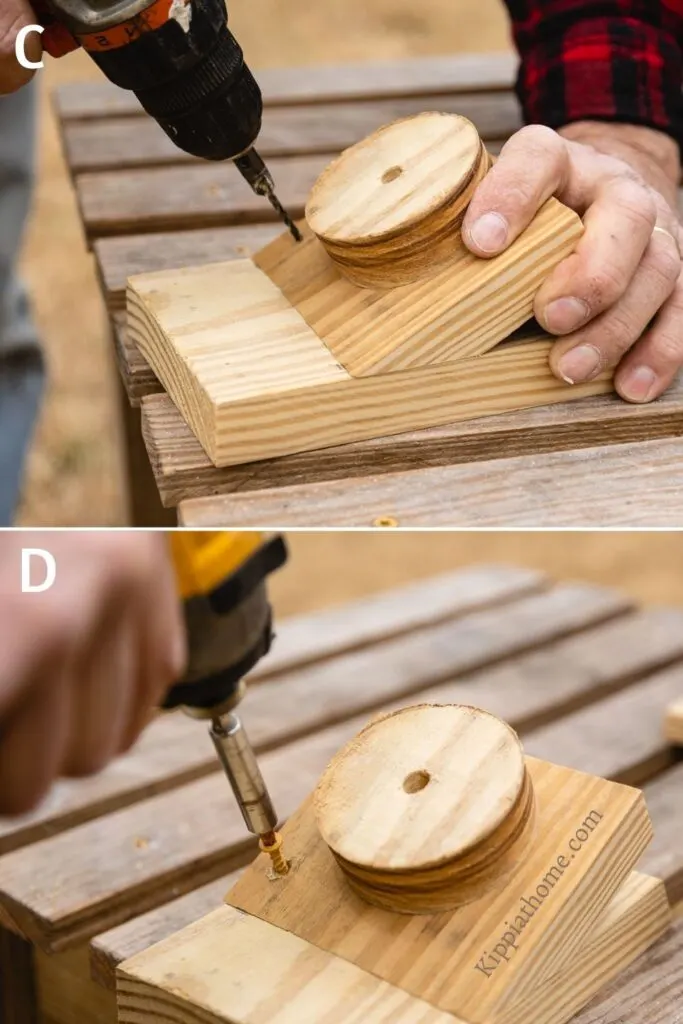

Attach the roof to the plug
Trim
To attach the front bottom seed tray trim, I applied wood glue then placed it along the front edge aligning the trim to the bottom edge of the tray. Note: the trim will create a guard for the seeds.
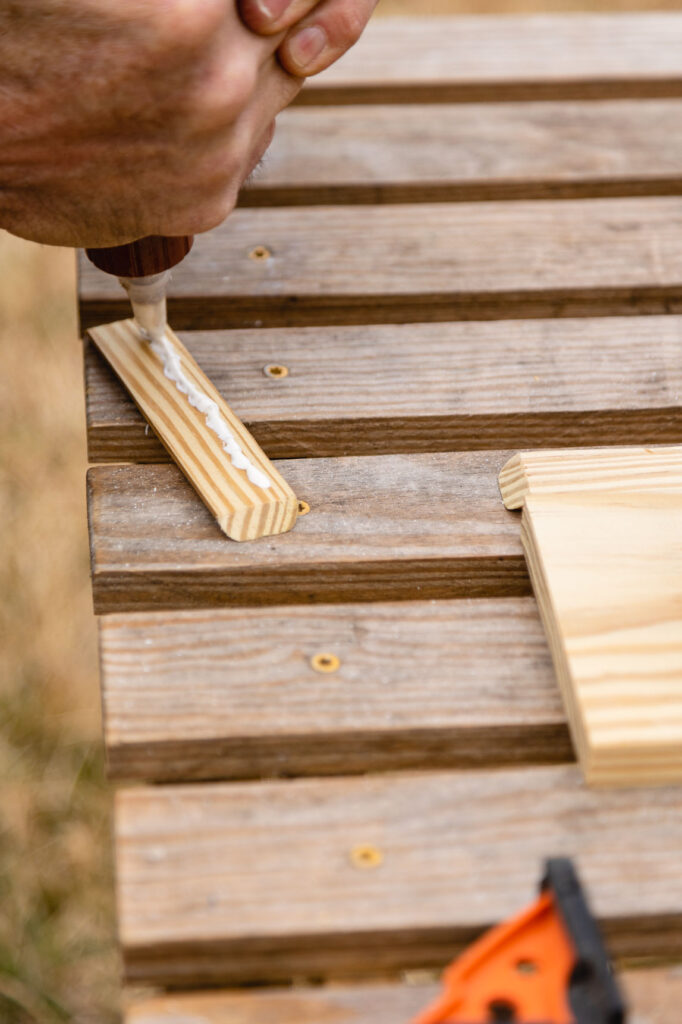

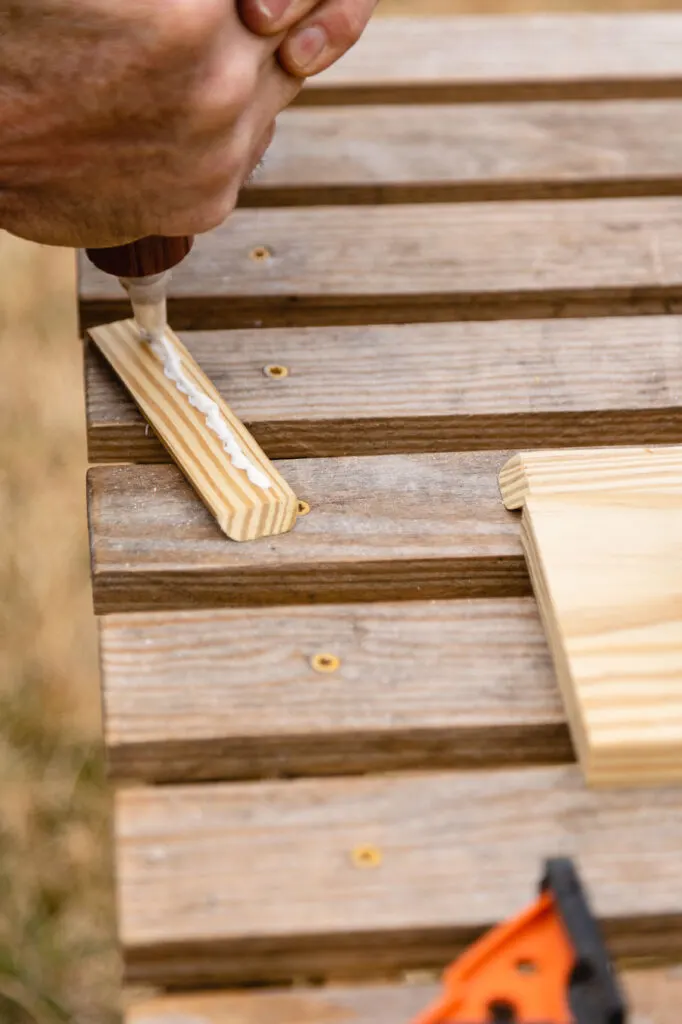

Glue seed tray trim
Then I used a clamp to hold the front trim in place while hammered in two finished nails.
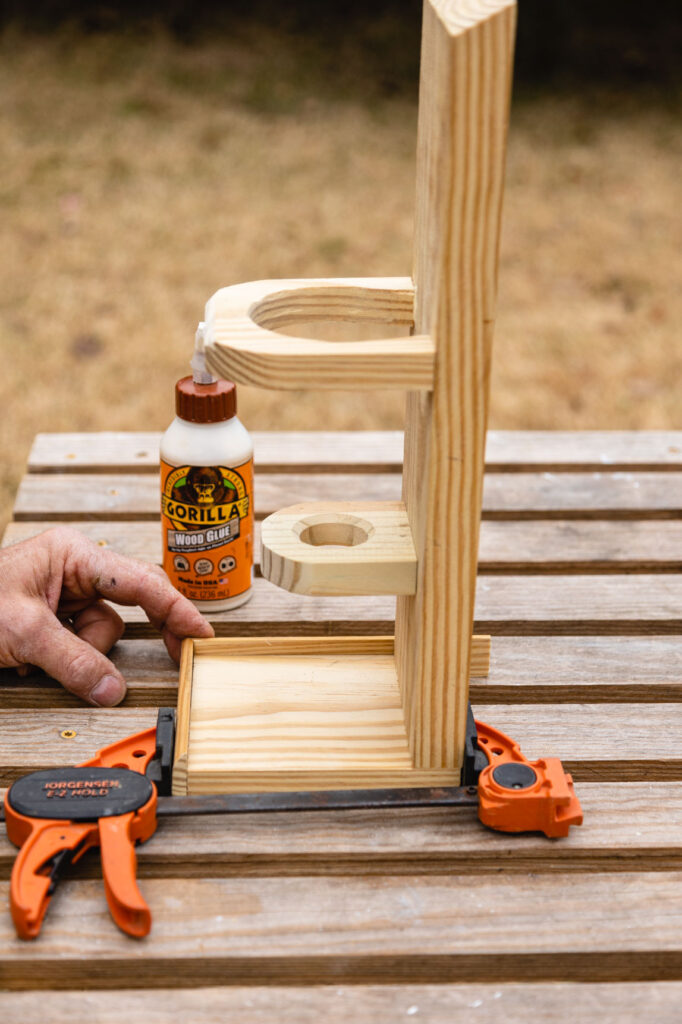

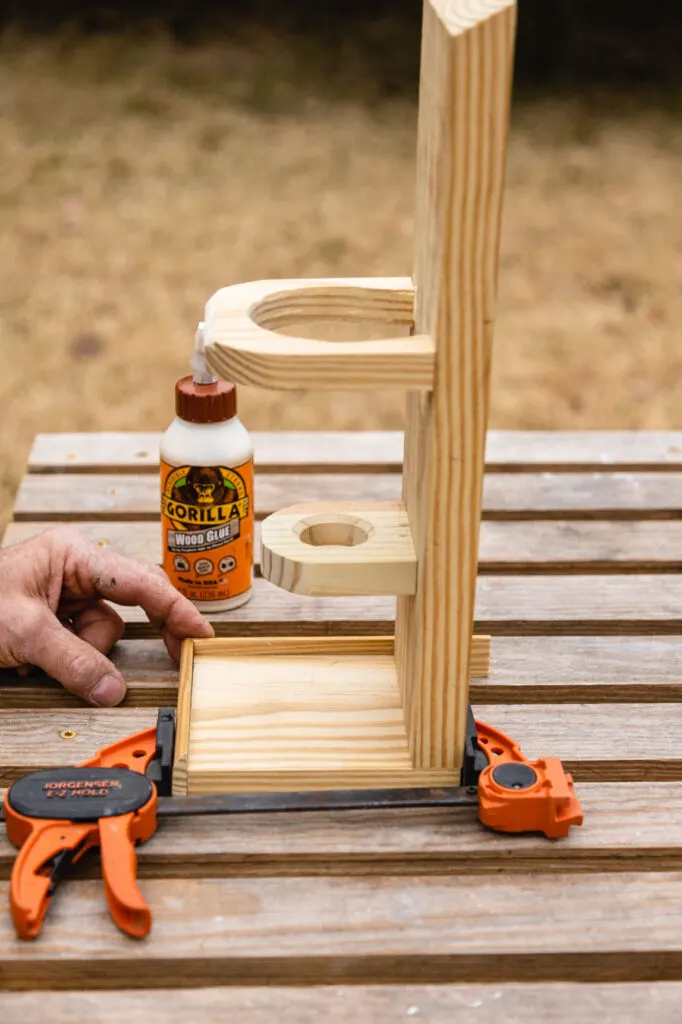

Front trim clamped in place.
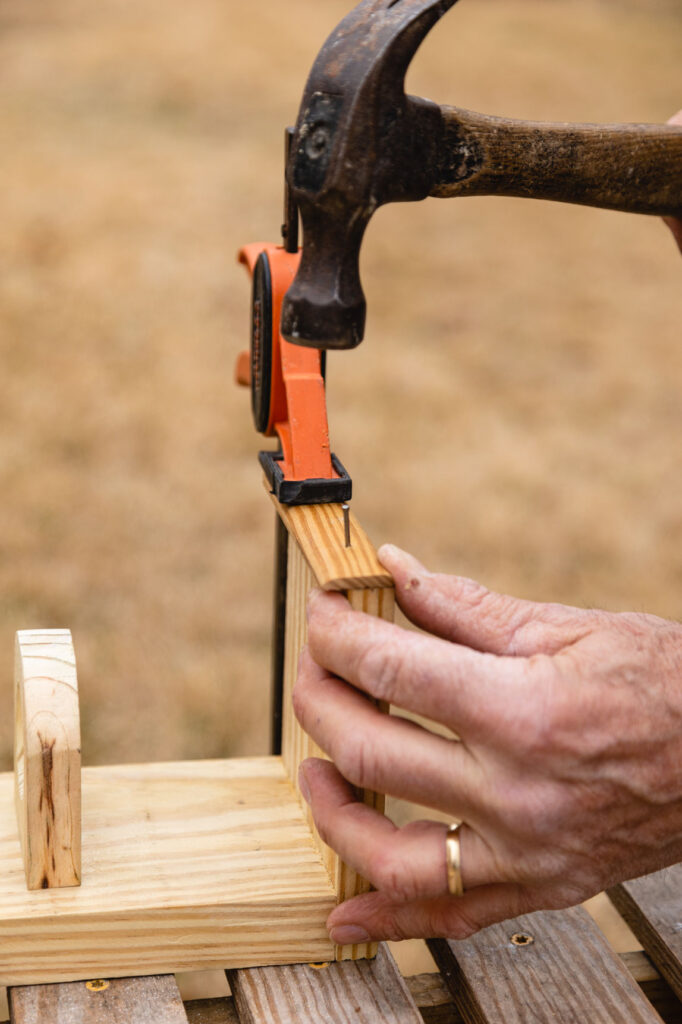

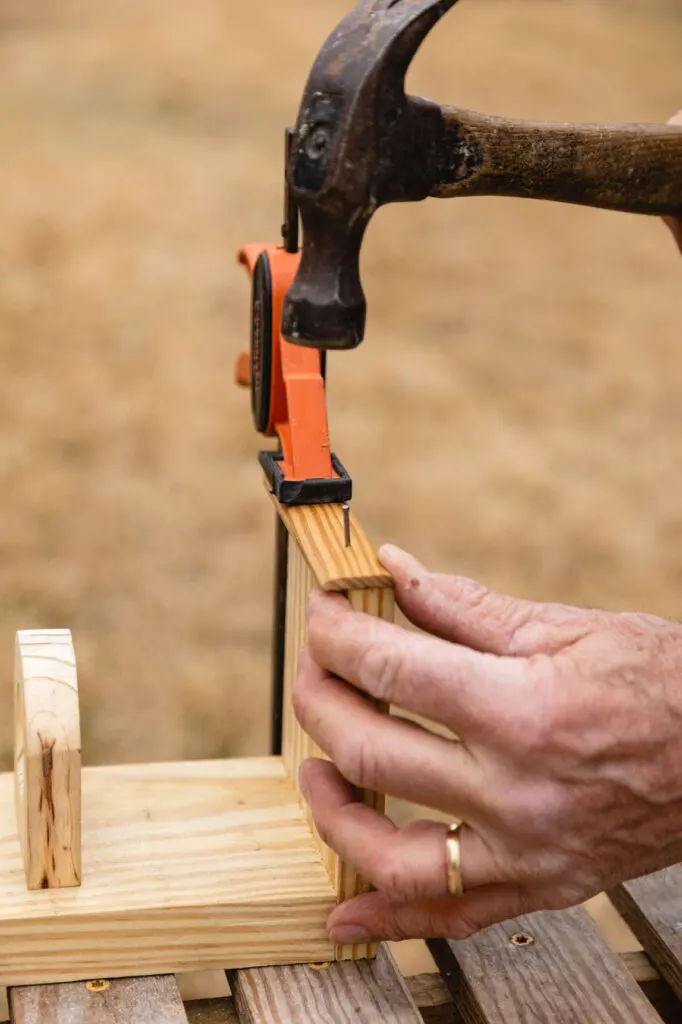

Nail on trim
Next, to attach the side trim, I applied wood glue to the sides of the seed tray and then placed the trim pieces in place, aligning to the front edge.
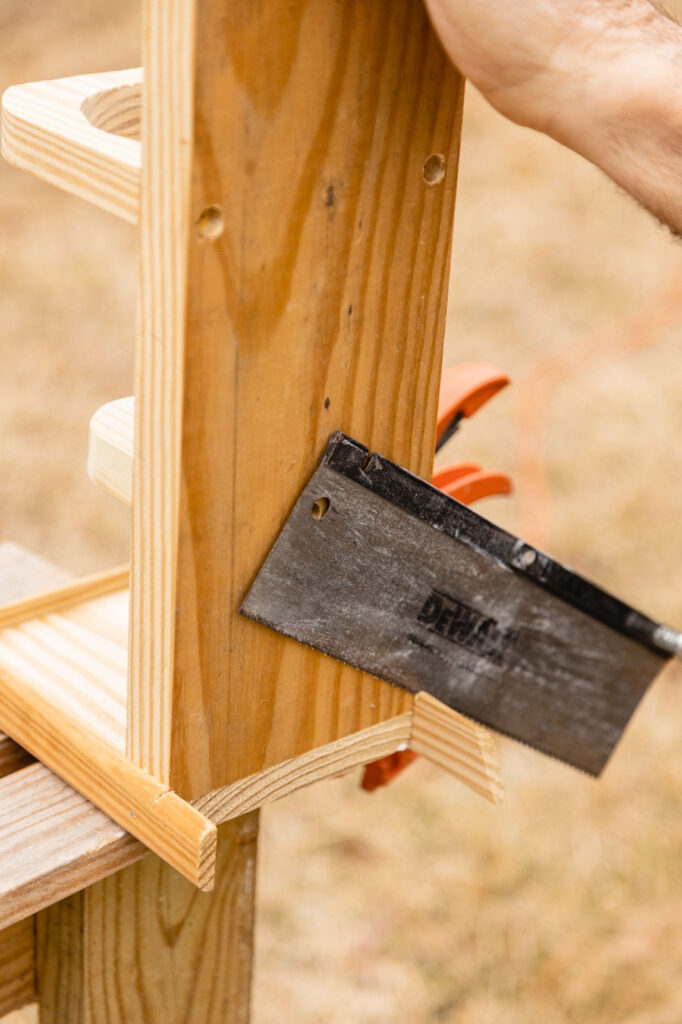

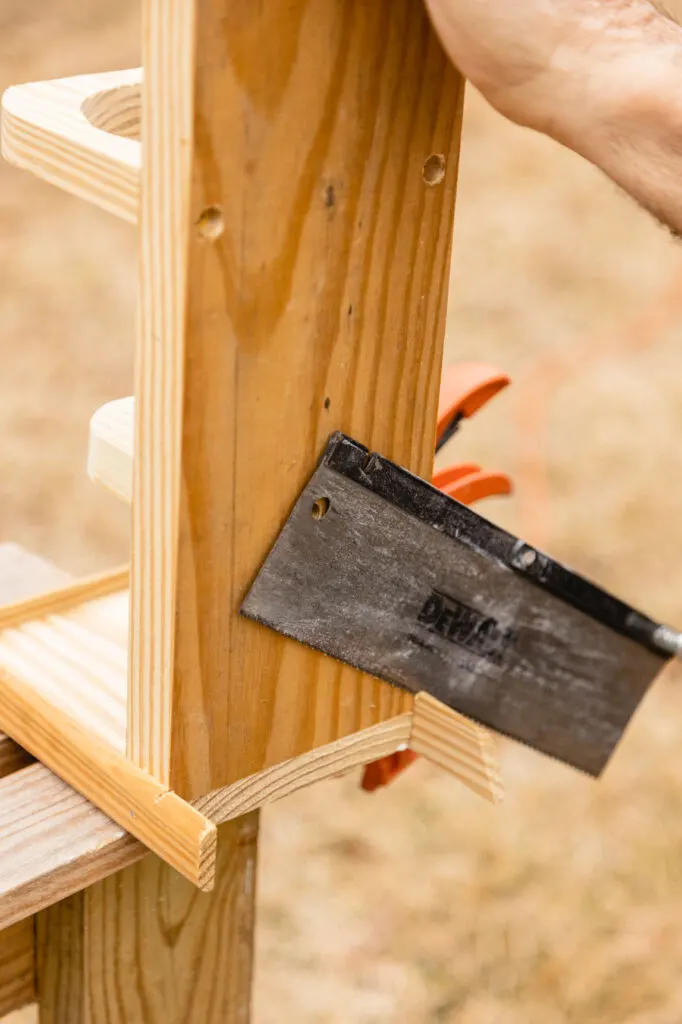

Cut off excess trim
Then I nailed the side trim in place with finish nails and trimmed the excess trim flush with the back using a trim saw.
Filling the Wine Bottle
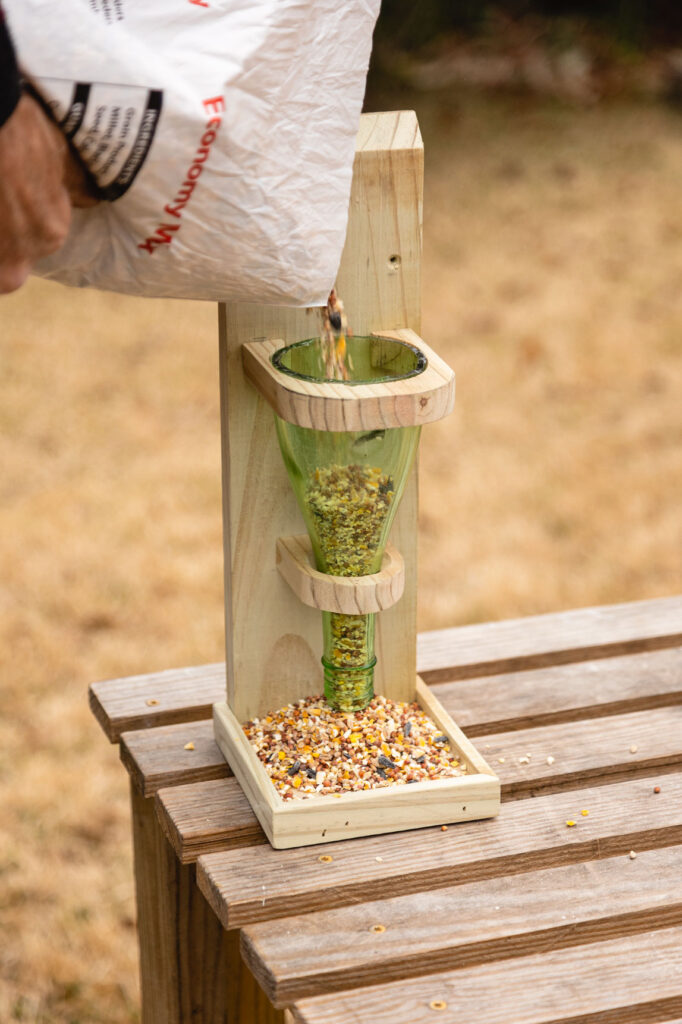

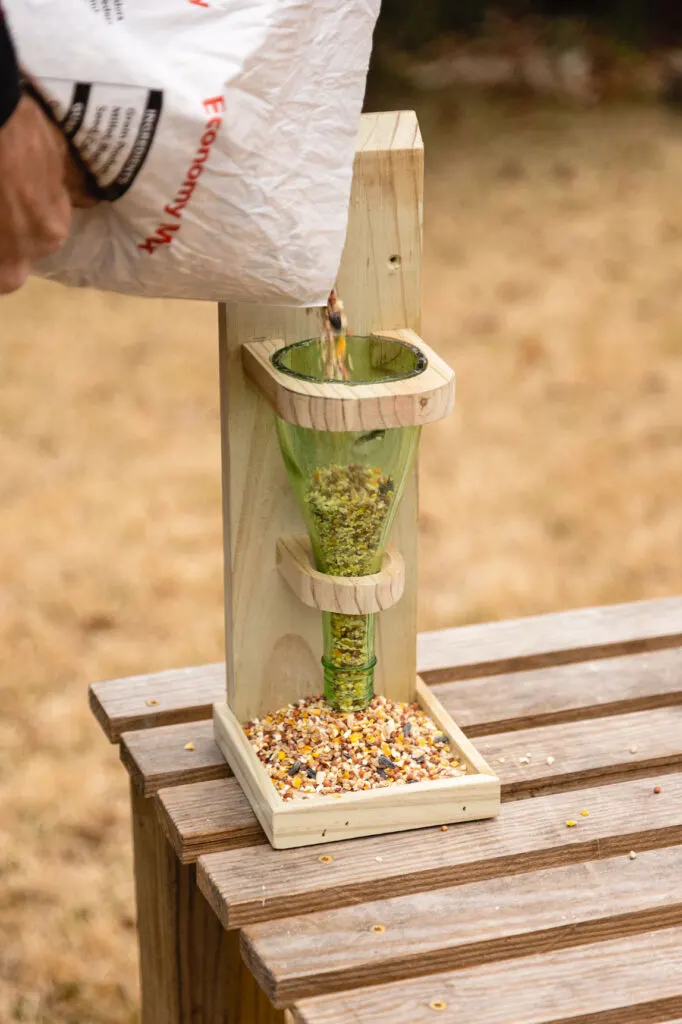

Fill Bottle bird feeder with seeds
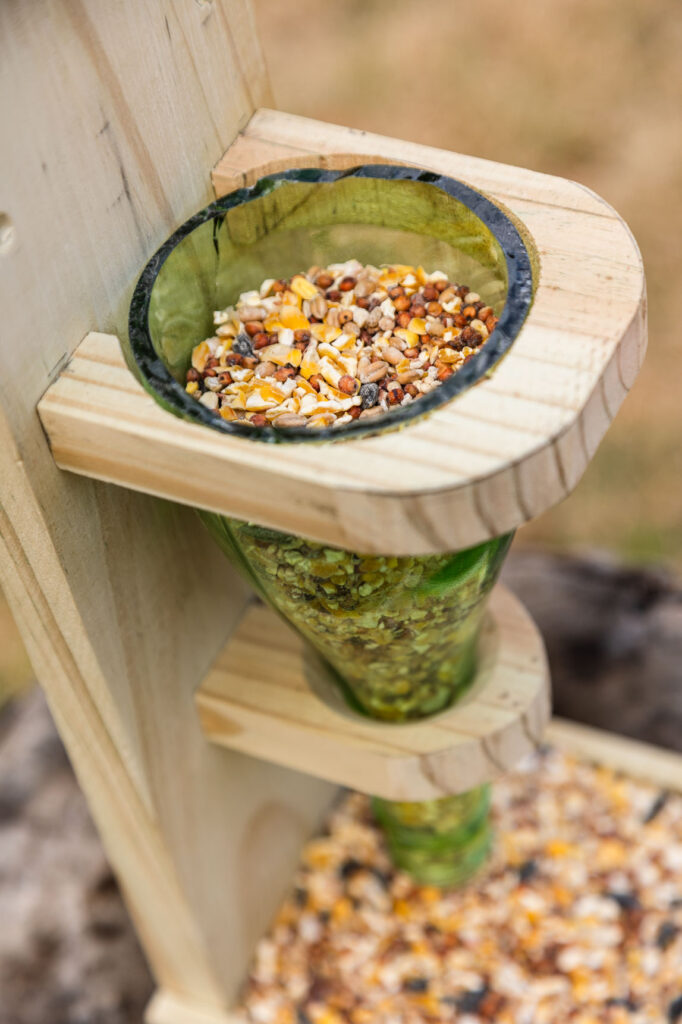

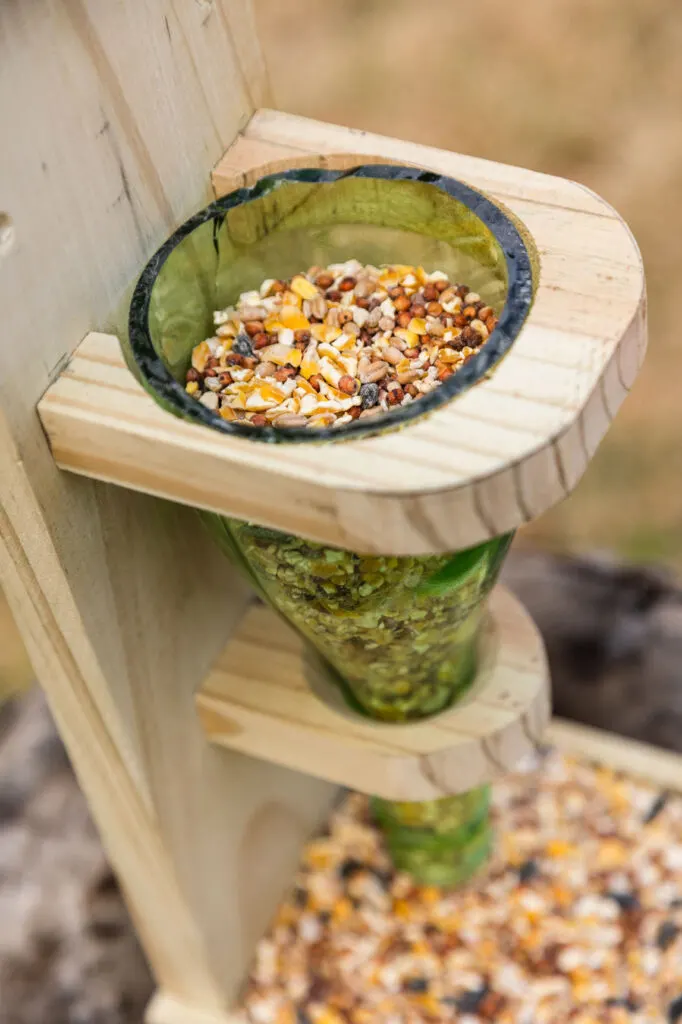

Filled Birdfeeder
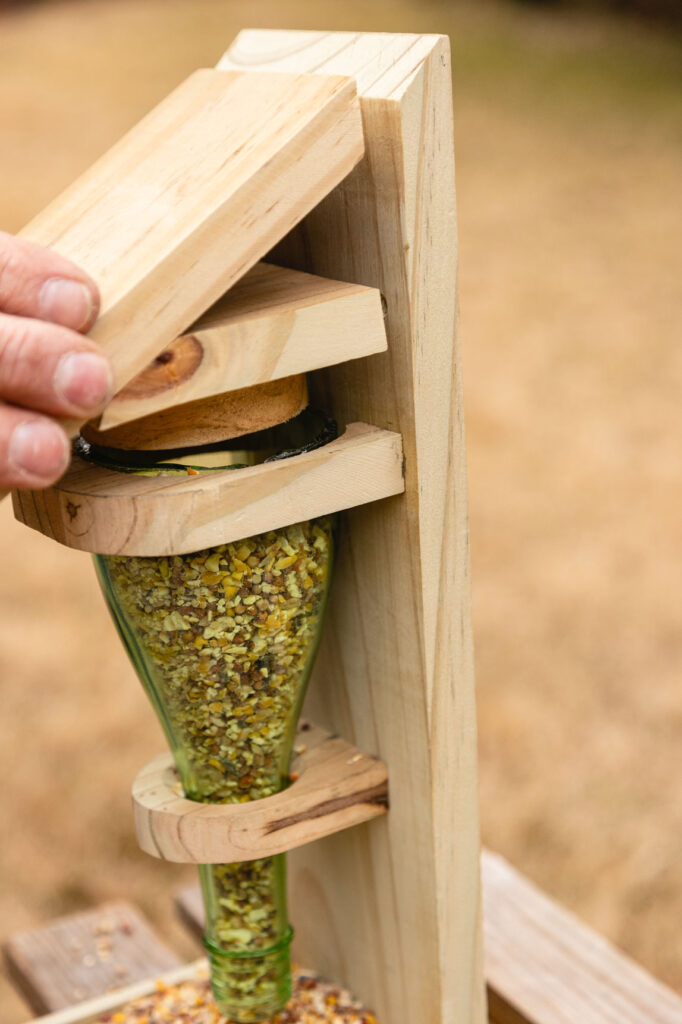

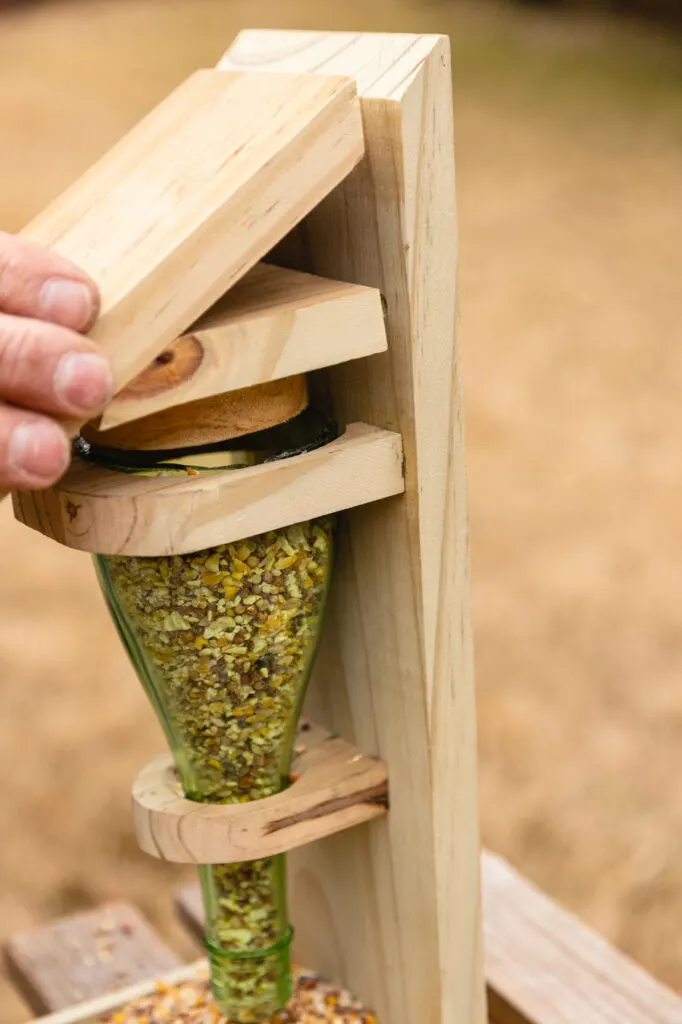

Place the top on the bird feeder
Install
This bird feeder can be mounted on a post, tree, or pole.
You can find more DIY bird feeders in this earlier post.
More Upcycled Bottle DIY Projects:
What could be more than creating something using bottles from your recycle bin?
These lovely frosted bottle lights with gold accents and lids were created at A Crafty Mix.
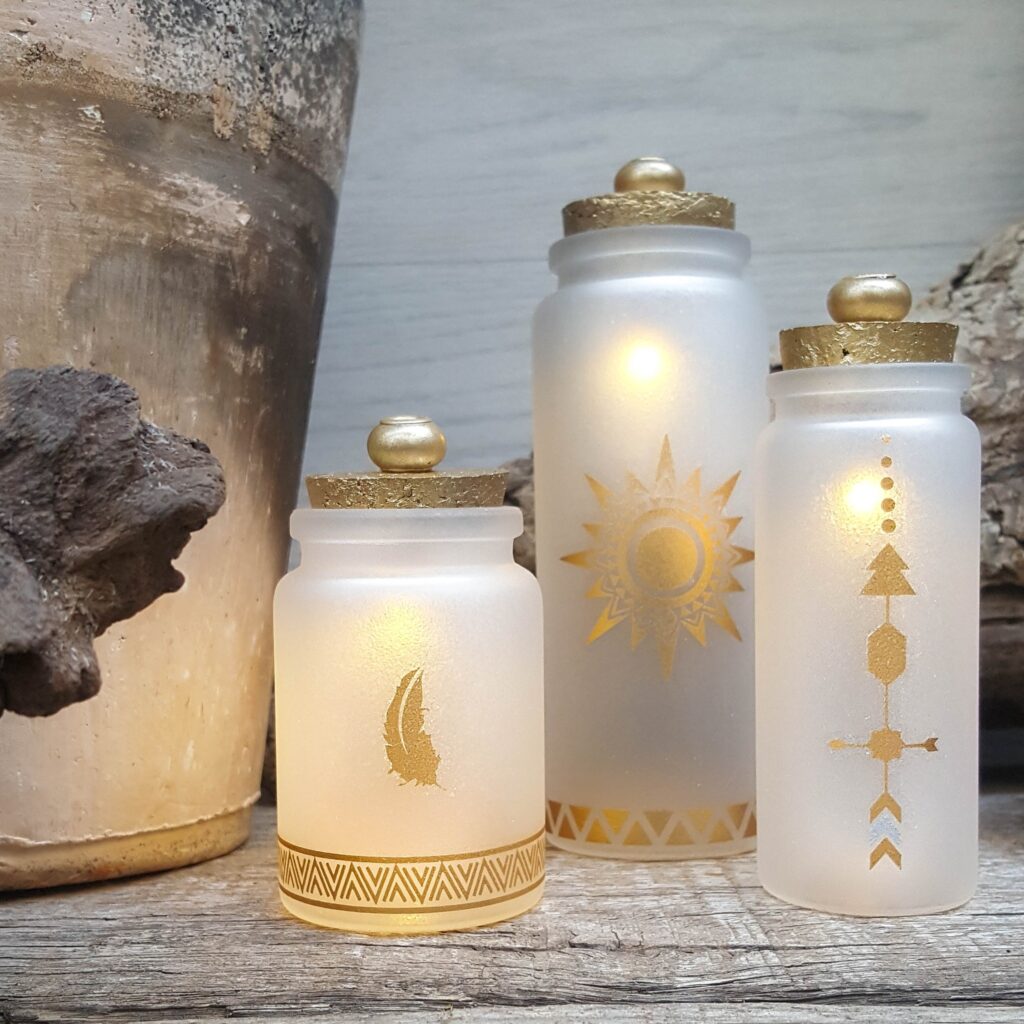

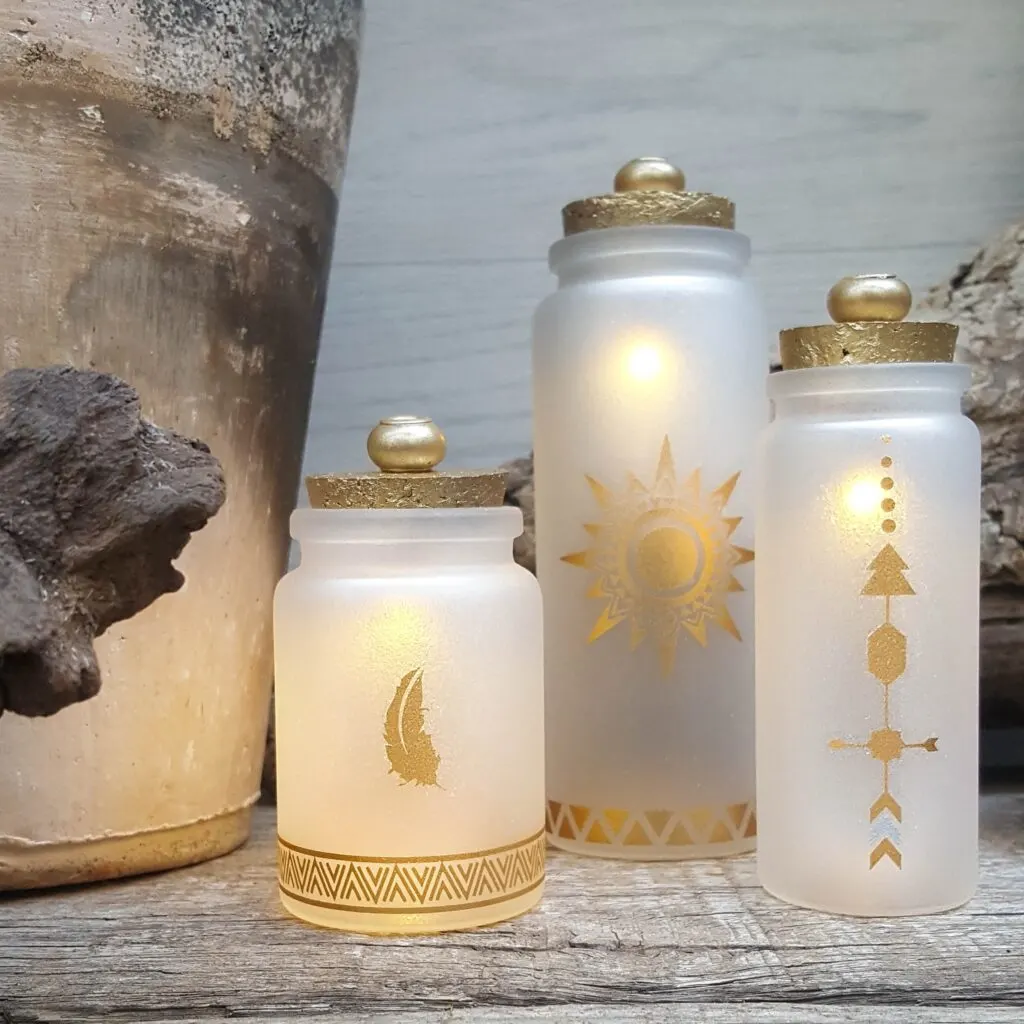

Frosted bottle lights
This light and airy macrame air plant holder was created by Birdz of a Feather.
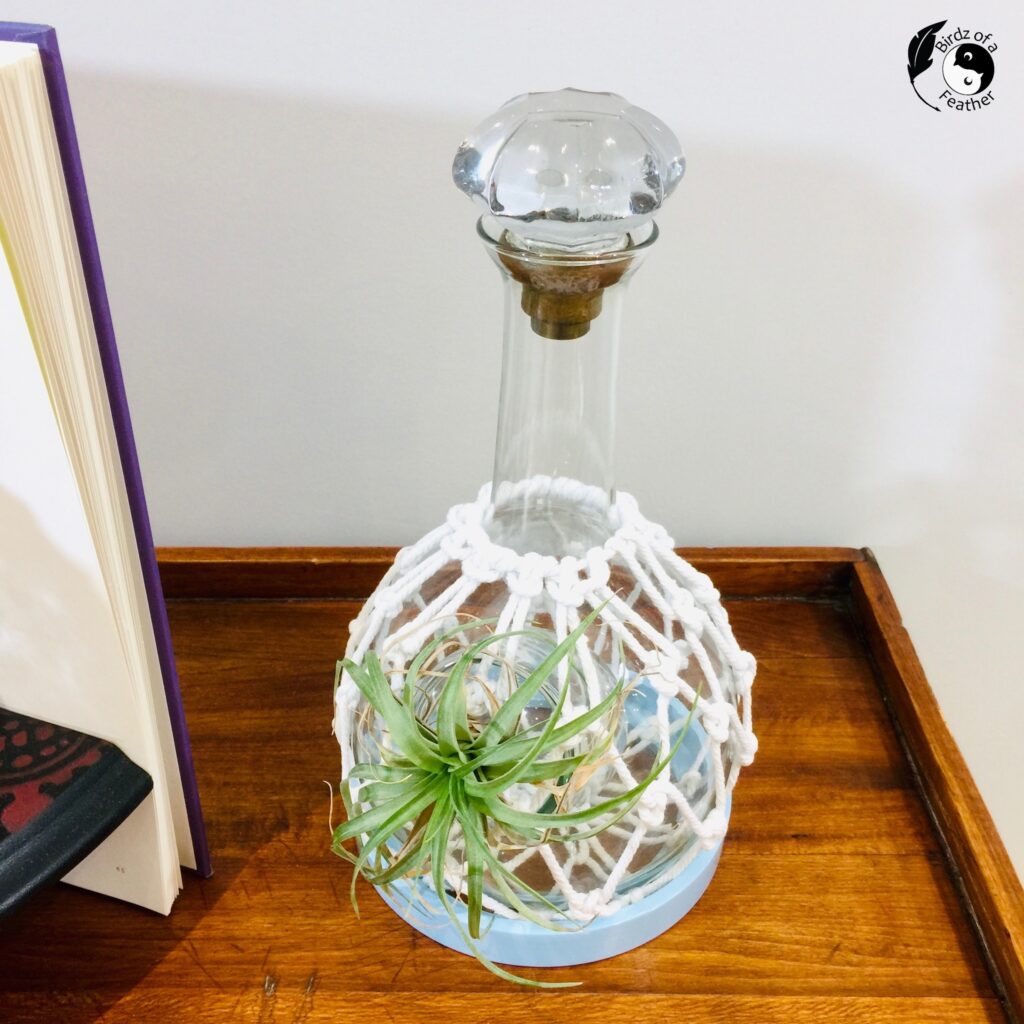

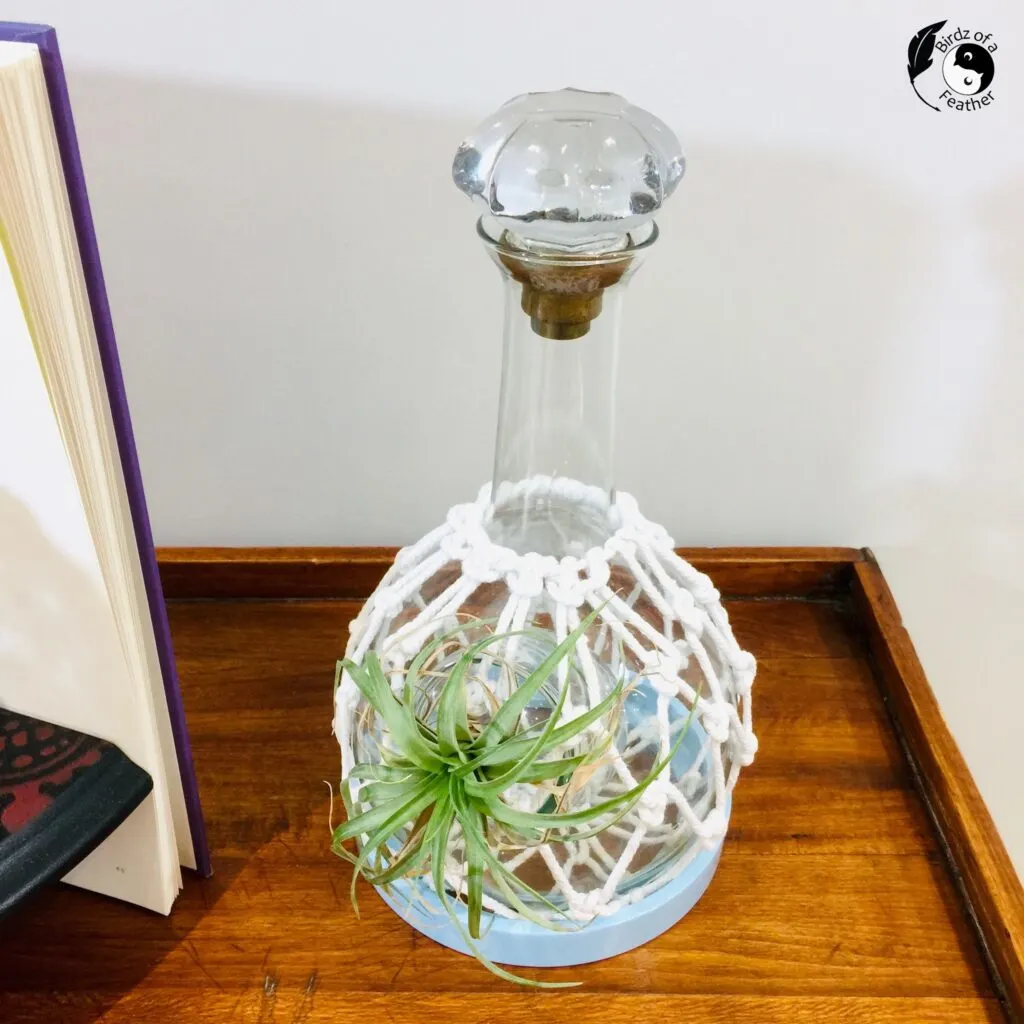

Air plant glass holder
These adorable Easter bunnies were created from upcycled soda bottles by Interior Frugalista.
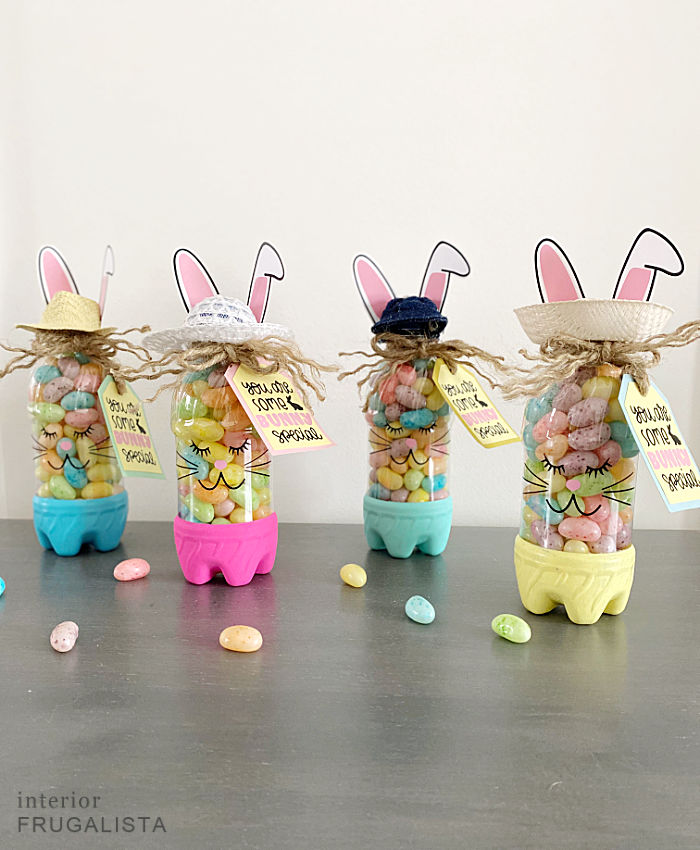

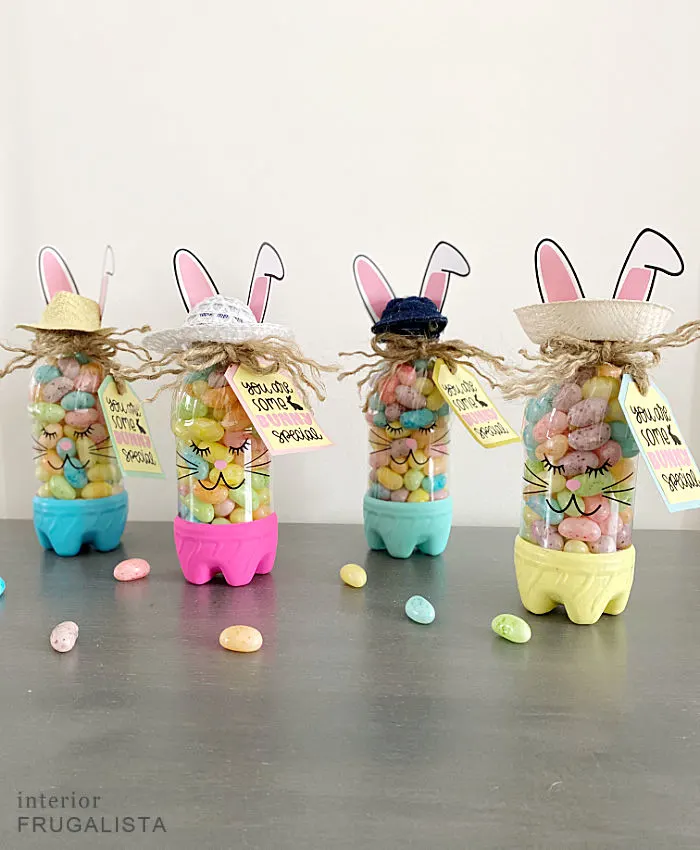

Easter bunny bottles
This amazing steampunk upcycled bottle makeover is a one-of-a-kind work of art made by Unique Creations by Anita.
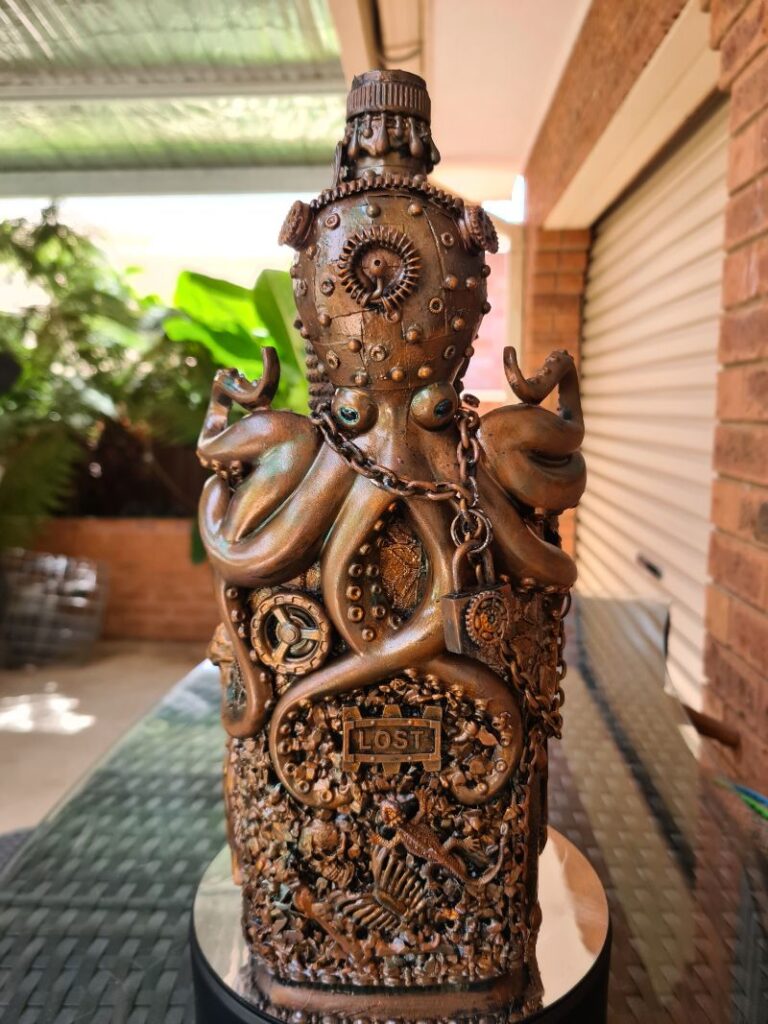

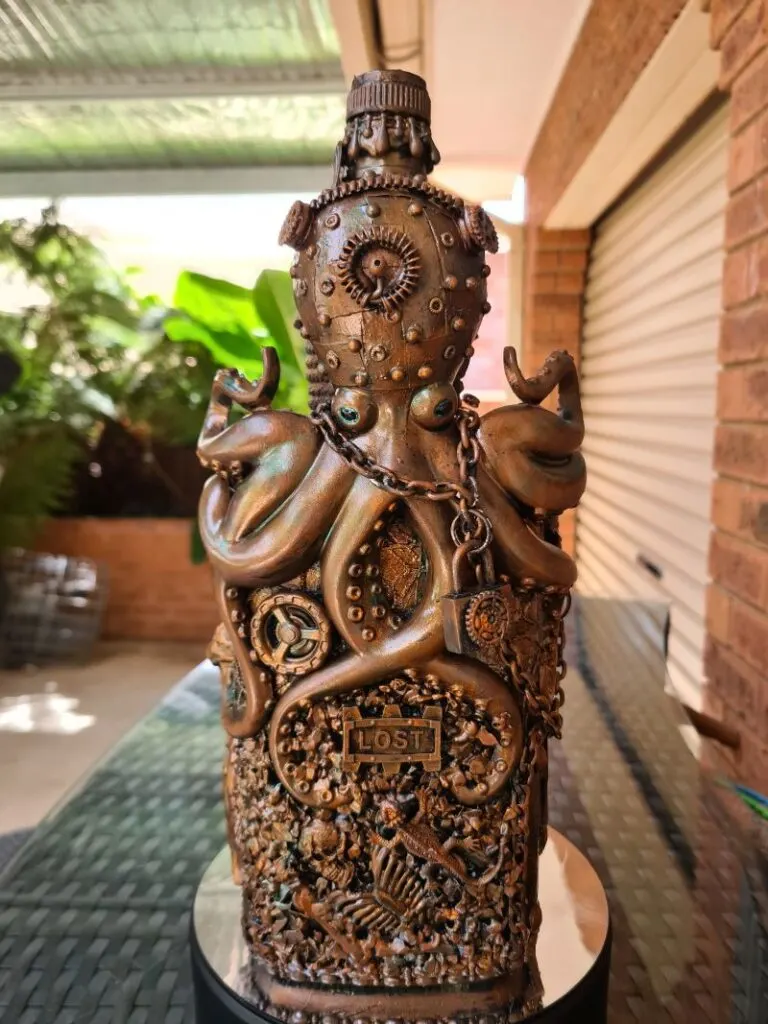

Steampunk bottle
These gorgeous DIY tiki torches were created from upcycled bottles by Songbird.
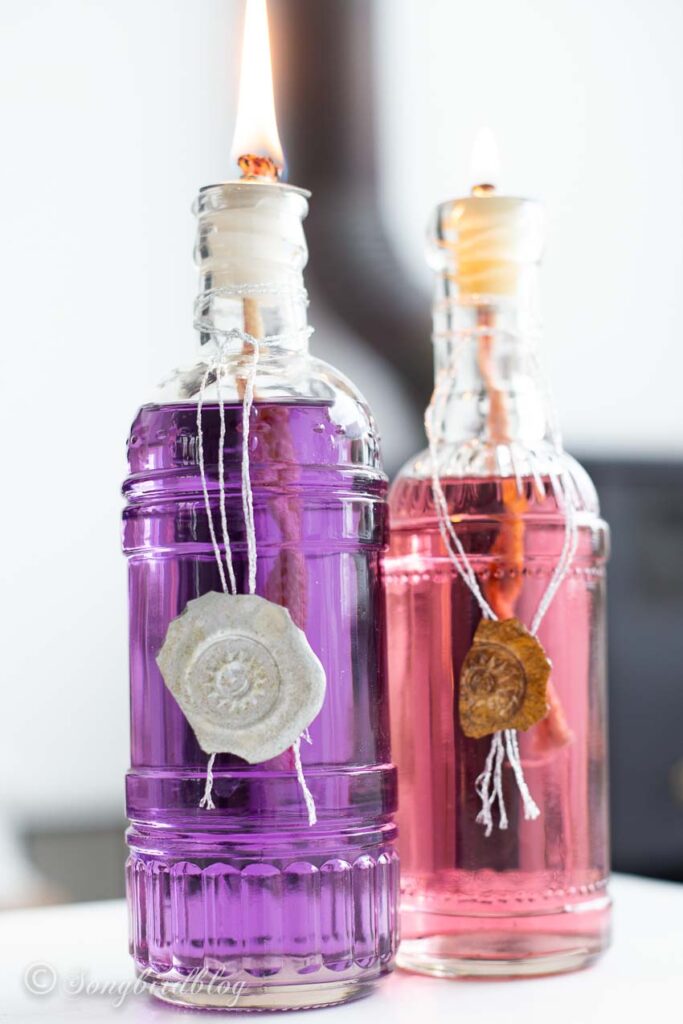

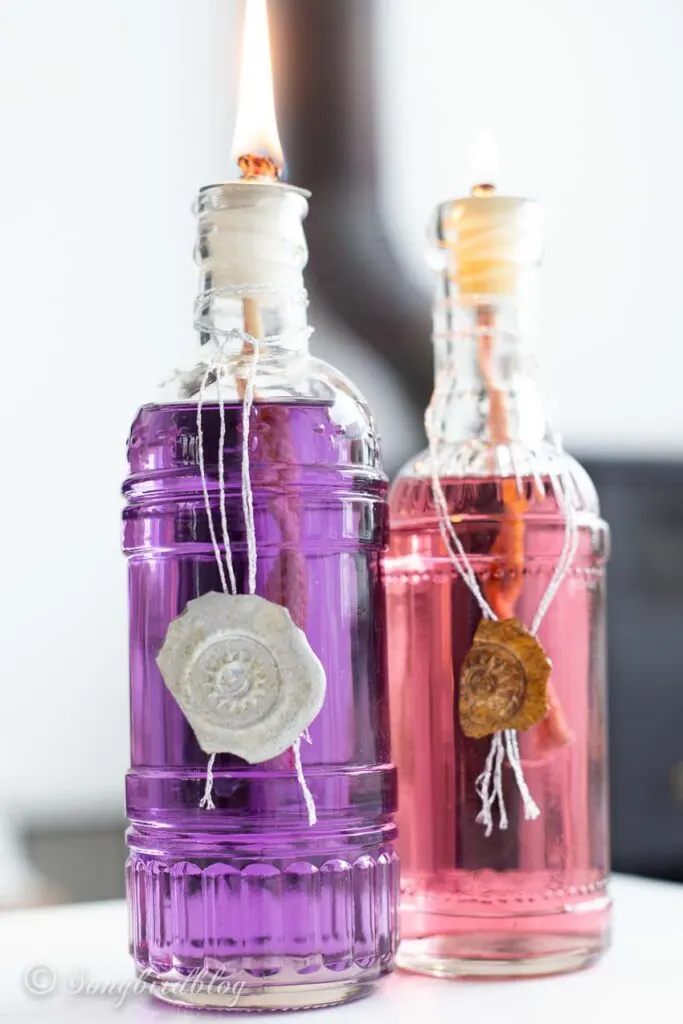

Glass bottle torches
Want More Craft Ideas?
Please join me (with this form) as we craft up some fun. You can look forward to receiving new inspiration every week.
See you soon,
Kippi

Kimberly Snyder
Wednesday 23rd of February 2022
Such a great idea! I really need to learn how to use power tools! Thanks for sharing this great idea!
Allison
Tuesday 22nd of February 2022
This is such a great idea, I just love it! Perfect for the back yard and you made it look so easy to do :)
Brittis Maria
Monday 21st of February 2022
This is such a well done project! Great for the environment
rosemary palmer
Monday 21st of February 2022
This is a great idea for a different looking bird feeder. And so many colorful bottles available.
Anita Holland
Monday 21st of February 2022
Very clever design, you thought about everything. I bet your garden will be flooded with birds.