Hearing the birds singing brings me joy; therefore, I created some adorable teacup birdfeeders to feed my little visitors.
The inspiration for this feeder is from a bird feeder my husband created years using a ceramic cup and saucer that he made.
How to Make a Teacup Bird Feeder
Learn how to make a simple teacup bird feeder that will bring joy and beauty to your garden
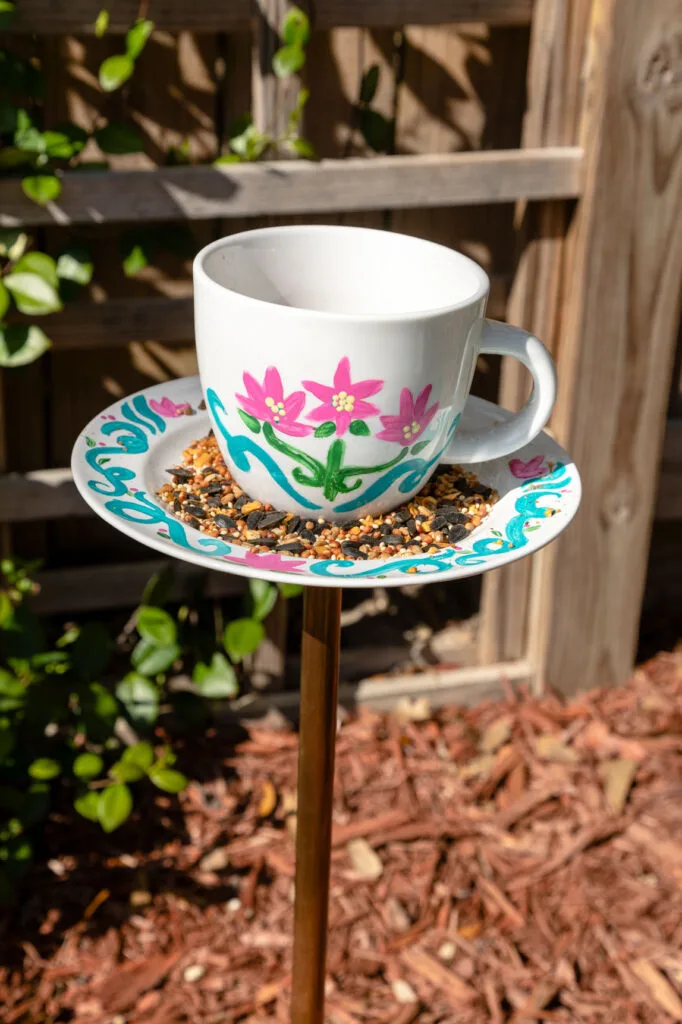
Teacup Bird Feeder
If you enjoy feeding the birds I think you will enjoy my posts about pinecone birdfeeders, orange birdfeeders, wine bottle bird feeders, and DIY birdfeeder ideas.
This post contains affiliate links. In other words, if you purchase from one of these links, I will make a small commission, but rest assured, you will not pay more for any products.
Supplies
- Teacup and saucer
- Screw (1″ sheet metal screw)
- Copper pipe cap 1/2″
- Copper pipe 1/2″
- Enamel paint (optional)
- Drill to make the holes
- 1/8″ drill bit
- Drill for assembling
- Masonry drill bit
- Pliers
- Pipe cutter
- Hammer
- Birdseed (I use this kind since squirrels do not like it)
Teacup Birdfeeder Step-by-Step Directions
**Before you begin I recommend you watch our how-to video (HERE).
I started out with a plain white cup and saucer so I painted them with fairy lilies.
1. Drilling Holes In Teacup and Saucer
Before drilling the holes I measured and marked the center of the cup saucer.
Then I added a little bit of water to the surface in the area I would be drilling.
Next, I drilled the cup from the inside and through the bottom using the same process as above.
Note: I used a masonry drill bit to drill the holes.
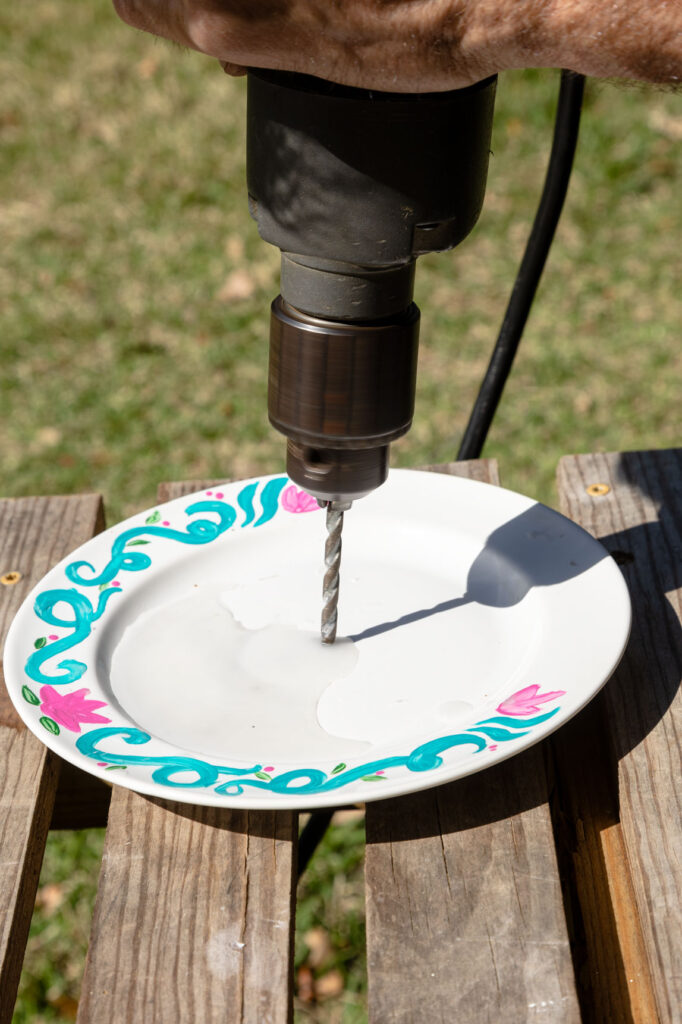

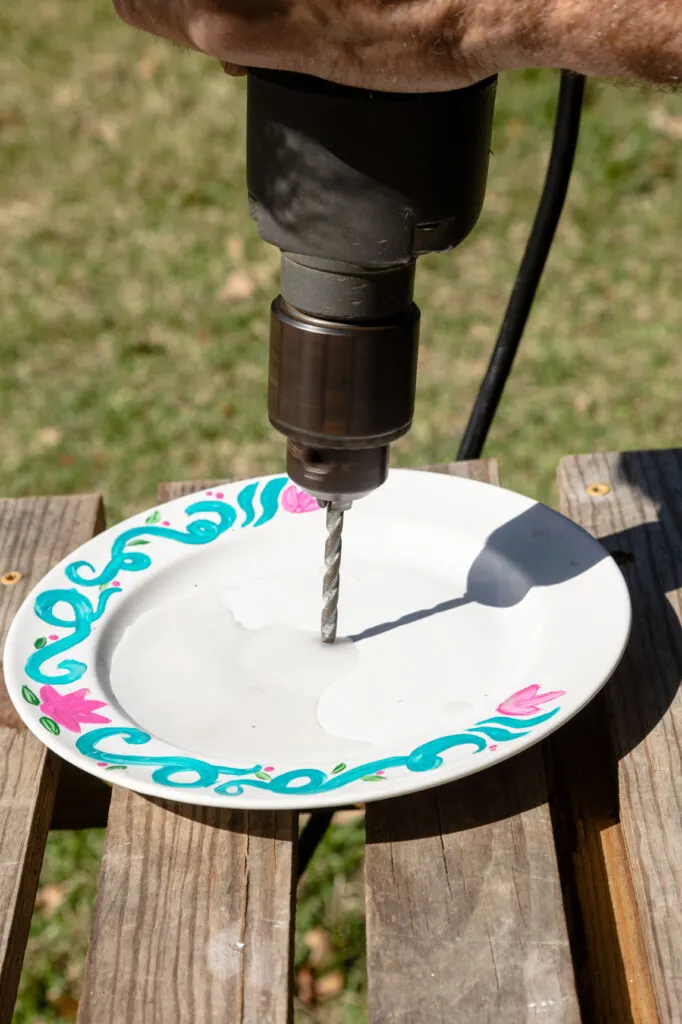

Make a hole in the saucer.
2. Preparing Copper Cap
The copper pipe cap was domed so I used a block of wood and hammer to flatten the dome.
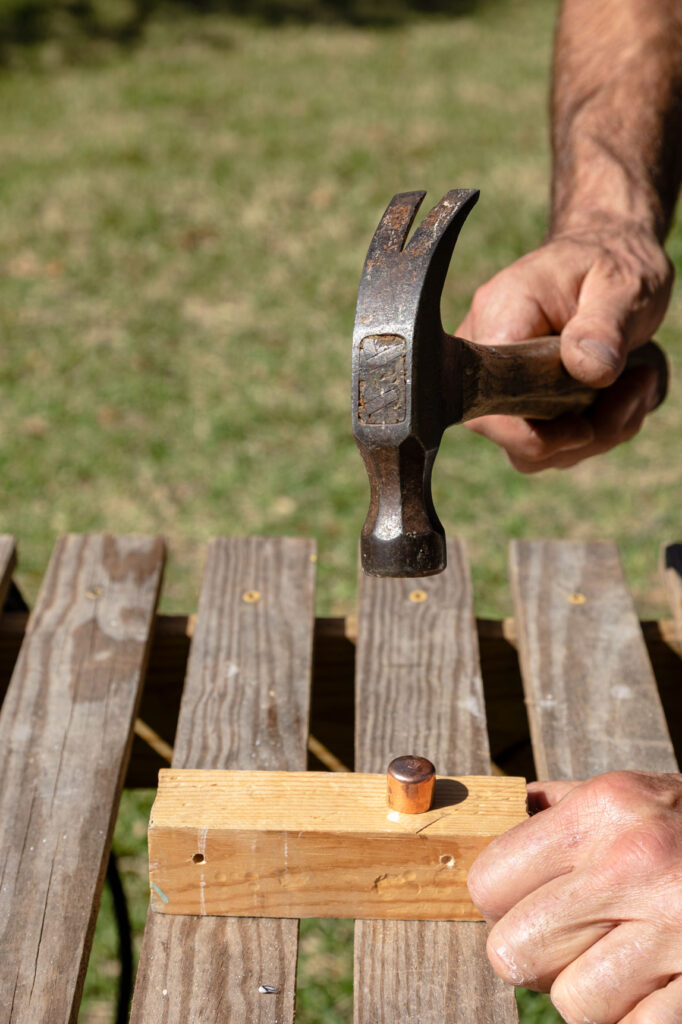

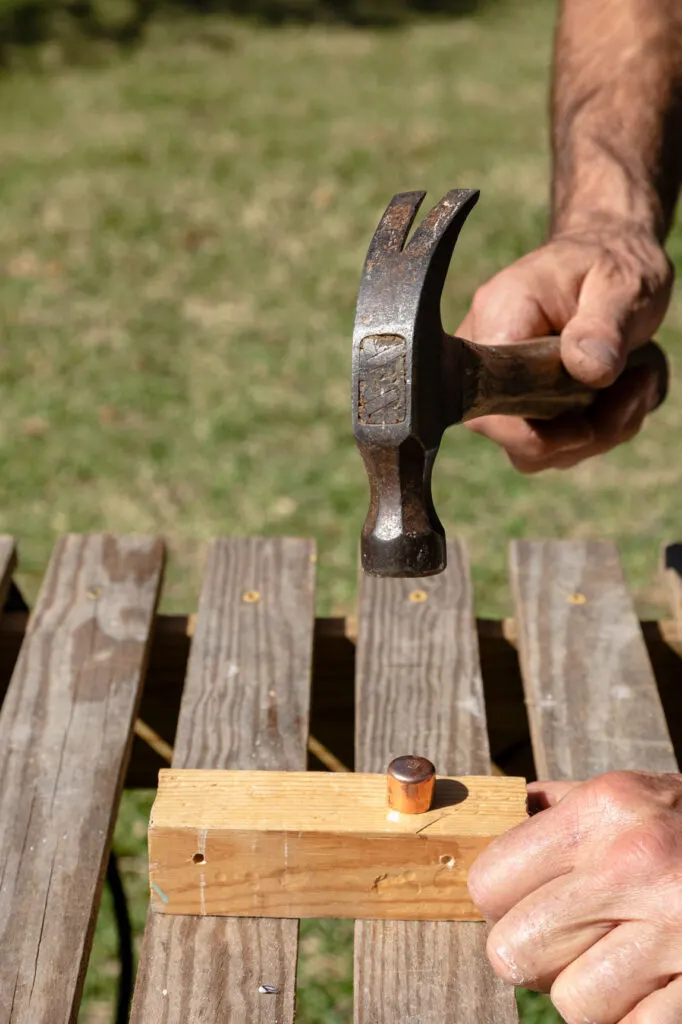

Hammer cap
Next, I used a drill with a 1/8″ drill bit to drill a hole in the center of the cap.
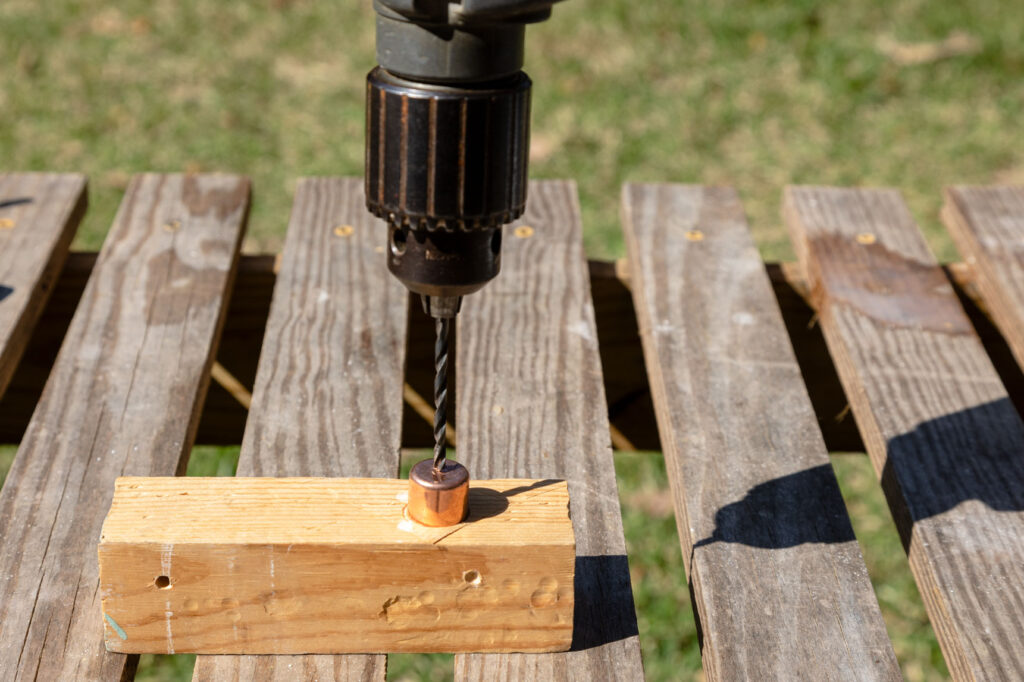

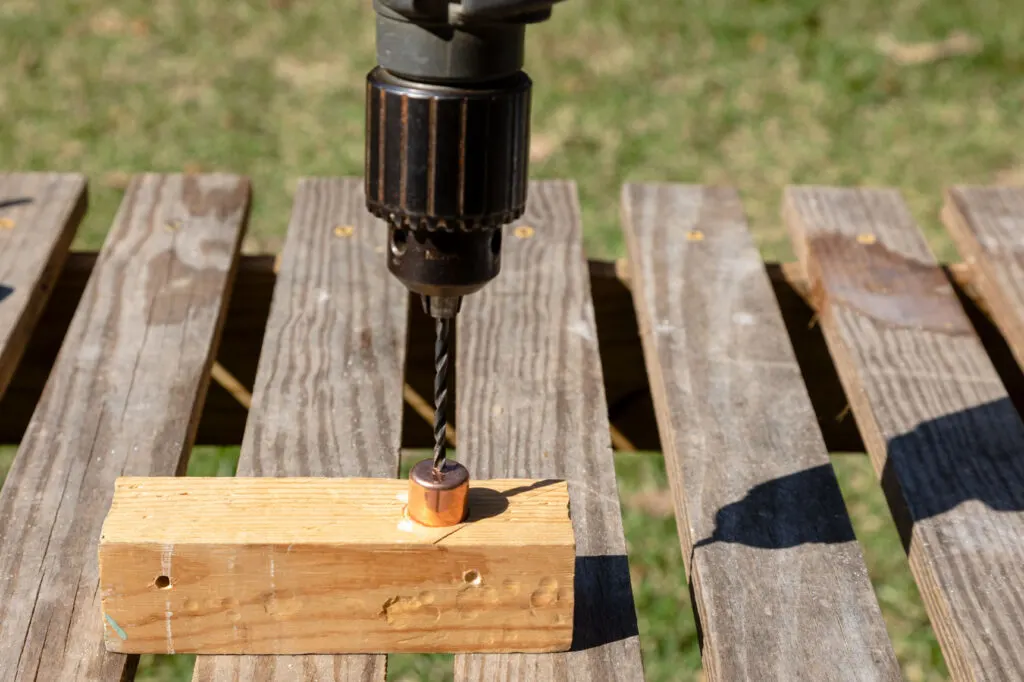

Drill copper cap
3. Cutting the Copper Pipe
I cut the copper pipe into 30″ long pieces using a pipe cutter.
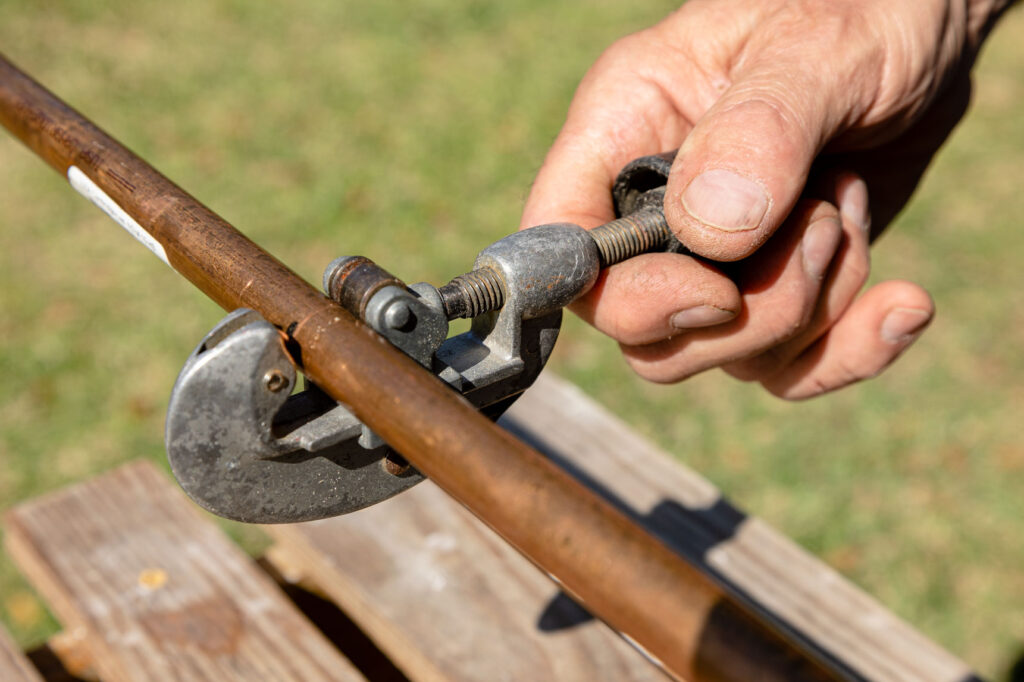

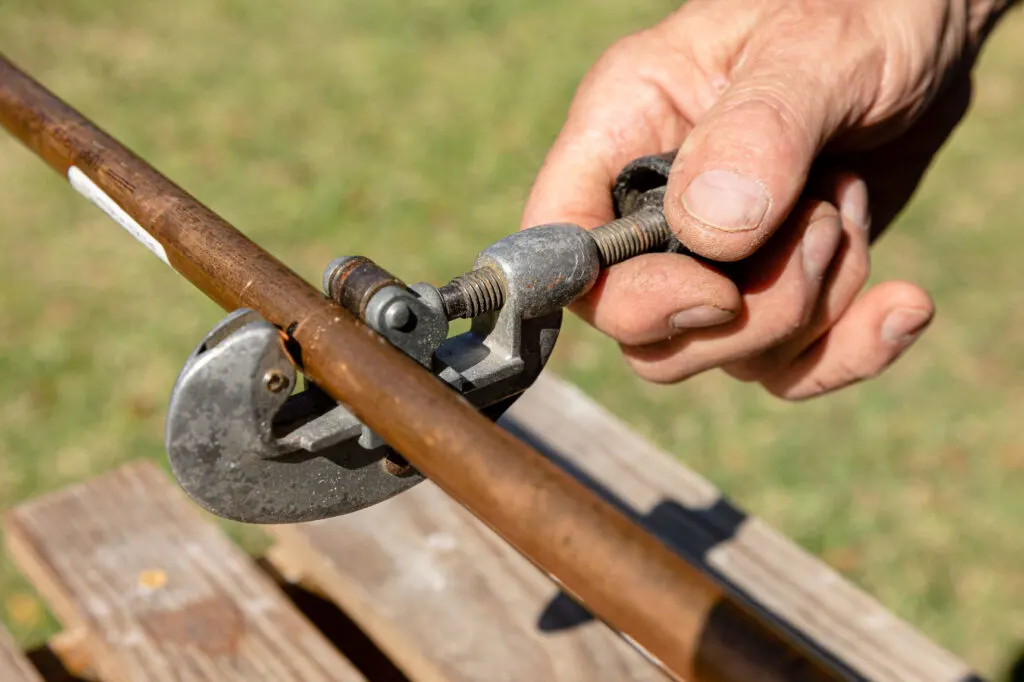

Cut the pole
The copper cap should fit perfectly on the end of the copper pipe. I checked it to be sure before continuing.
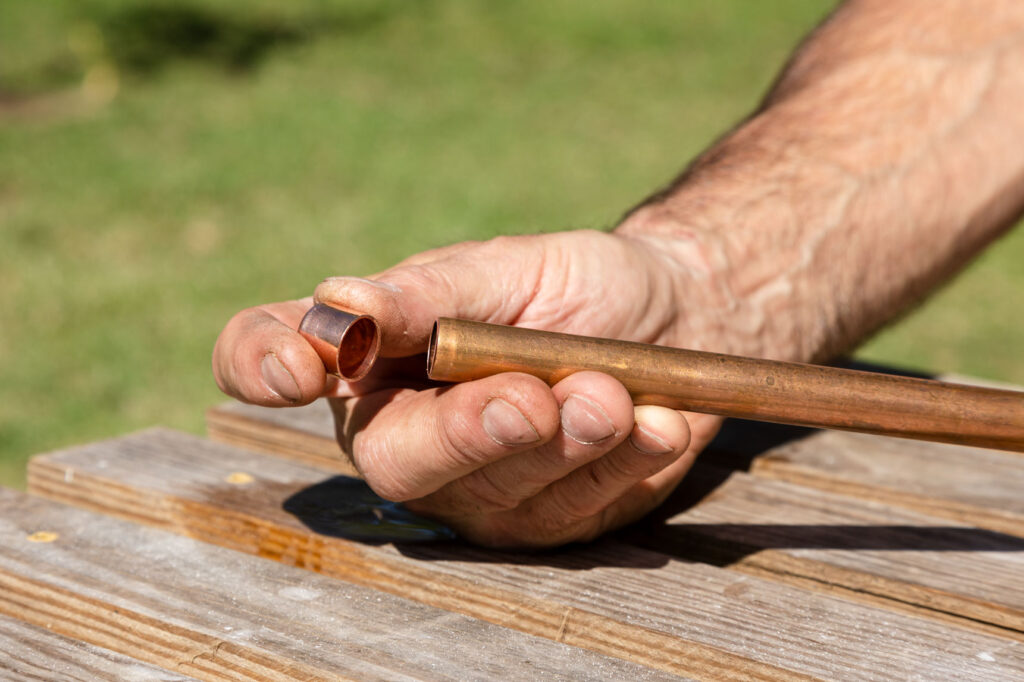

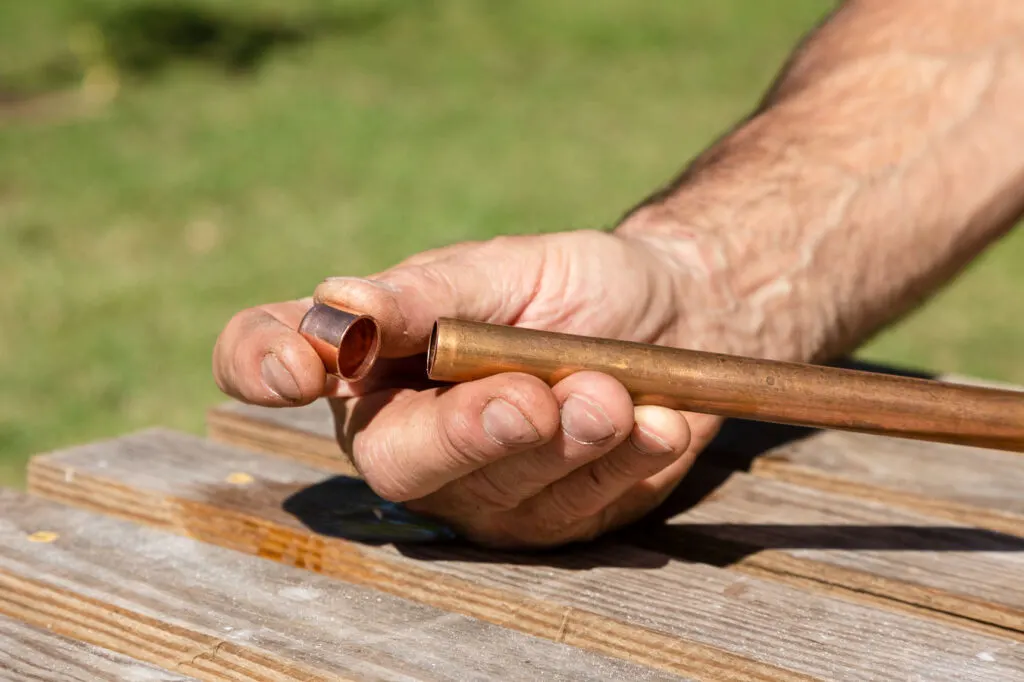

Place cap on the pole
4. Assembling the Teacup Birdfeeder
To assemble the bird feeder I placed a screw from the inside of the cup and then into the top of the saucer.
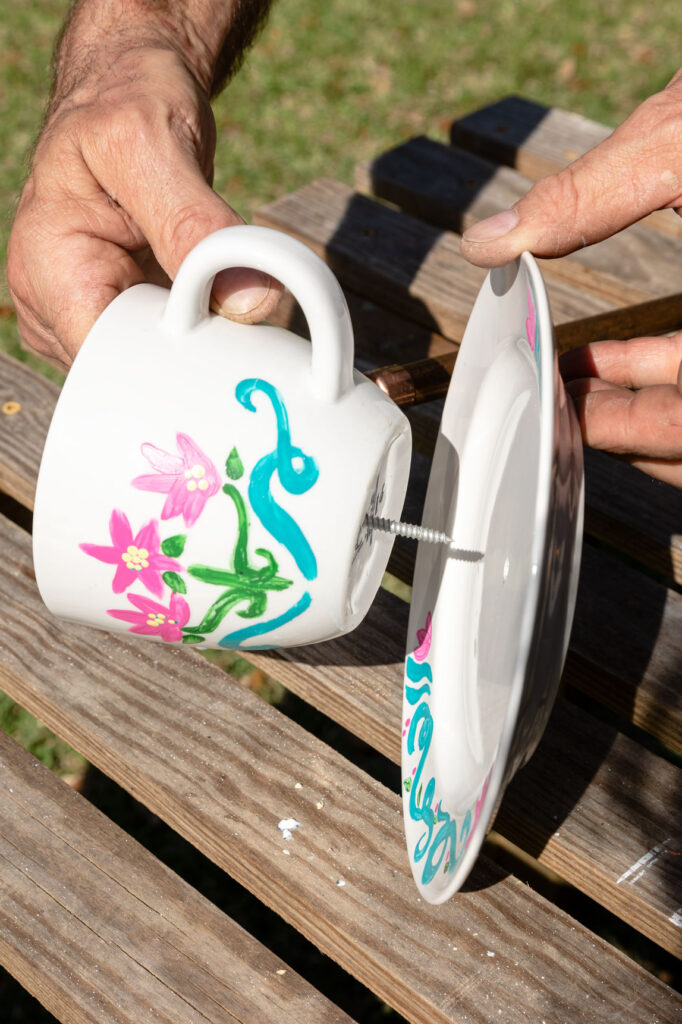

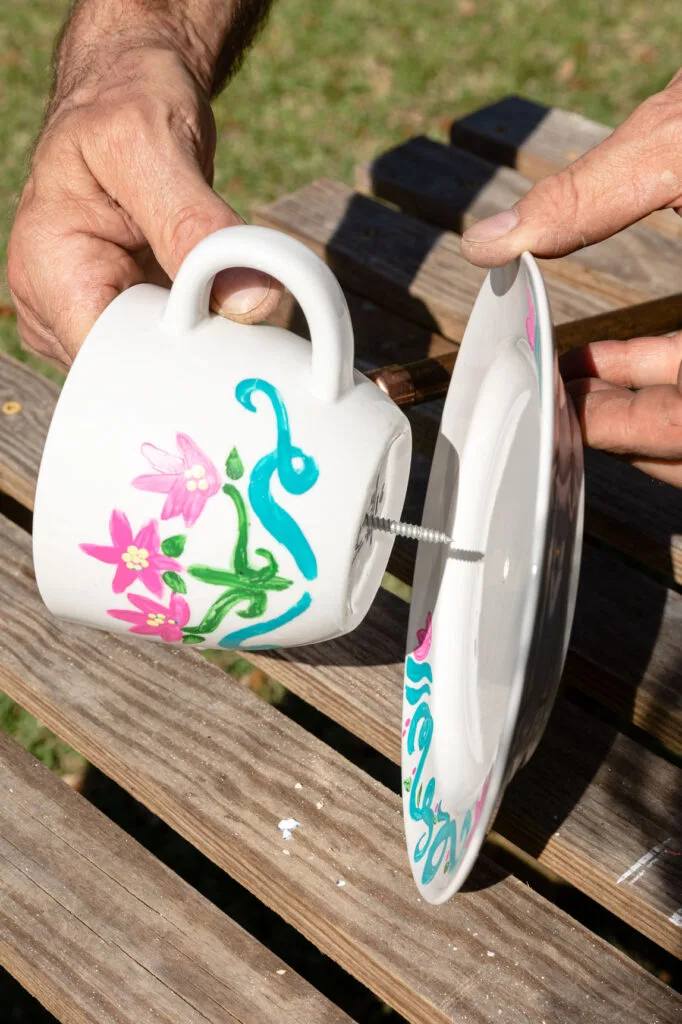

Attach saucer
Next, I place the top of the copper pipe cap on the screw under the saucer.
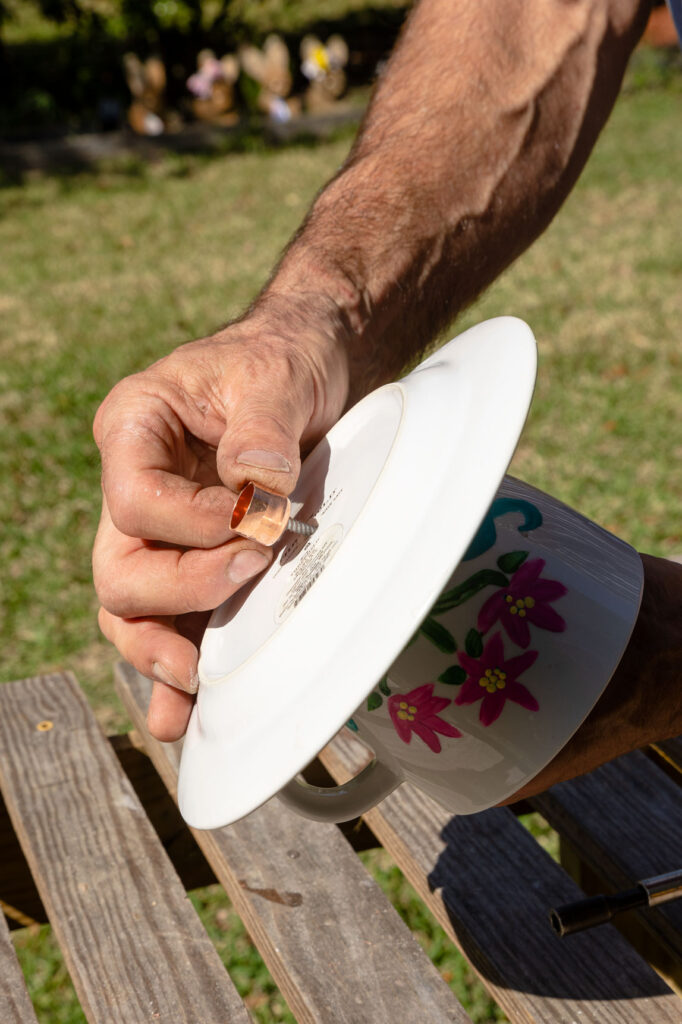

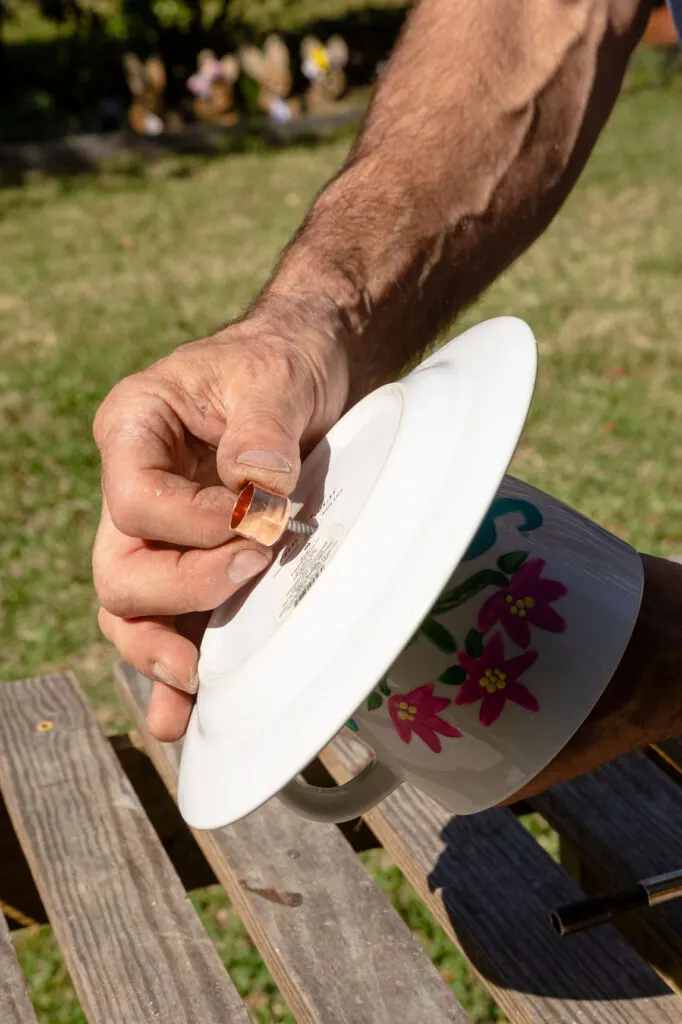

Attach the cap
Then, using pliers I held the copper cap while screwing the screw into the entire bird feeder assembly through the inside of the teacup.
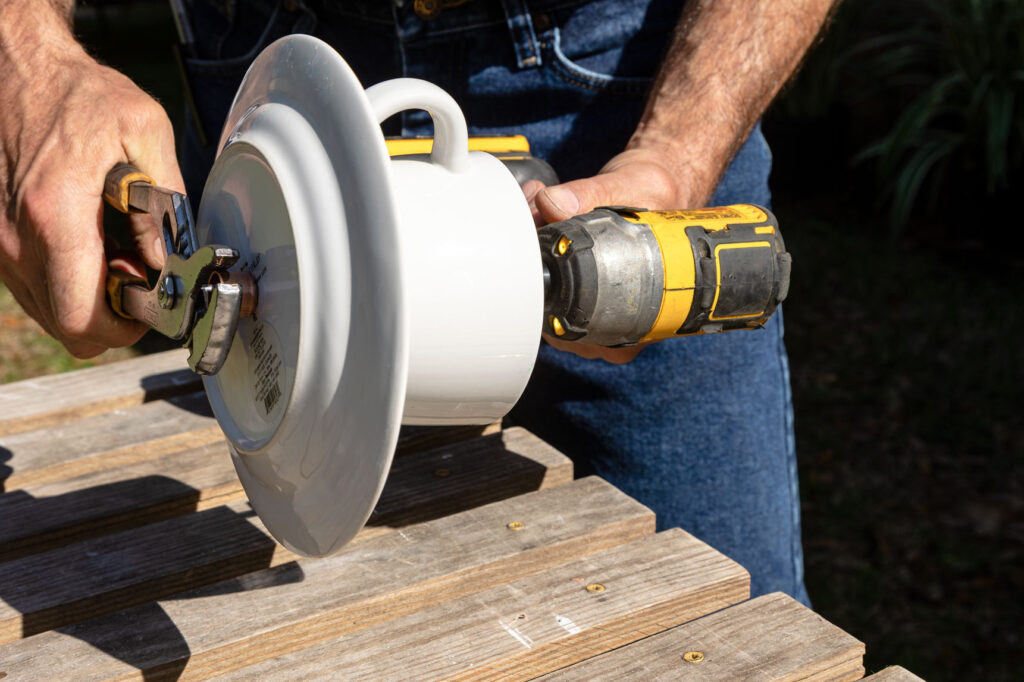

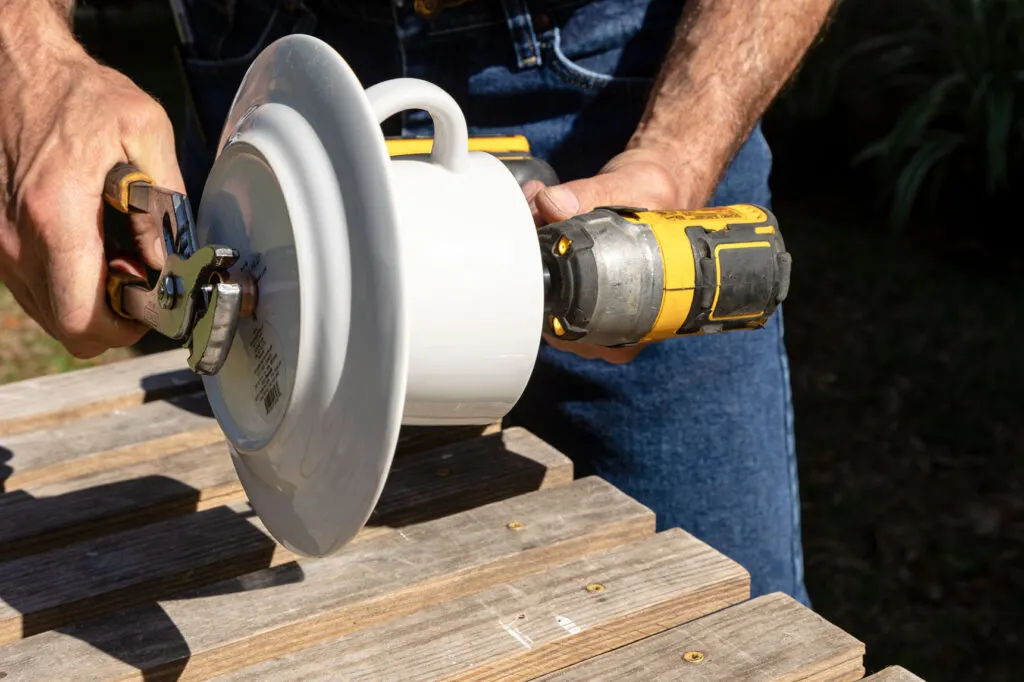

Tighten teacup assembly
Next, I insert the copper pipe into the copper pipe cap at the bottom of the bird feeder assembly.
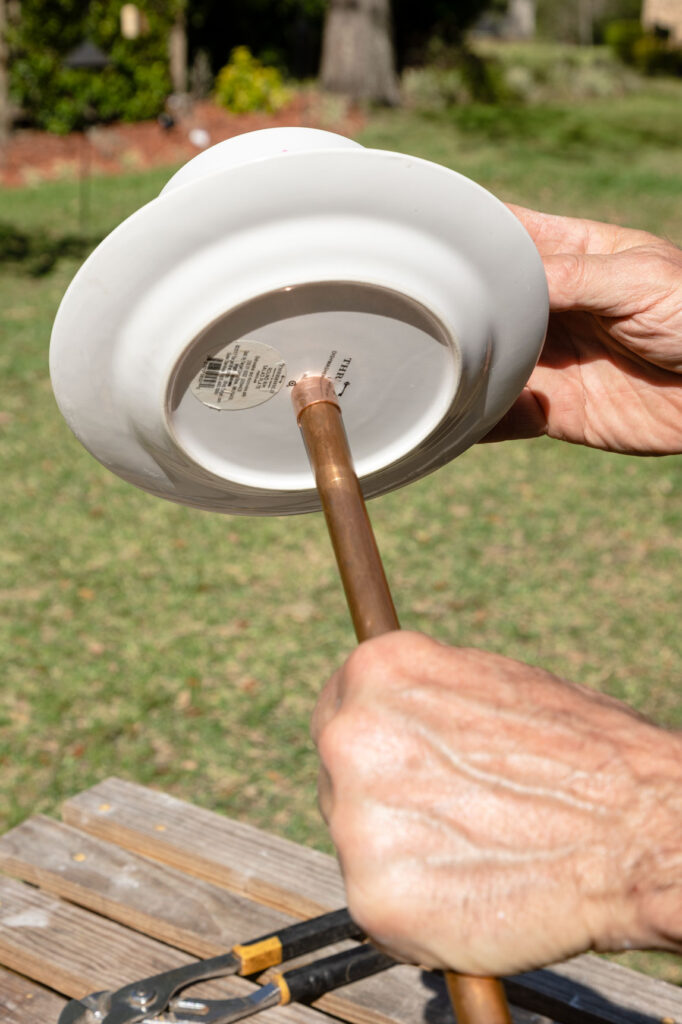

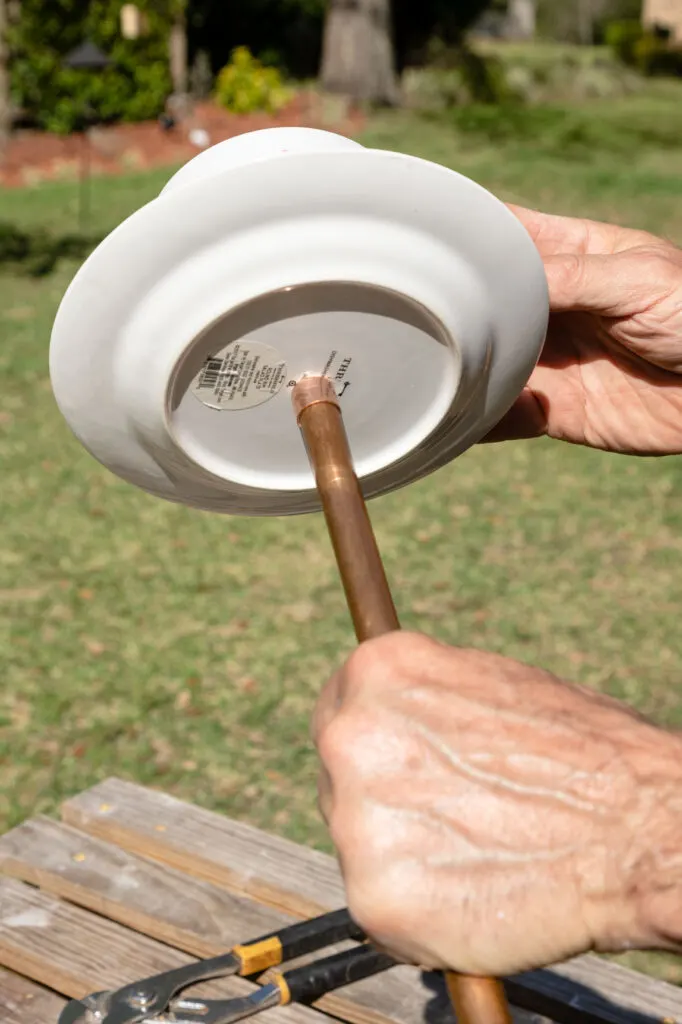

Attach the pipe to the cap
5. Filling the Bird Feeder
Place the open end of the pipe into the ground. Then fill.
Note: The squirrels love these feeders as much as the birds so I had to switch my birdseed to the hot stuff (squirrels will not eat it).
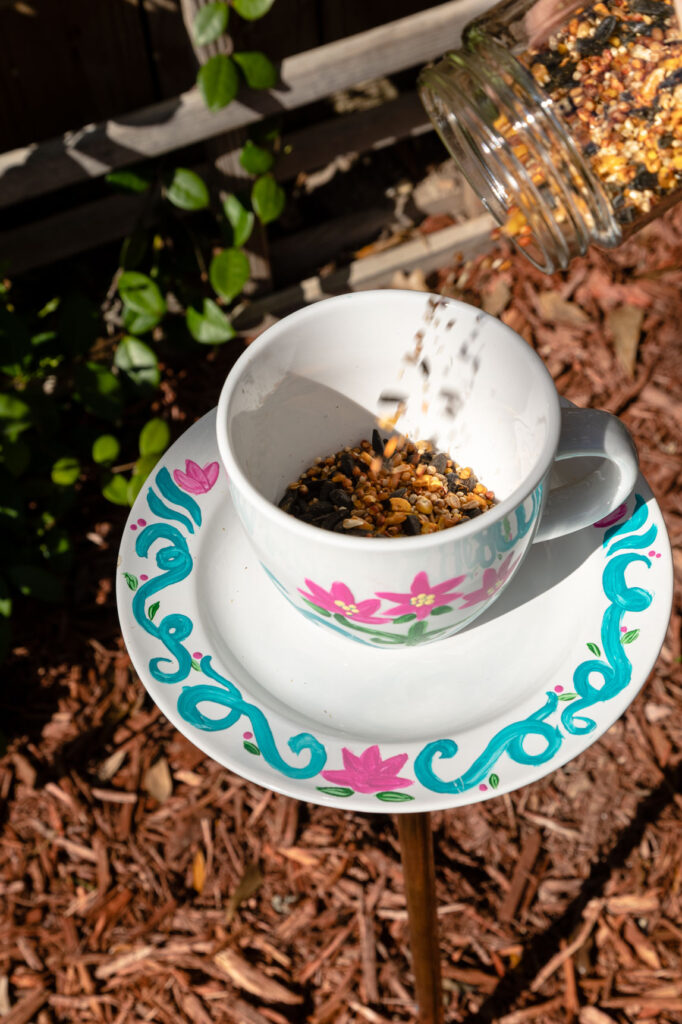

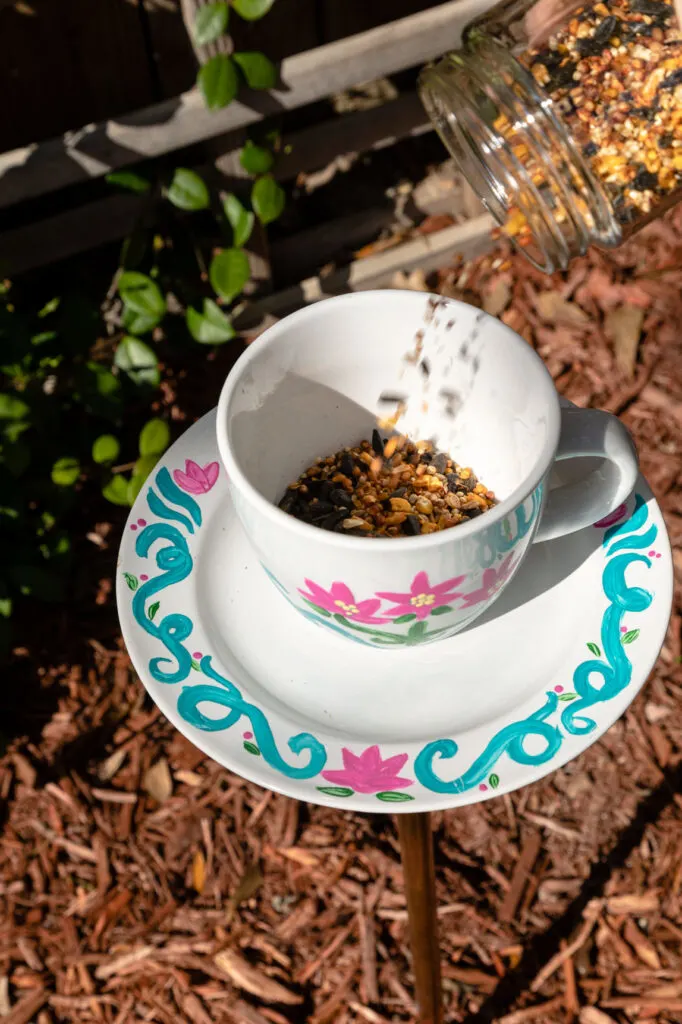

Adding bird seed
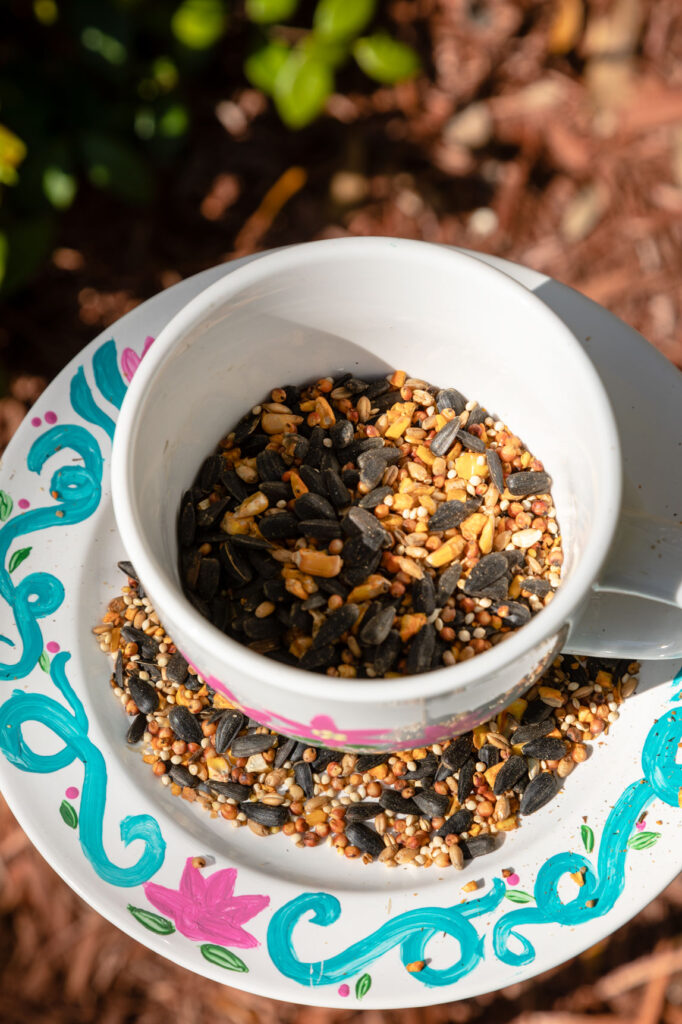

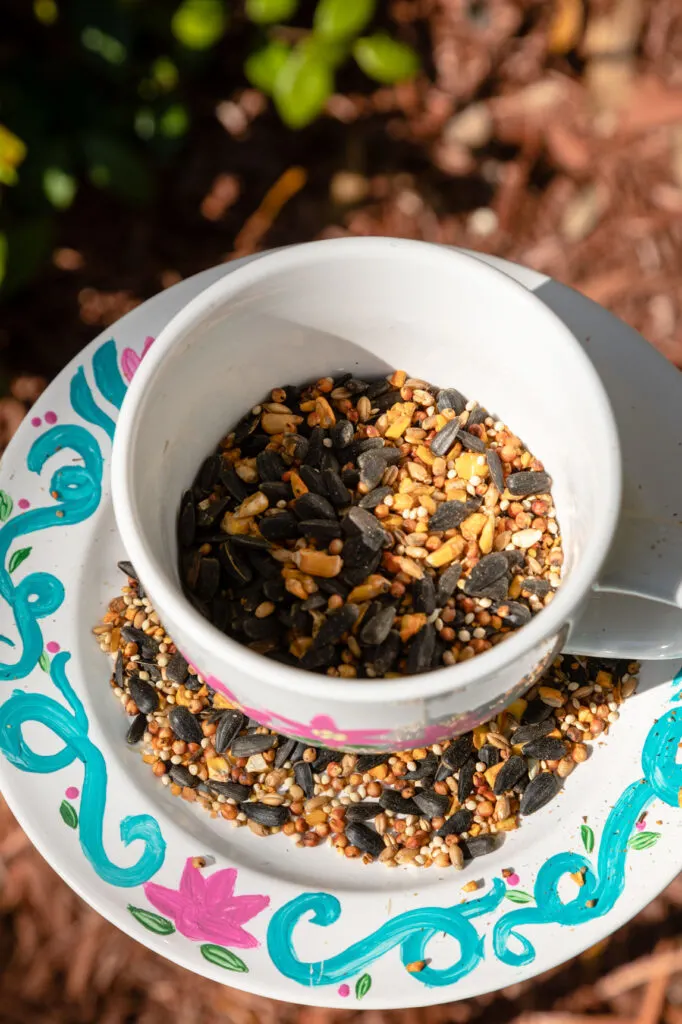

Teacup bird feeder with birdseed
Want More Gardening Ideas?
Do you enjoy a beautiful garden and yard?
Please join me (HERE) for everything you will need to create a beautiful garden/yard one project at a time.
See you soon,
Kippi

Pam
Thursday 30th of March 2023
This is so cute and such a pretty teacup. I'll be featuring this post at Thursday Favorite Things today. :) Pam at An Artful Mom
Susan Fehner
Wednesday 4th of May 2022
Love the tea cup ♥️
Jackie Shrum Cameron
Tuesday 3rd of May 2022
Love this idea 🌷💖
Karins Kottage
Monday 2nd of May 2022
Fun and cute idea for the yard! Great tutorial on how to drill into the plate and tea cup using a little water. Great job.
Sara
Monday 2nd of May 2022
Love this bird feeder idea!