We enjoy outdoor activities, but the mosquitoes also enjoy our yard. So we decided to build bat houses, also known as bat boxes, to attract mosquito-eating bats as a natural way to control our mosquito problem. Bats are perfect for managing all night-flying insects in your yard.
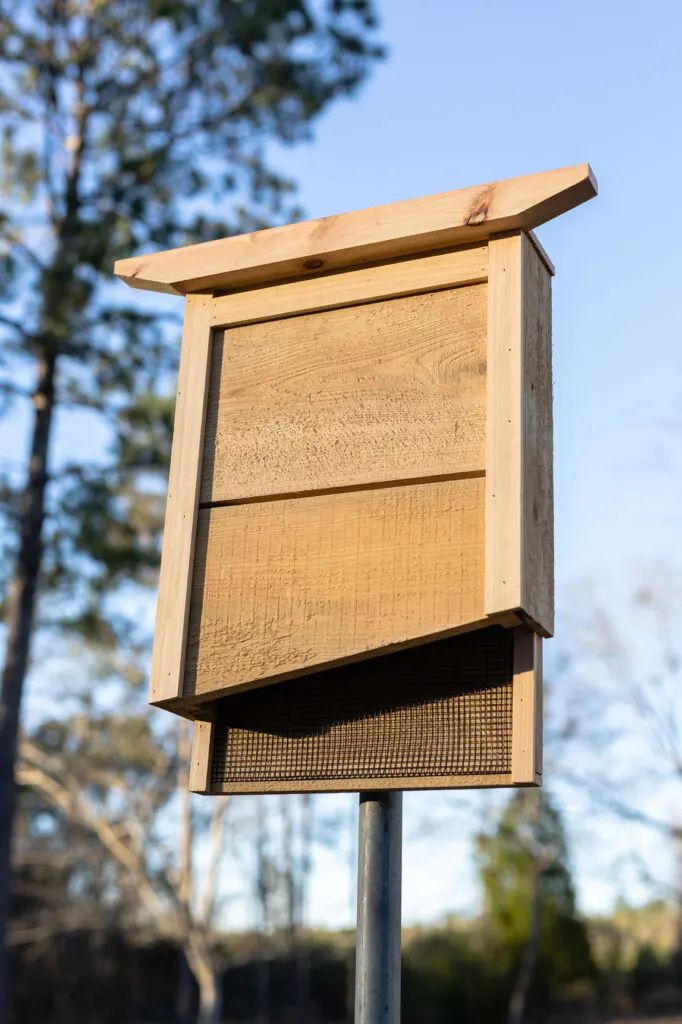
Bat House
How to Build a Bat House
We wanted our bat house to coordinate with the other structures in our yard (trellises, obelisk, lanterns, birdhouses, etc.), so we designed a pagoda-inspired bat house.
So we used the same black mesh that we used to build our compost bins and the same lumber as our other garden structures.
Since the trellises have trim with a pagoda shape, I decided the trim at the top of the bat house would have that same shape.
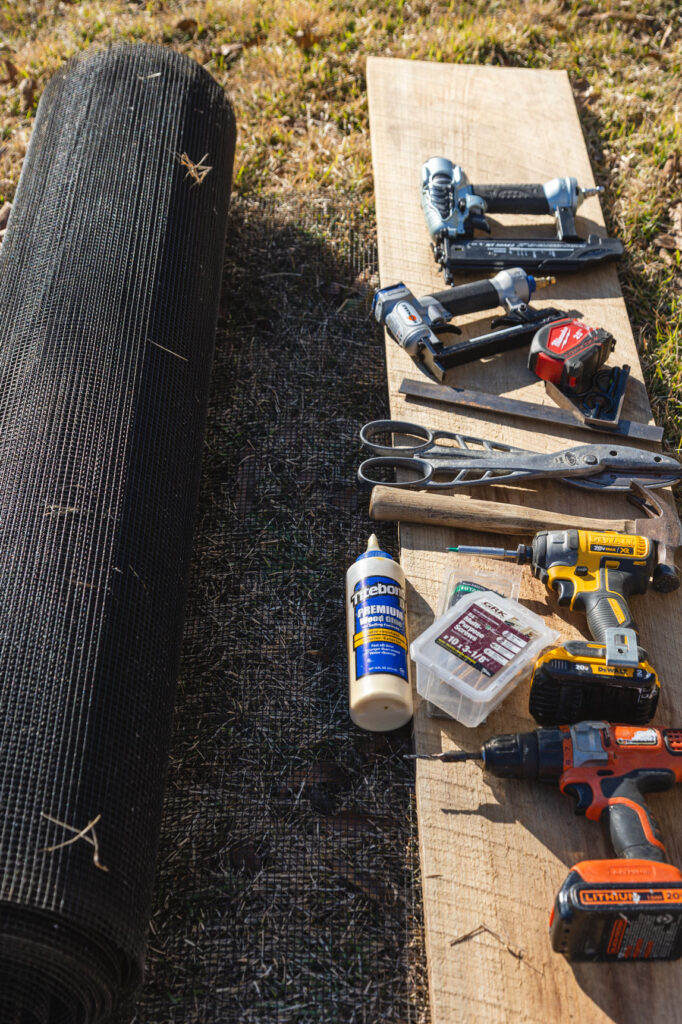

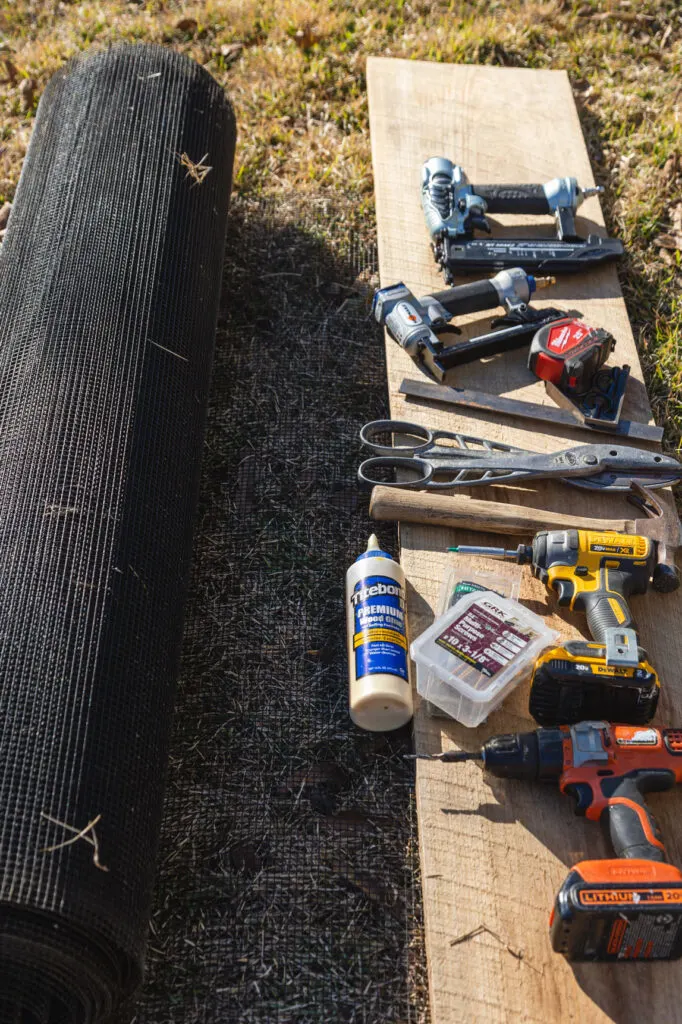

Bat house supplies
This post contains affiliate links. That means that if you purchase from one of these links, I will make a small commission, but rest assured, you will not pay more for any products.
Bat House Supplies
I choose to use local cypress to build my bat house. However, you can use many wood types (I do not recommend using pressure-treated lumber).
➡️ I recommend watching the how-to video before you begin.
- 1X12X8 cypress
- 2X4 cypress
- ⅜ plywood
- 1/4 inch wire mesh (25″ by 48″)
- Nails
- Screws (exterior 14 at 3/8″ and 14 at 1/4″)
- Glue (exterior wood glue)
- Staples (stainless steel 7/16″)
- Table saw
- Miter saw
- Nail gun
- Staple gun
- Clamps
- Measuring tape
- Tin snips
- Combination square
Wood Cuts
I measured and marked my wood according to the cuts listed below to begin the project.
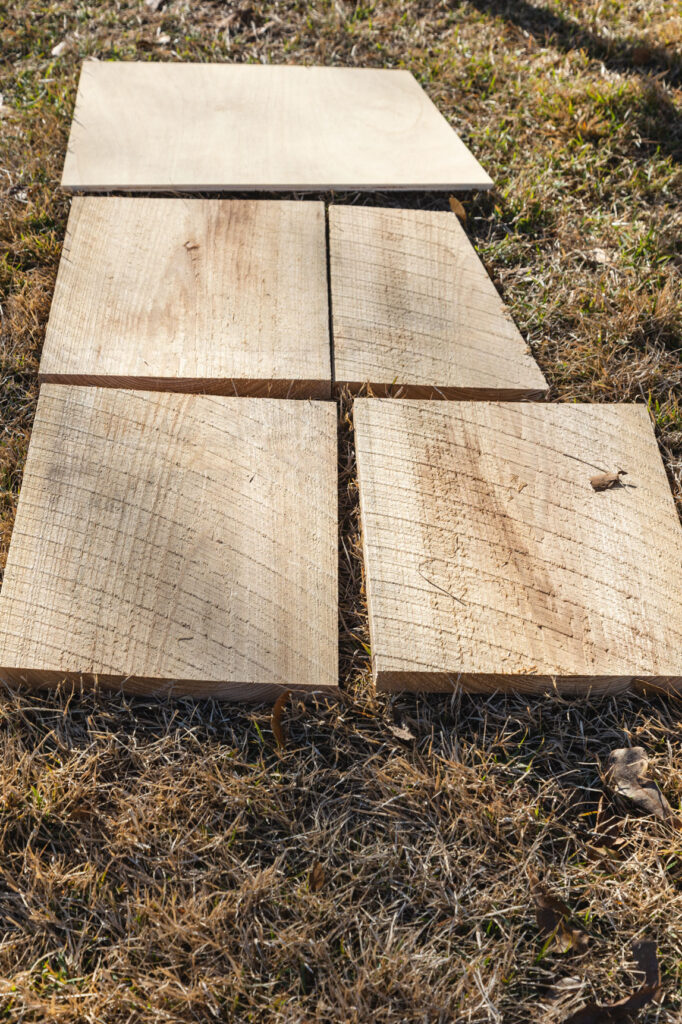

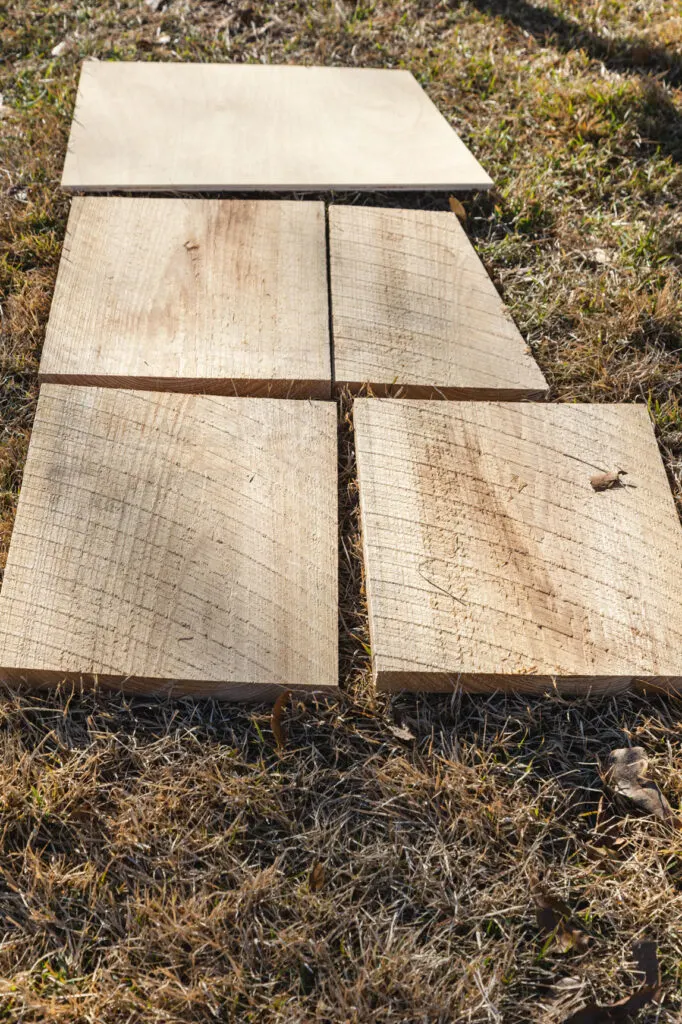

Lumber cuts
- Four 1x12x16 cypress front and back panels
- One 3/8x16x 22.5 plywood chamber divider
- Three ¼ mesh 16×26
- Two 7/8×7/8×21 cypress chamber spacers
- Two cuts at 7/8×7/8×15 cypress chamber spacers
- Cut two at 7/8×7/8×14.25 cypress chamber ceiling
- Two cuts at 3/8×4 ¼ x21 cypress side panels
- Two 3/8×4 ¼ x 9 roof panels
- Three 1/4×1 ½x21 cypress trim
- One 1.5x2x23.5 beam cut out of the 2×4 cypress
Assembling the Bat House
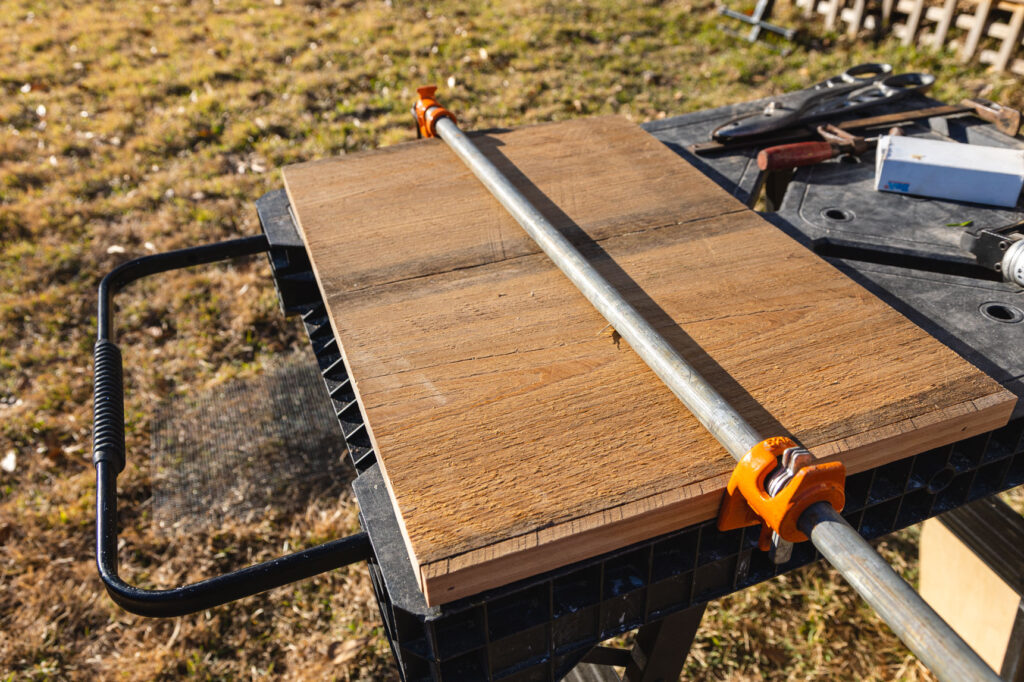

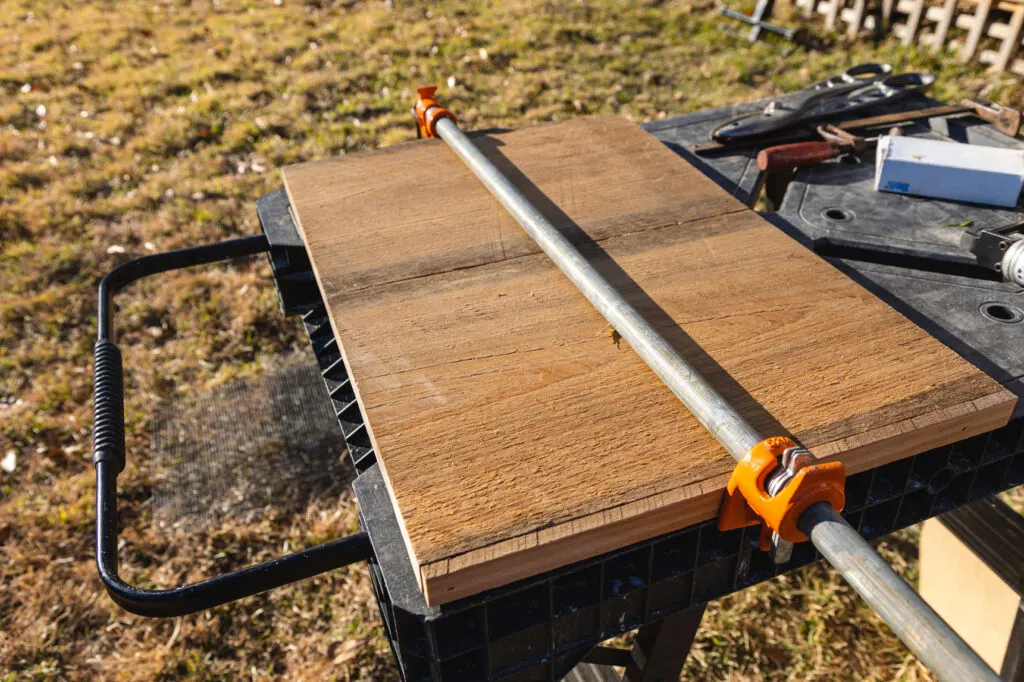

Clamped back panel
Back Panel
To assemble the bat house, I joined two 1x12x16 boards using glue to make a 16 X24 back panel.
Then I clamped the chamber divider, back panel, and the front upper board together to cut the peak for the roof.
Next, I marked the center of the top edge for my reference to cut the 6-degree angle for the roof pitch.
Mesh
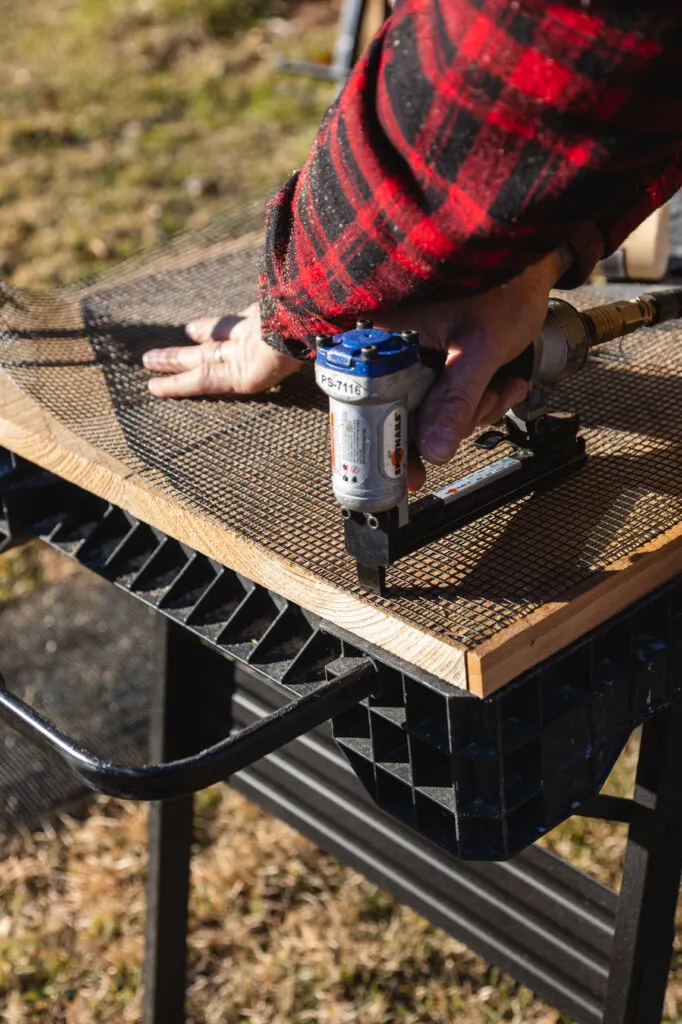
Attach wire mesh starting at the bottom nail a ¼x7/8×16 inch strip of cypress to the bottom edge.
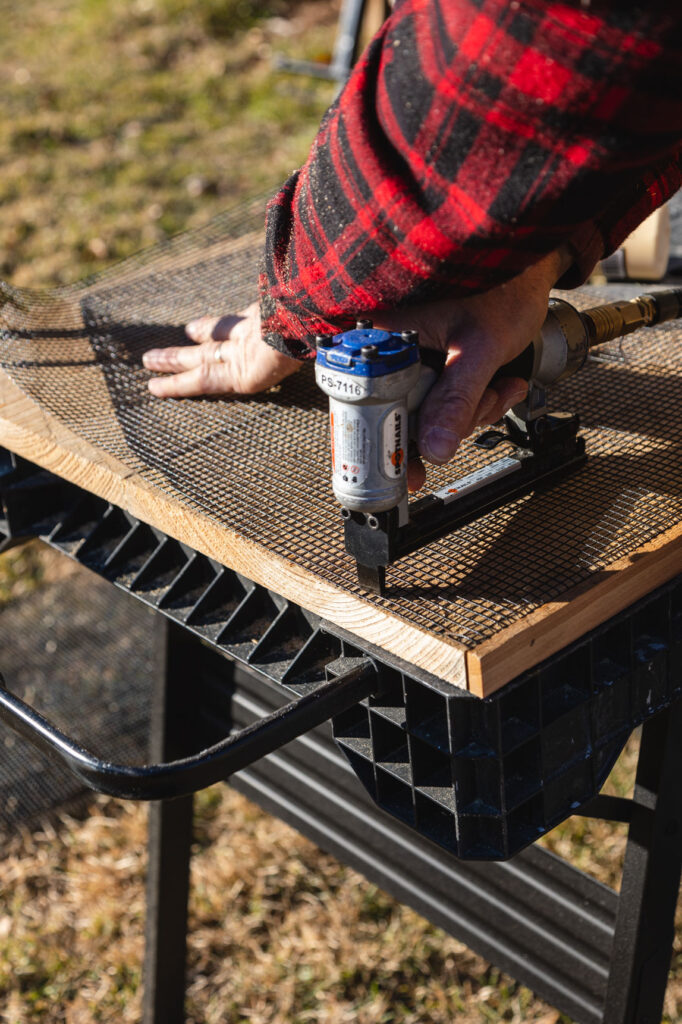


Back panel mesh
Smooth the mesh over the panel and staple and place.
Trim the mesh as needed.
Attach the mesh to both sides of the chamber divider with staples.
Note: If you prefer, you can omit the mesh and instead cut shallow horizontal grooves about ¾ inches apart on the inside surfaces of the chambers.
Build the Chambers
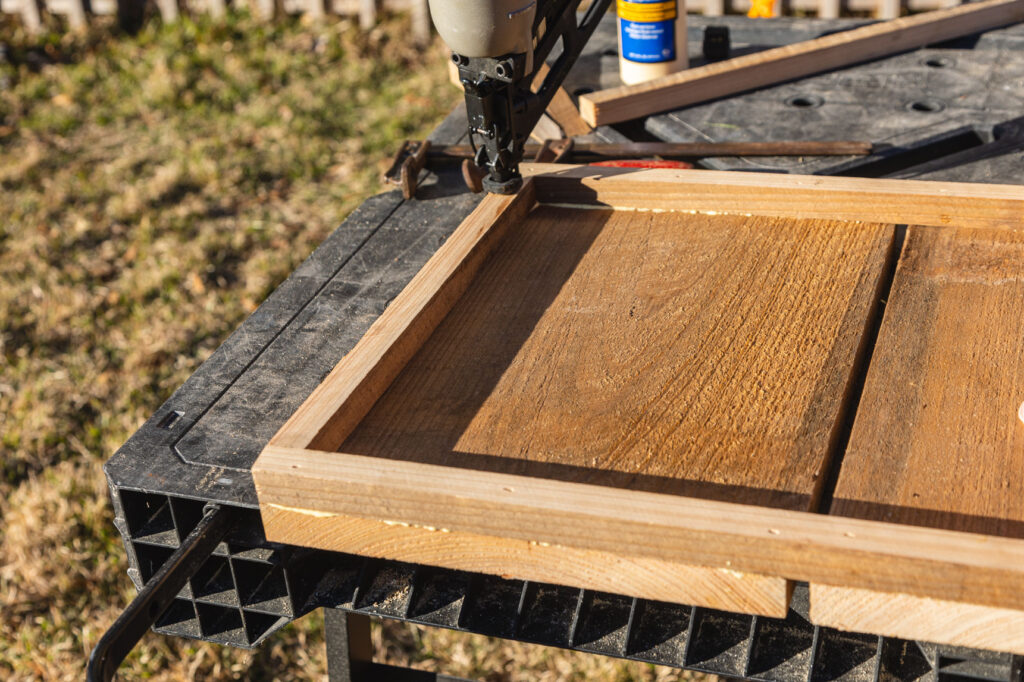
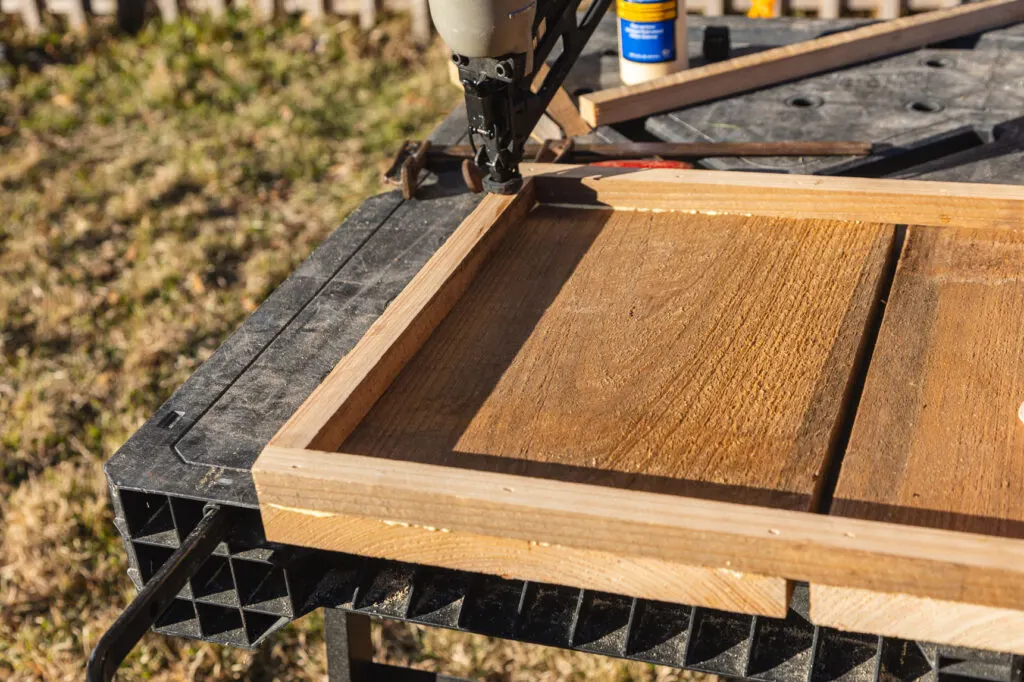
To attach the chamber spacers along the sides and the top, I glued and nailed them in place.


Chamber spacers
Note: I do not recommend building a single chamber bat house if you want to attract enough bats for insect control.
Each bat eats more than one thousand mosquitos a night.
Lay the front panel pieces face down and attach the chamber spacers along the left and right edge and one at the top with glue and nails. Make sure to leave an air gap.
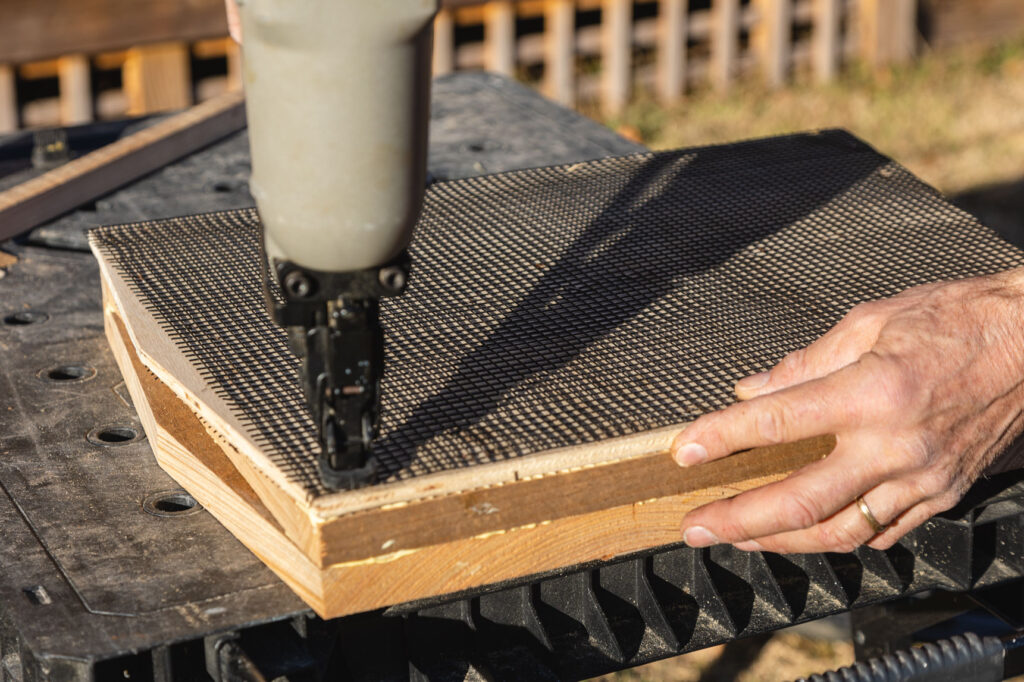
Glue and nail the chamber divider to the front panel assembly.

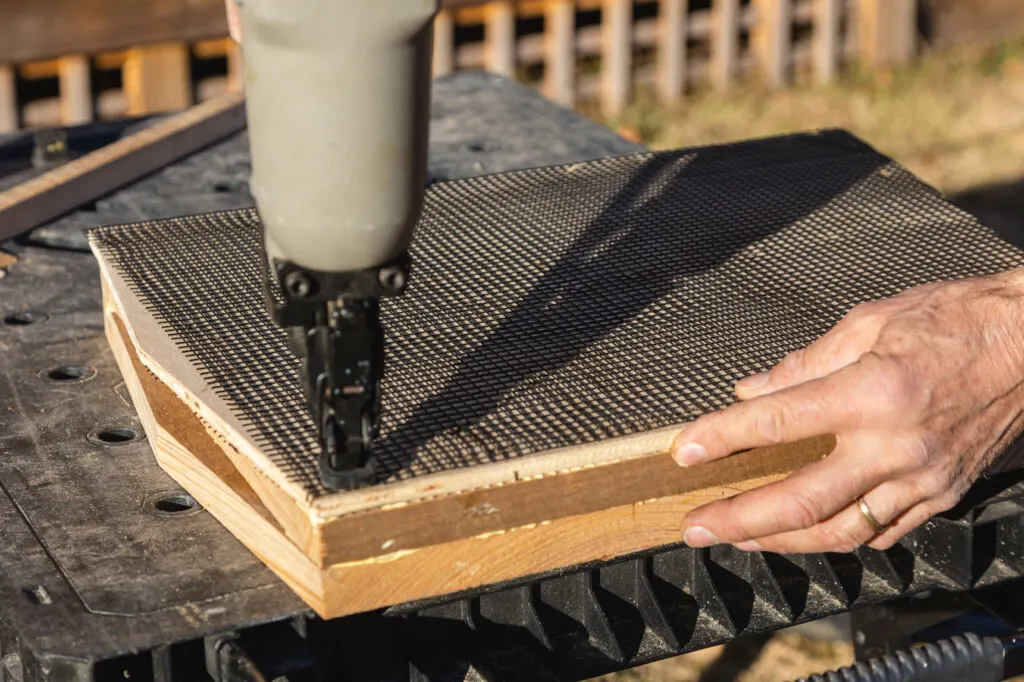

Nail divider panel
Add the next layer of spacers along the left and right edge and one at the top edge with glue and nail. I added a 3 1/8 inch screw at this point to reinforce the joint connections—four down each side.
I attached the back panel with glue and nails and added six more screws along each edge.
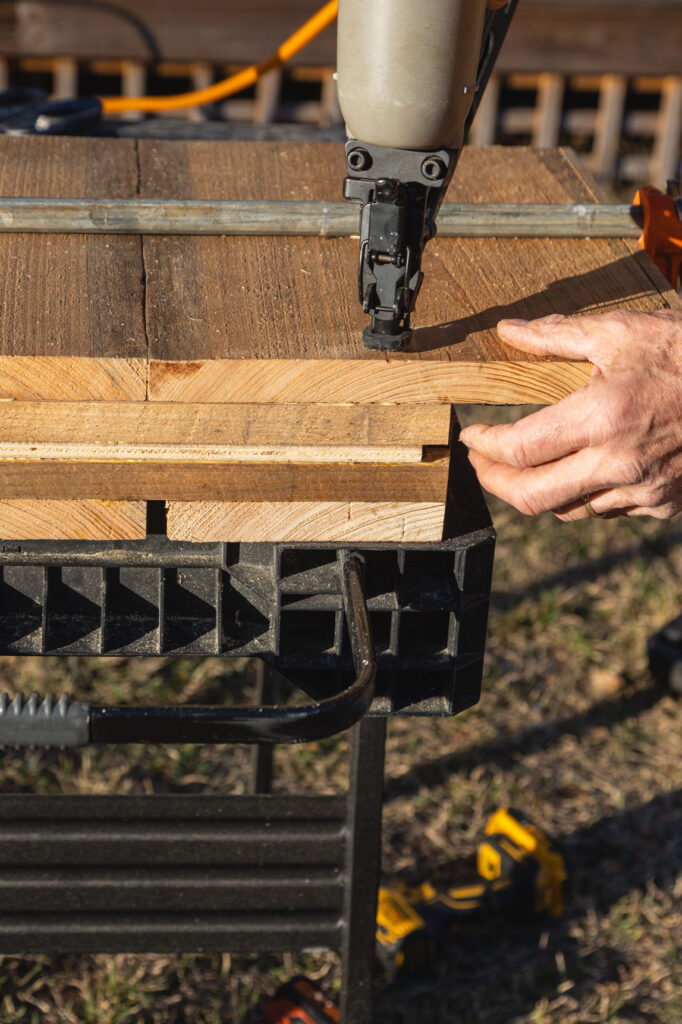

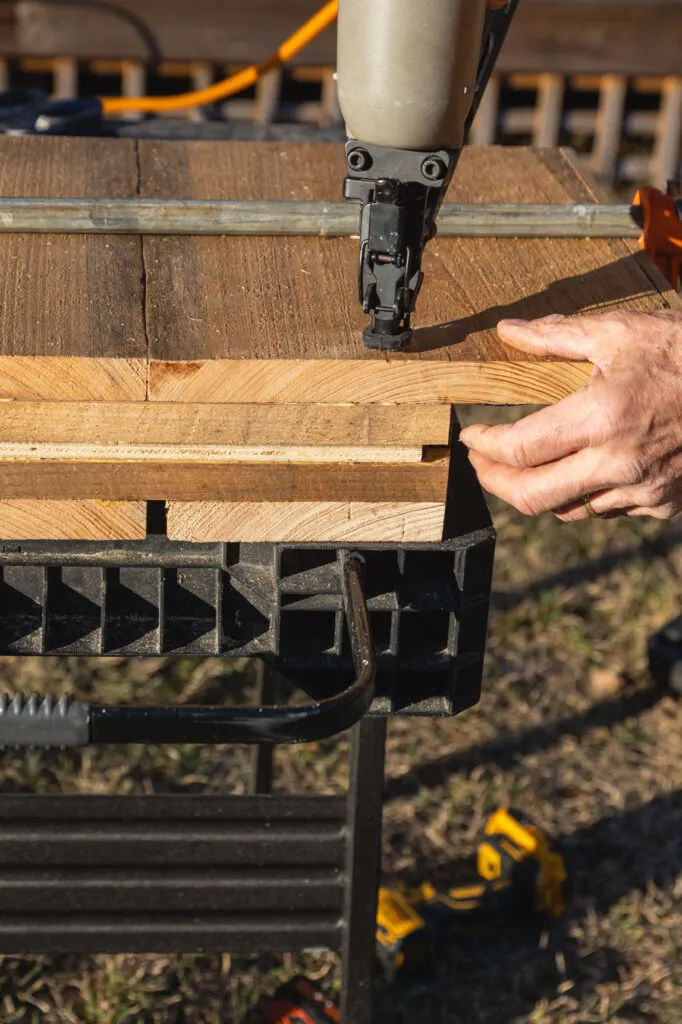

Nail back panel
Prepare the side panels to cover the exposed edge. Glue and nail in place.
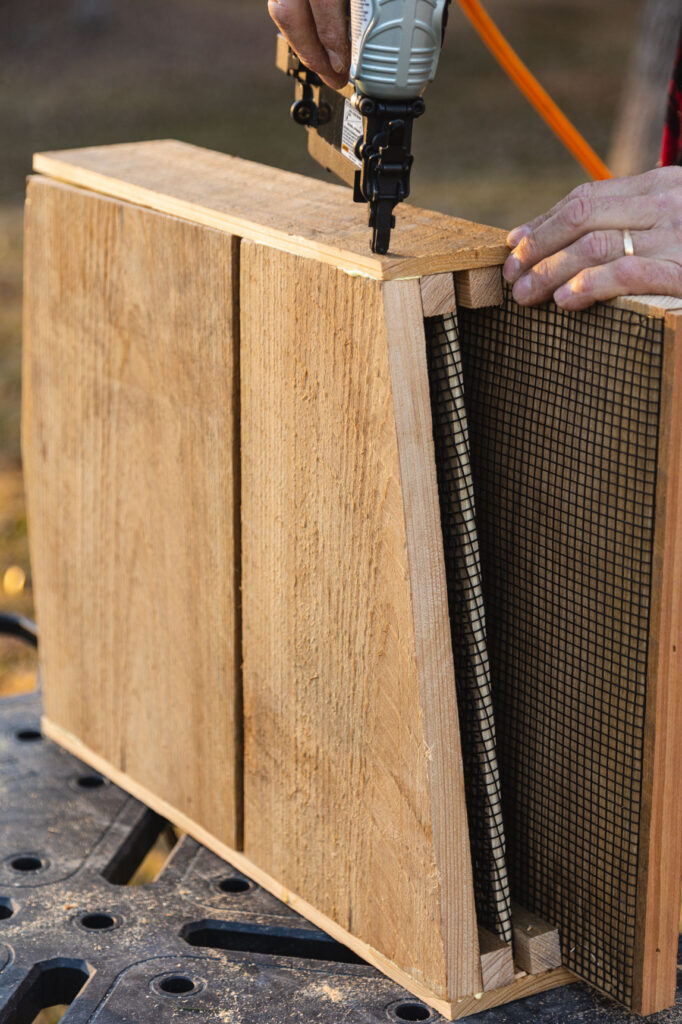

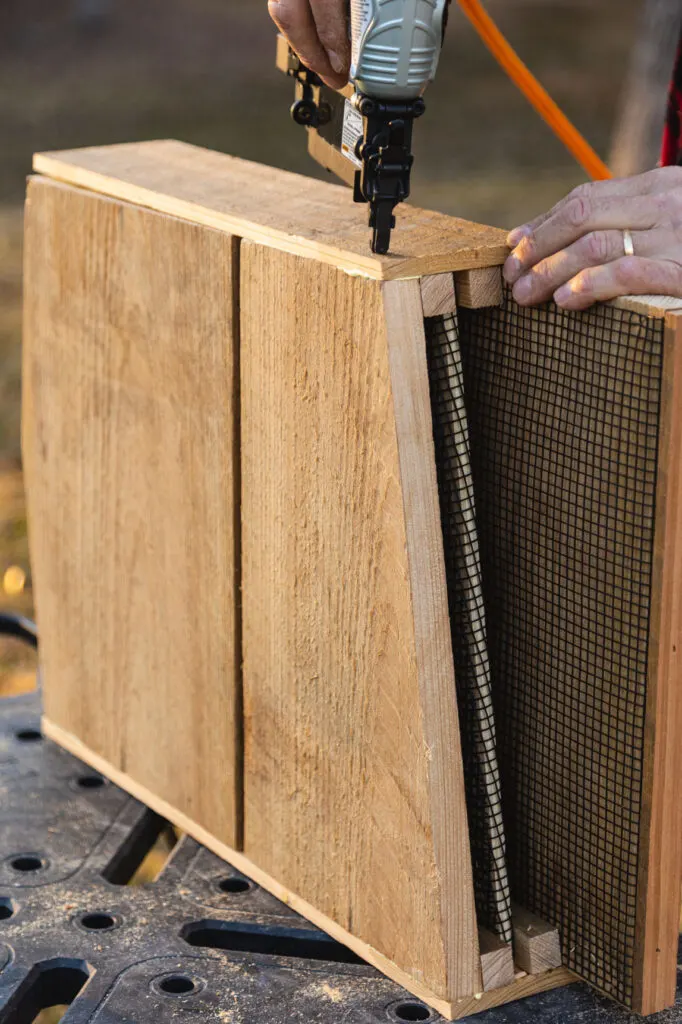

Side panels
Install the top beam (pagoda trim board) with glue and screws from the back. Position the beam and predrill for the screws. Be careful not to drill through the beam.
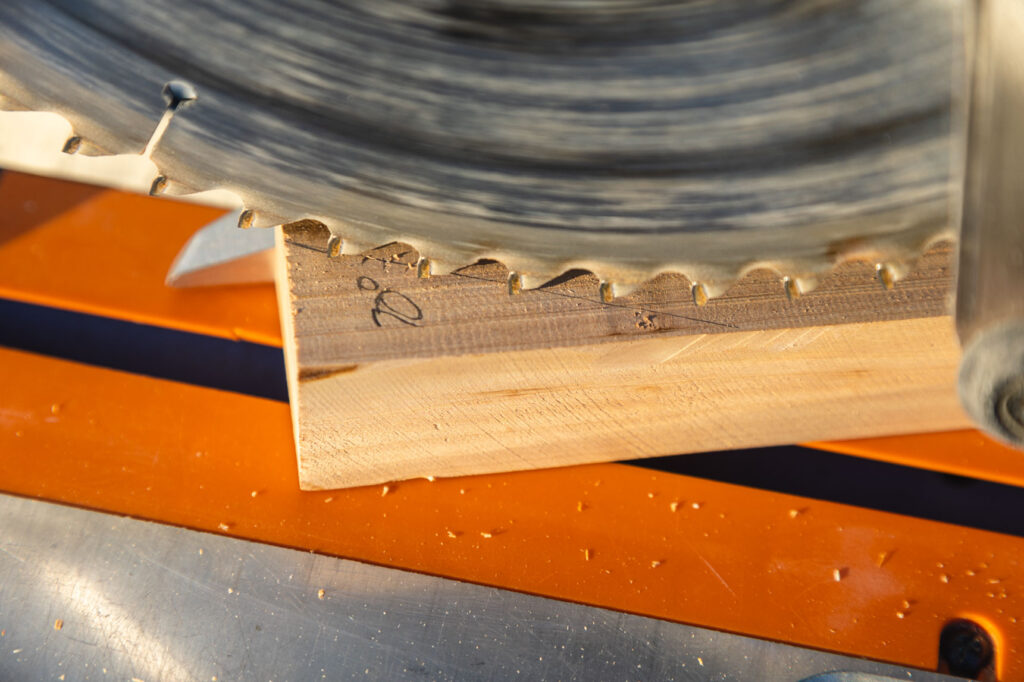

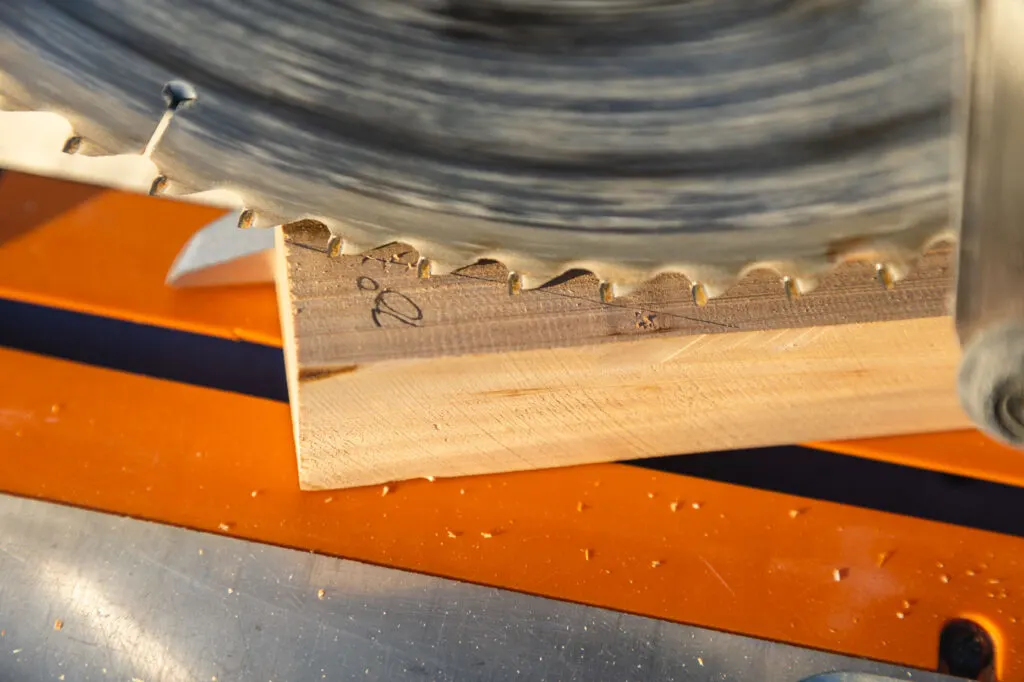

Cut pagoda trim board
Prepare the roof panels and glue and nail them in place.
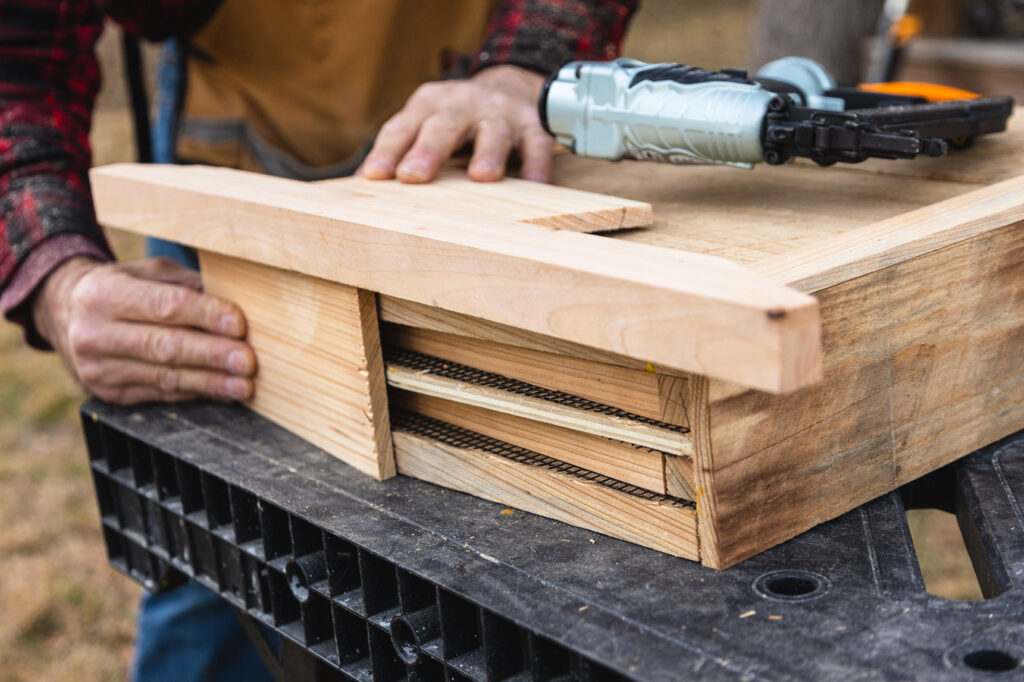

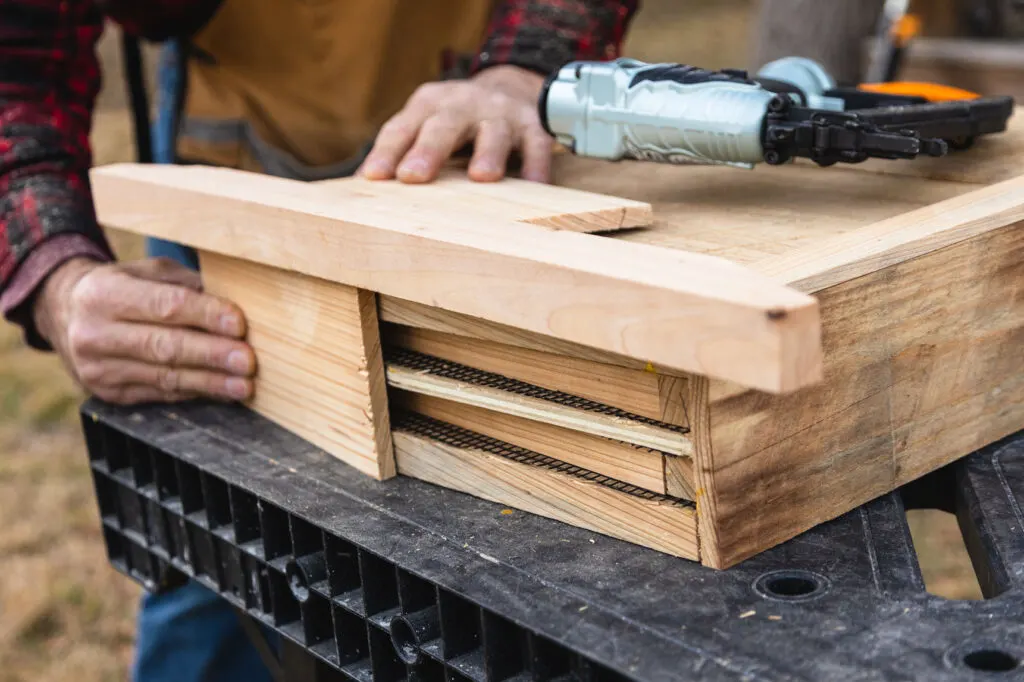

Roof panel
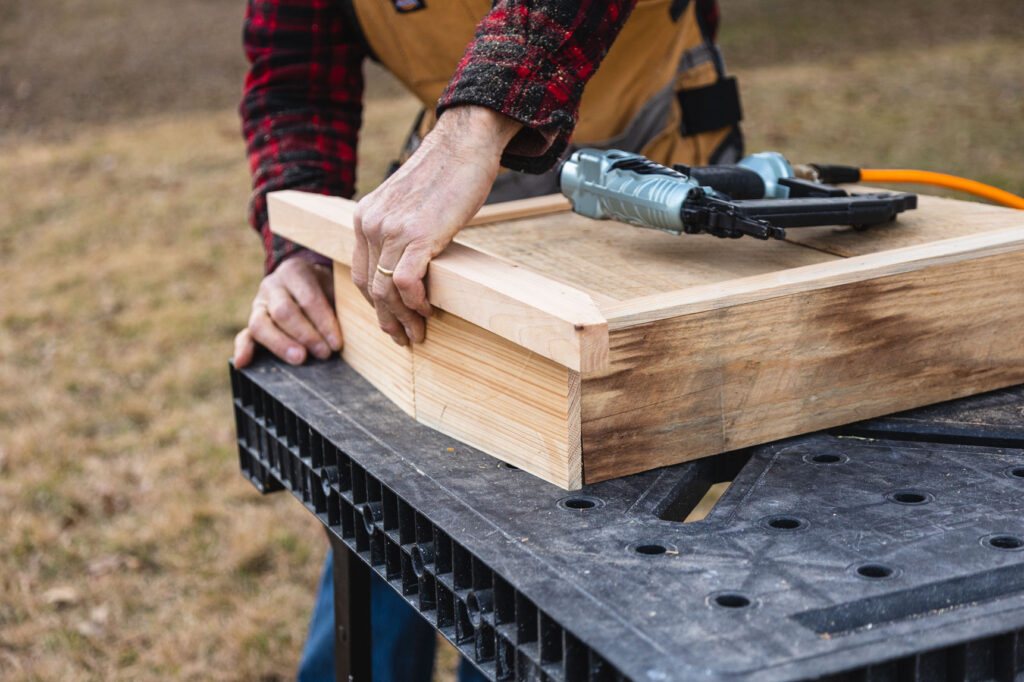

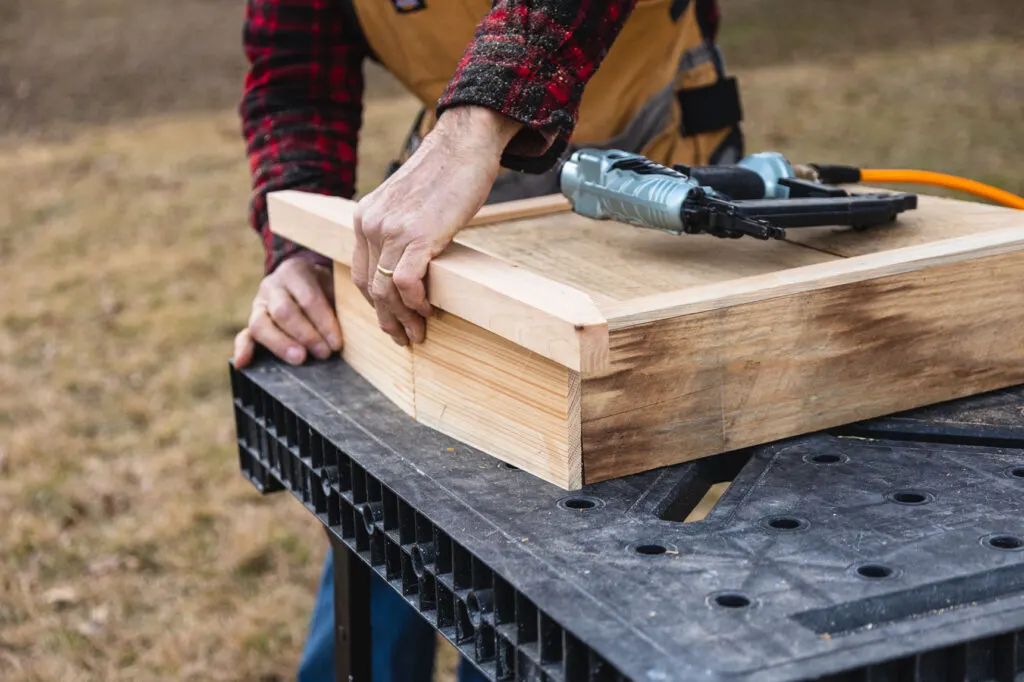

Finished roof
Add the trim to the front with glue and nails.
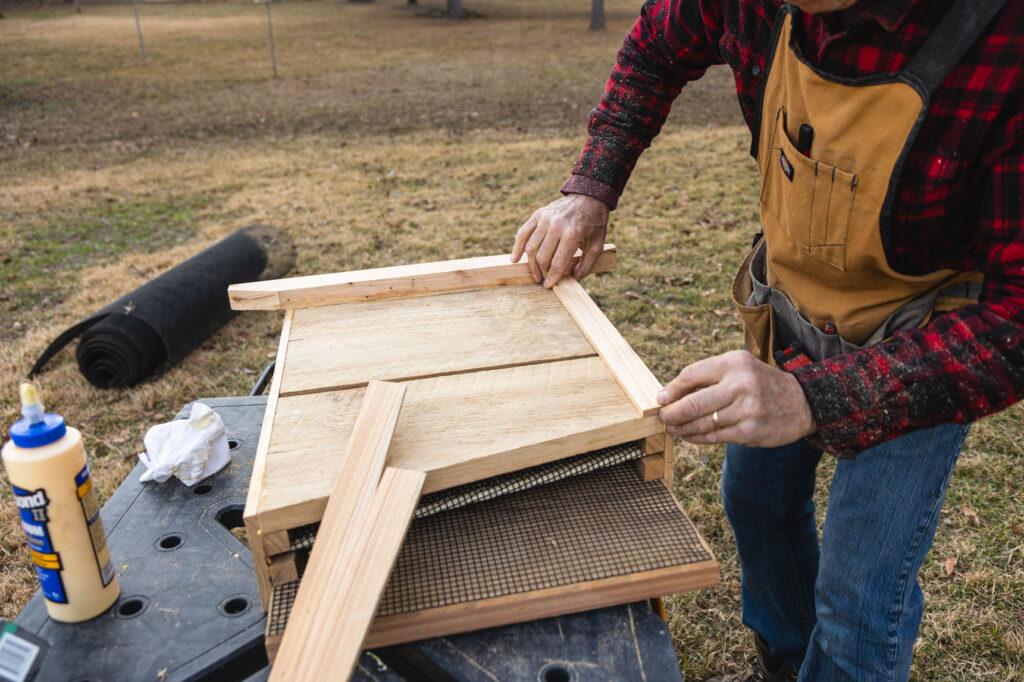

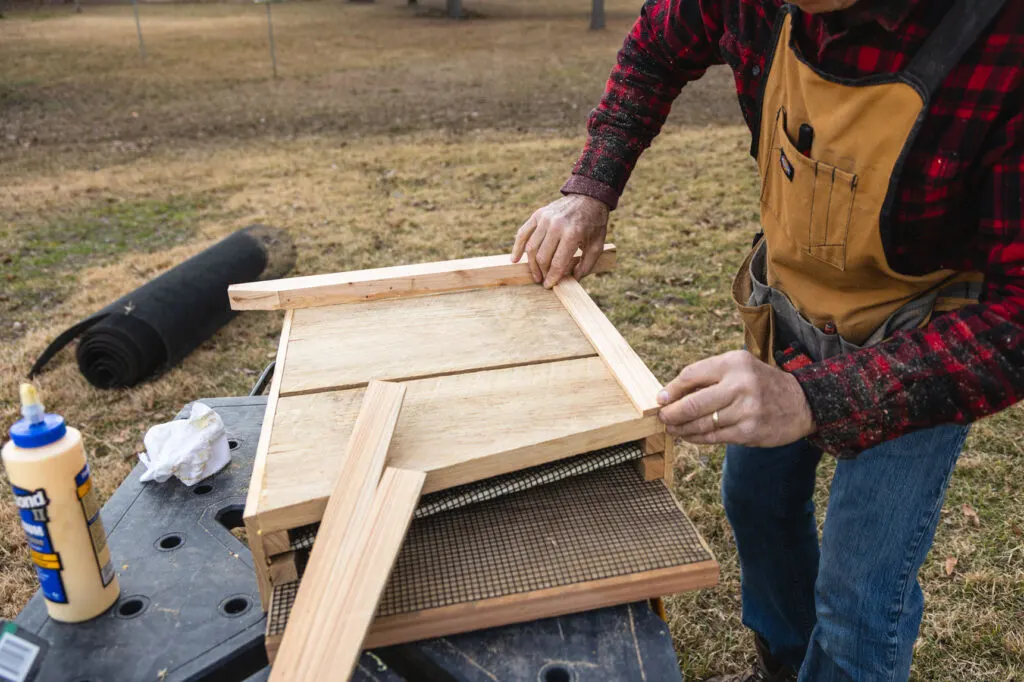

Front trim
If you do not have time to make a bat house you could purchase a bat house (this one is a bargain).
How to Install a Bat House
Bat houses need to be installed at least 12 to 15 feet above the ground and about 15 feet away from tree limbs.
Installation Supplies
- 10′ galvanized pipe
- Pressure-treated wood 4 x 4
- 1.5″ U clamp
Use a U clamp to attach the bat house to a 1.5-inch pole.
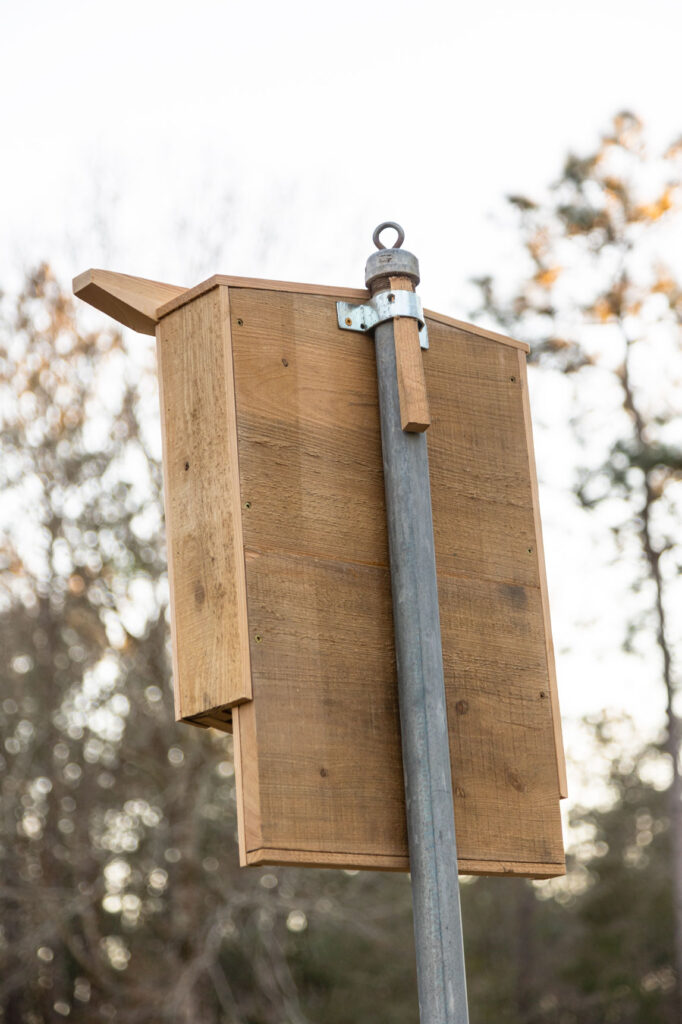

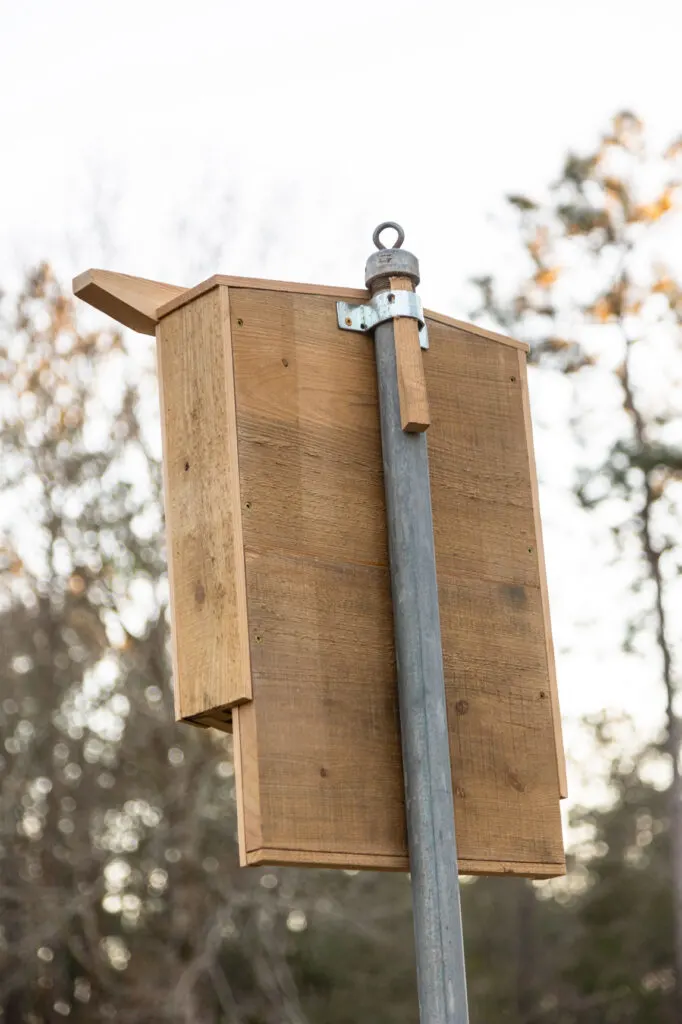

Back of house
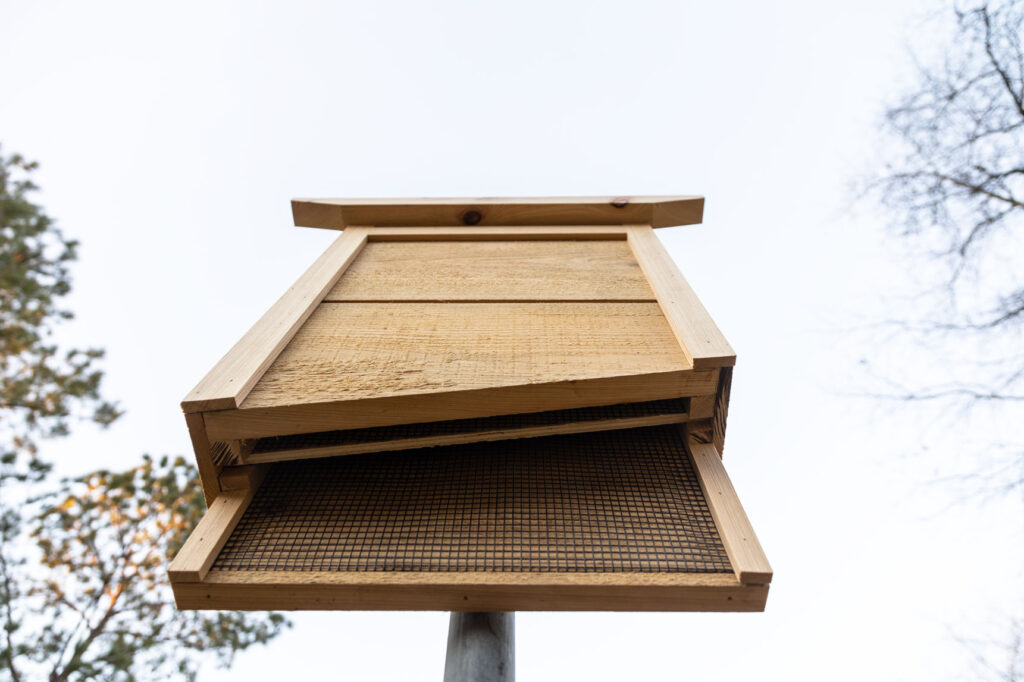

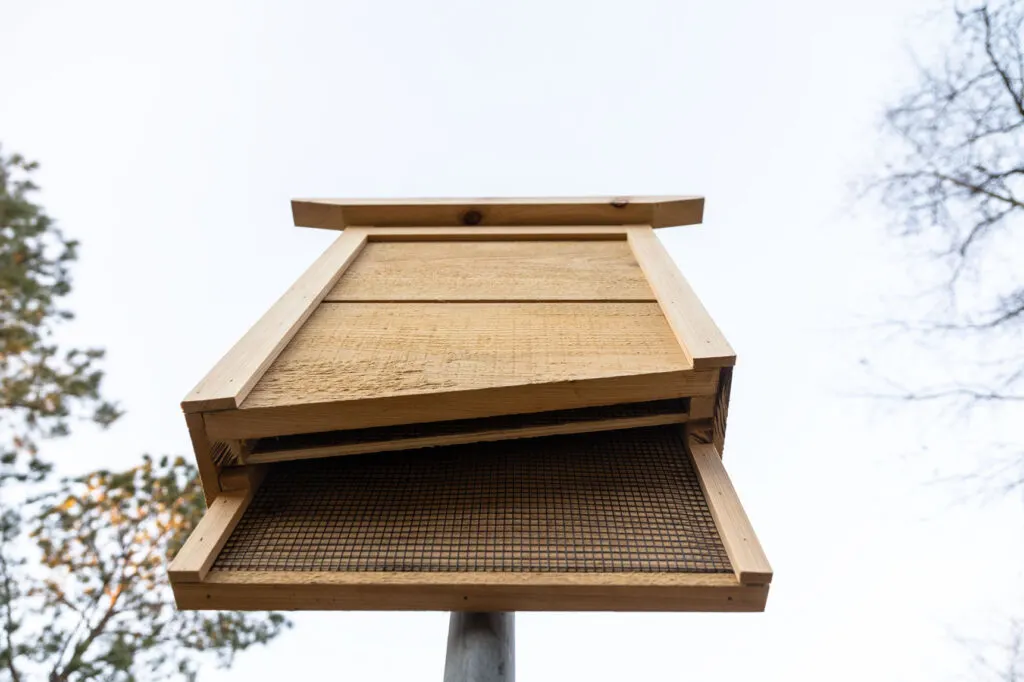

Bottom of the bat house
Hang the house and wait for the bats to move in.
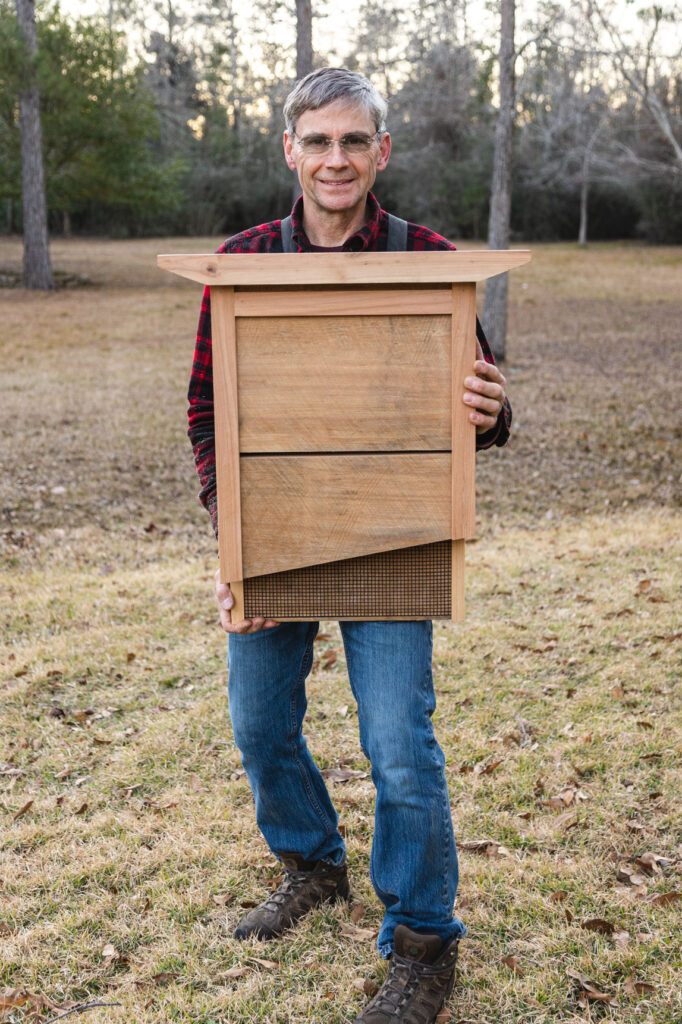

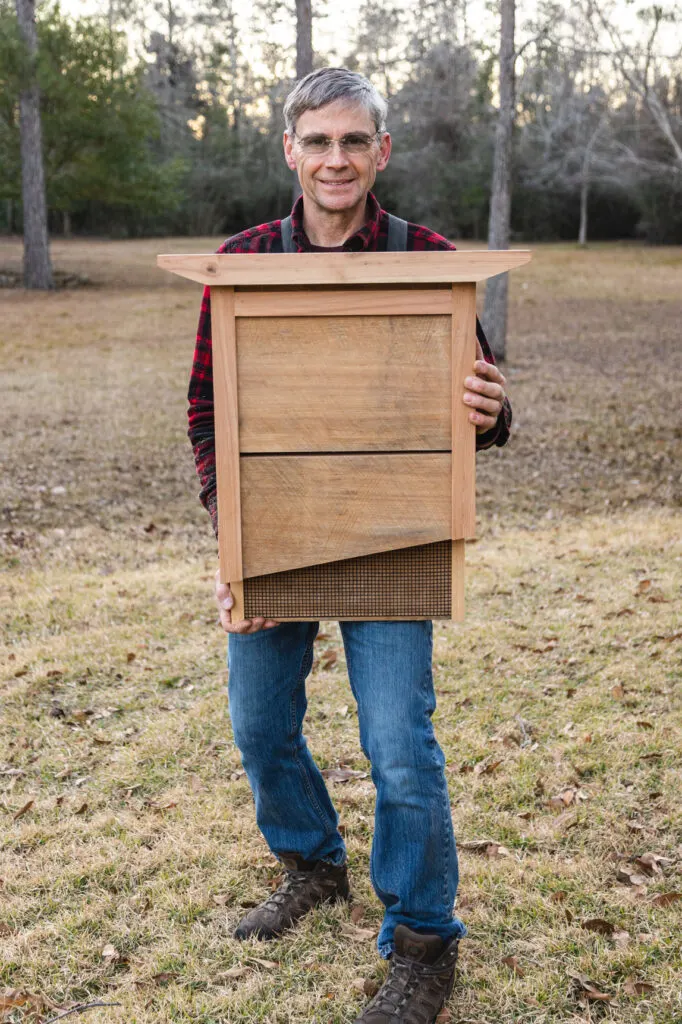

Batman holding house

ACampbell
Wednesday 27th of September 2023
Kippi, your idea is truly fantastic! I want to express my gratitude for generously providing us with your detailed, step-by-step guide on creating a bat house . Bat house often come with a hefty price tag, but your method not only lets us tailor our covers to our liking but also helps us save money. If anyone needs assistance with turning their creative ideas into clear and engaging instructions like Kippi, consider reaching out to the sinopsys writing service https://exclusivepapers.net/synopsis-writing-service.php/ for expert help.
SL
Thursday 24th of February 2022
What a fantastic project. Your instructions are very clear and I really enjoy how the bat house looks. Thanks for this!
Rachelle
Thursday 17th of February 2022
This intrigues me, Kippi. They say we have a lot of bats in Idaho, but I've yet to see one. What I do see are bugs! I need to consider building one of these. Thanks for adding it to the FWF party. Hugs, Rachelle
Sheryl
Friday 11th of February 2022
How far away from the house should this be placed? Thanks so much!