The first thing you see when looking for a house is the mailbox; therefore, I decided to update it by creating a DIY mailbox to increase the curb appeal.
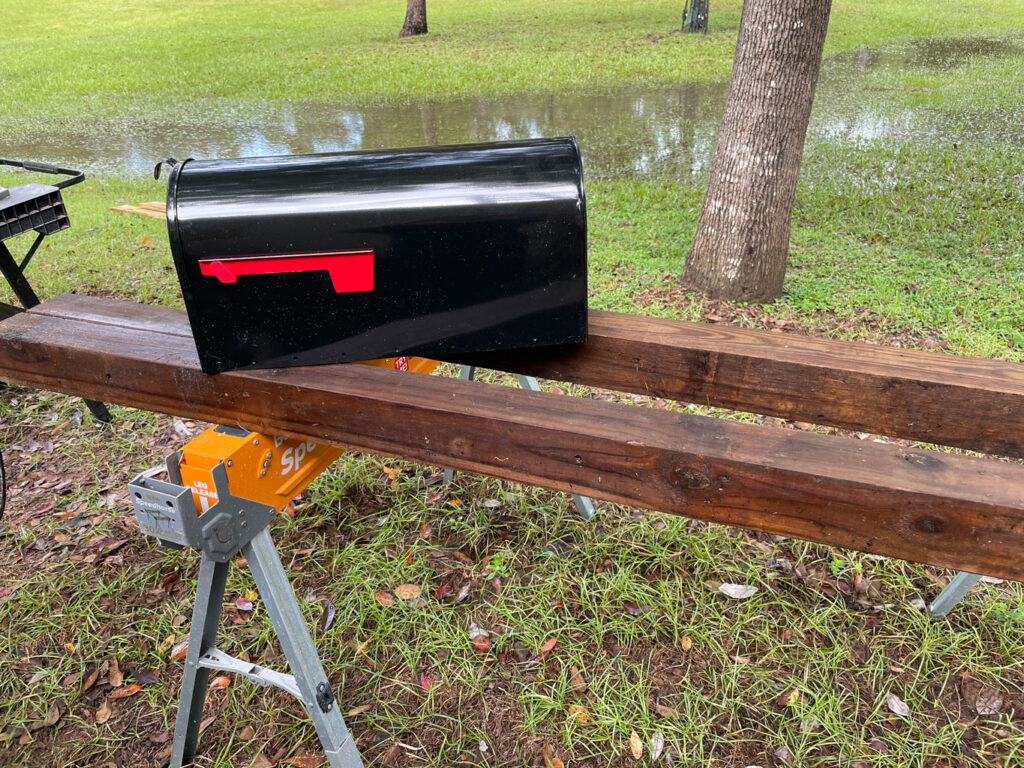
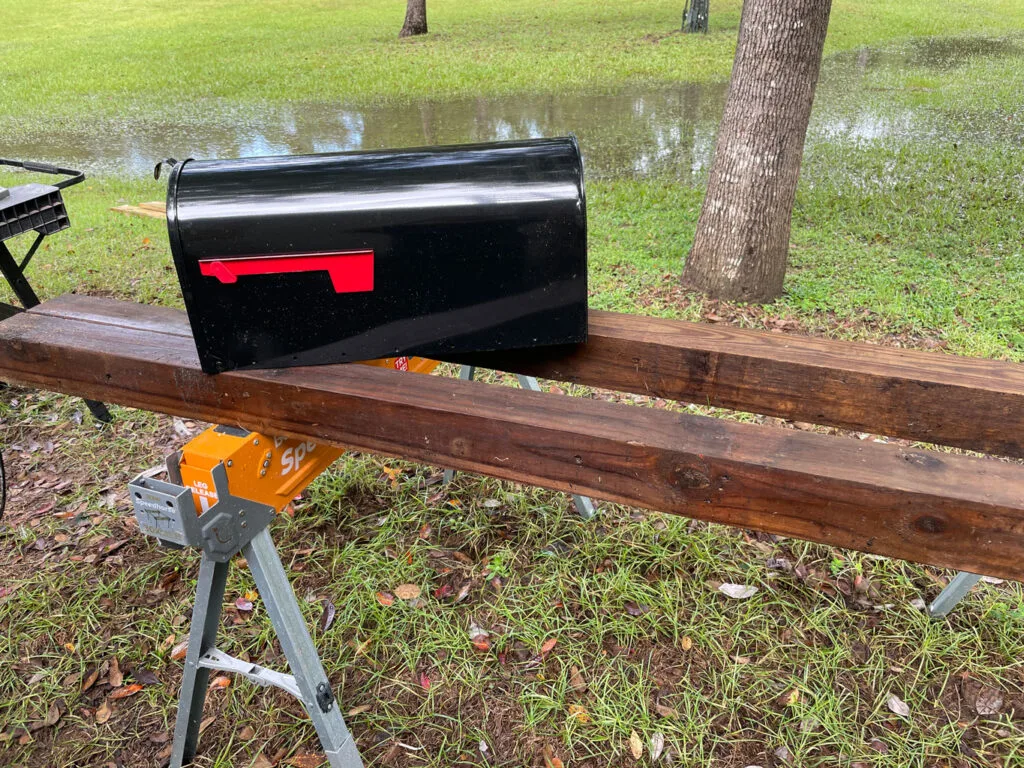
I chose the same type of wood as our other outdoor structures (trellis, lanterns, obelisk, wooden shutters, and flower box).
If you have been following my blog, then you know I am obsessed with solar lights, so I had to add one to this DIY modern mailbox.
DIY Mailbox

This post contains affiliate links. In other words, if you purchase from one of these links, I will make a small commission, but rest assured, you will not pay more for any products.
How to Build a DIY Mailbox
The first thing I had to do was to find out the requirements for the mailbox height and the best placement from the road. You can find the US Post Office requirements on their website.
DIY Wooden Mailbox supplies
Mailbox Building Supplies
4x4x8 pressure treated 2 each
1x6x8 pressure treated 6 each
2x8x20 inches pressure treated
Concrete two 40 lb bag
5-inch screws, 2 each
4-inch deck screws (4 each)
2-inch galvanized finish nails
1-inch stainless steel screws (4 each)
Mailbox 7x8x20
Tools
Post hole digger
Shovel
Level
Speed square
Measuring tape
Speed Horses
DIY Mailbox Posts
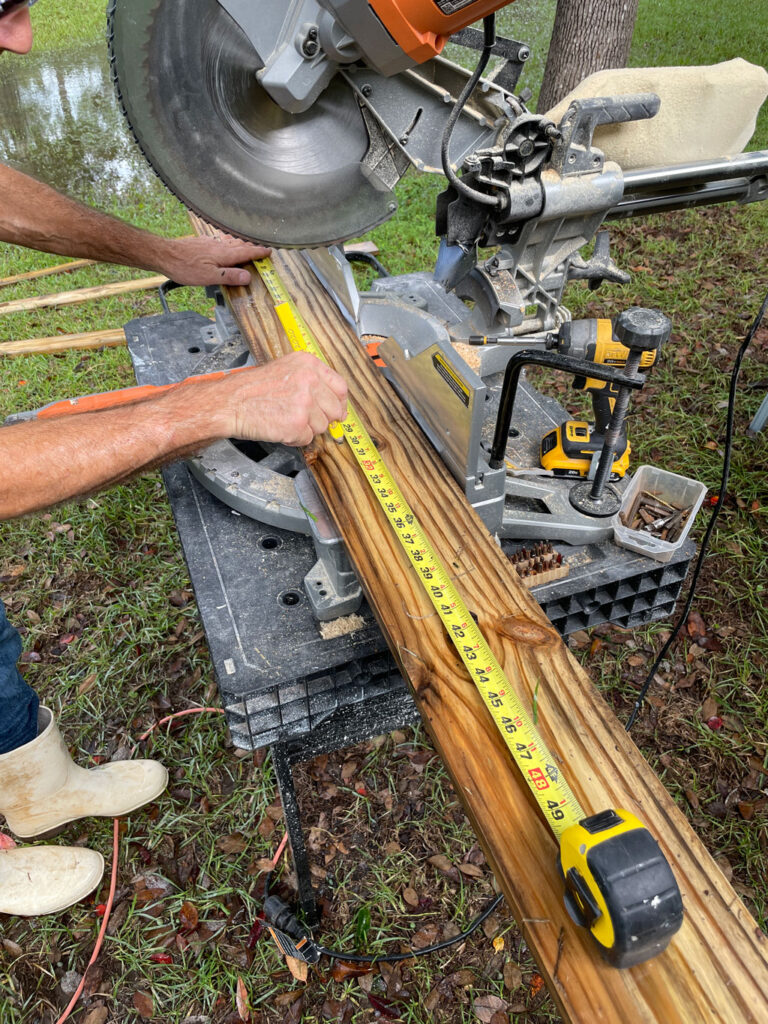
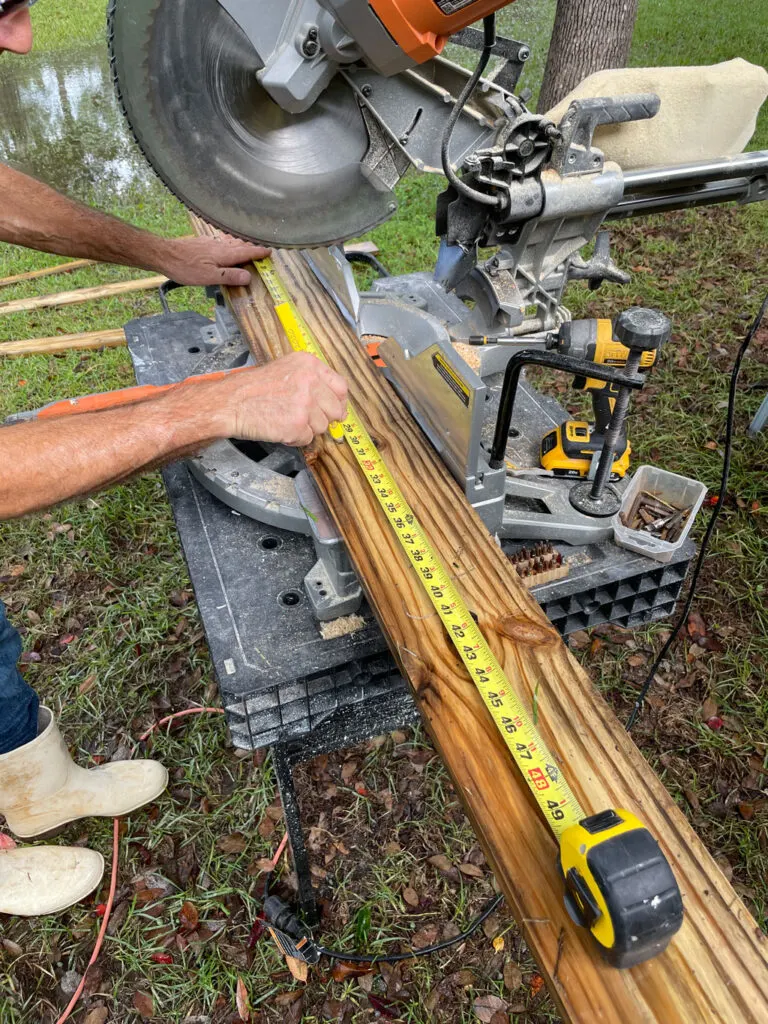
Measure and mark posts


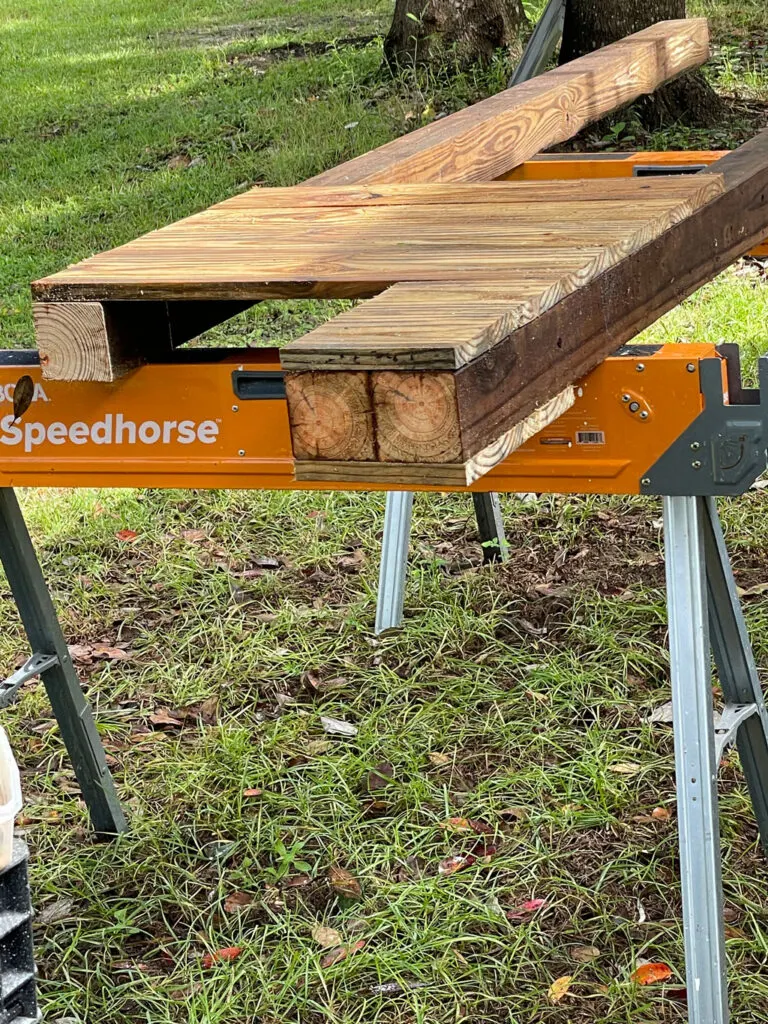
Short boards on the back post
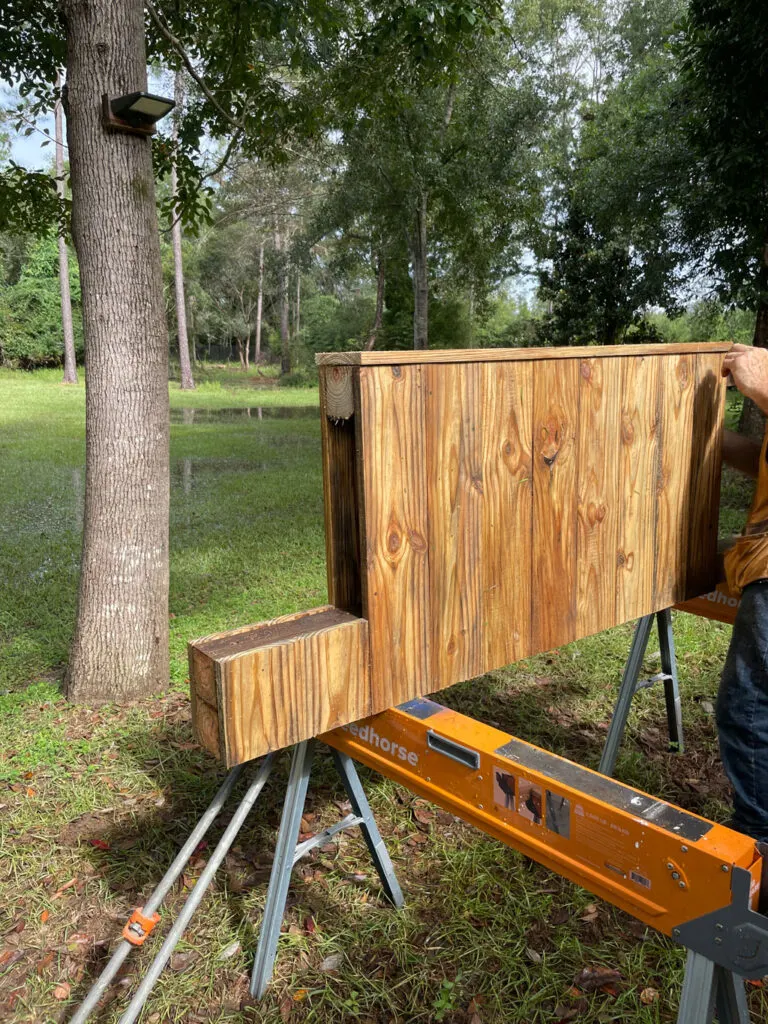
Building the Mailbox Sides
Next, cut fourteen 1x6x25 inch and four 1x6x7 inch pressure-treated boards.
Then, attach the 1x6x7″ boards to the upper portion of the back post with 2-inch galvanized finish nails.
You will want to use a speed square to keep the sideboard square to posts.
Next, place the posts parallel to each other, keeping them 25 inches apart (outside measurement).
Then attach the side boards to the front and back posts starting below the 7″ boards using with 2-inch galvanized finish nails.


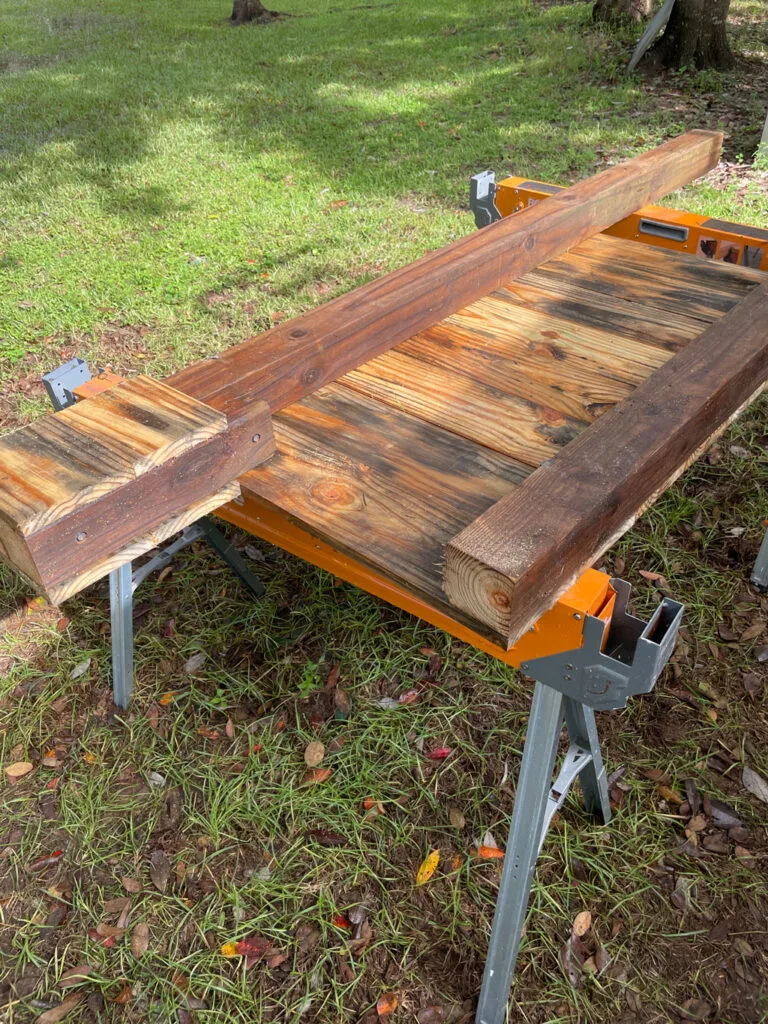
Side view of the long boards on posts
Please note: this view is of the first side of the wooden mailbox holder. Once you finish this side, you will repeat the process on the other side.

Top view of posts and the first side of the mailbox
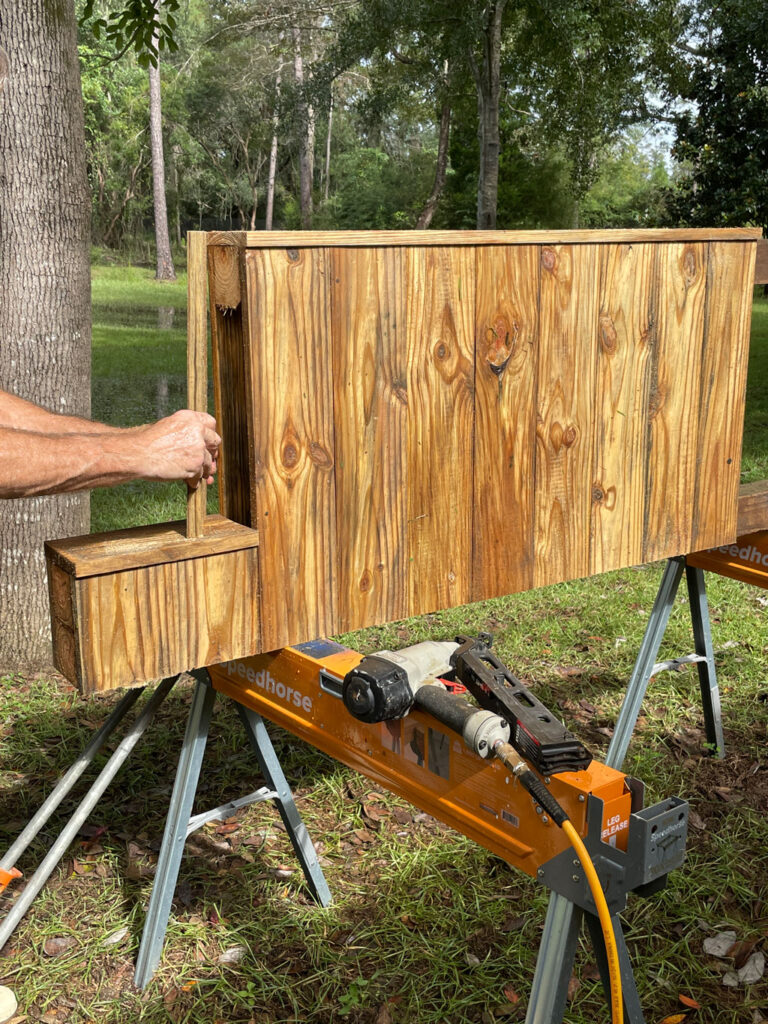
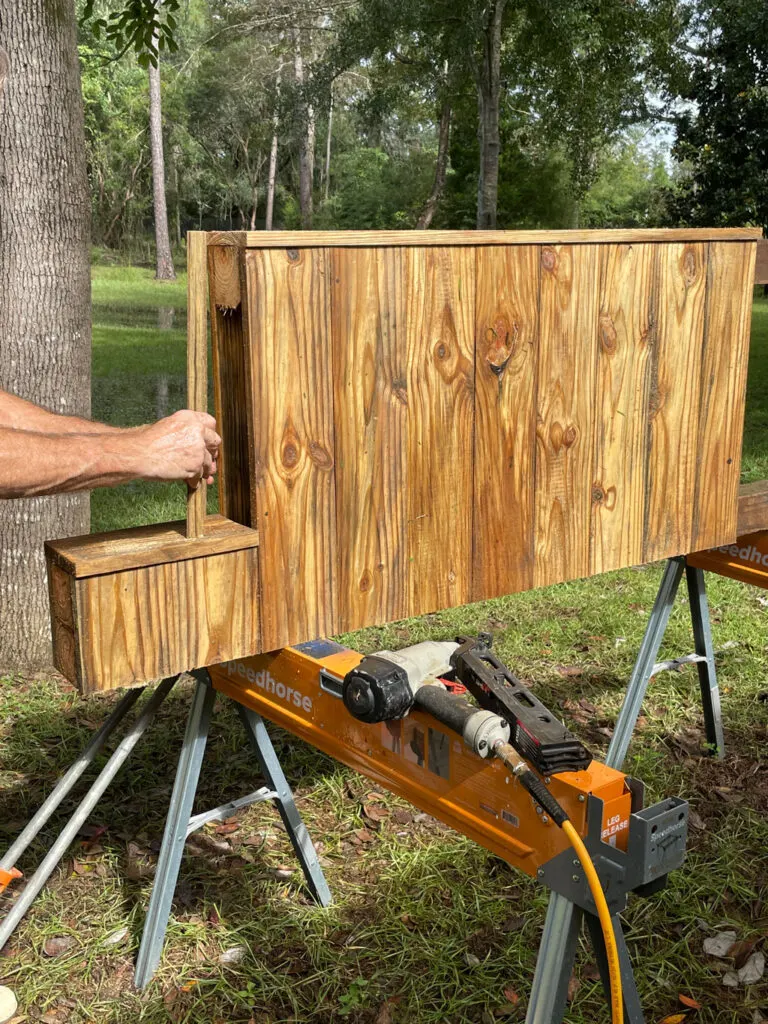
Next, we marked the trim for the inside of the back post. Note: we will attach it later.

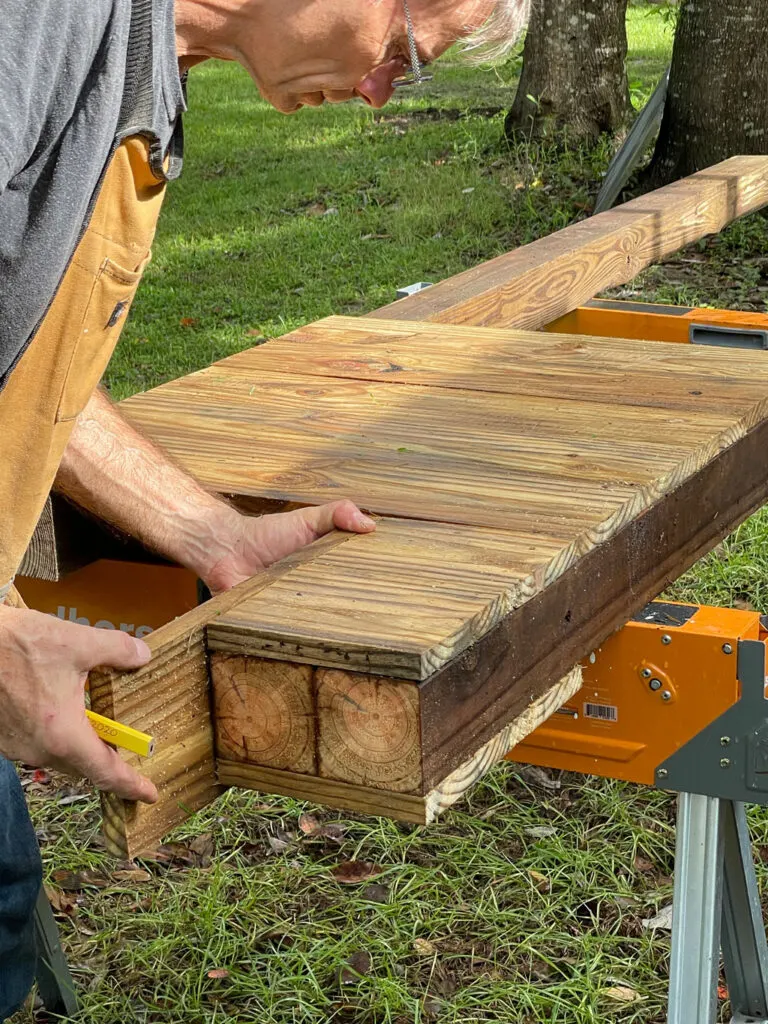
Marking the trim piece
Next, turn over the wooden mailbox assembly and repeat the same process as the other side.

The unfinished side of the mailbox assembly
Wooden Mailbox Trim – Sides
To create finished edges, we used 1×6 pressure-treated lumber.
First, we measured the assembly to get the exact sizes for our side trim cuts.
Note: lumber varies in size.
These are the side trim cuts we used: long front 1x6x38.5, short front 1x7x6, and back 1x6x49.5
However, these measurements could vary, so you must measure your wooden assembly for the exact measurements.
Next, attach the side trims with 2-inch galvanized nails.

Attaching front trim board
Top Trim
We added the top trim last since we wanted it to extend to cover the side trim boards.
Therefore, you will want to include the installed side trim in your measurements for the top trim boards.
Attach the long top trim board
Mailbox Mount
Next, we created a mailbox mount (AKA shelf) with a 2×8.
First, we measured the width and length of the metal mailbox then we cut the board to size.
Then, we mitered the front edge of the mount board at a 60-degree angle to allow the mailbox to open.
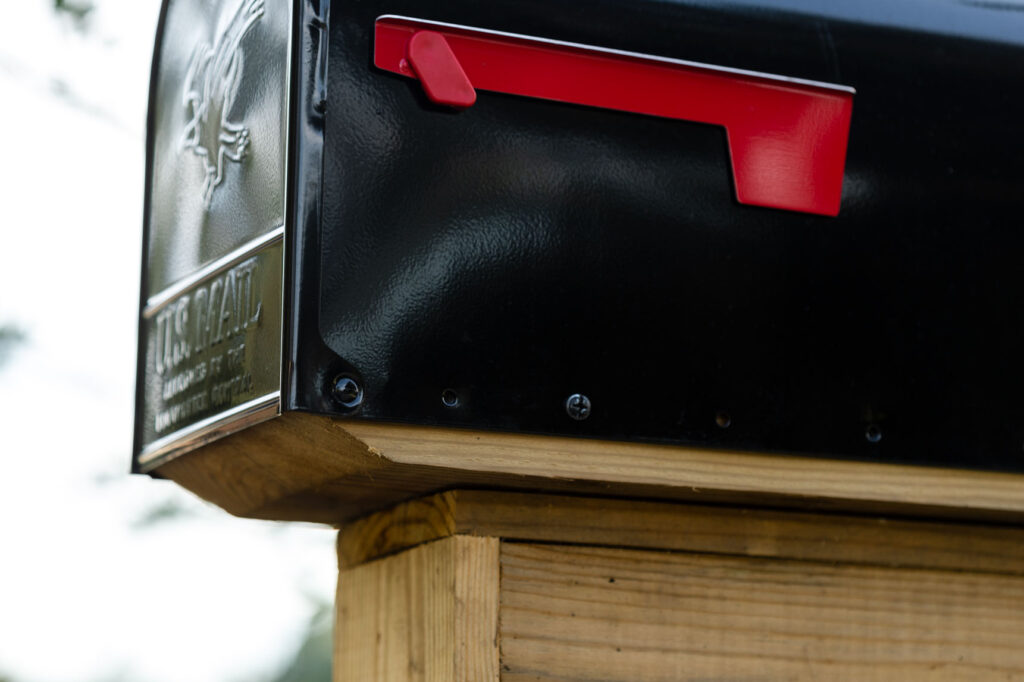

Mailbox mount


Mitered mailbox mounting board
Tip:
At this point, you will want to check the fit of your metal mailbox on the “shelf” of your wood mailbox holder.

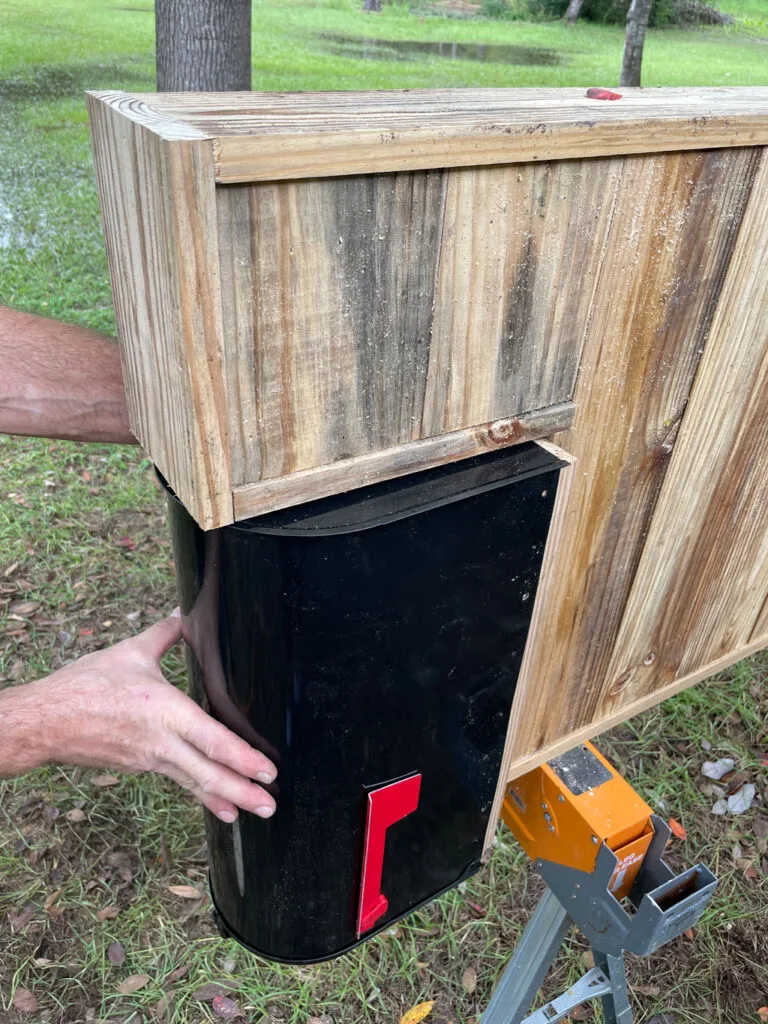
Check metal box fit
Note: We installed the metal mailbox onto the mounted board using 1-inch stainless steel screws through the holes in the bottom lip of the mailbox. We did this after it was installed in the ground.
DIY Mailbox Install
To install the mailbox, we dug two holes 16 inches deep and 25 inches apart.
Then we placed the box posts into the holes. We backfilled the holes and then checked them for level.
Once it was level, we added the dry cement and water as we went. Next, we packed the cement around the posts and sloped it away from the wood.
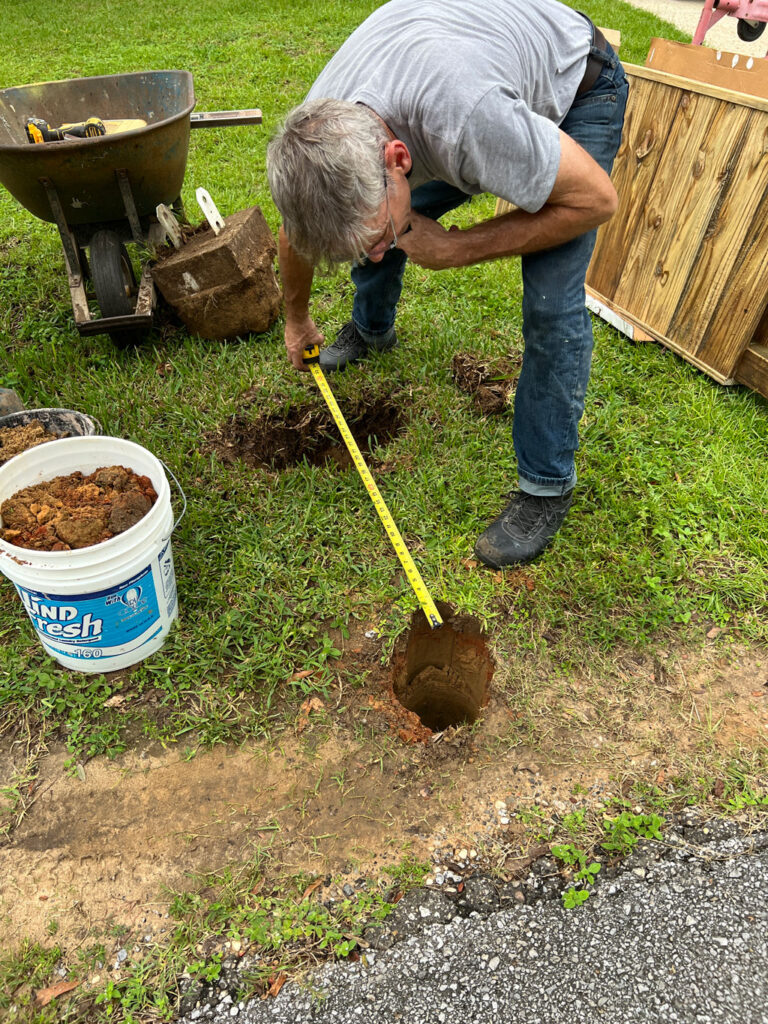

Measure the holes for install
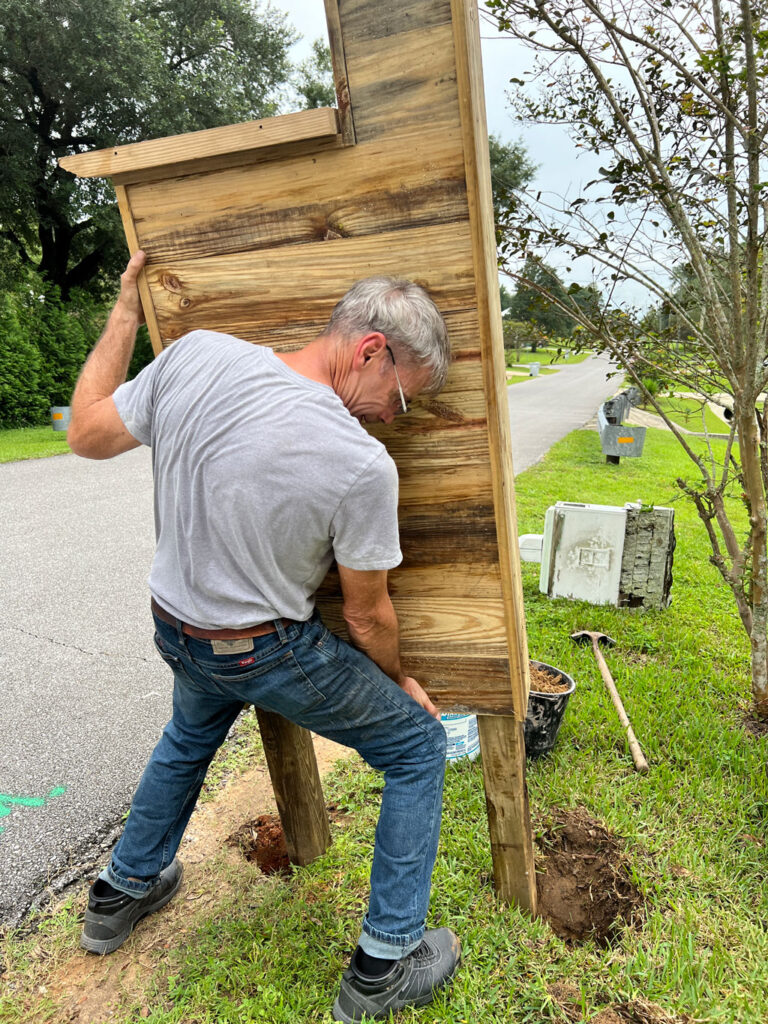
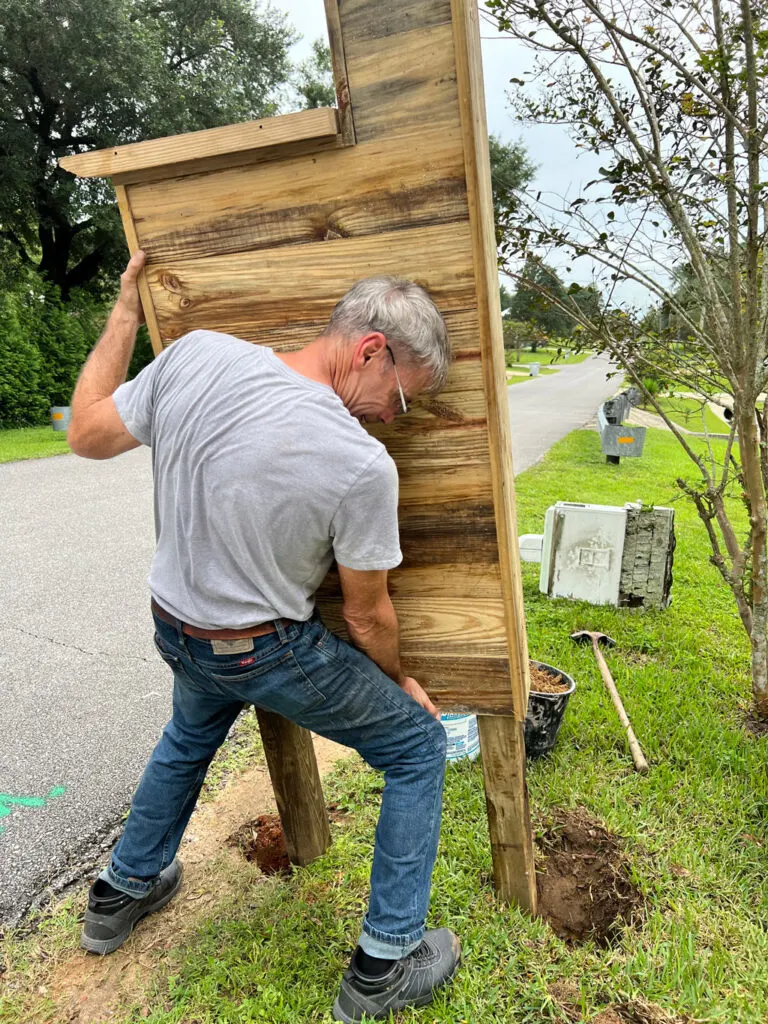
Place wood assembly into holes.

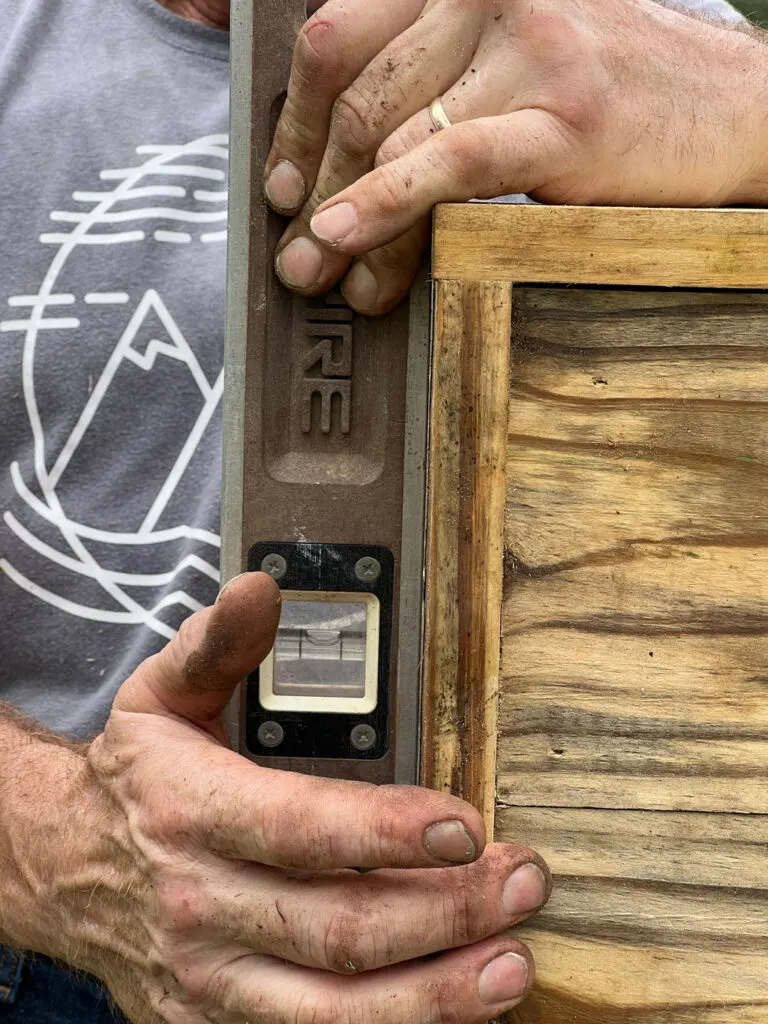
Use a level to check that the installation is plumb.
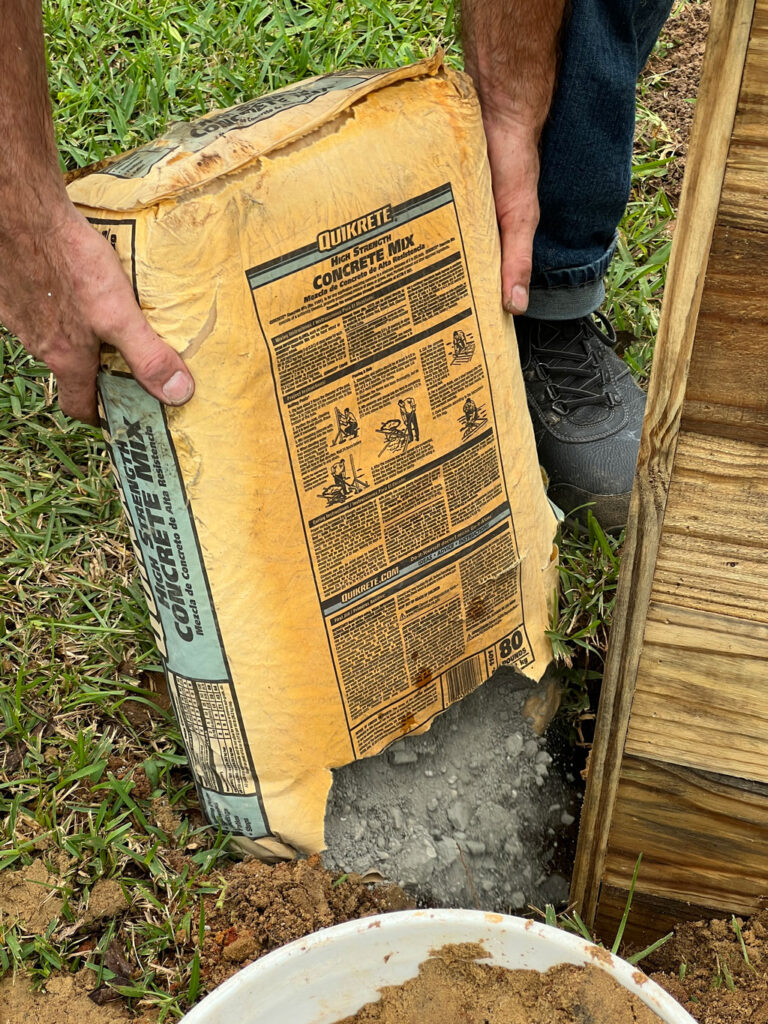
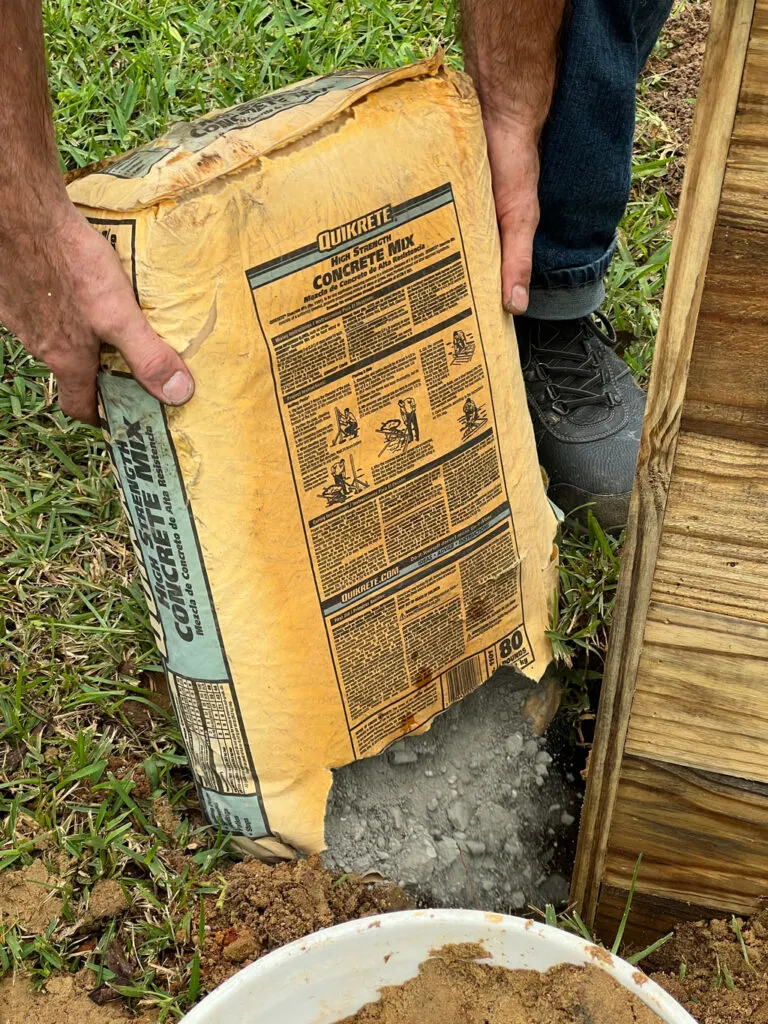
Use concrete to secure posts.


Attach the metal box to the DIY wood mailbox assembly
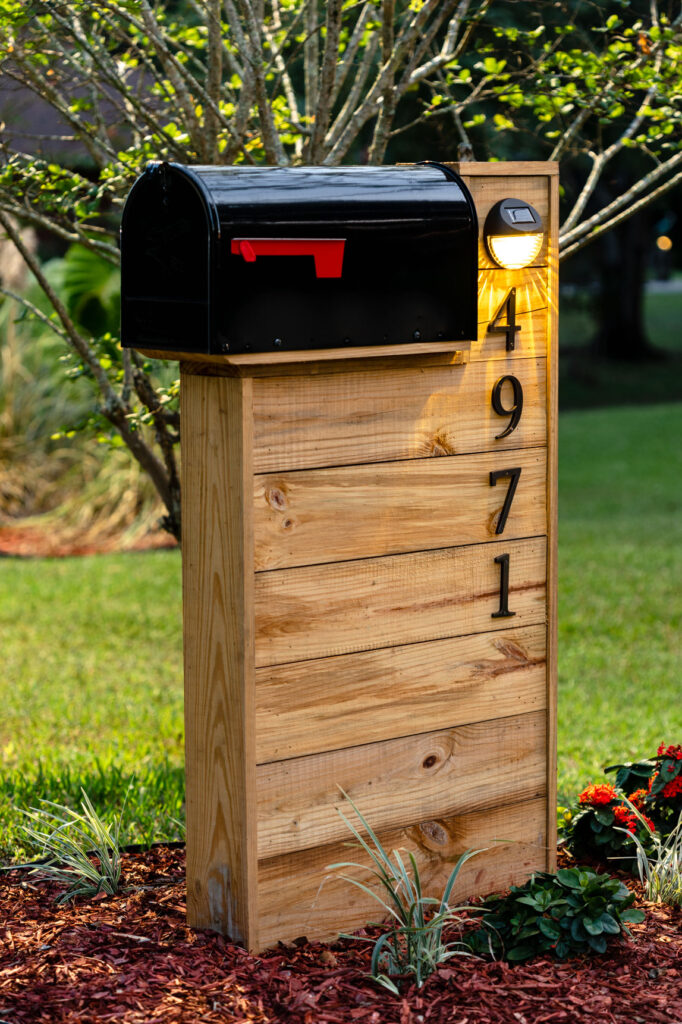
Mailbox House Numbers and Solar Light
Supplies:
Since I am obsessed with solar lights, I decided to use one to illuminate the house numbers.

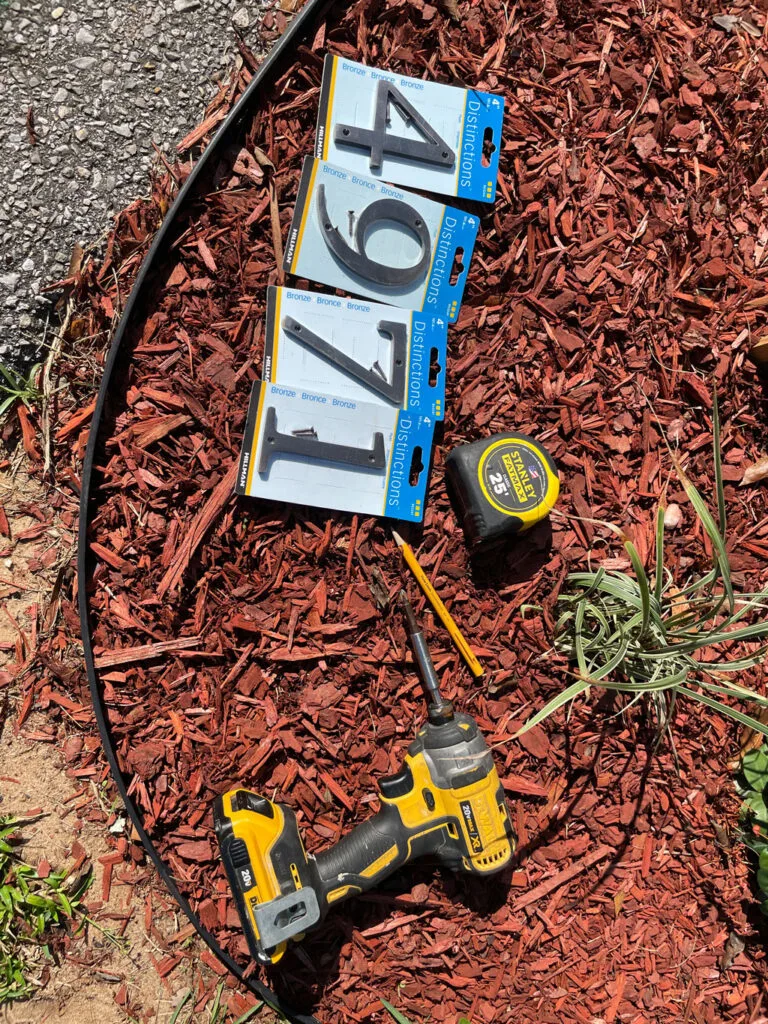
House numbers and tools for installation

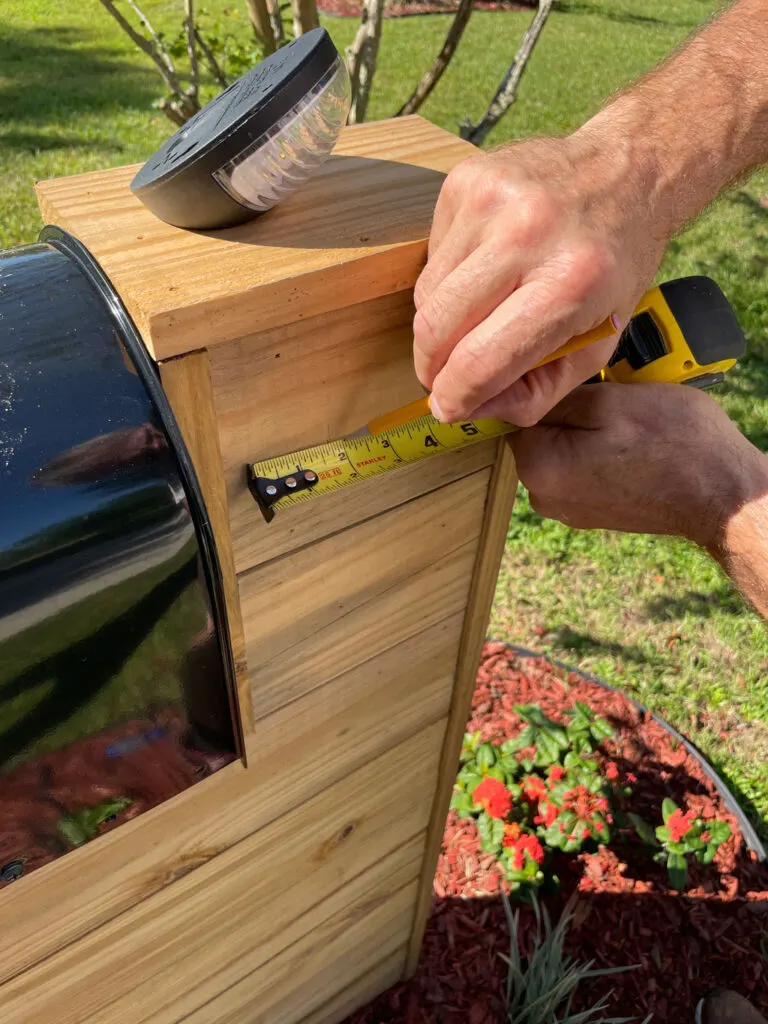
Measure and mark the side of the DIY Mailbox for installing the solar light
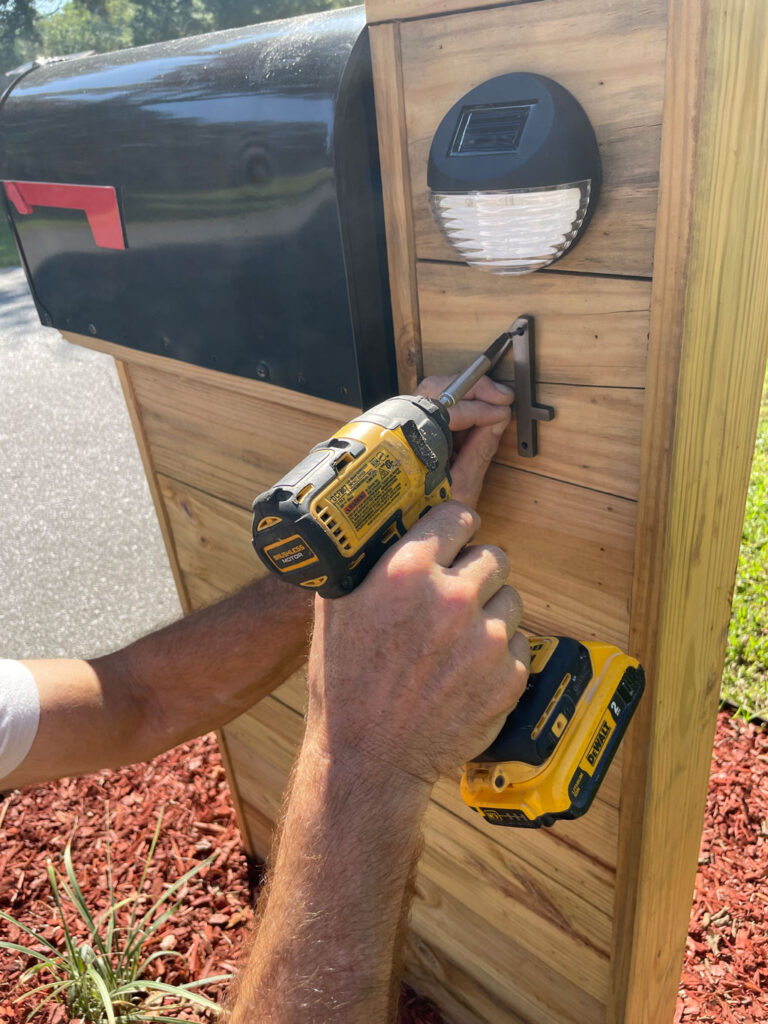
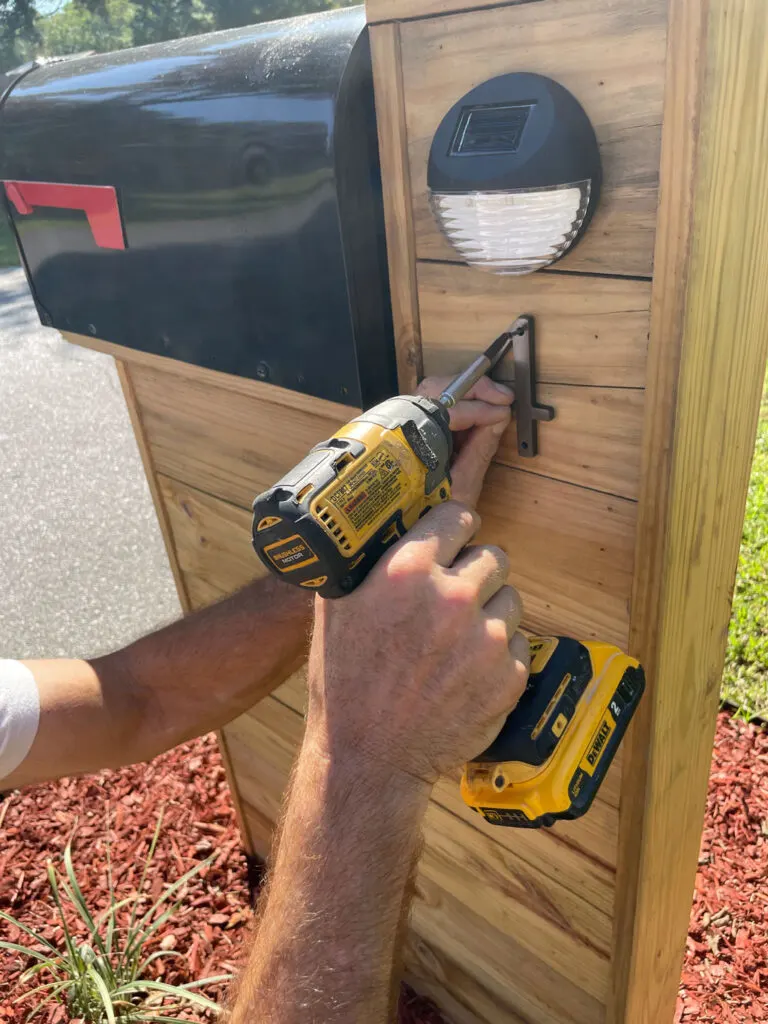
Attach house numbers

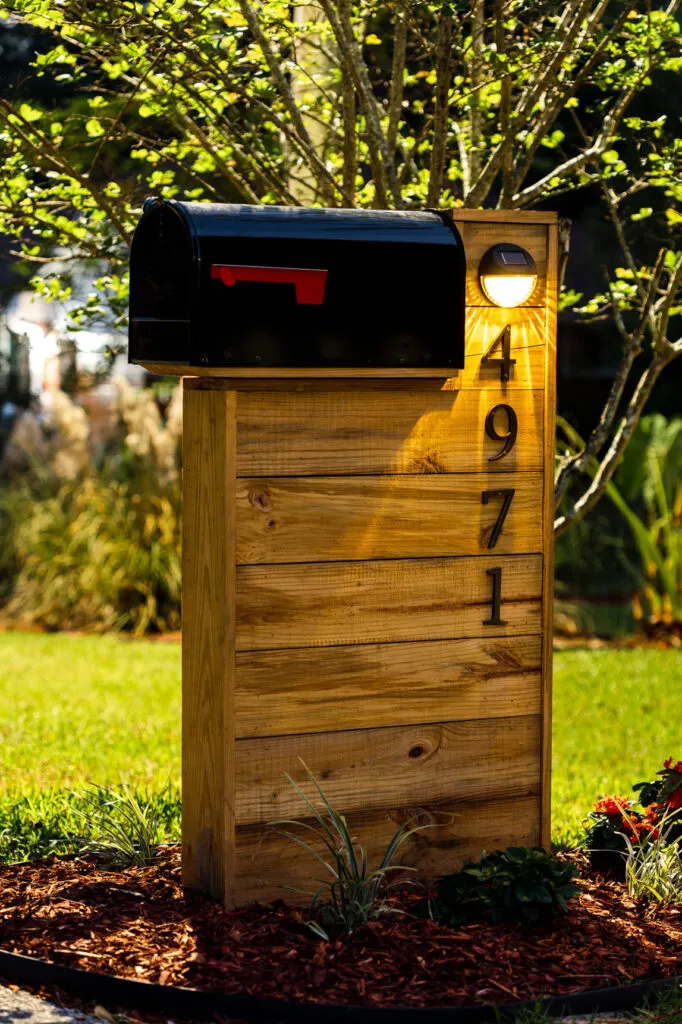
Night view of the DIY Modern Mailbox
See you soon,
Kippi
Ps. This post has been shared on Between Naps on the Porch.
Rob
Wednesday 13th of May 2026
I know it is pressure treated, but is there concern about the wood down in the concrete rather than being strapped into a metal bracket?
Lin Marshall
Sunday 26th of April 2026
Love it! It looks beautiful!!!
Suraj Singh
Sunday 18th of January 2026
This is a fantastic curb-appeal upgrade! I really appreciate how detailed and well-explained each step is, especially the measurements and installation tips. The addition of the solar light is such a smart touch—it makes the mailbox both functional and stylish at night. A great DIY project for anyone looking to modernize their home exterior.
- GlobalInternDesk
Imran Shahid
Monday 29th of September 2025
I am building this mailbox and wondering if the solar light on the other side will get any sun. I am looking into Flt top Solar cell with Light downwards. NIORSUN Solar Deck Lights Outdoor 8 Pack, IP65 Waterproof Large Size LED Stair Lights with Lenses, Auto ON Off Warm White Step Lights for Outside, Deck, Patio, Fence, Yard, Pathway and Railing Decor
Imran Shahid
Wednesday 24th of September 2025
I noticed you have 16 1x6x25 boards not 14